 Morning.Star
Neoprene Mask shell, with the first display attempt...
The mask was the easy bit, I templated it in Inkscape and printed it onto an Avery label, stuck that to the Neoprene sheet and cut around it.
Once I had the shape right all I had to do was stitch the inside cloth layer together, then run latex glue into the channel and pop it inside-out while it dried. The resulting seam was nice and flat, and the glue sealed it to make it airtight.
Neoprene is a layer of rubber faced with stretch fabric on both sides, and is completely impermeable to air and water.
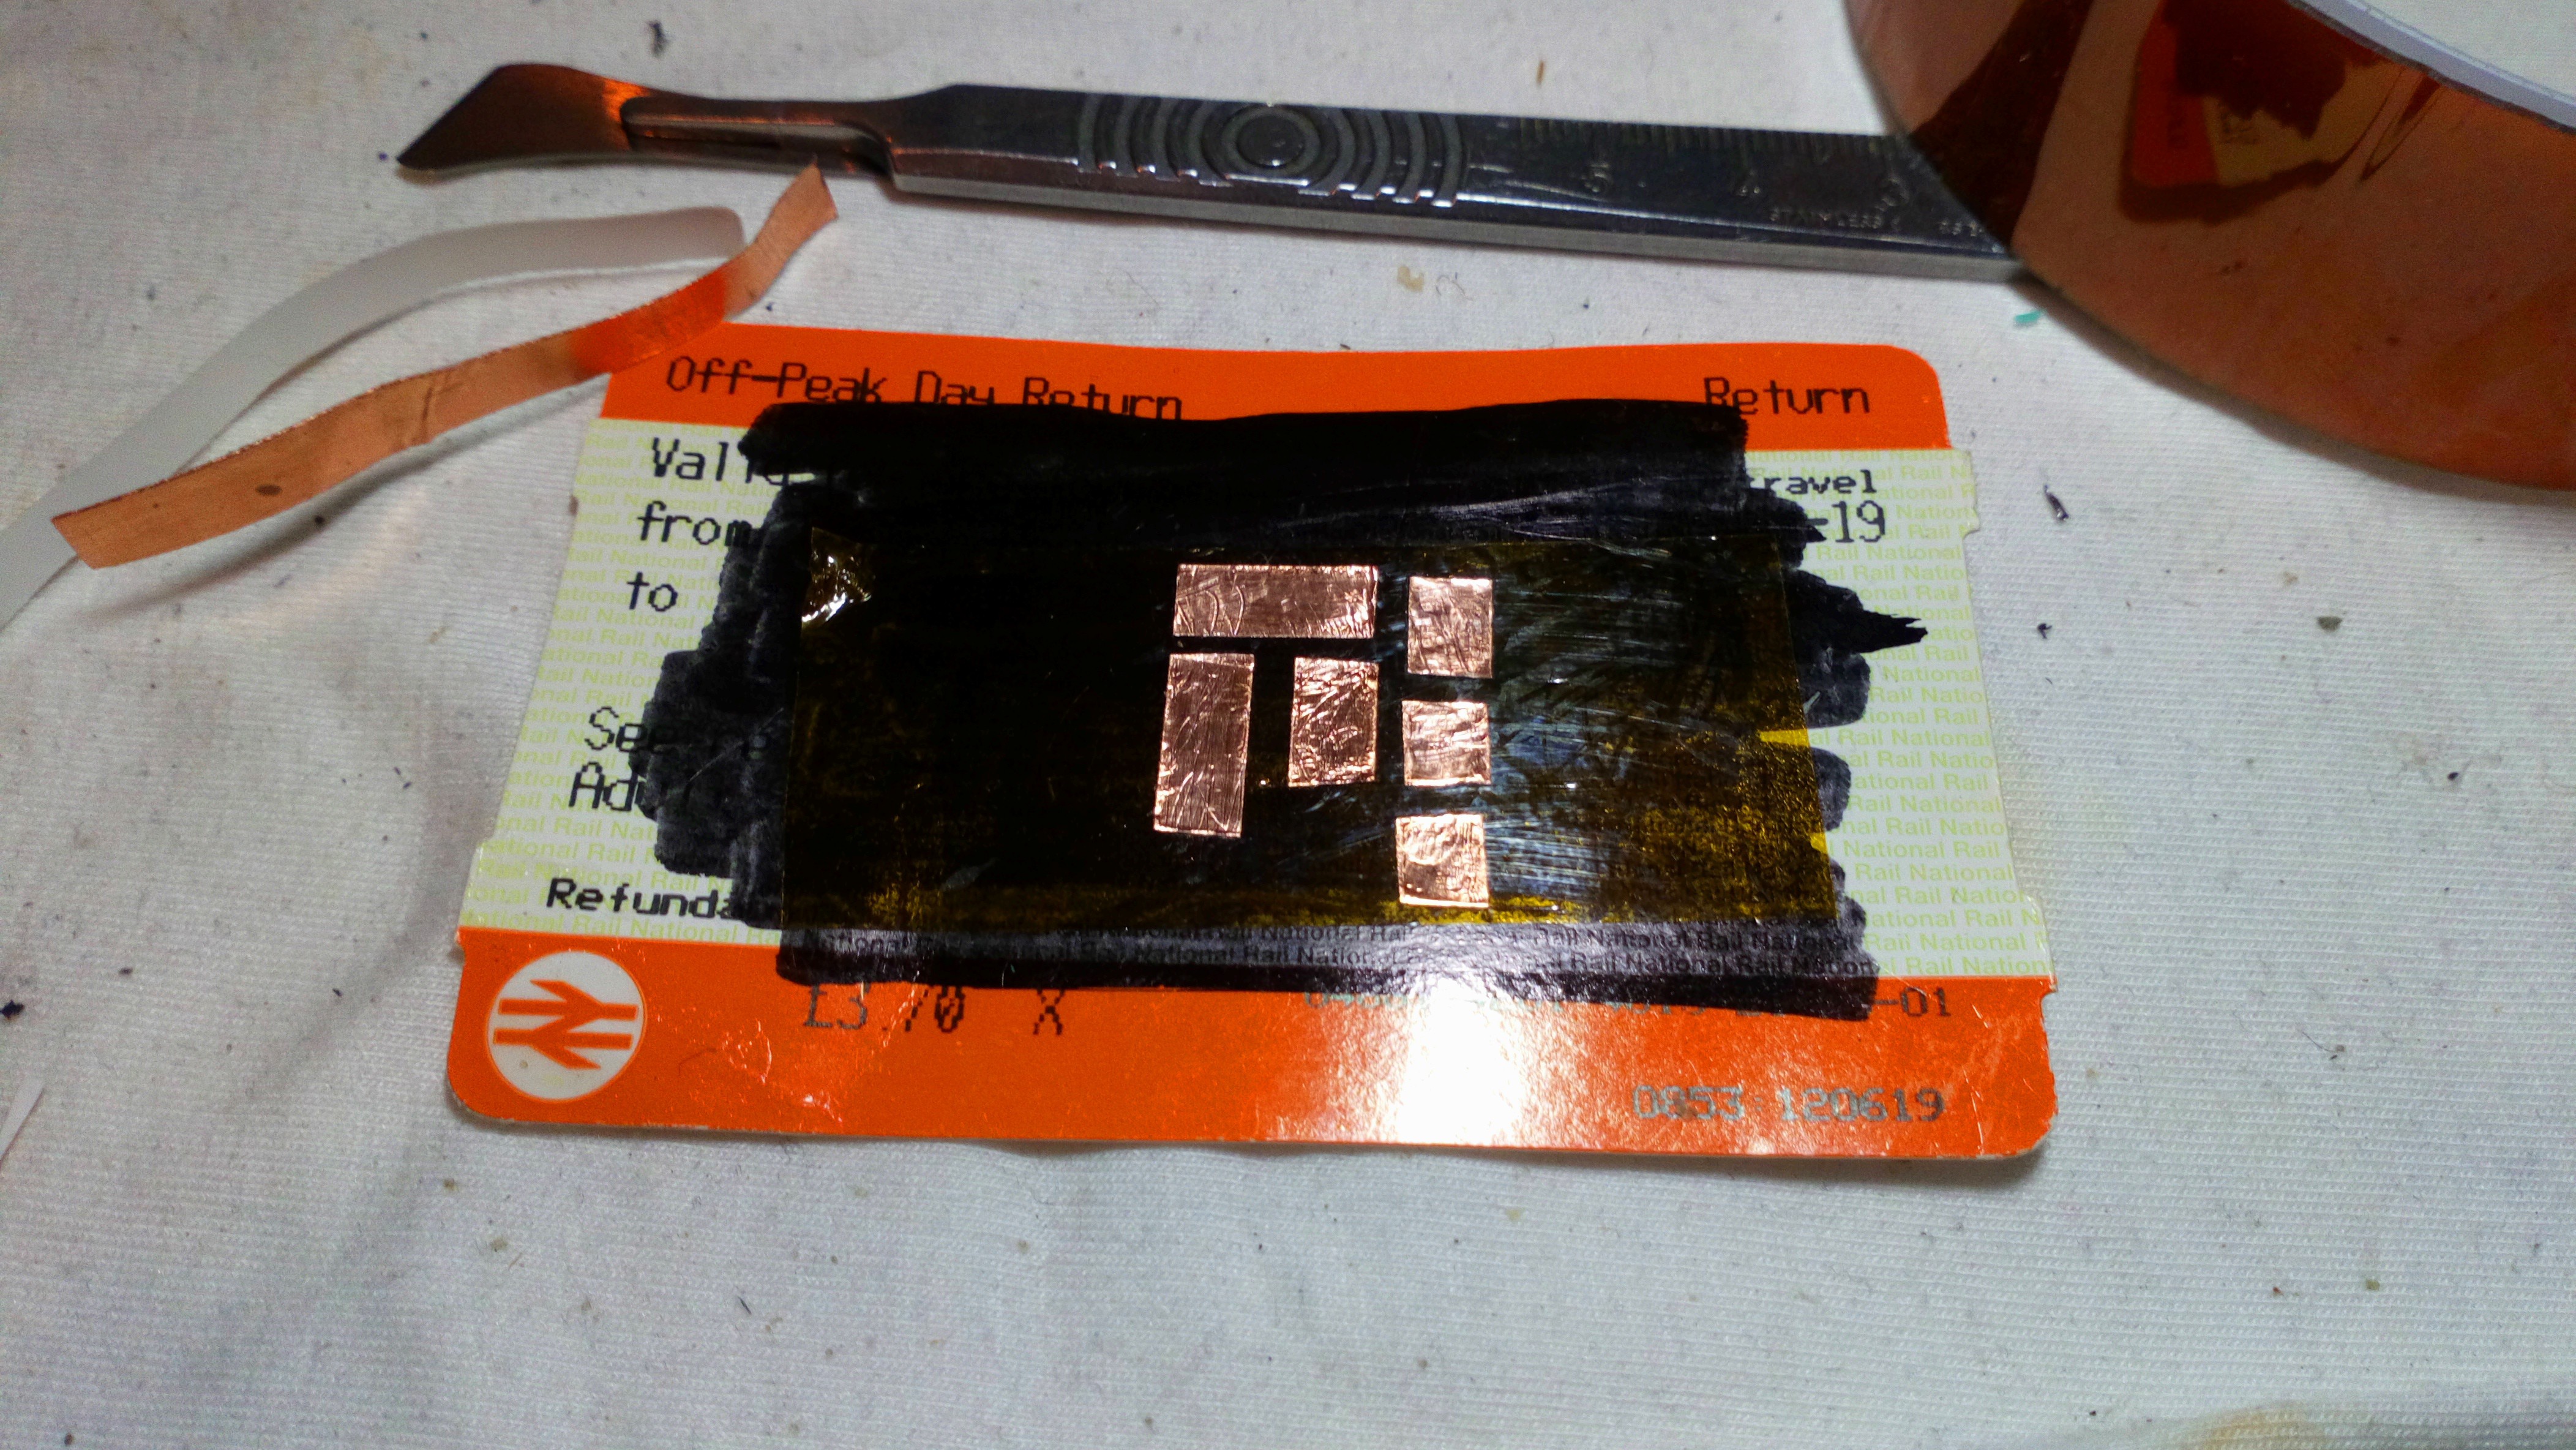
The first attempt at making a flexible display didnt work out so well. These buttons are great, really easy to wire but my technique of making flex circuits using sellotape and copper tapes didnt seem to like the big circuit boards soldered to it, and the sellotape tore around the edges, followed by the copper tape.
Much subdued cussing ensued as I stripped the circuit back off and cleaned up the buttons...
I wiped the buttons off with a large tinned soldering bit which melted off the solder and tape residue and left them all tinned up properly, my only complaint with them was they they werent tinned and it took a bit of scrubbing to get the pads to take the solder even with flux added.
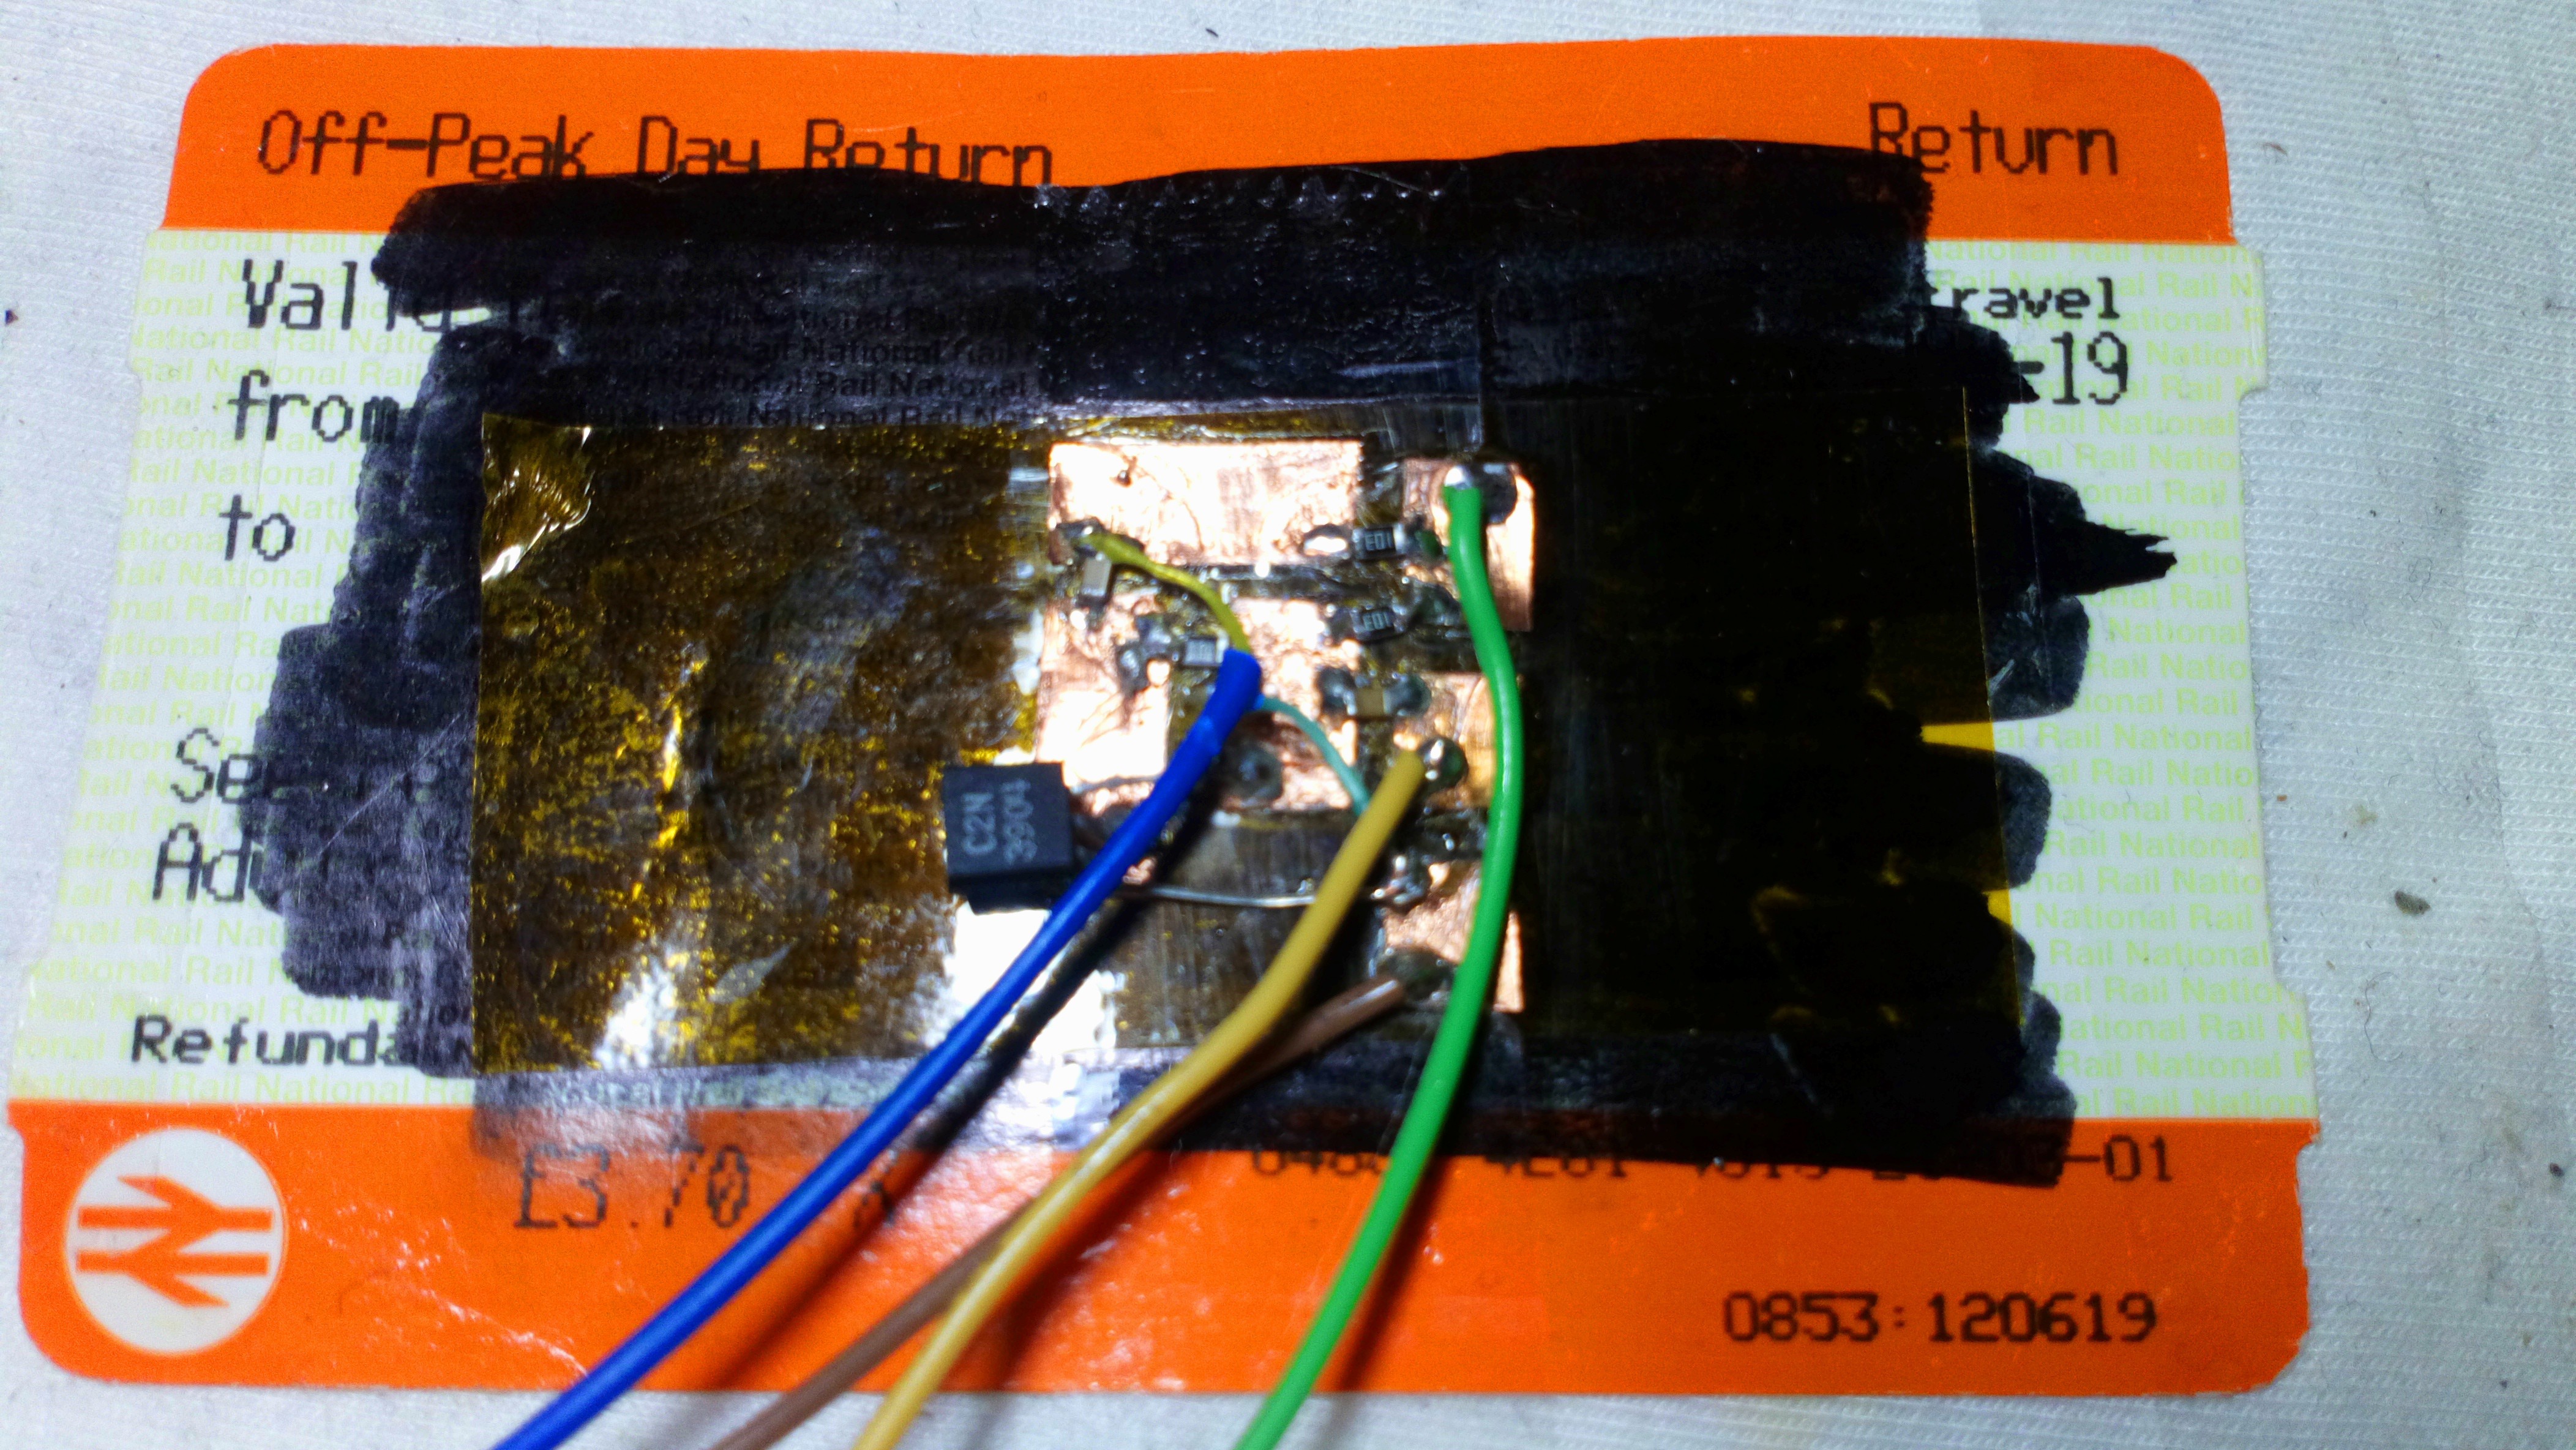
Attempt one worked, but not for long.
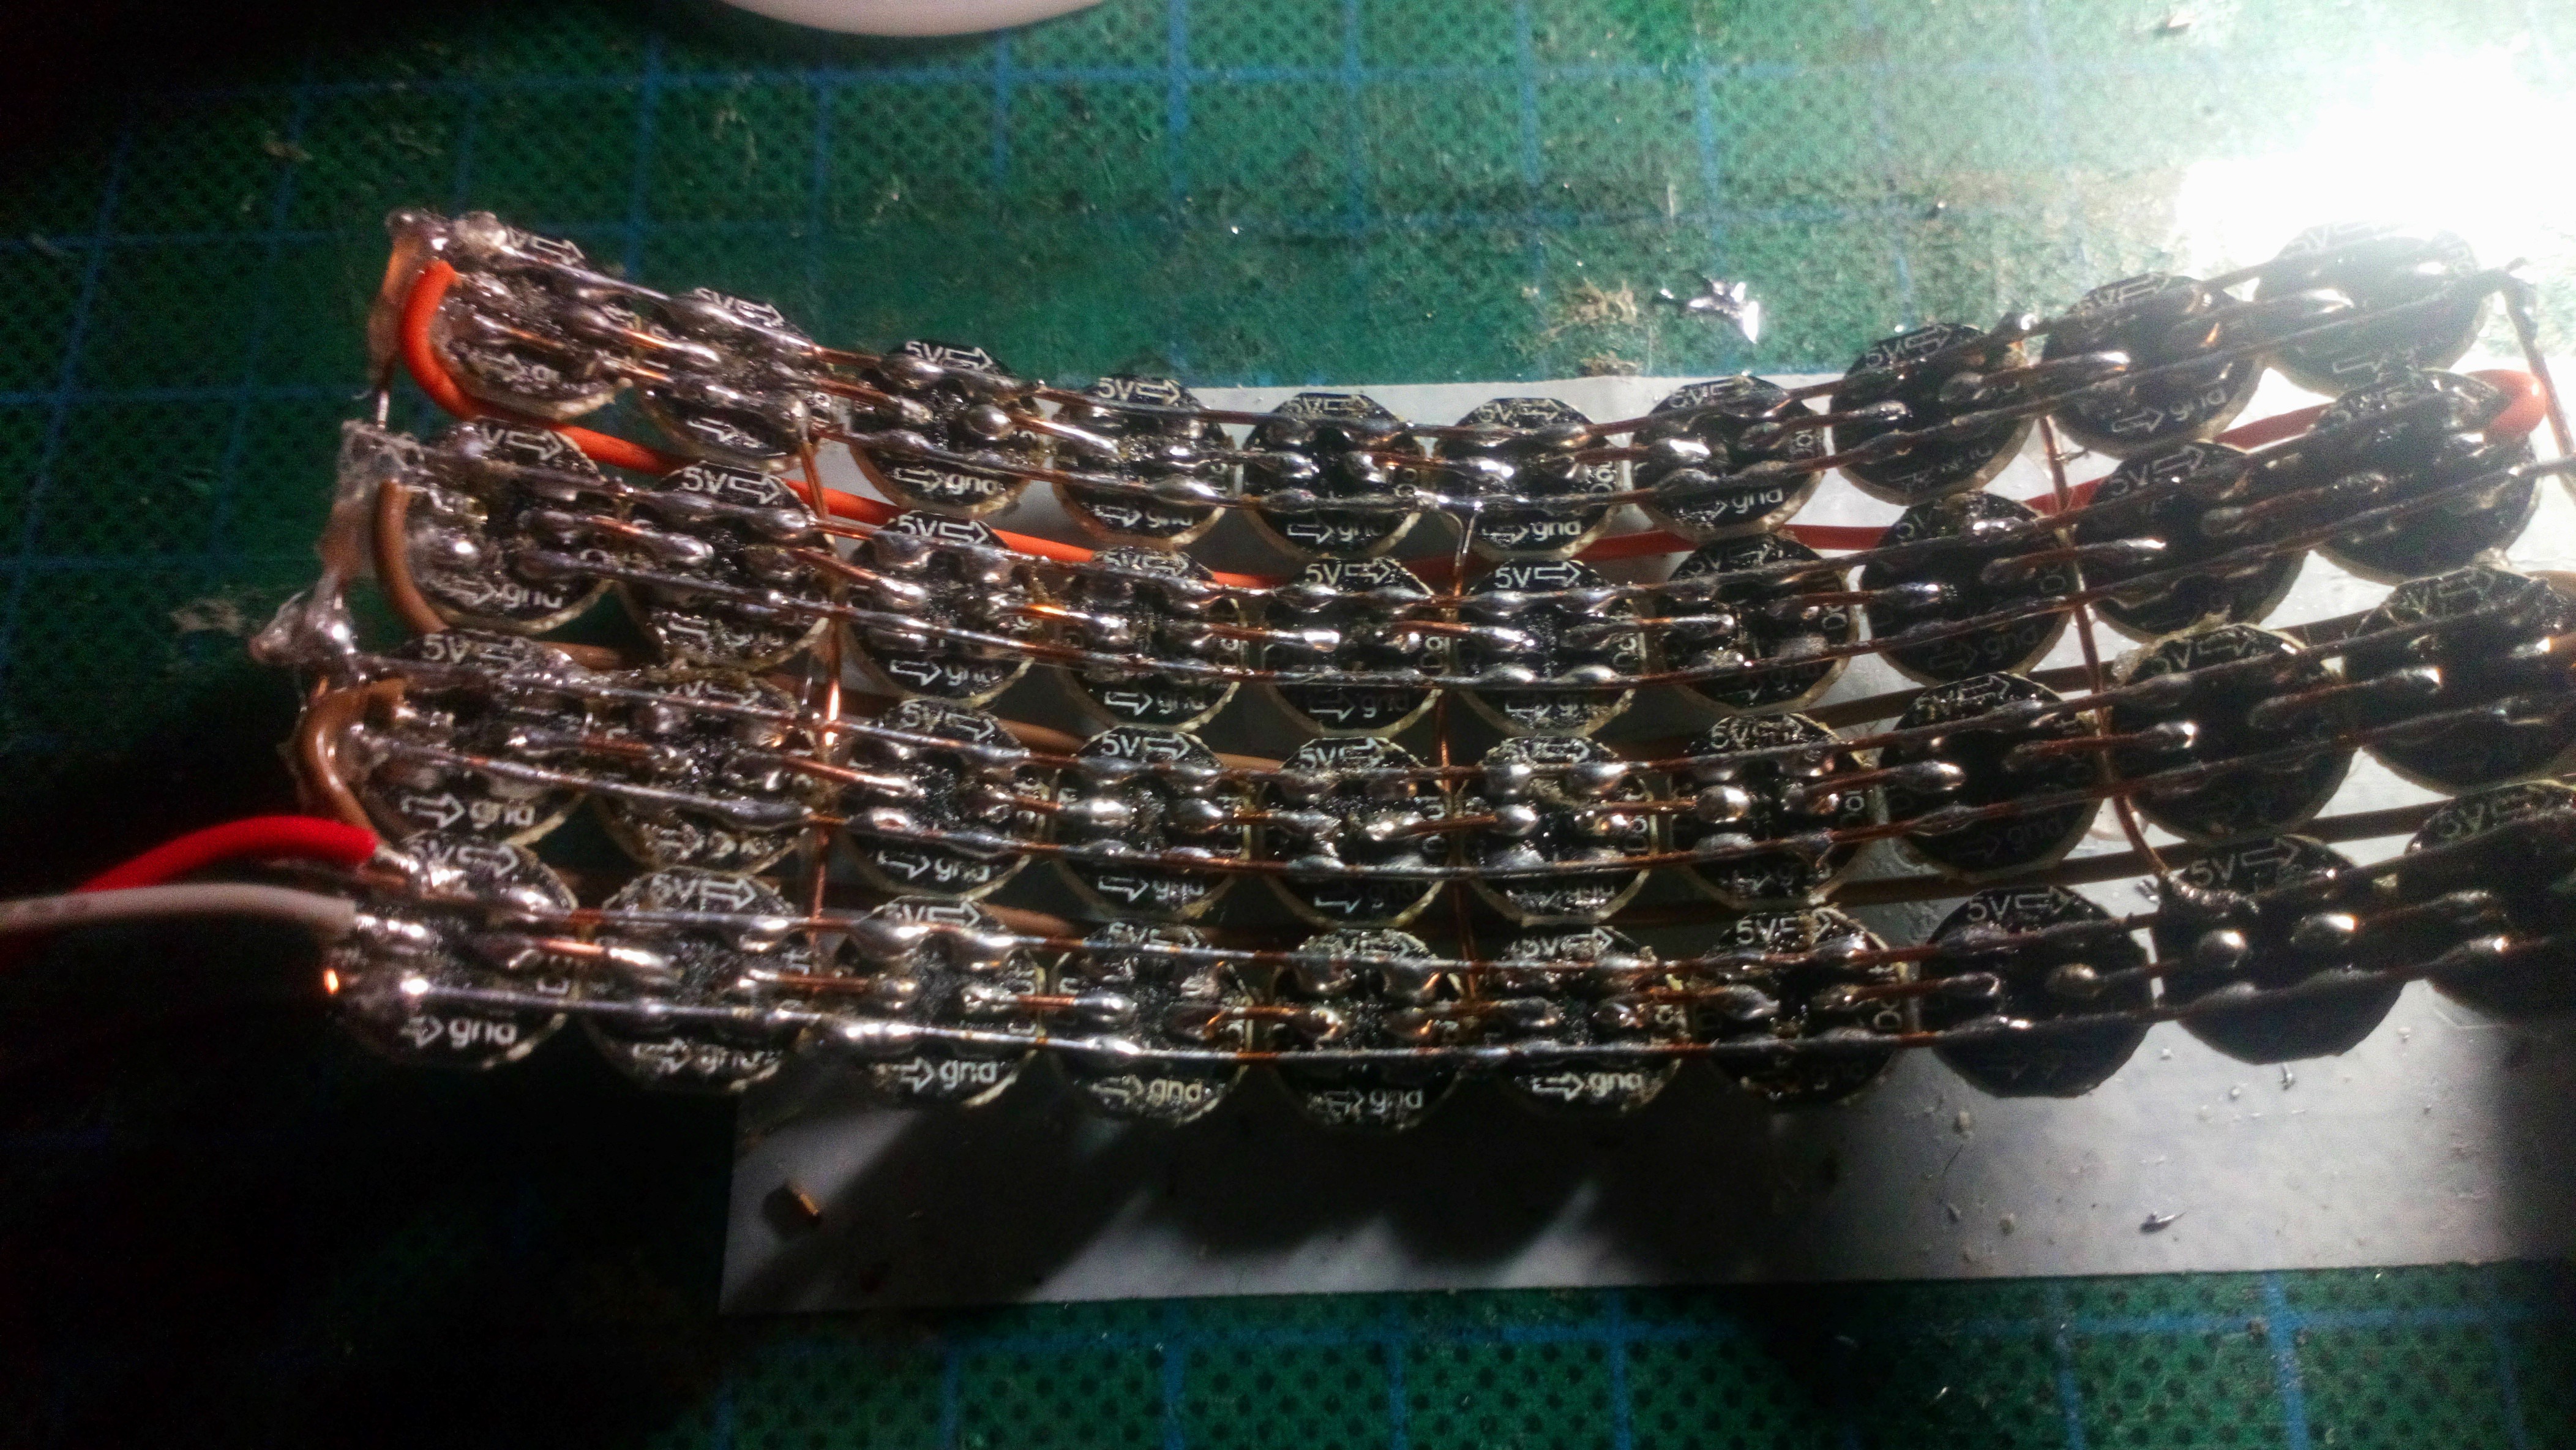
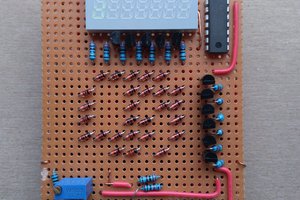
After a bit of thought, I decided to rebuild the display as a solid piece and deadbugged it using thicker copper wire in a grid.
Nice and sturdy, plus I also rewired the rows to be in parallel lines from left to right, rather than a zig-zag like before. It proved to be a nuisance to program anyway, needing a formula to calculate the pixel positions between X&Y, and a linear string with two backwards sections inline...
Nice.
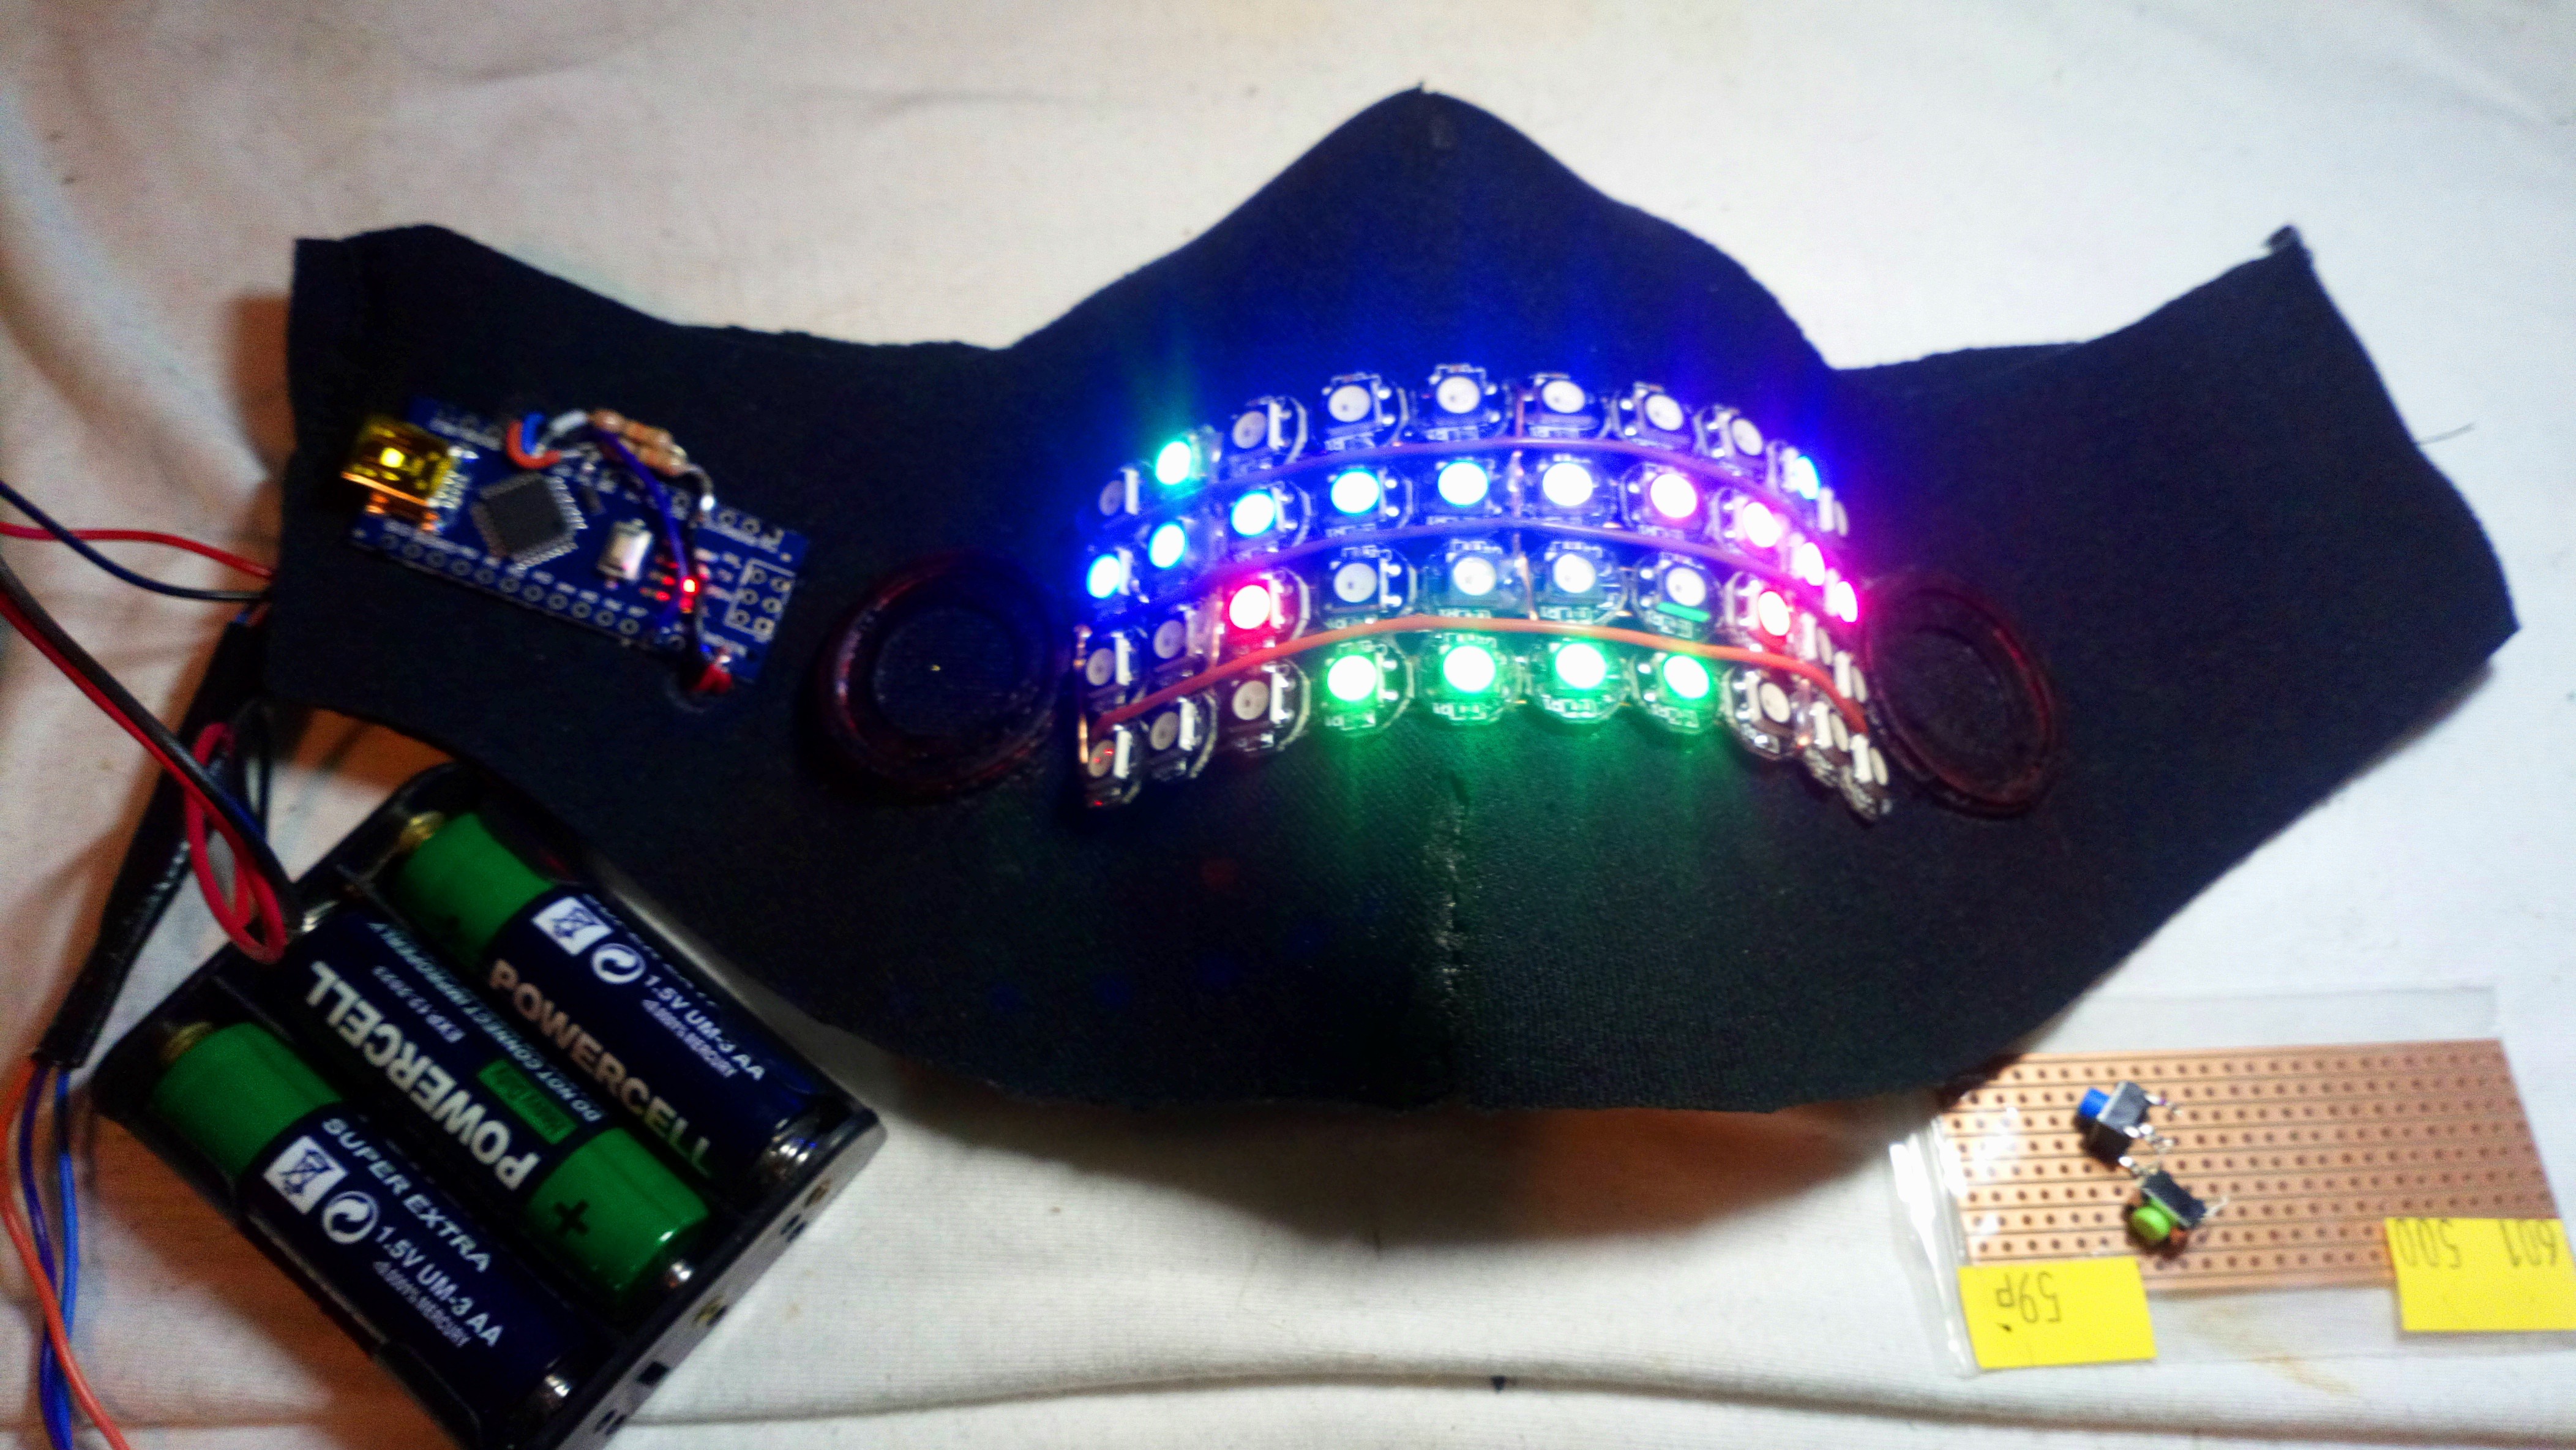
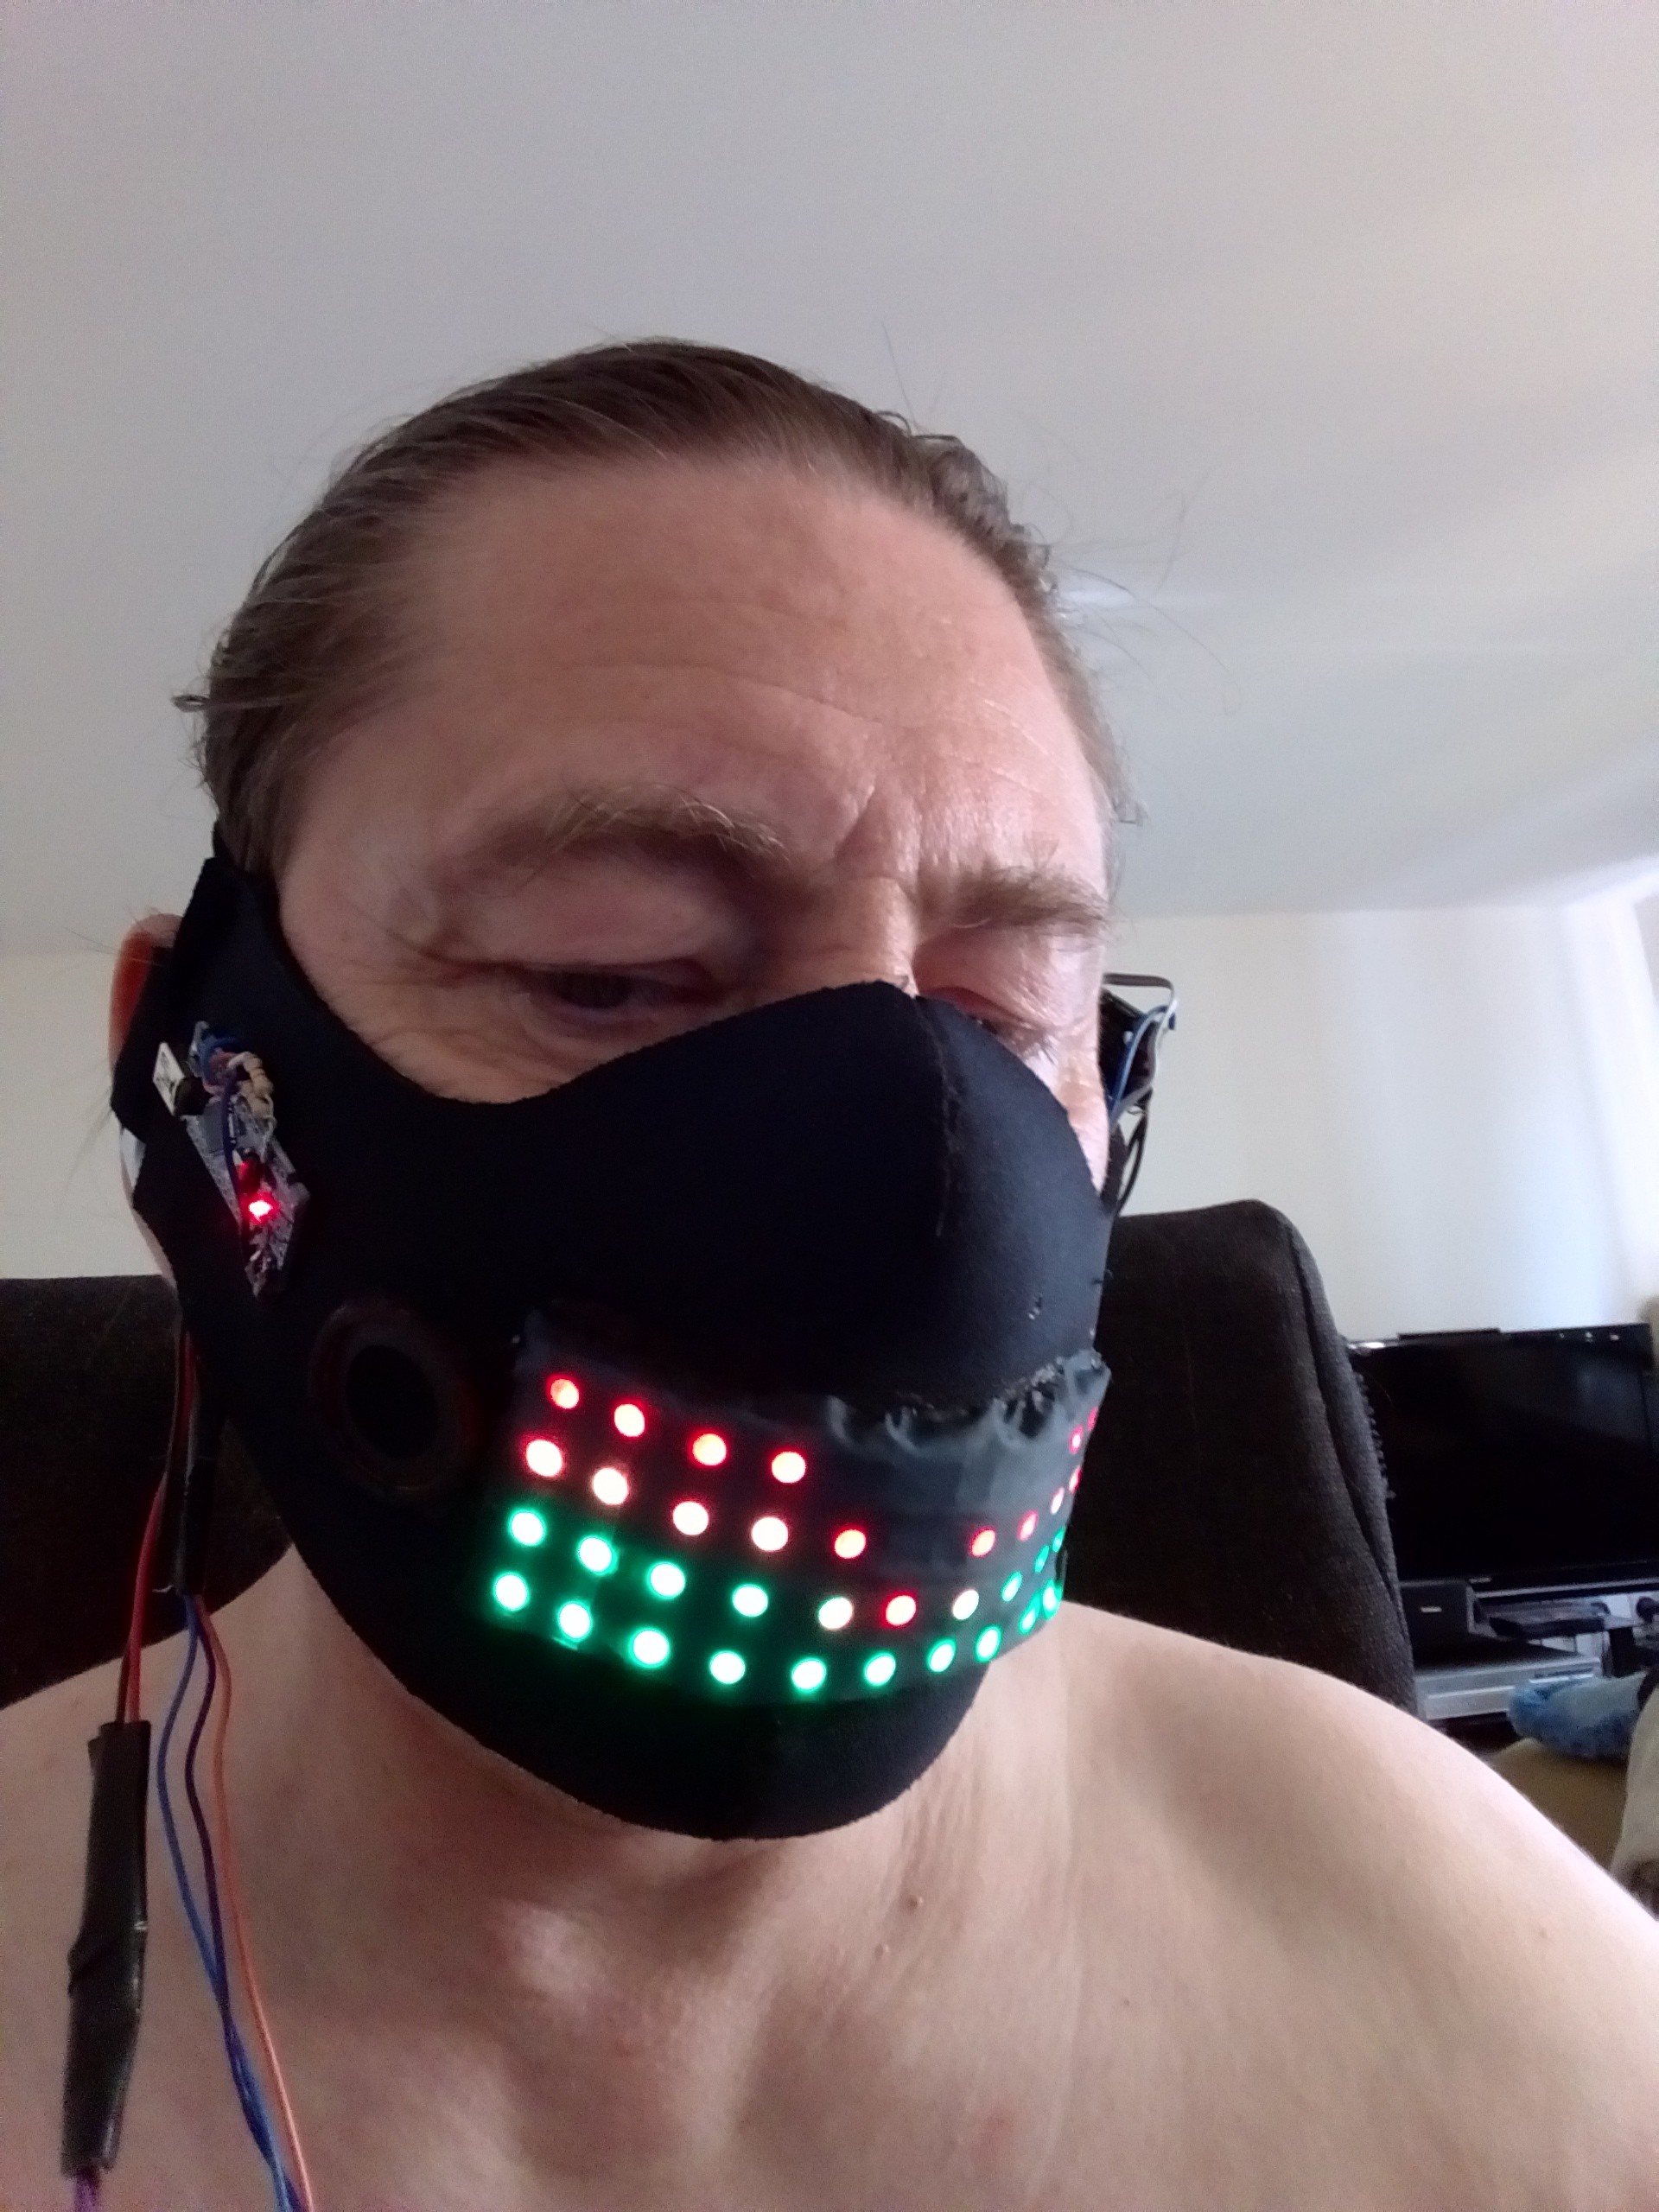
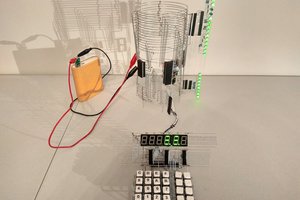
Here I was using 3 alkaline cells to provide 4.5V, the Neopixels were nice and bright and there was enough grunt to power the Nano to begin with.
Unfortunately Neopixels draw a lot of current. Even at the 1/5 brightness recommended by the sample sketch I examined, those batteries only lasted half an hour before they couldnt sustain the amps, and the Nano started browning out with more than a few pixels lit.
I moved to a 18650 LiPo, and despite the lower voltage it worked like a champ. No more power issues :-)
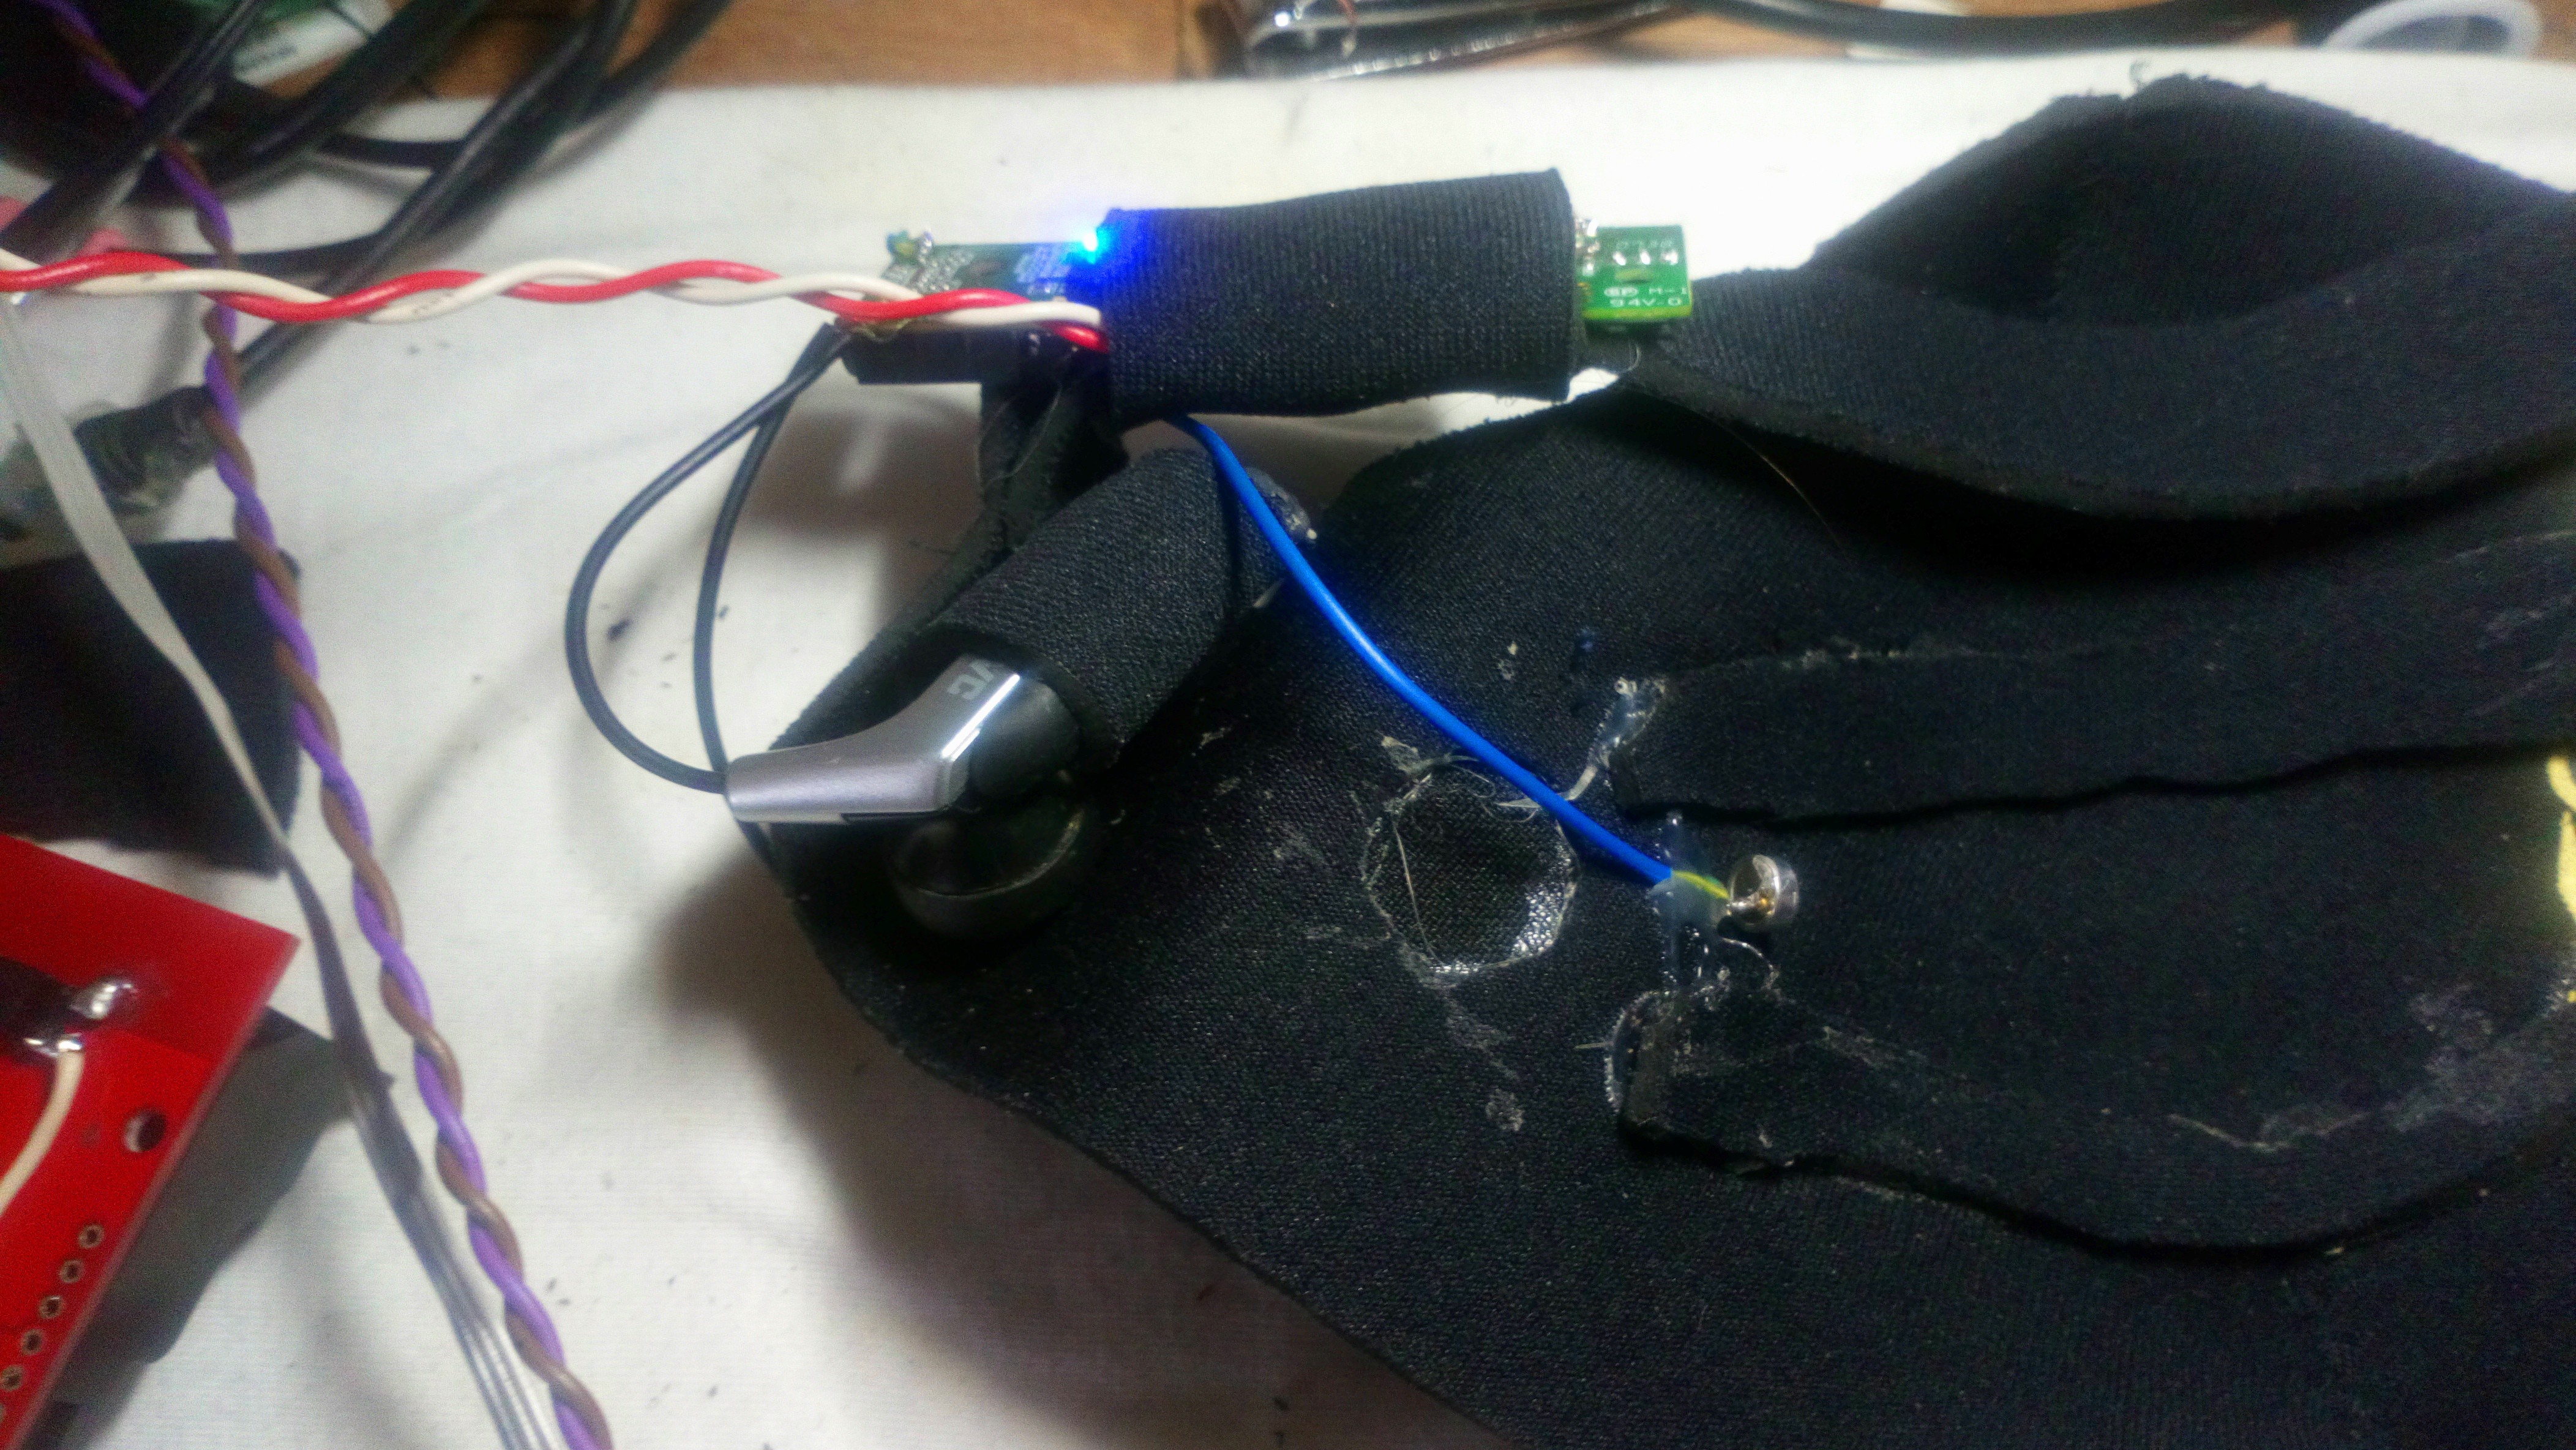
After a while the mask got annoying having to pull it down to use my phone, and as I habitually wear headphones anyway, I decided to integrate a pair with the mask and programmed a vu-meter display to go with the music.
Aaargh, cables everywhere, so I found up an old Bluetooth headset, chopped out the lousy little 210mAh LiPo and ran it off the 18650 instead so it lasted all day instead of 2-3 hours, the reason I stopped using it.
Once I had that in there it was a simple matter to rewire the microphone and put it inside.
The phone had no trouble linking to it. :-D
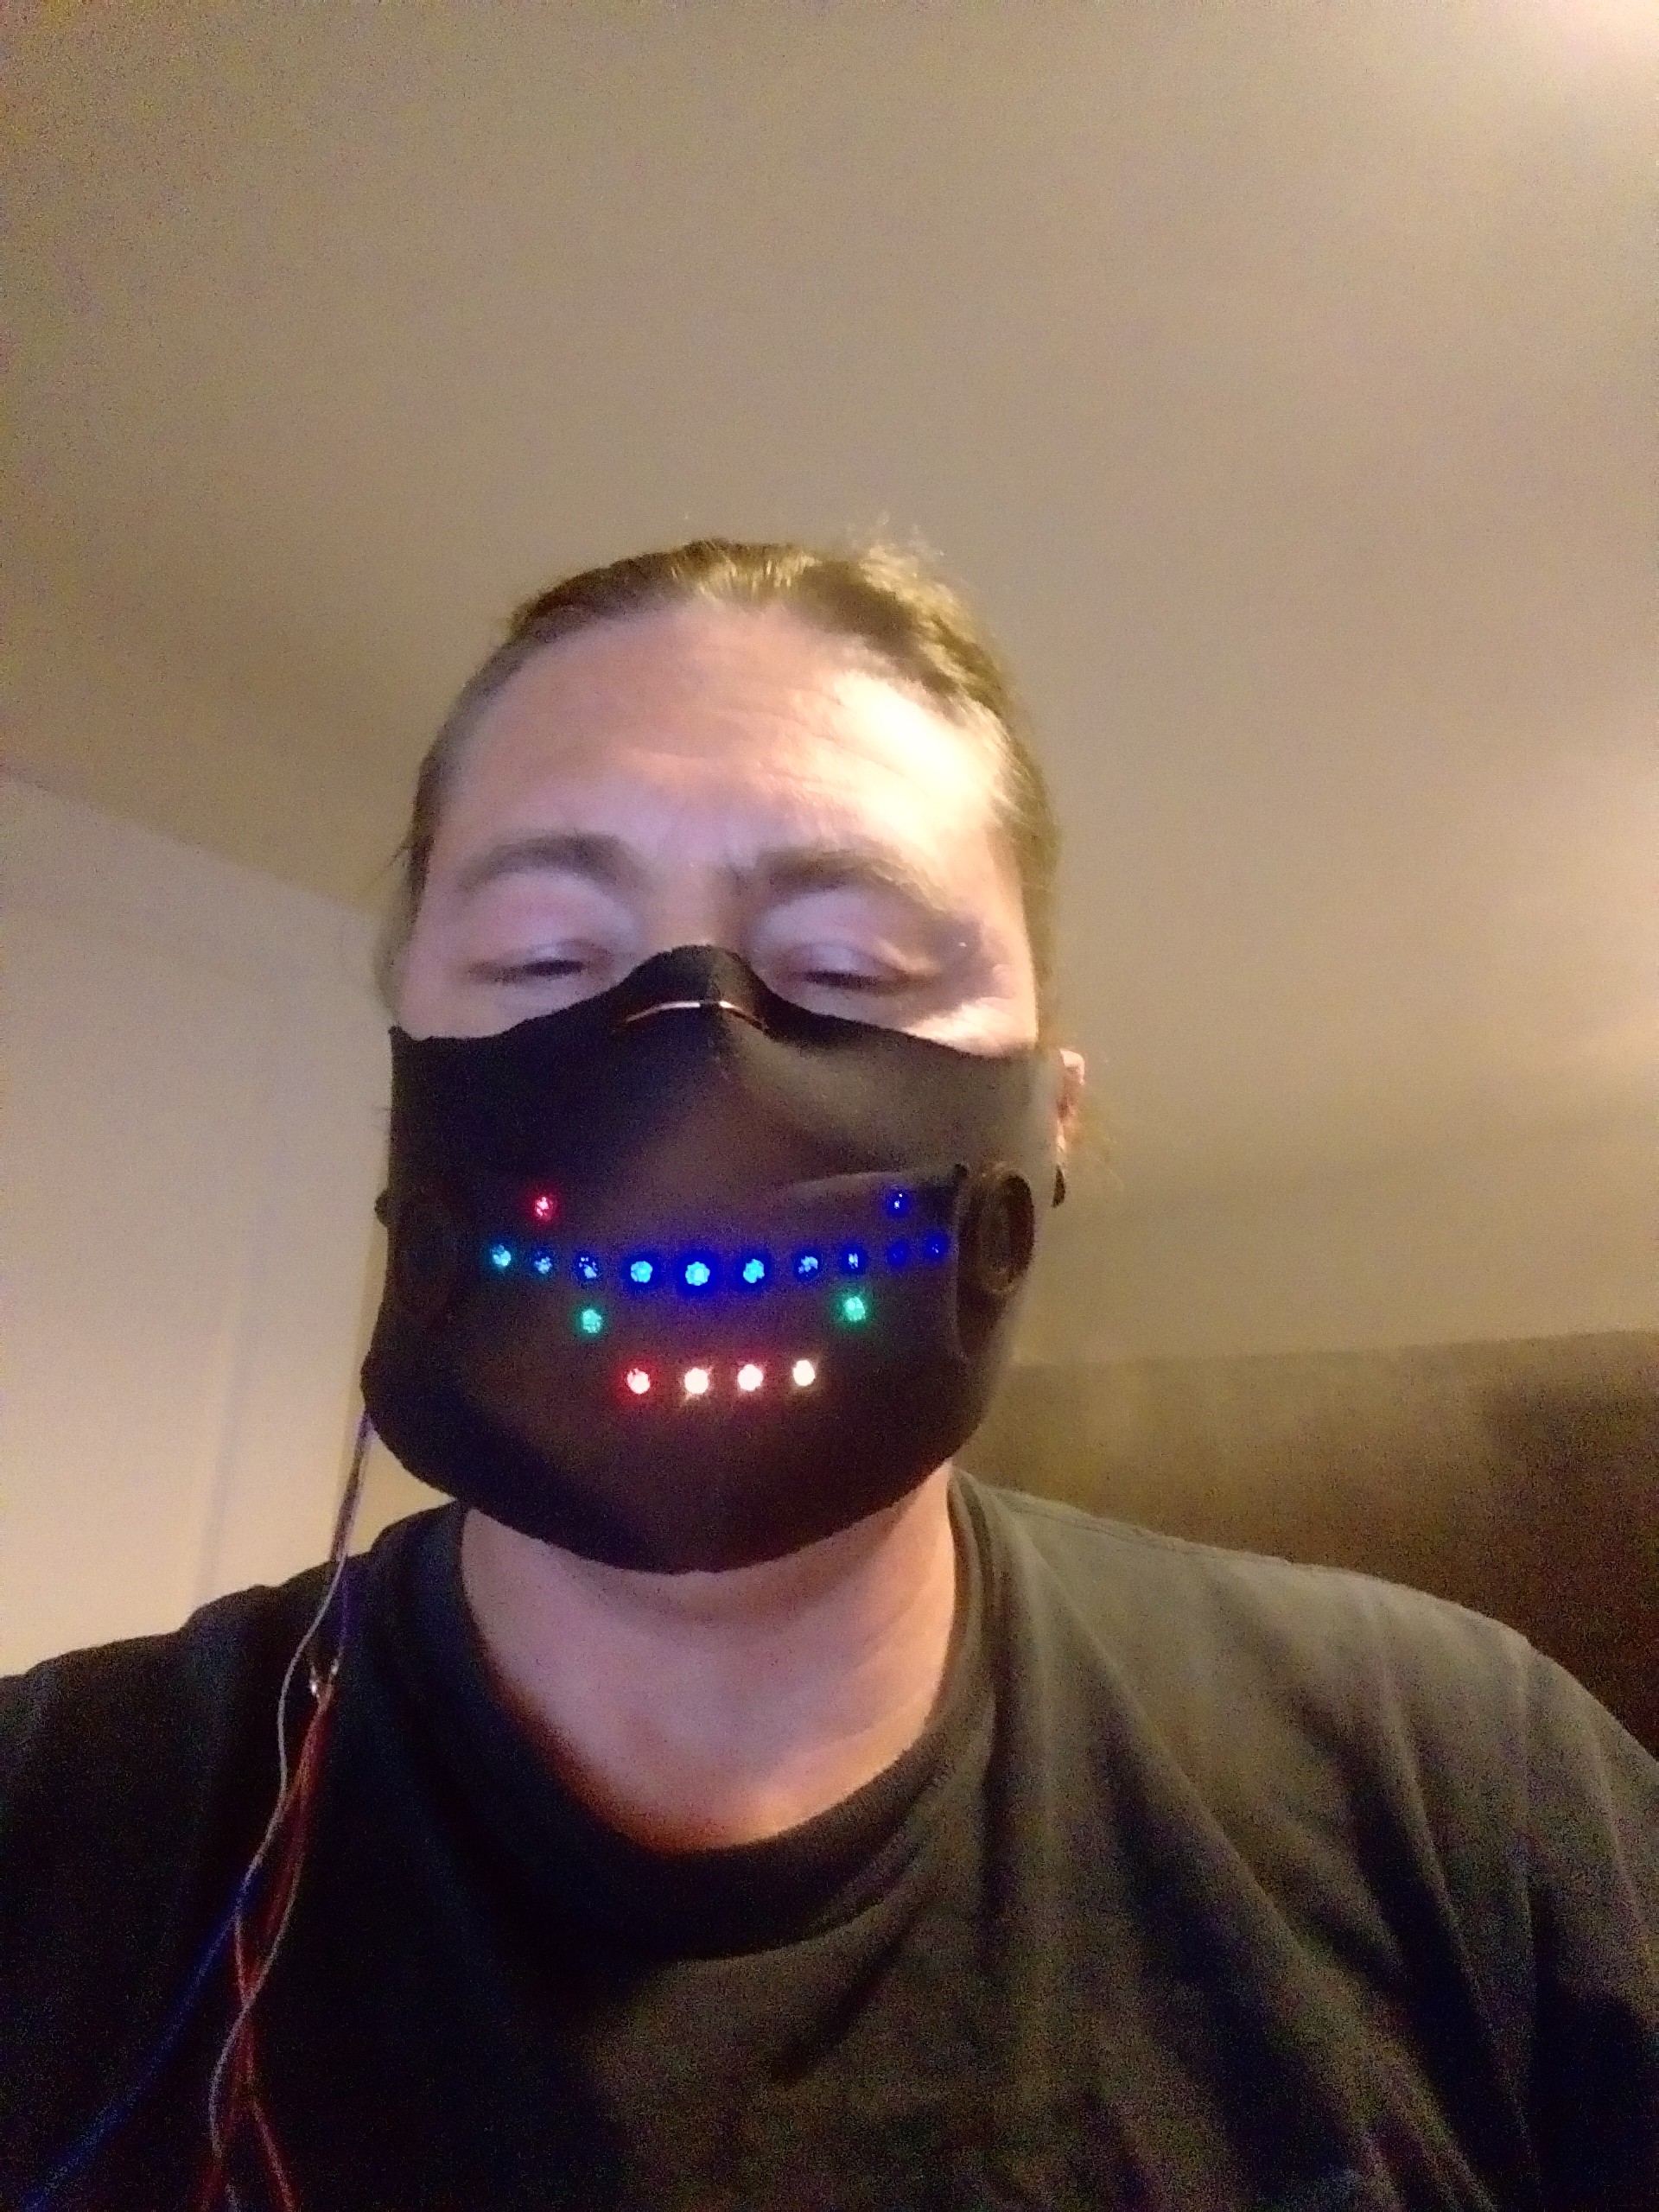
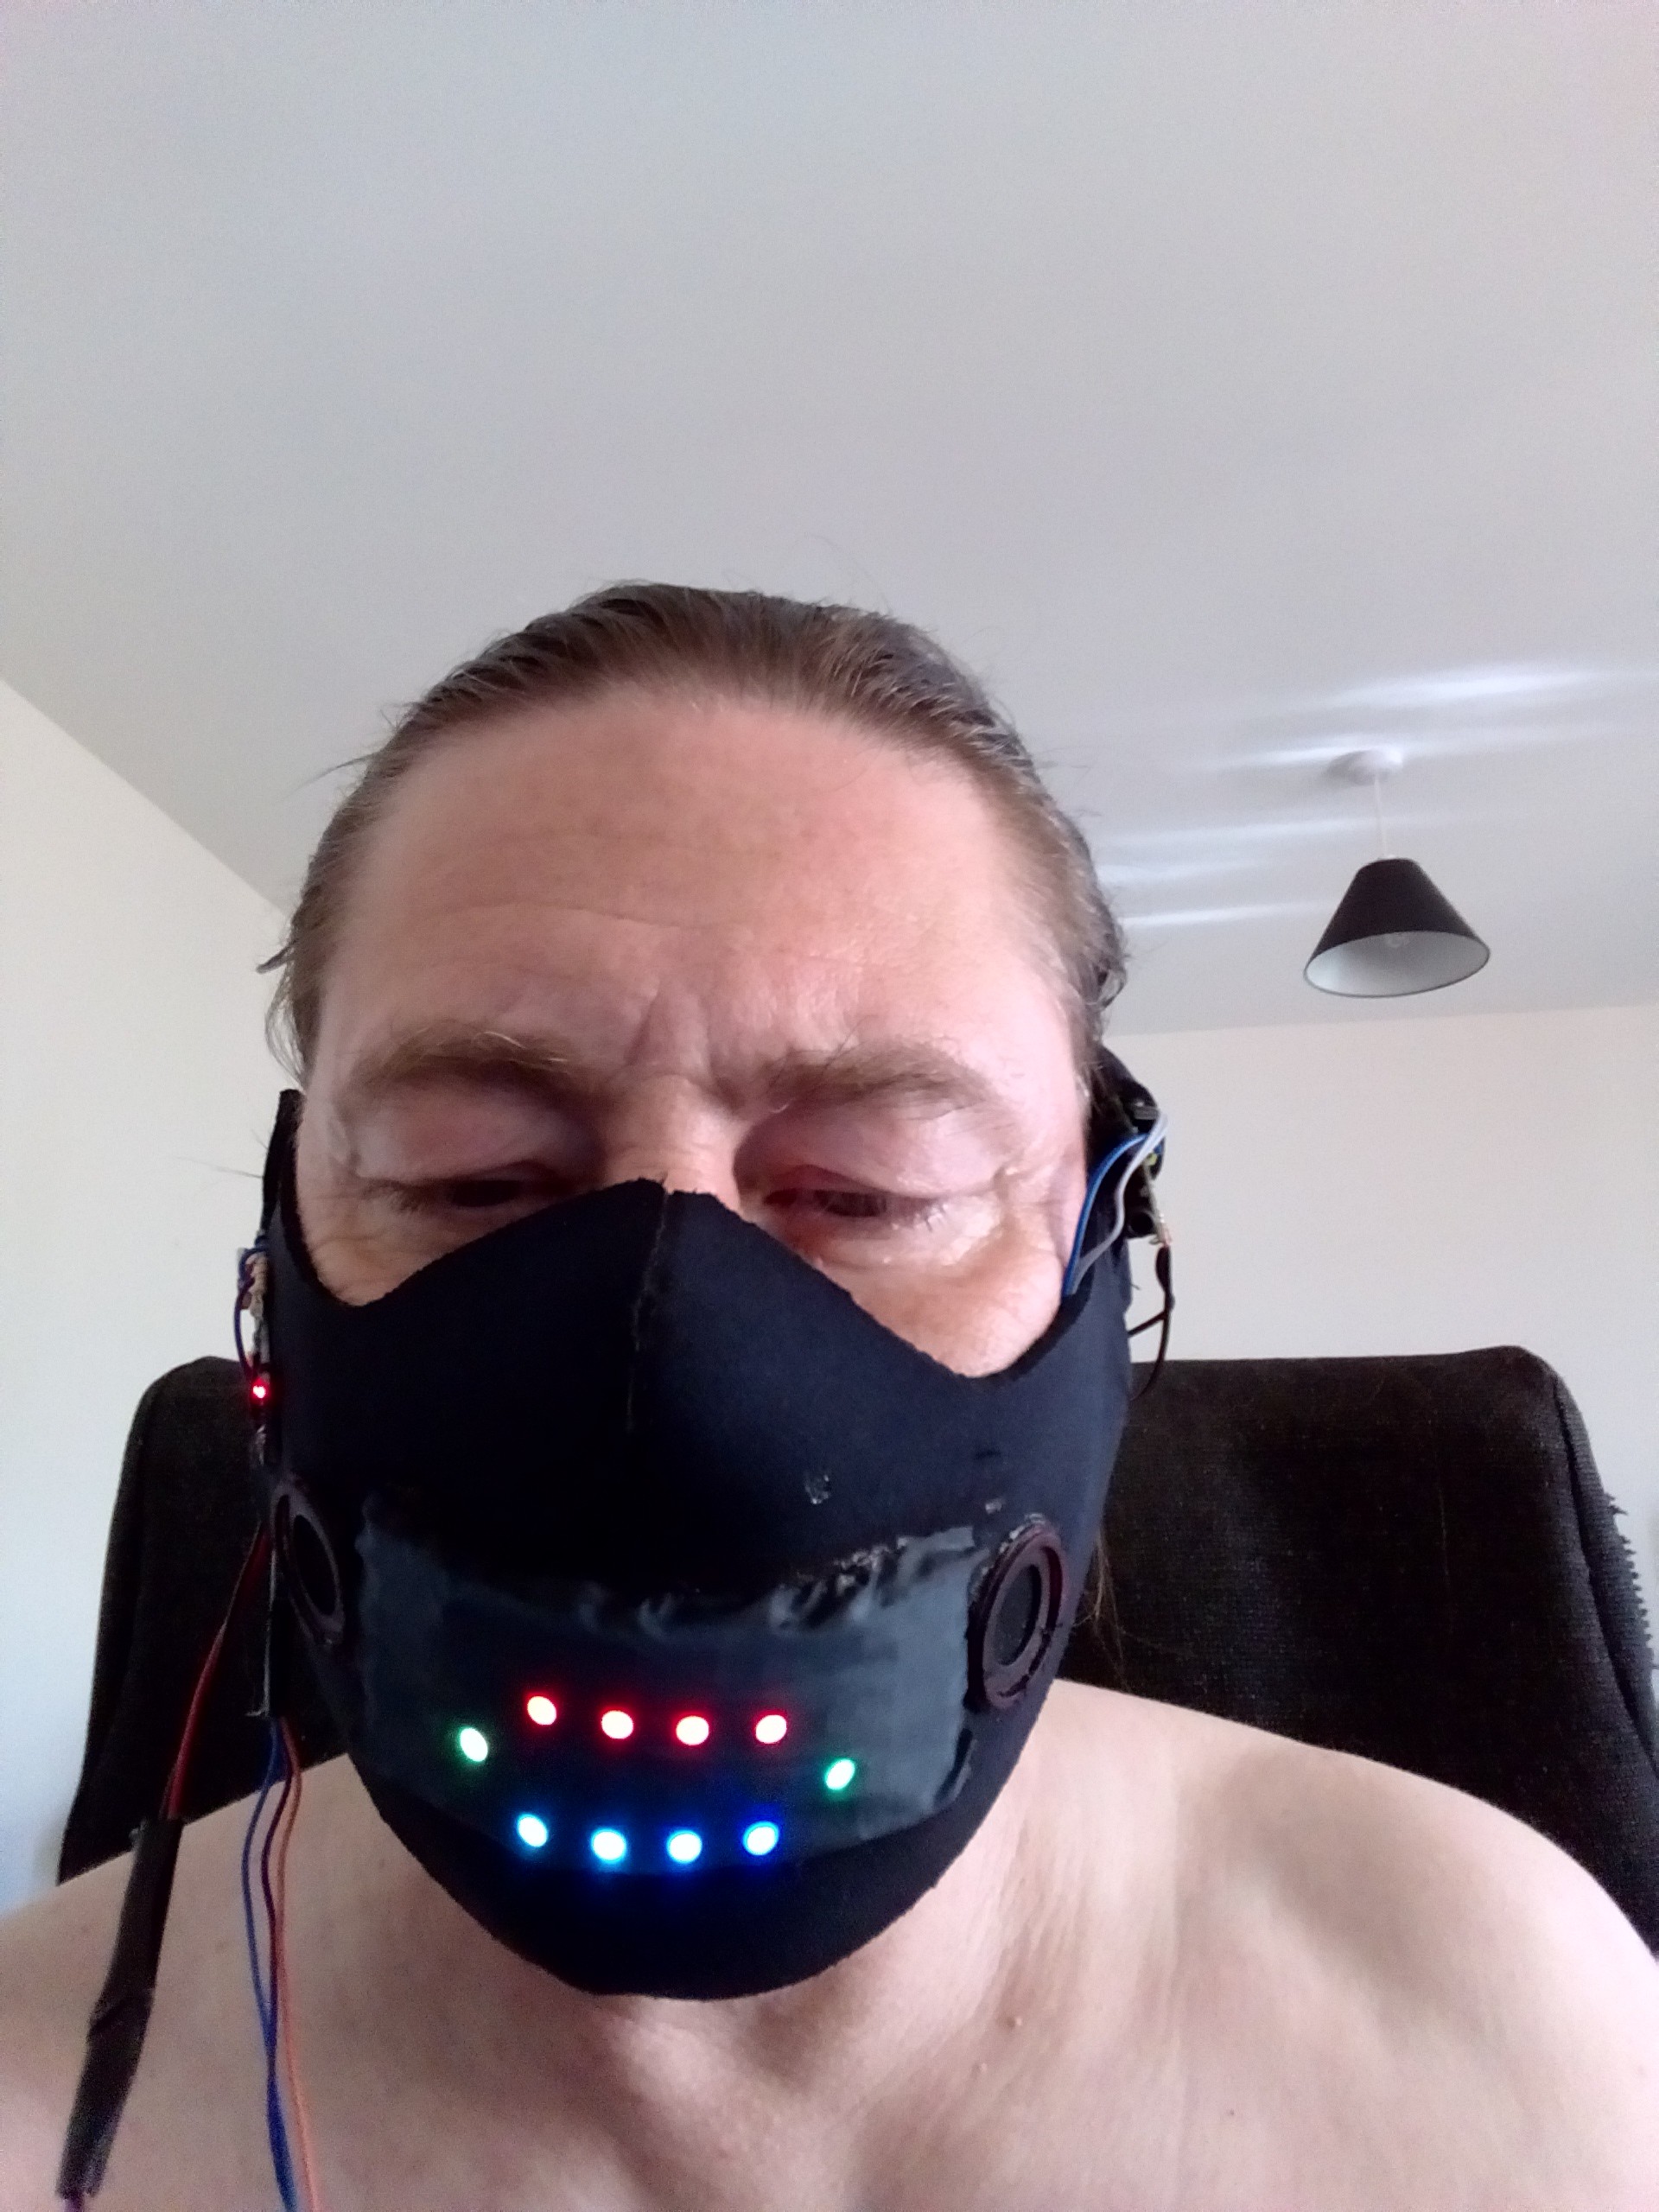
Media display...
Playing Pong against itself...
I'm waiting for an integrated mic and preamp from eBay that hooks to an ADC port and provides level-based audio sampling. It doesnt actually sample, waaaay too slow, but it does enough to animate a speaking mouth while I'm talking by periodically checking the level of sound inside the mask.
The same applies with the music display, tapped into the Bluetooth via an ADC with periodical level checking.
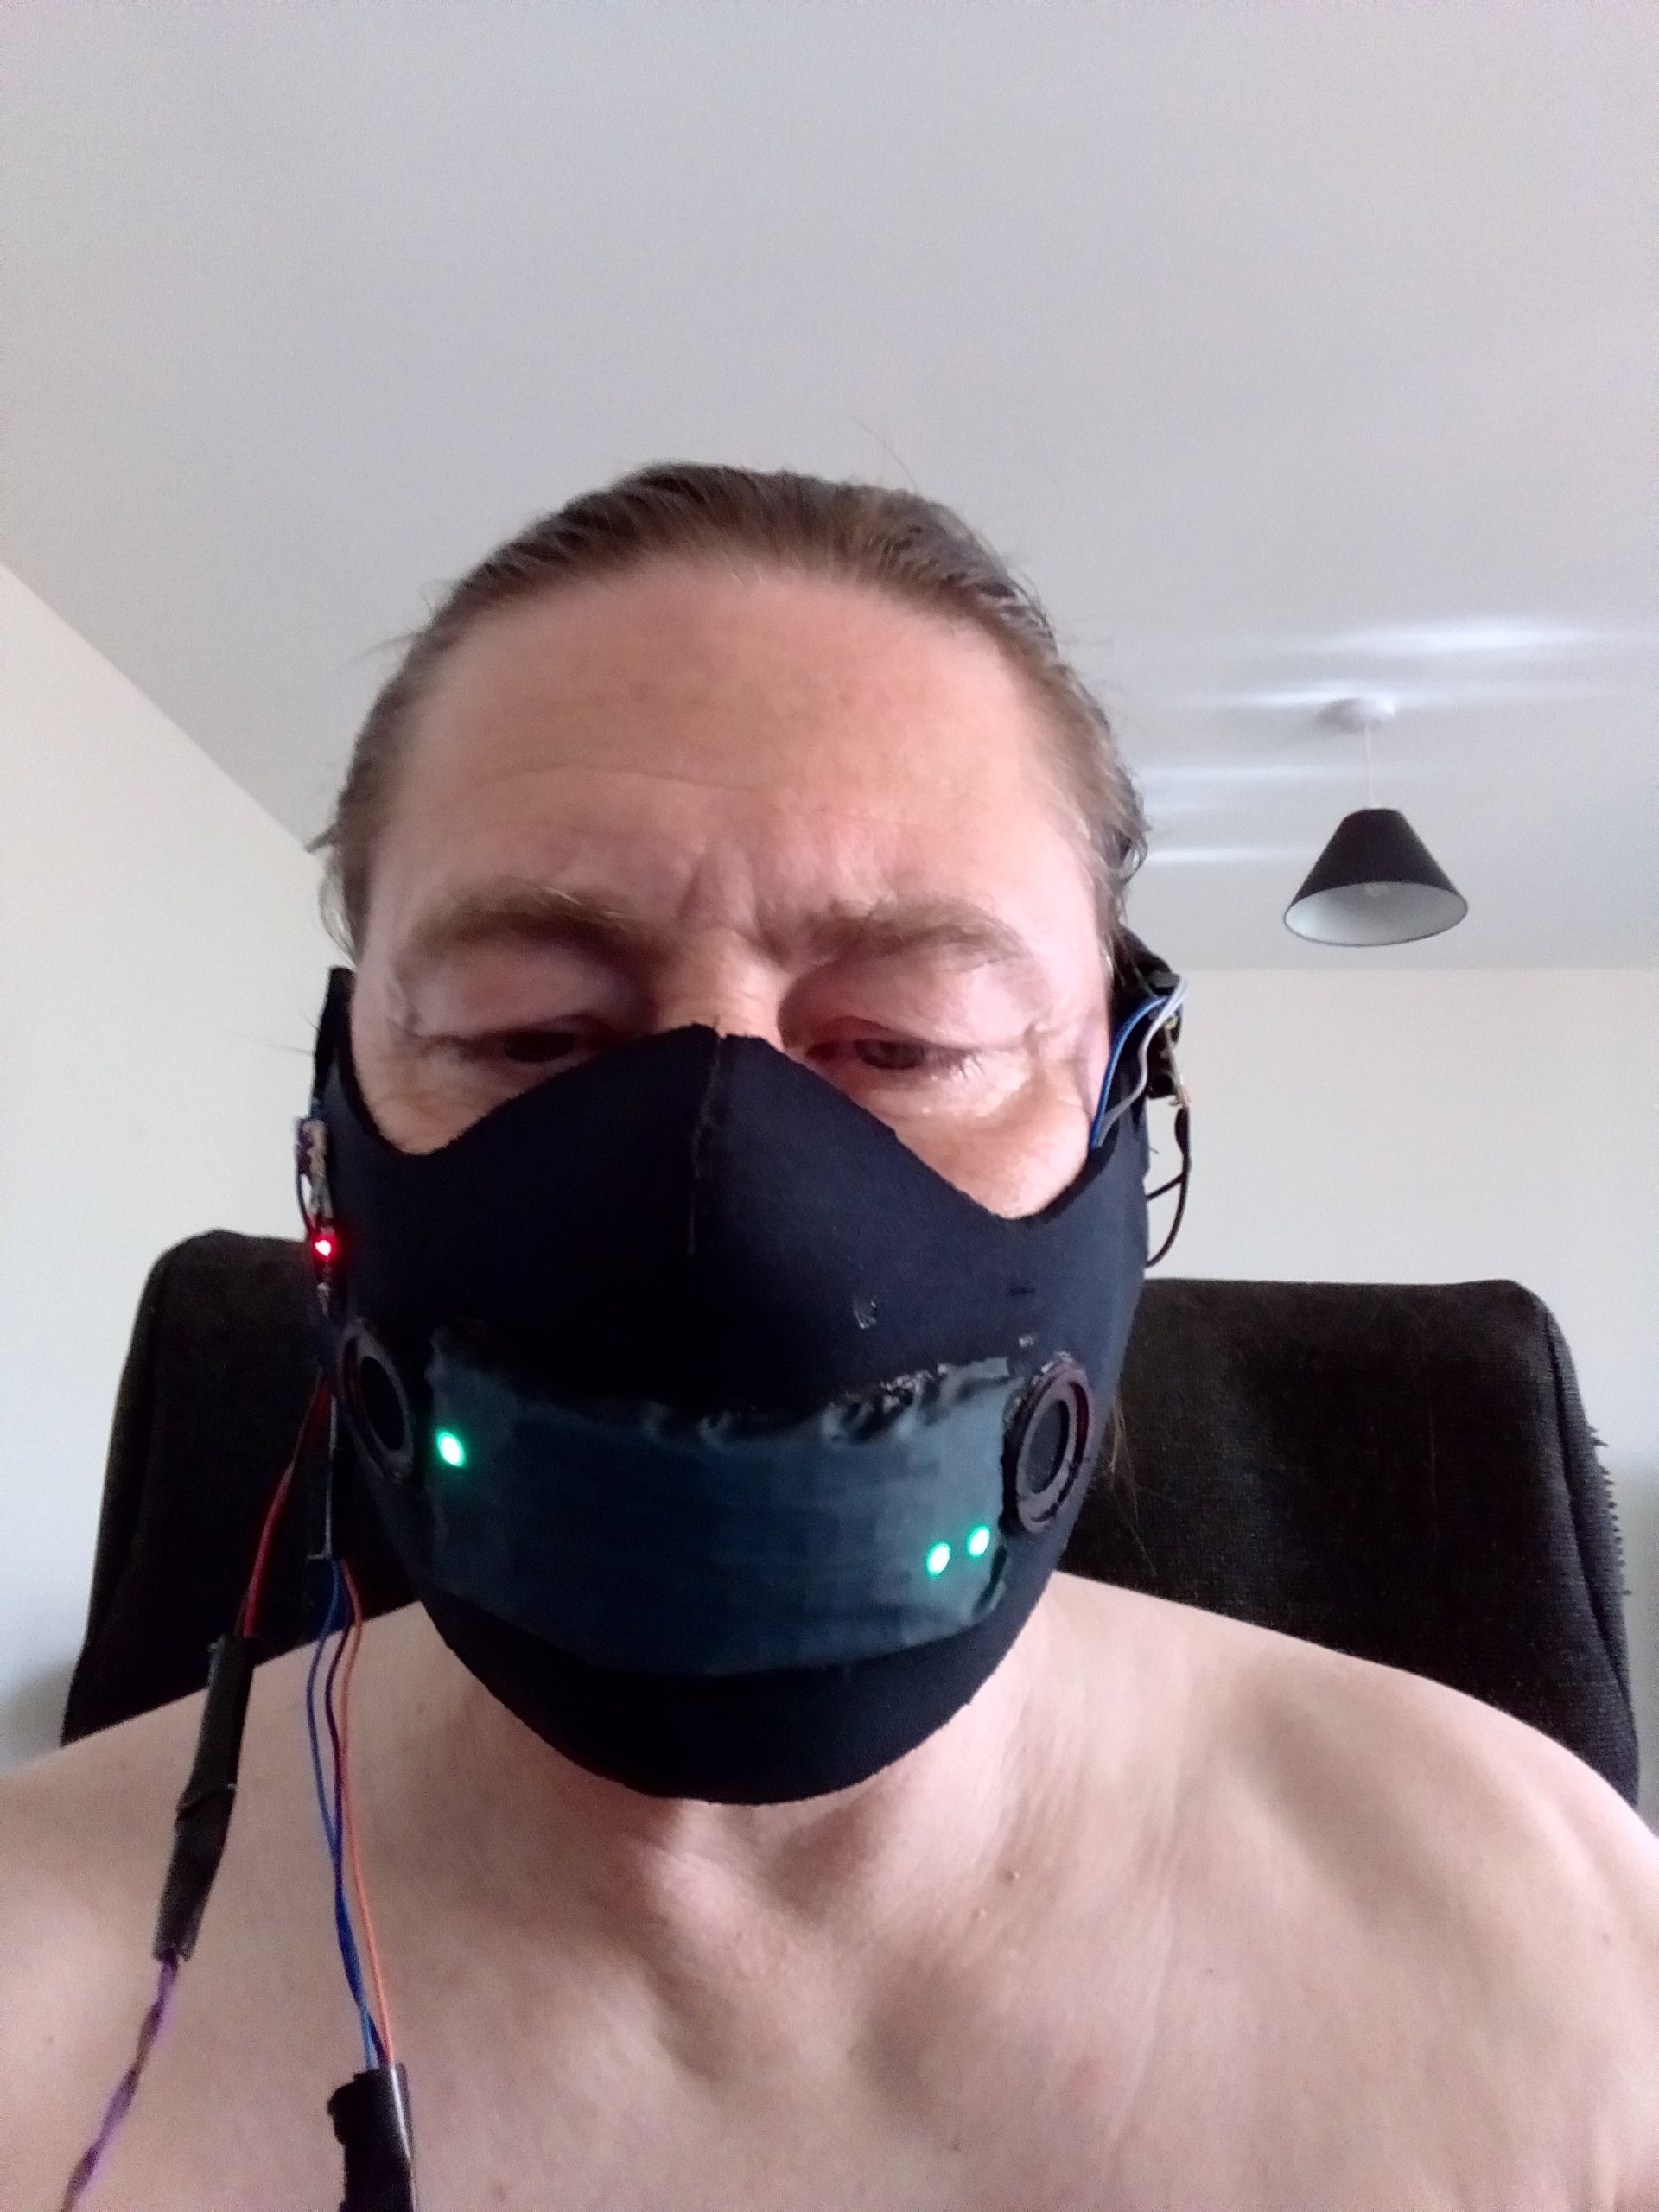
Here it is operated by switches, but the microphone will trigger the speaking as soon as it turns up...


 matseng
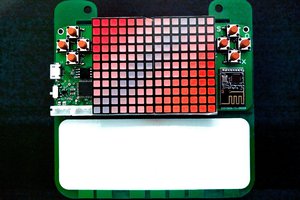
 deʃhipu
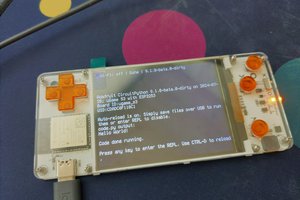
 xres0nance
Great proj! I miss facial expressions, too.
The main pic for your project appears with the photo of a black mask, hard to tell it's more than just a piece of black cloth. Therefore, less visitors, I guess. My 2 cents is to try to make the main photo of the project to appear with some lighten LEDs on (no idea how to change the main photo of a project).
Great project, and next time put some fokin' cloths on you, man!
:o)