concretedog
-
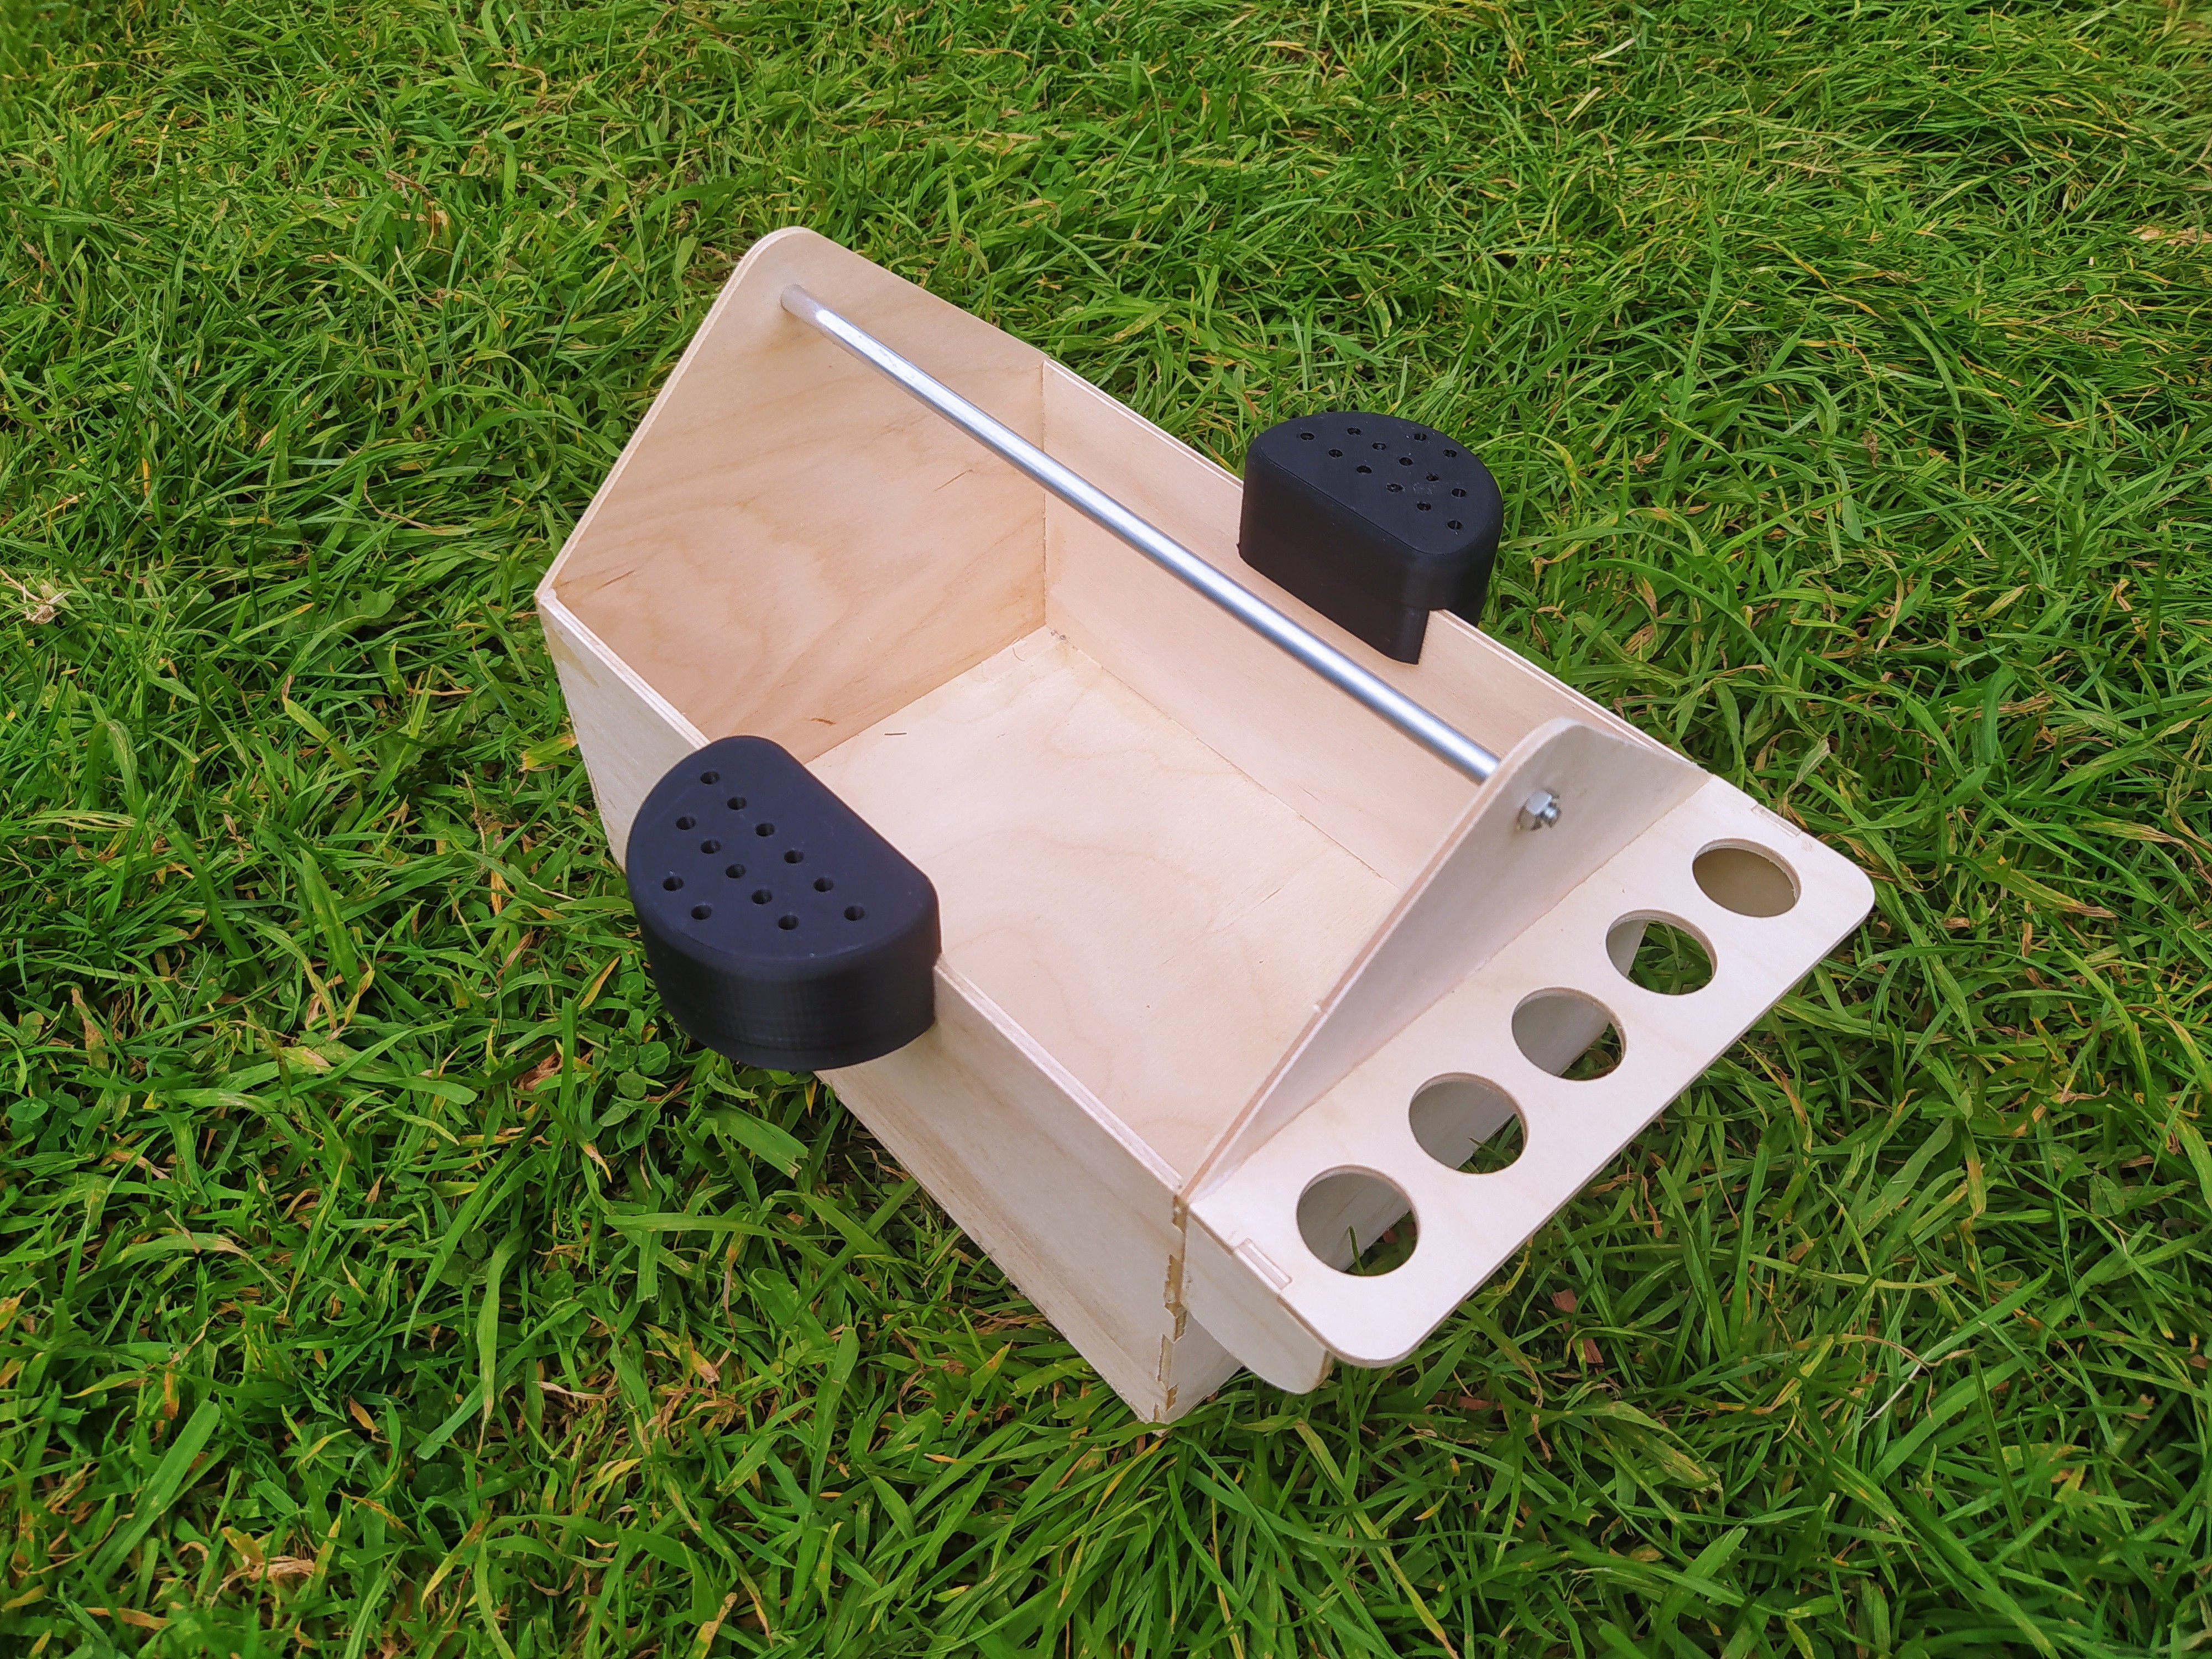
The Handle
08/03/2020 at 10:46 • 0 commentsI originally wanted to add a wooden handle but realised that to make a handle strong enough in wood it might have to be quite a large diameter, so I decided to add a metal handle. The handle is made from some 4mm threaded rod with a sleeve of some 6mm aluminium and a couple of nuts. It works well, is very slim so doesn't block access to the TTTTT main box and is strong enough to not flex even when the box is full. That's it for now... I might make a couple more accessories for the box but for now its just gone straight into everyday usage!
![]()
-
Adding the 3d printed tool holders
08/03/2020 at 10:37 • 0 commentsI wanted a way to be able to carry small rotary tool bits on the TTTTT without them just being chucked into the box to rattle around and not be found! Thinking about it I designed a quick slot on 3d printed part that had some holes to receive rotary tool bits. It needed a couple of iterations as I made the holes to shallow in the first attempt. It now holds the rotary tools well with them sat in a 24mm deep hole. The slot is a loose sliding fit so it has some retention when the TTTTT is being carried but it can be slid along the walls or removed really easily. I plan to make a couple of other accessories using this approach at some point, a through holed screwdriver holder and perhaps a small lidded tray for holding screws.
![]()
-
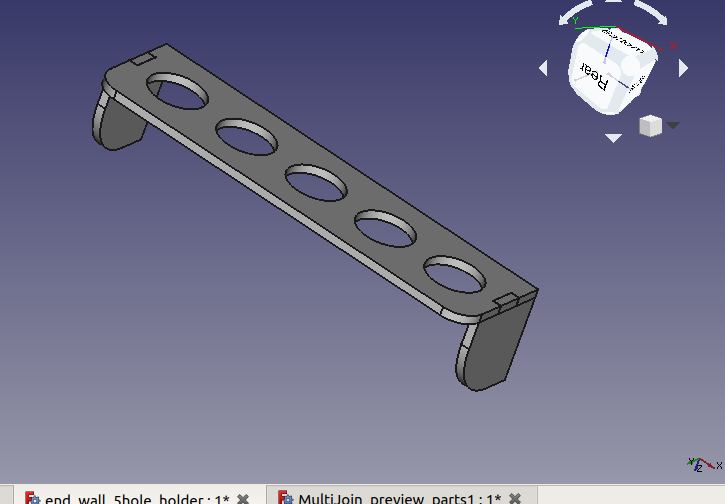
Adding accessories - The tool hanger
08/03/2020 at 10:32 • 0 commentsHaving put the main section together I designed and added some accessories to the assembly, I wanted to have a shelf on one end to hang tools like pliers off of so again I designed and cut this using FreeCAD (see the main details for a video on using the LC interlocking workbench to automatically add tab geometries to your projects).
![]()
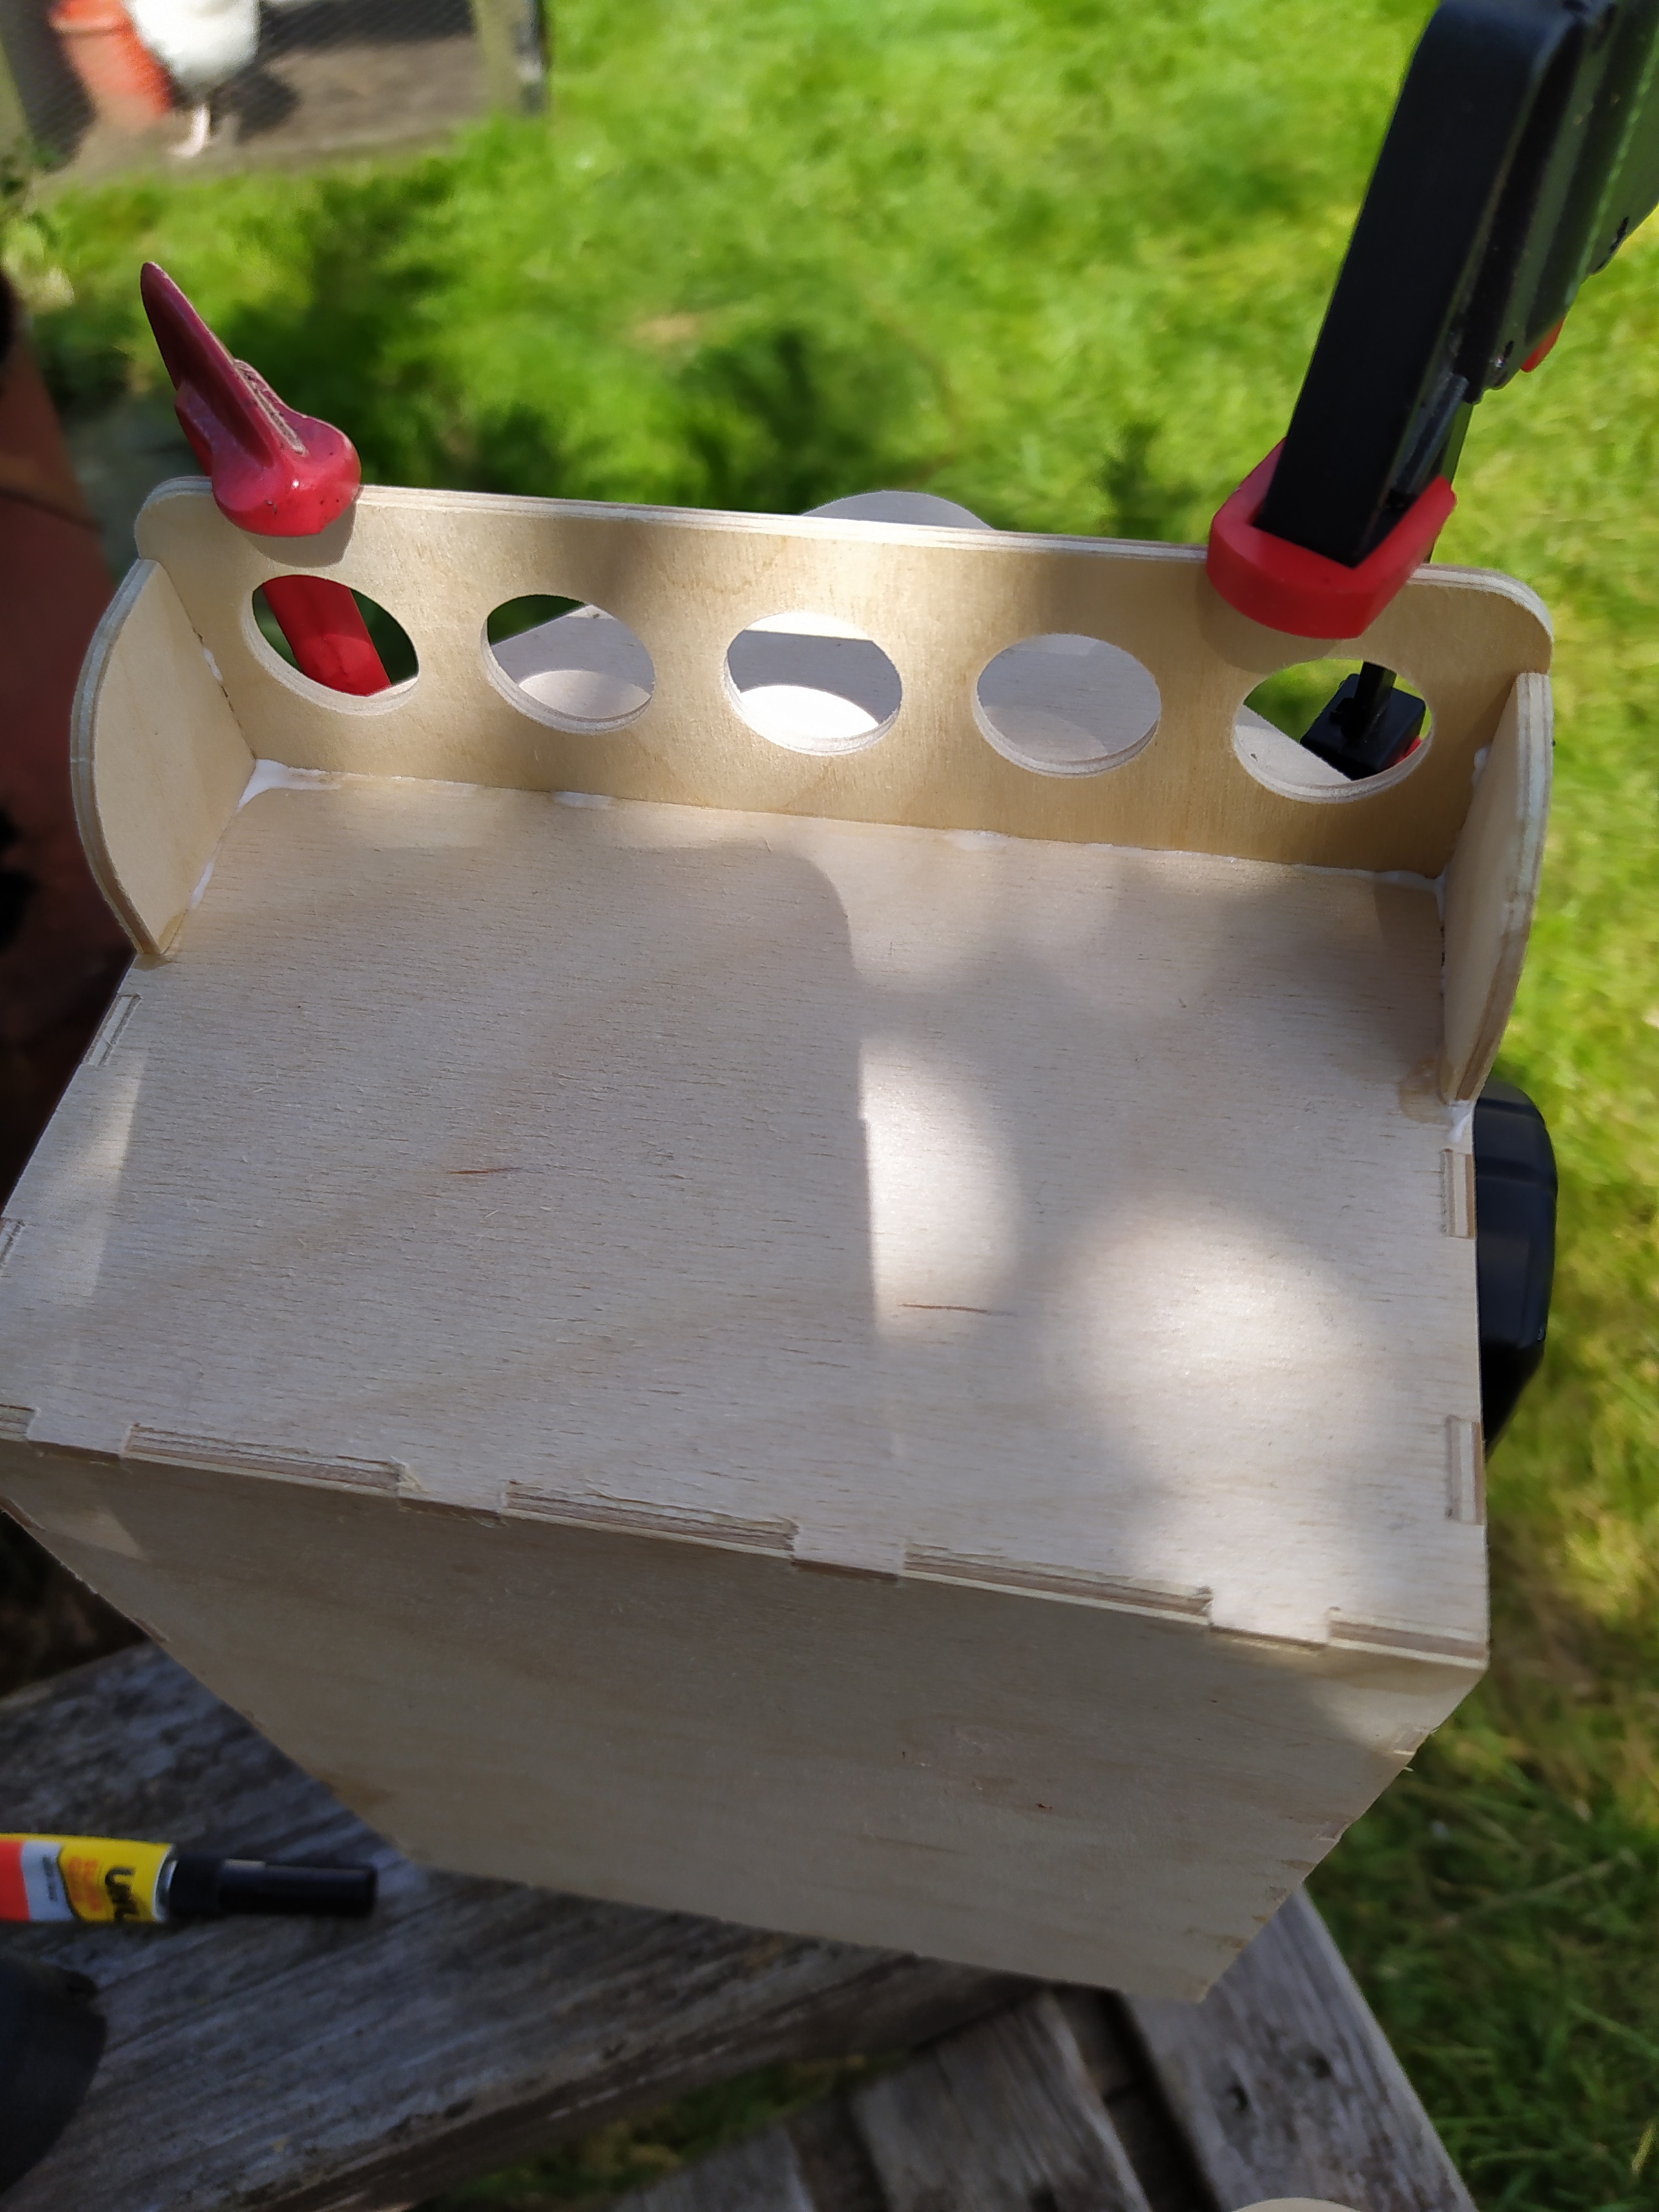
I then continued to CNC rout this part and asseble and glue it onto the main body, it's certainly strong enough as it is but I would probably incorporate this into the main design next time adding tabs into the actual body of the TTTTT. I considered adding one of these to each end of the TTTTT but I like that you can push the flat back of the TTTTT up against a wall or back edge of a desk which you wouldn't be able to do if there were two of these.
![]()
-
CNC'ing the main section
08/03/2020 at 10:25 • 0 commentsThis is my first project on hackaday.io and I've already added a log item to the details section! Apologies... Will continue here!
Having cut the main sections of the TTTTT on the CNC router I checked fit and glued them up. The first couple of panels required a little light dressing of the tabs as they were too tight having cut them with no tolerance/clearance. I adjusted the toolpaths so that I did a minus 0.2mm cut on subsequent parts which made them fit. It would be better if CNC routing to separate the paths so that just the tab sections are cut undersize rather than the contour of the whole part, but its definitely good enough for this project!
![]()
TTTTT - Tiny Table Top Tool Toter
A small table top tool tidying system