 Robotic Theater
-
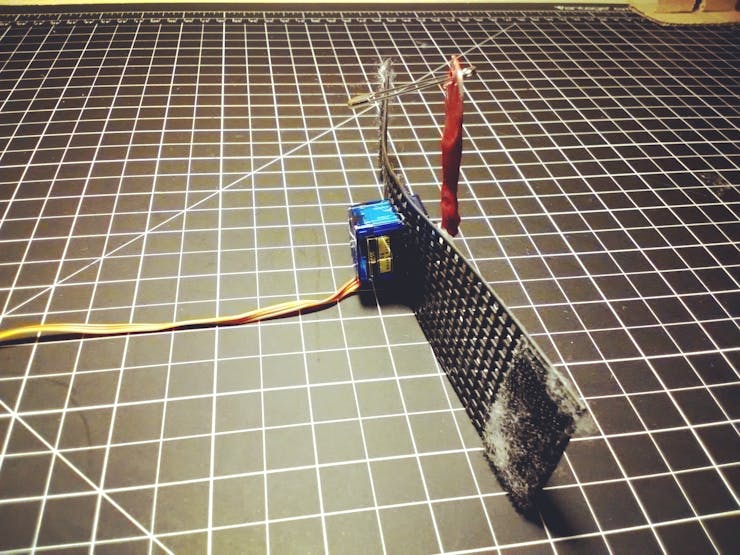
1Extend the servo horn
In order to get the amount of throw needed to wiggle the hat, I needed to extend the length of the servo horn. I did this by quickly molding some thermal-morph plastic to the horn. You'll see that as the very roughly formed red extension attached to the horn in the pictures below.
-
2Create the servo harness
To attach the servo to the hat, I cut a small strip of plastic canvas, which is available at any craft store.
Then I cut a rectangular hole for the servo and held it in place with a little hot glue.
Finally, on each end of the plastic canvas, I attached a strip of self-adhesive Velcro. The other half of the Velcro was attached inside the hat. (pictured below)
![]()
-
3Attach the servo harness to the hat
I attached the servo harness by turning the hat inside-out and adhering the self-adhesive Velcro strips about 2/3rds the way up the hat. Then I attach the horn of the servo to the hat using a safety pin.
![]()
-
4Putting it all together
After the servo was attached to that hat, I ran the wire down from the hat to a pocket inside the cloak that contained the Espruino micro controller and battery pack. I also ended up using a little pillow stuffing in the top of the hat to give it a little more rigidity when it's being worn.
-
5Some final thoughts
As you can see from the video, the program had three variations on the wiggle. The first was a quick back and forth that reminded me of a happy puppy tail. The second was a slower back and forth which had a sort of "care free" feel to it. The last version moved slower in one direction, then quickly back which reminded me of how a cat's tail moves when it's annoyed.
I found it interesting how by simply playing with the speed of the servos swing, you could almost achieve different "emotions" from the hat.
Enchanted Witches Hat
A simple way to add a little animatronic personality to a Halloween costume.

Discussions
Become a Hackaday.io Member
Create an account to leave a comment. Already have an account? Log In.