 Zedd Hiro
Tools used:
►Solder Iron
►Solder
►Tweezers
►3D printed vice (helping hands would work just fine)
►Hand drill with 3mm drill bit
►Hex screwdriver 1.5mm and 3mm
How-to tutorial showing step by step how to change the USB connector on any 3D printer
Already have an account? Log in.
To make the experience fit your profile, pick a username and tell us what interests you.
 Rob Smith
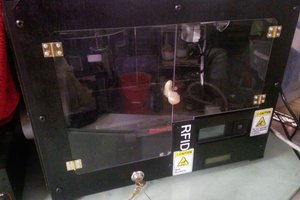
 paul hardin
 the.wretch
 Tobias