-
First view test
09/09/2020 at 10:27 • 0 commentsAfter the telescope was now ready we went to the first test.
Fixed on an EQ5 mount the small telescope looks a bit lost but doesn't matter. Right at the beginning I had to find out that the focusing over the thread of the PVC pipe works only limited. In spite of grease the thread tends to jam which leads to constant wobbling during adjustment. With a little patience it works nevertheless.
The first test was done with a 26mm Super Plössl from Bresser. Together with the focal length of 335mm this gives a magnification of almost 13x. The picture is clear and sharp, there are only a few color errors visible. Naturally the image is upside down, otherwise the telescope would be very useful as a spotting scope. If necessary I build a shorter tube piece again to allow the use of an Amici prism.
In the night sky the use is limited. For planetary observation the magnification is too low and for galaxies or nebulae the light intensity is too low.
But as a viewfinder telescope it would be a great thing. There is no crosshair here, but there are suitable eyepieces for it. Definitely something I will continue to work on.
The 2nd test was done with a Skywatcher 6mm planetary eyepiece. This results in a magnification of almost 56x, which is the normal magnification for the lens. Here is the big surprise: Saturn and Jupiter could be seen surprisingly well. The ring of Saturn was clearly visible. At Jupiter you could see the two big storm bands. That was more than I expected, but my only reference is a 80/640mm refractor from Bresser. Its imaging performance is actually only slightly better.
What is still noticeable with Jupiter is a clear ring of light. I suppose this could be due to insufficient inner blackening. I think I will see if this can be improved and then compare.
-
Tube and final assembly
09/08/2020 at 11:56 • 0 commentsWith the help of the front lens and an eyepiece the focal length of the telescope is determined. The Beroflex lens used does not have a focal length of 500mm but less. In my case I determined a focal length of about 335mm.
With both lenses in your hand and a folding rule the required distance is determined based on a distant object. The eyepiece extension is turned out halfway to be able to vary in both directions later on.
Alternatively, you can take a direct look at the stars with the eyepiece extension turned in completely to determine the minimum length.
With my Beroflex a length of 220mm for the tube resulted. After cutting a suitable piece of tube and blackening it the assembly can start.
The diameter of the parts is such that they hold together without any further fixing. Gluing or other measures are therefore not necessary. Alternatively you can use a strip of tape to secure the parts.
In order to mount the telescope, I have provisionally fixed a rail with cable ties.
Later on I will build some pipe clamps for the telescope.
![]()
-
Building the focuser
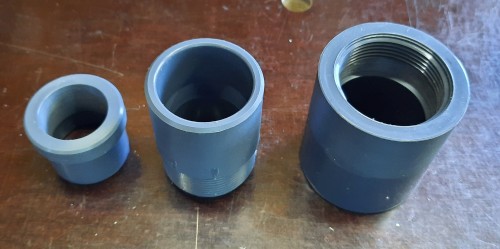
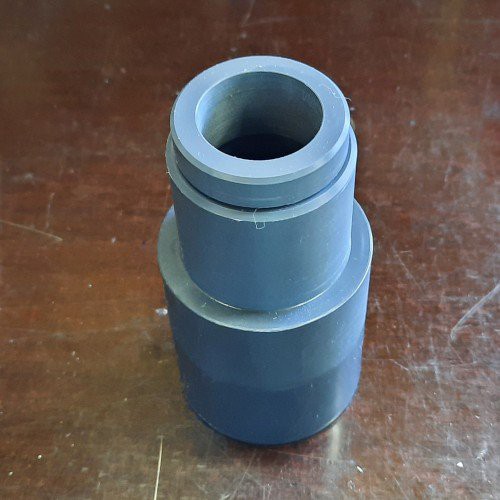
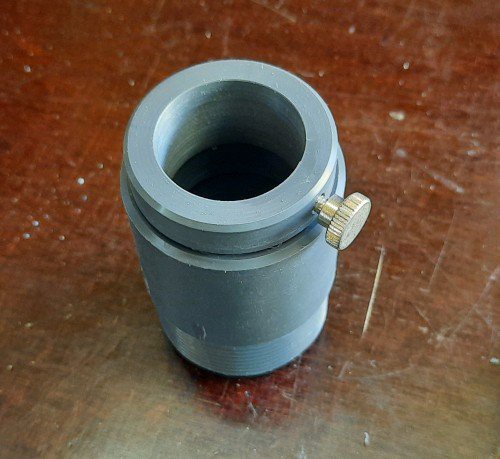
09/03/2020 at 07:16 • 0 commentsThe focuser of the telescope is built from 3 parts. A 63mm to 1 1/2" female thread, a 1 1/2" male thread to 40mm and a 40mm to 3/4" female thread adapter.
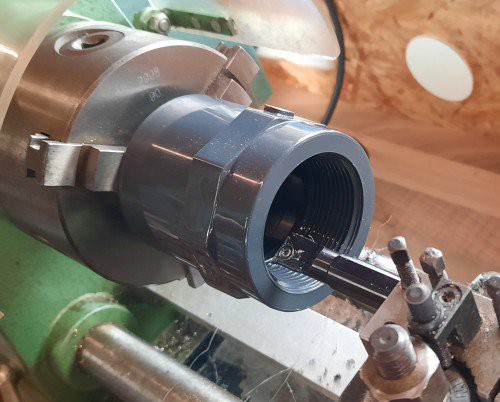
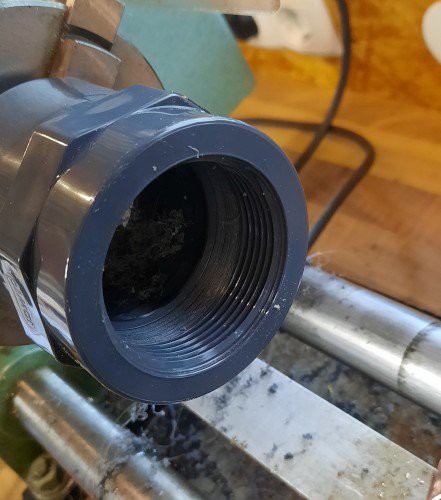
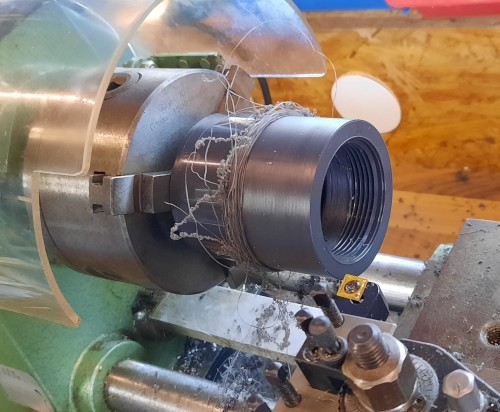
The first adapter is turned down from 63mm to 59mm so that the 63mm tube can be pushed onto it. Since the thread of the PVC pipes is tapered to achieve a clamping effect, the rear part of the thread is also removed. Otherwise the clamping effect prevents us from using the whole thread for focusing.
The 2nd adapter remains more or less unchanged.
With the 3rd adapter the side with the 3/4" thread is turned up to 1 1/4" to serve as eyepiece mount. Additionally a hole is drilled on the side and provided with M5 thread to realize an eyepiece clamping.
The 3rd adapter is then glued into the 2nd.
In general I have also turned the adapters once on the outside to remove the big hexagons.
Also here everything has to be blackened from the inside in the end.
![]()
![]()
![]()
![]()
![]()
![]()
-
Making the front part
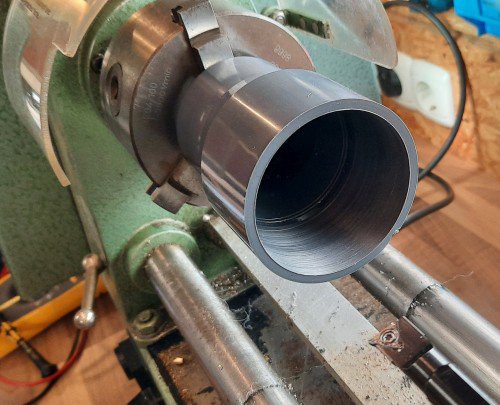
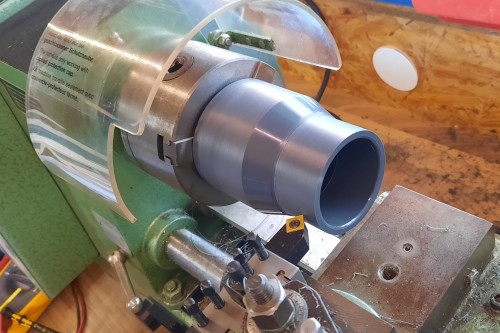
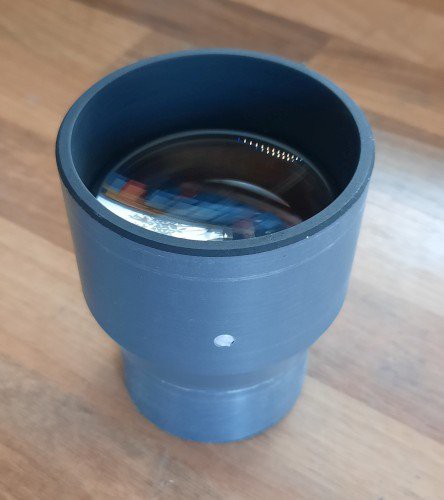
09/02/2020 at 10:46 • 0 commentsThe front part has to hold the lens. An adapter from 75/63mm to 63/50mm is used for this.
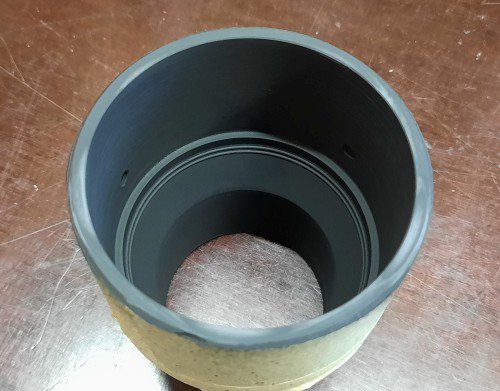
The rear end is turned down from 63mm to approx. 59mm. The exact diameter depends on the inner diameter of the 63mm tube. The goal is to push the 63mm tube onto the adapter.
Inside the adapter the flange is turned away to have a free path to the lens. The flange is normally used as a stop for a 50mm tube which is inserted inside.
The front side is turned up to about 67mm. The exact diameter depends on the diameter of the Beroflex lens block. To achieve a certain degree of glare protection the lens block is mounted as far inside as possible.
The lens block is held by three m5 headless pins. For this purpose three holes are drilled at an angle of 120° and provided with M5 threads.
To avoid reflections the inner one has to be blackened. In this case I simply used black spray primer. Not the best solution but a reasonable price.
![]()
![]()
![]()
![]()
-
Disassembly of the lens
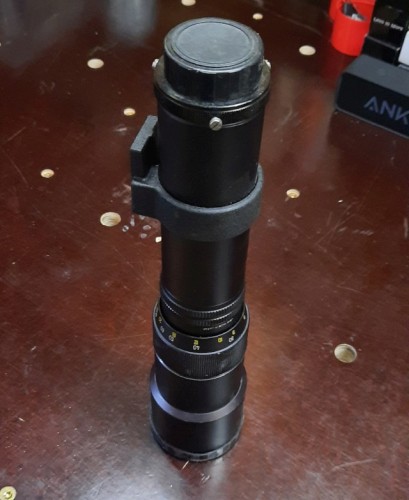
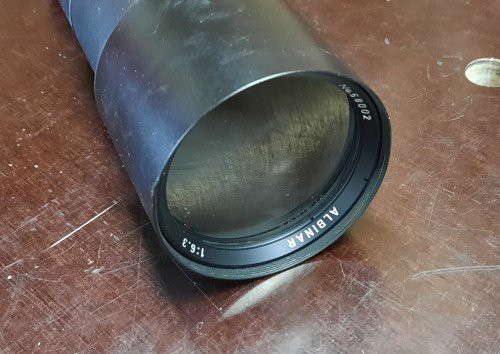
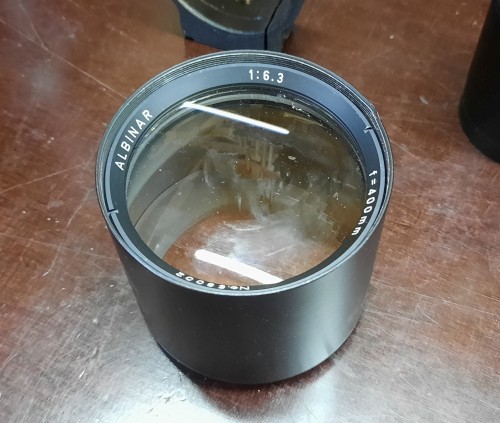
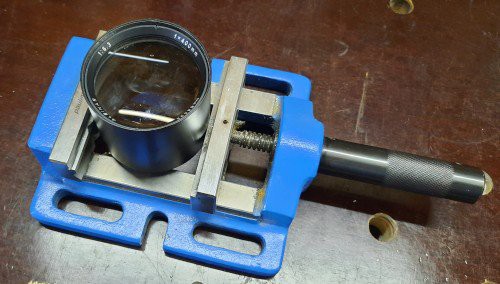
09/01/2020 at 08:14 • 0 commentsUnfortunately I missed to take pictures of the disassembly of the Beroflex but at least some of a 400mm Albinar.
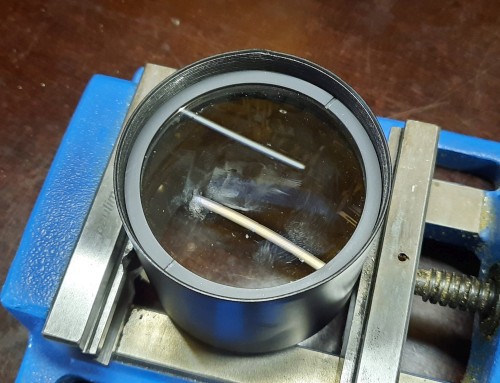
To disassemble the lens you take off the front part and clamp it securely. Since the housing is not used anymore you don't have to worry about scratches. Only the lens must not be damaged.
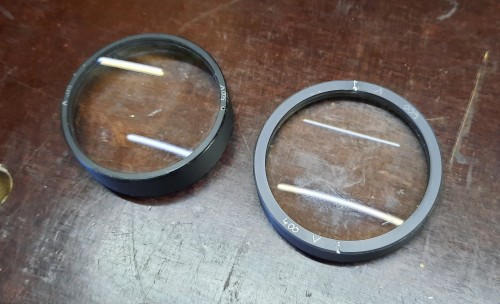
Afterwards you carefully unscrew the front ring and the lens block with a screwdriver.
Before removing the lens mark which side is front.
![]()
![]()
![]()
![]()
![]()
![]()

