-
1Build details for mask intercom and exhalation filter
At the start of the project, I had 3 identical P100s, all bought before the pandemic. They cost the equivalent of $47 US apiece in Ontario in the fall of 2019.
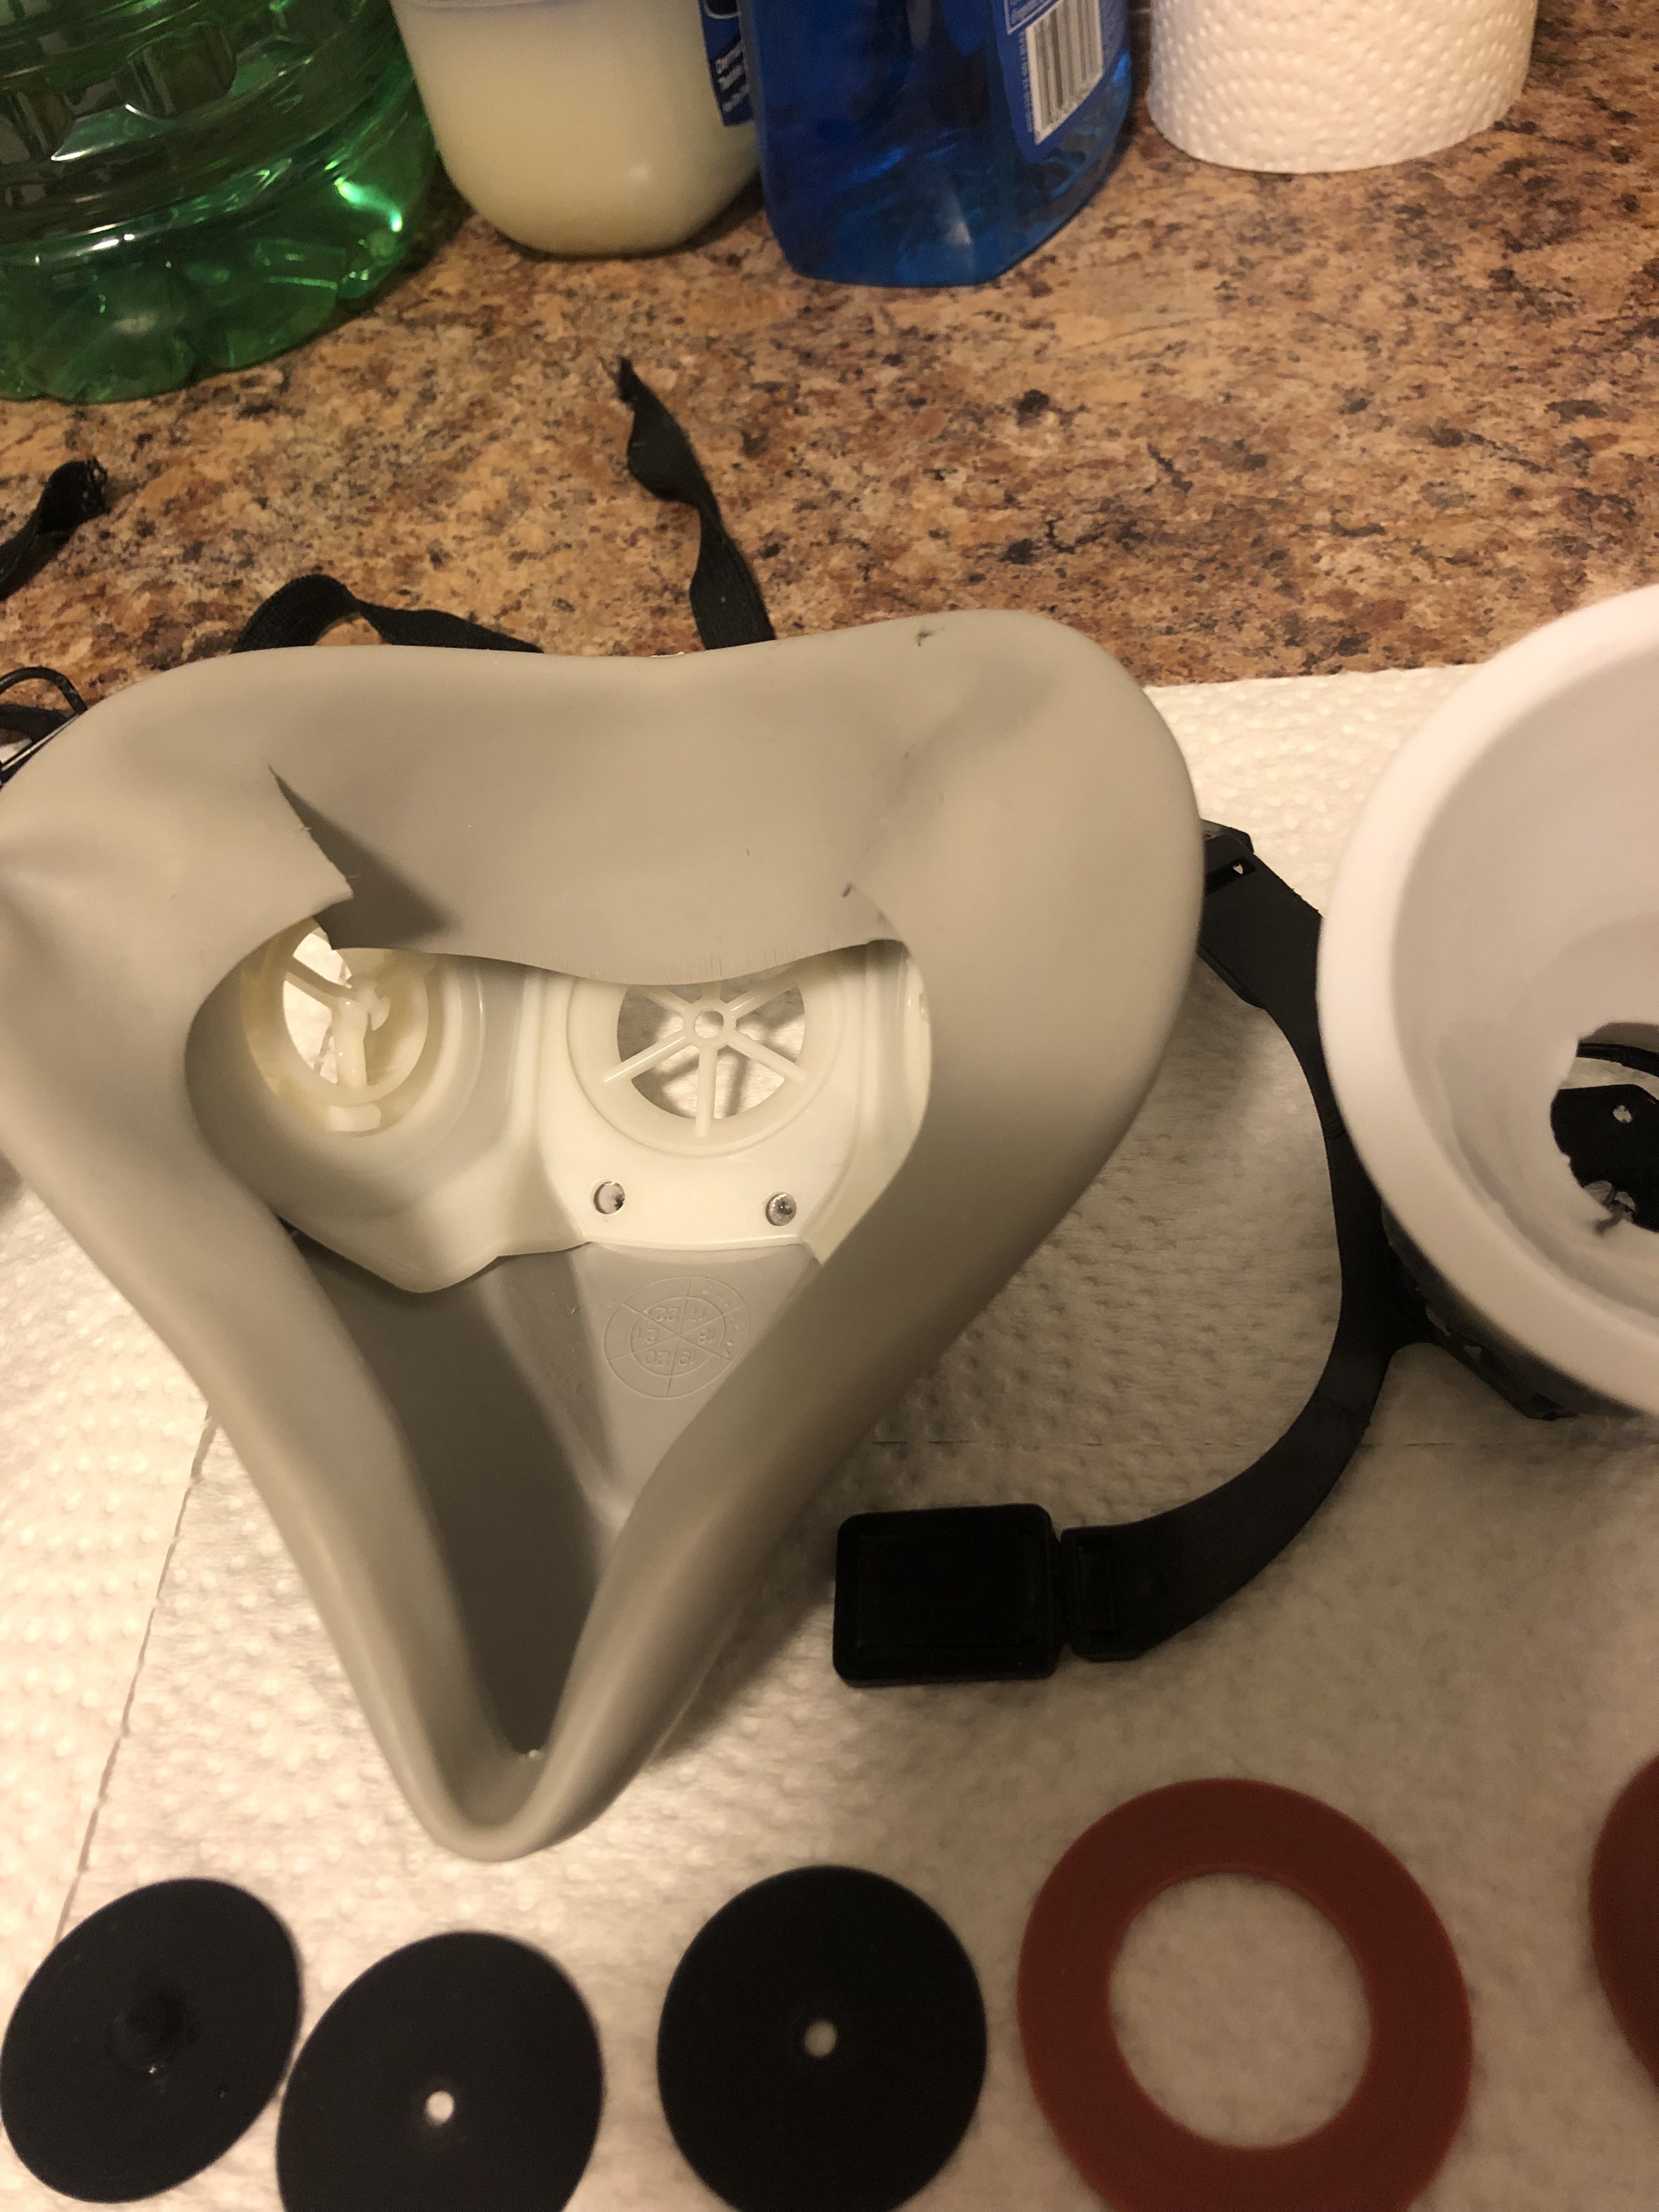
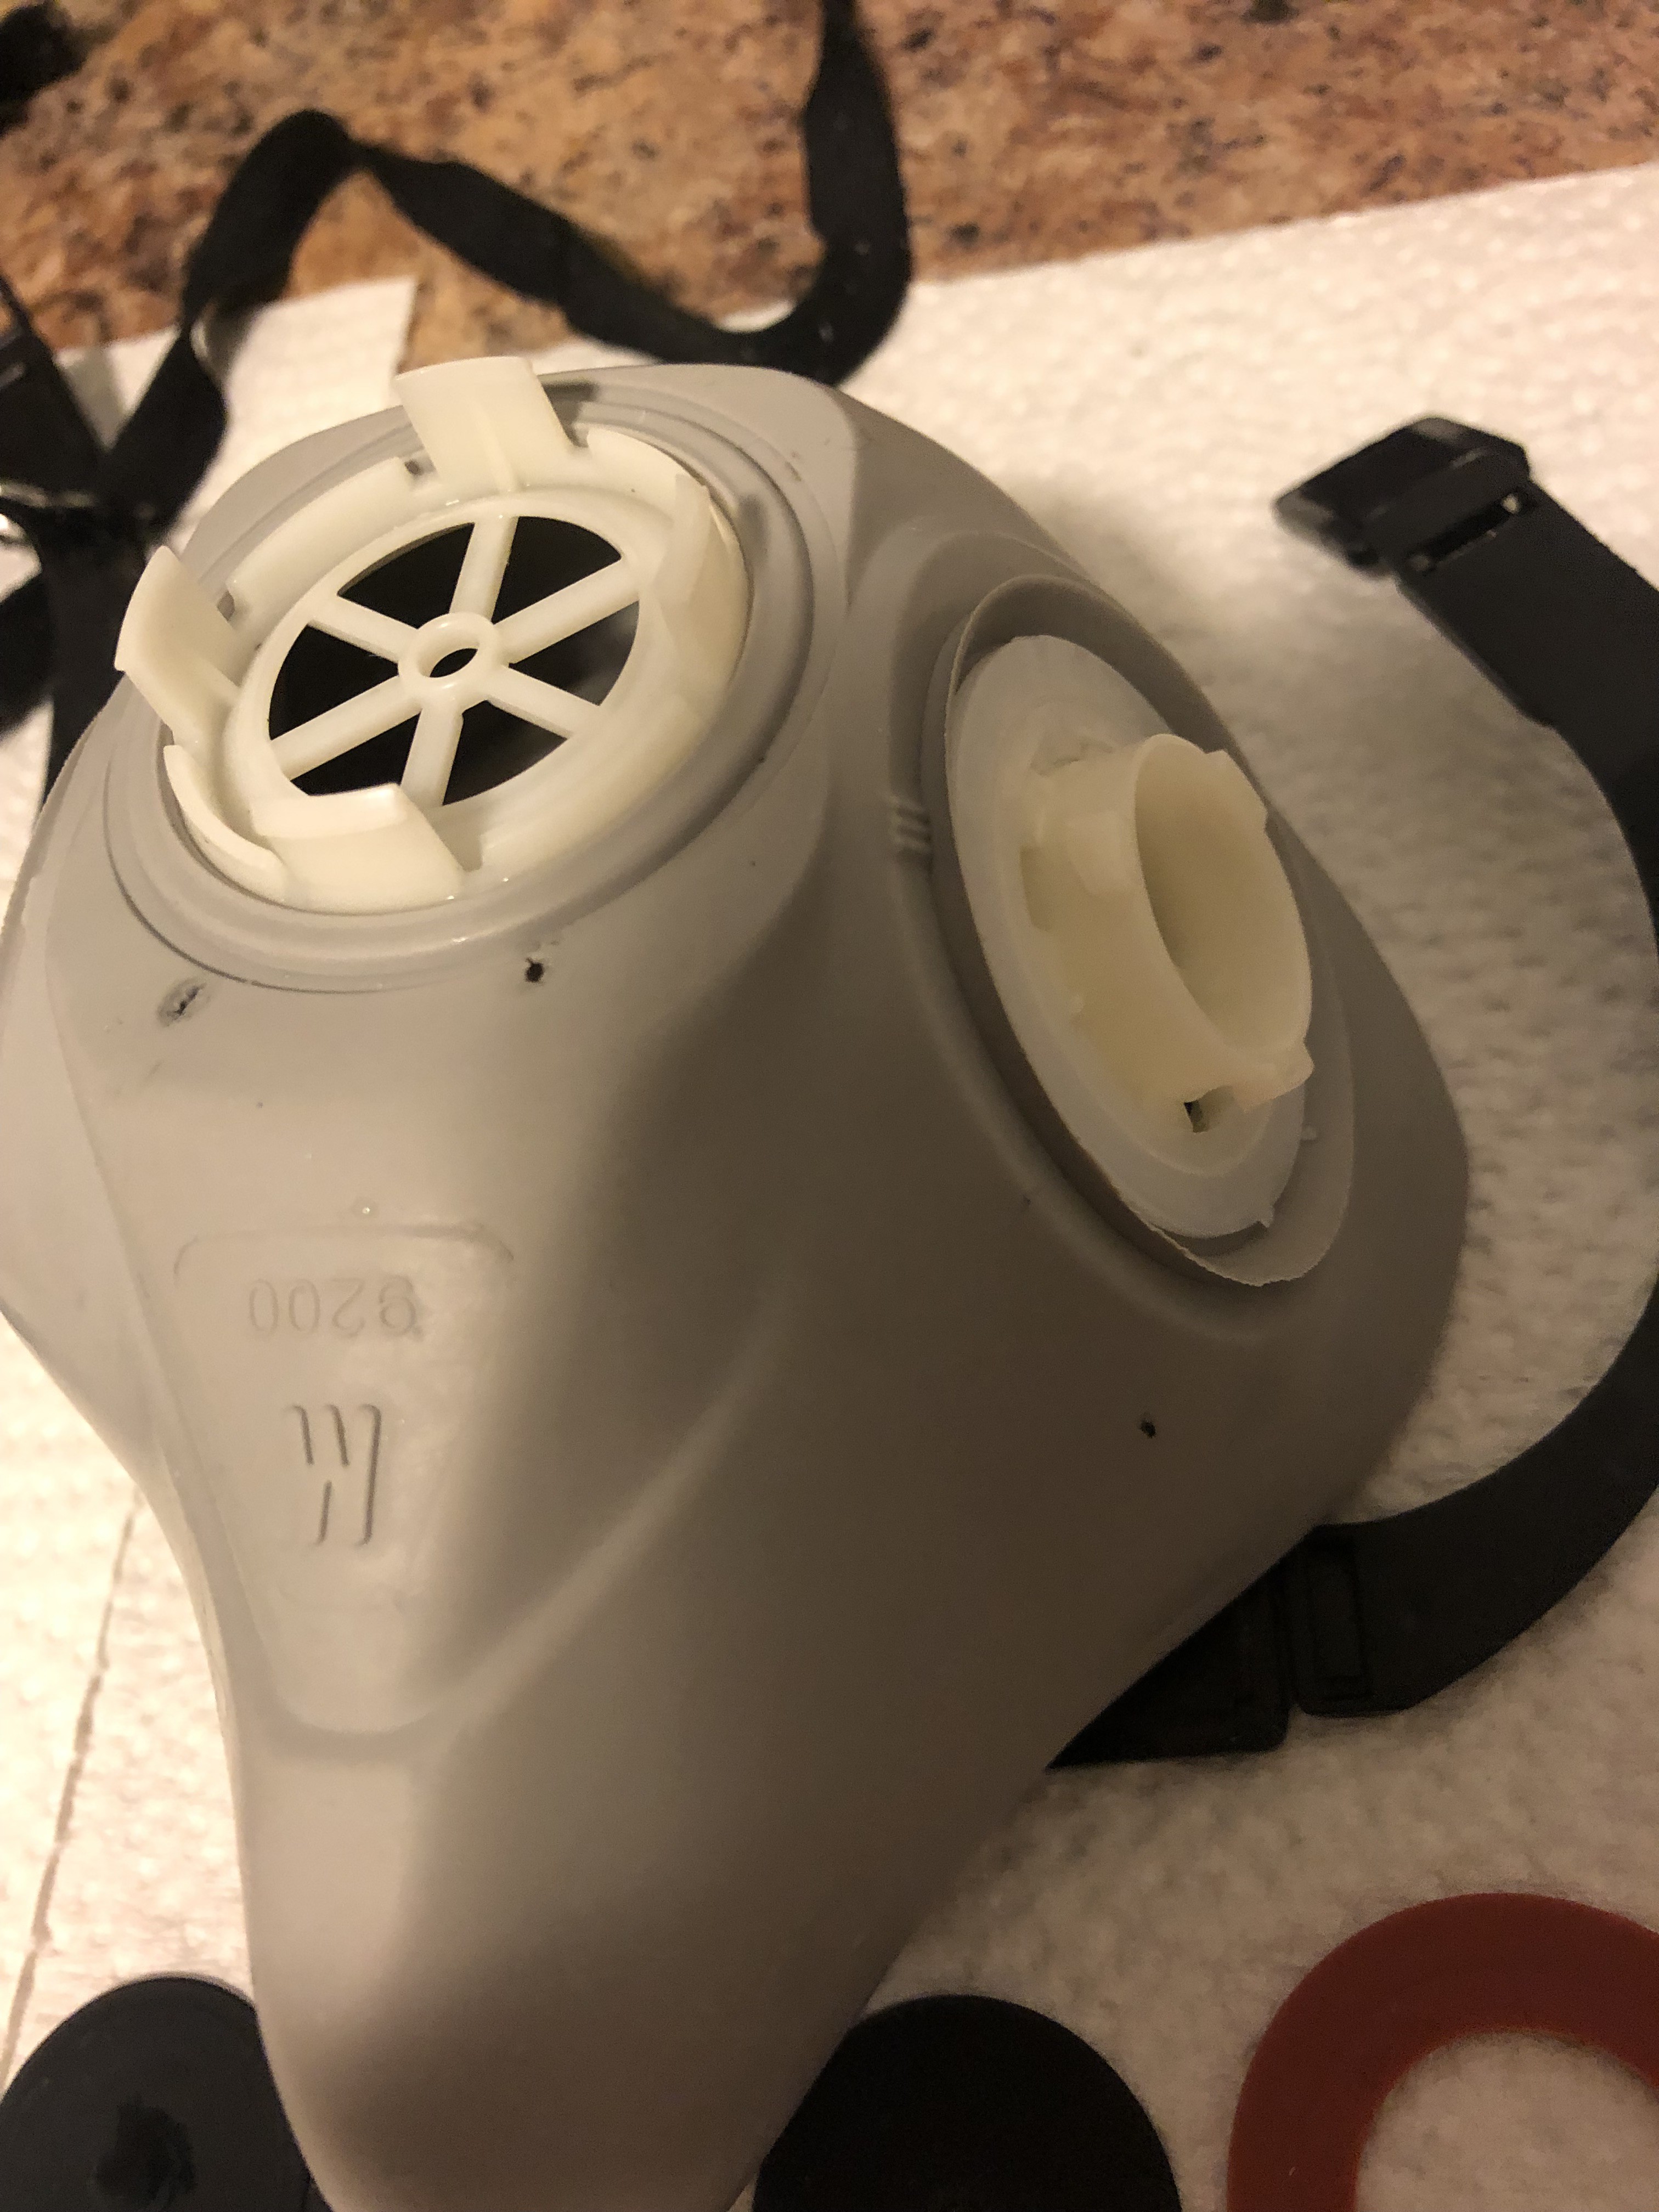
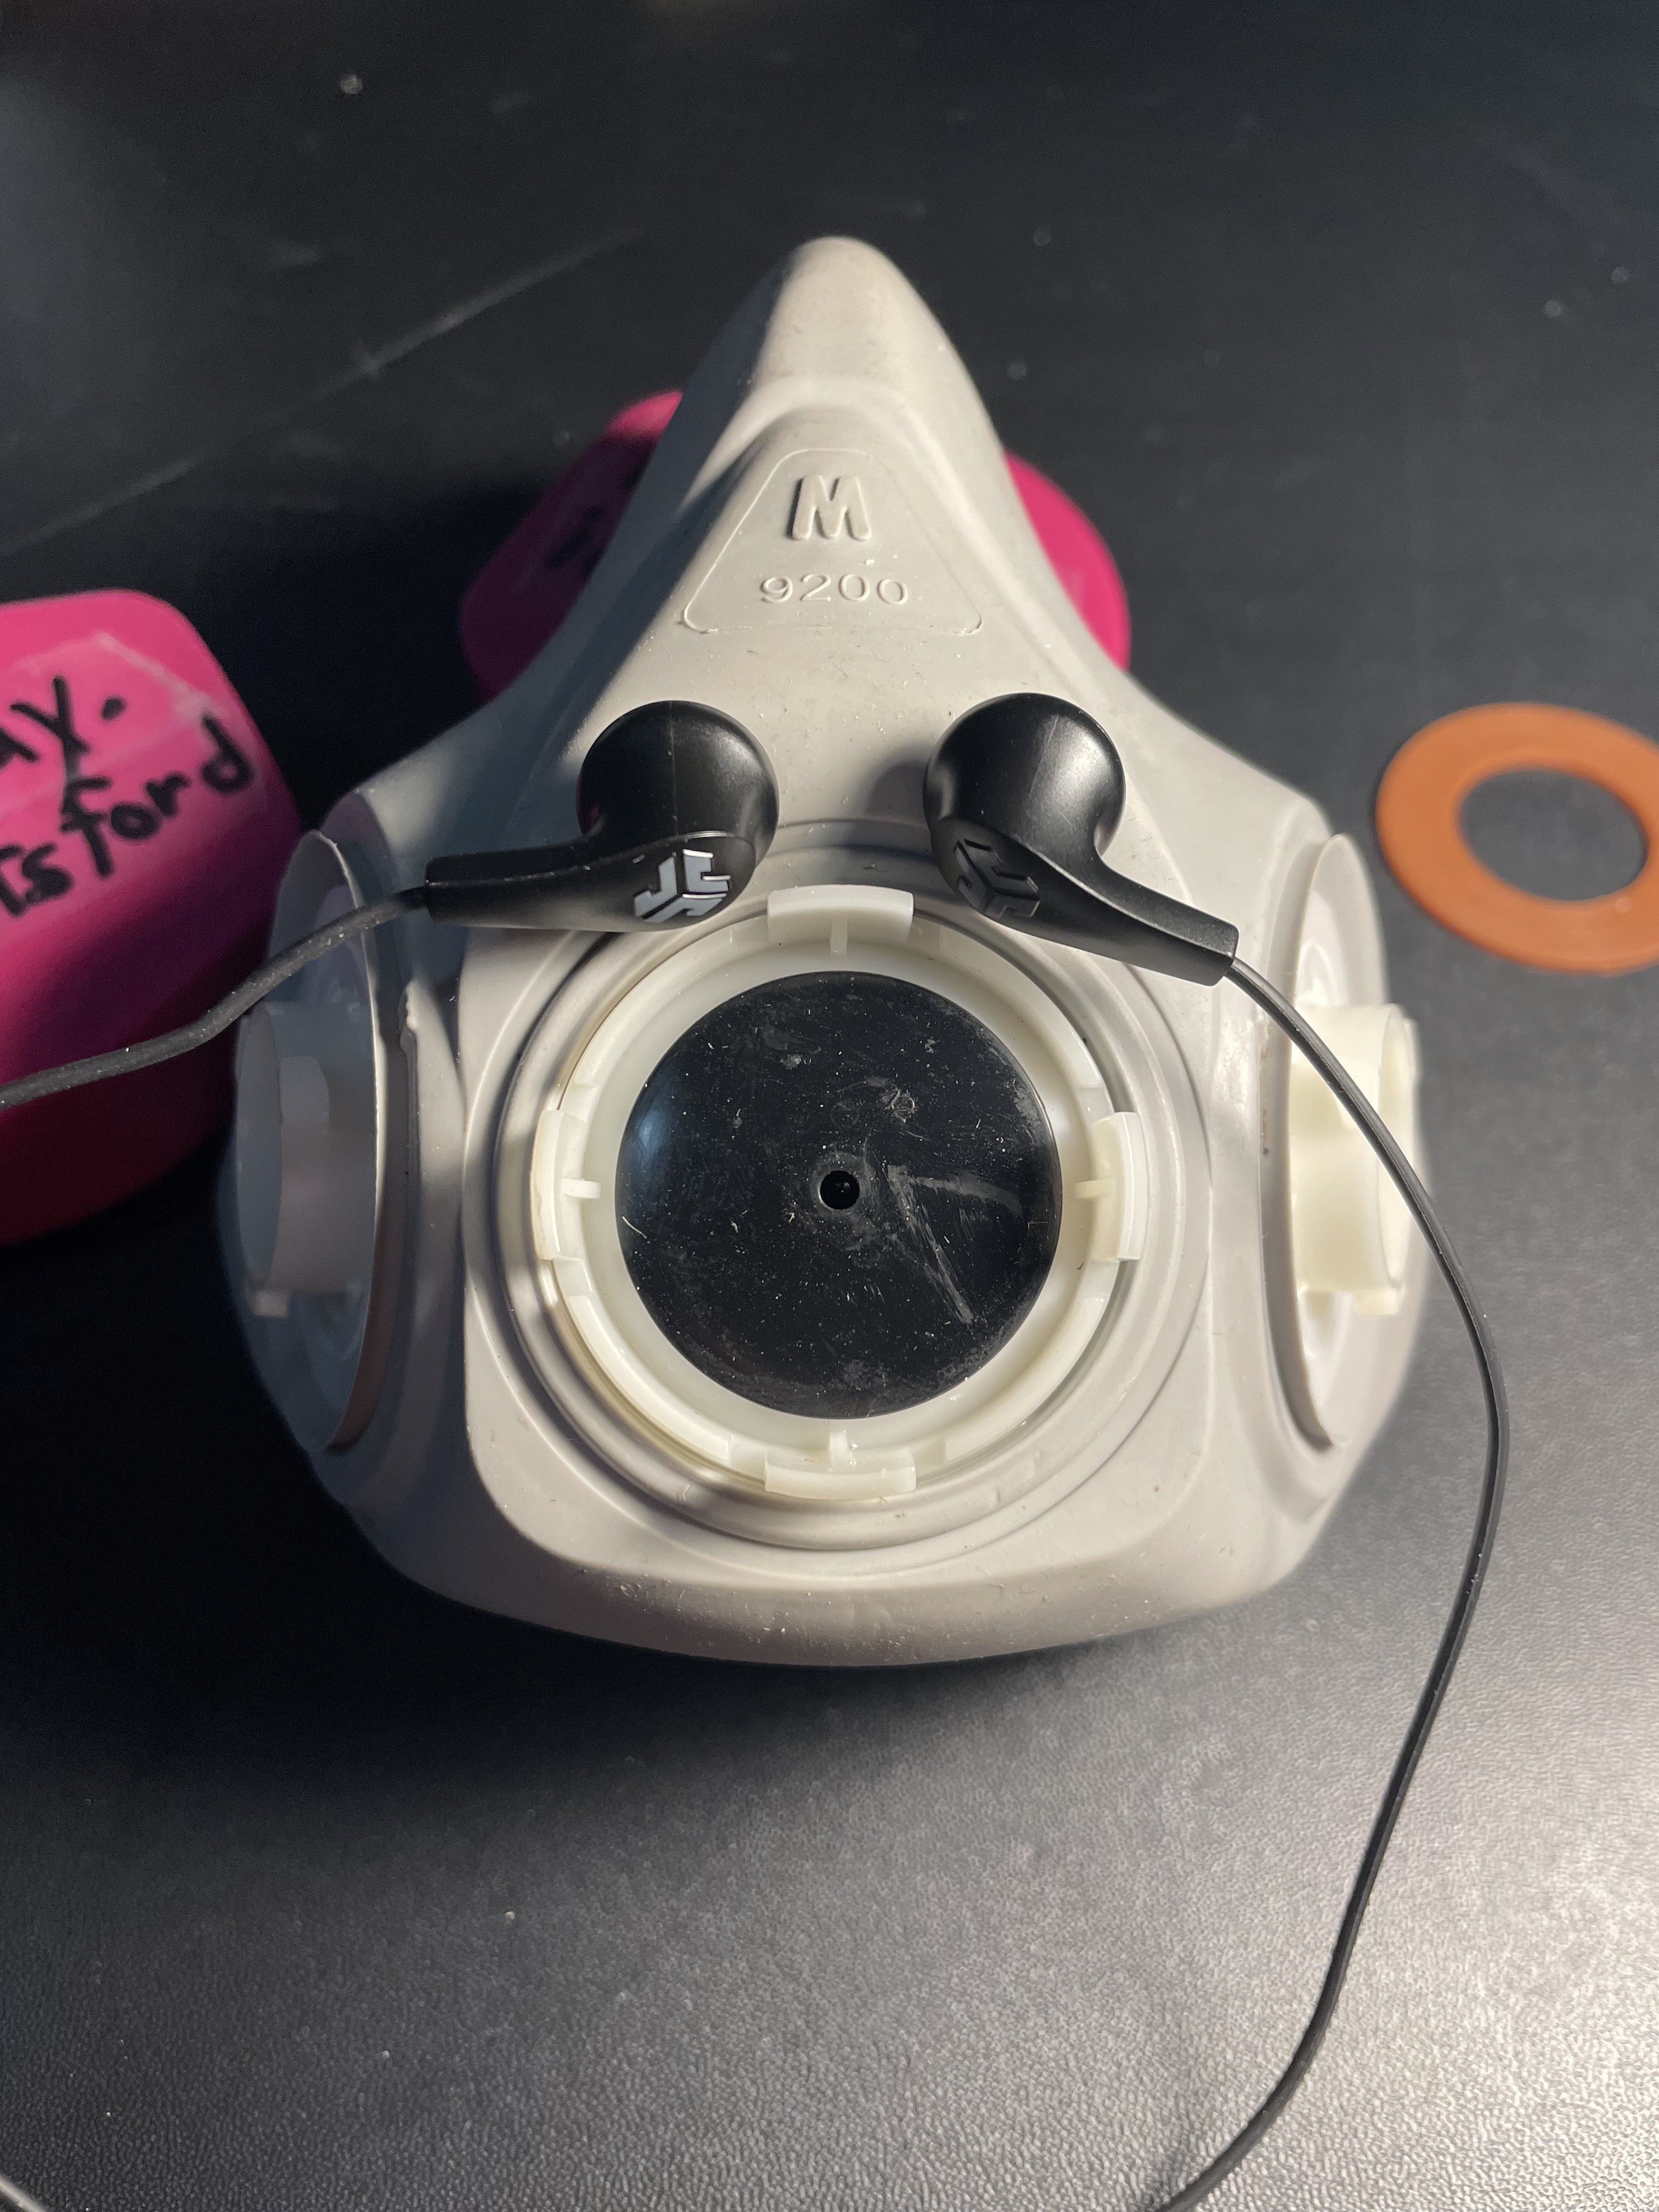
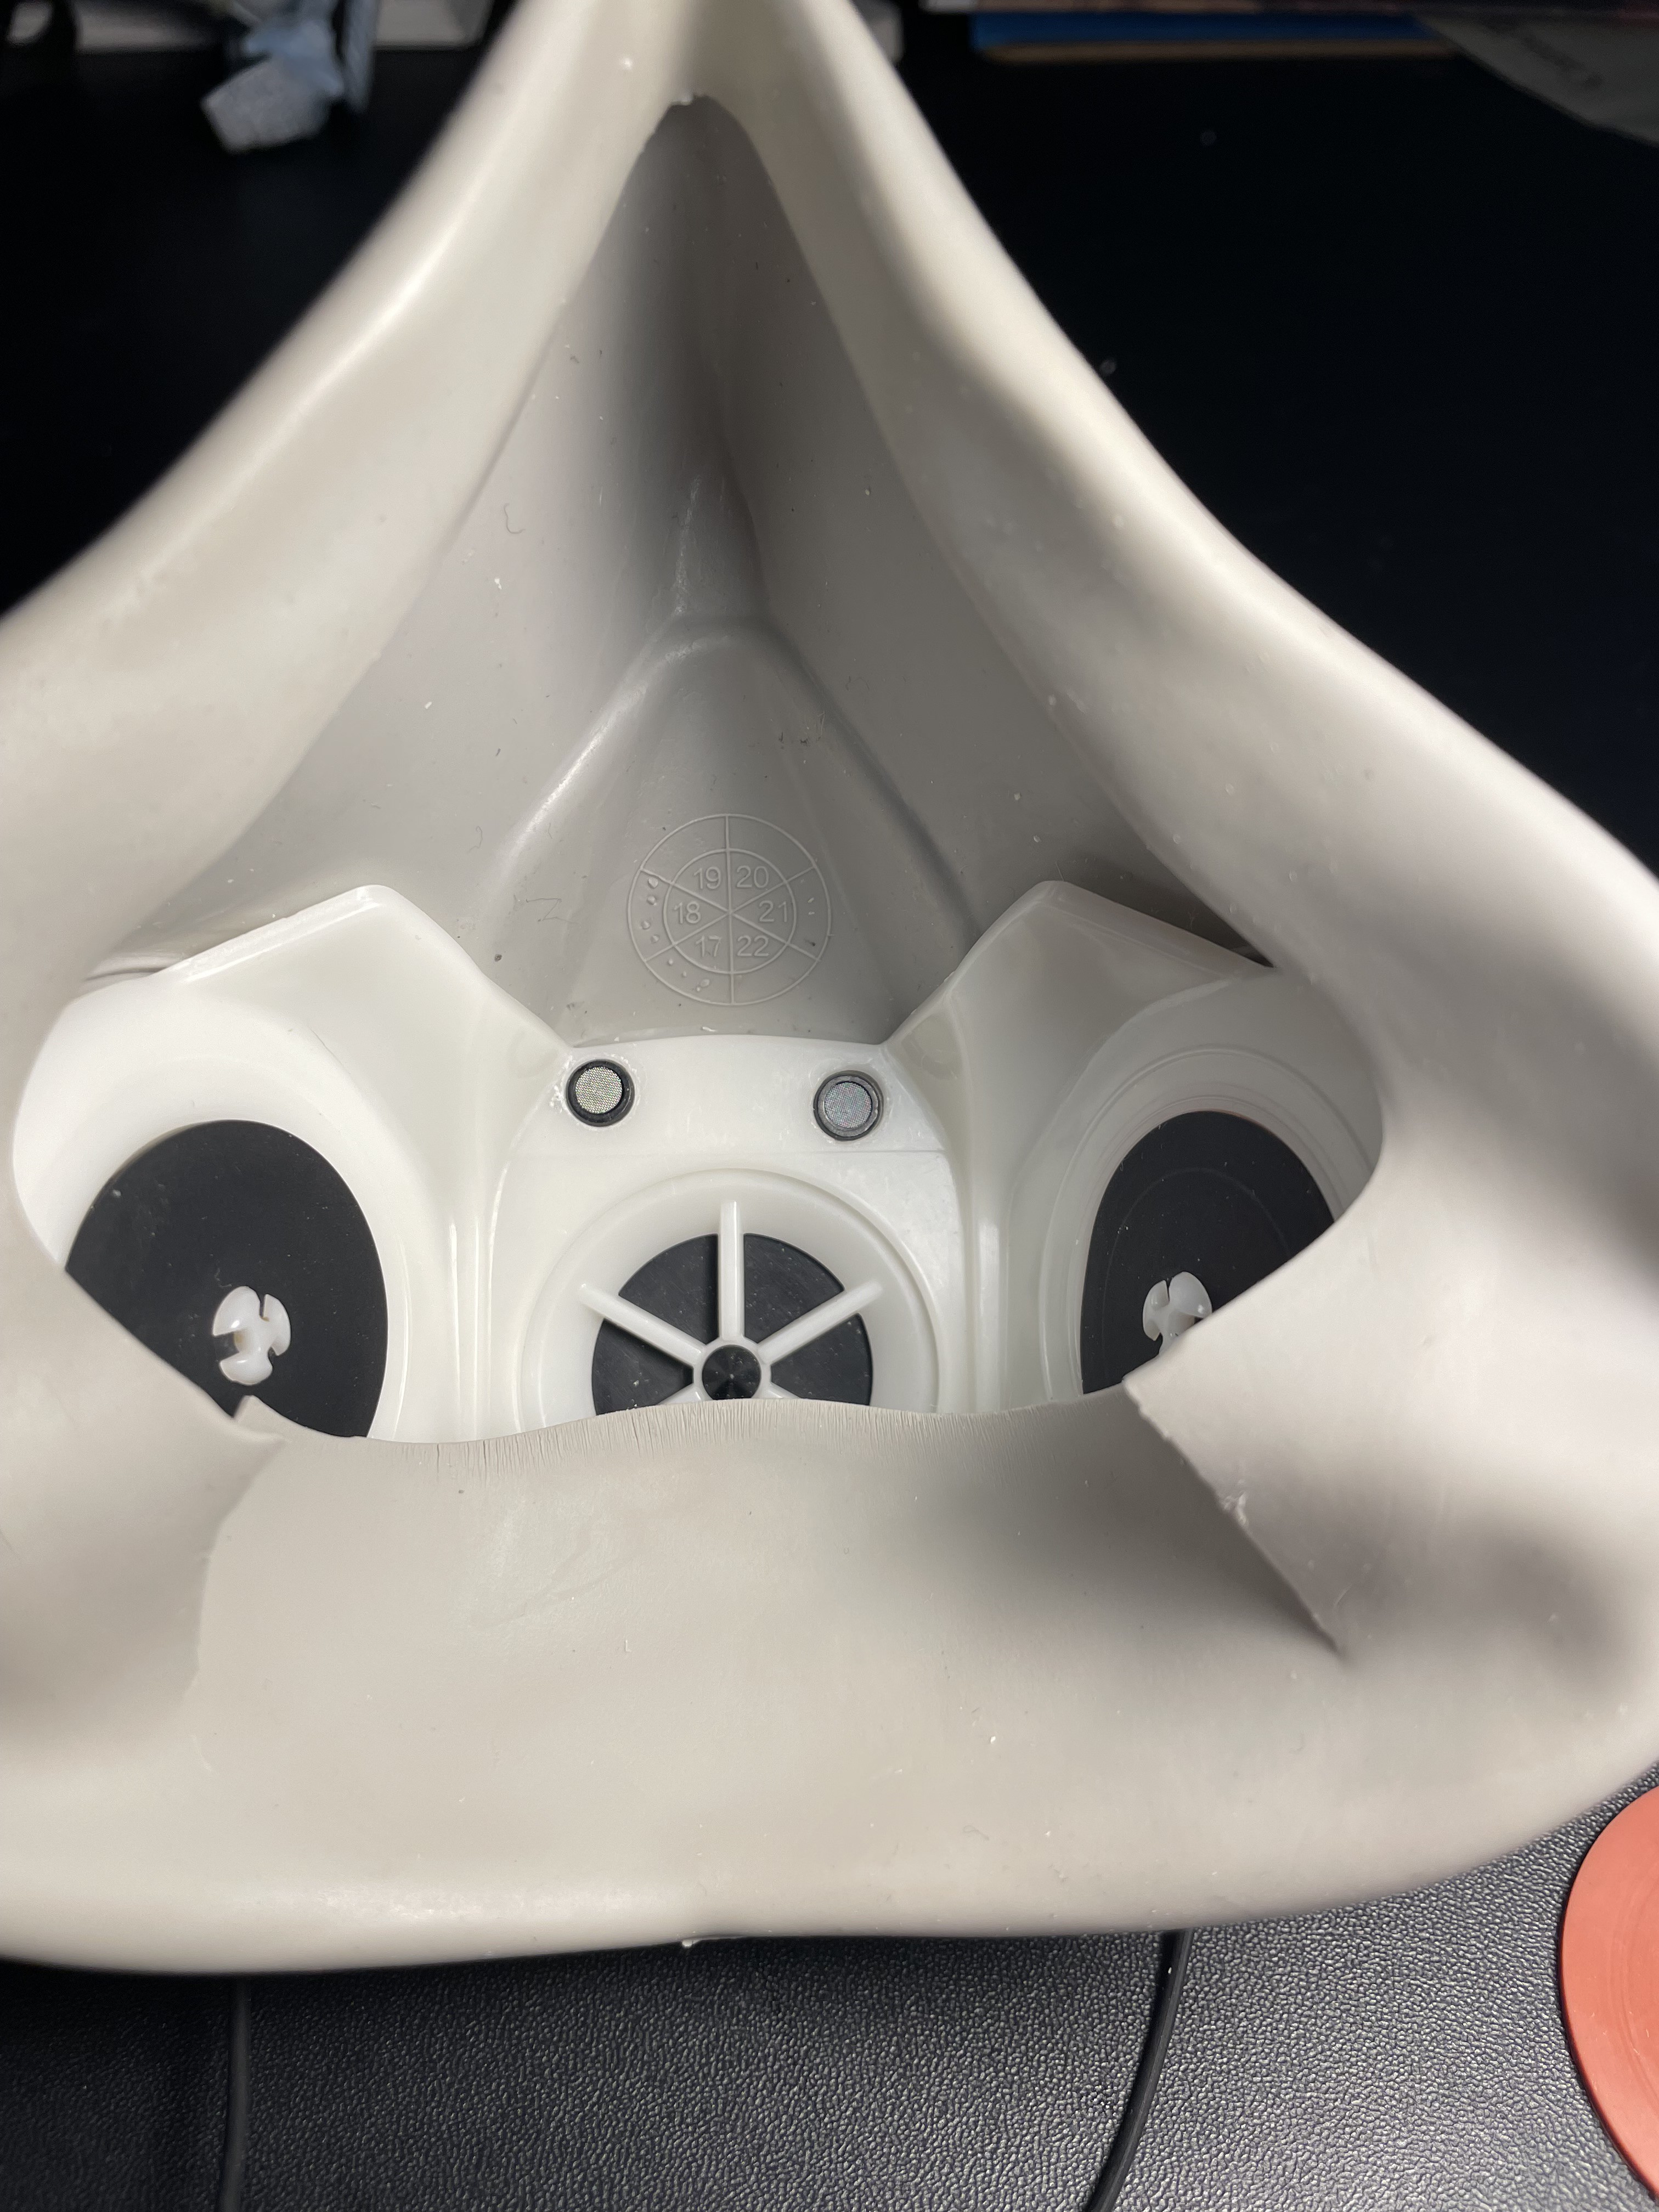
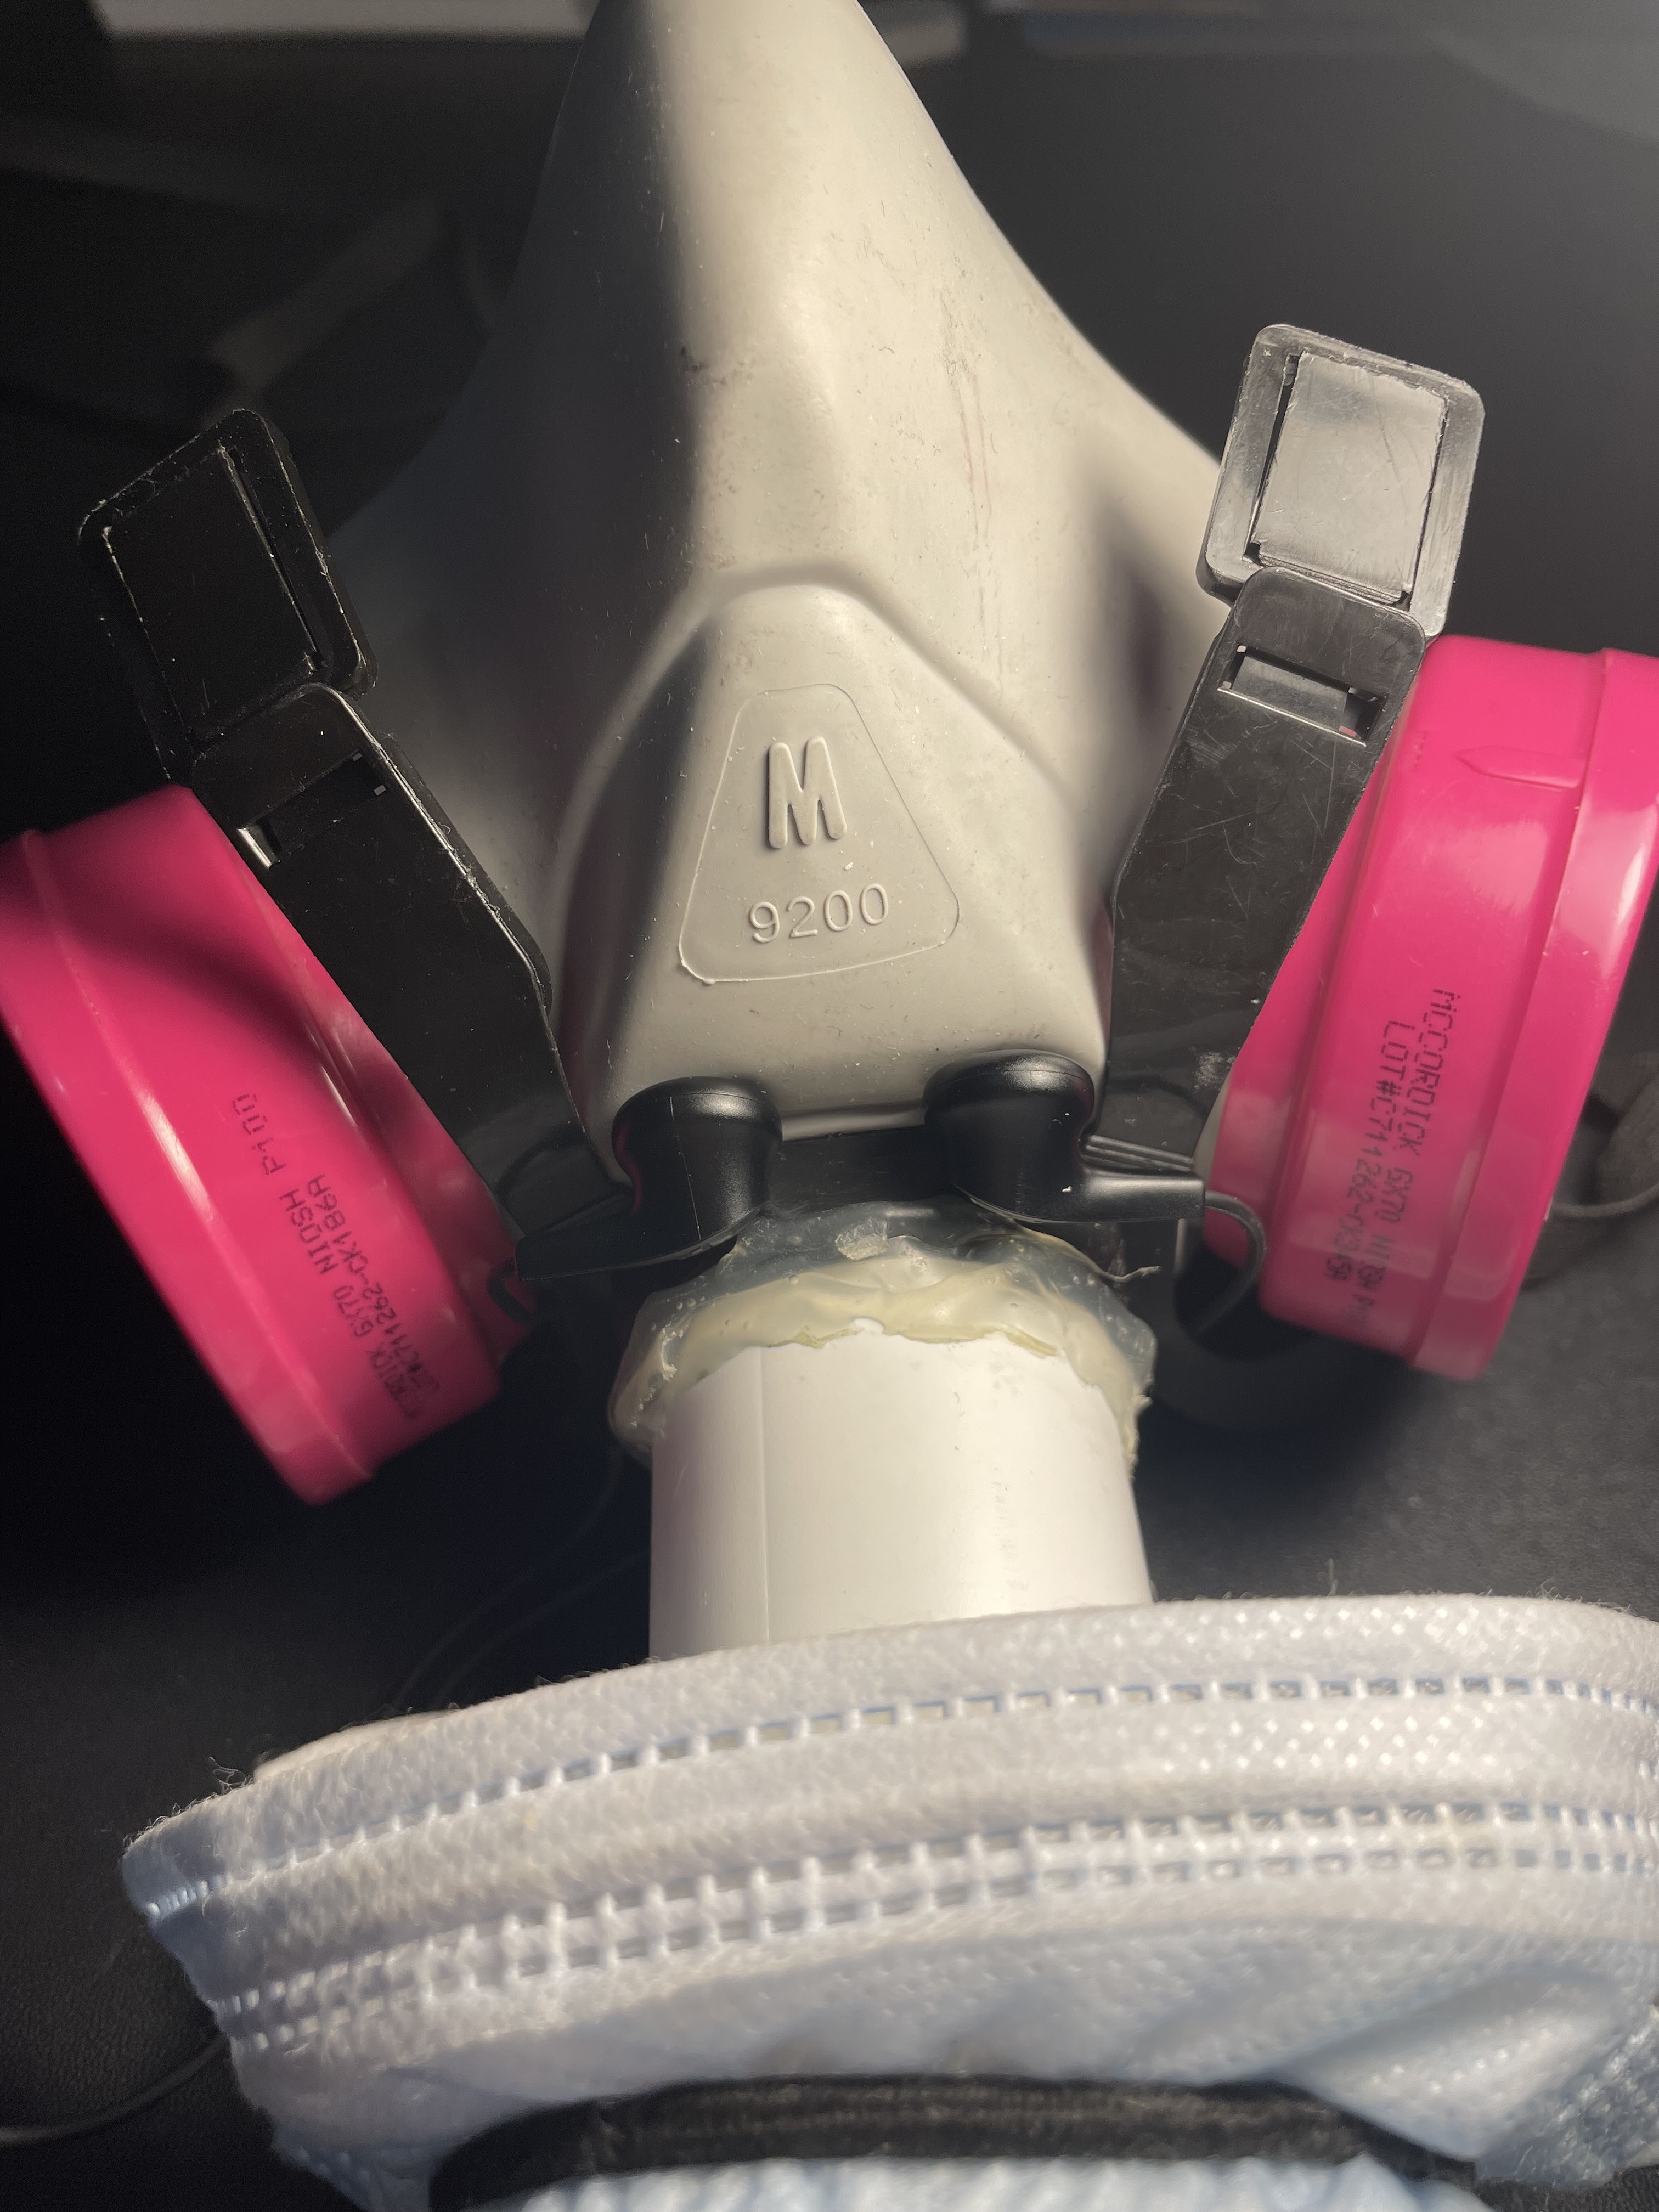
The microphone is a repurposed pair of earbuds. Not only can earbuds convert electrical oscillations into sound, but they can do the reverse as well. The ring and tip poles were jumpered together inside the intercom box to provide redundancy; if one earbud fails, you can continue to communicate through the other. The final hole size in the hard nylon insert was 1/4" dia, unlike what the first picture shows (11/64"). The eartips were removed from the earbuds and the necks were forced through narrow holes in the elastomer part that had been made with an 11/64" drill bit, but a leather punch is now preferred. The holes in the nylon part were enlarged to 1/4" to make room for the part of the neck that protruded inside.
When drilling the hard nylon, insert an aluminum plate between the nylon and elastomer parts to prevent the drill bit from lunging forward into the elastomer. Don't leave any turnings between the rubber and nylon parts. Use a leather punch on the elastomer and not the pliers kind, which won’t reach without distorting the workpiece. One-eighth inch diameter is too small but 1/4” diameter will be too big.
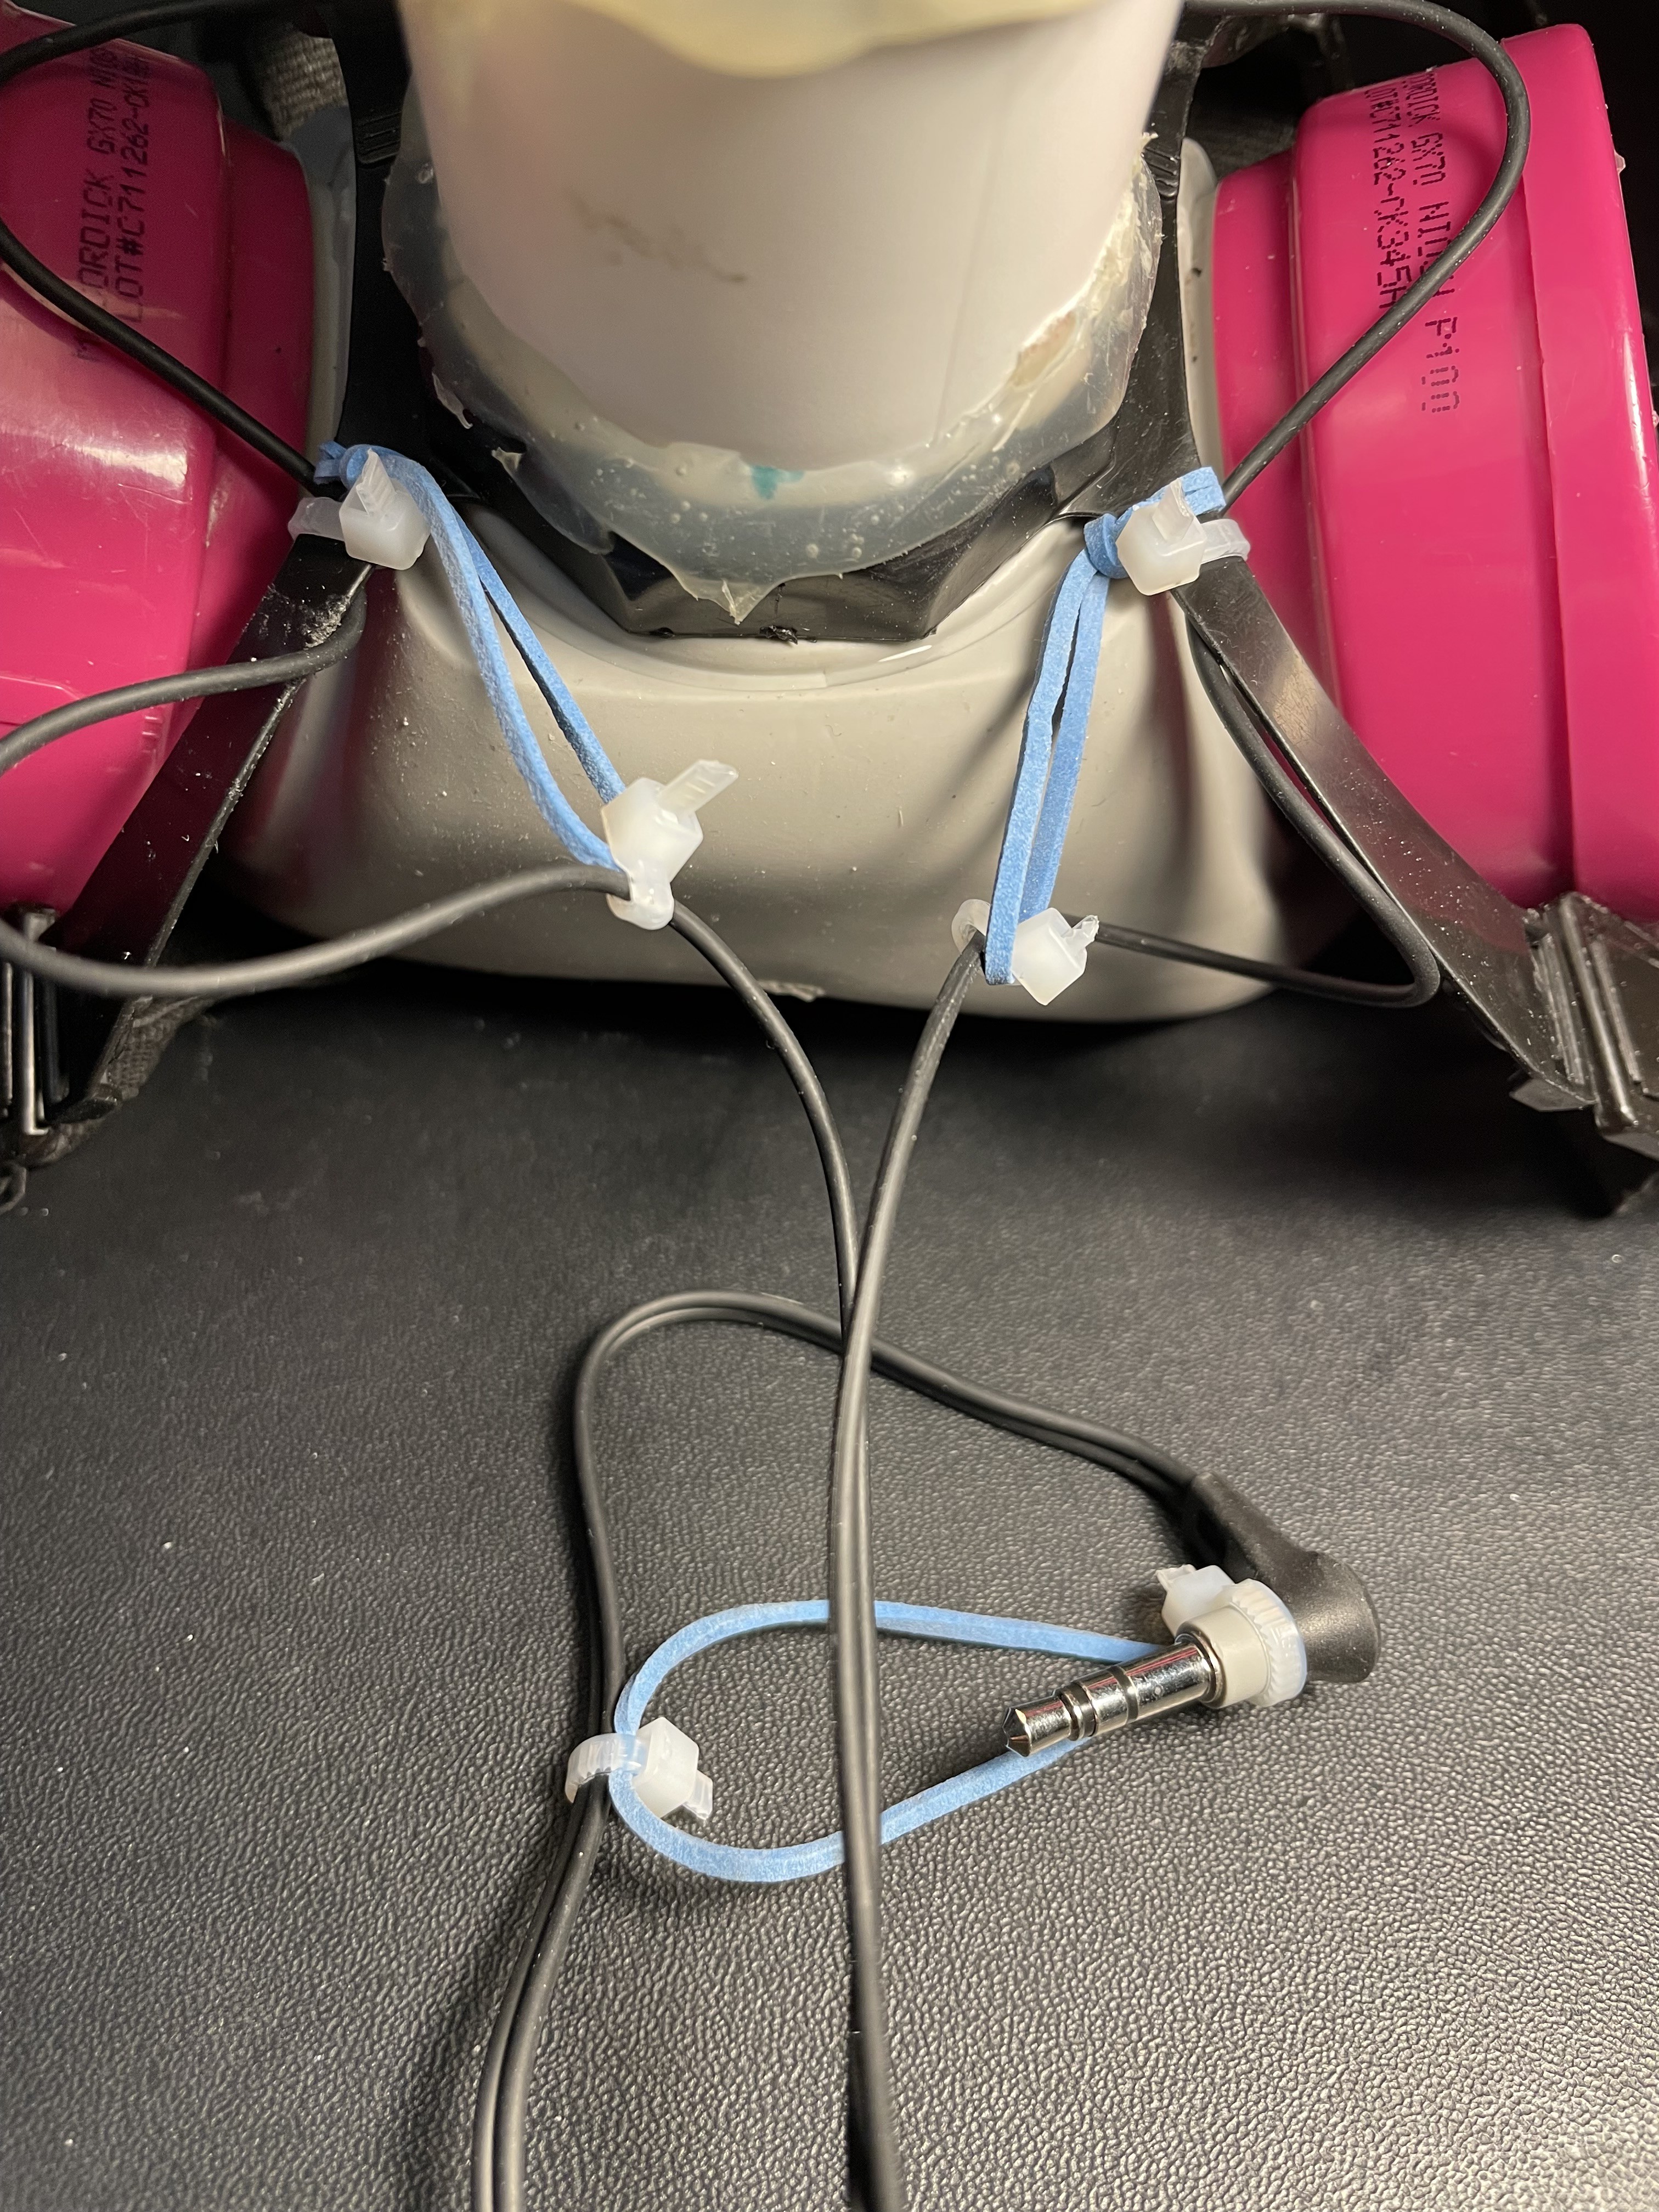
Sound holes, interior Sound holes, exterior Sound pickup, exterior view of mask body Sound pickup, interior view Sound pickup, assembled mask, external view Strain-relief elastics were added to the earbud cable as shown, to make it resistant to being destroyed by tugs on the cable. The small conductors inside the cable seem to be delicate. The zip ties were Pico brand, 7063_pk. -
2Intercom box and speaker box
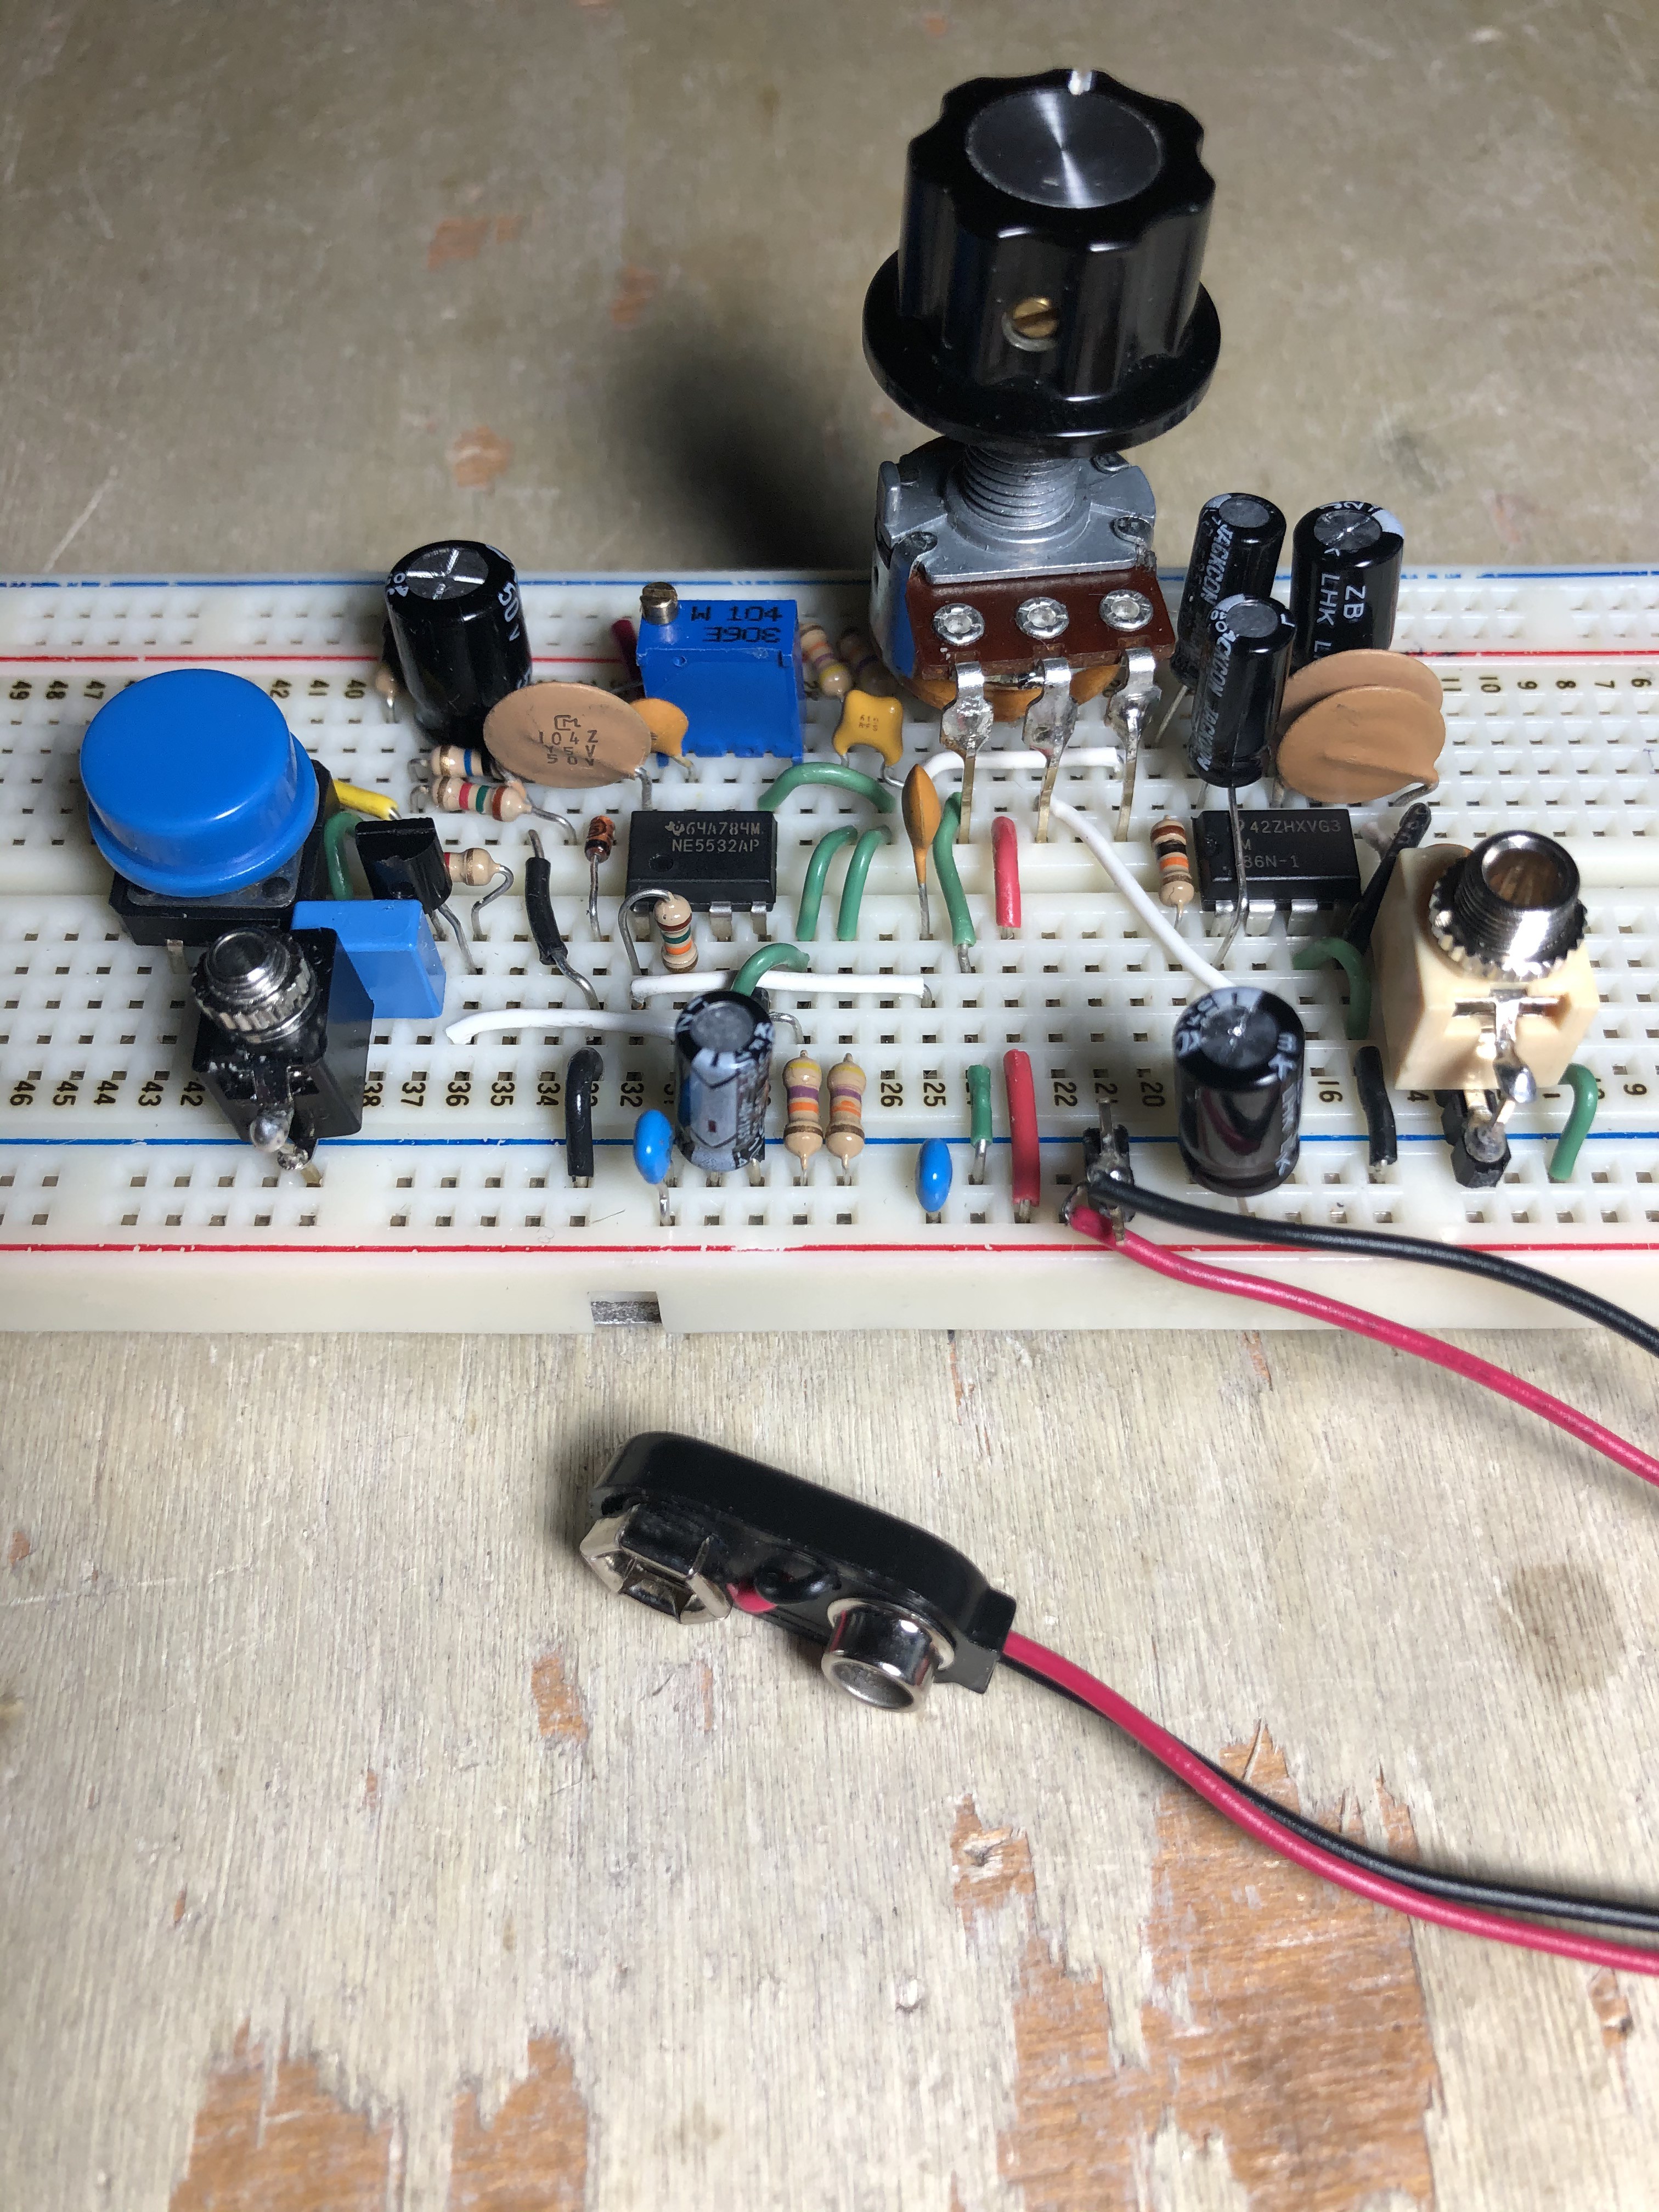
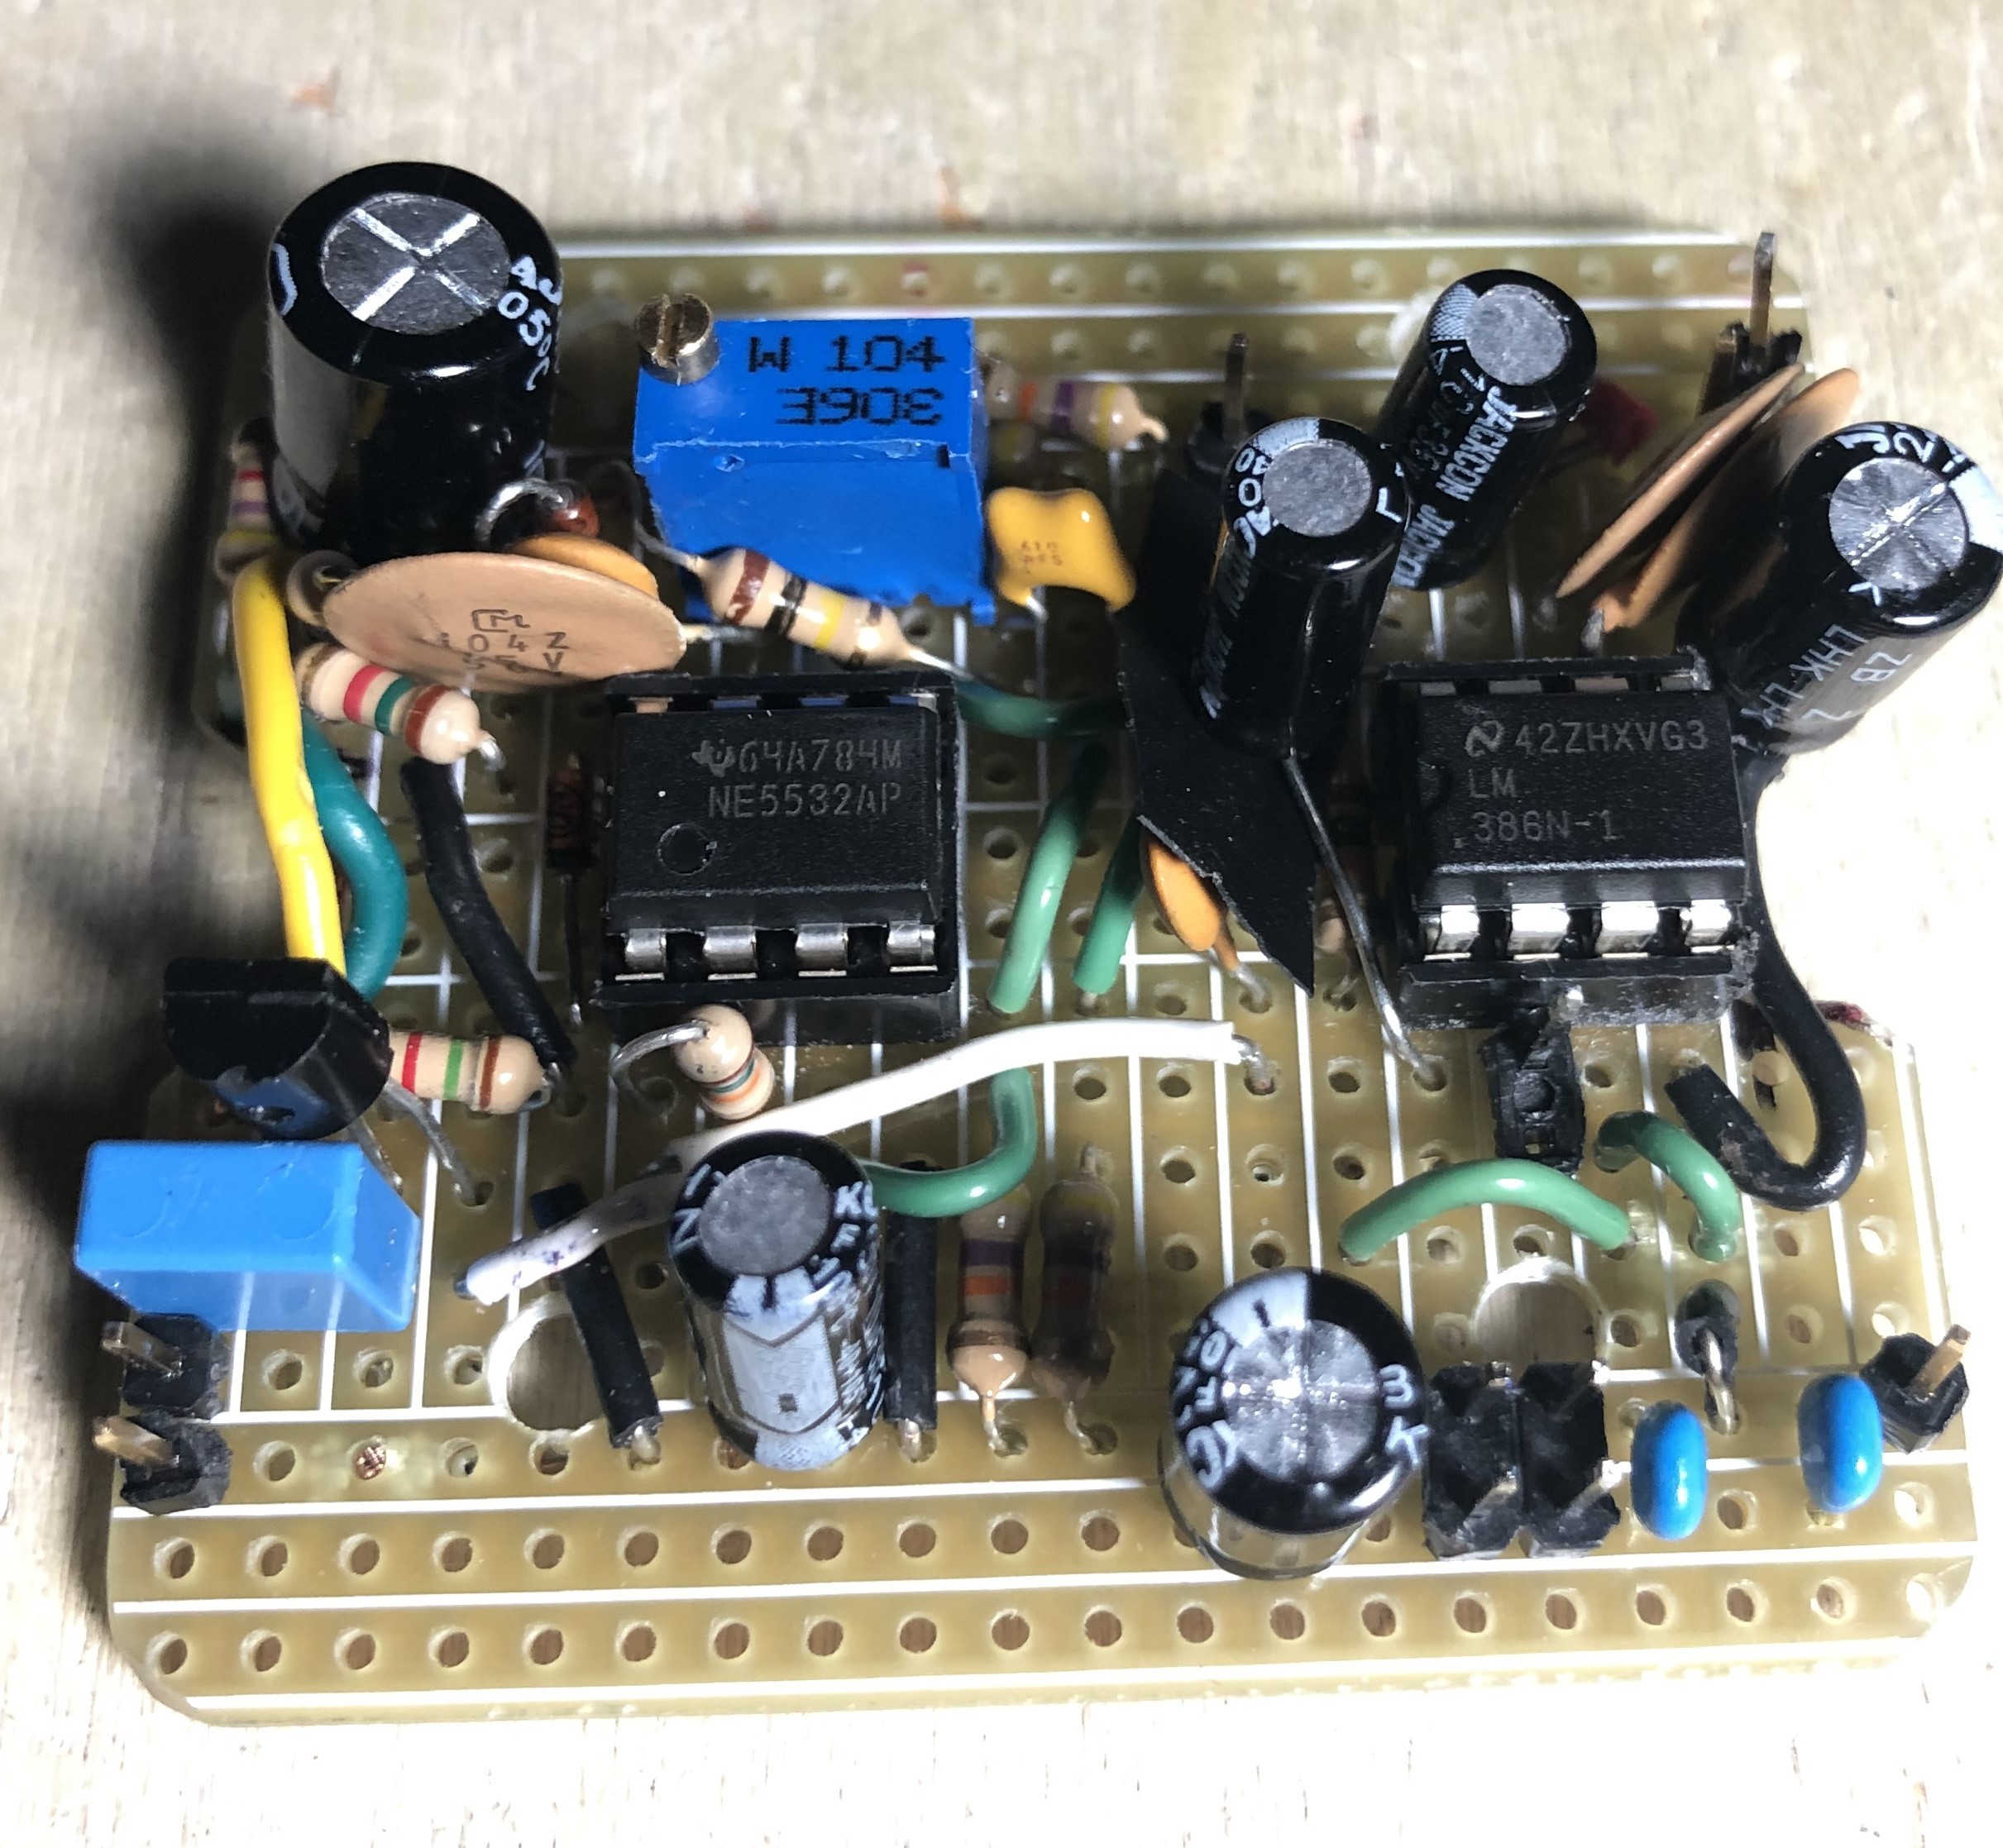
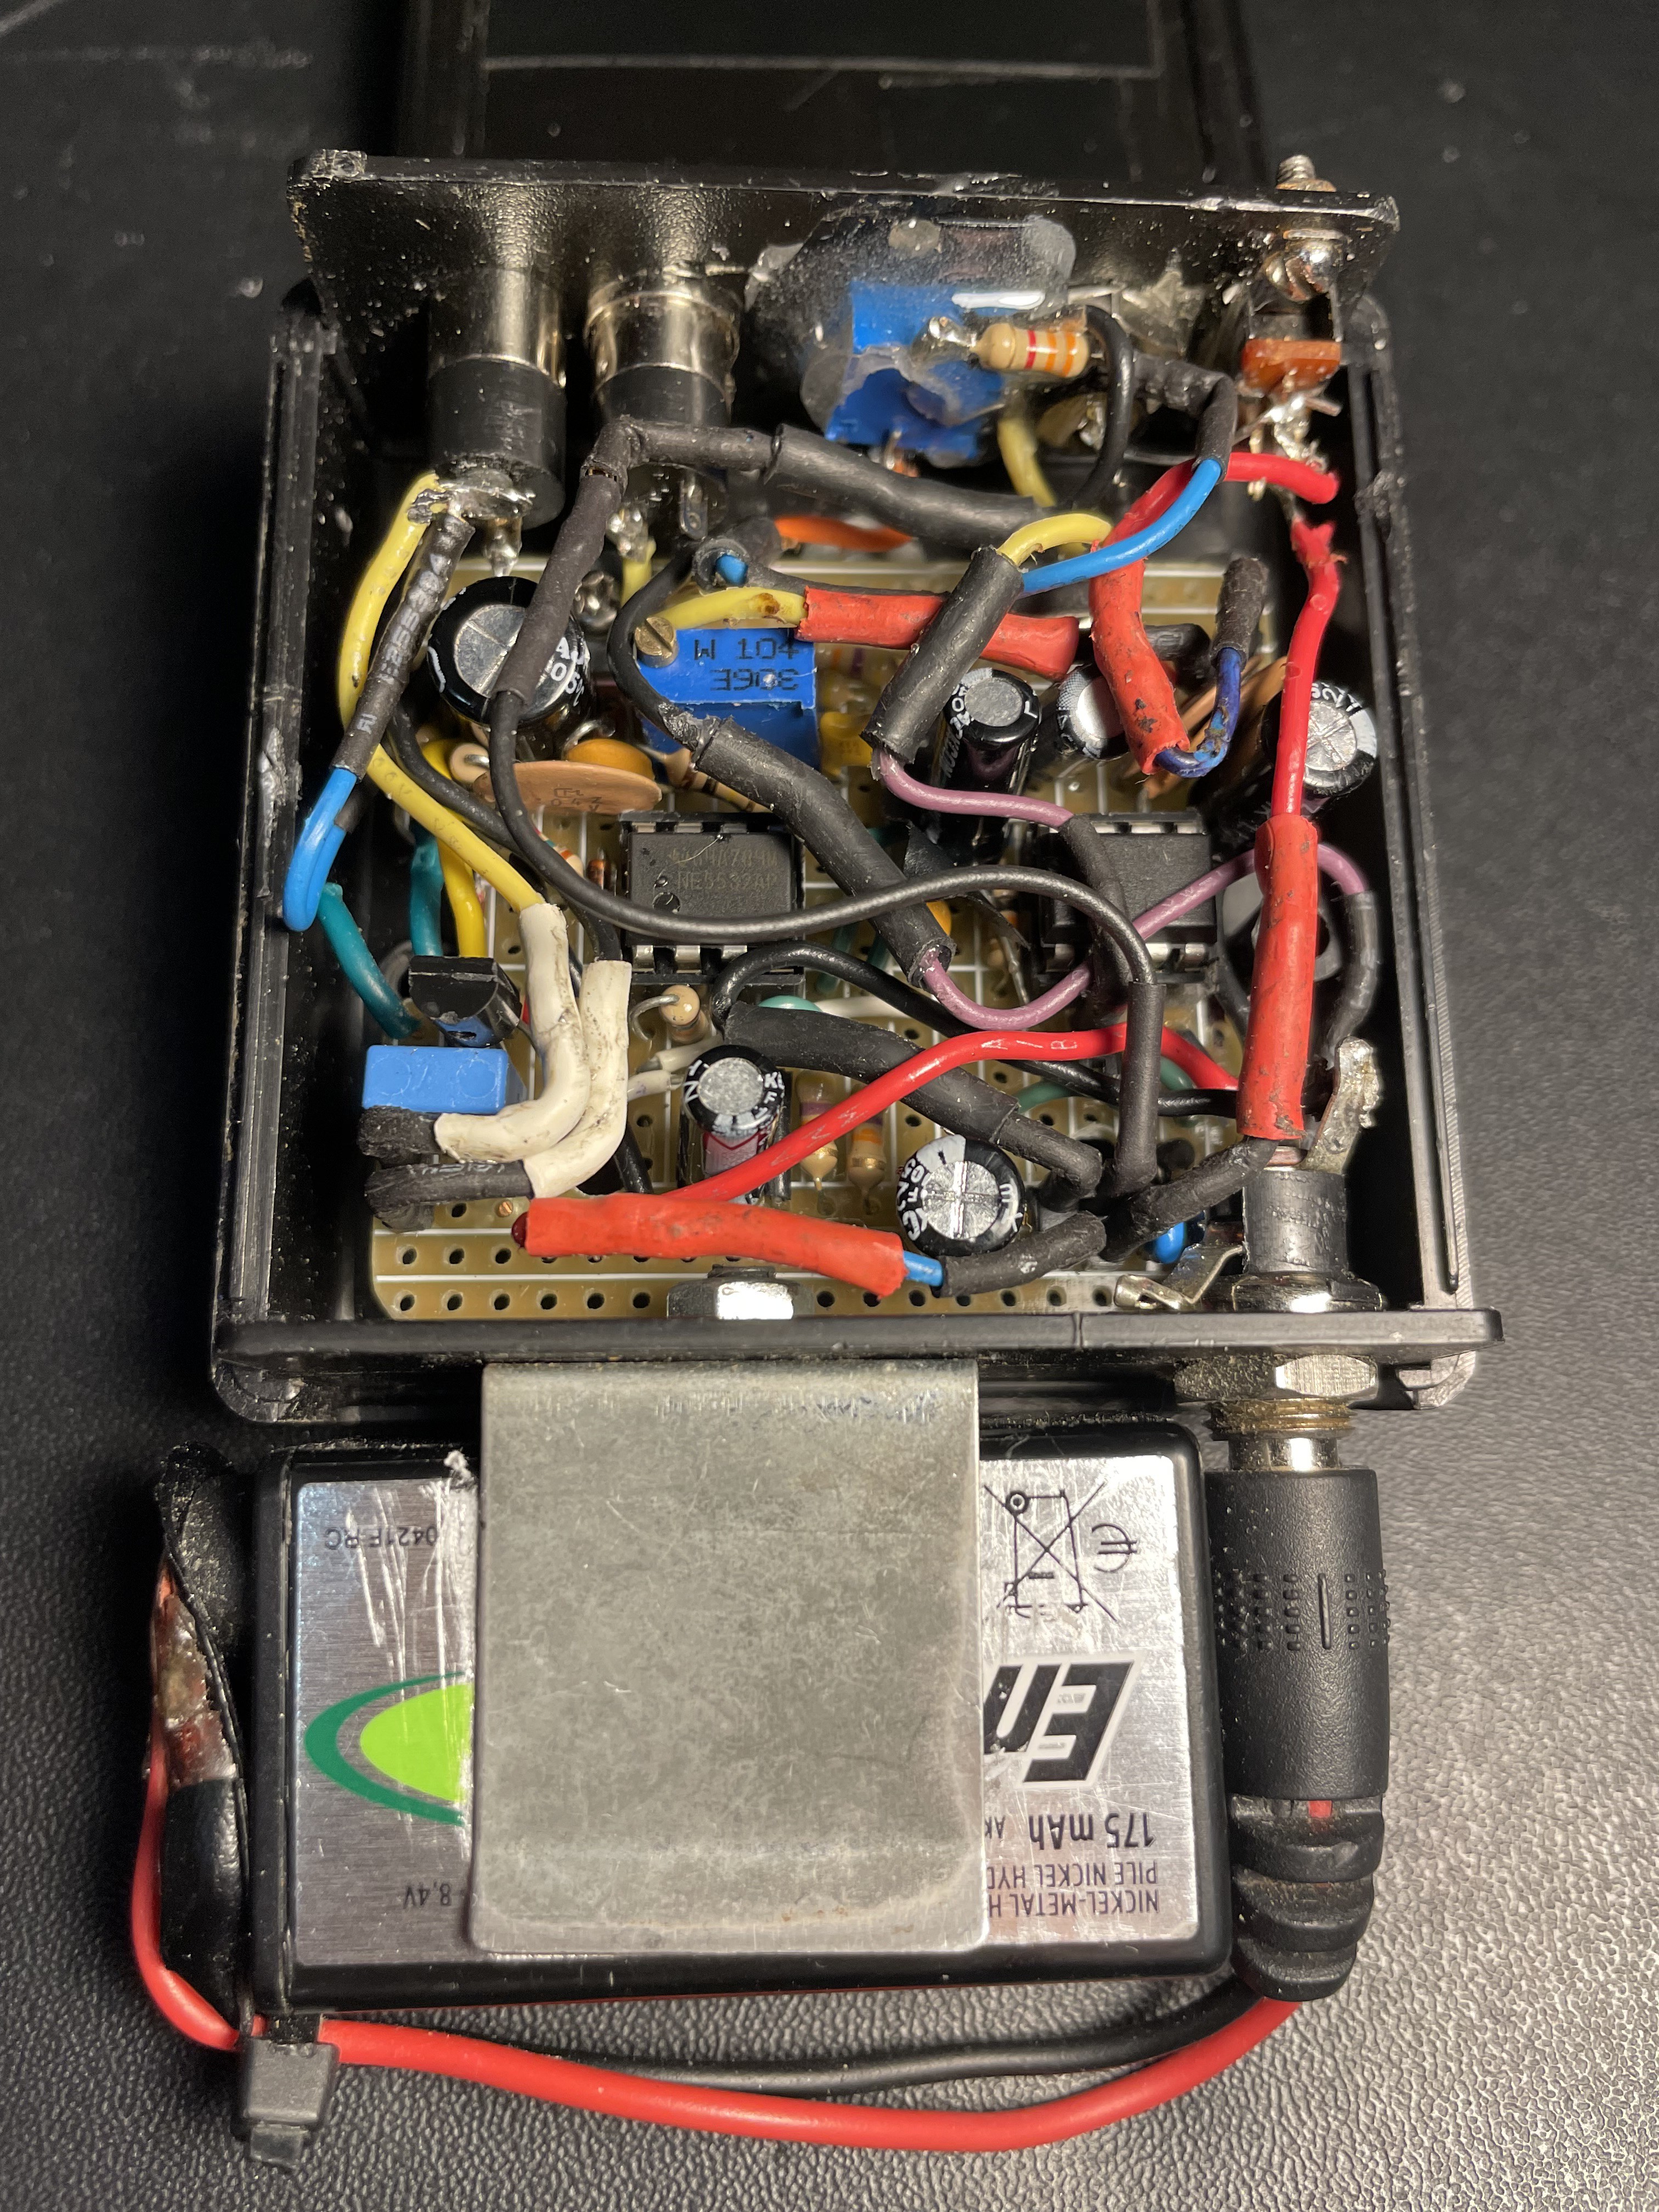
The following is a chronological series of pictures meant to compliment the circuit diagram and parts list.
Breadboard version of project ![Perfboard version of the project Perfboard version of the project]()
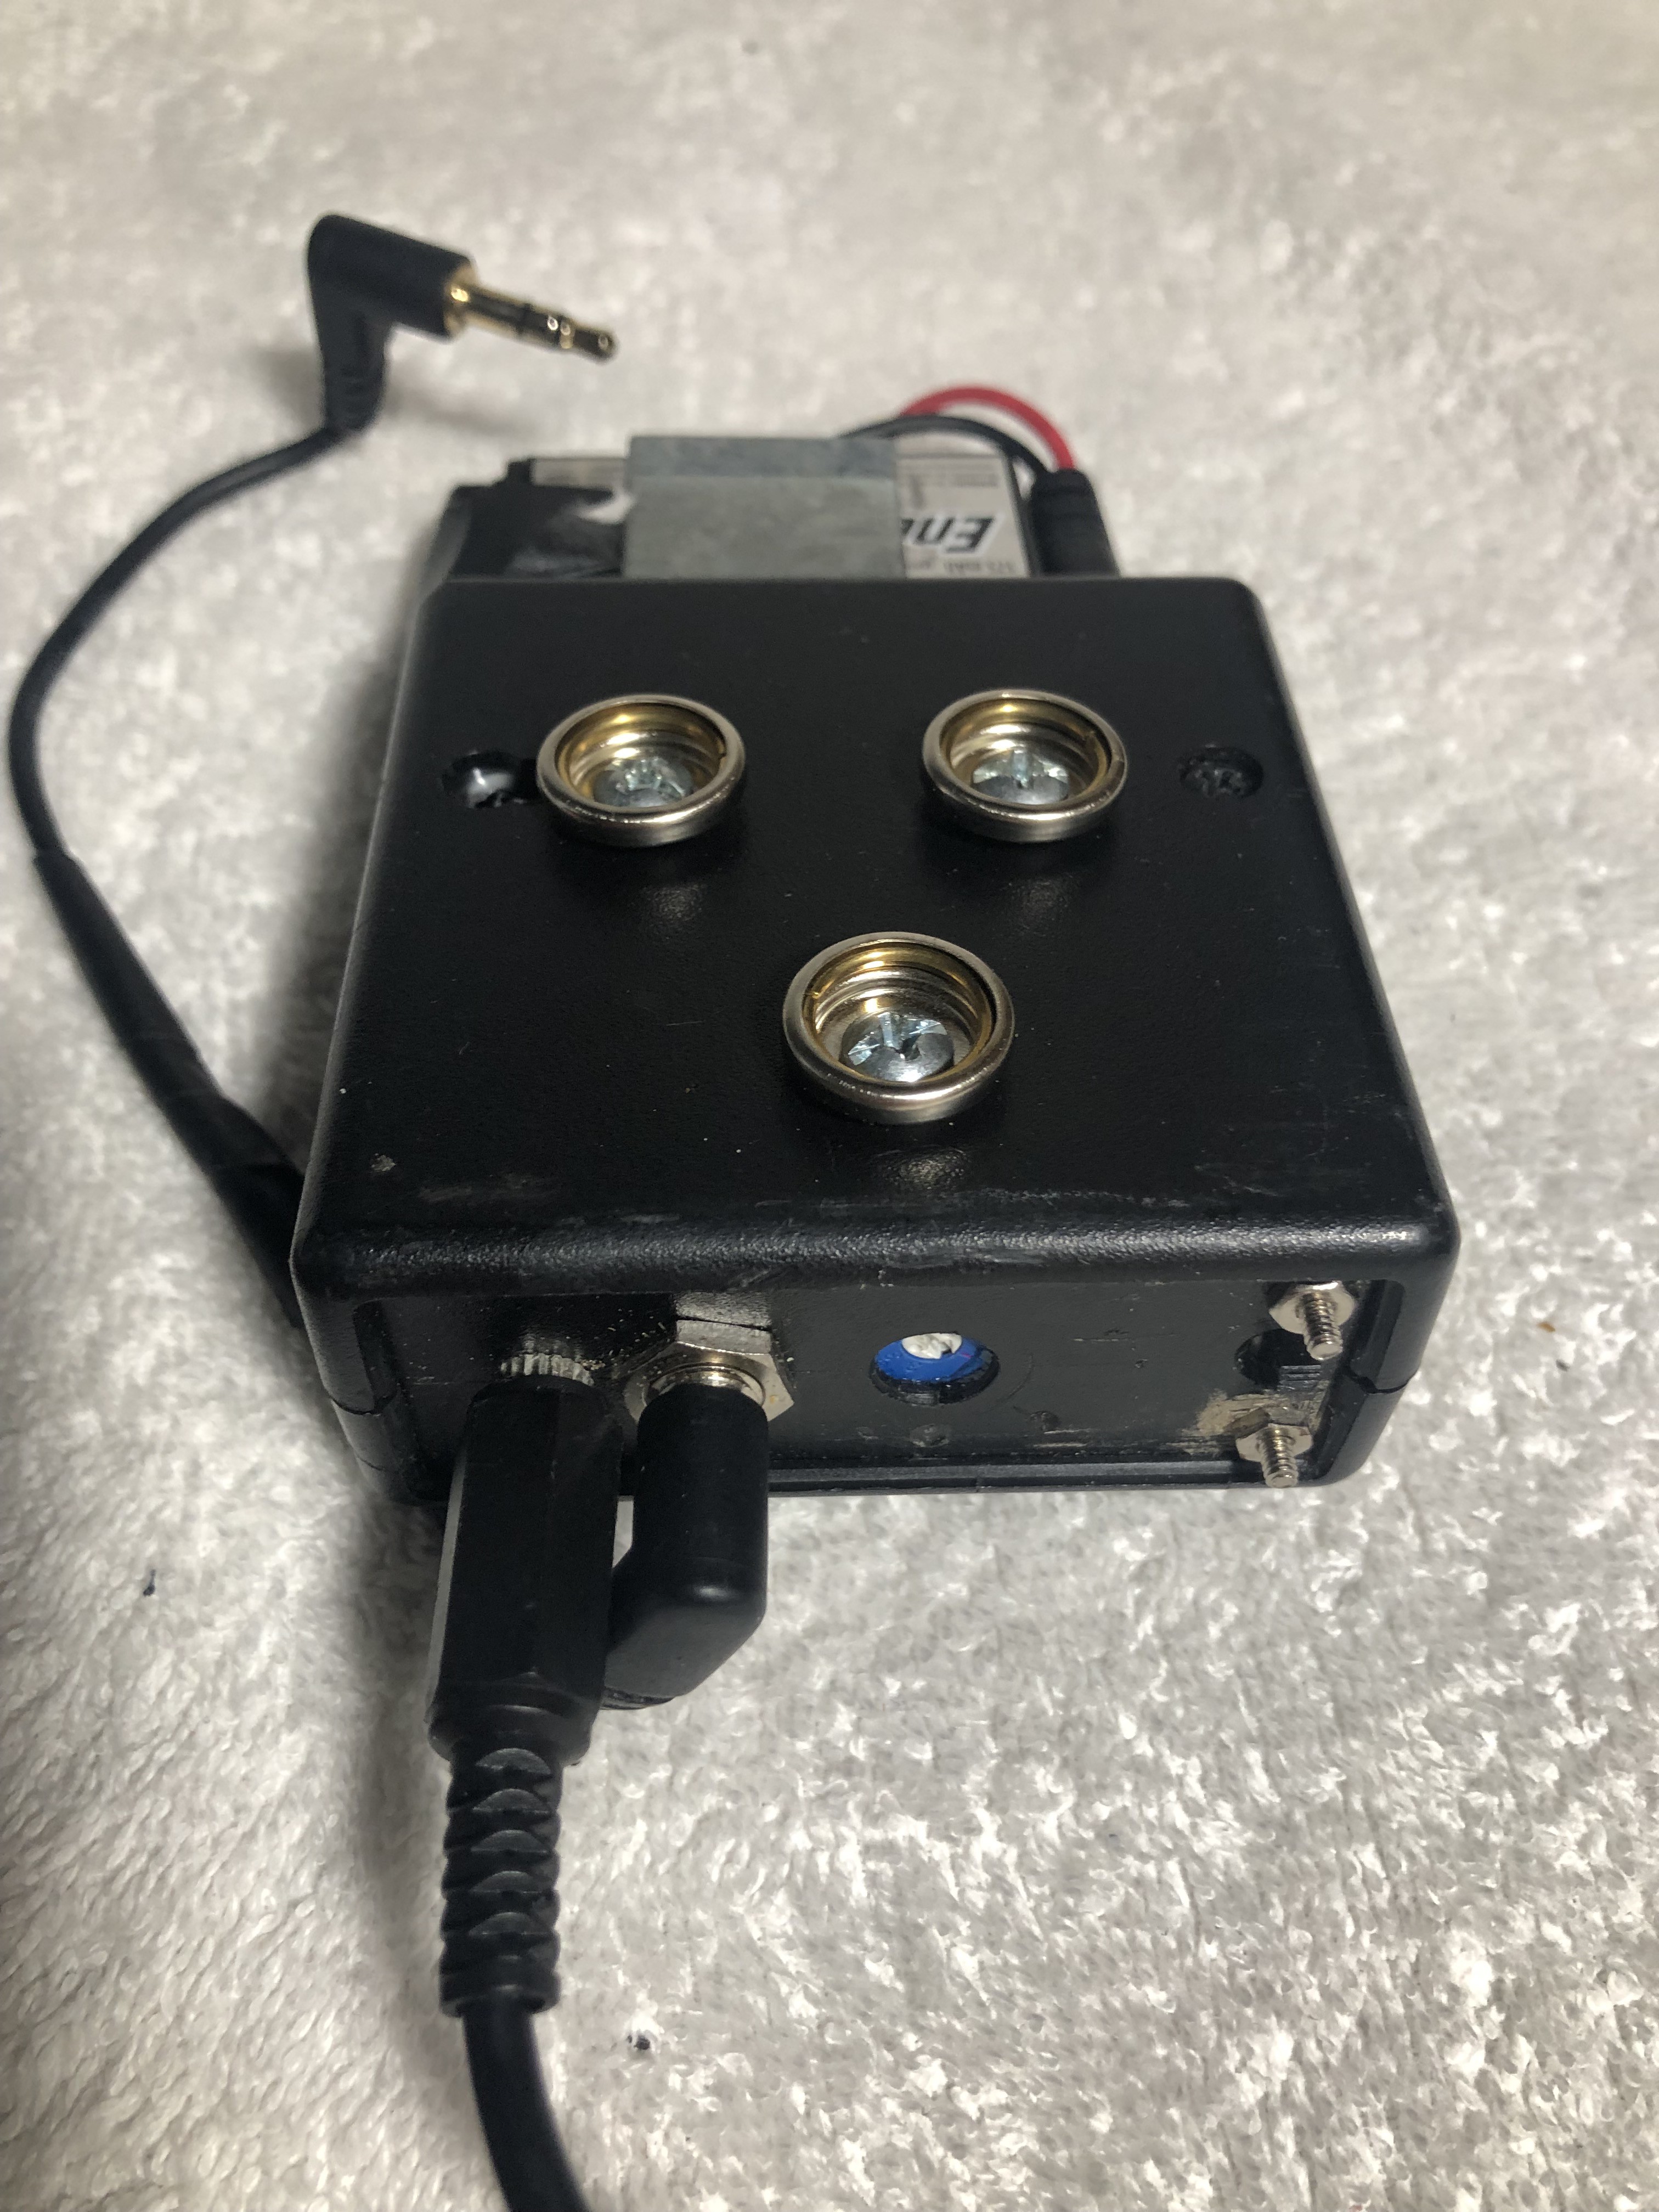
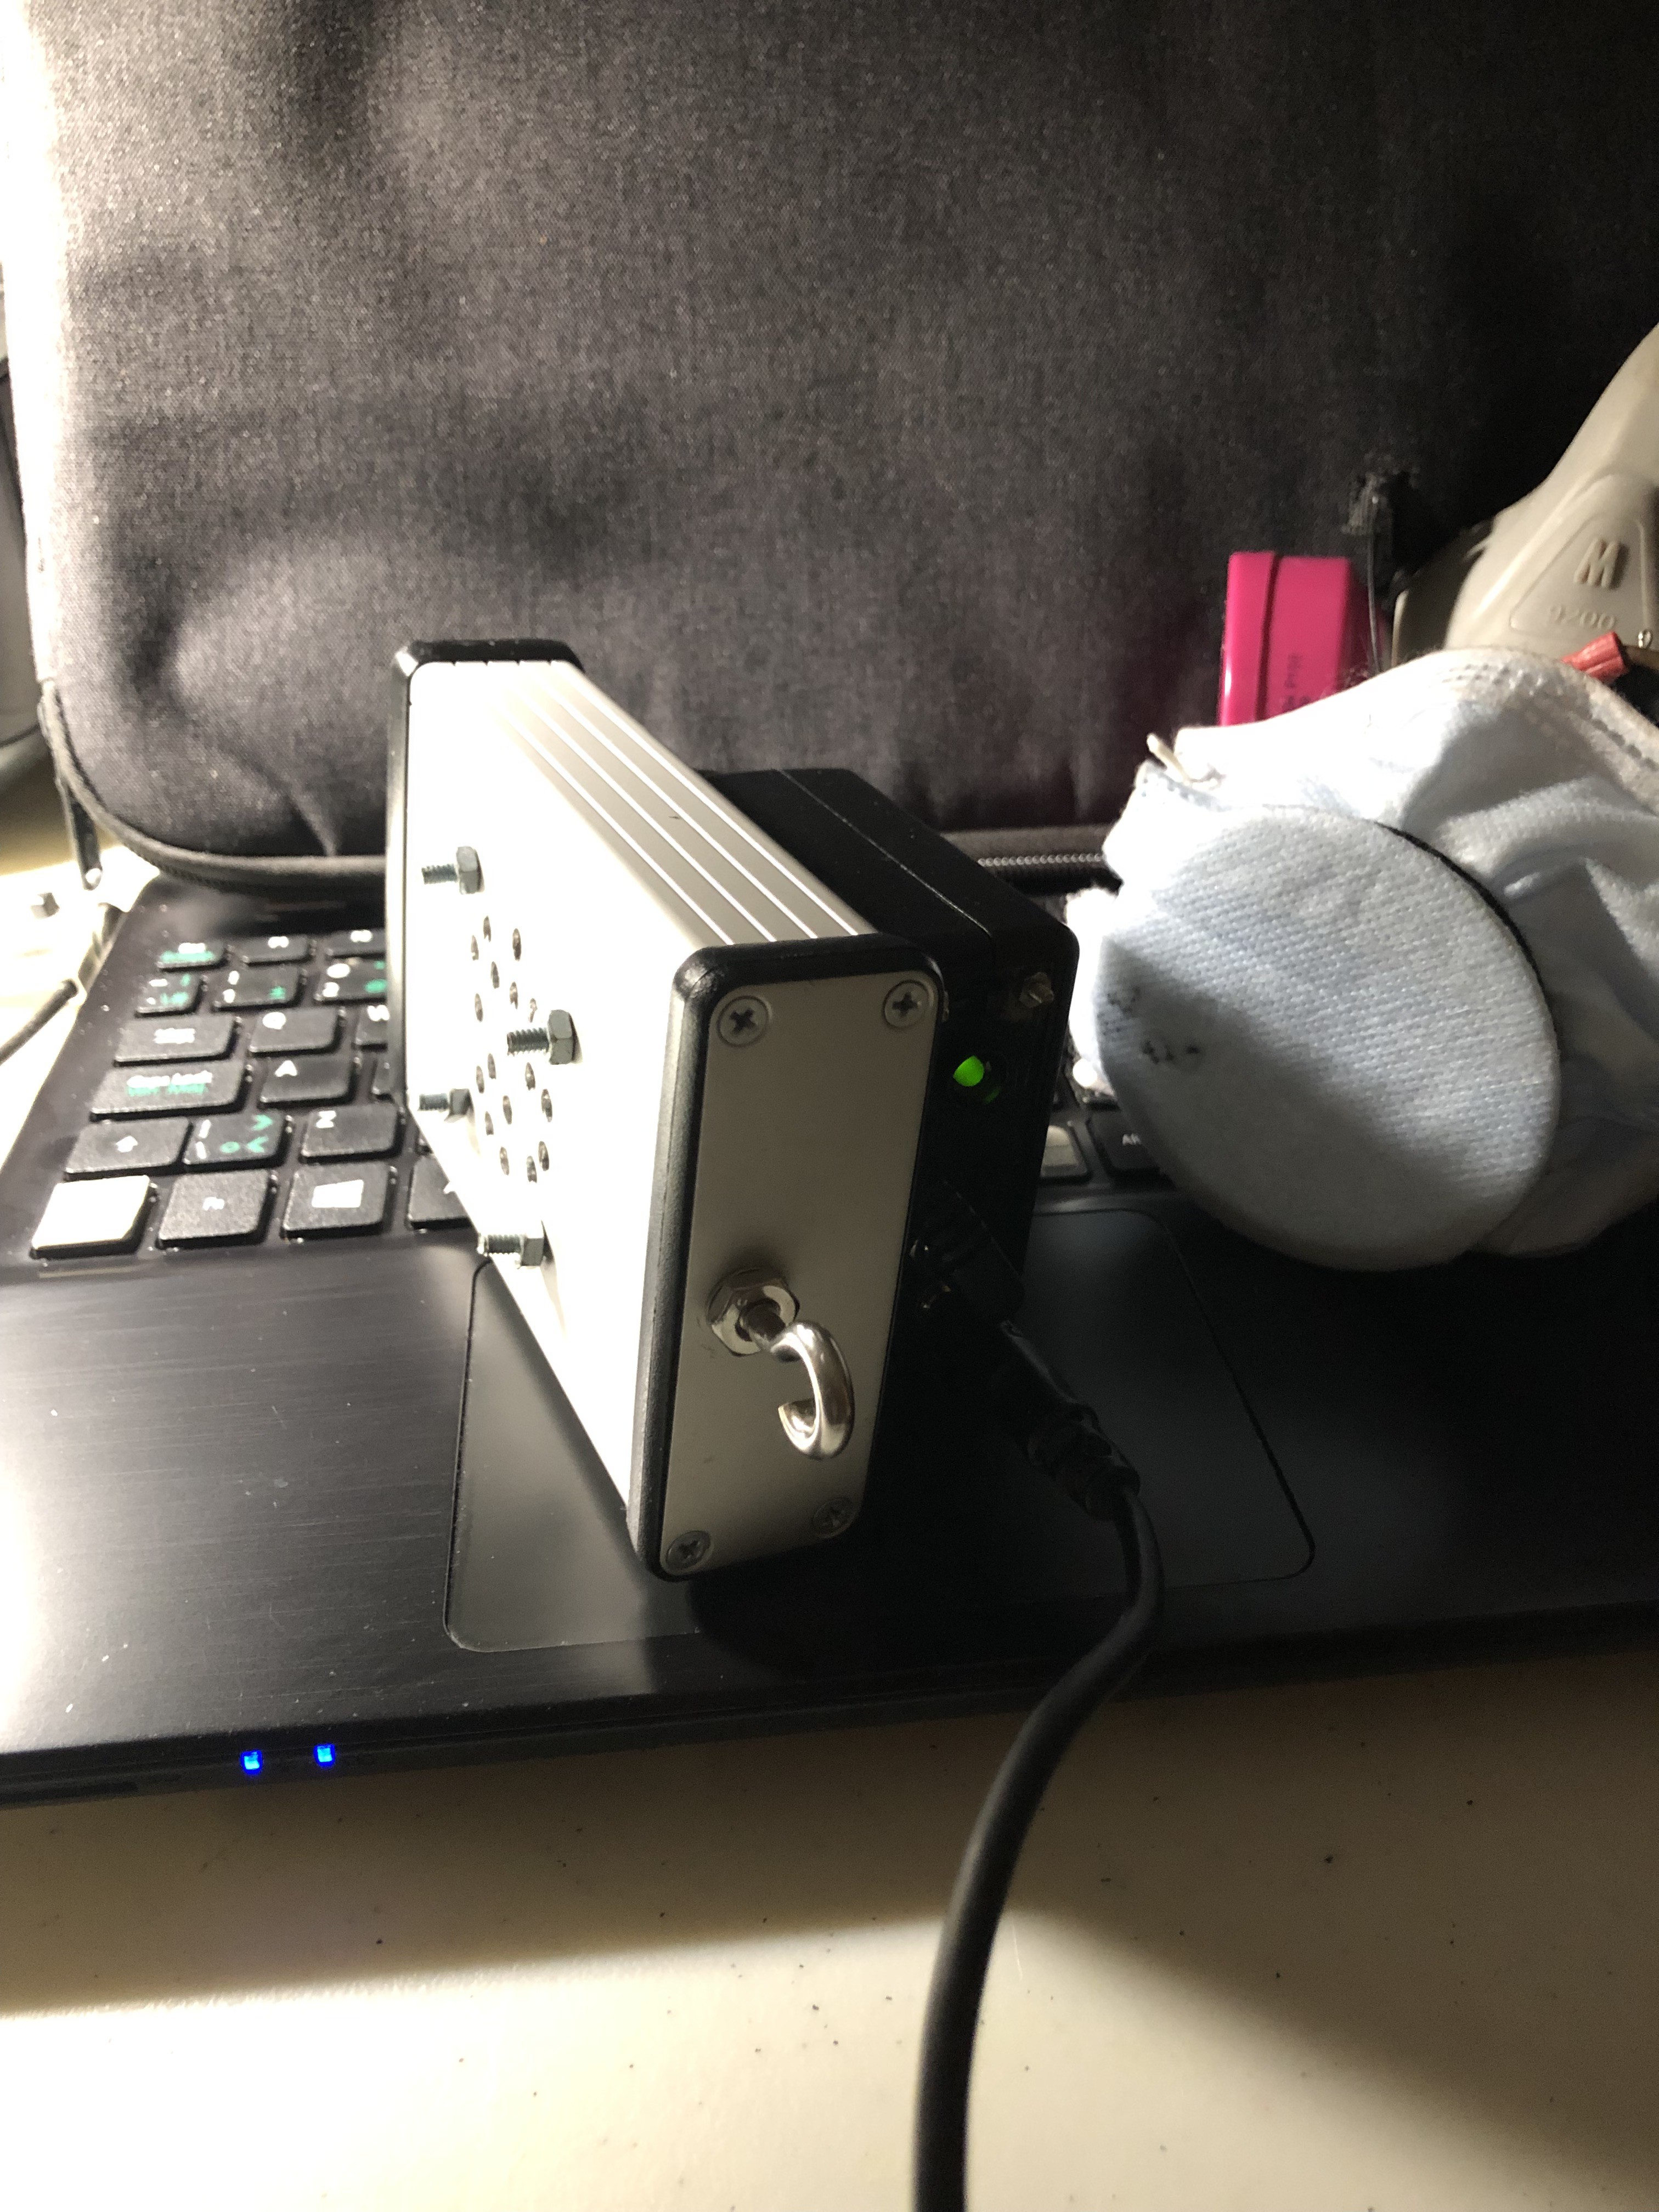
Perfboard version of the project Boxed version, internal; the battery is nickel-metal hydride type, 9V. It connects to the intercom box with an adapter that plugs into a barrel jack on the box. The wires of this adapter tended to break at the point where they enter the 9-V clip, so I reinforced this spot with epoxy and a zip tie. A better solution is to use an adapter with a molded, hard-plastic 9-V clip such as Adafruit 80, not a vinyl-covered clip. Boxed version, external Intercom-speaker assembly, which I hang from my belt by a carabiner when in use. -
3Exhalation Filter
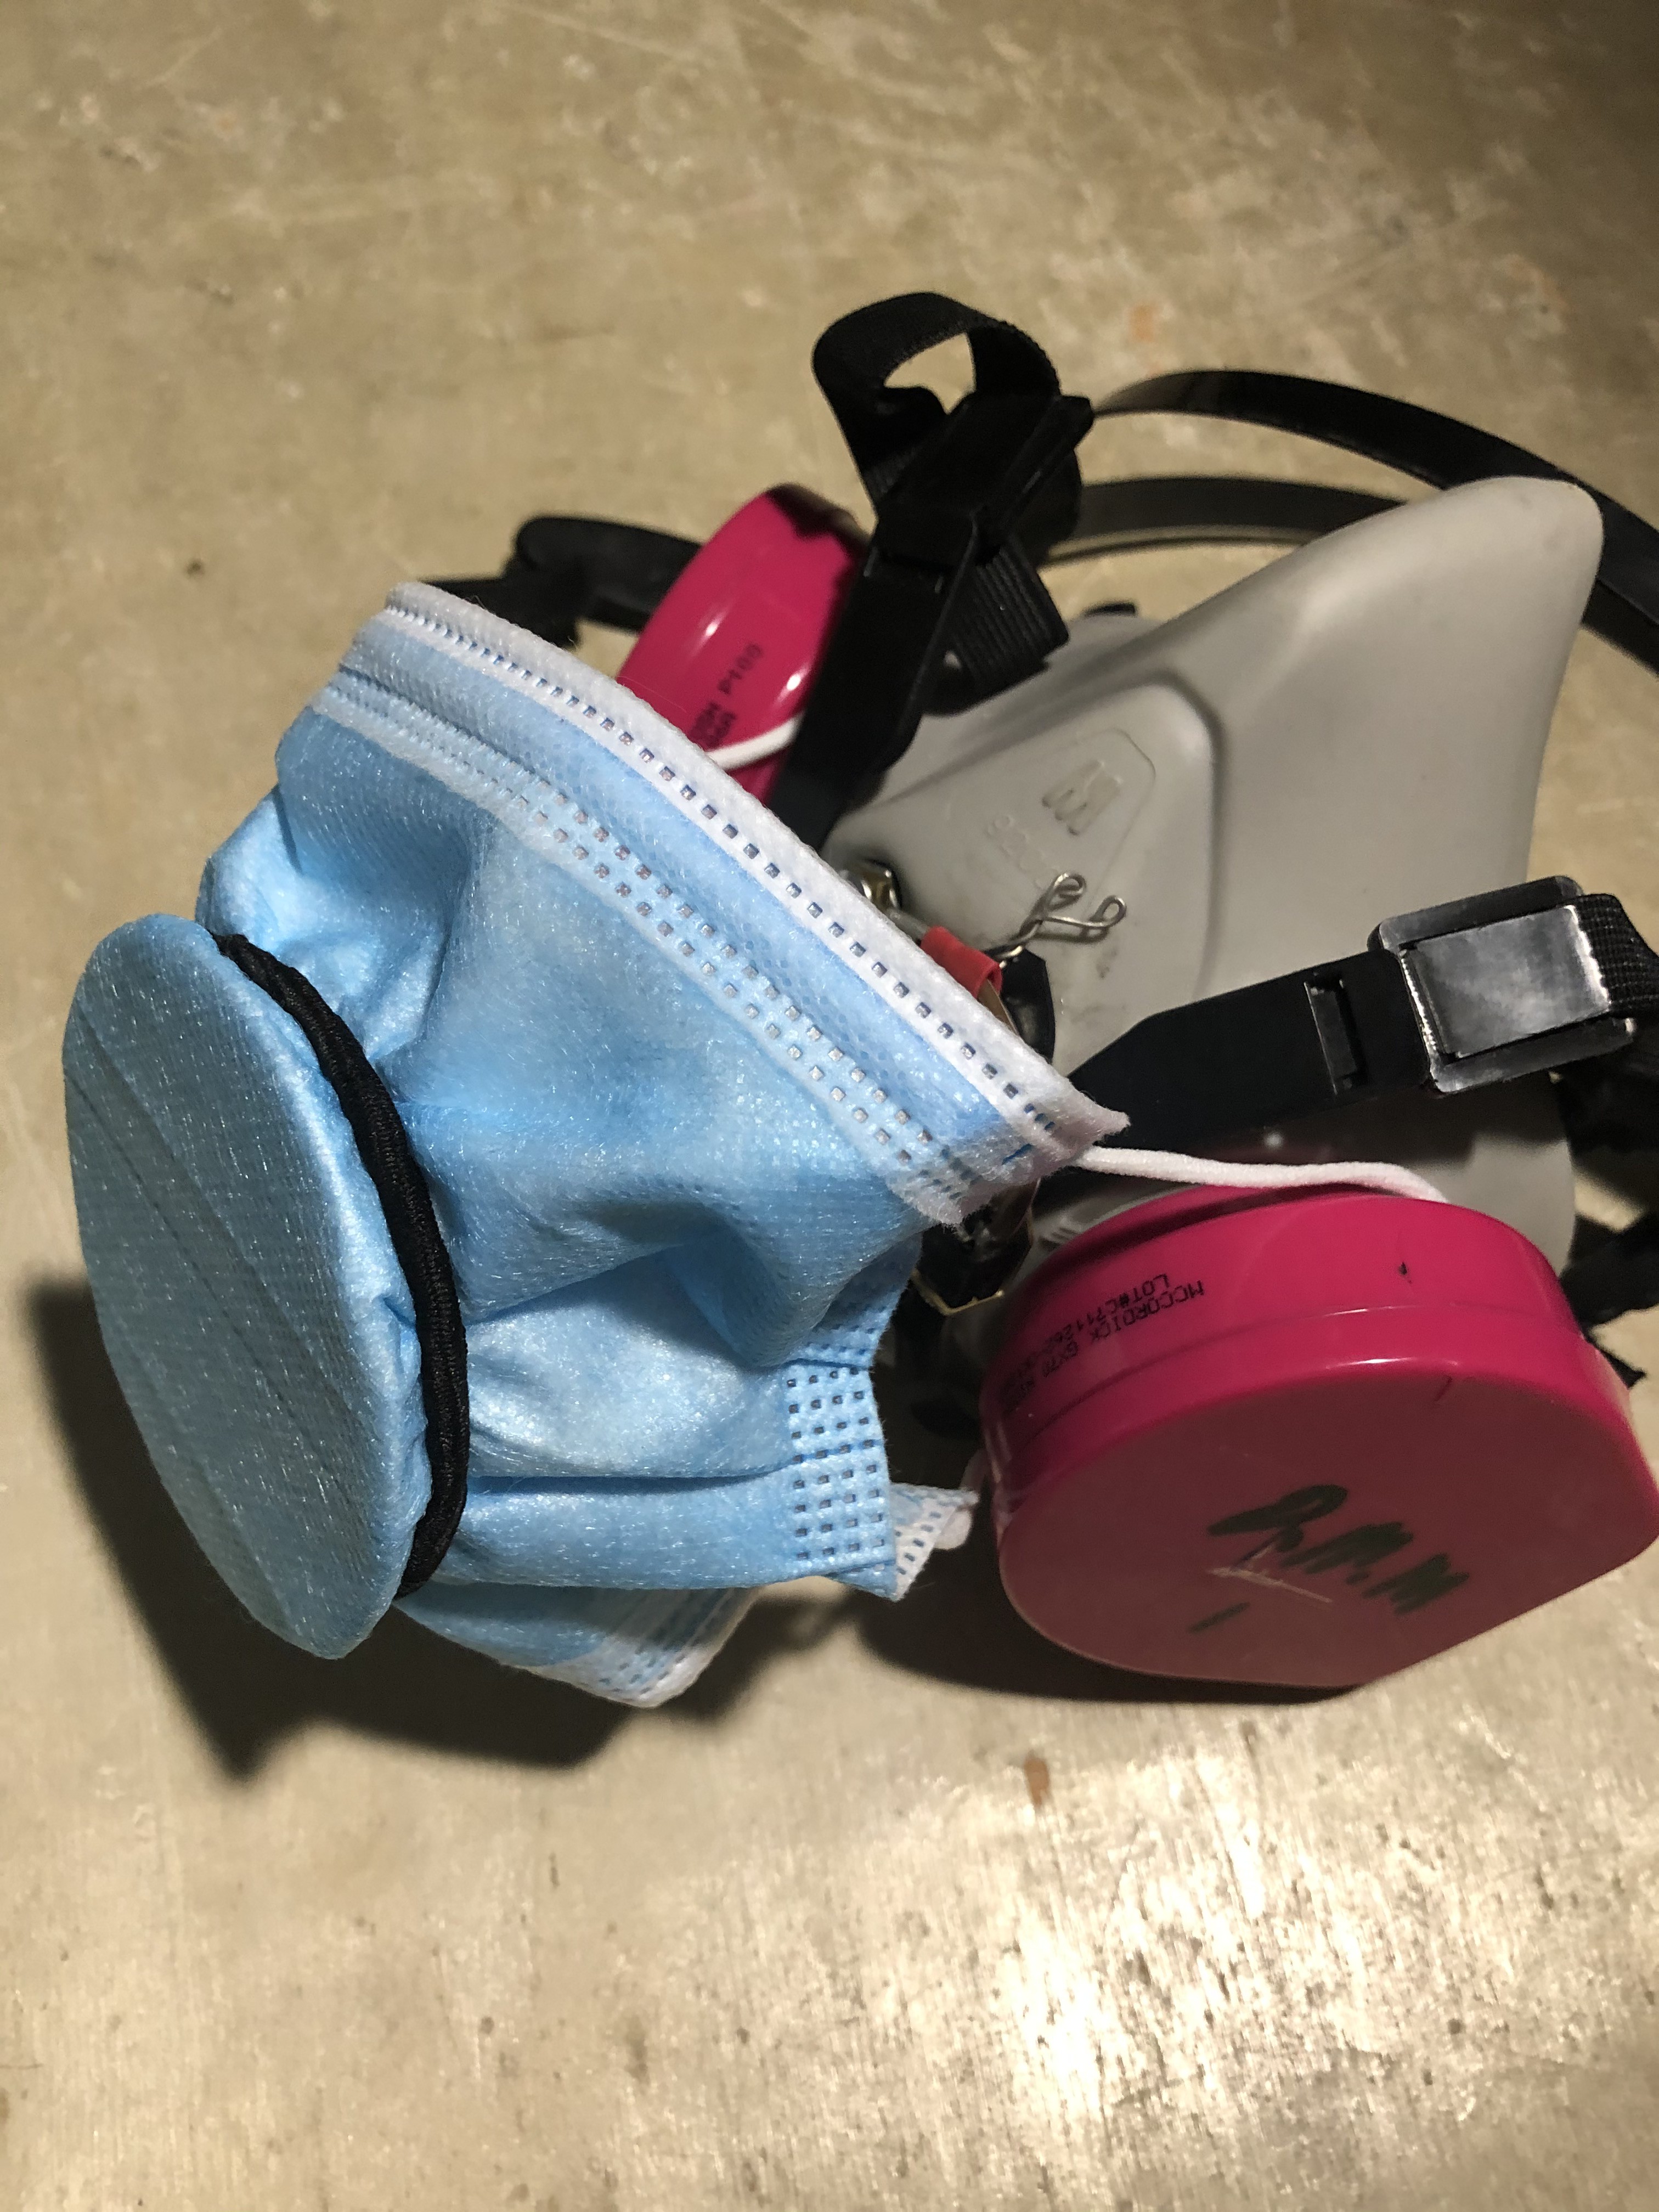
A problem with the P100 is that there is no filtration on the exhalation valve, so others are not protected if the wearer is infected by SARS-CoV-2 in spite of taking unusual precautions. I therefore connected a fabric filter holder to the exhalation valve, which prevents all exhaled-air leaks when a standard, blue medical mask is mounted on it.
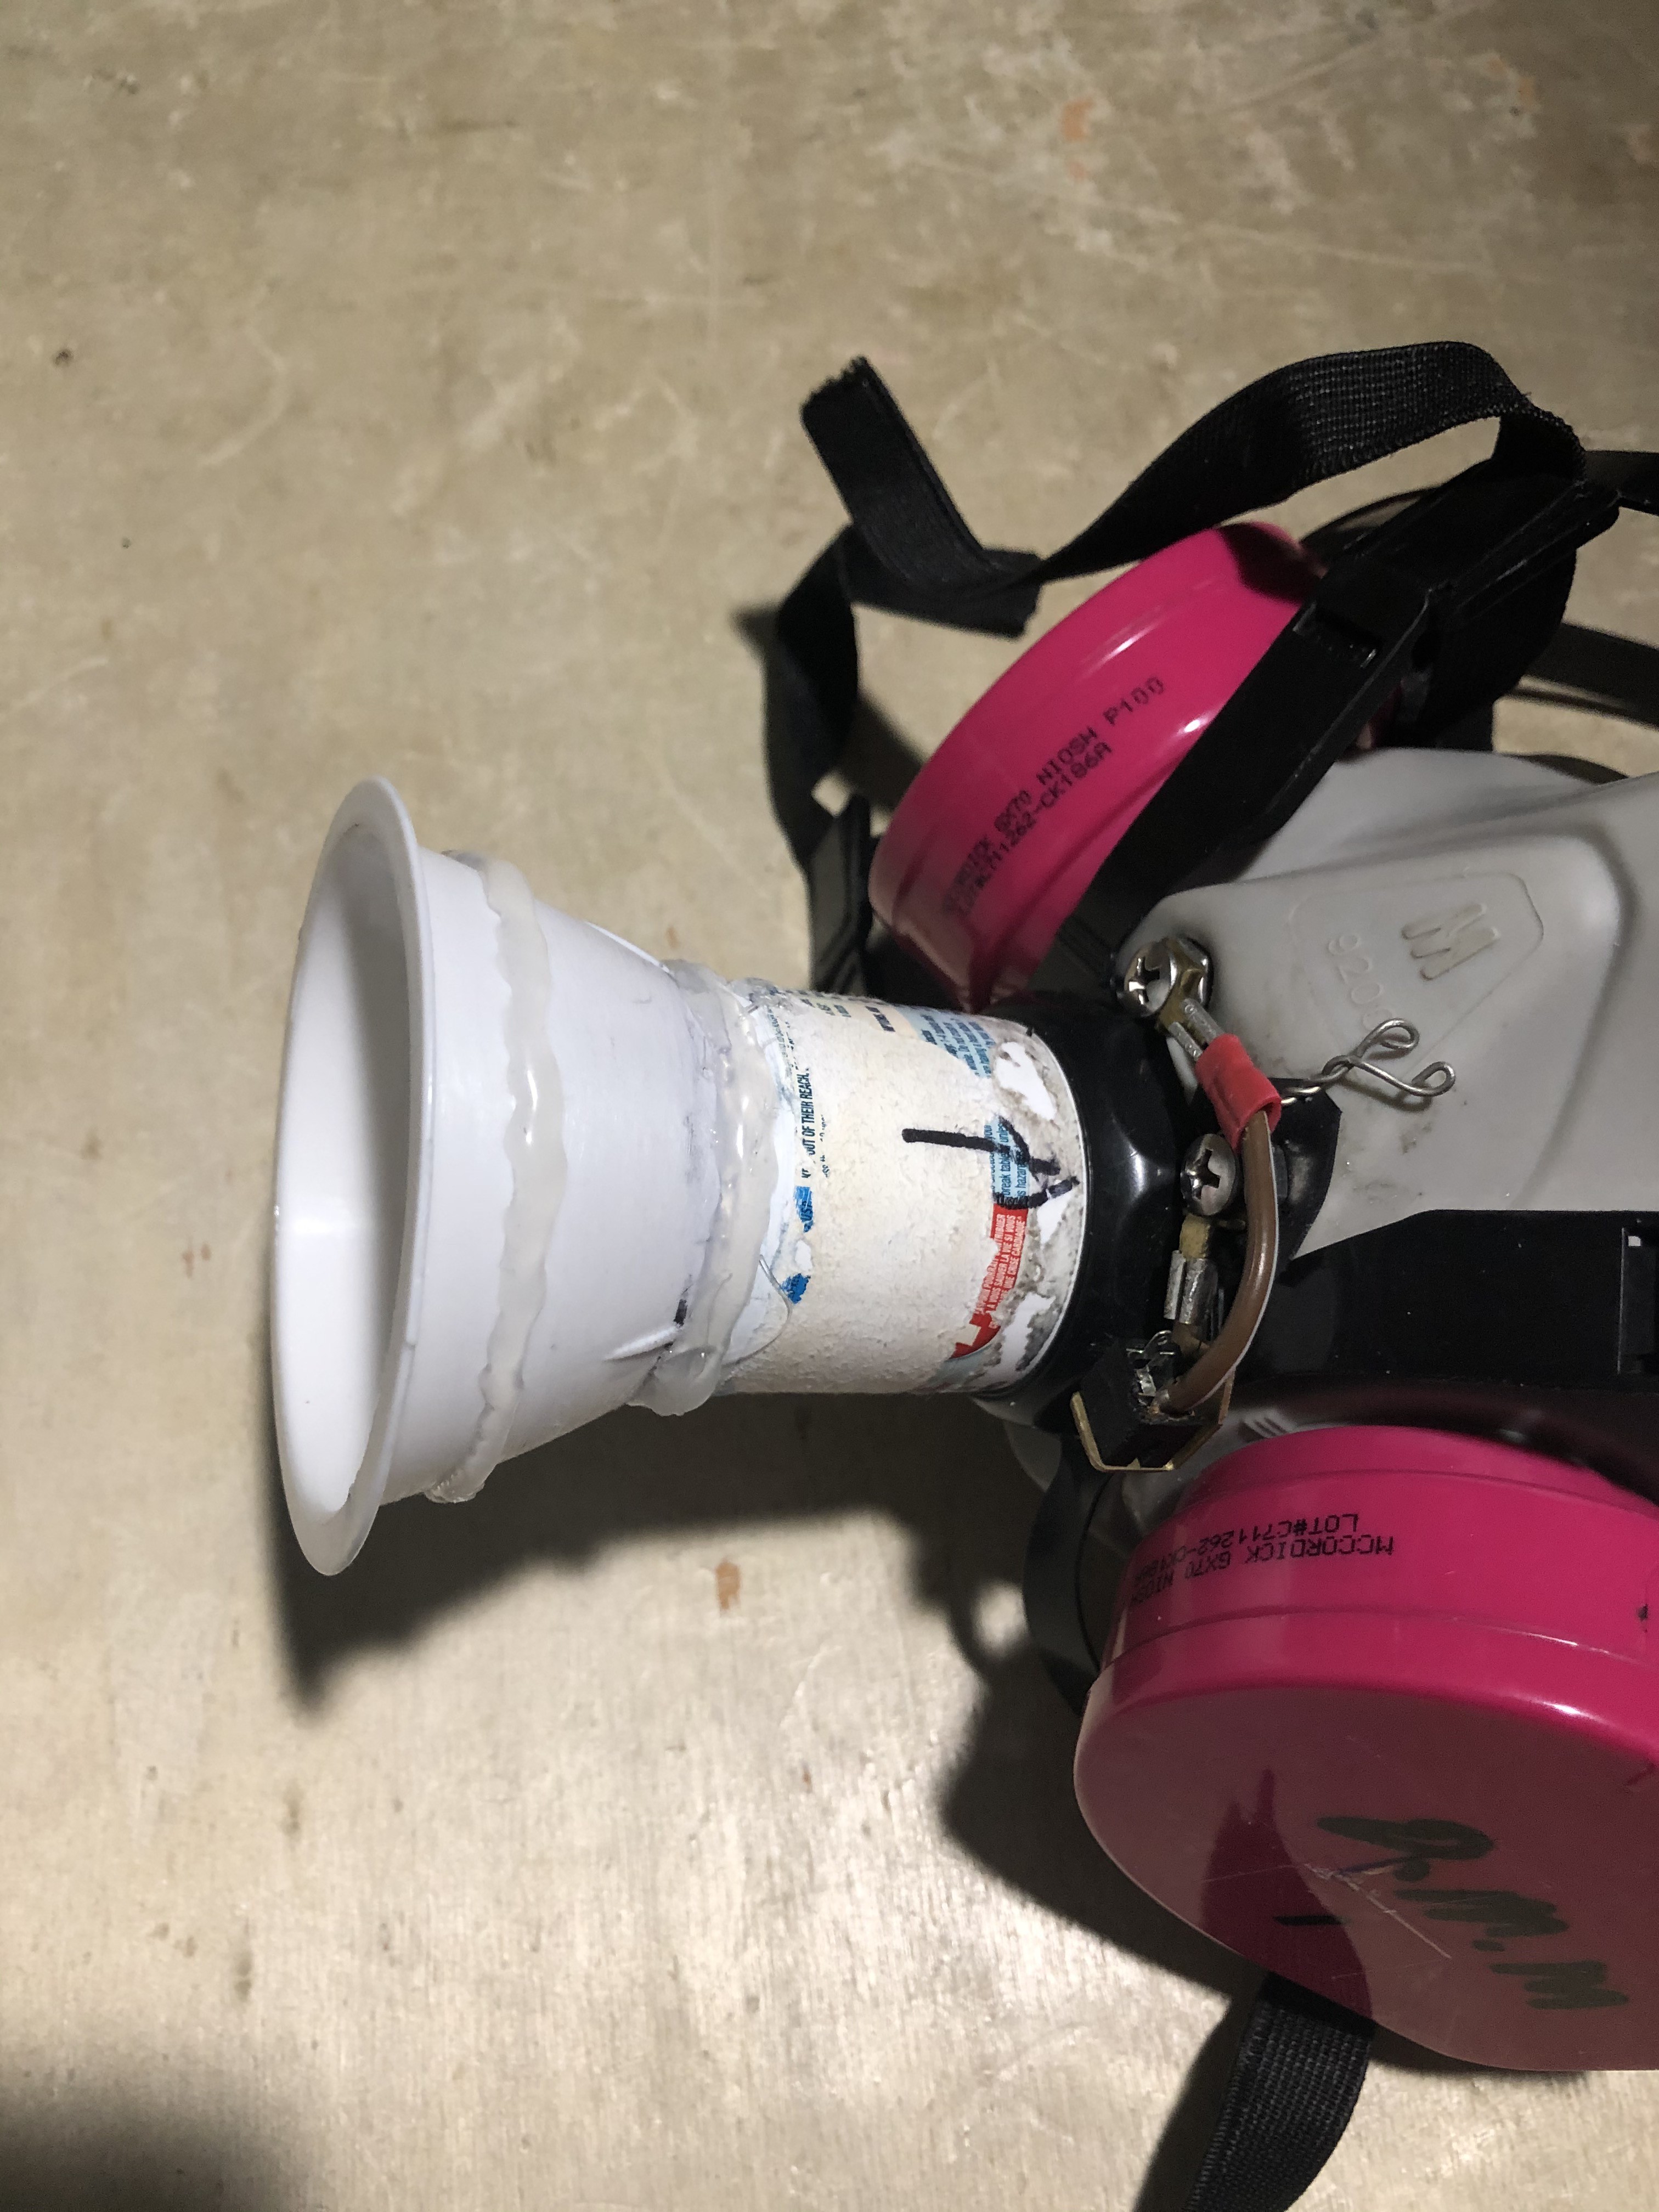
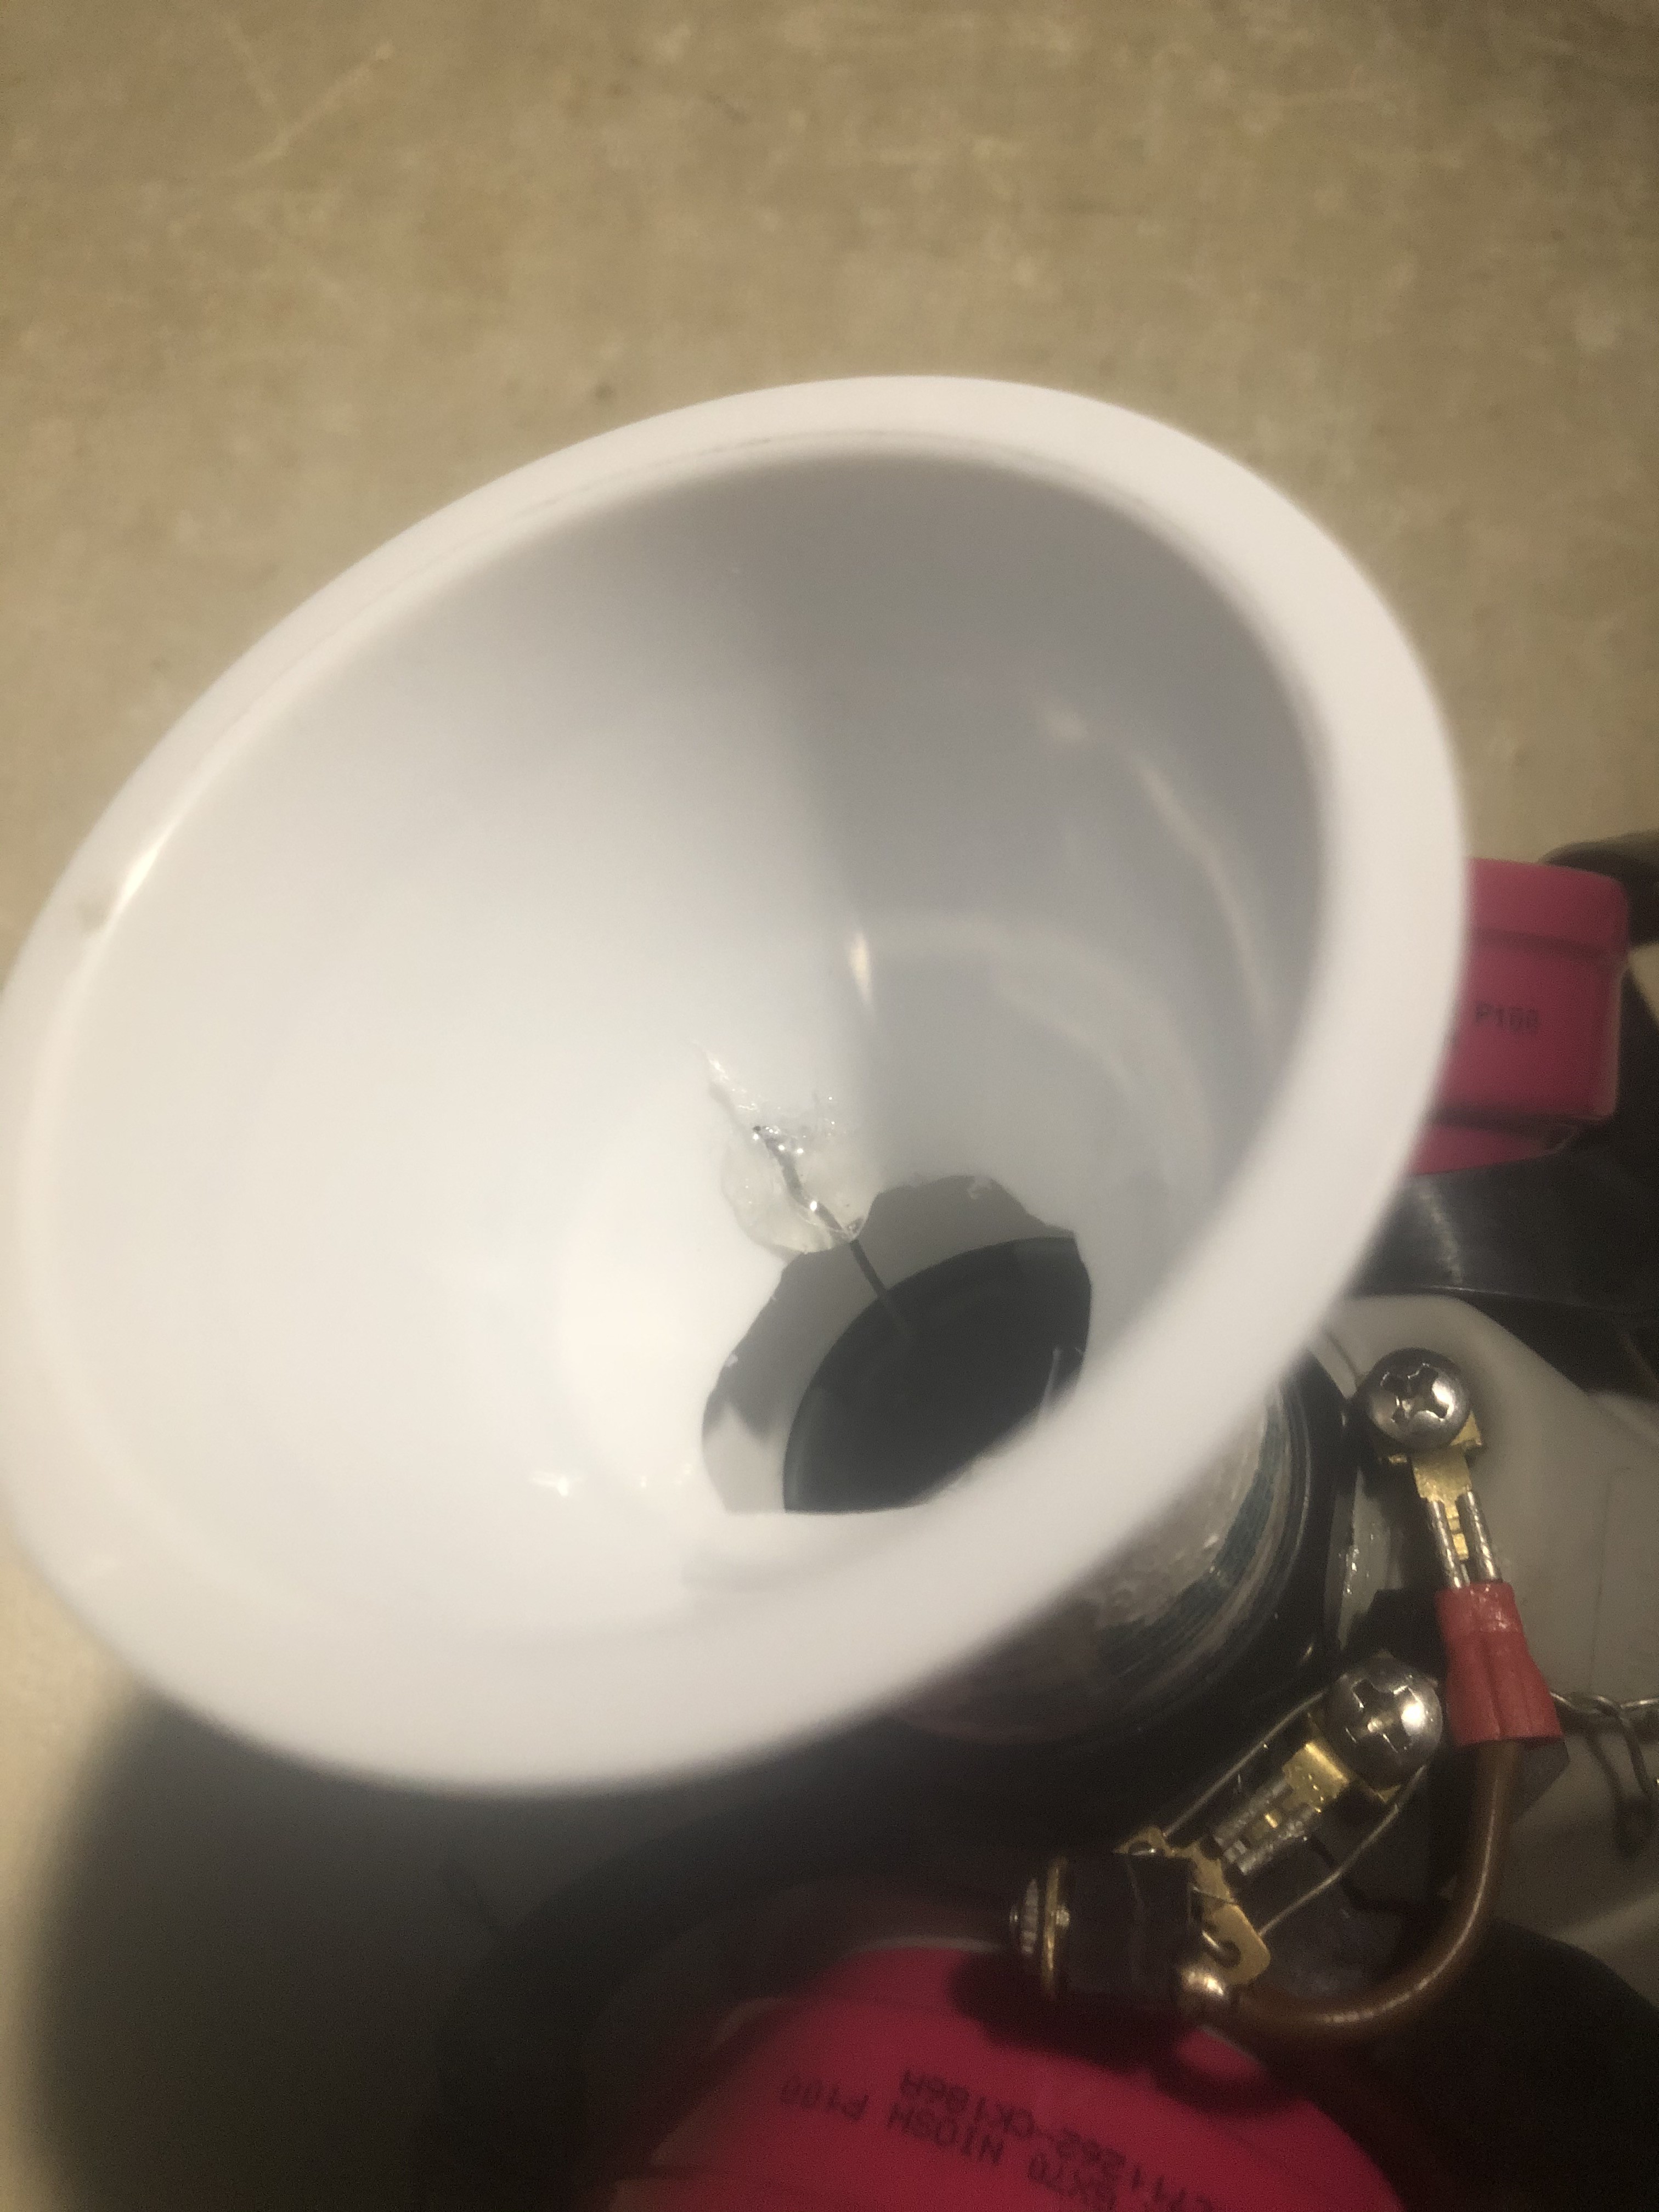
Making a fabric filter holder: I first prepared a 6-cm dia. plastic kitchen funnel by sanding the places where future hot glue would go. I then cleaned off the sandings. I cut off the hanger tab and then encircled the funnel with a bead of glue to help hold the fabric filter. I then cut off the original funnel stem and drilled small holes near the bottom to pass the hold-down wire. I then assembled a flared tube on the mask and used hot glue to seal the seam between the funnel and a new, larger stem tube placed below it. The bottom seam was also sealed with hot glue after the pictures below were taken, also with prior roughening and cleaning. The stem tube was cut from a 1.5" dia. aspirin bottle along the top and bottom of the label. The label was then scraped off near the bottom to allow a fit to the exhalation valve.
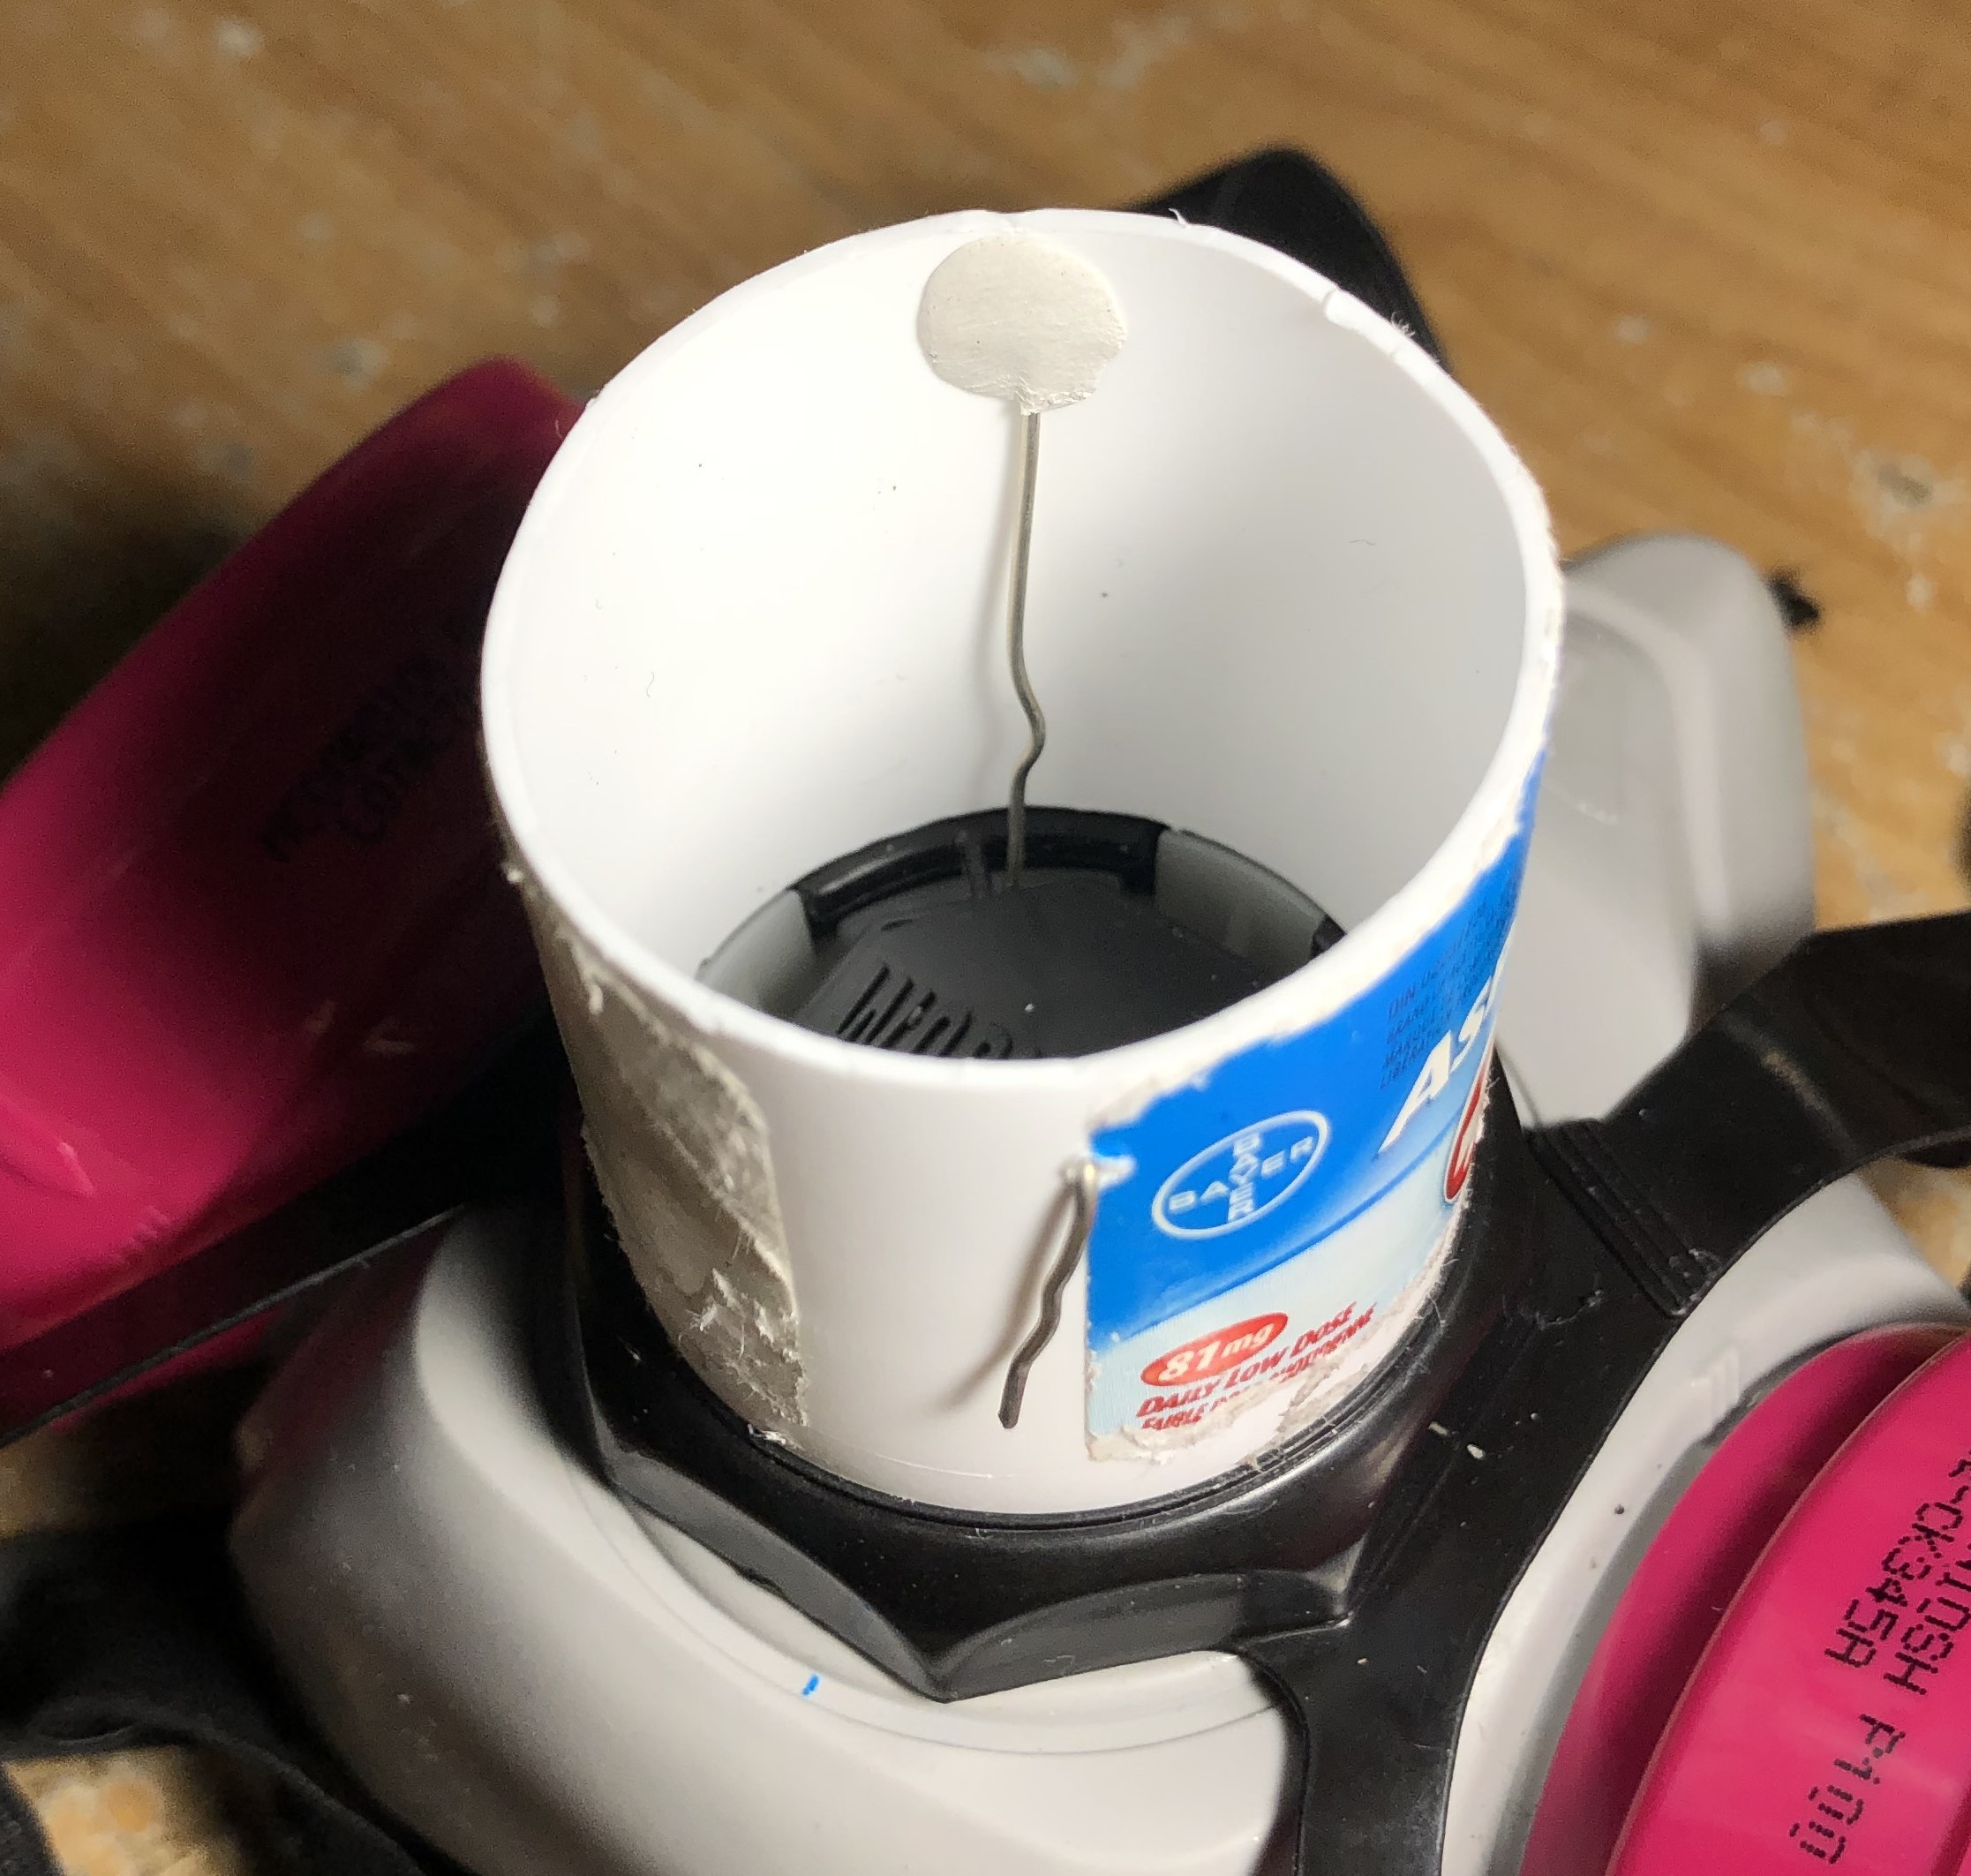
The hold-down wire is 20-gauge, tin-plated copper (header wire). The wire is U-shaped but with a flat bottom of the "U." It passes under the existing exhalation-valve protector before going up and passing through small holes inside the filter holder, after which it is folded down on each side, with tensioning, and glued. Holes were drilled with a 3/64" twist drill.
The stem tube fits snugly into the exhalation valve protector on the mask without leaks, but getting it to go in required a combination of force, accurate alignment, and stuffing in the parts that boinked out. A lubricant might have helped; haven't tried it. Something else to try would be filing the end of the tube on a bevel.
The fabric filter should be stretched over the funnel, pulled down around the edges, and cinched into place with a hair elastic; the elastic stays trapped between the rim and the glue bead. The mounting operation takes a bit of practice, and I evolved the following method: Hold the pulled-down filter in your fist so there is a space between your hand and the rim where a portion of the elastic can sit securely while you stretch it over the rest of the filter. Then go around the rim gently pulling out wrinkles
Exhalation filter holder with filter mounted Exhalation filter holder, overview (FYI, The pictures show an earlier version of the project that used a different sound-pickup strategy.) Exhalation filter holder, detail of hold-down wire ![Exhalation filter holder, detail of stem Exhalation filter holder, detail of stem]()
Exhalation filter holder, detail of stem (This is an earlier build in which the hold-down wire went through the stem instead of the funnel.) -
4Speaker Box
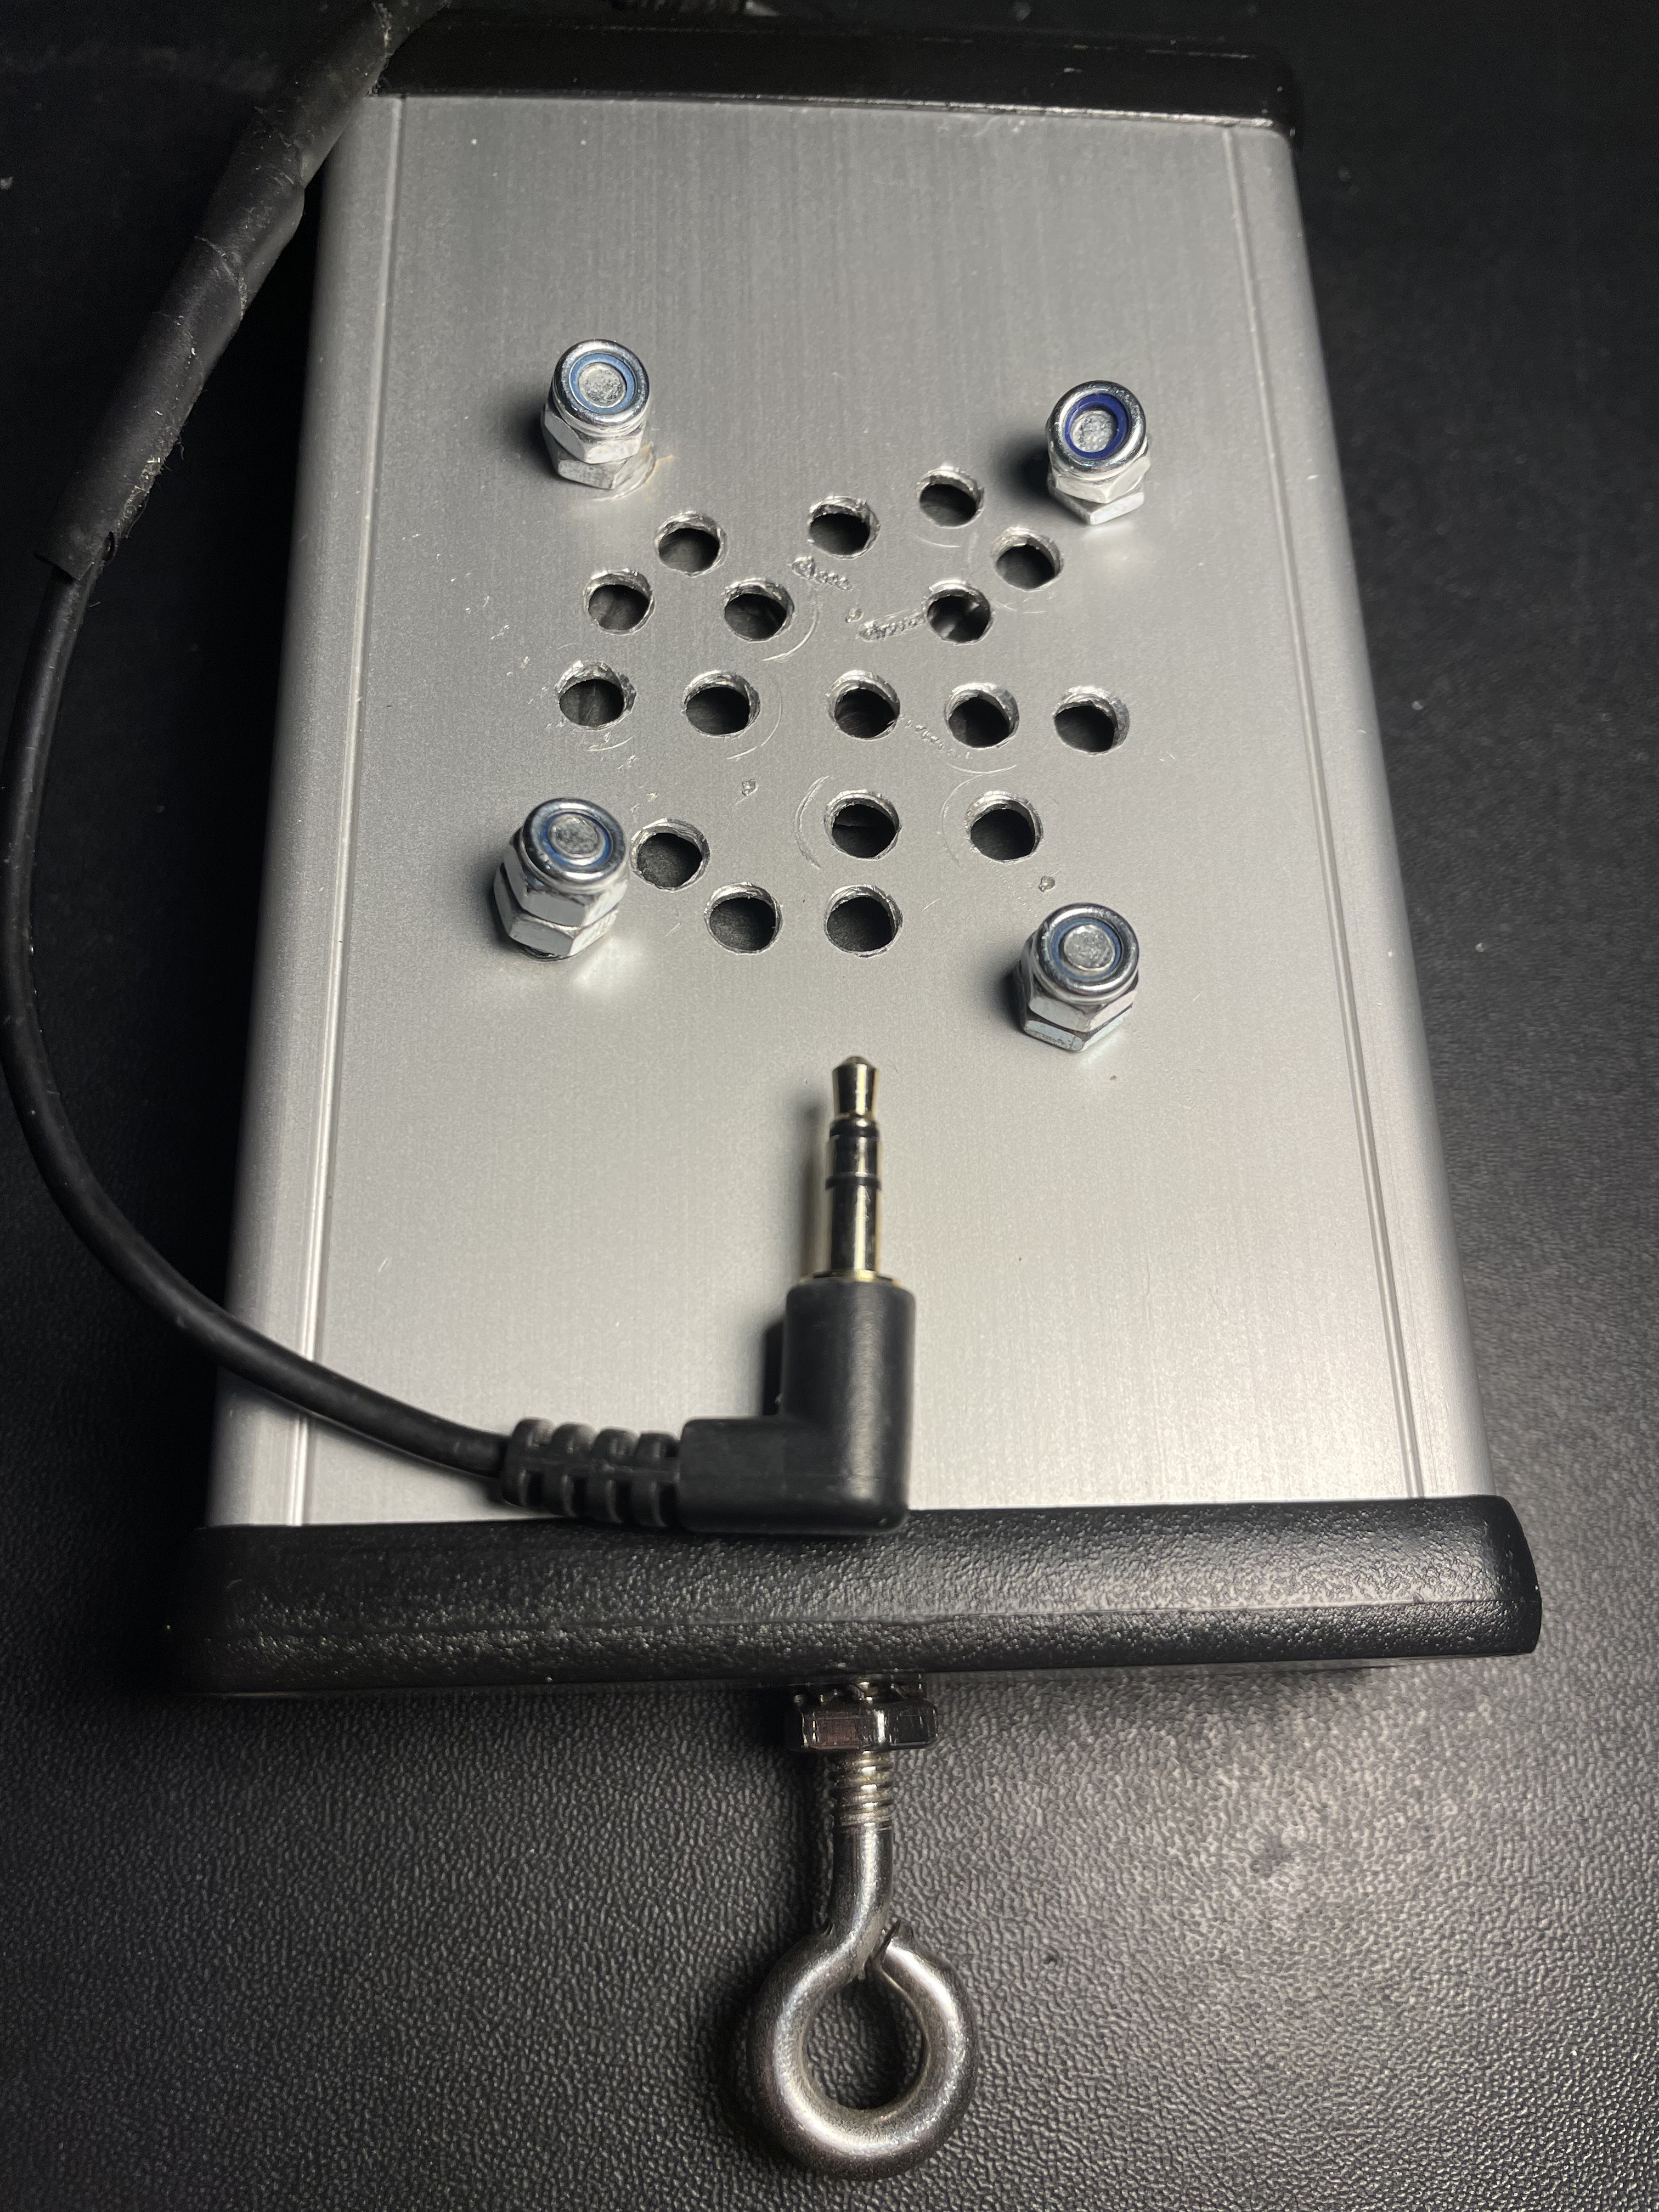
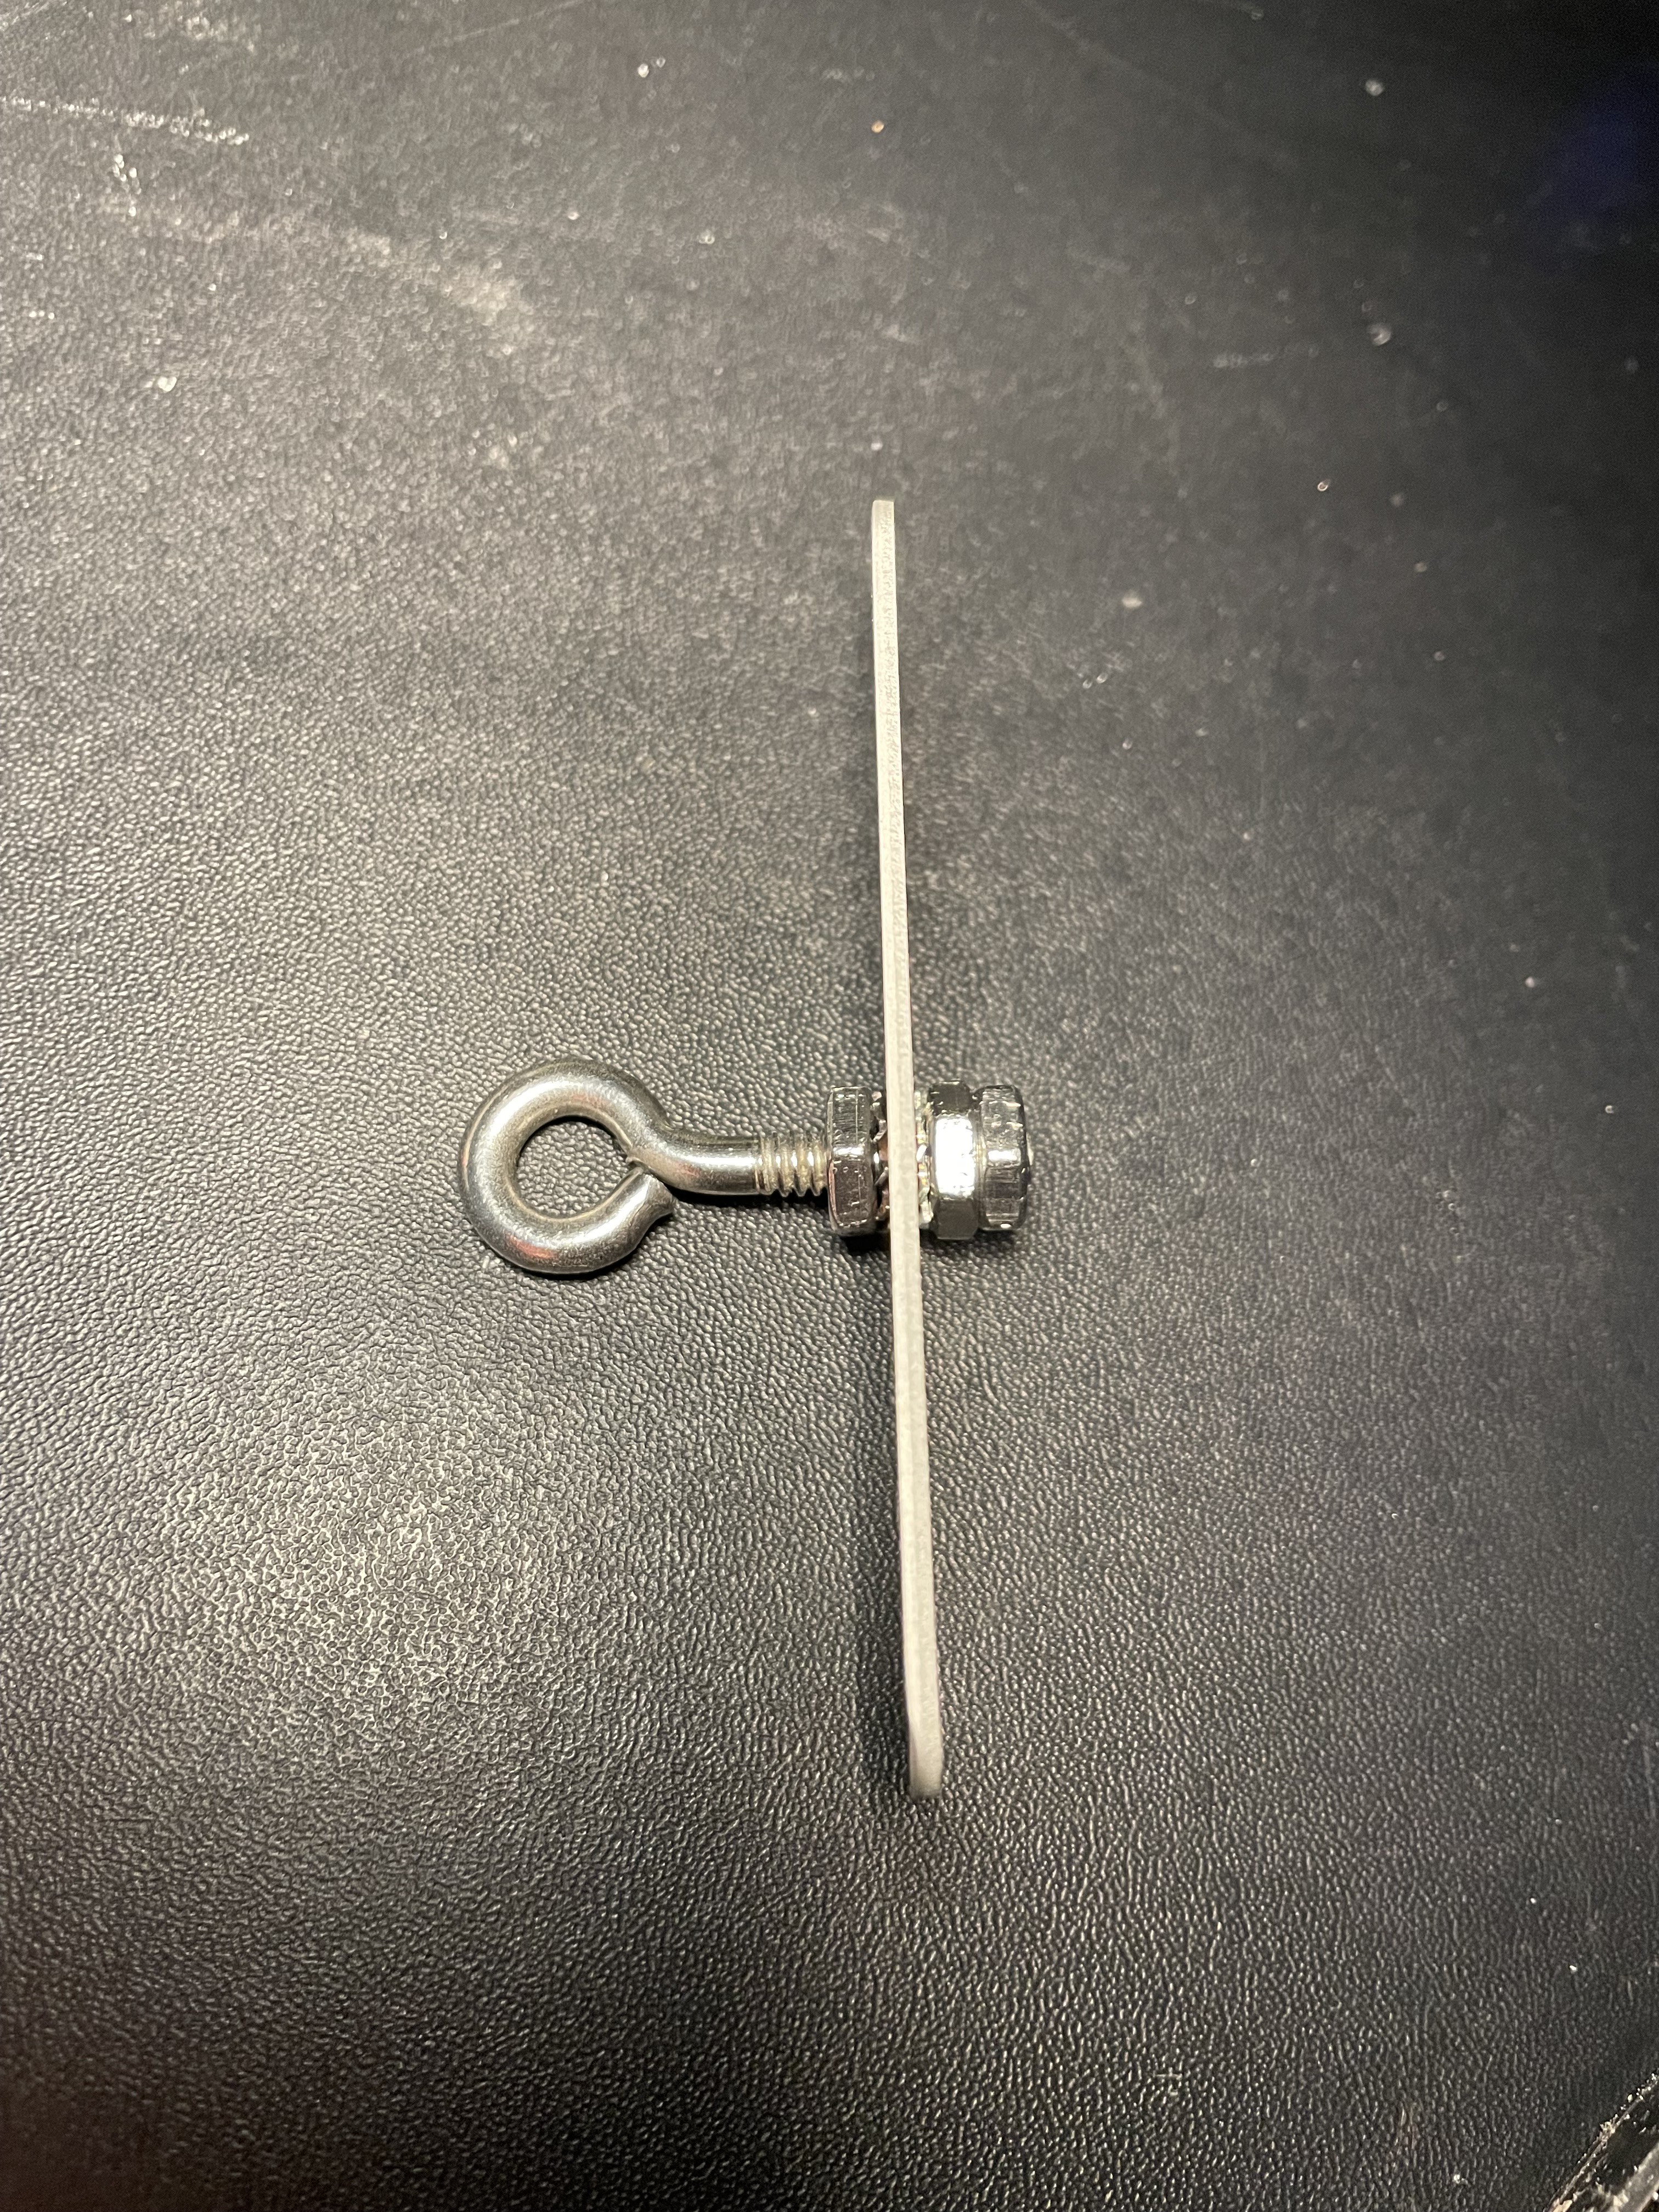
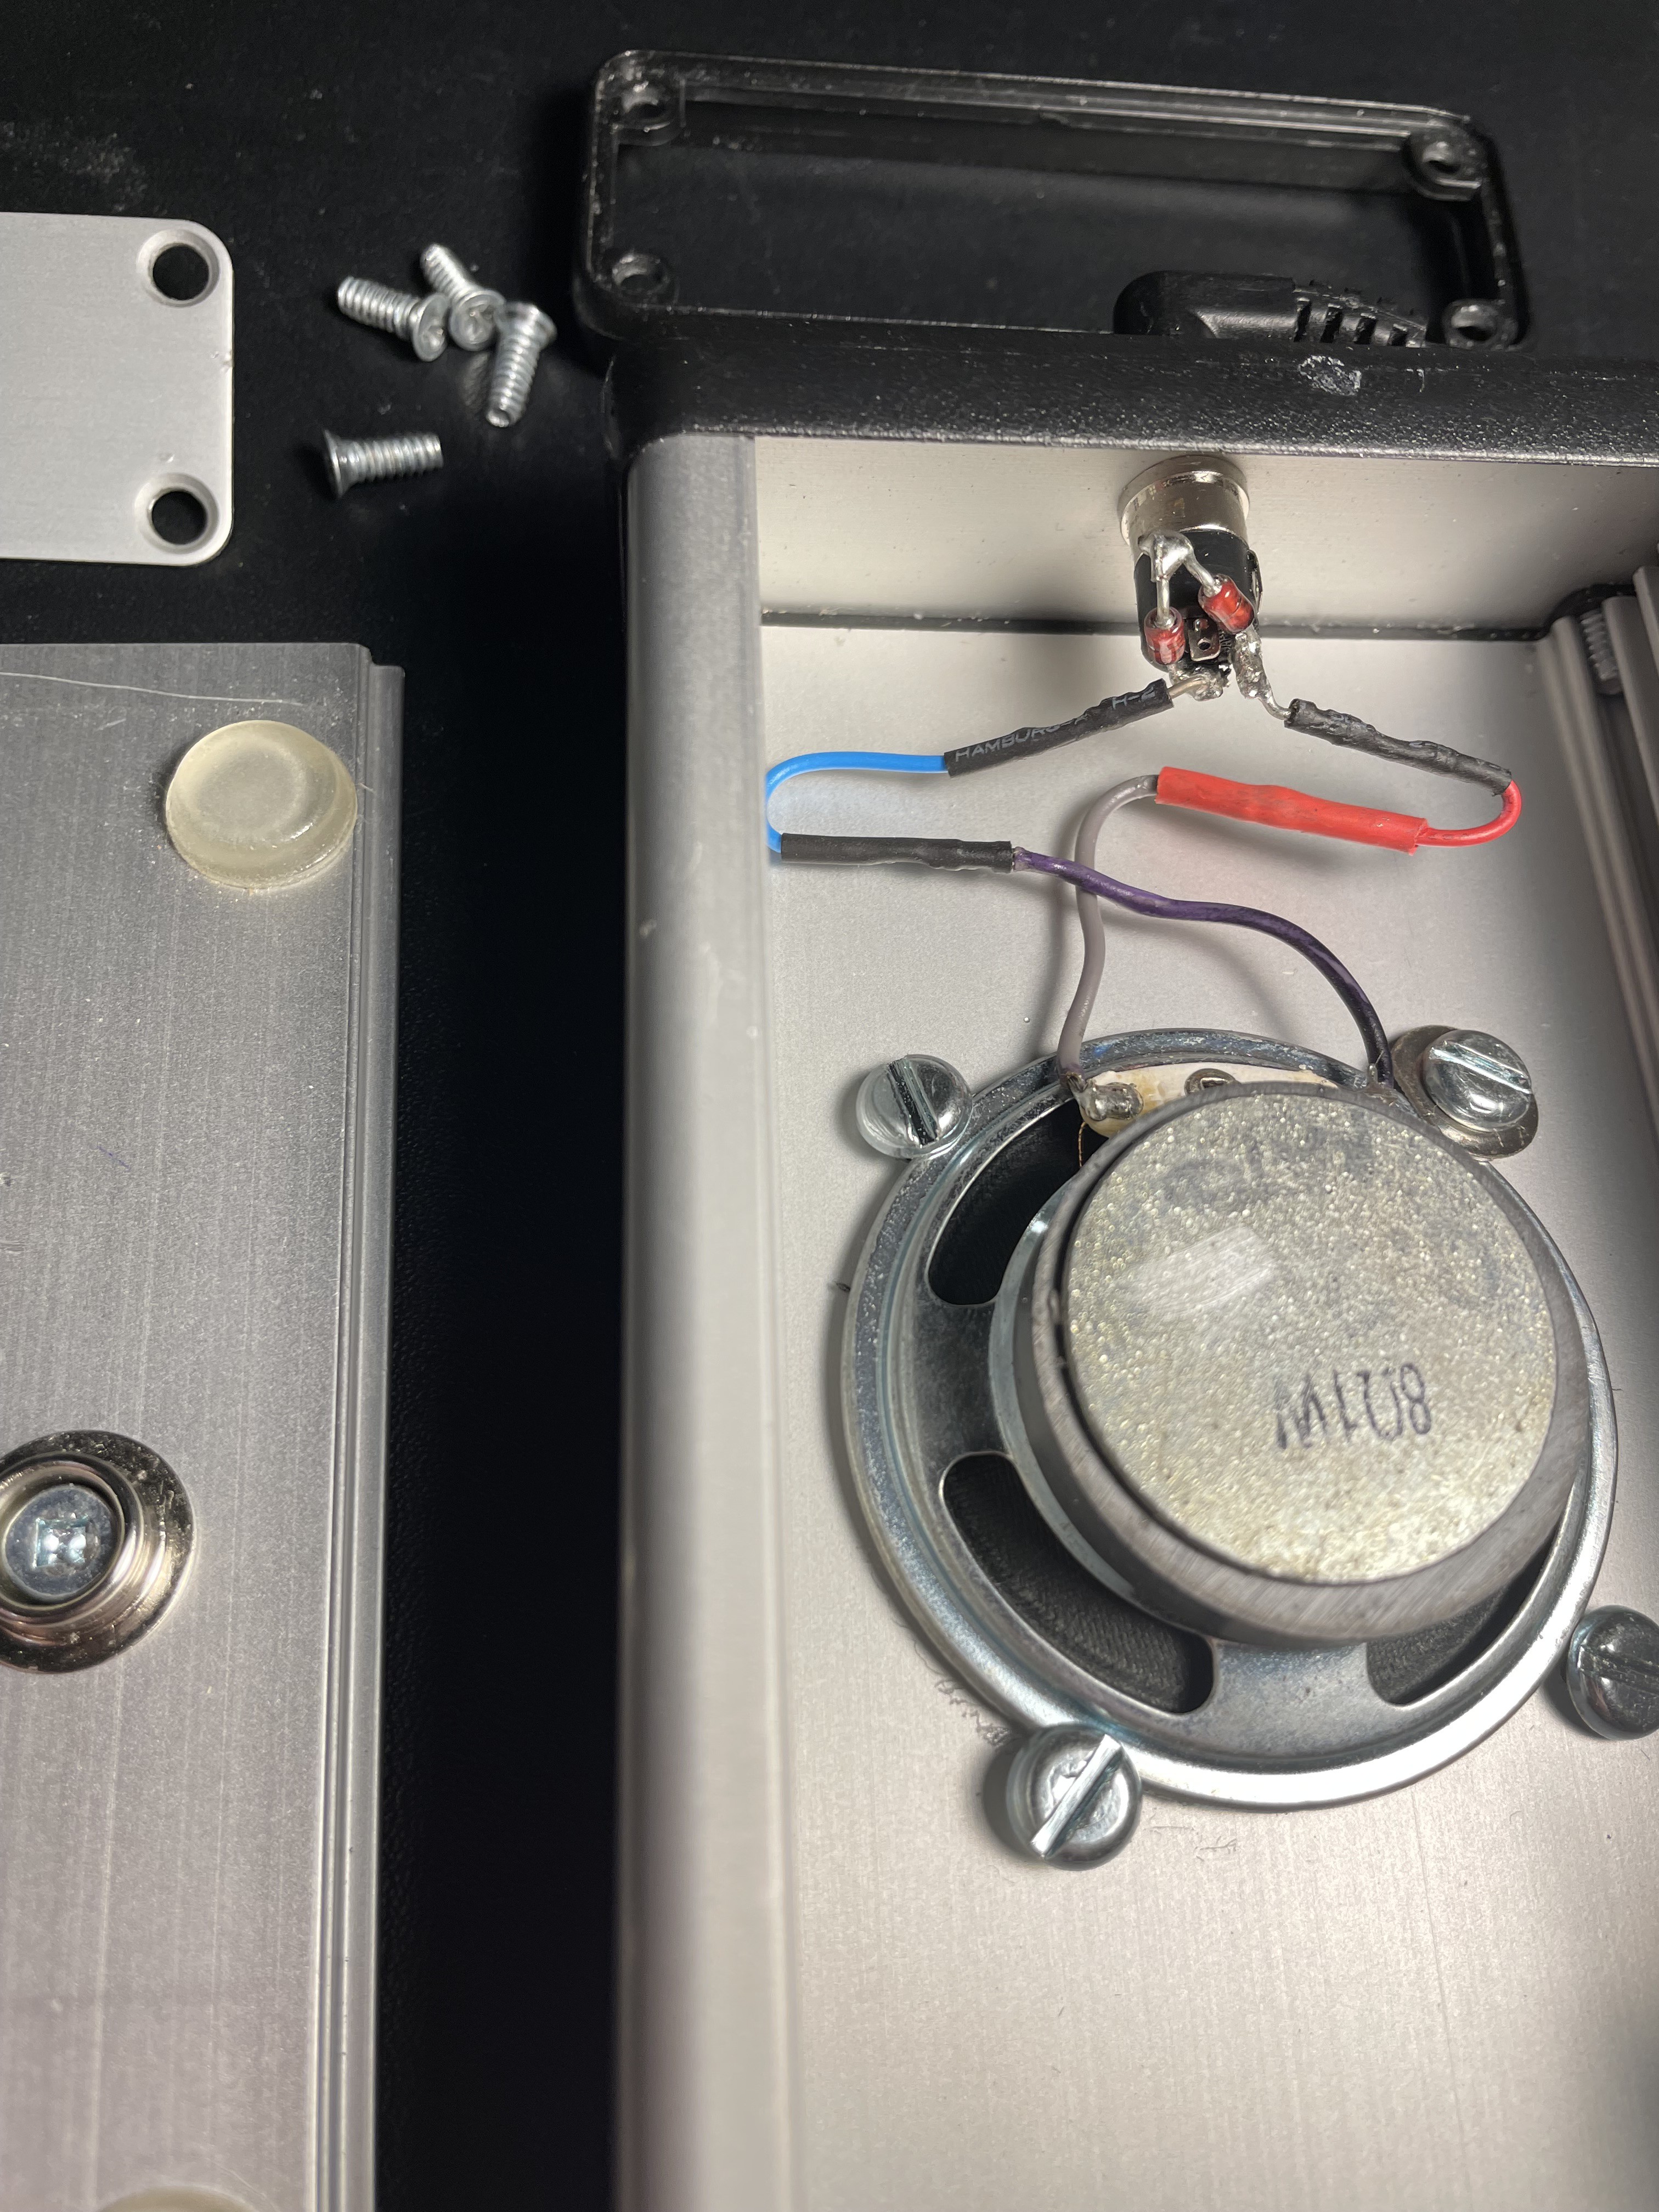
Uses an extruded aluminum project box with the speaker clamped inside as shown, and an eyebolt fastened SECURELY to the top. Detail of eyebolt and box lid, featuring two sharp, star-shaped lock washers and a pair of nuts tightened against each other. Speaker box, inside view, showing the electrical connection to a stereo mini barrel jack, which is chassis-mounted in the bottom. A pair of head-to-head, 1-W, 12-V zeners is connected from signal to ground as protection. One of three 1/2" metal snaps is also shown, which are used to mechanically connect the speaker box to the intercom box.
A P100 Mask Intercom
A conventional P100 respirator upgraded for use as COVID-19 PPE by the addition of an intercom and a means of exhaled-air treatment
 David Matthew Mooney
Discussions
Become a Hackaday.io Member
Create an account to leave a comment. Already have an account? Log In.