 Alpenglow Industries
-
1Insert the switch into the switch holder.
![]()
We find it easiest to insert the post nearest the LED into the corresponding hole on the switch first, then pull out the other tab while swinging the switch around and snapping it into place.
-
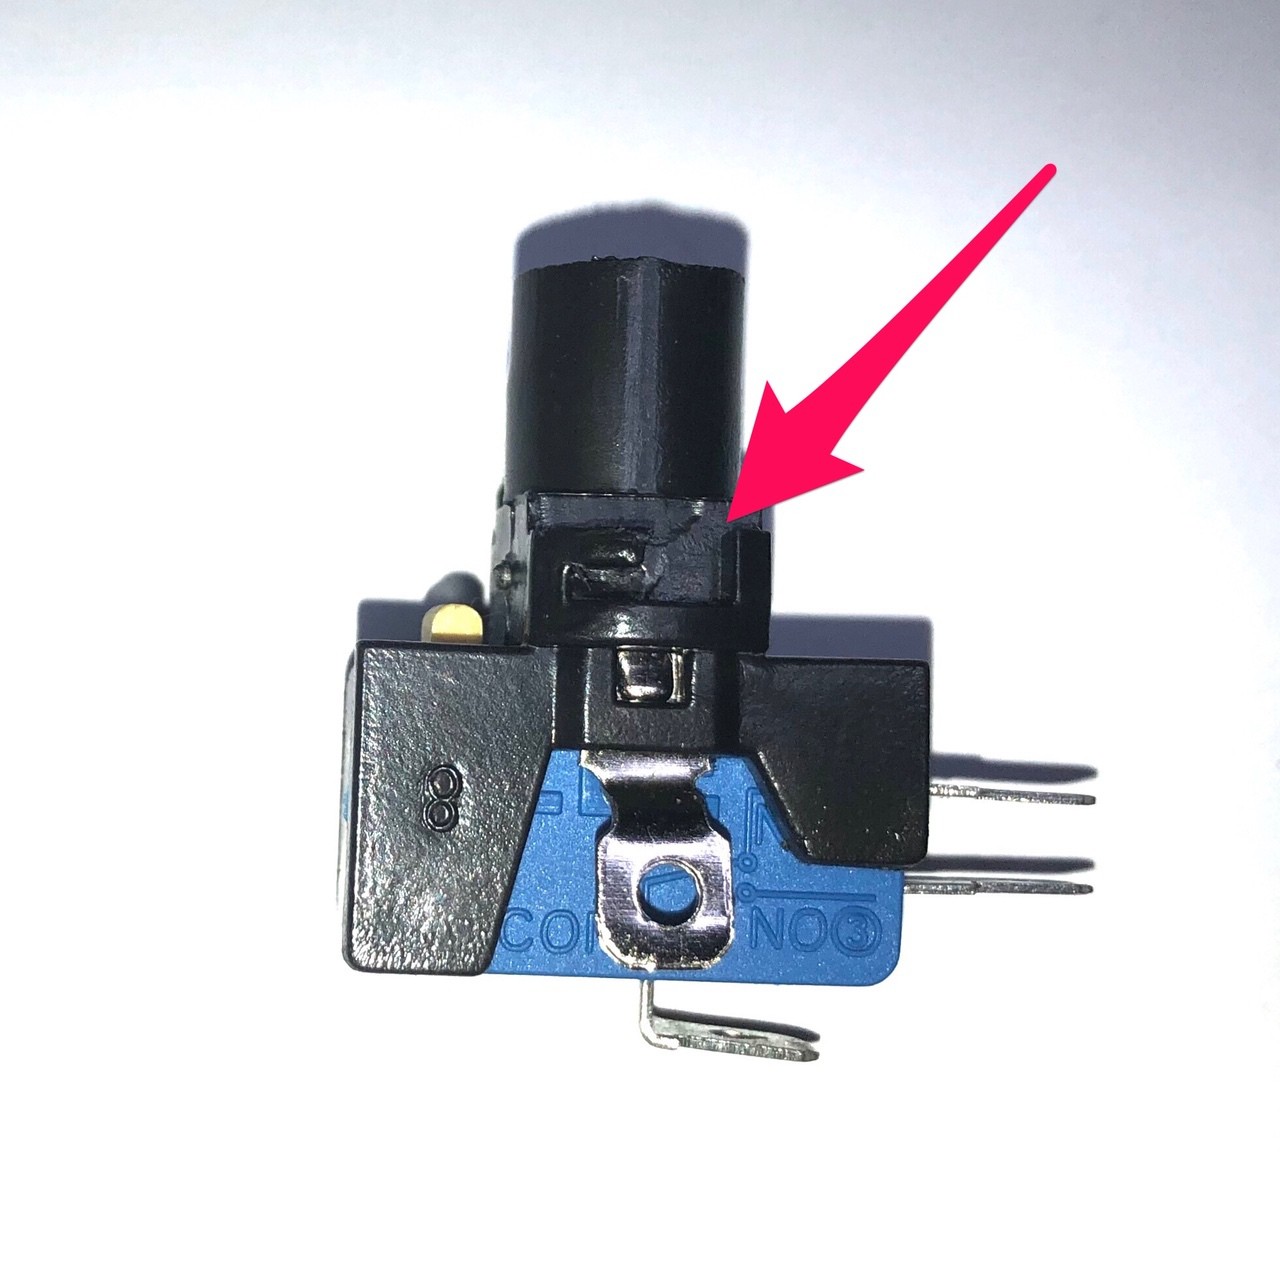
2Push the quick connect receptacles onto the blades.
![]()
The larger ones (0.250”) attach to the LED blades, the smaller ones (0.187”) attach to the switchblades. Note that COM is the blade on the bottom of the switch, and you can choose whether to attach the second one to either NO (normally open) or NC(normally closed).
-
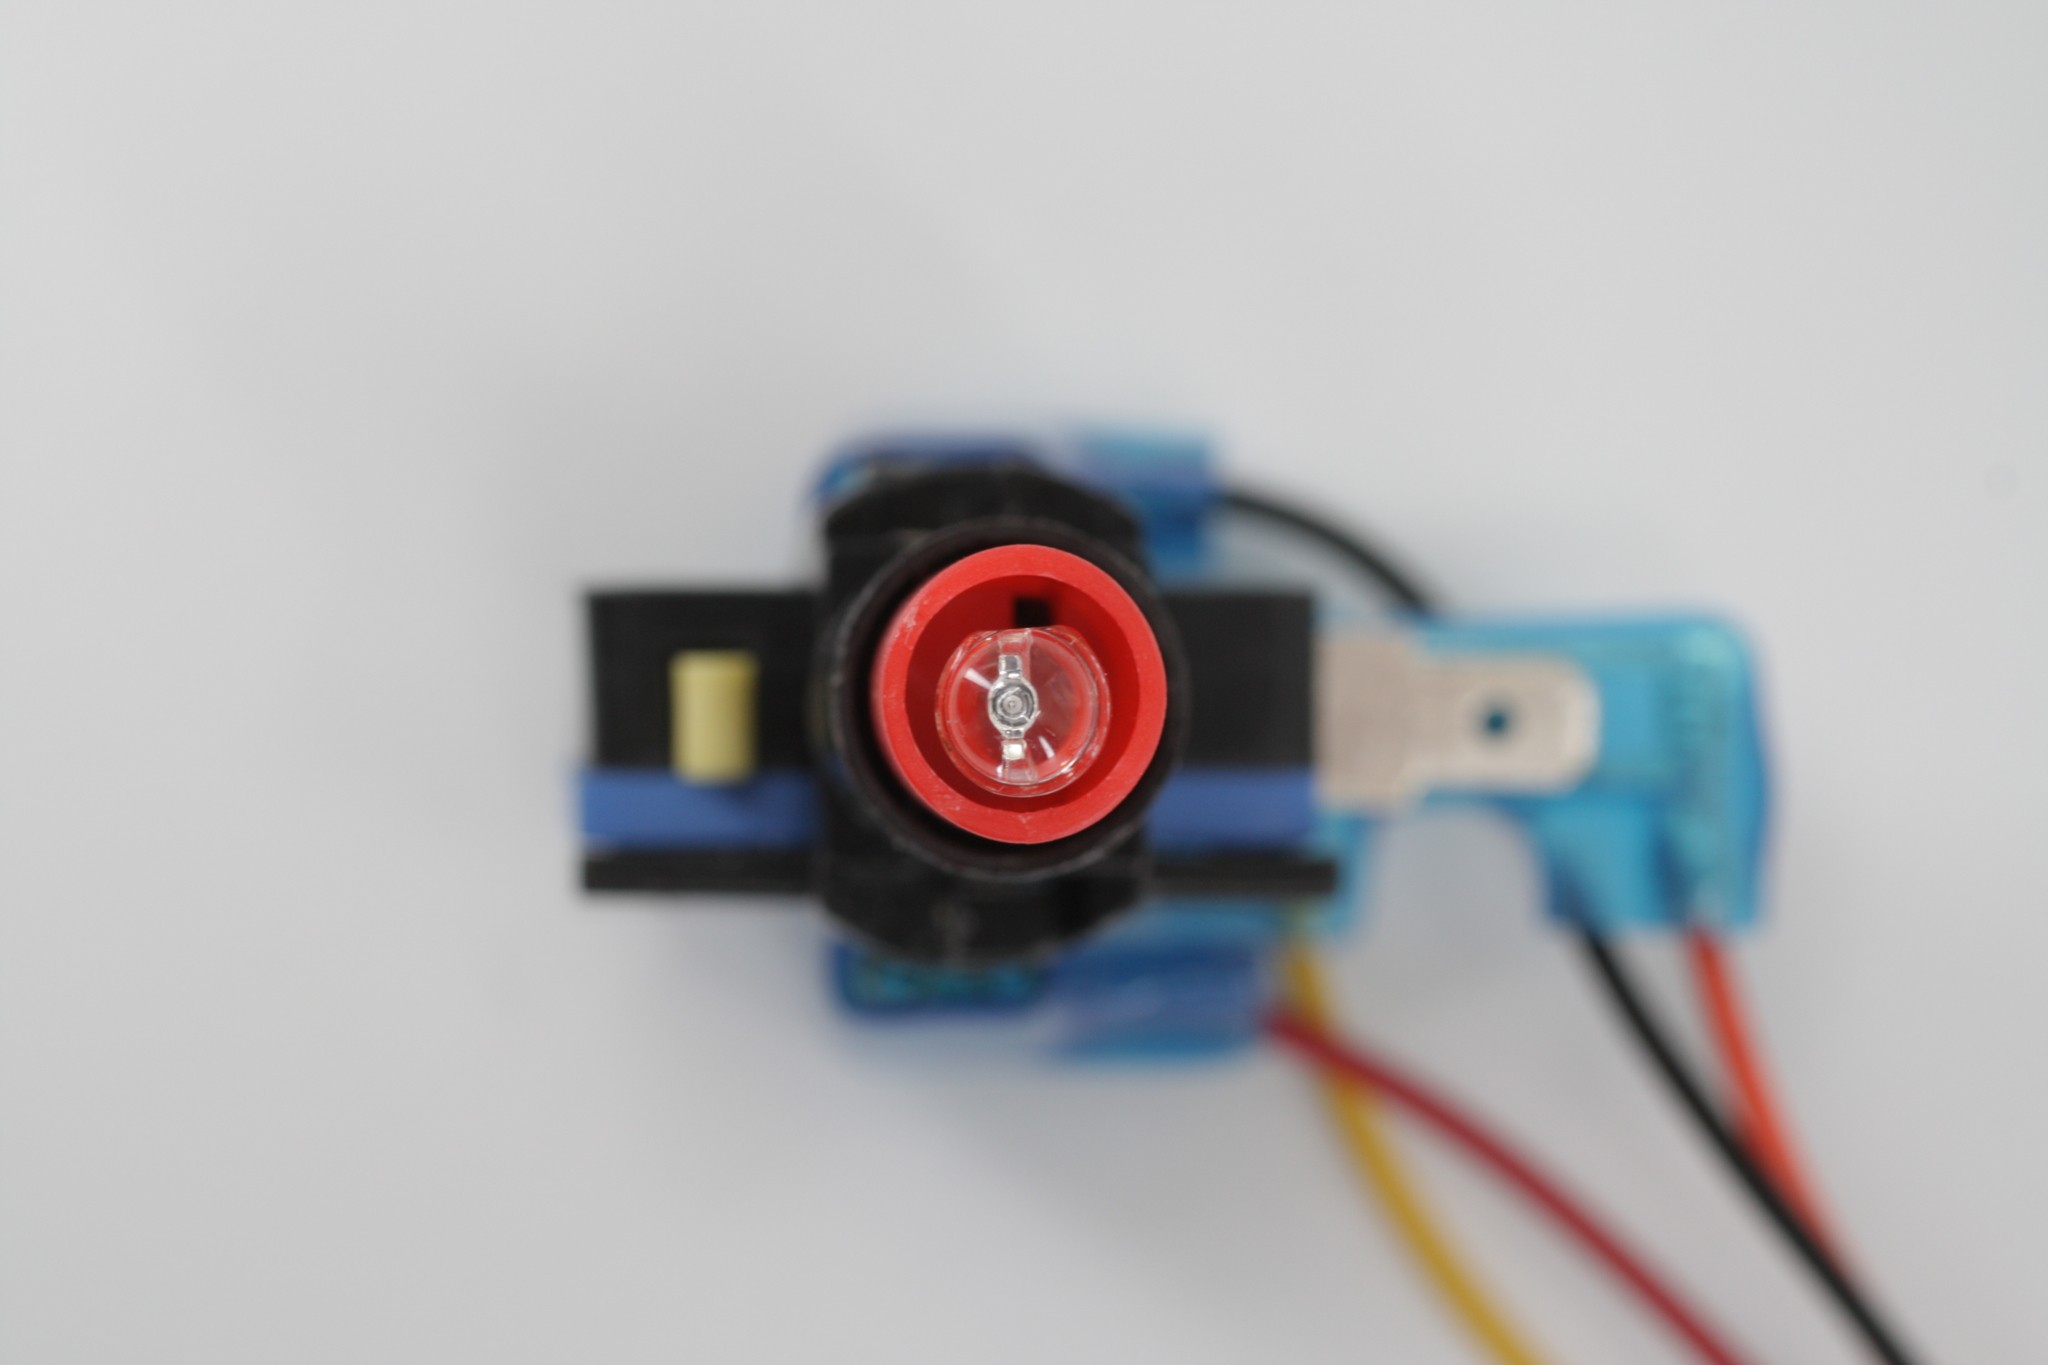
3Place the LED into the LED holder
*Make a note of which leg the flat side/cathode of the LED is contacting. You’ll need to know this later when connecting the button to your project.
![]()
-
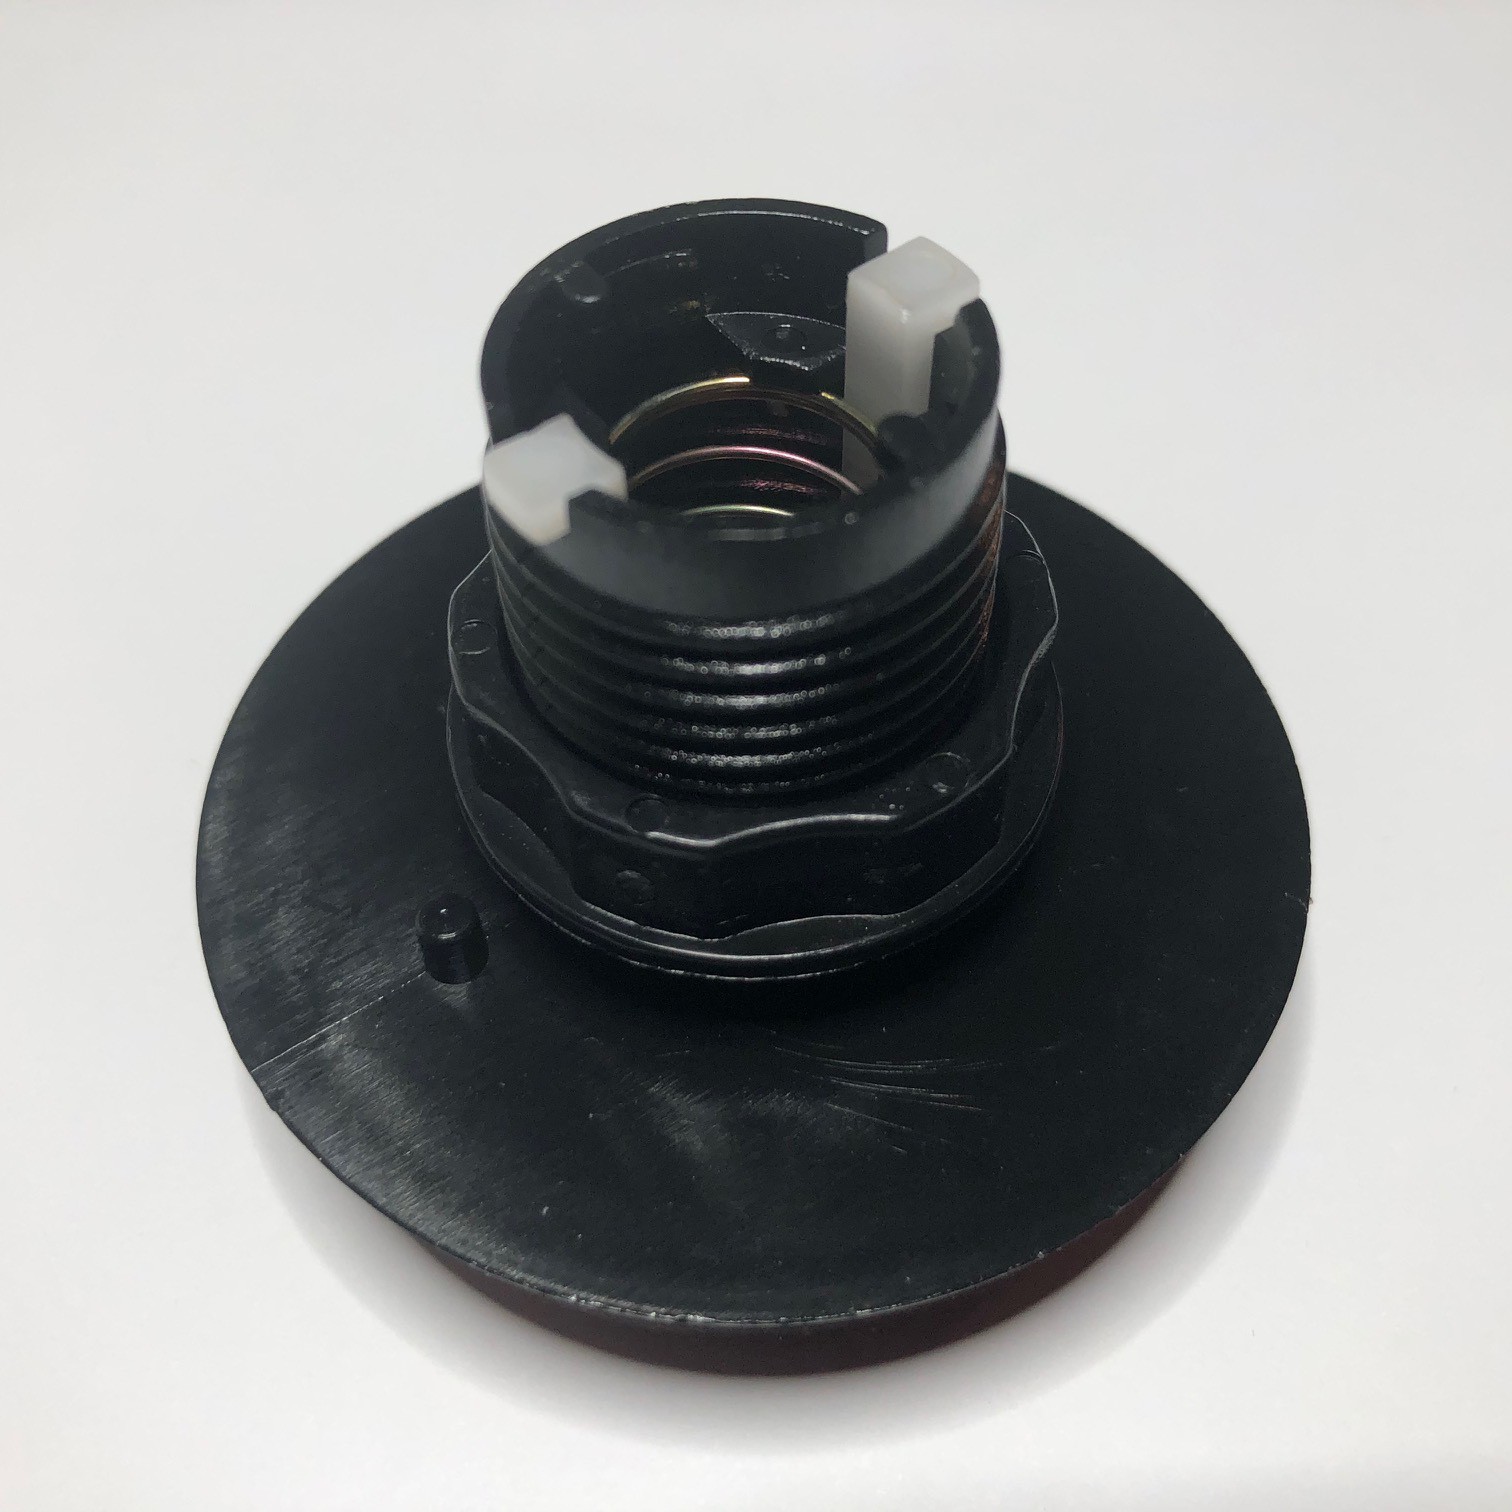
4Unscrew the nut from the button.
![]()
-
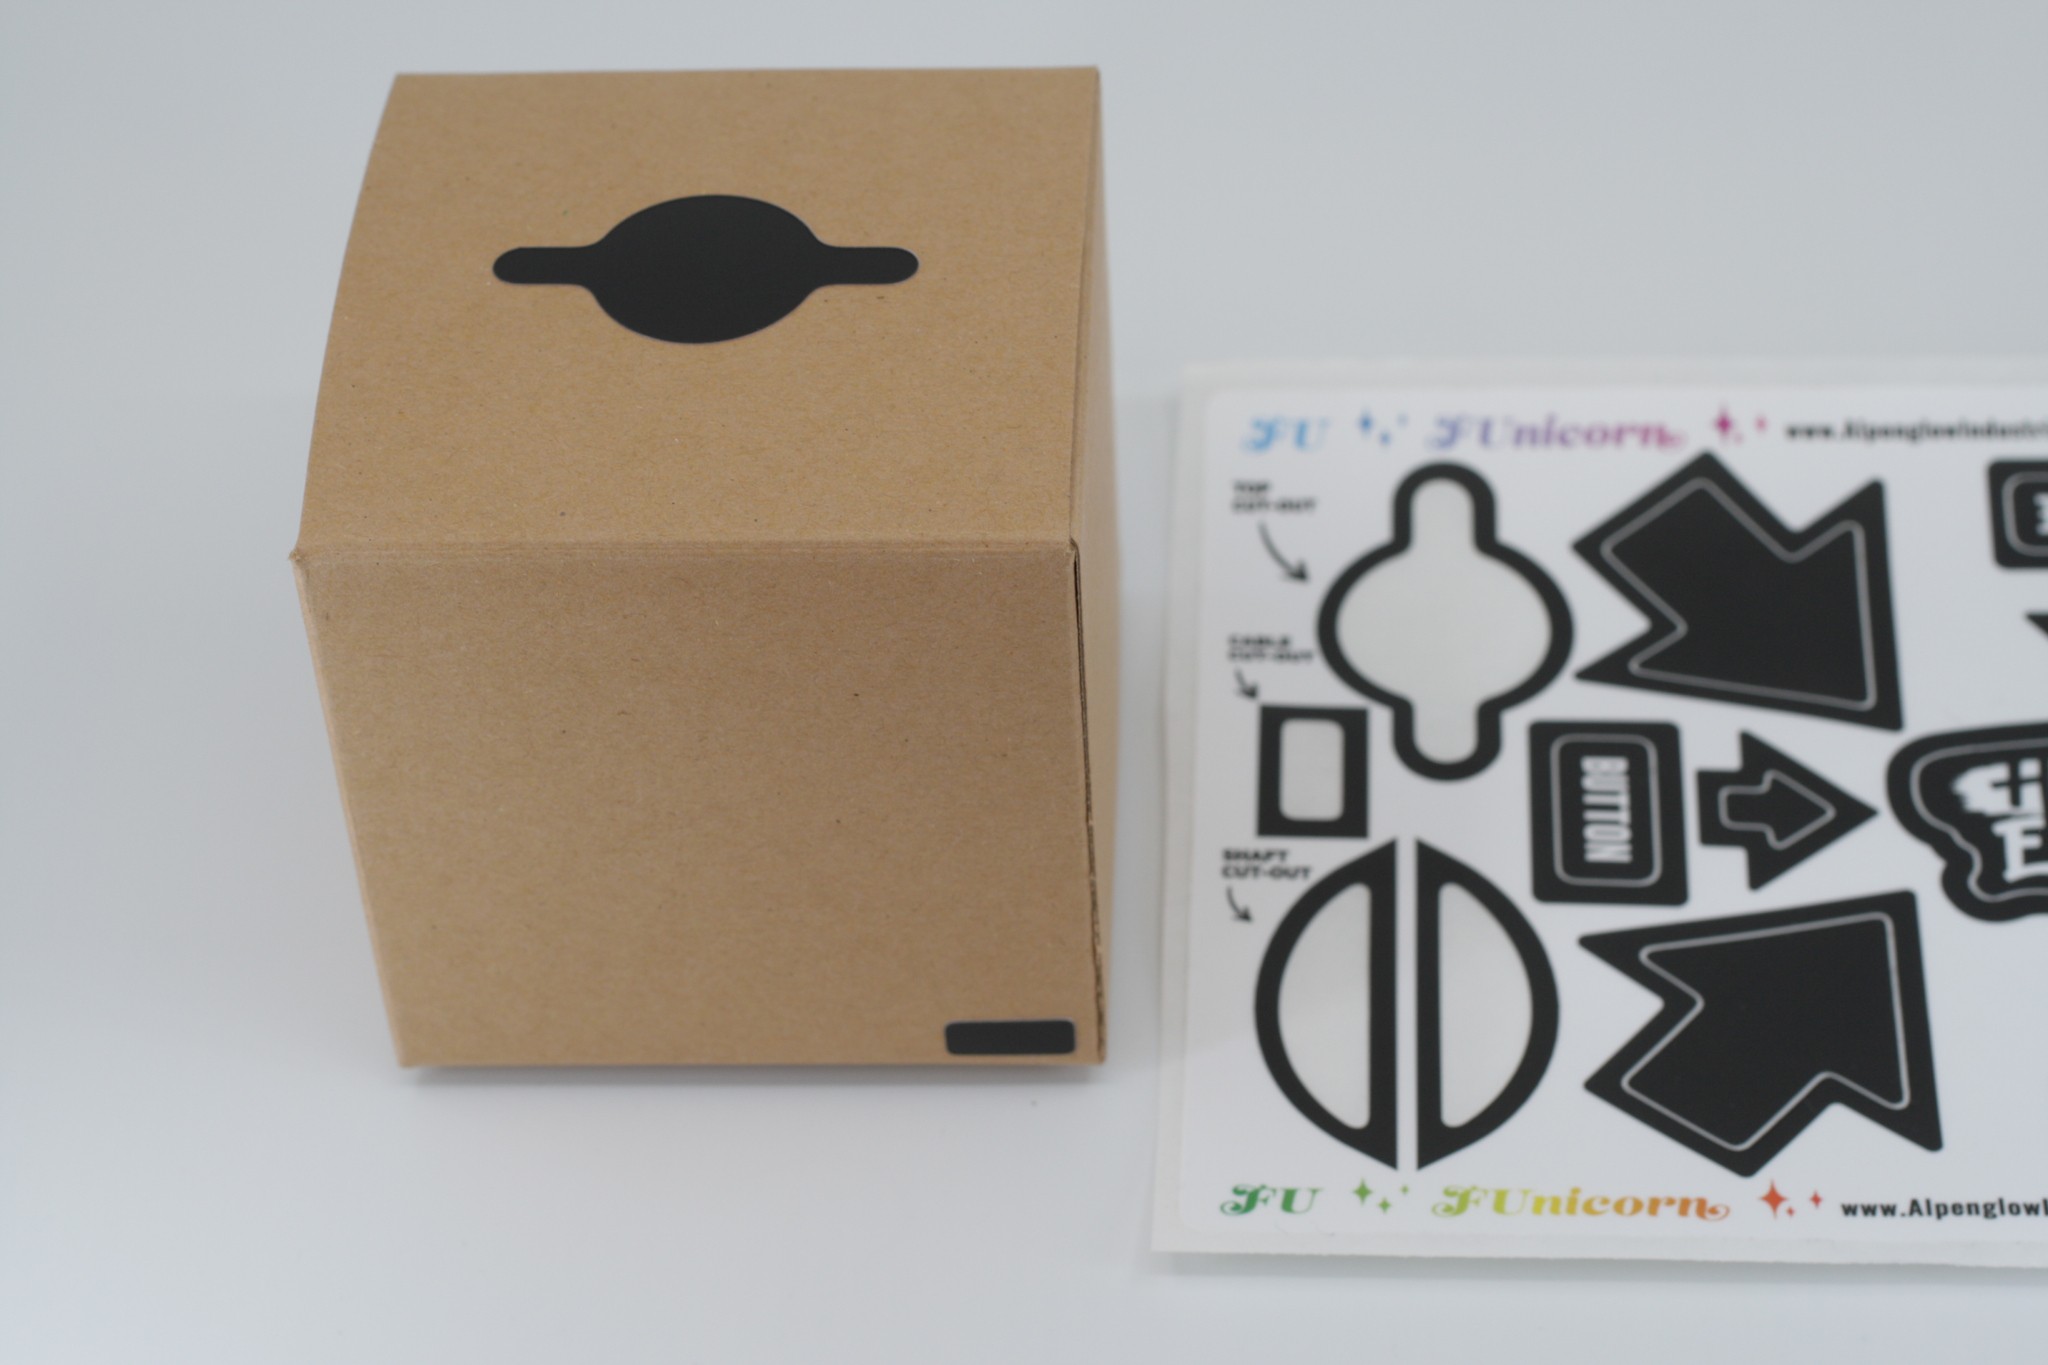
5Place the “cutout” stickers on the cardboard box
![]()
![]()
![]()
-
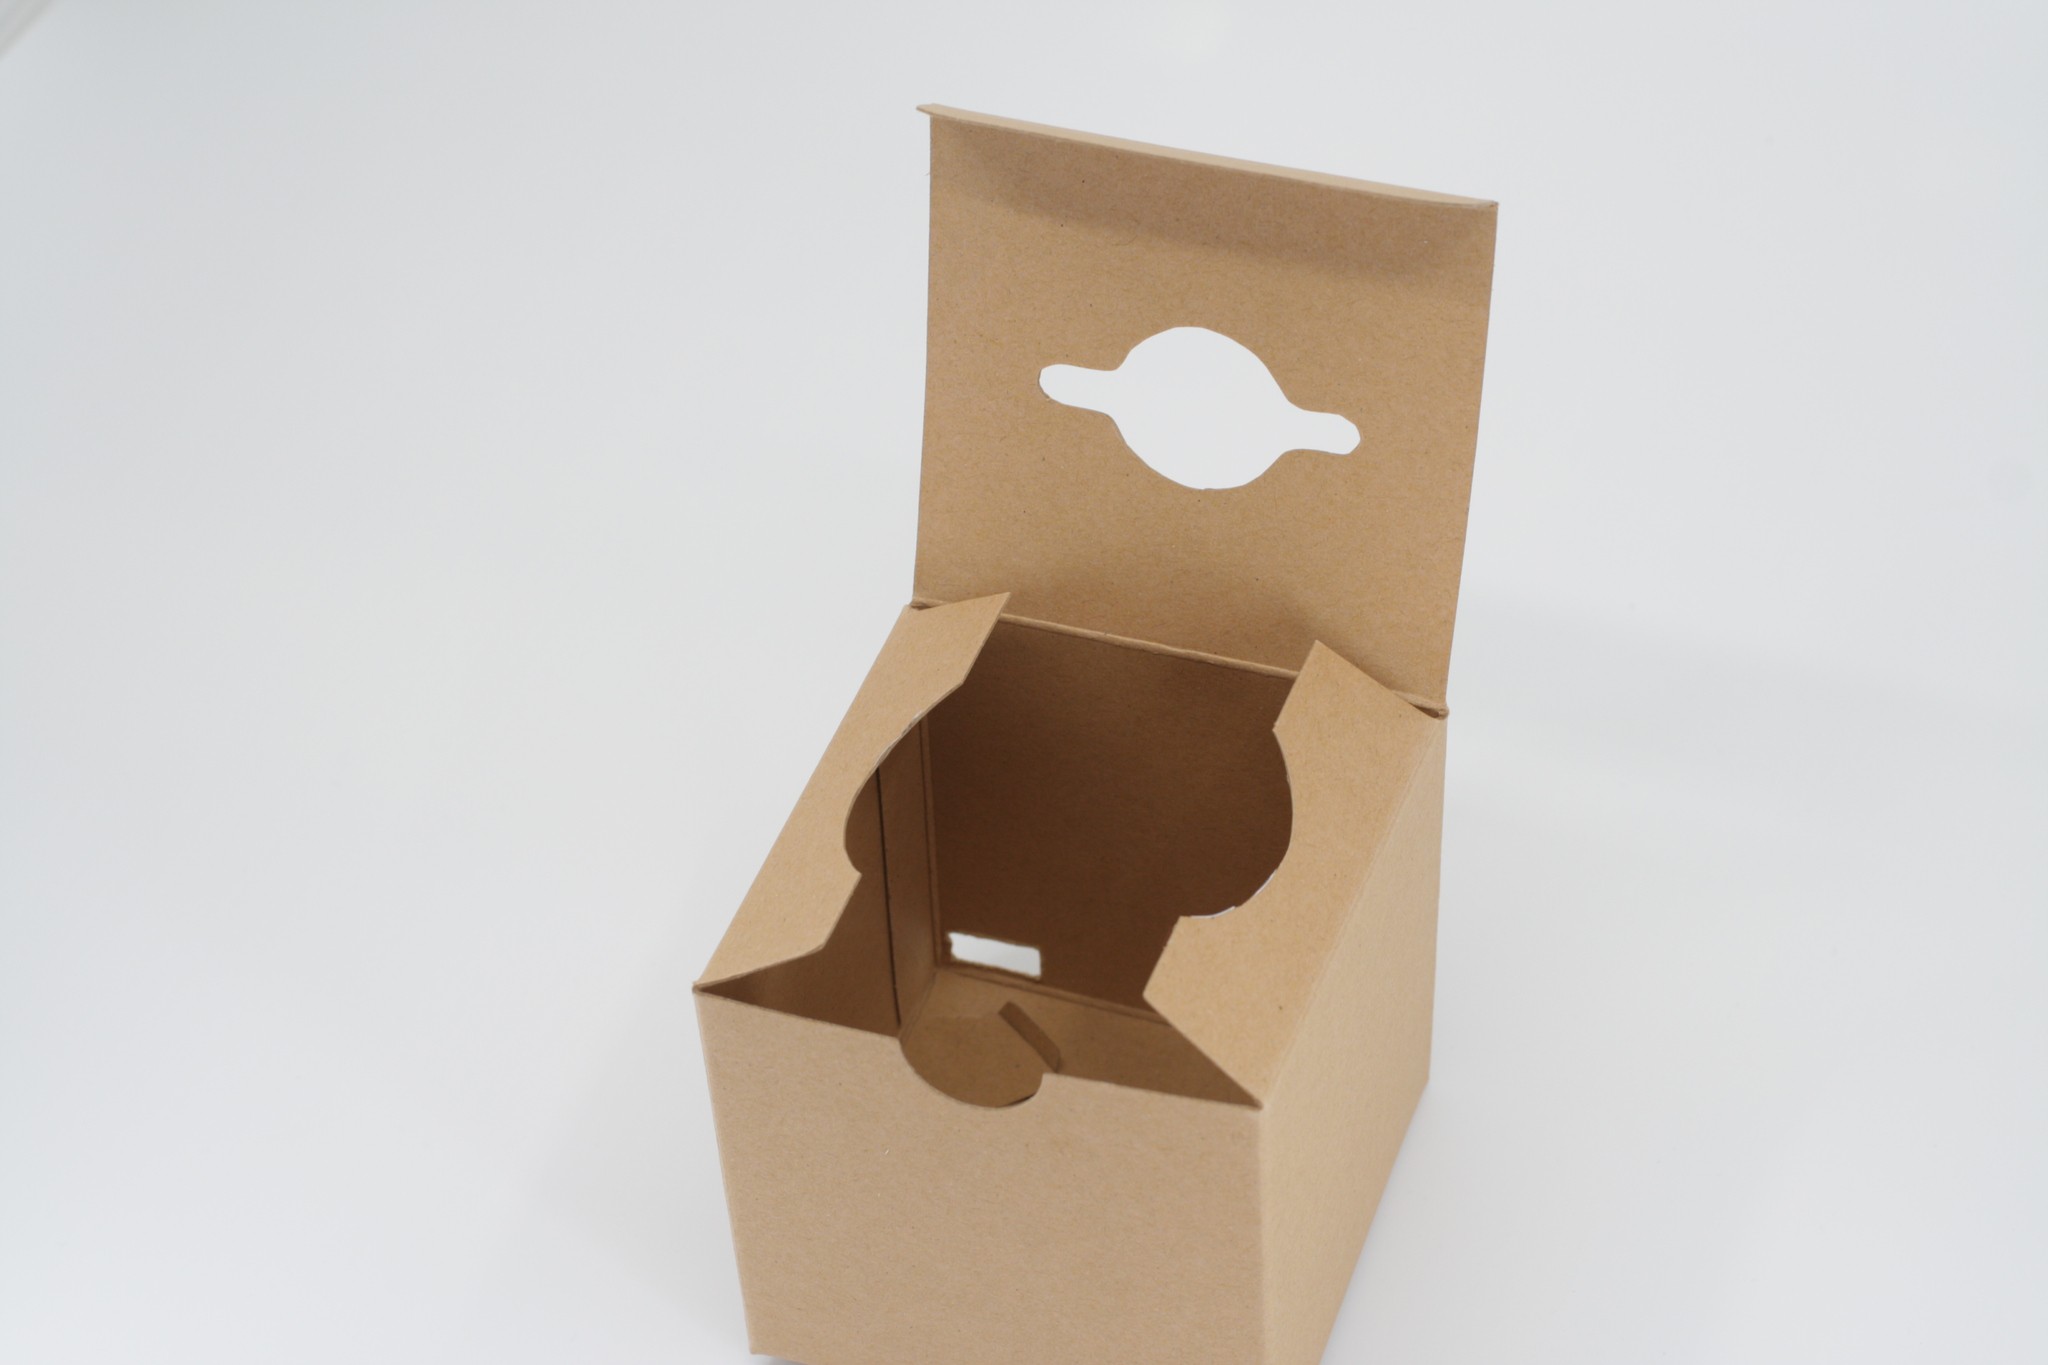
6Cut around the outline of the stickers with a sharp exacto knife.
There will be the circle with ears on the lid, the two semi-circles on the flaps, and a small rectangle at the bottom of the back side of the box.
![]()
-
7Place the button through the lid of the box, and attached with the nut.
(Note the photo does not show the switch or cable.)
![]()
-
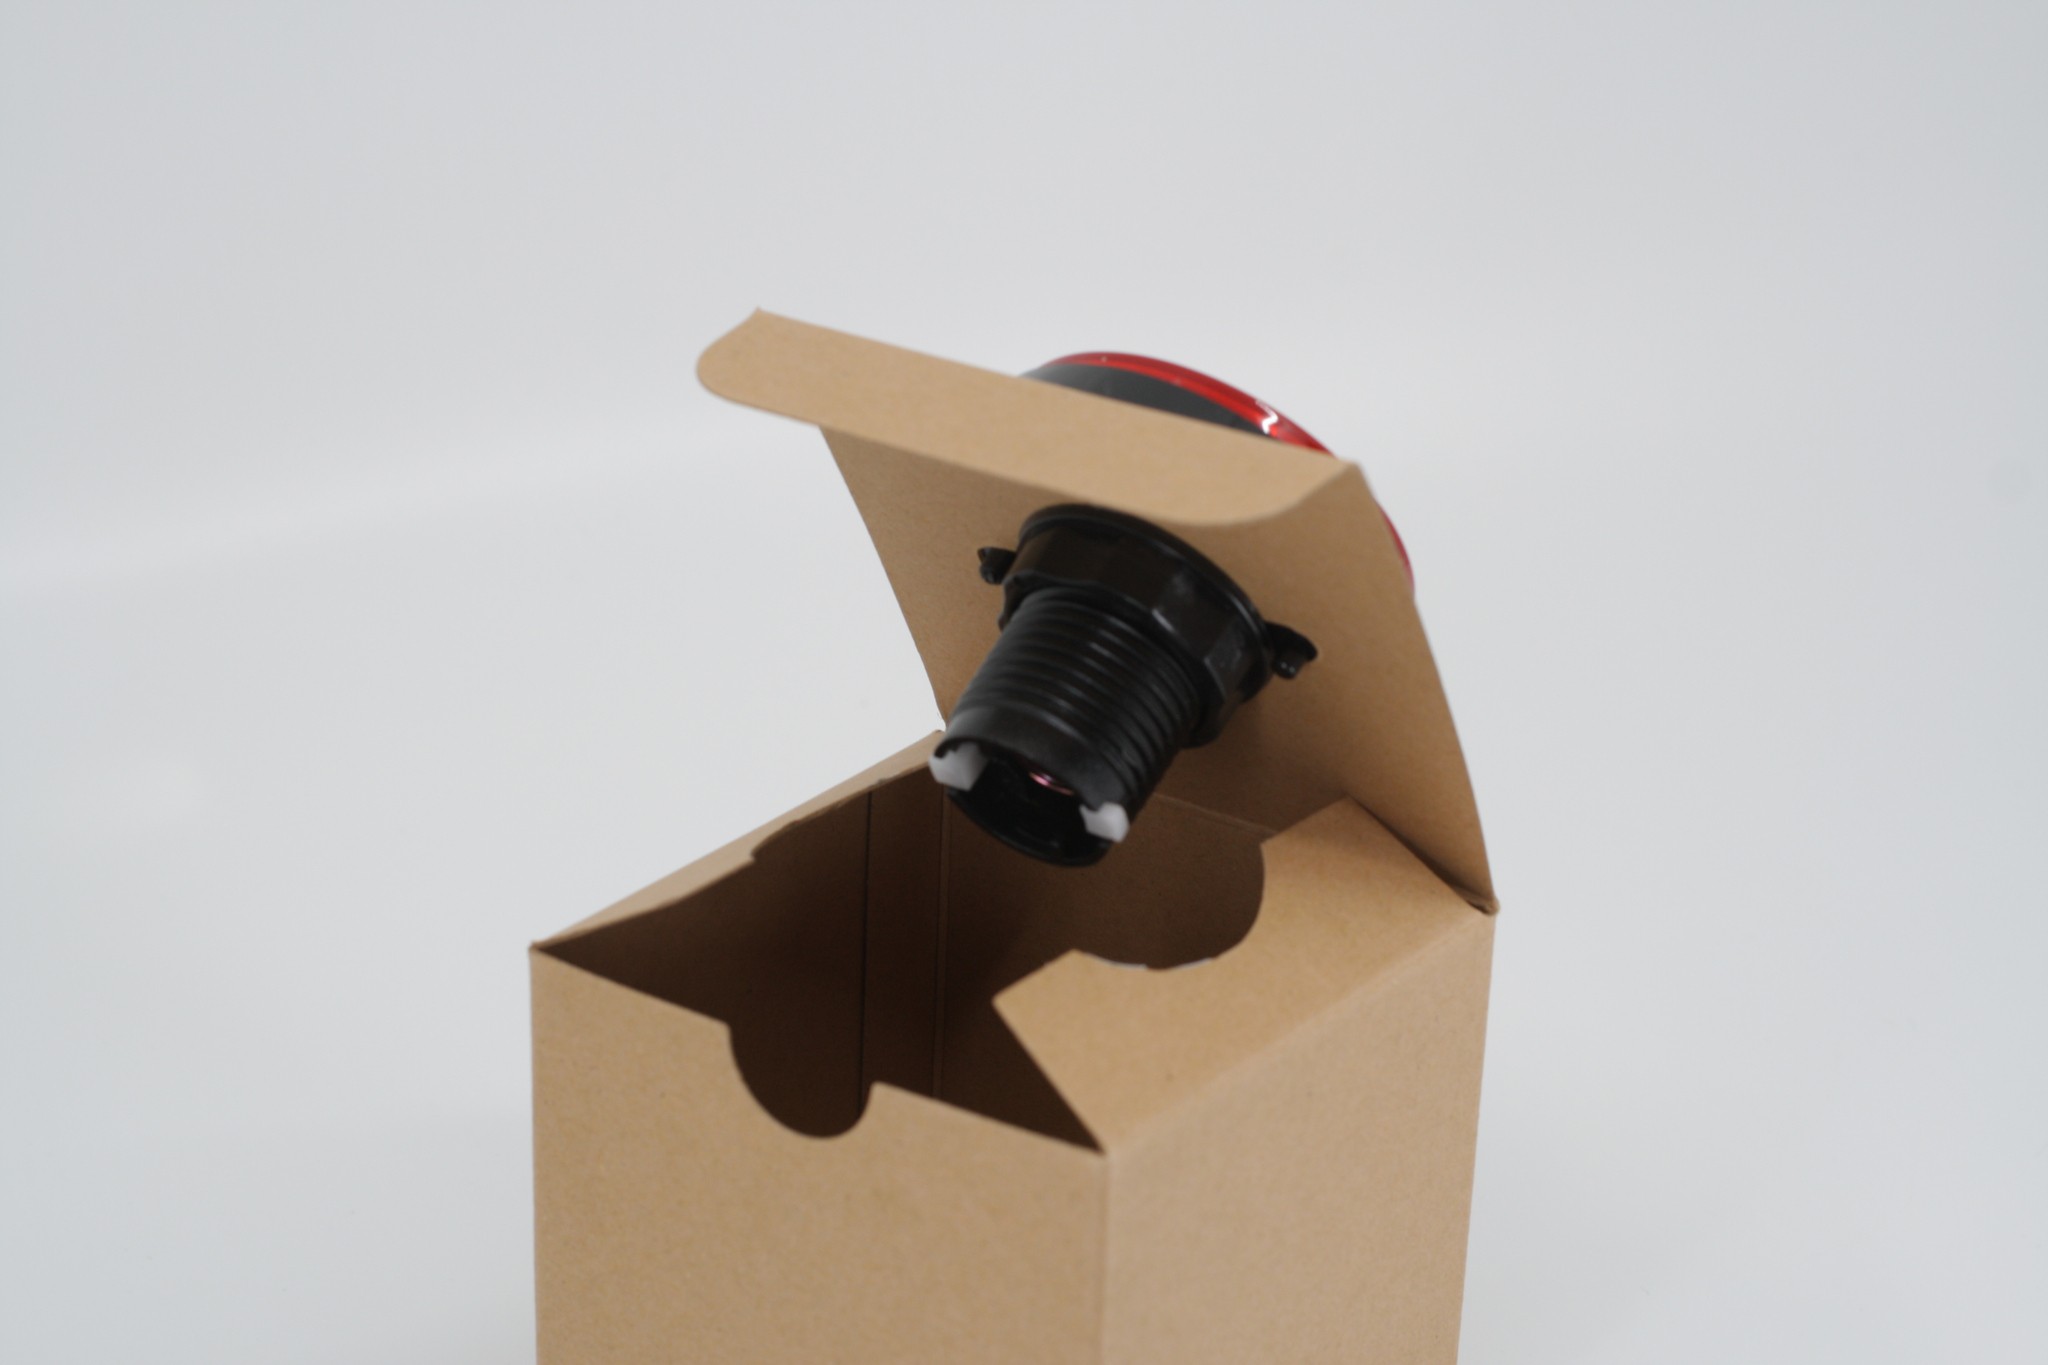
8Insert the switch & LED assembly into the button.
Note that there’s an L-channel on two sides of the switch/LED assembly, line those up with the two black tabs on the button, push in slightly to compress the spring, and twist. It should snap into position relatively easily.
![]()
![]()
![]()
![]()
-
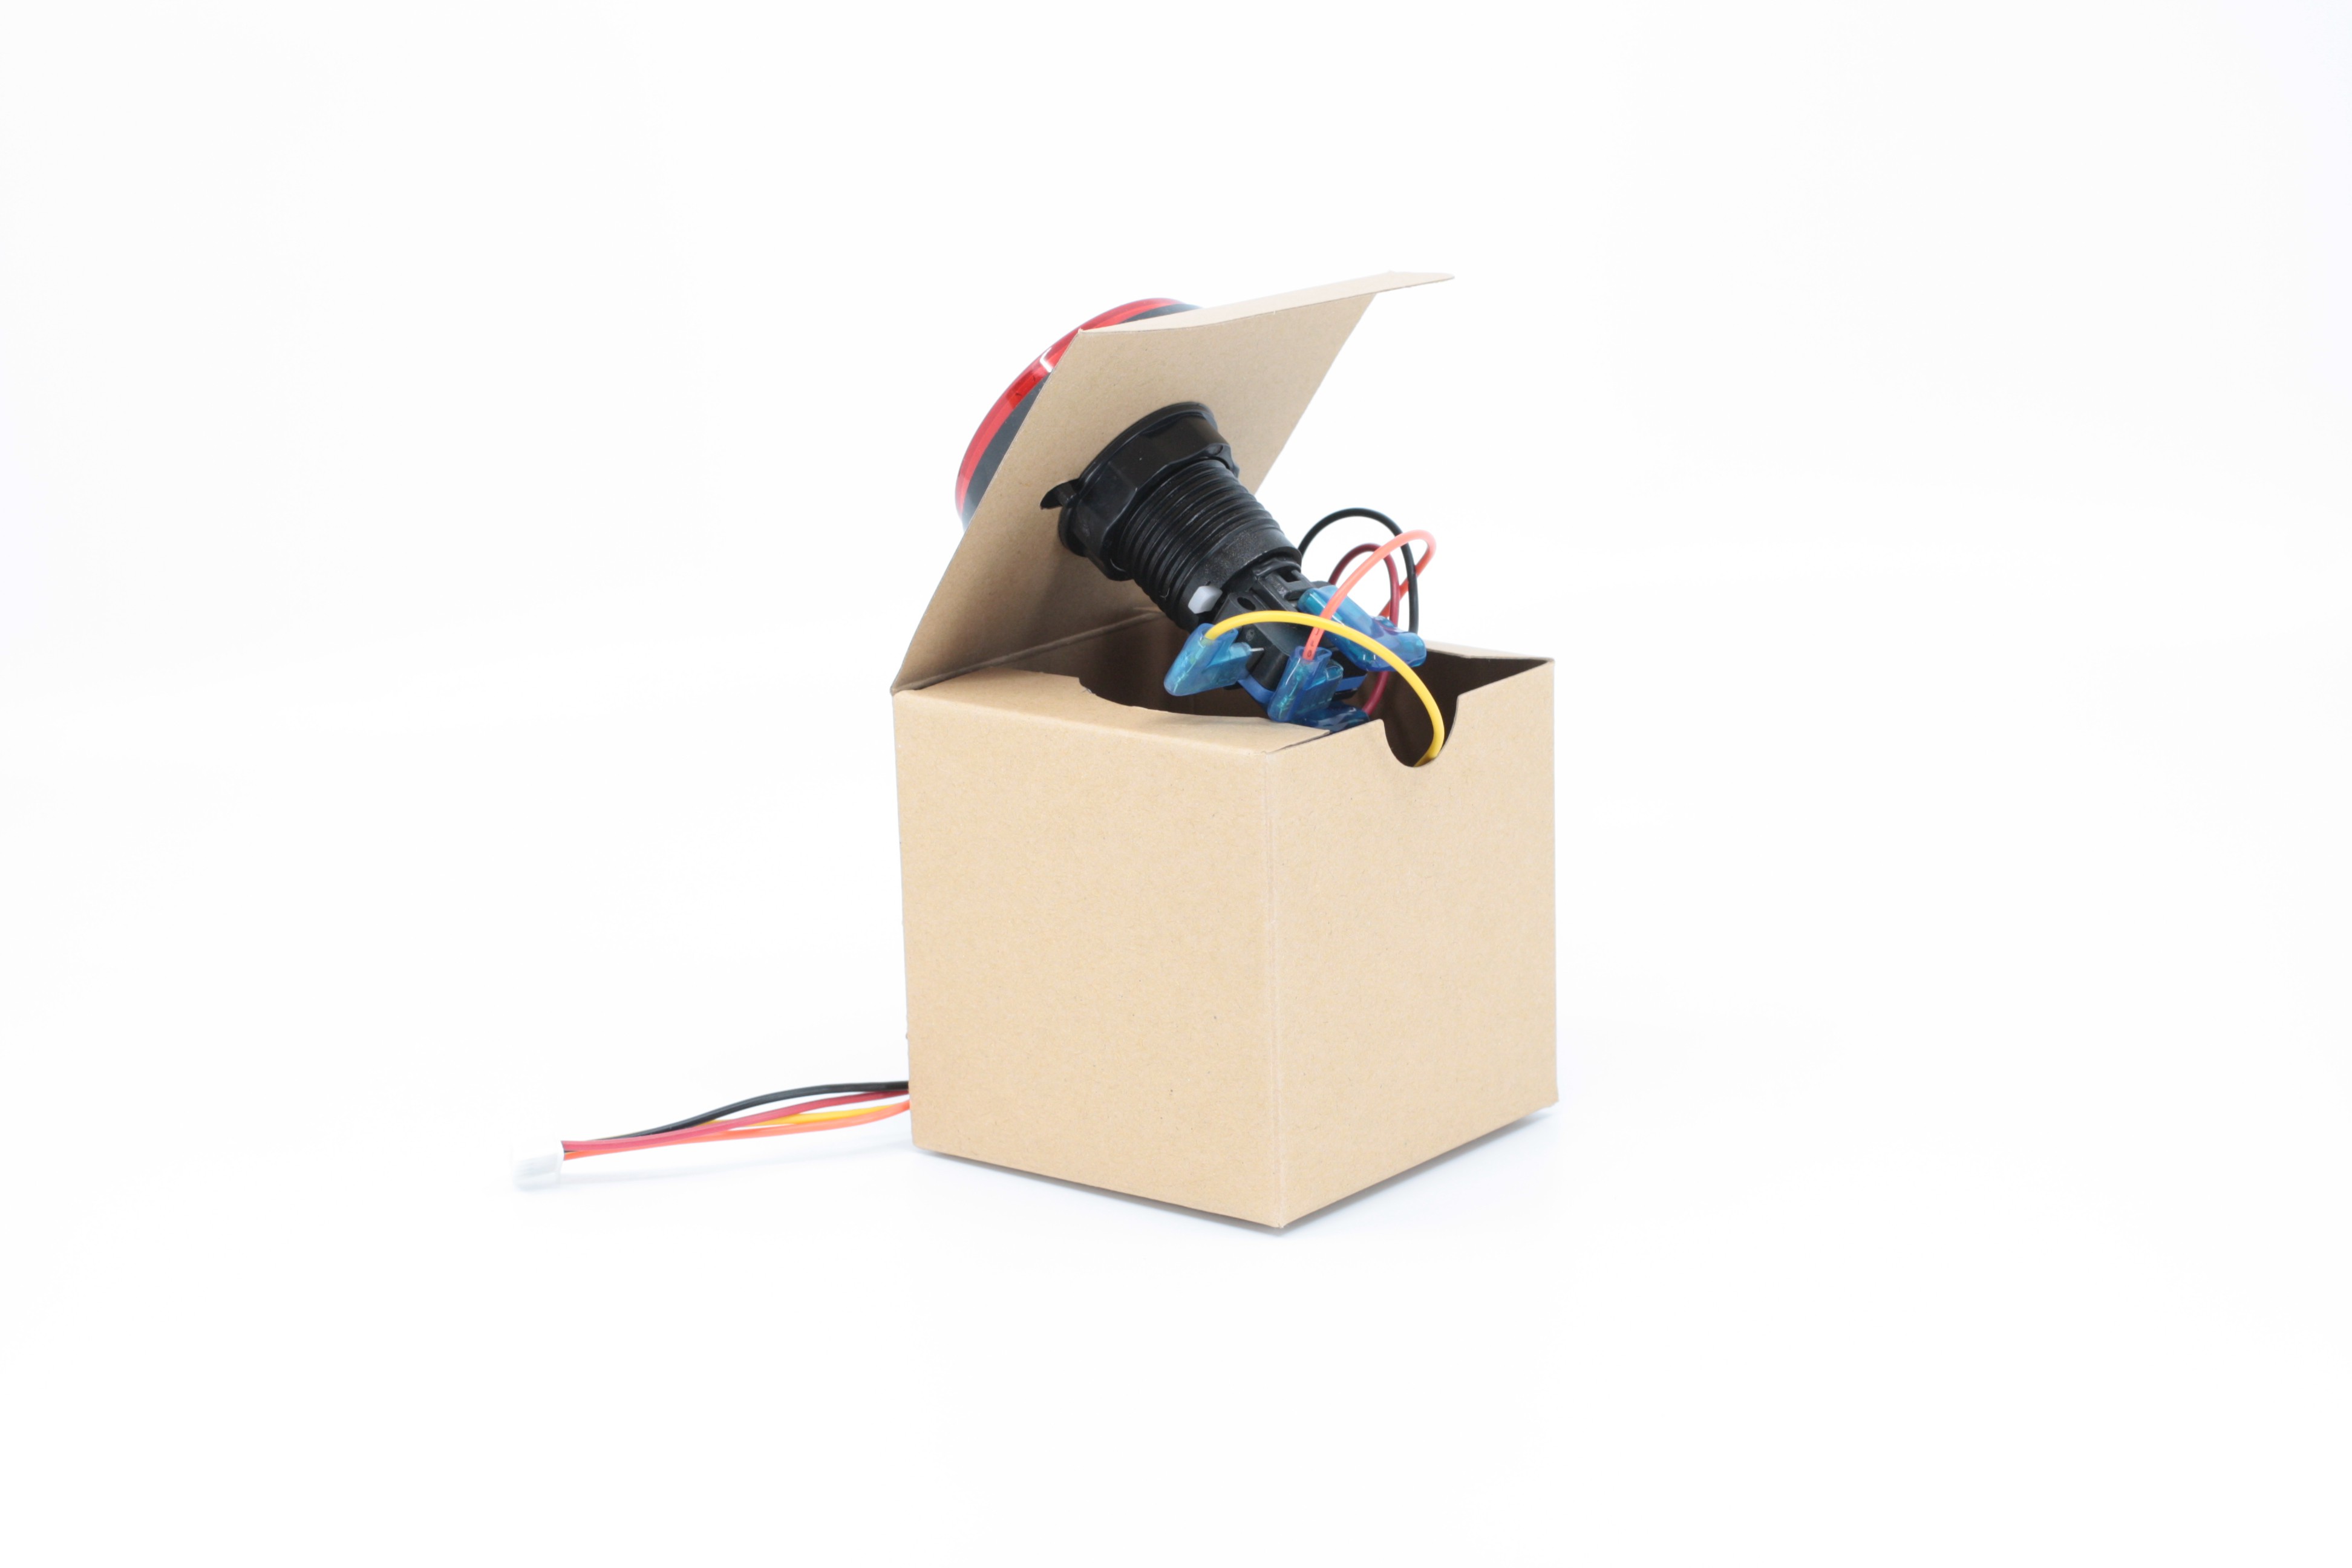
9Fish the connector at the end of the cable through the square cutout in the bottom of the box.
-
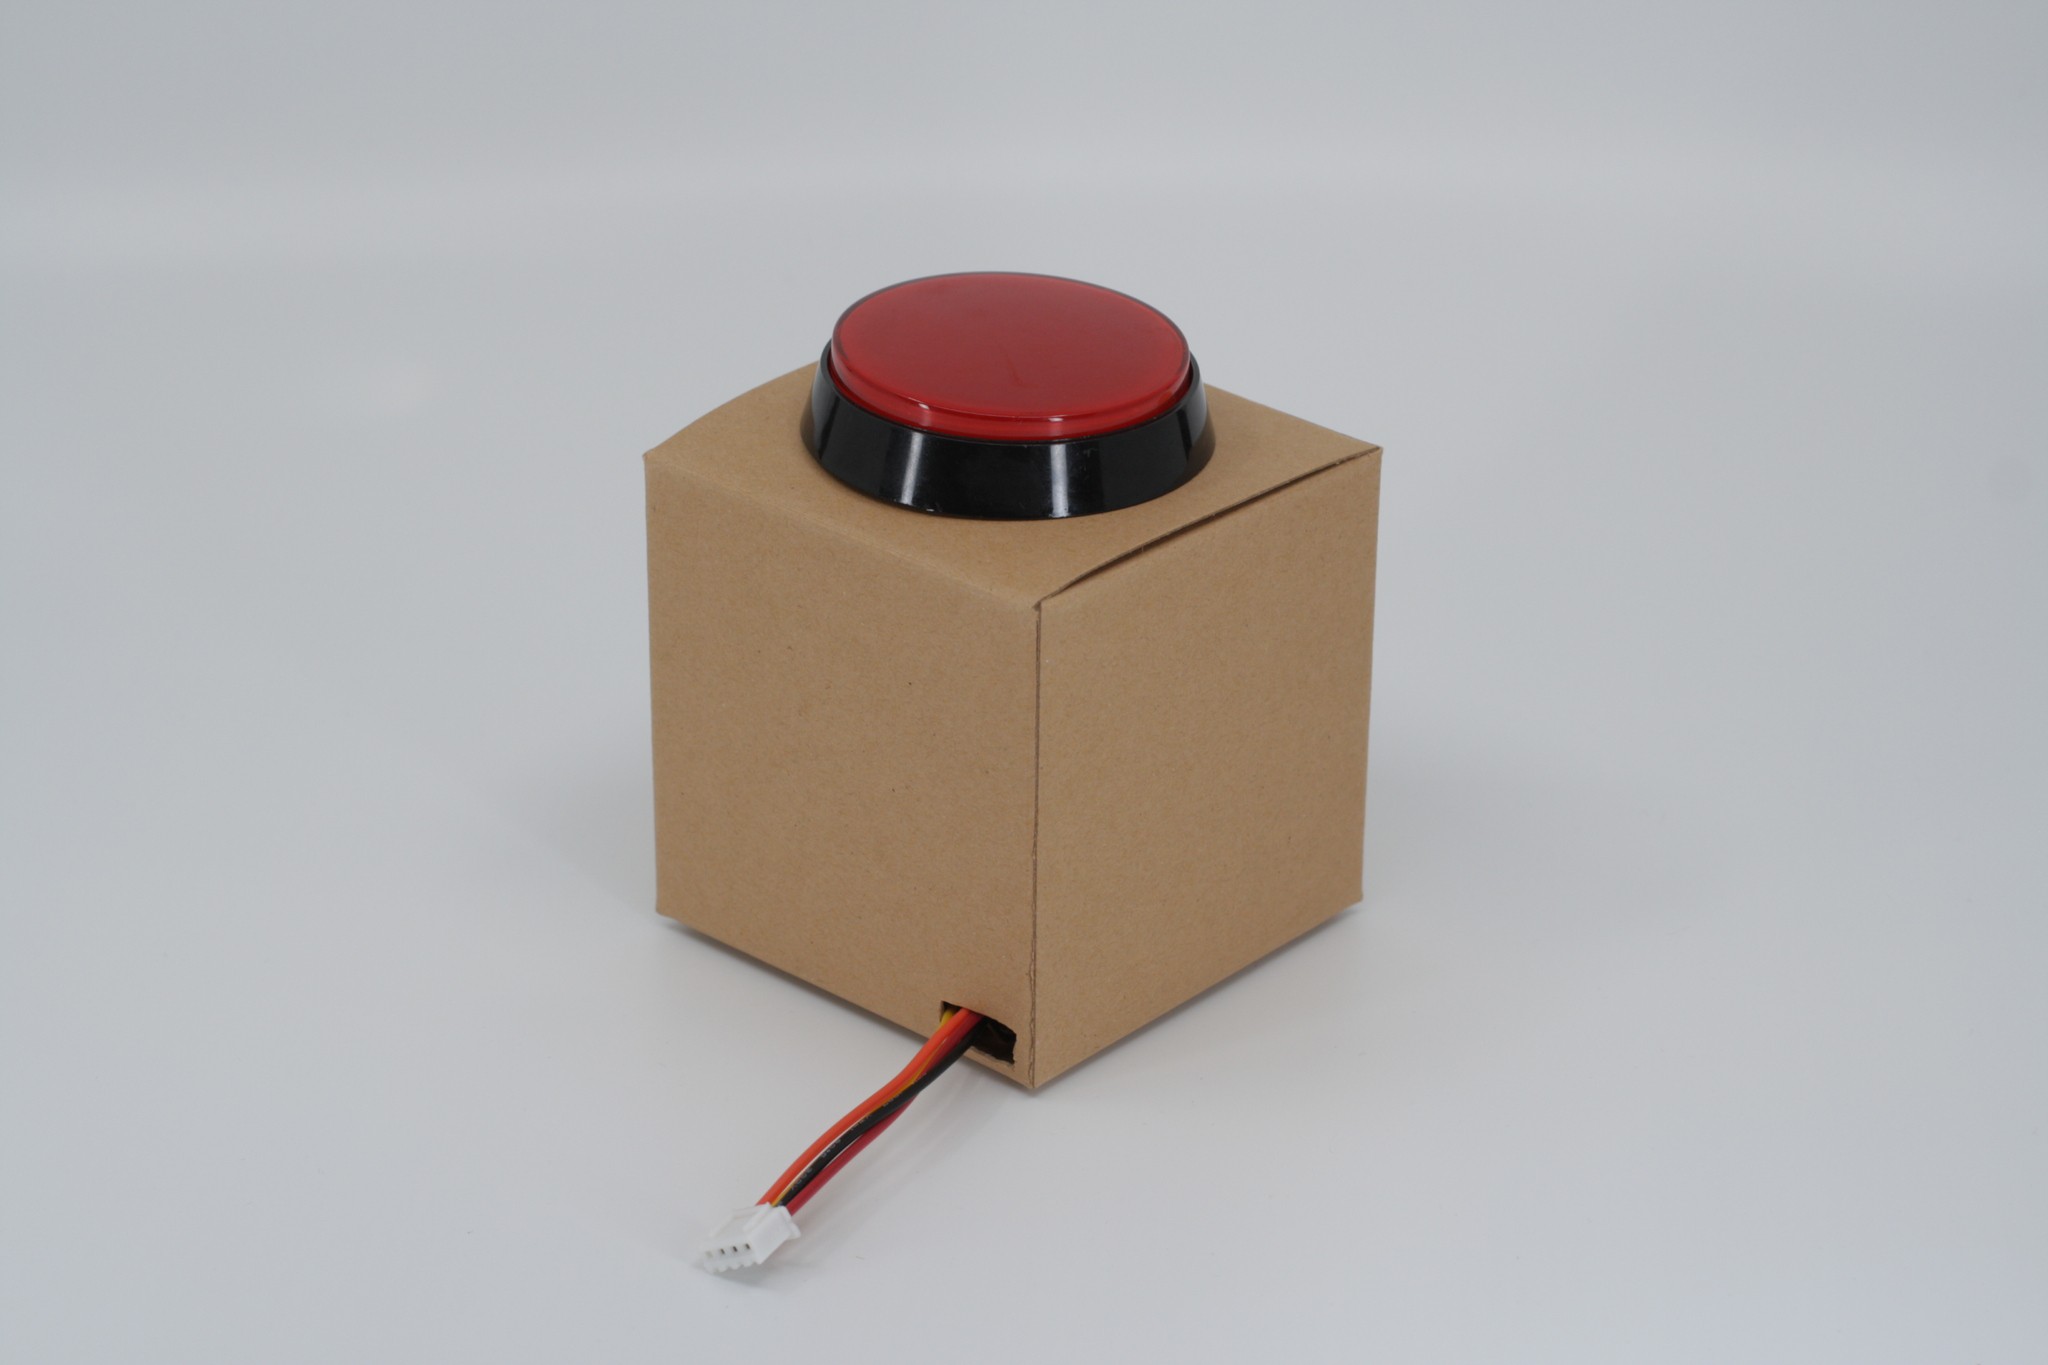
10Close the box lid.
![]()
Big Red Arcade Button Kits
This kit makes it easy to add a Big Red Button to any project!


Discussions
Become a Hackaday.io Member
Create an account to leave a comment. Already have an account? Log In.