0%
0%
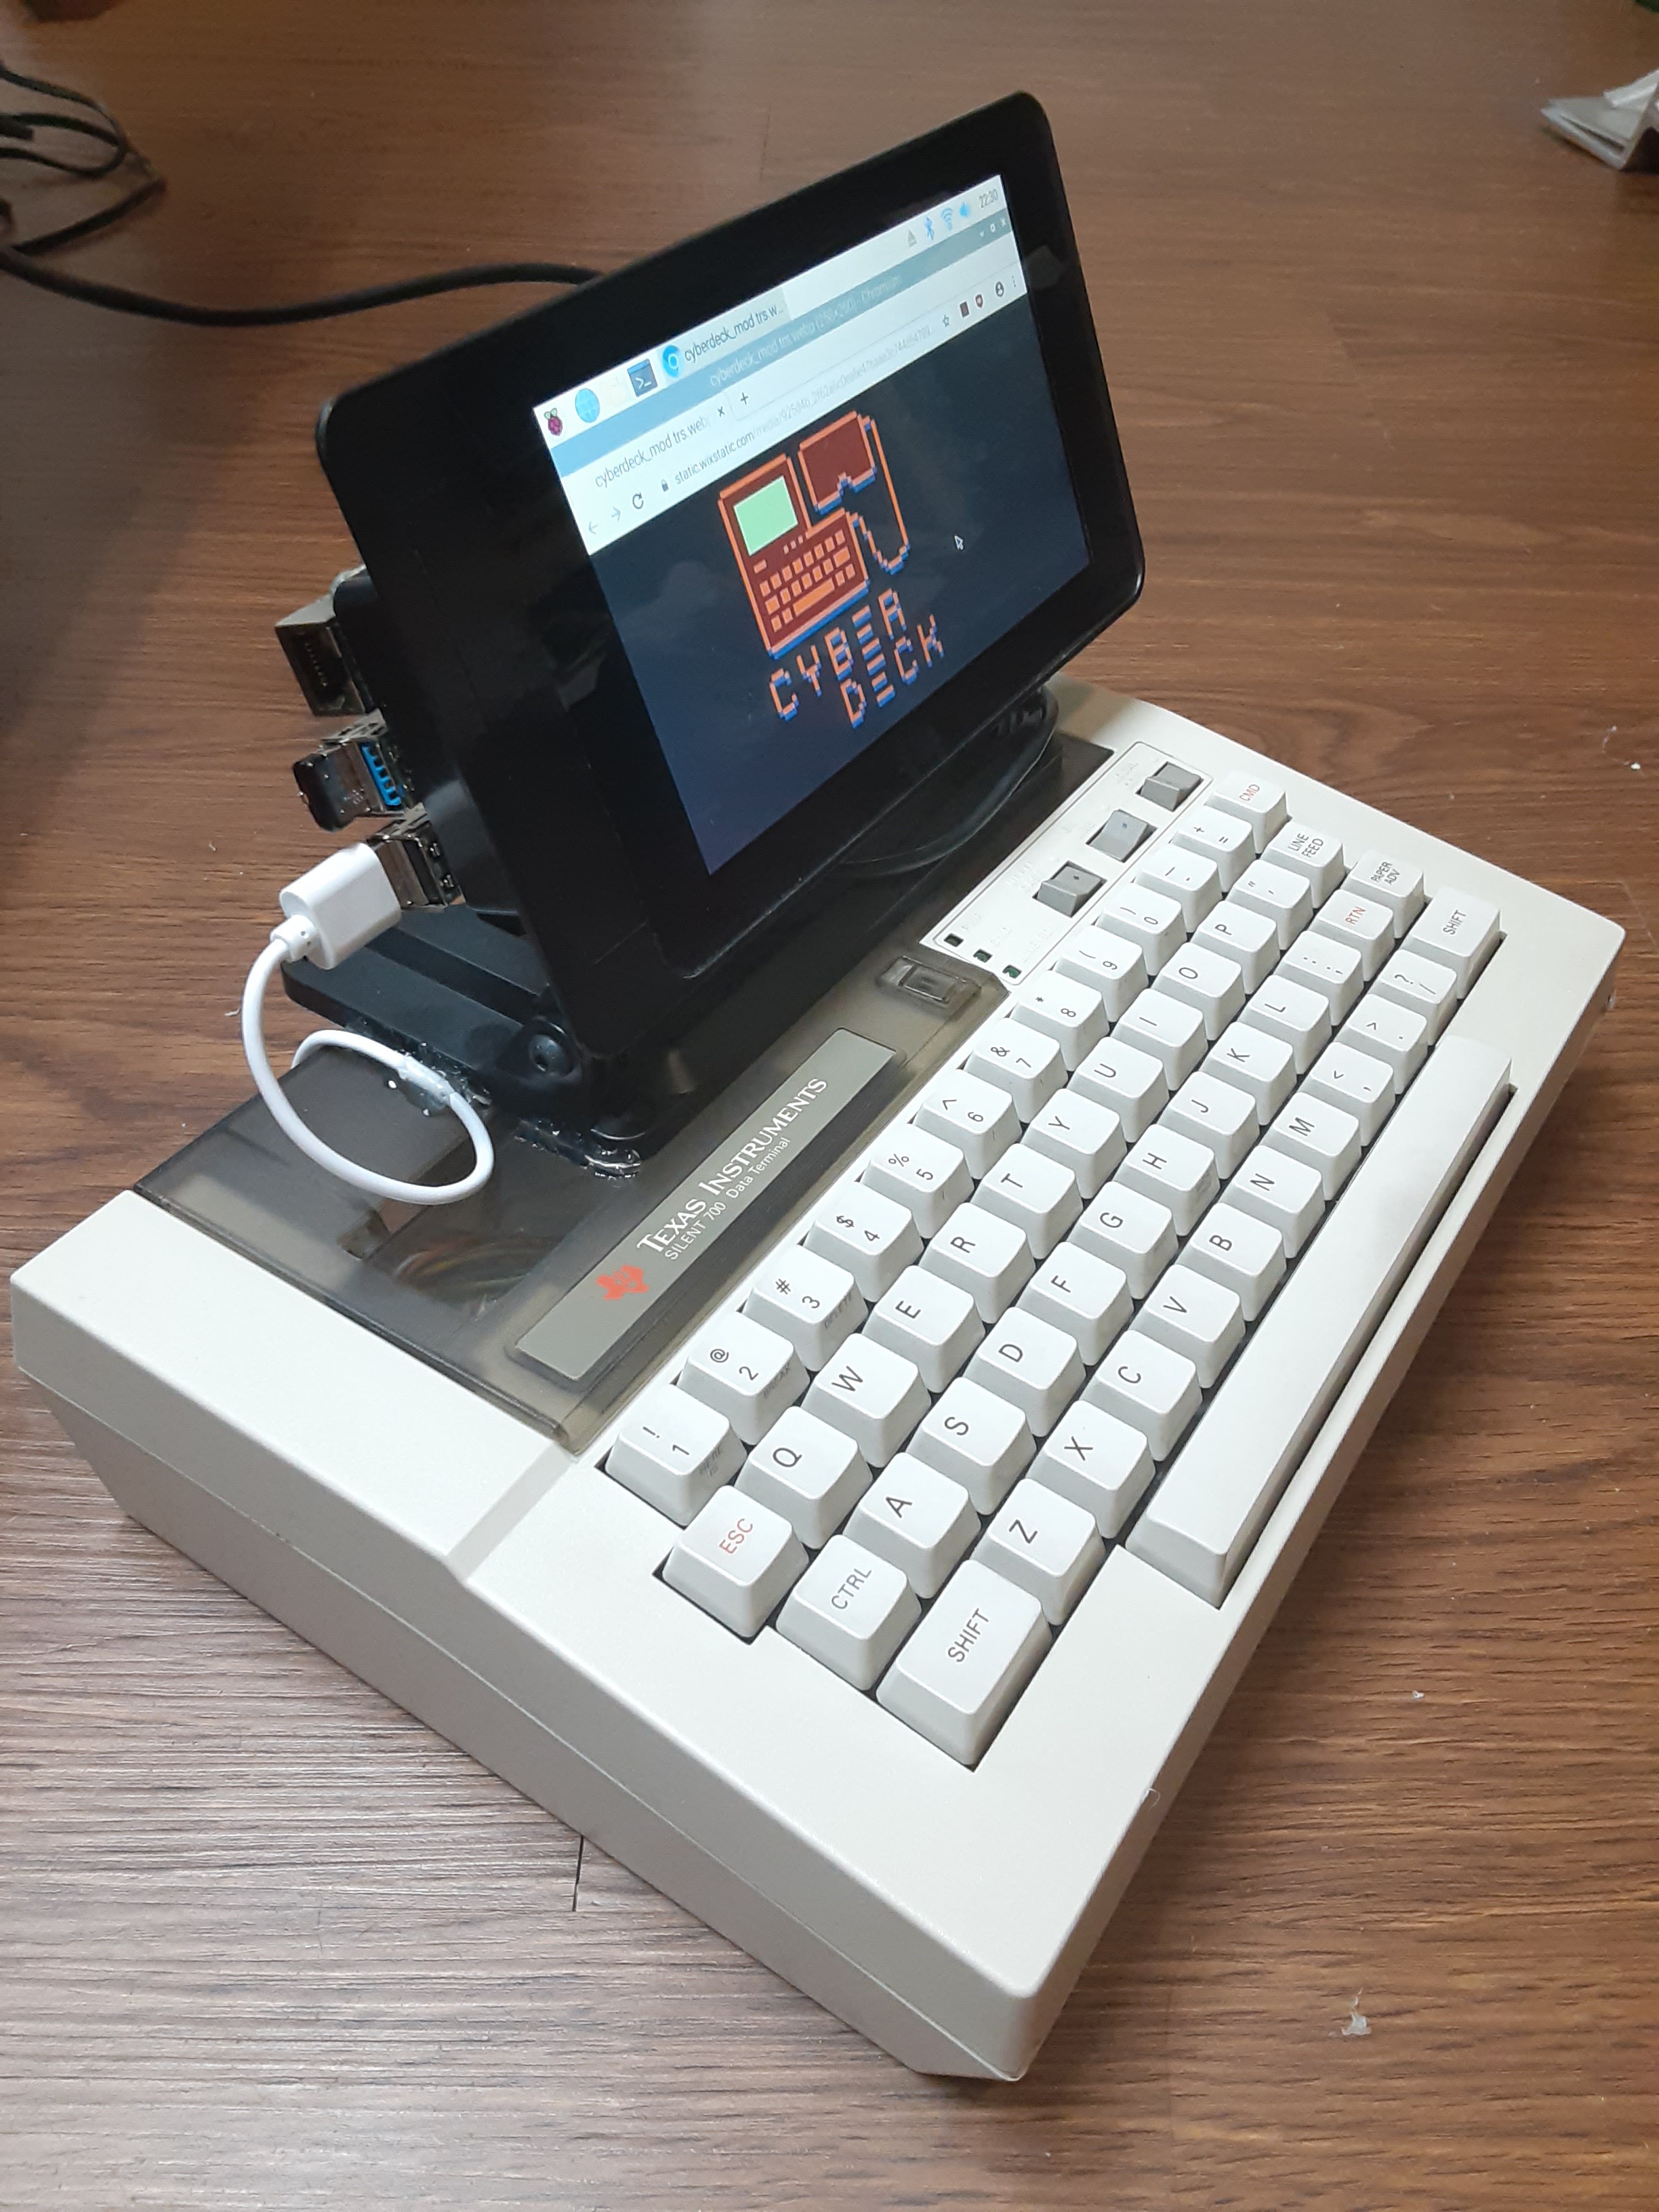
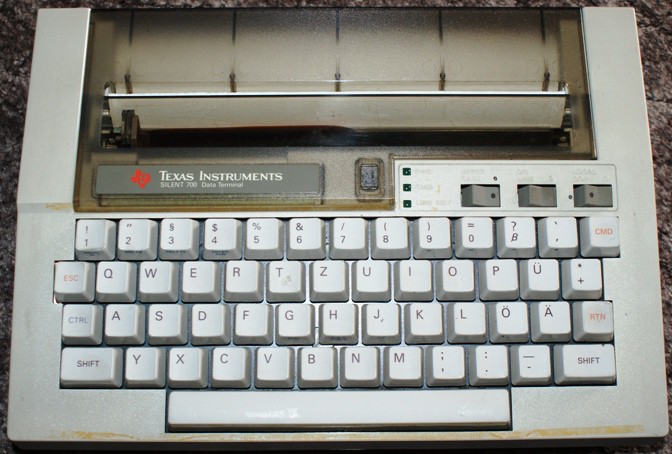
Hackypuff Jr.
A cheerful little cyberdeck made from a Pi4 and 80s thermal teletype.
Become a Hackaday.io member
Already have an account? Log in.
Just one more thing
To make the experience fit your profile, pick a username and tell us what interests you.
Pick an awesome username
hackaday.io/
Your profile's URL: hackaday.io/username. Max 25 alphanumeric characters.
Pick a few interests
Projects that share your interests
People that share your interests
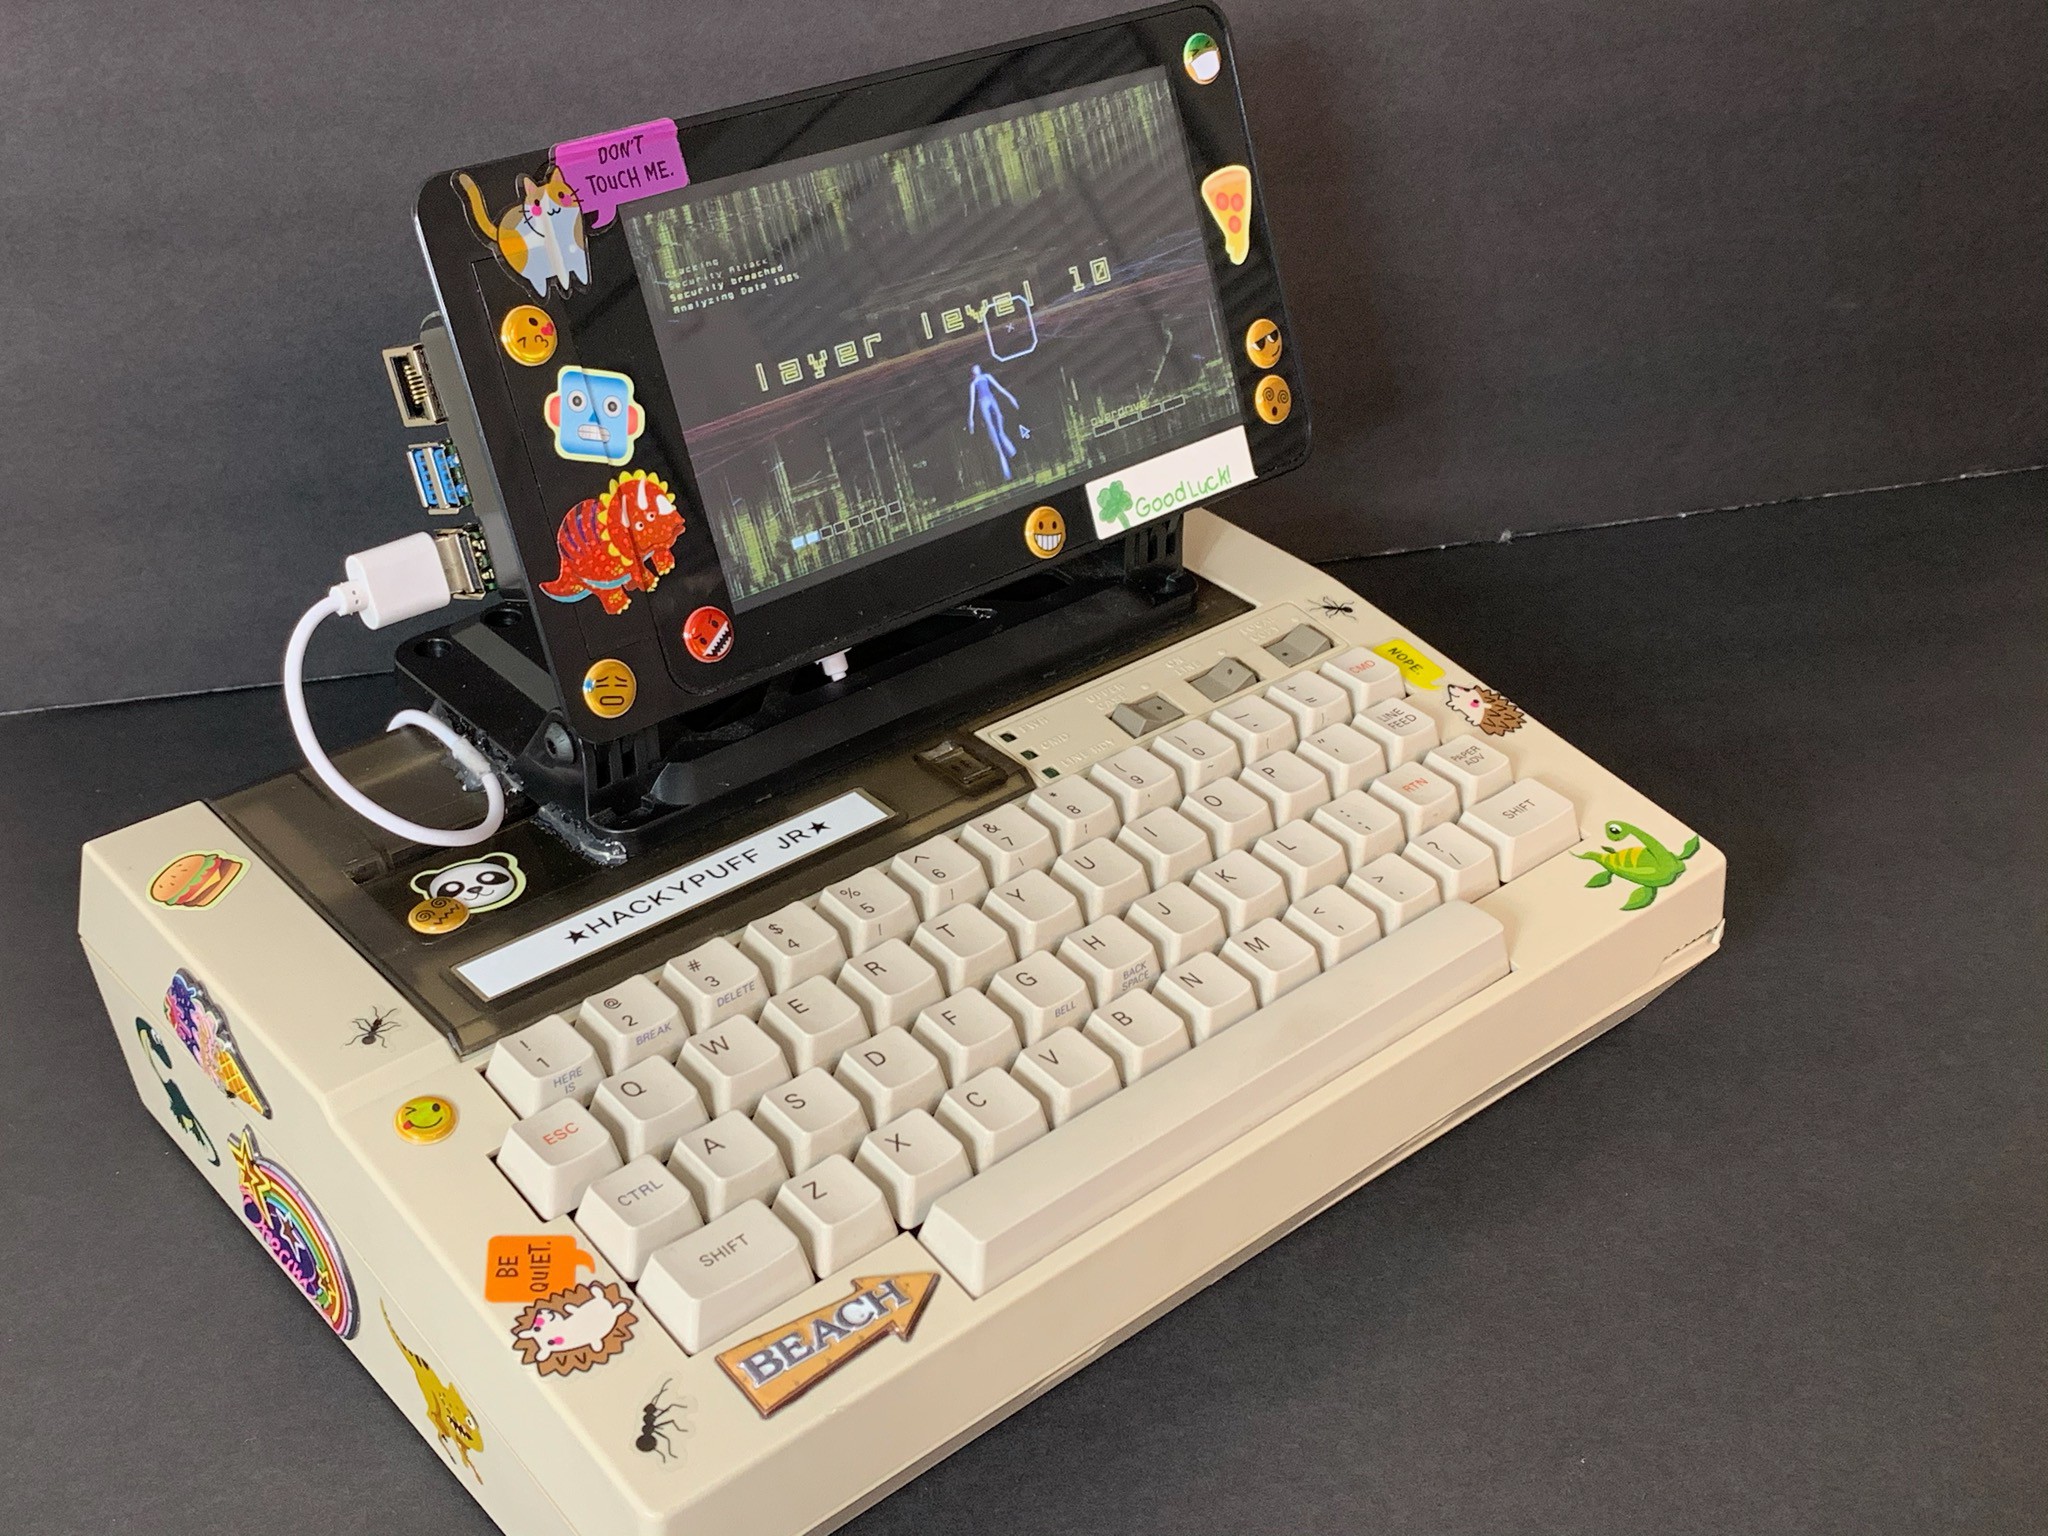 A slick custom printed label for it's new moniker and the build was almost complete. The only thing a good netrunner needs to run the net with the Hackypuff Jr remaining is a portable power source. Thankfully USB battery banks are cheap and easy for that problem. More hot glue keeps everything from forming a mosh pit inside:
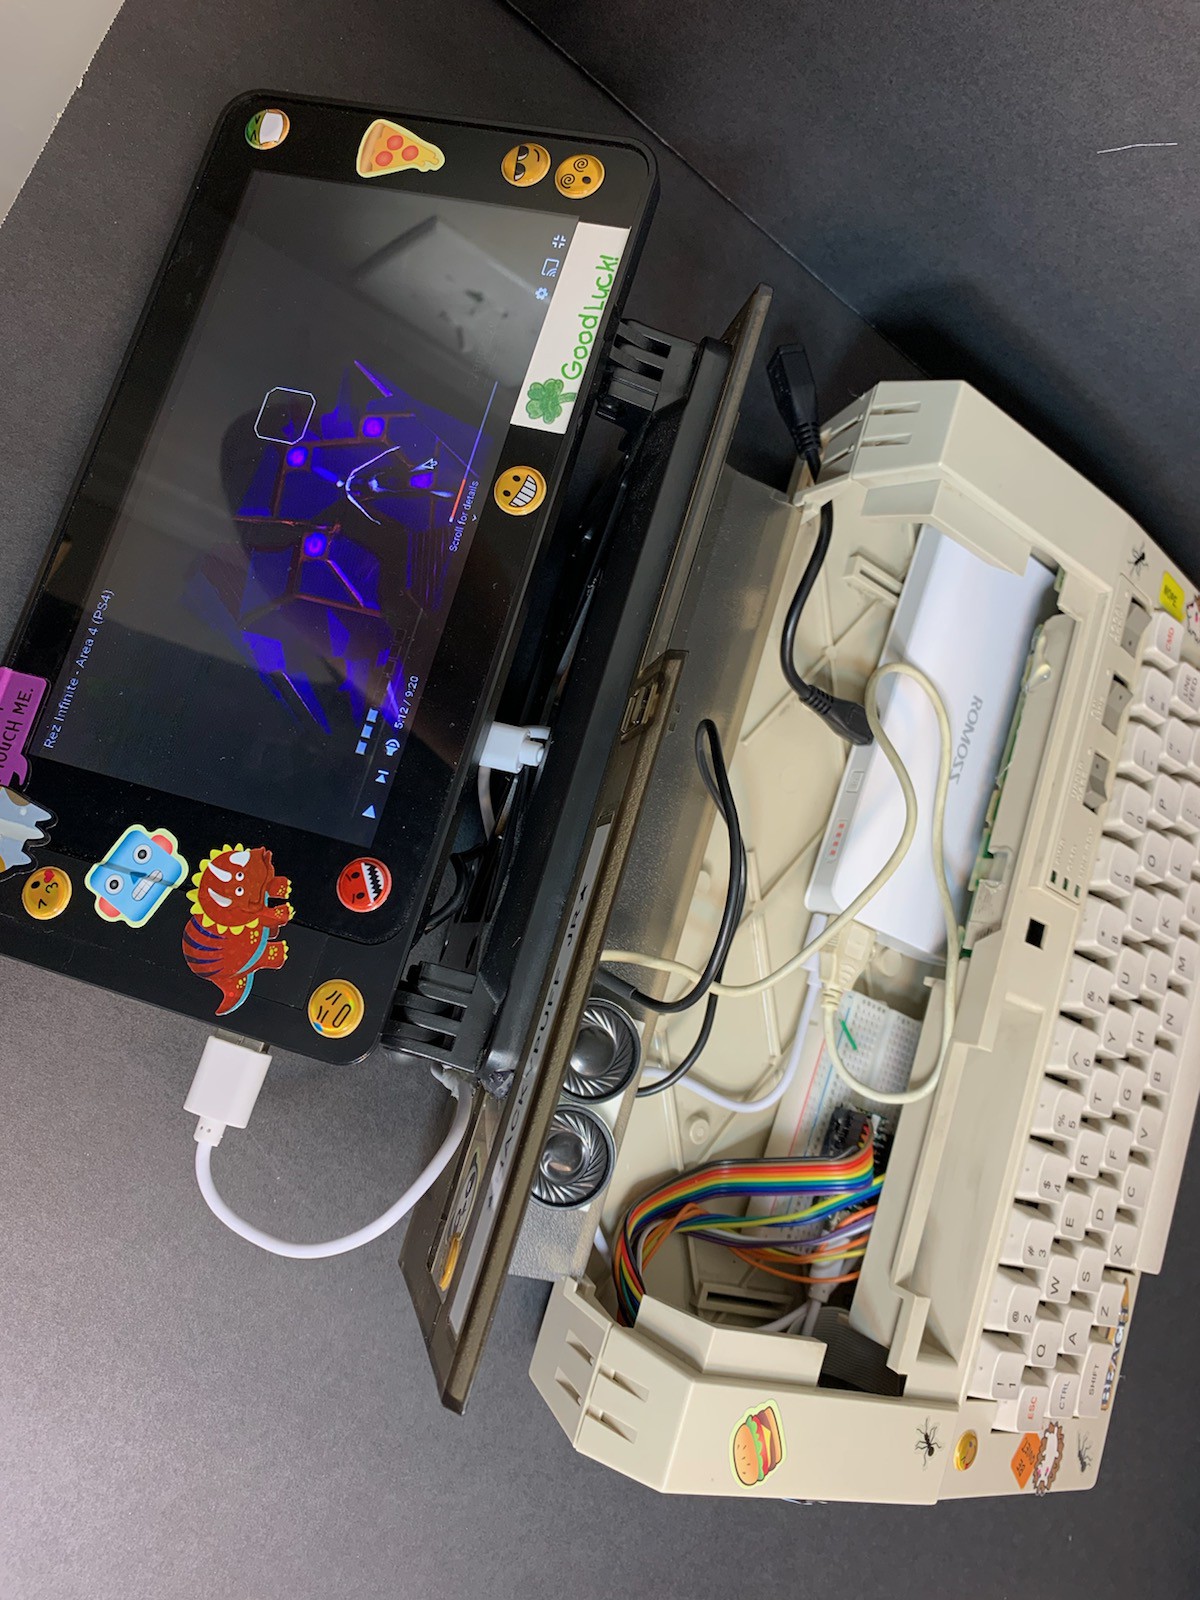
 After I'd gotten bored of that I stuck the whole lot of it back in the original case, loose breadboard and all, and moved on to my main cyberdeck (check that build log too). I wasn't sure if I'd build up a proper control board, reuse this keyboard in some other case, or what but at least it was a complete-enough thing to be used, which was more than you could say for the last couple decades.....
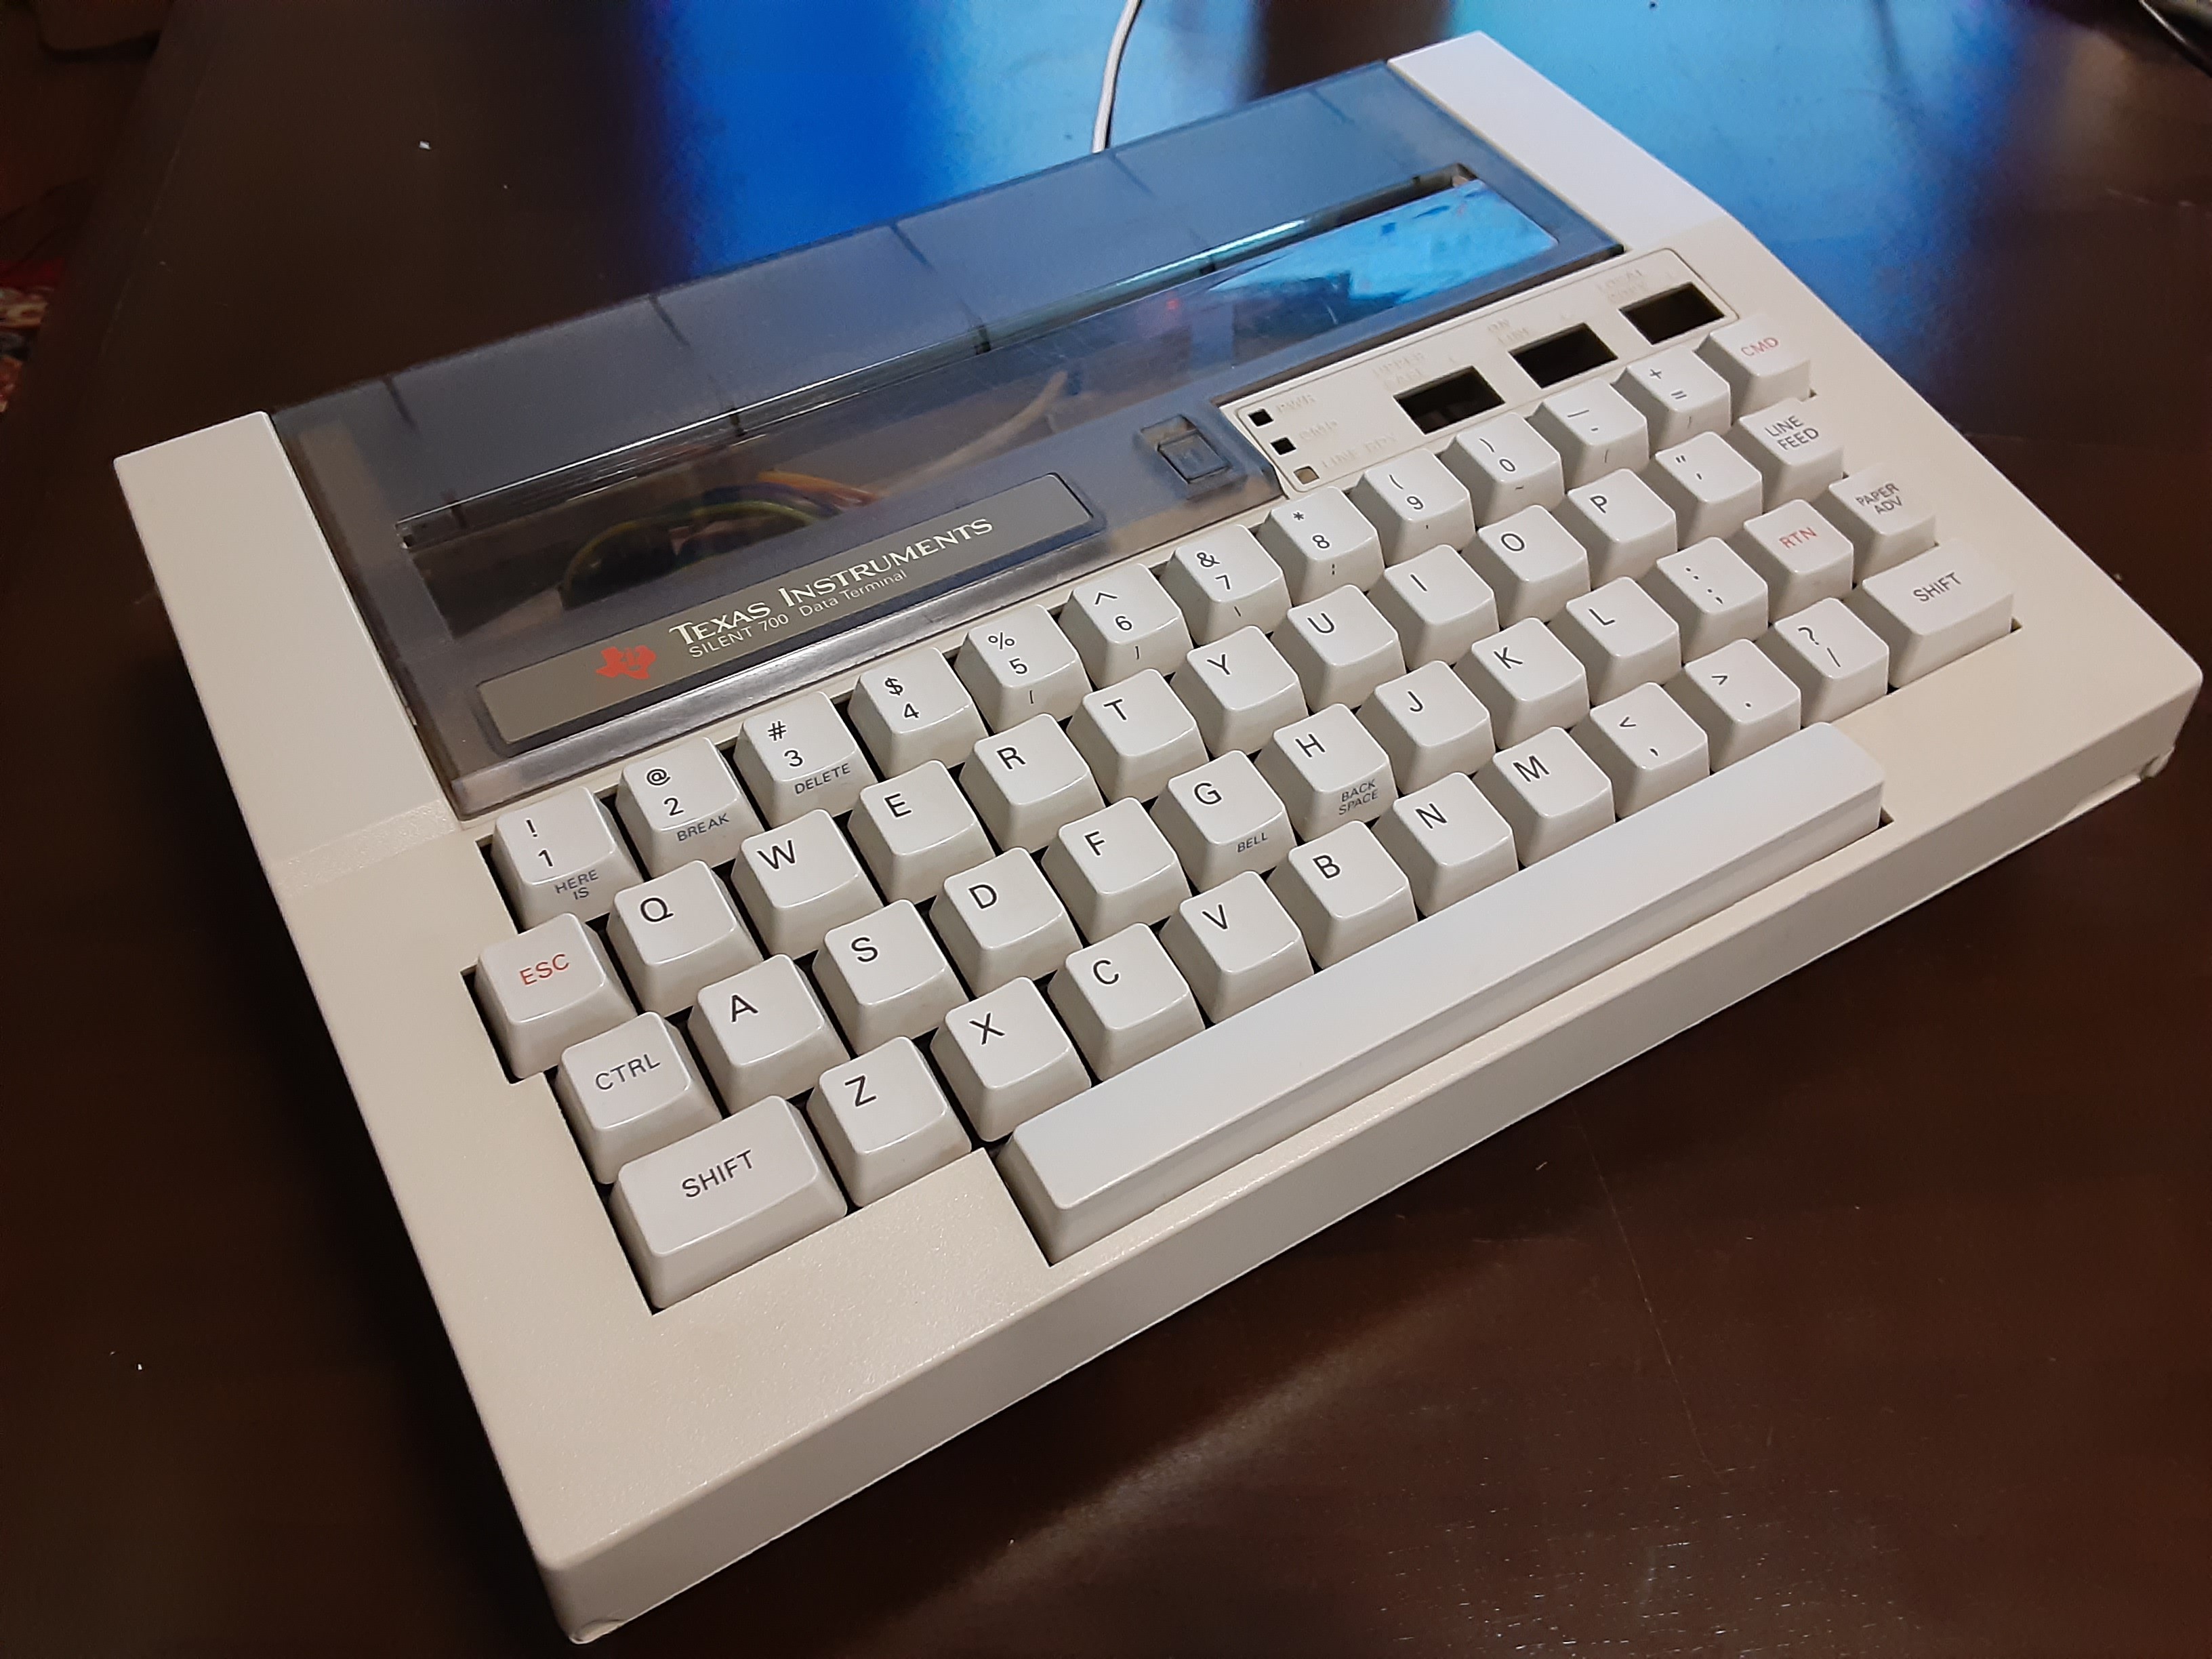
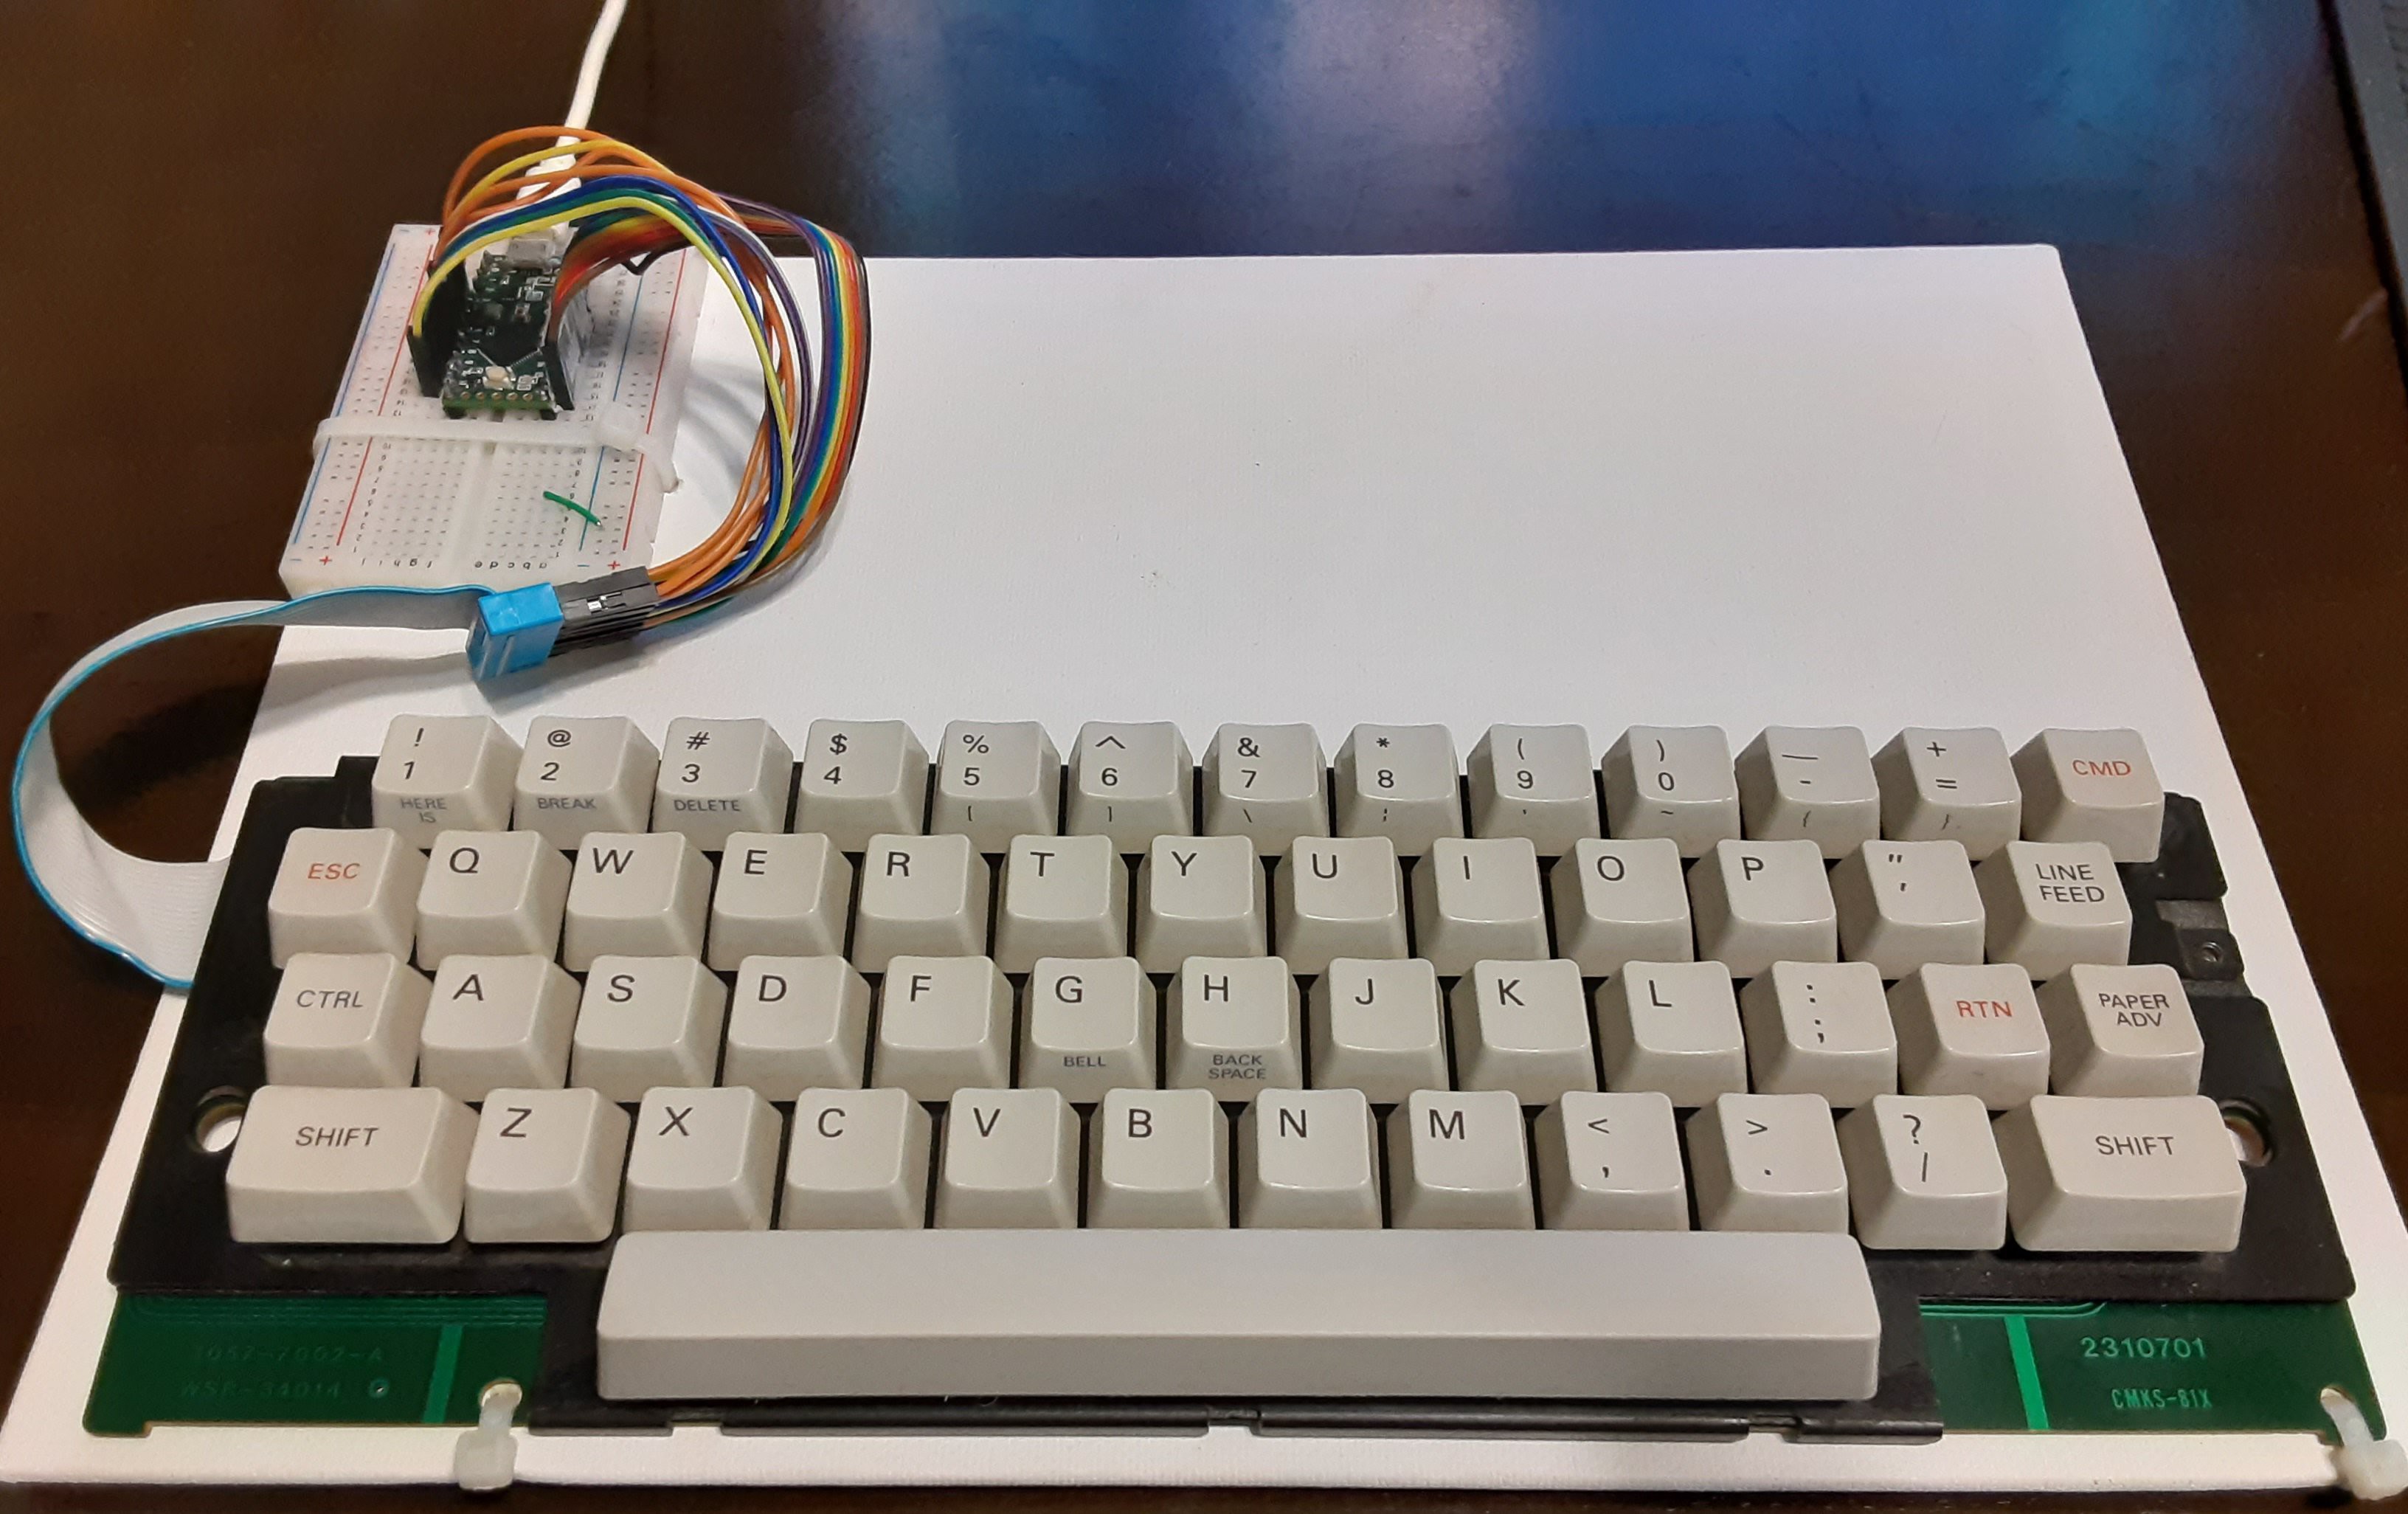
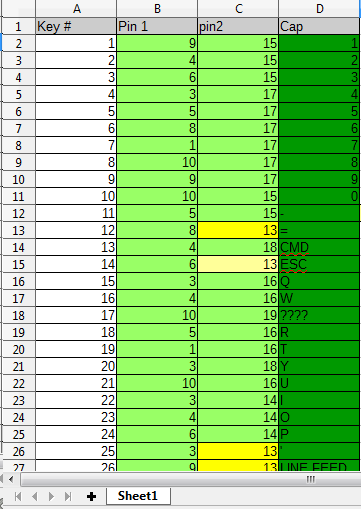 A sample of my reversed pinout.
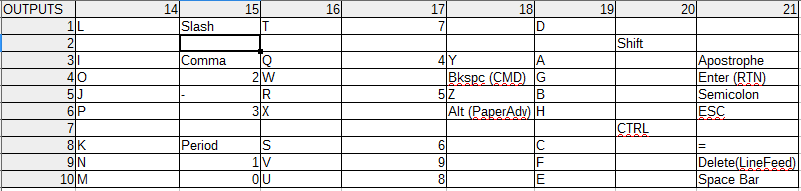
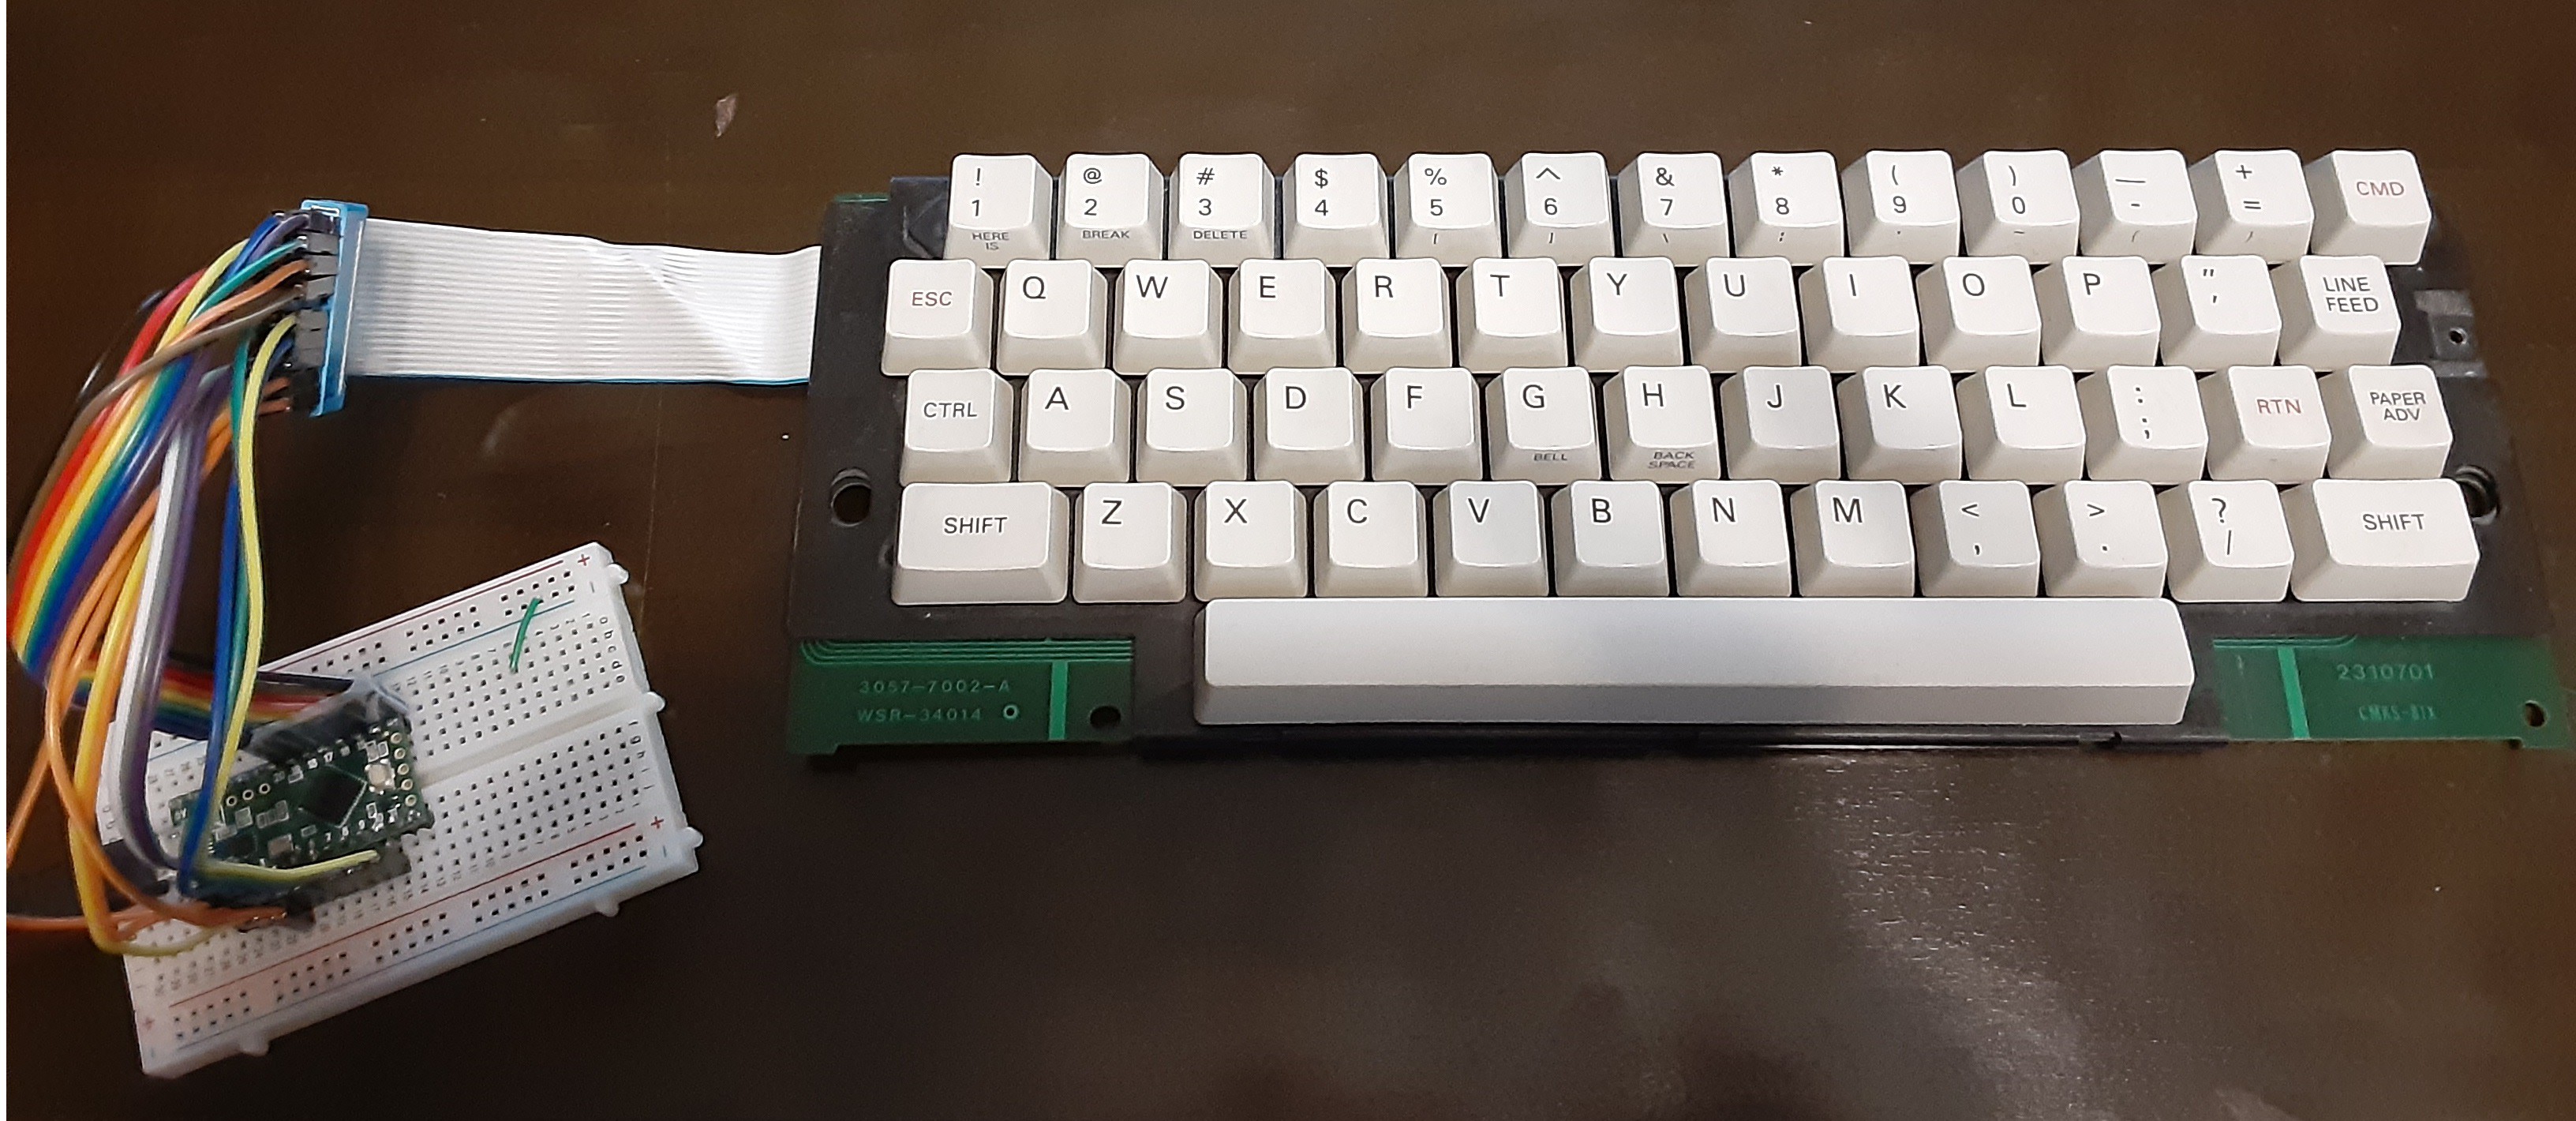


This is super lovely! I have a nice keyboard with a similar connector, and I'd love to be able to make it work.