 Alpenglow Industries
-
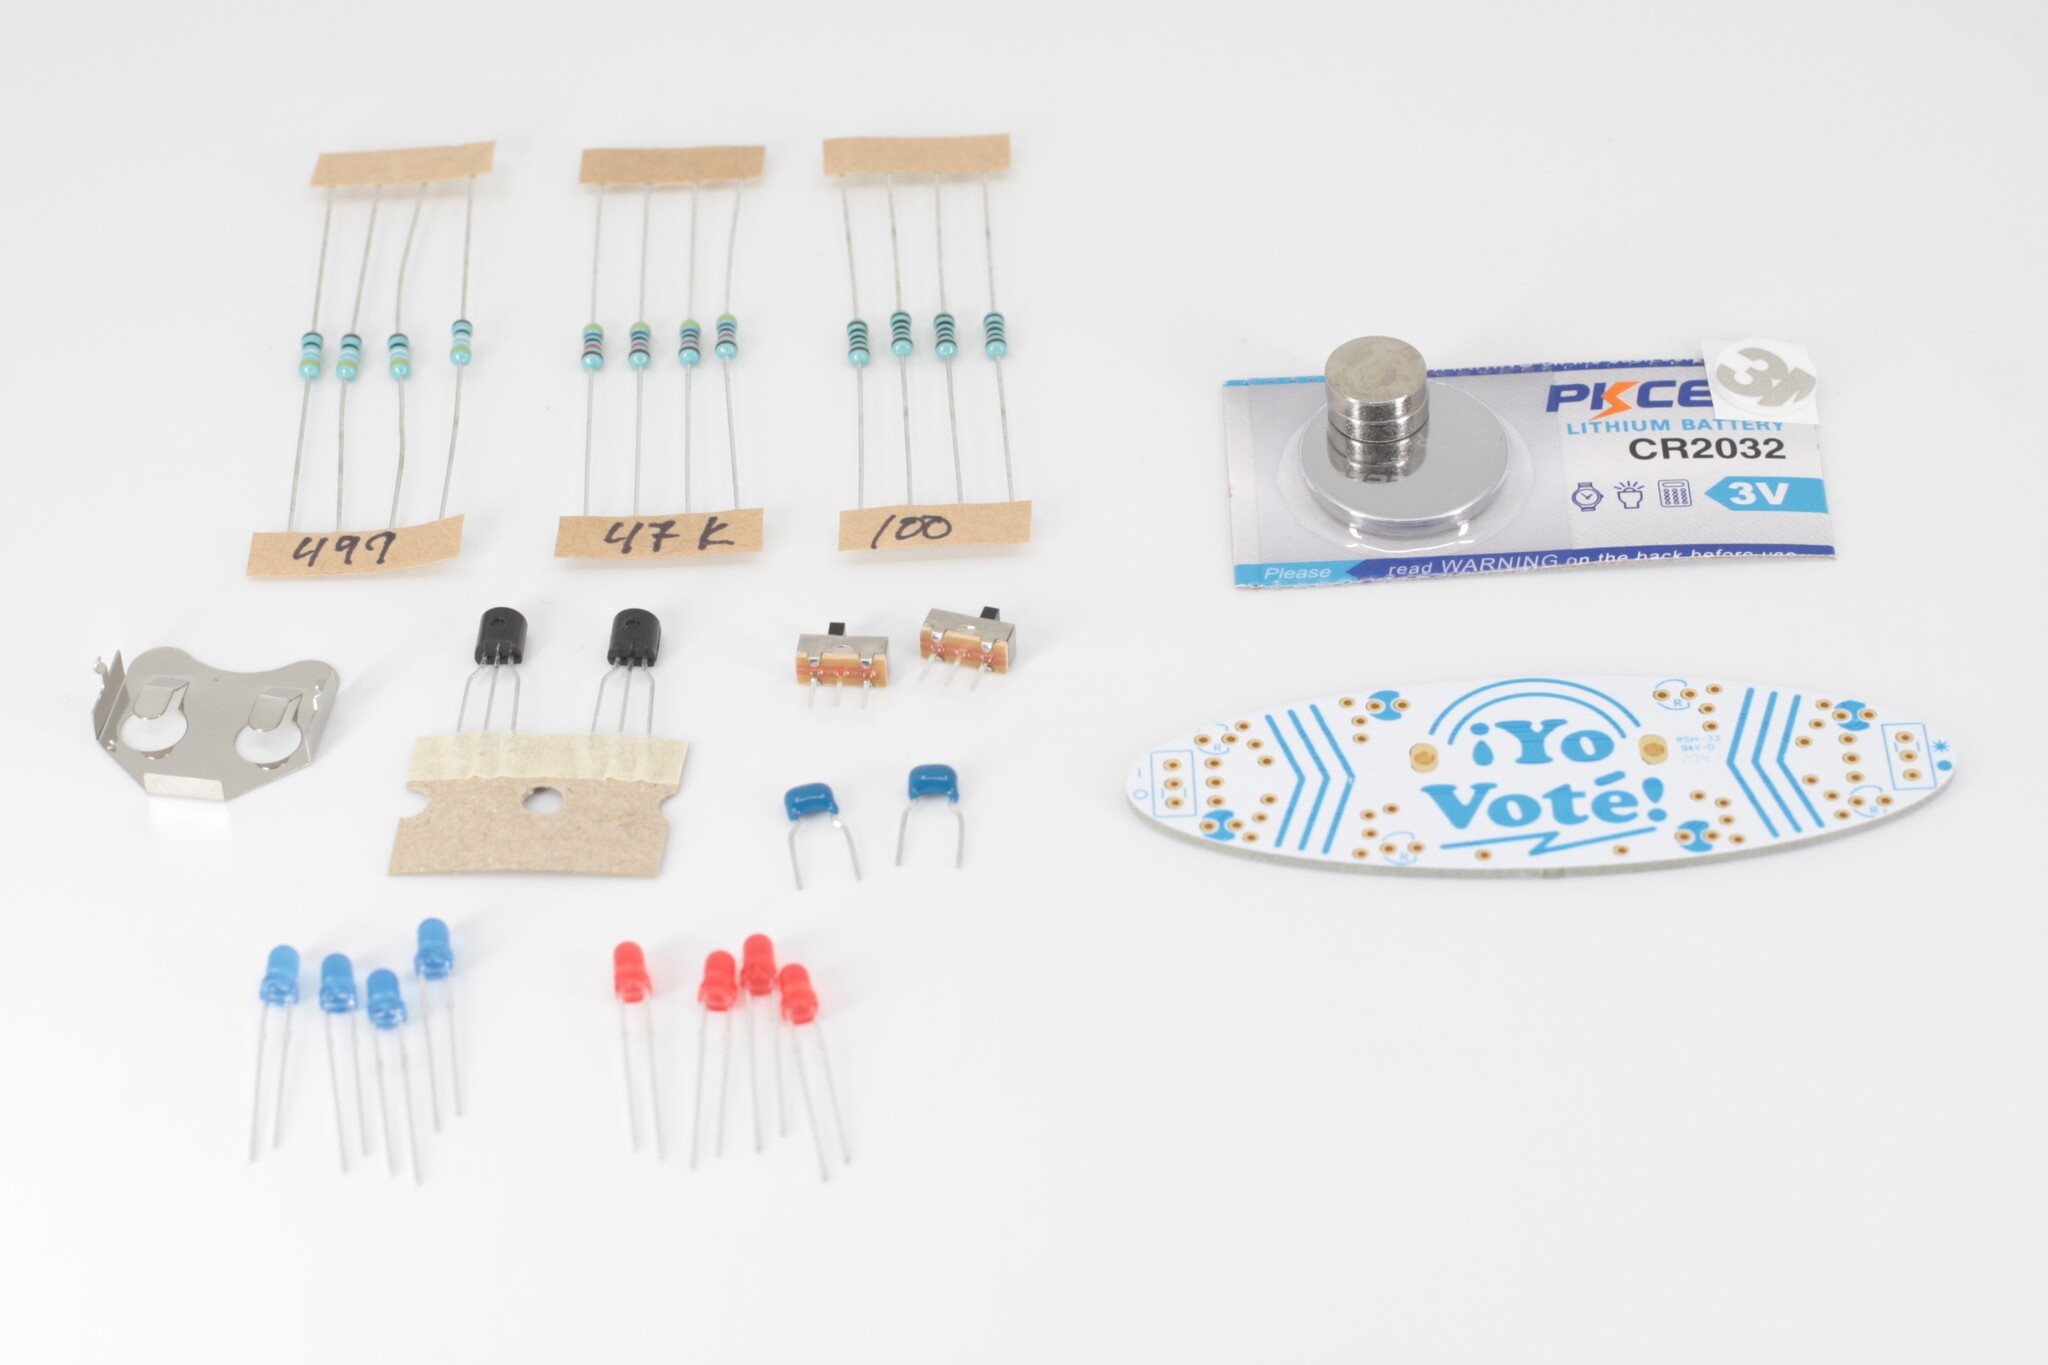
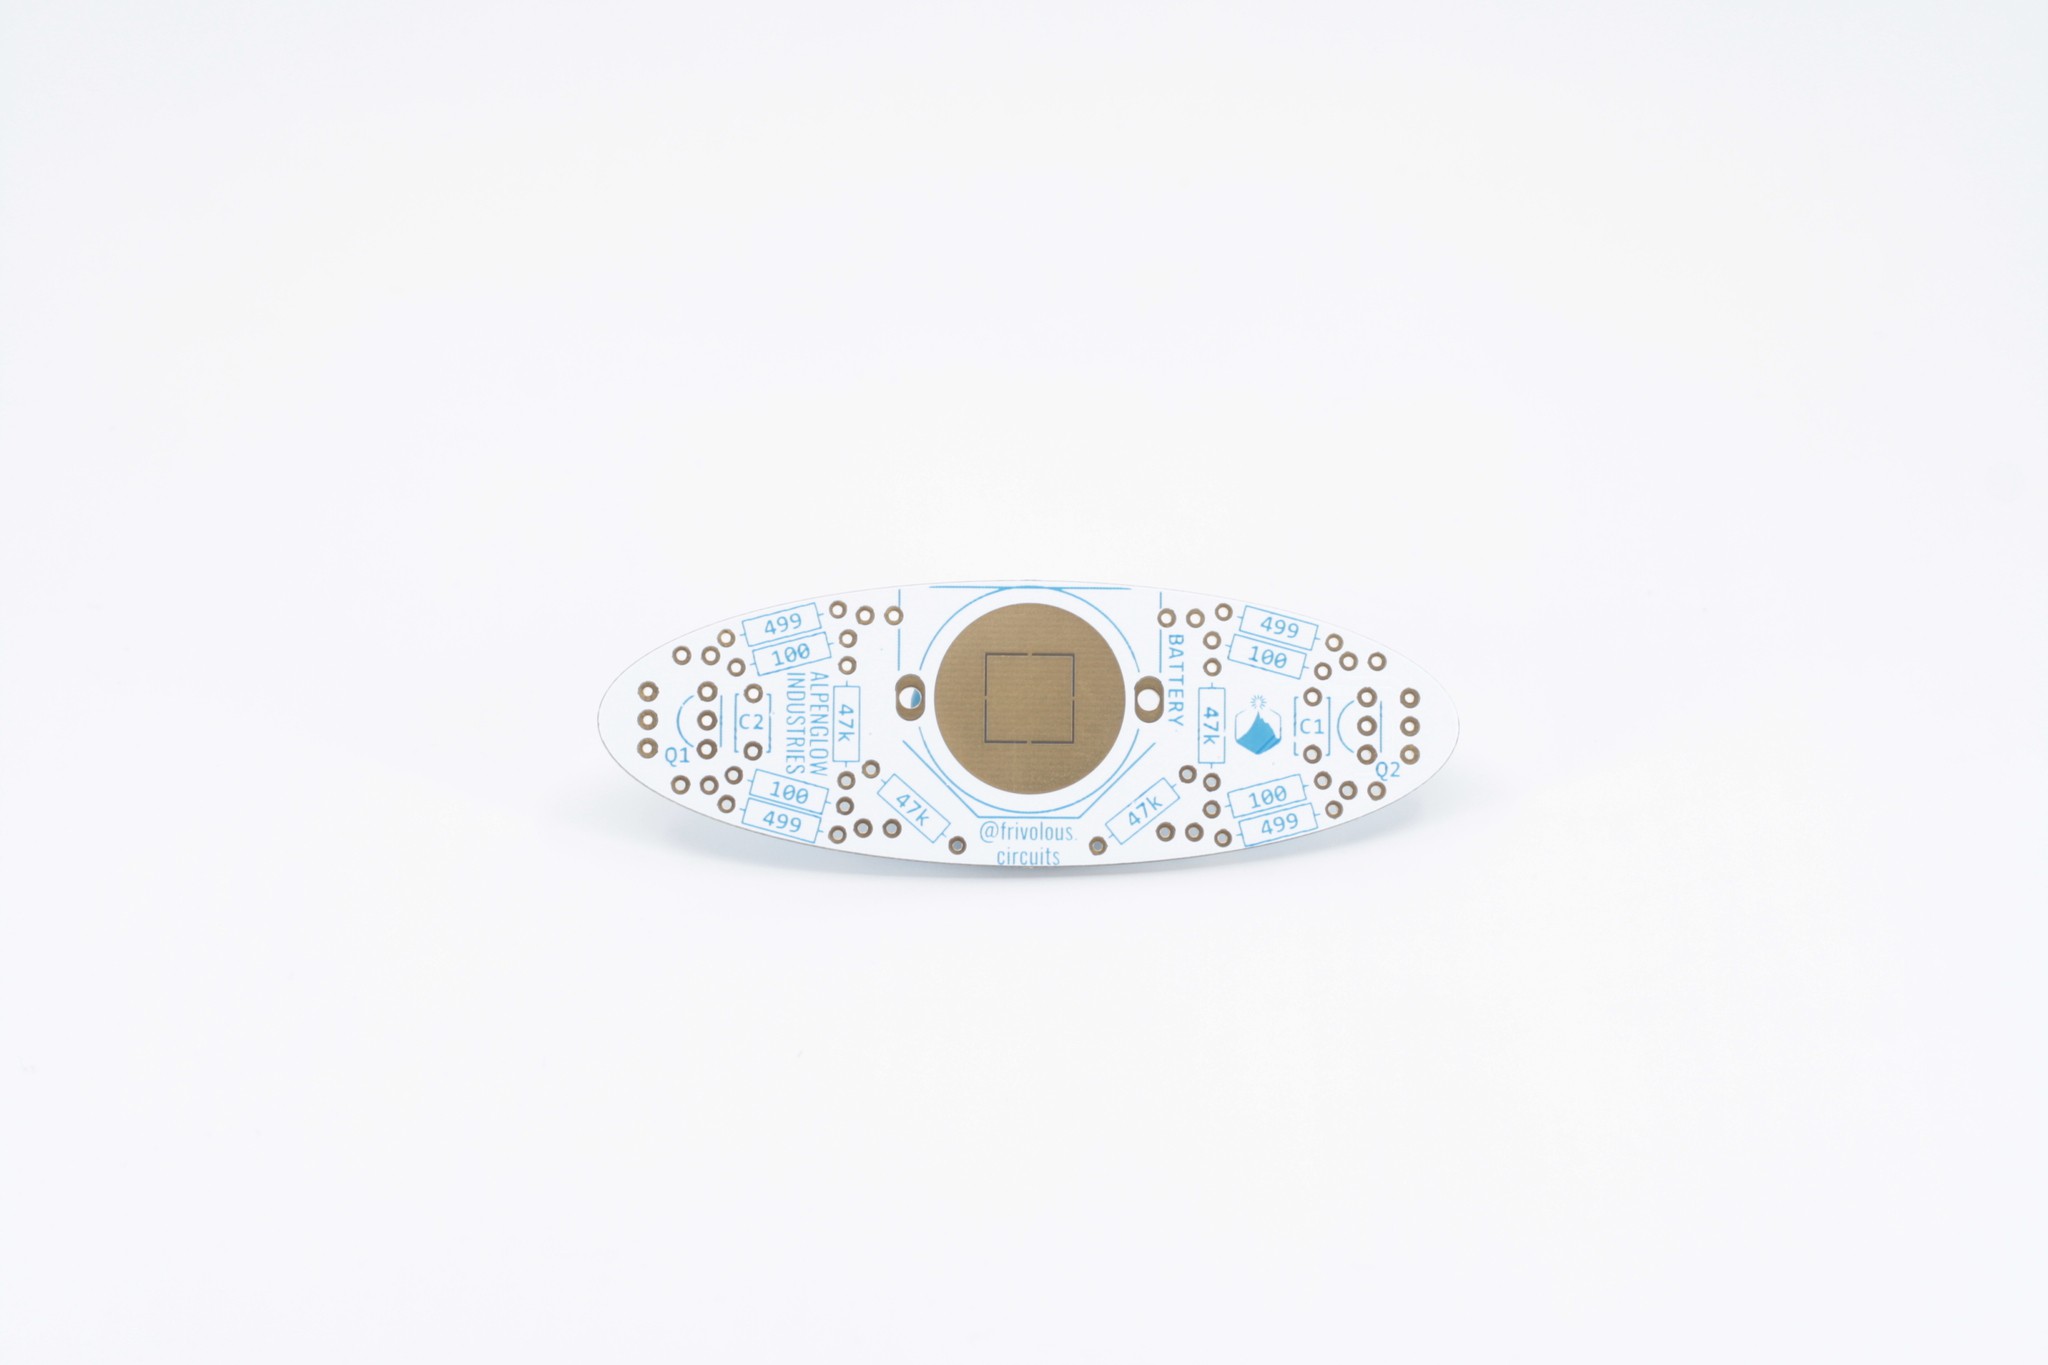
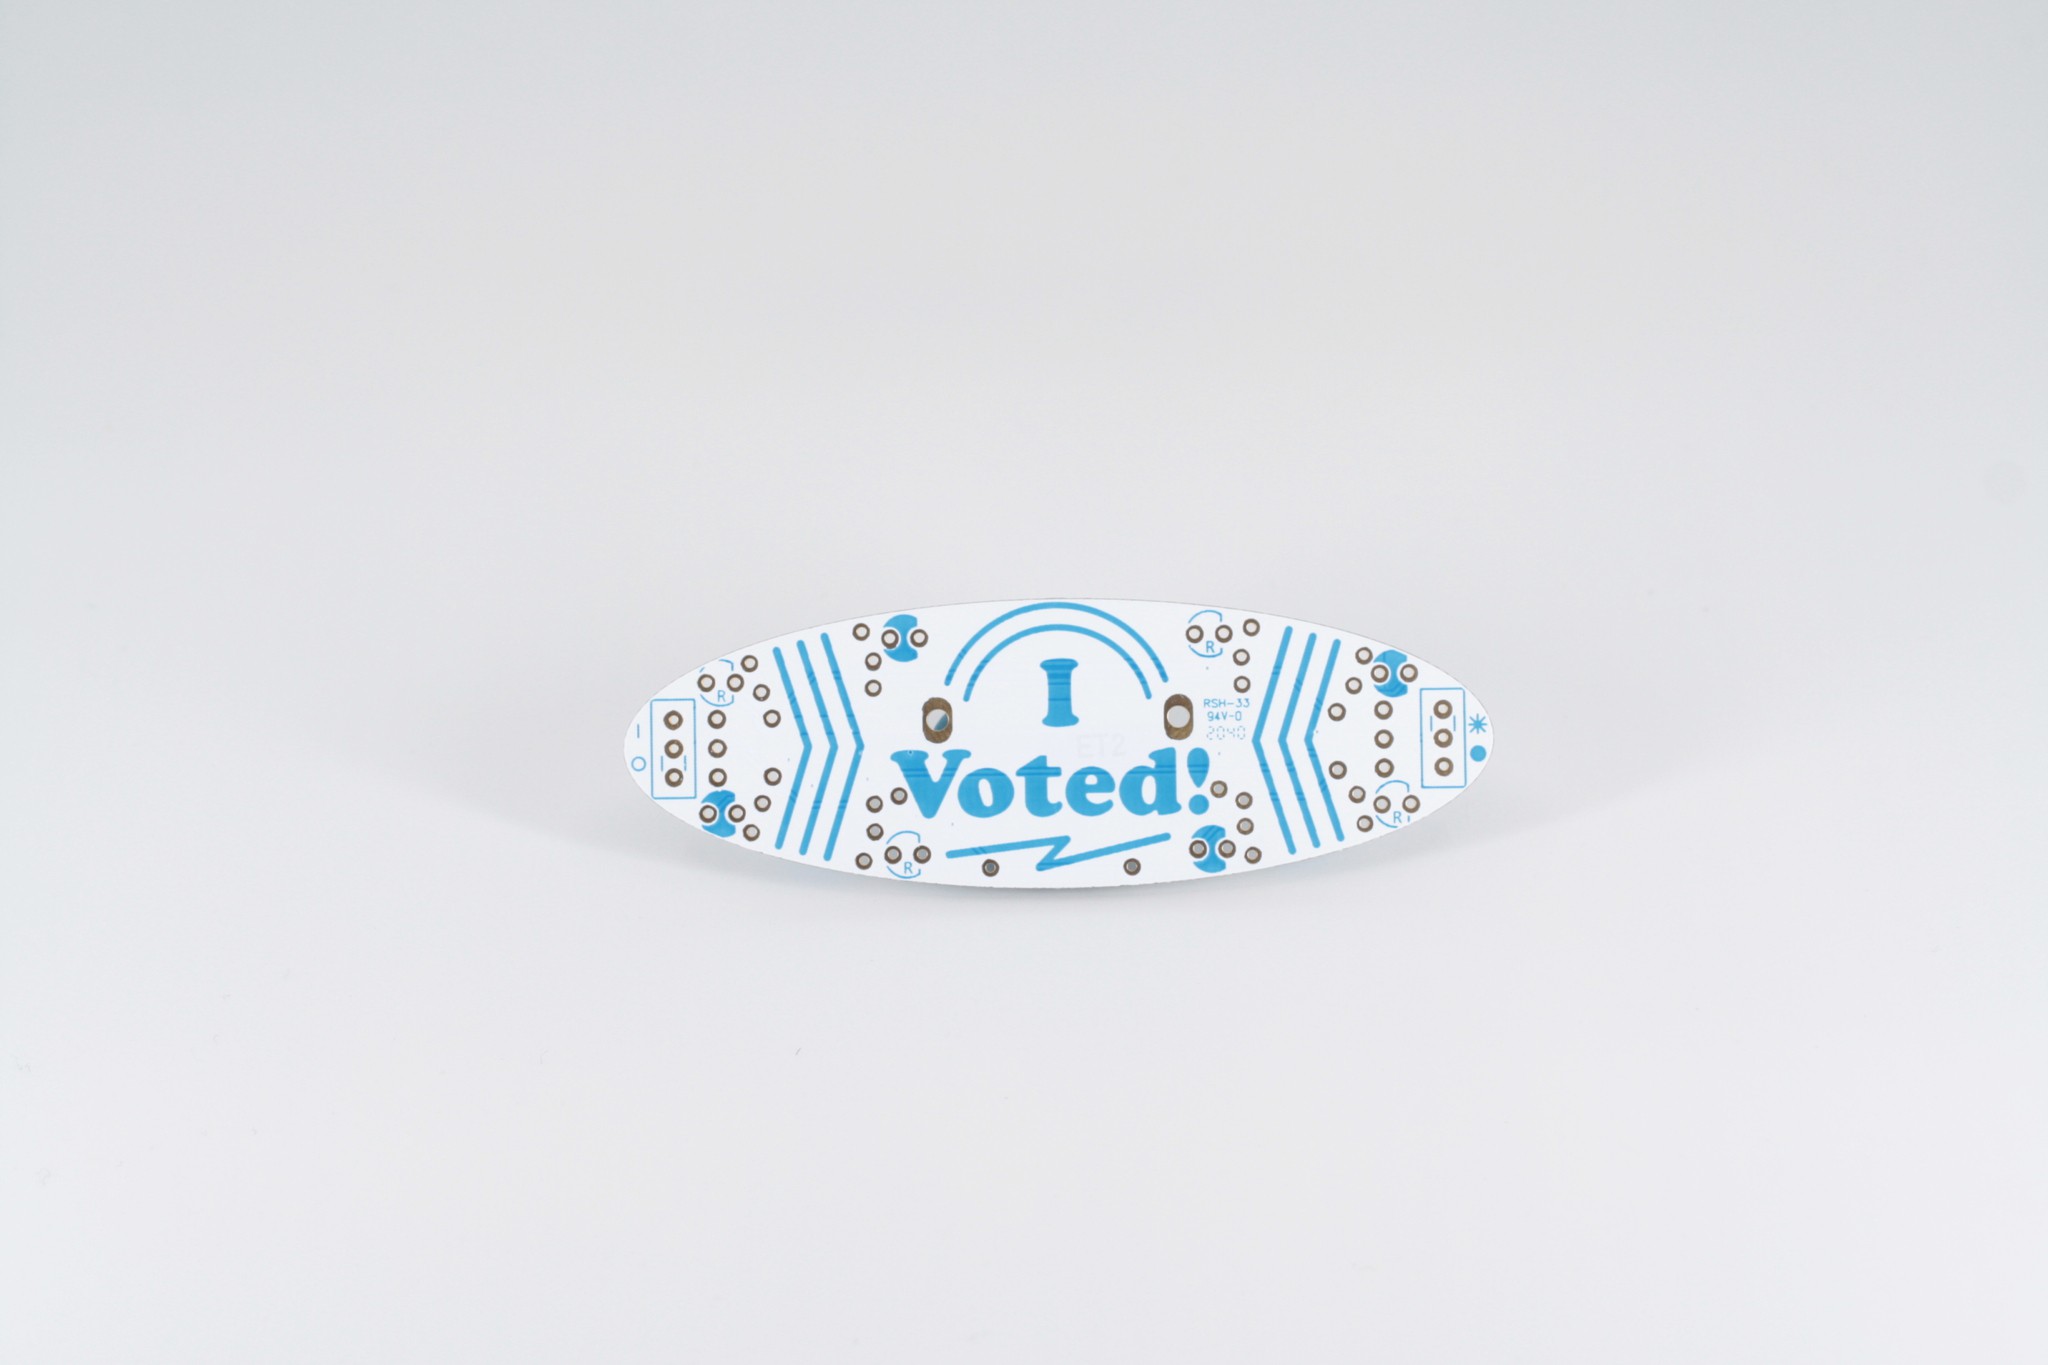
1Unpack Your Kit
![]()
![]()
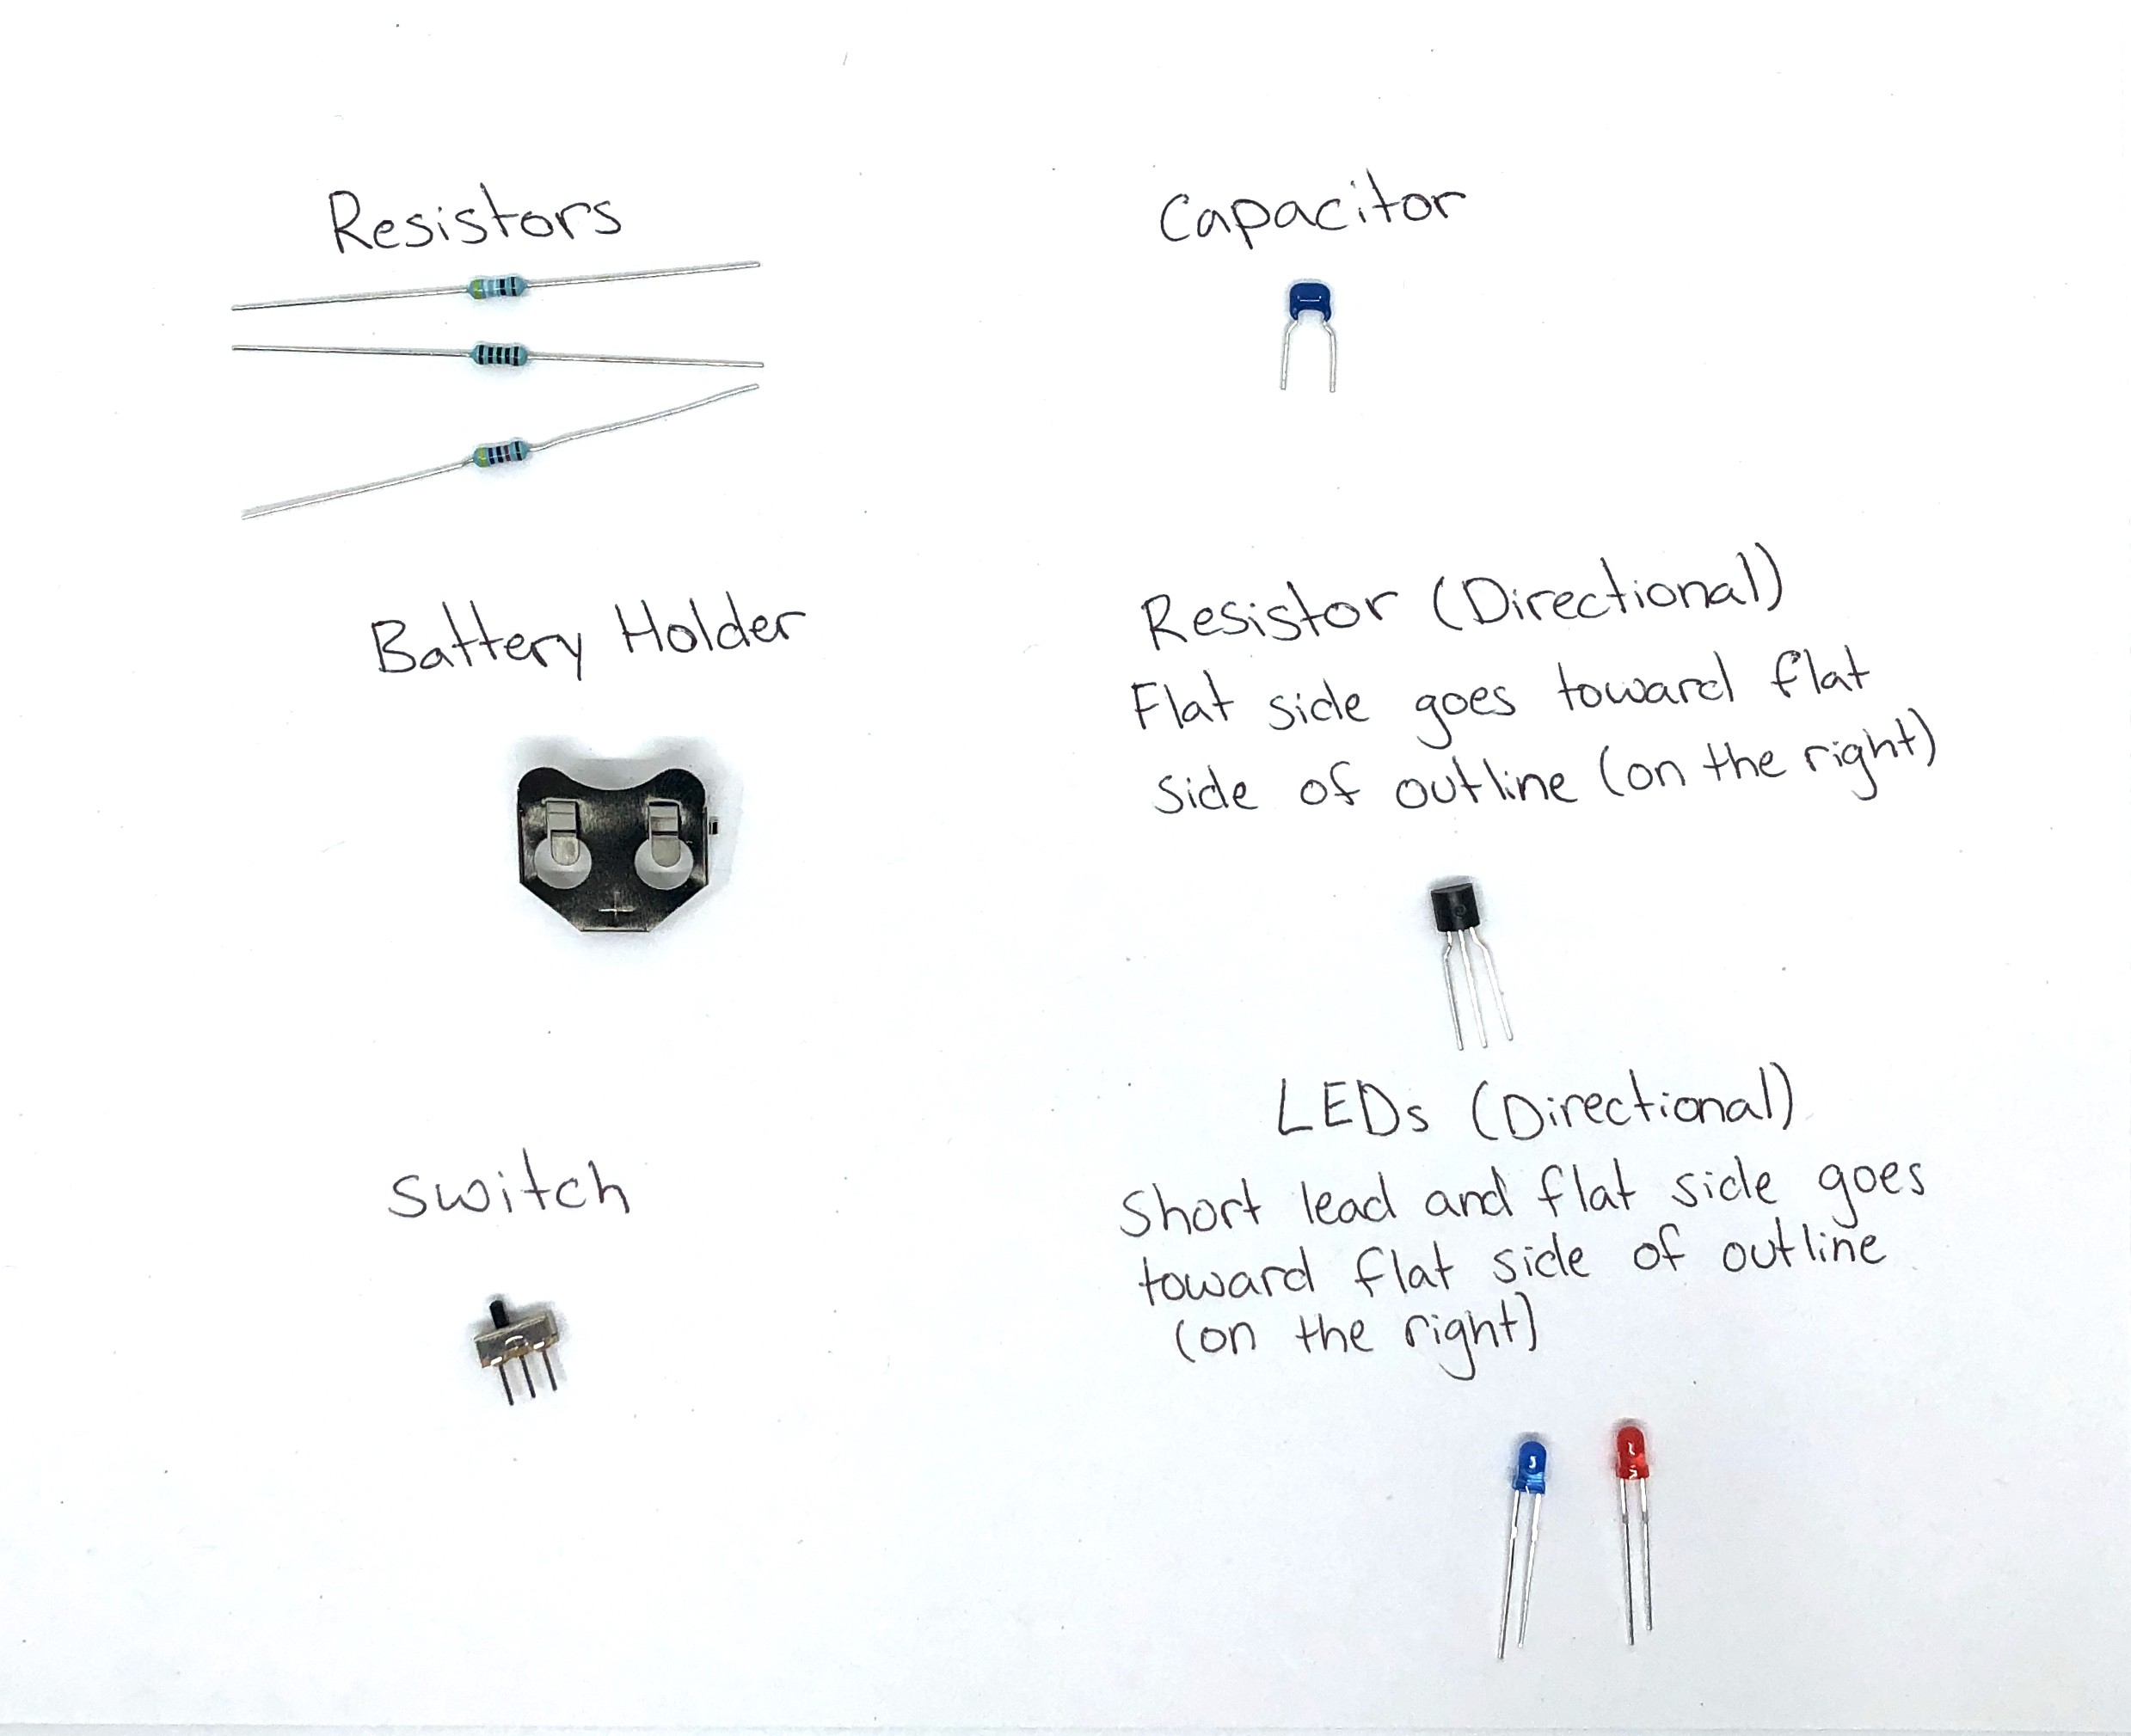
These are what the components are called:
![]()
-
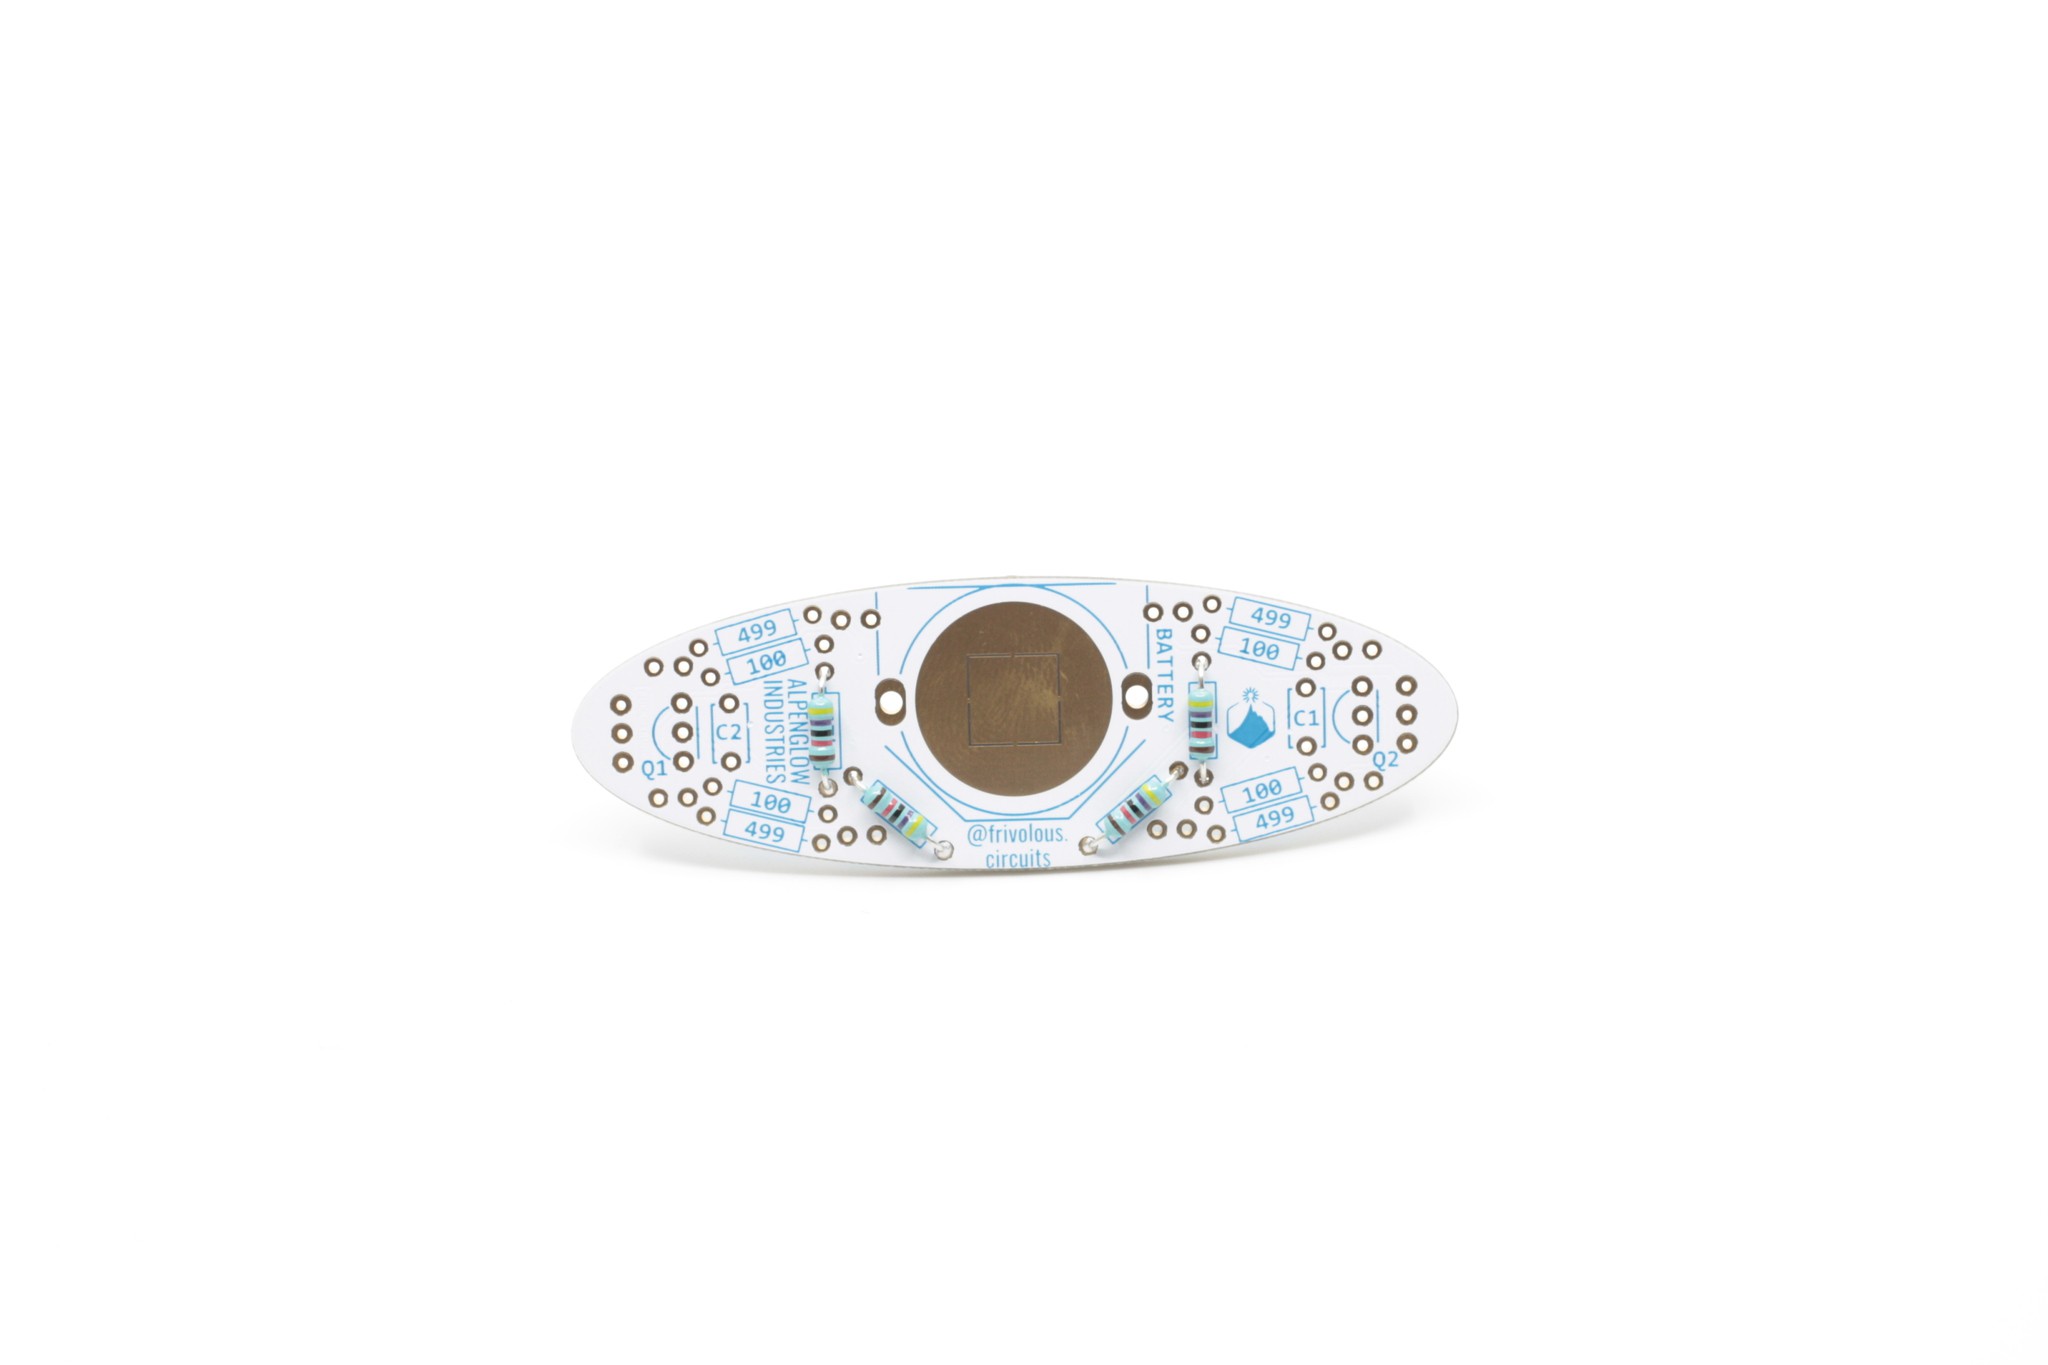
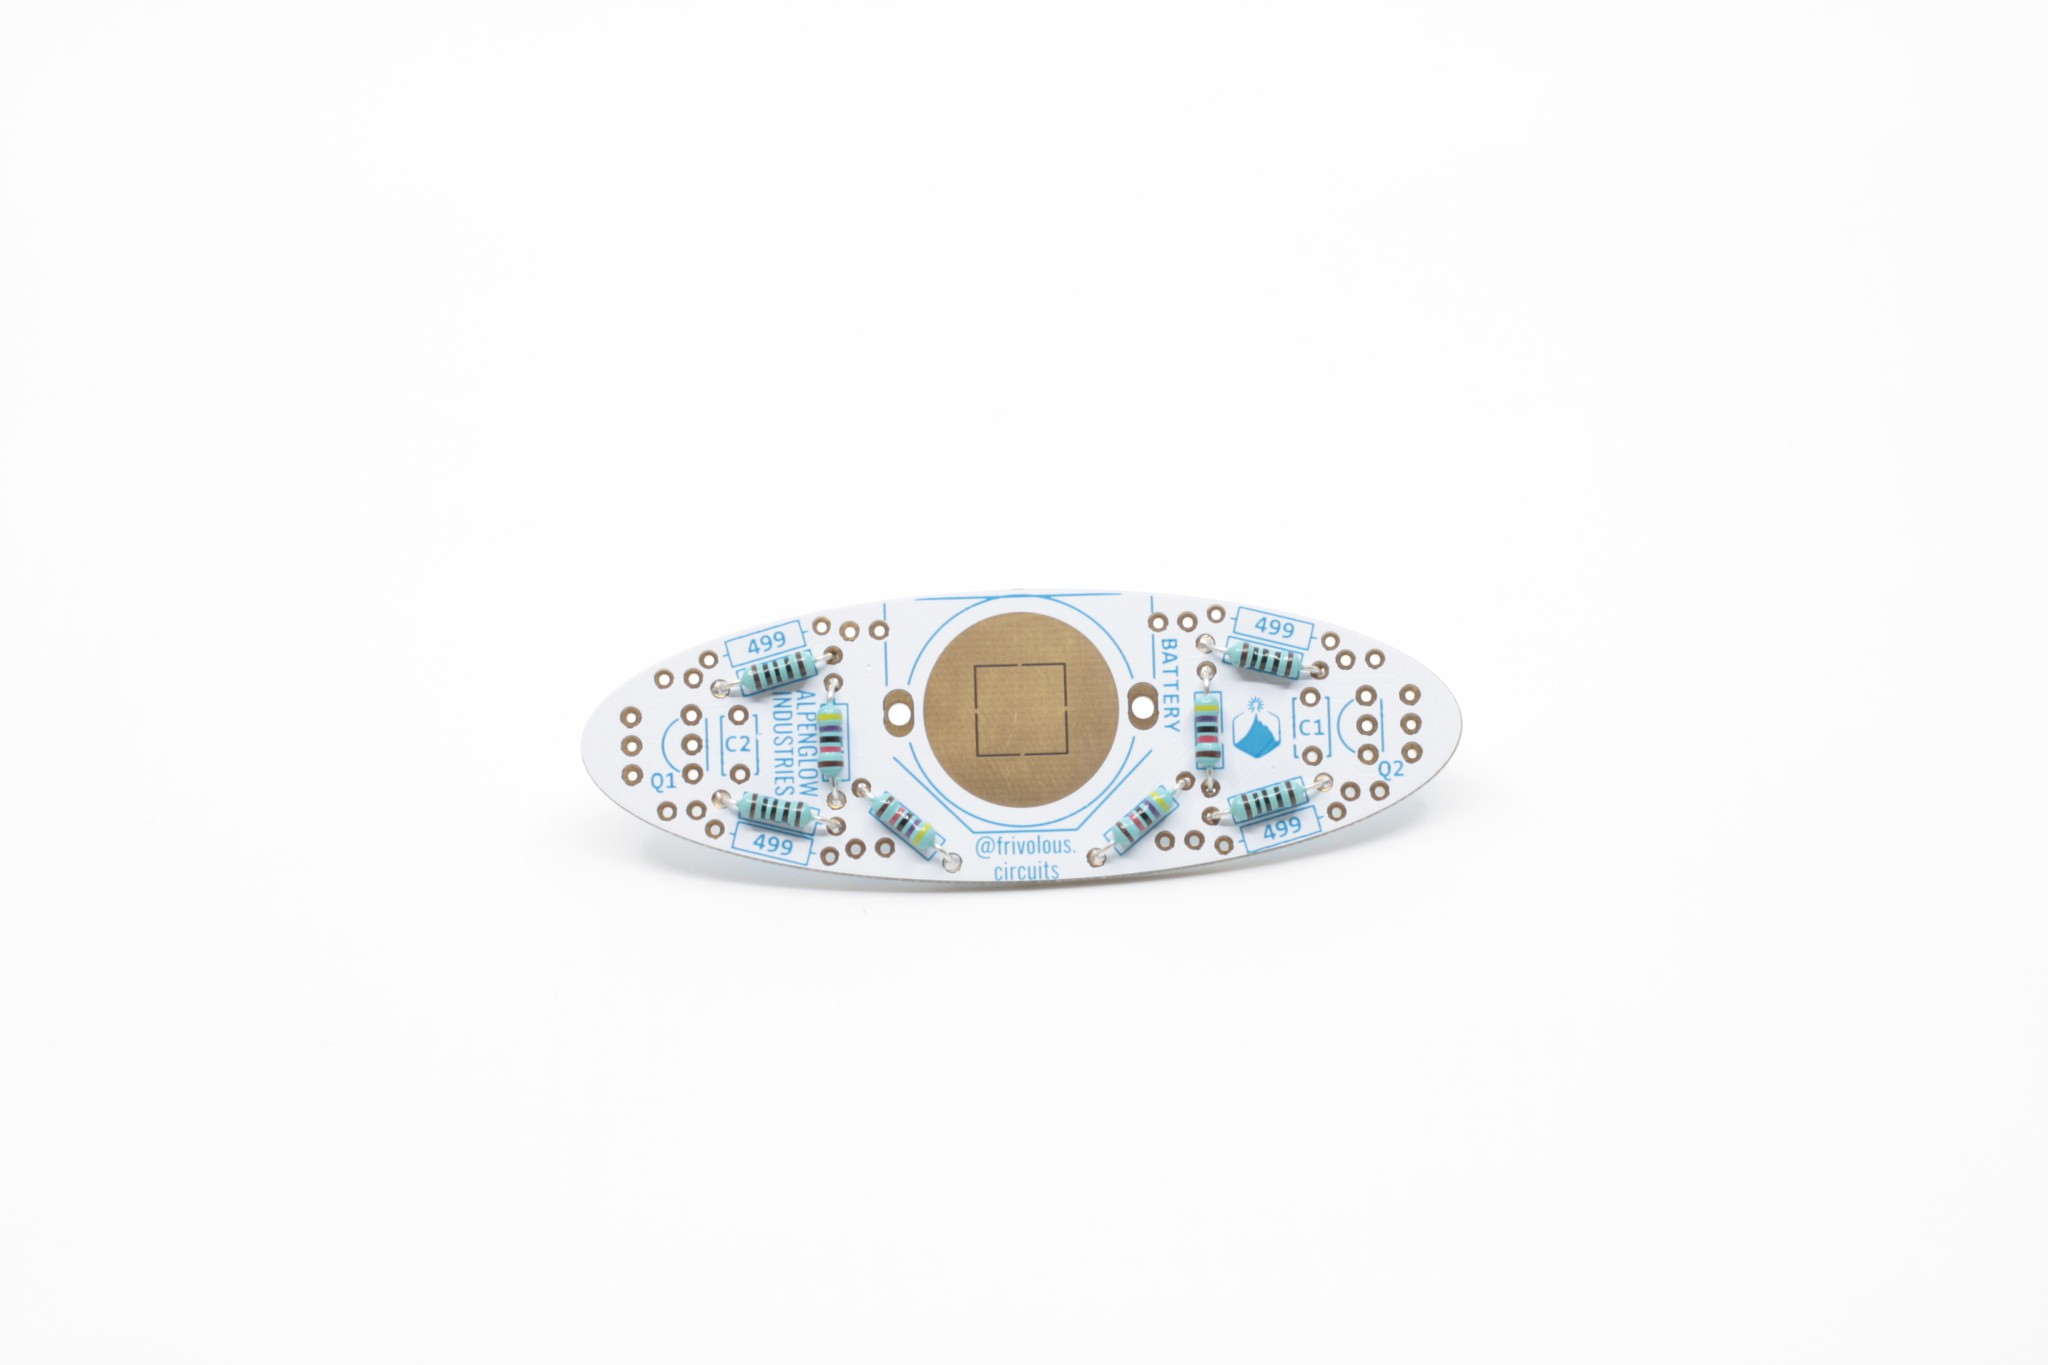
2Solder Resistors
Note: Start inward and work out. 47k, 100, 499
![]()
![]()
![]()
![]()
-
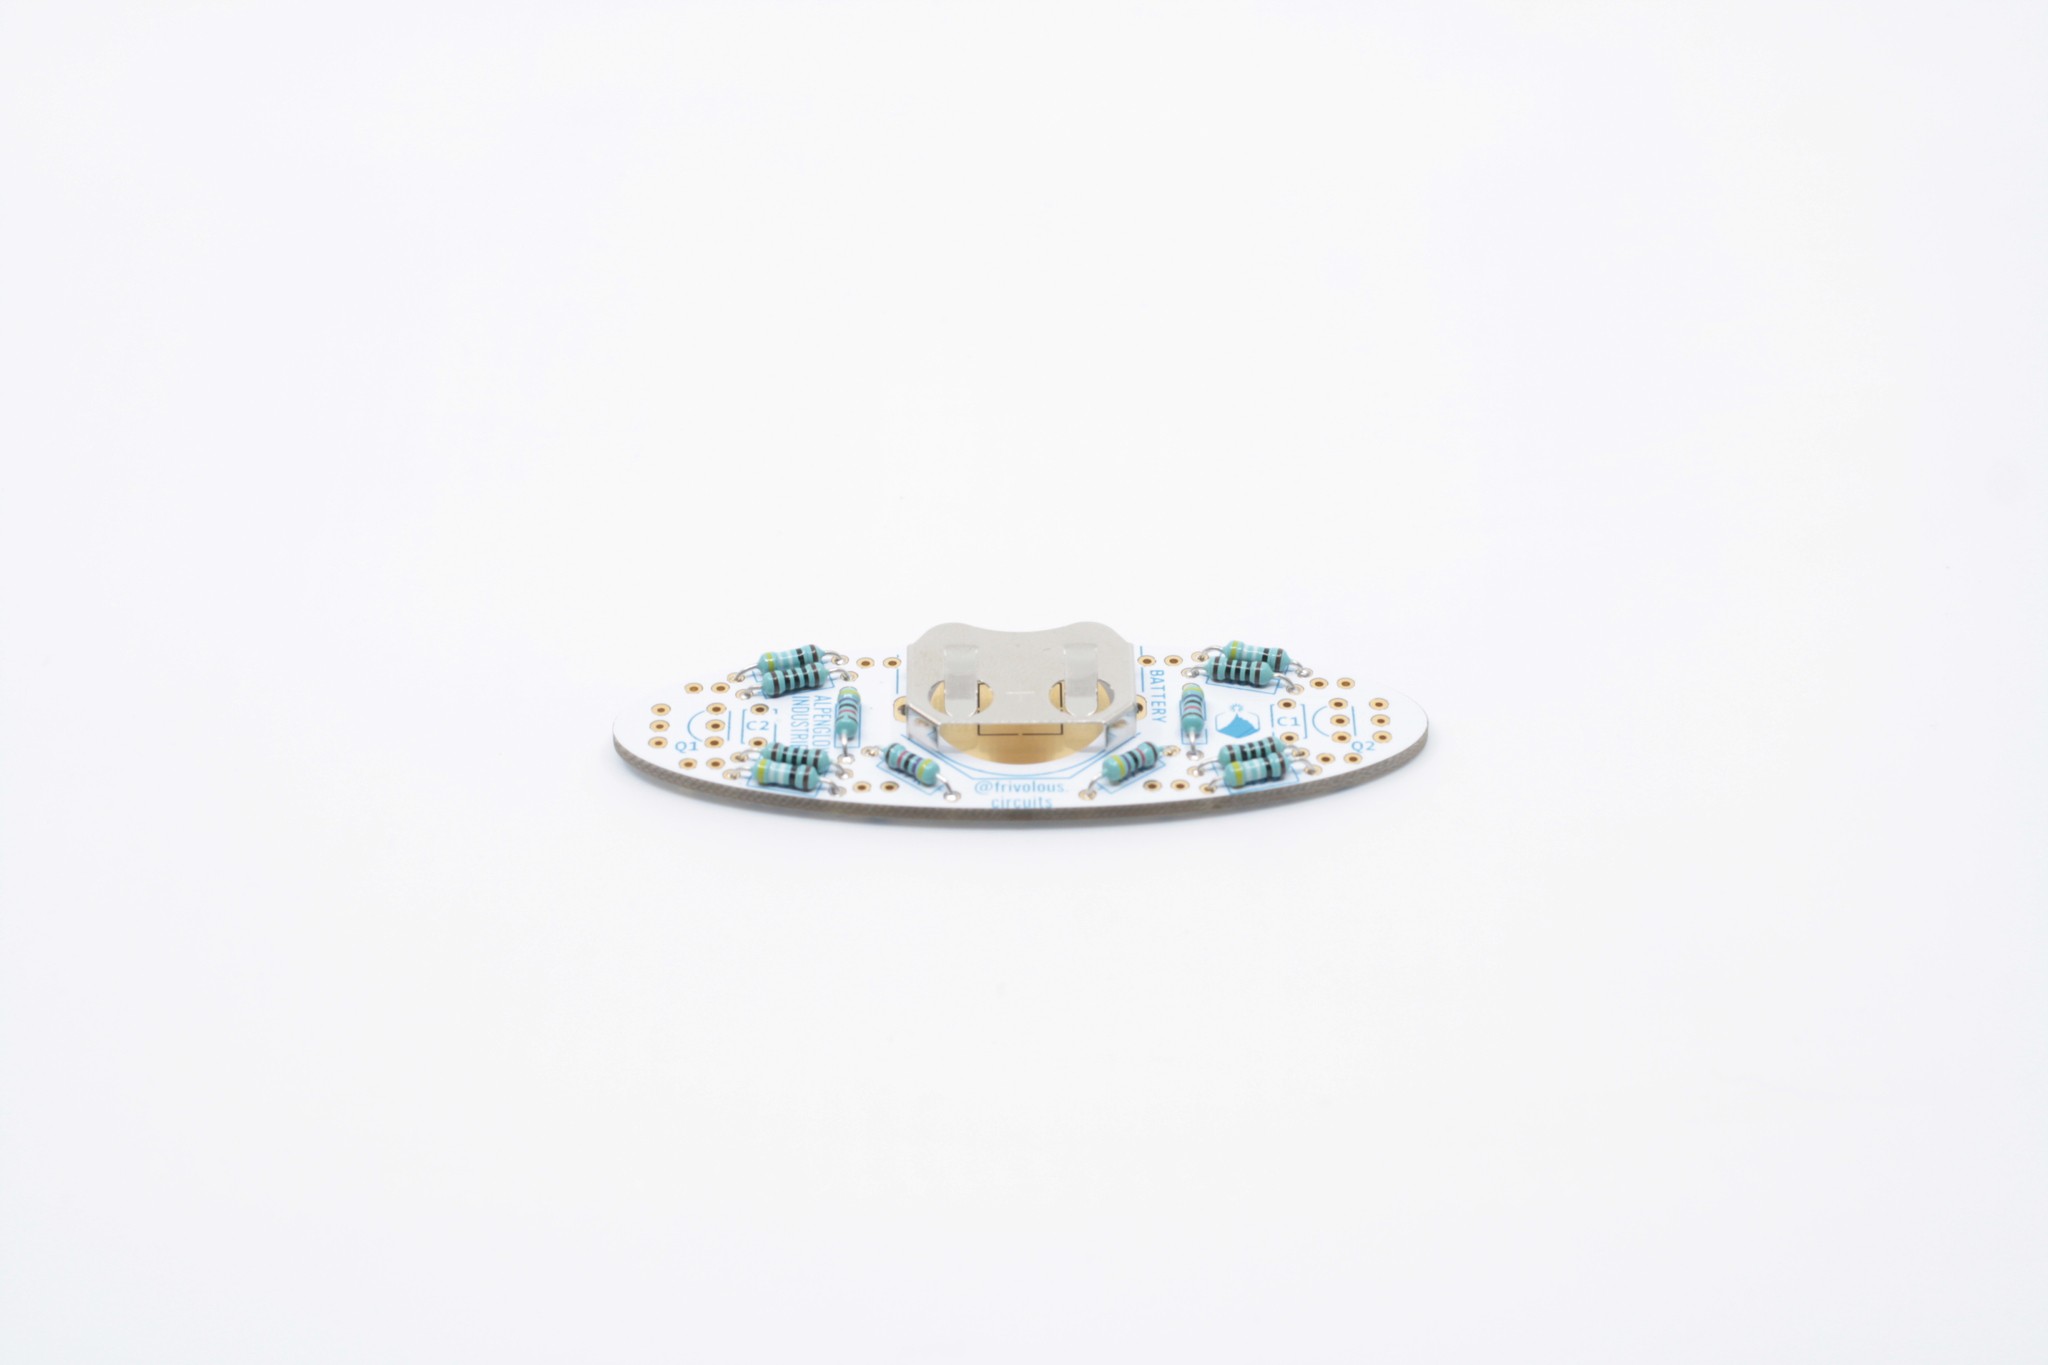
3Solder Battery Holder
![]()
-
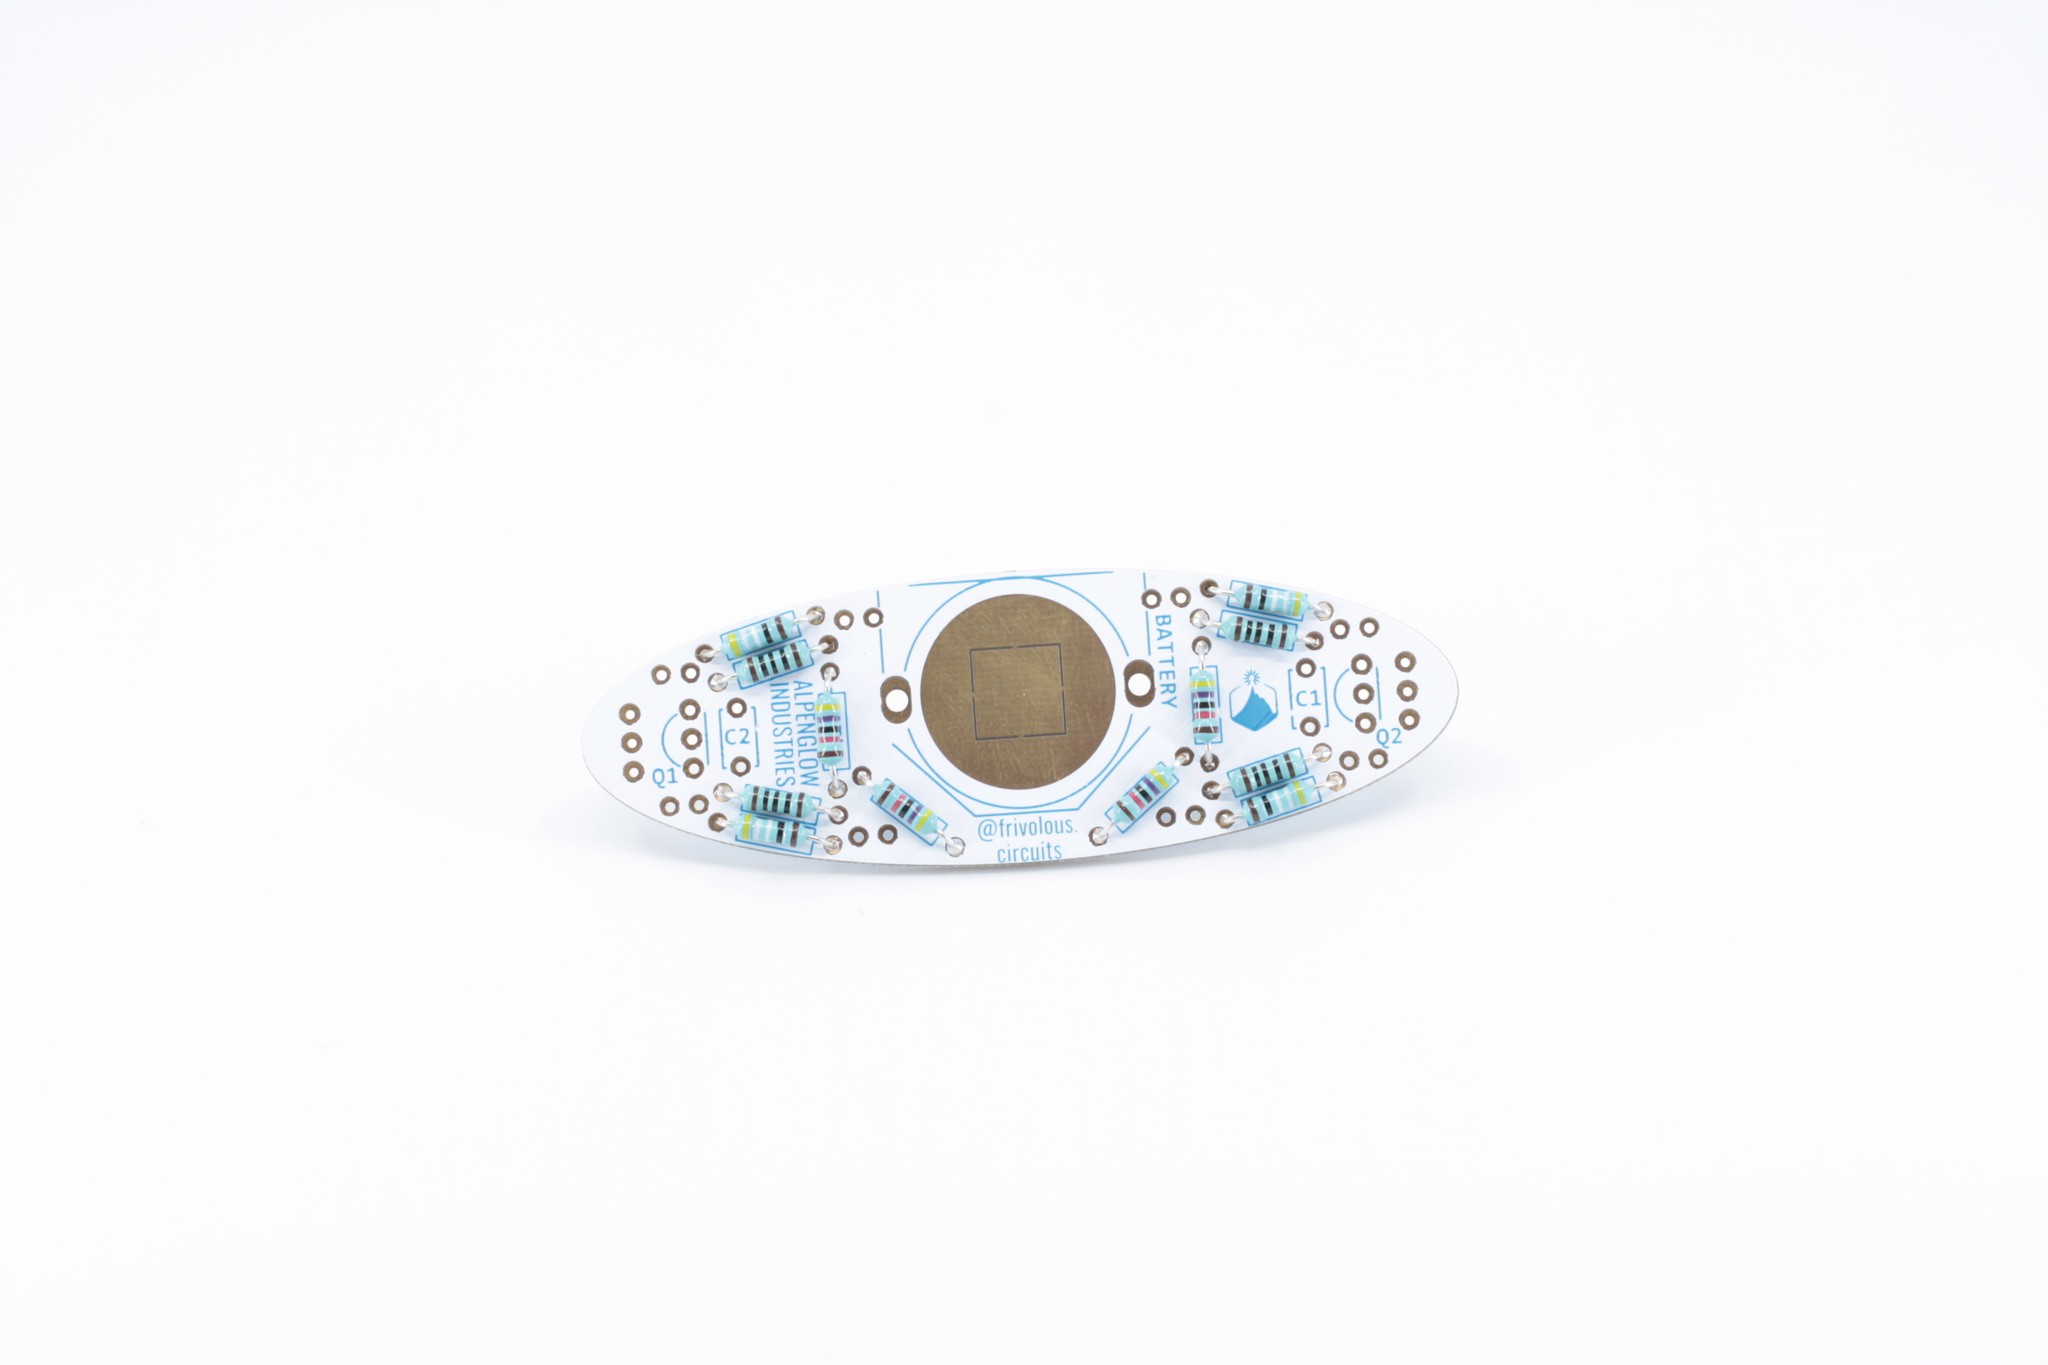
4Solder Transistors & Capacitors
Note: It will be easier to solder the transistors first. Match the flat spot on the transistors with the flat part of the outline drawn on the circuit board. In the picture below, the flat sides are both to the right.
![]()
-
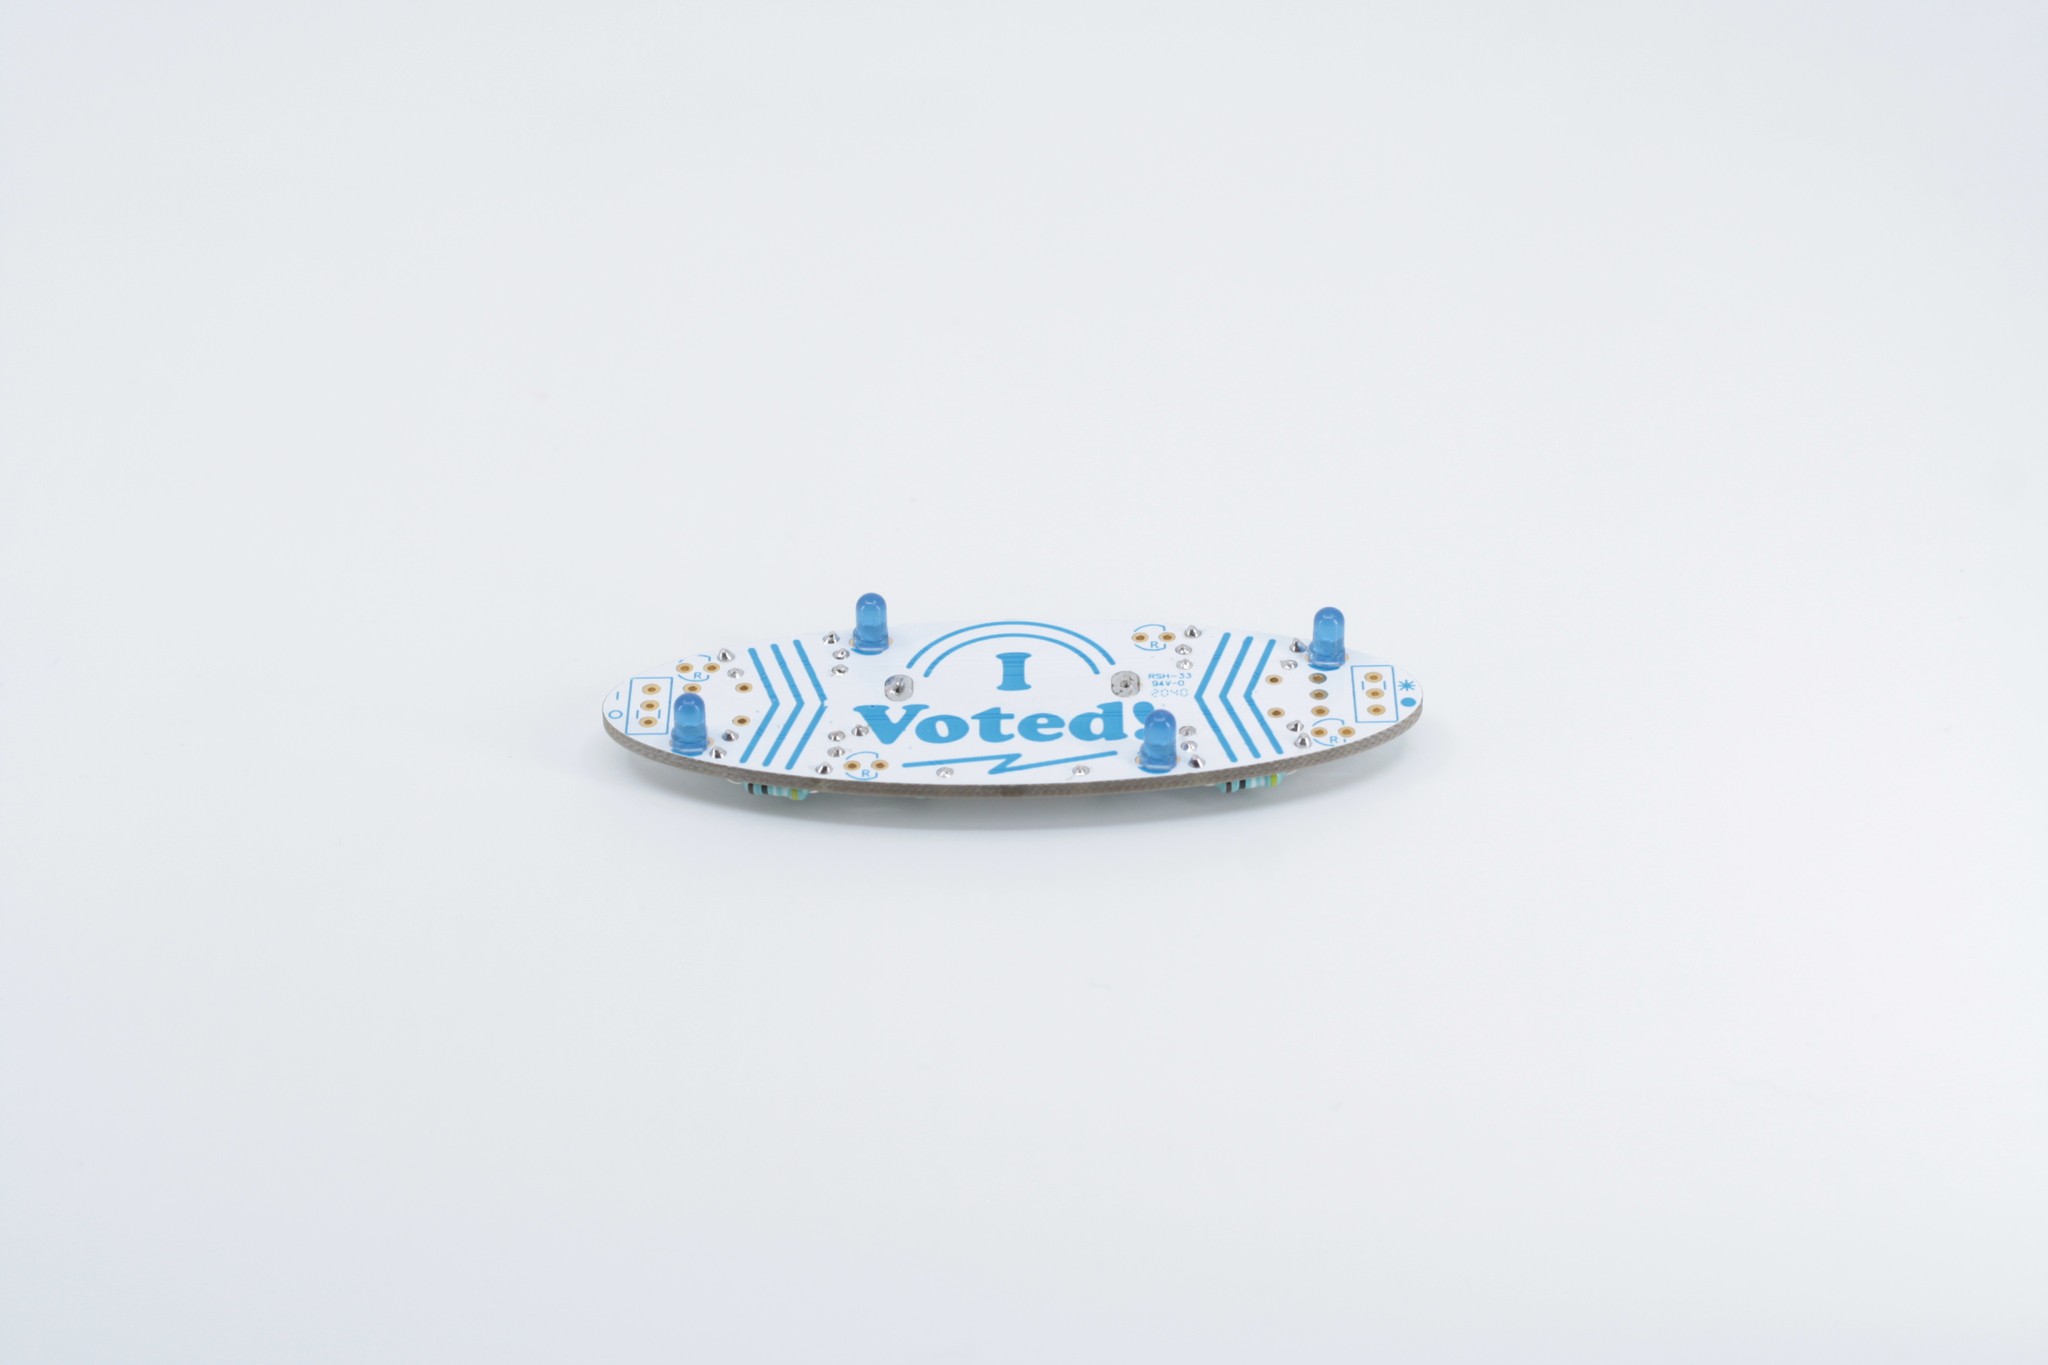
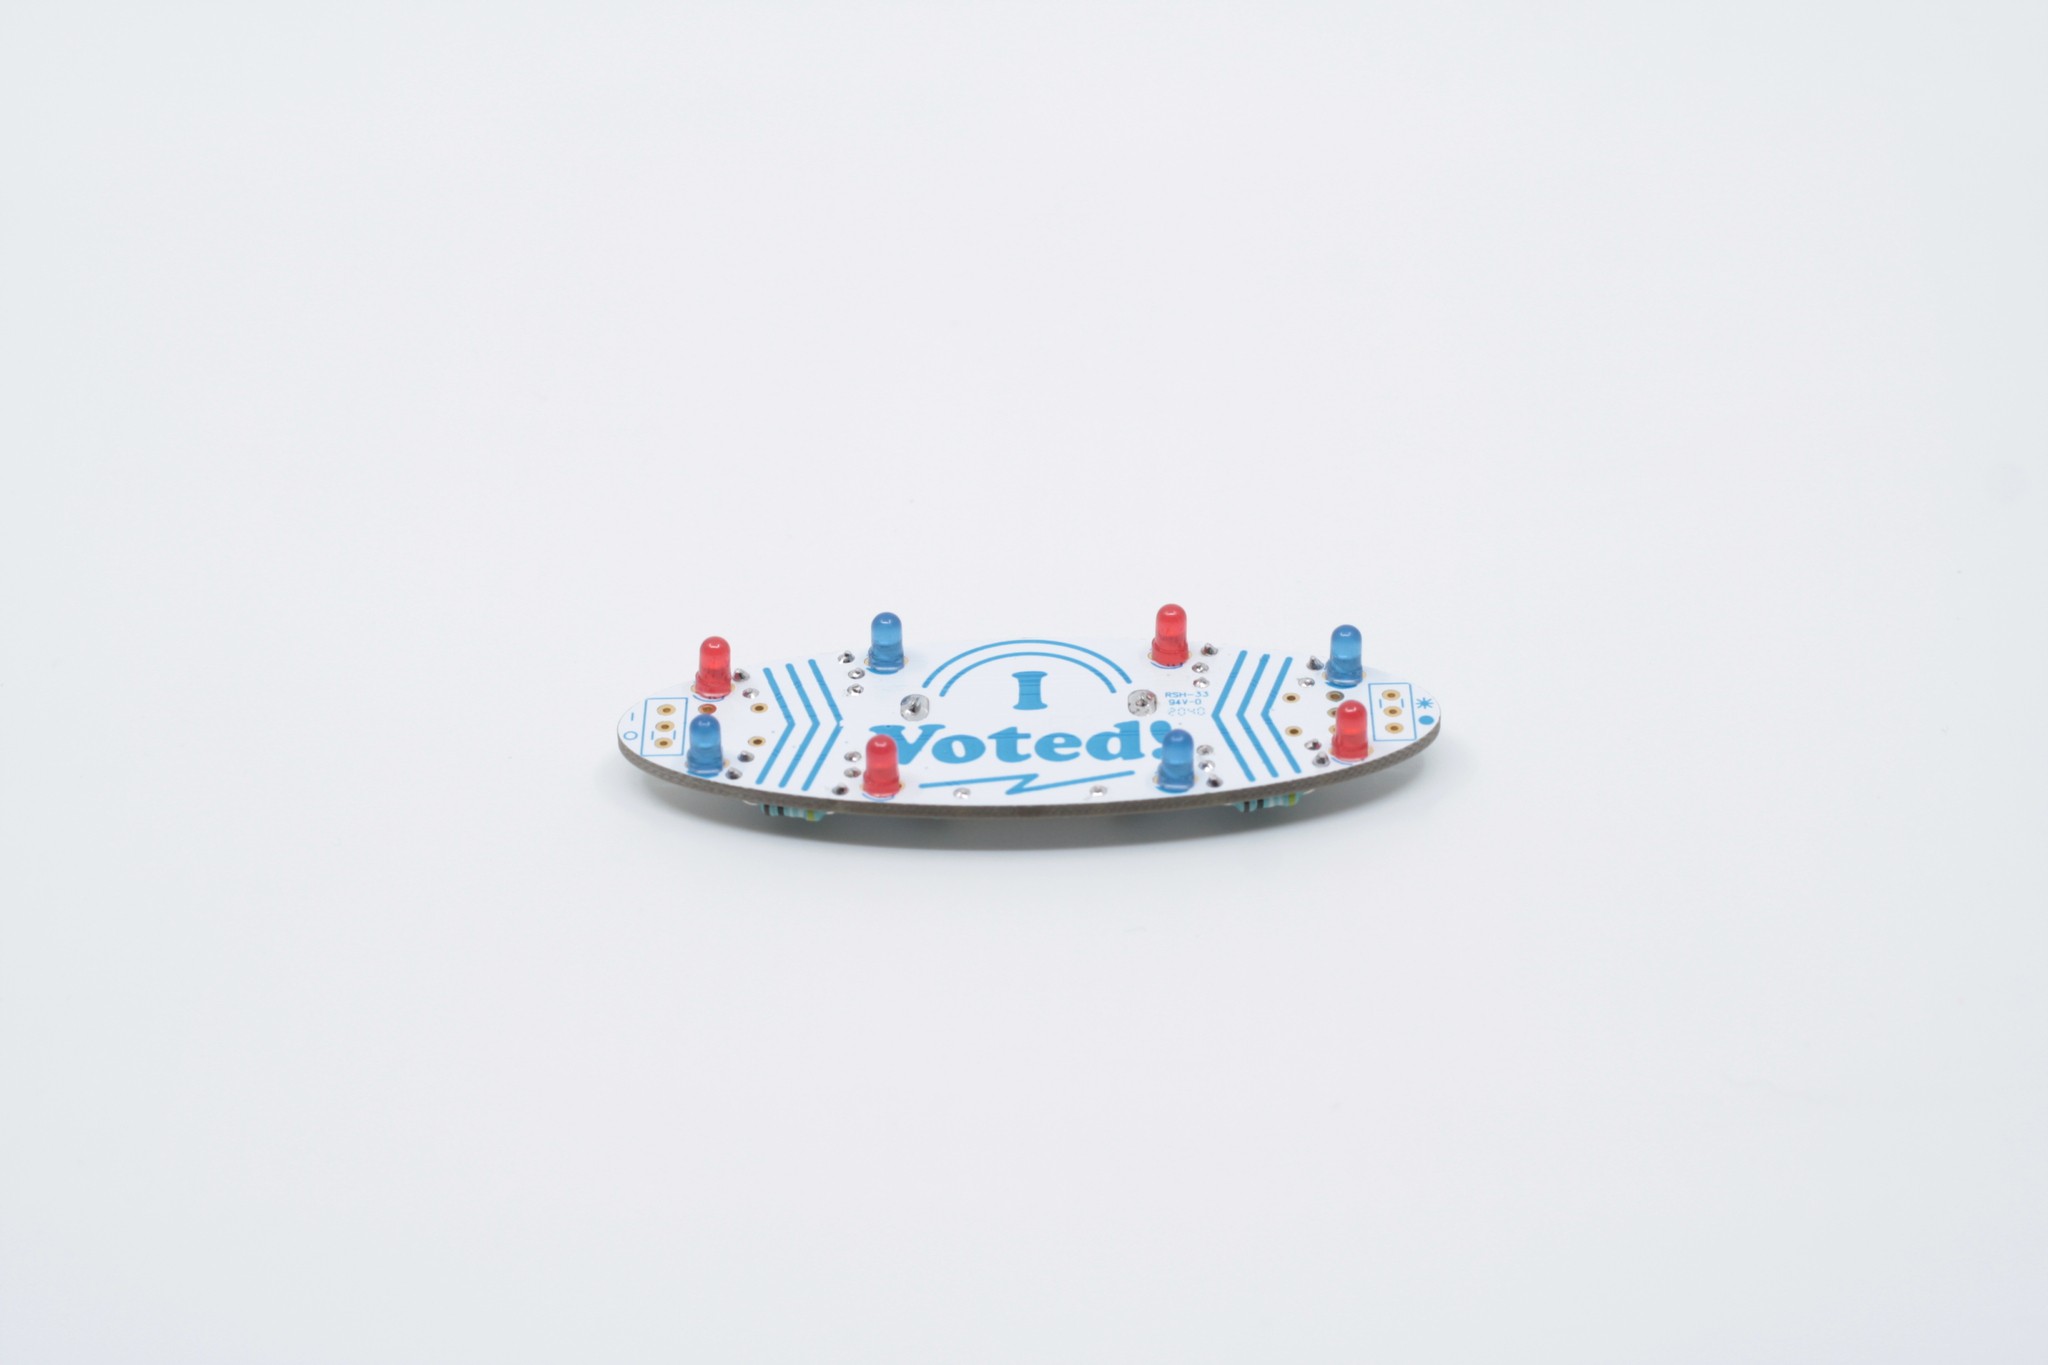
5Solder LEDs
Note: The LEDs are directional! There's a small flat edge on the LED lens, which is also the same side as the short leg of the LED. These should all go toward the flat edge of the part outline printed on the circuit board, which is to the right in the photo below. The placement of red vs blue also matters - the blue LEDs are placed in the solid blue spots and the red LEDs are placed in the spots indicated with an R.
![]()
![]()
![]()
-
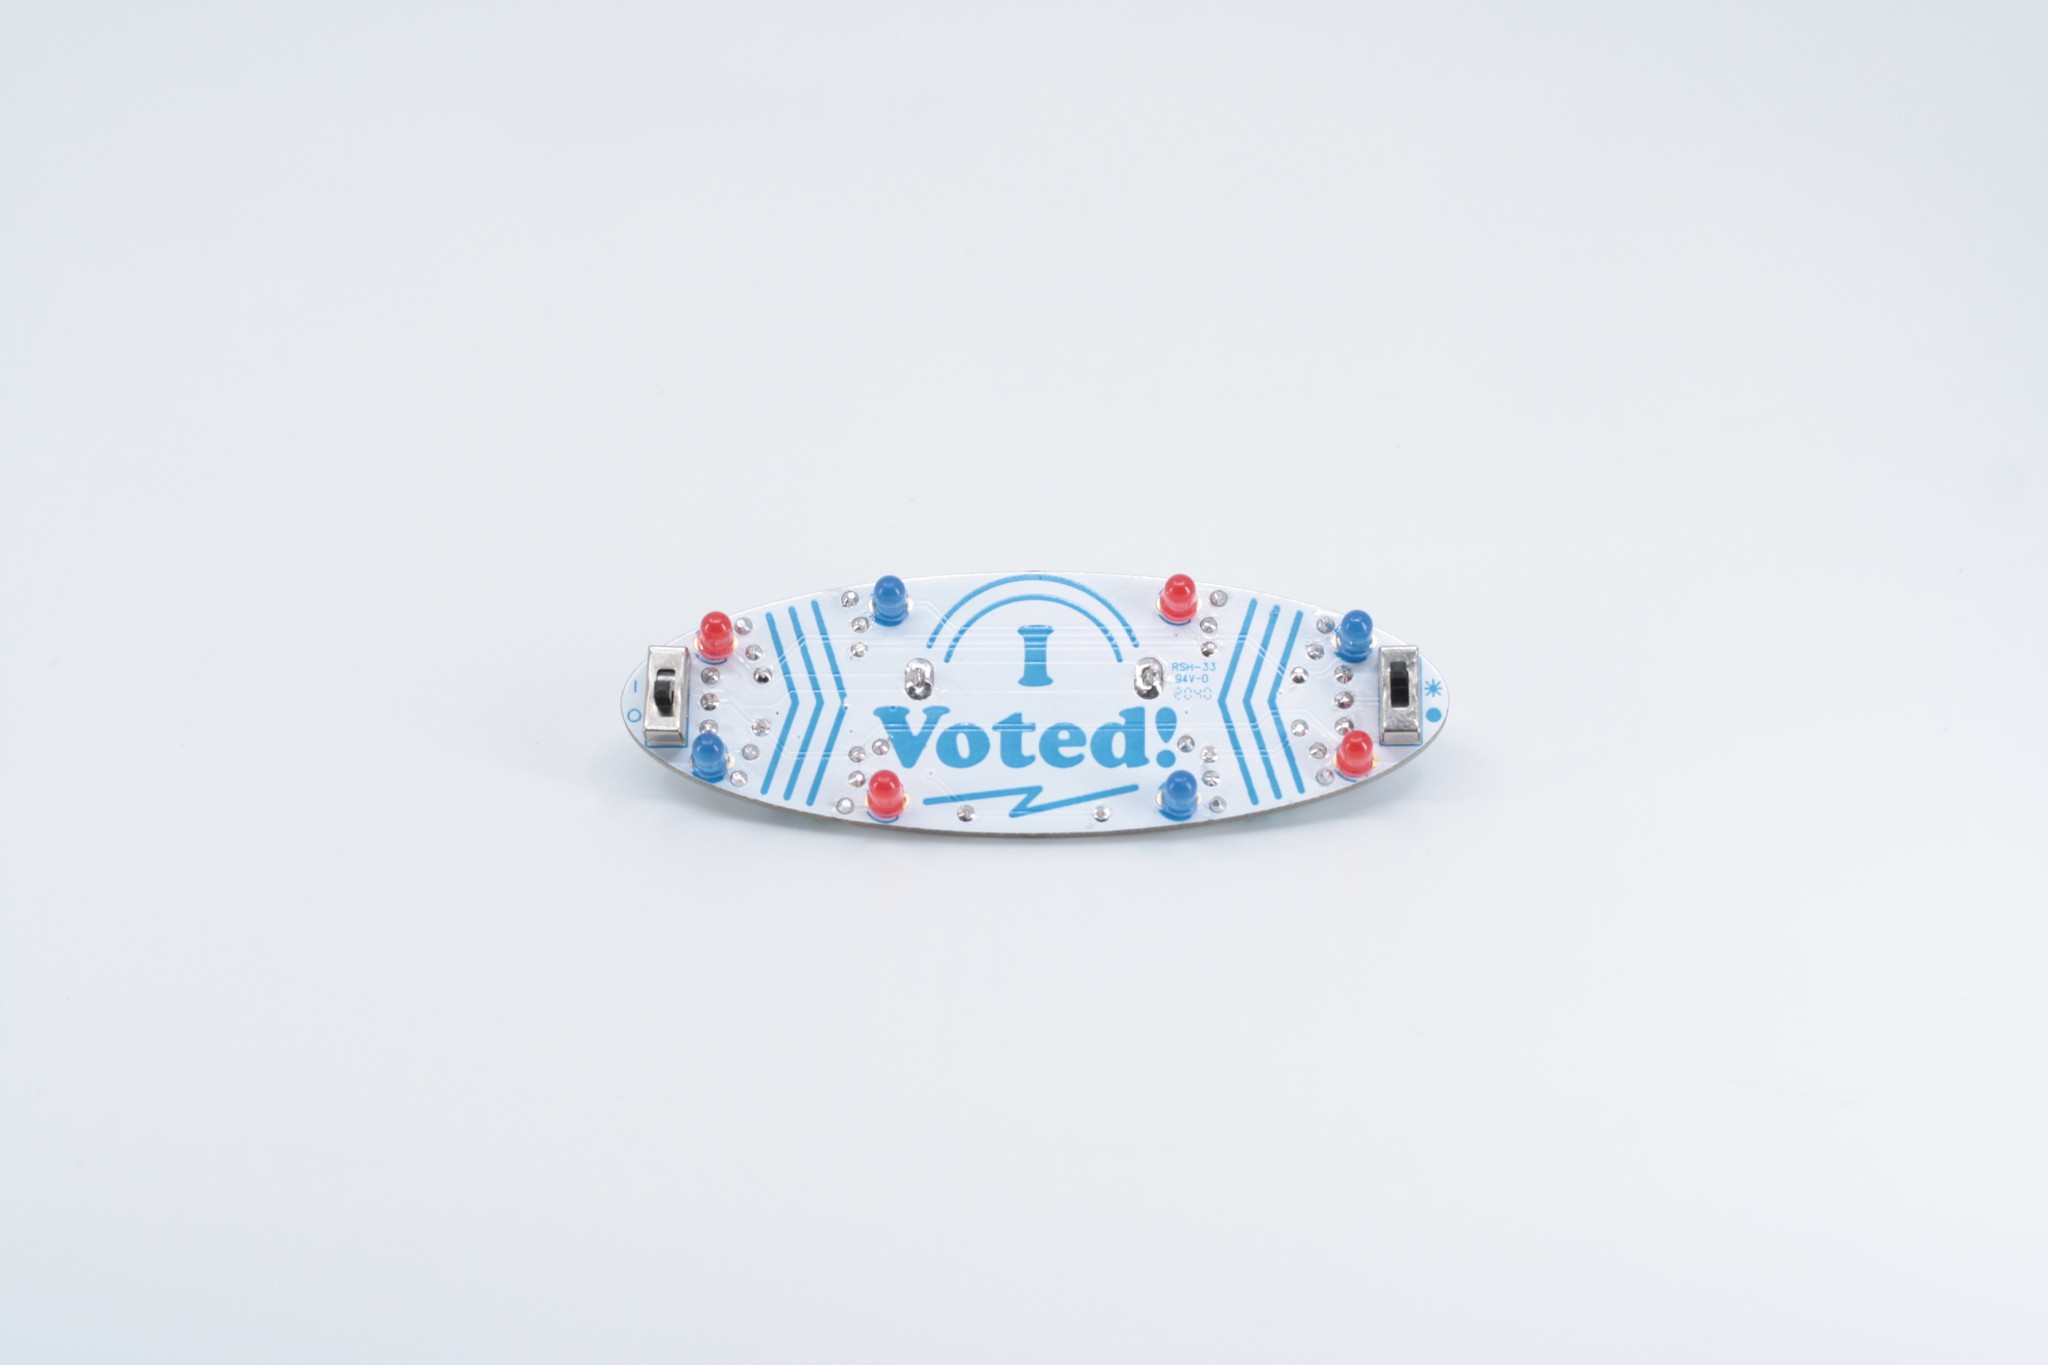
6Solder Switches
![]()
-
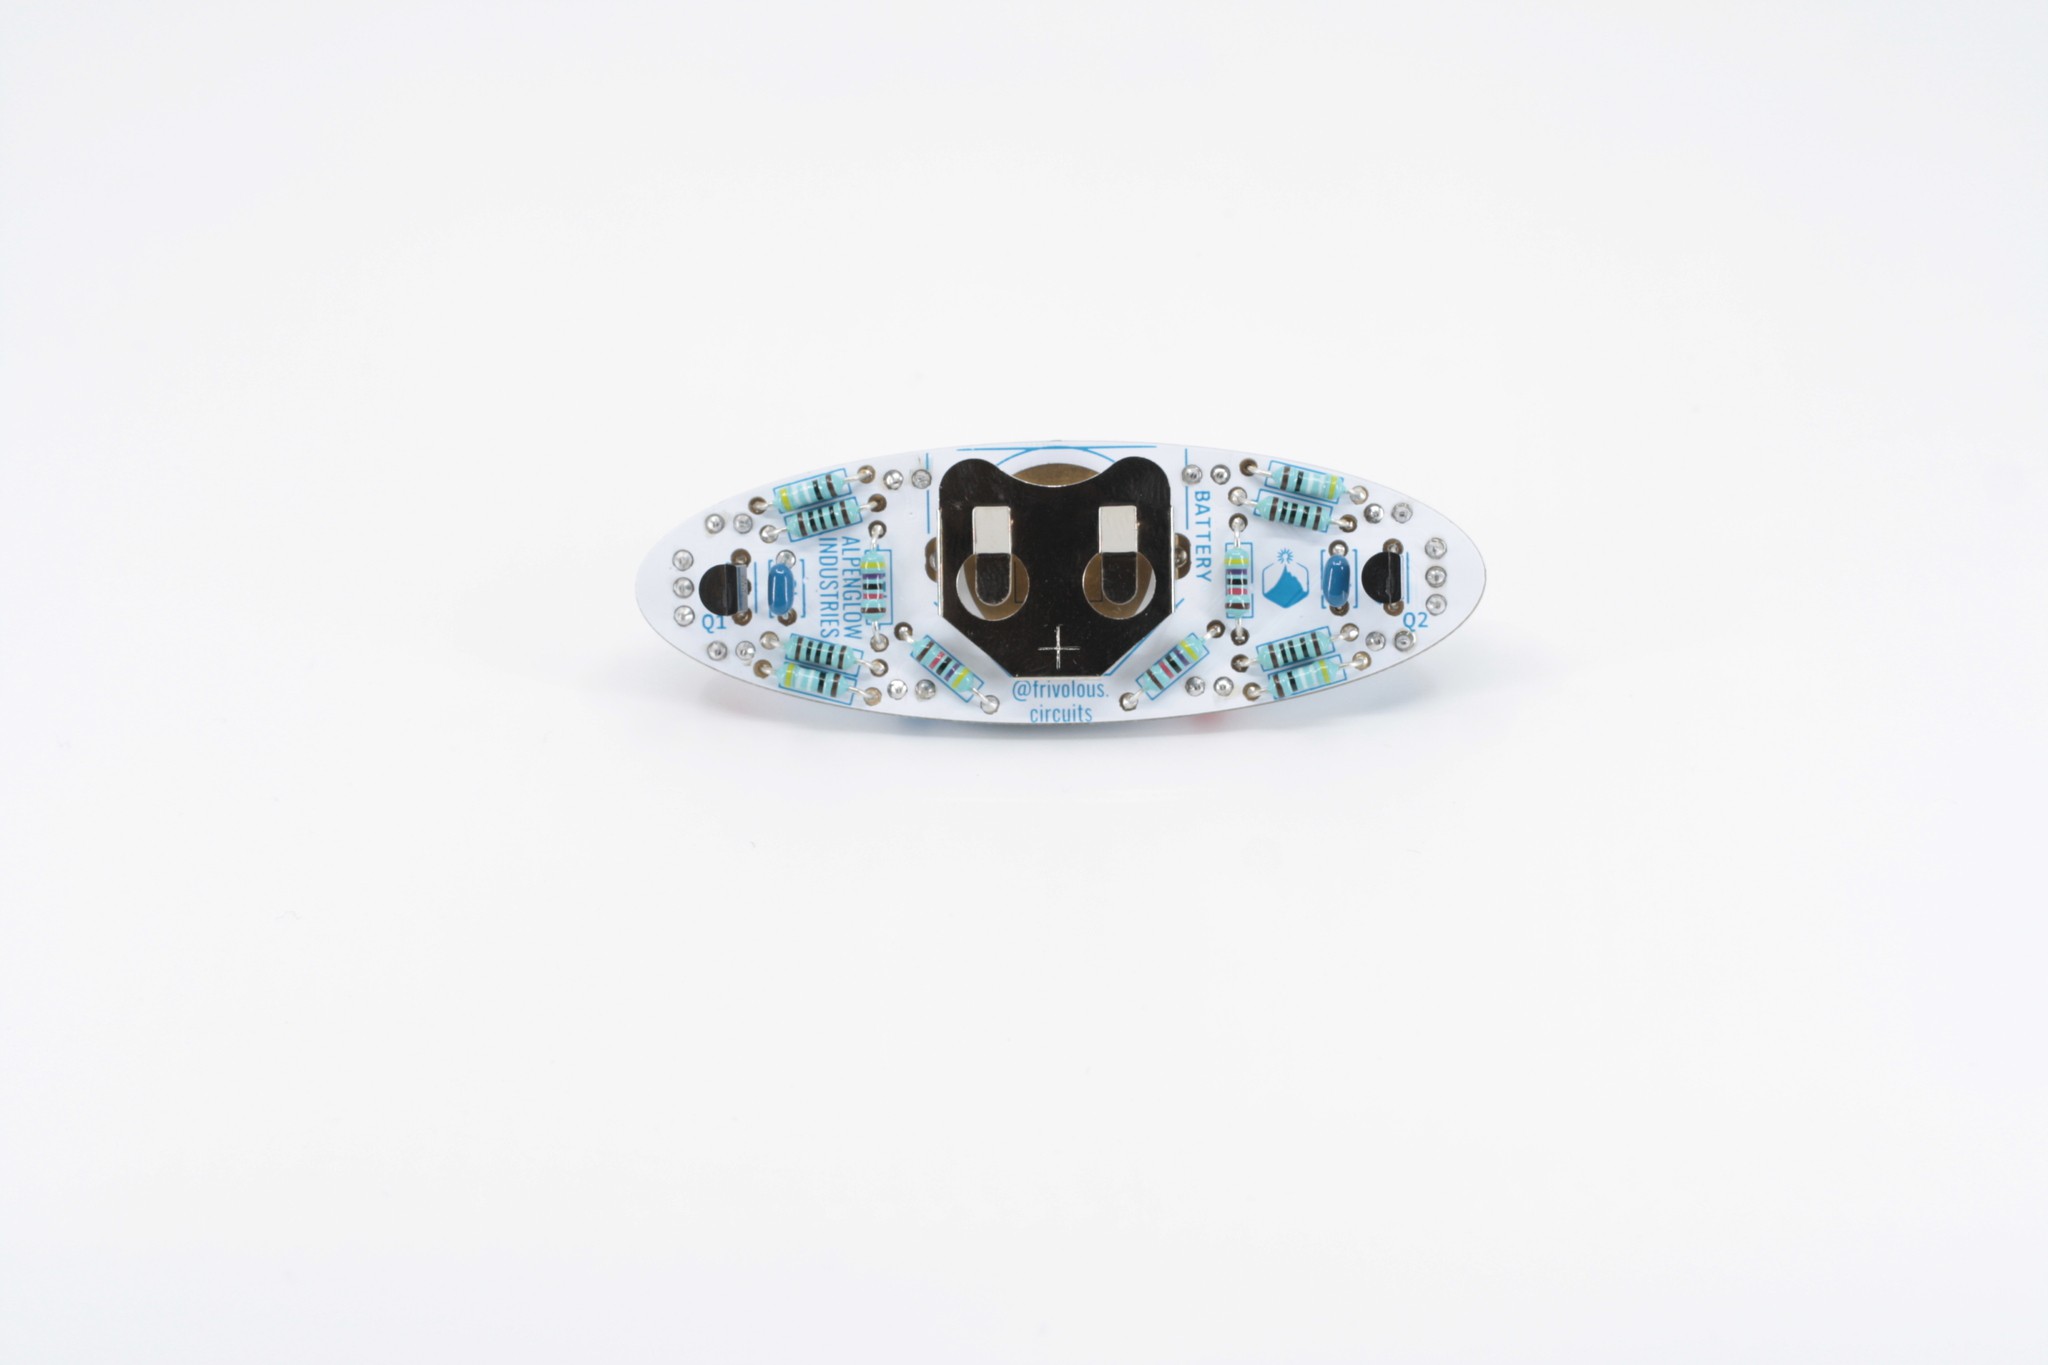
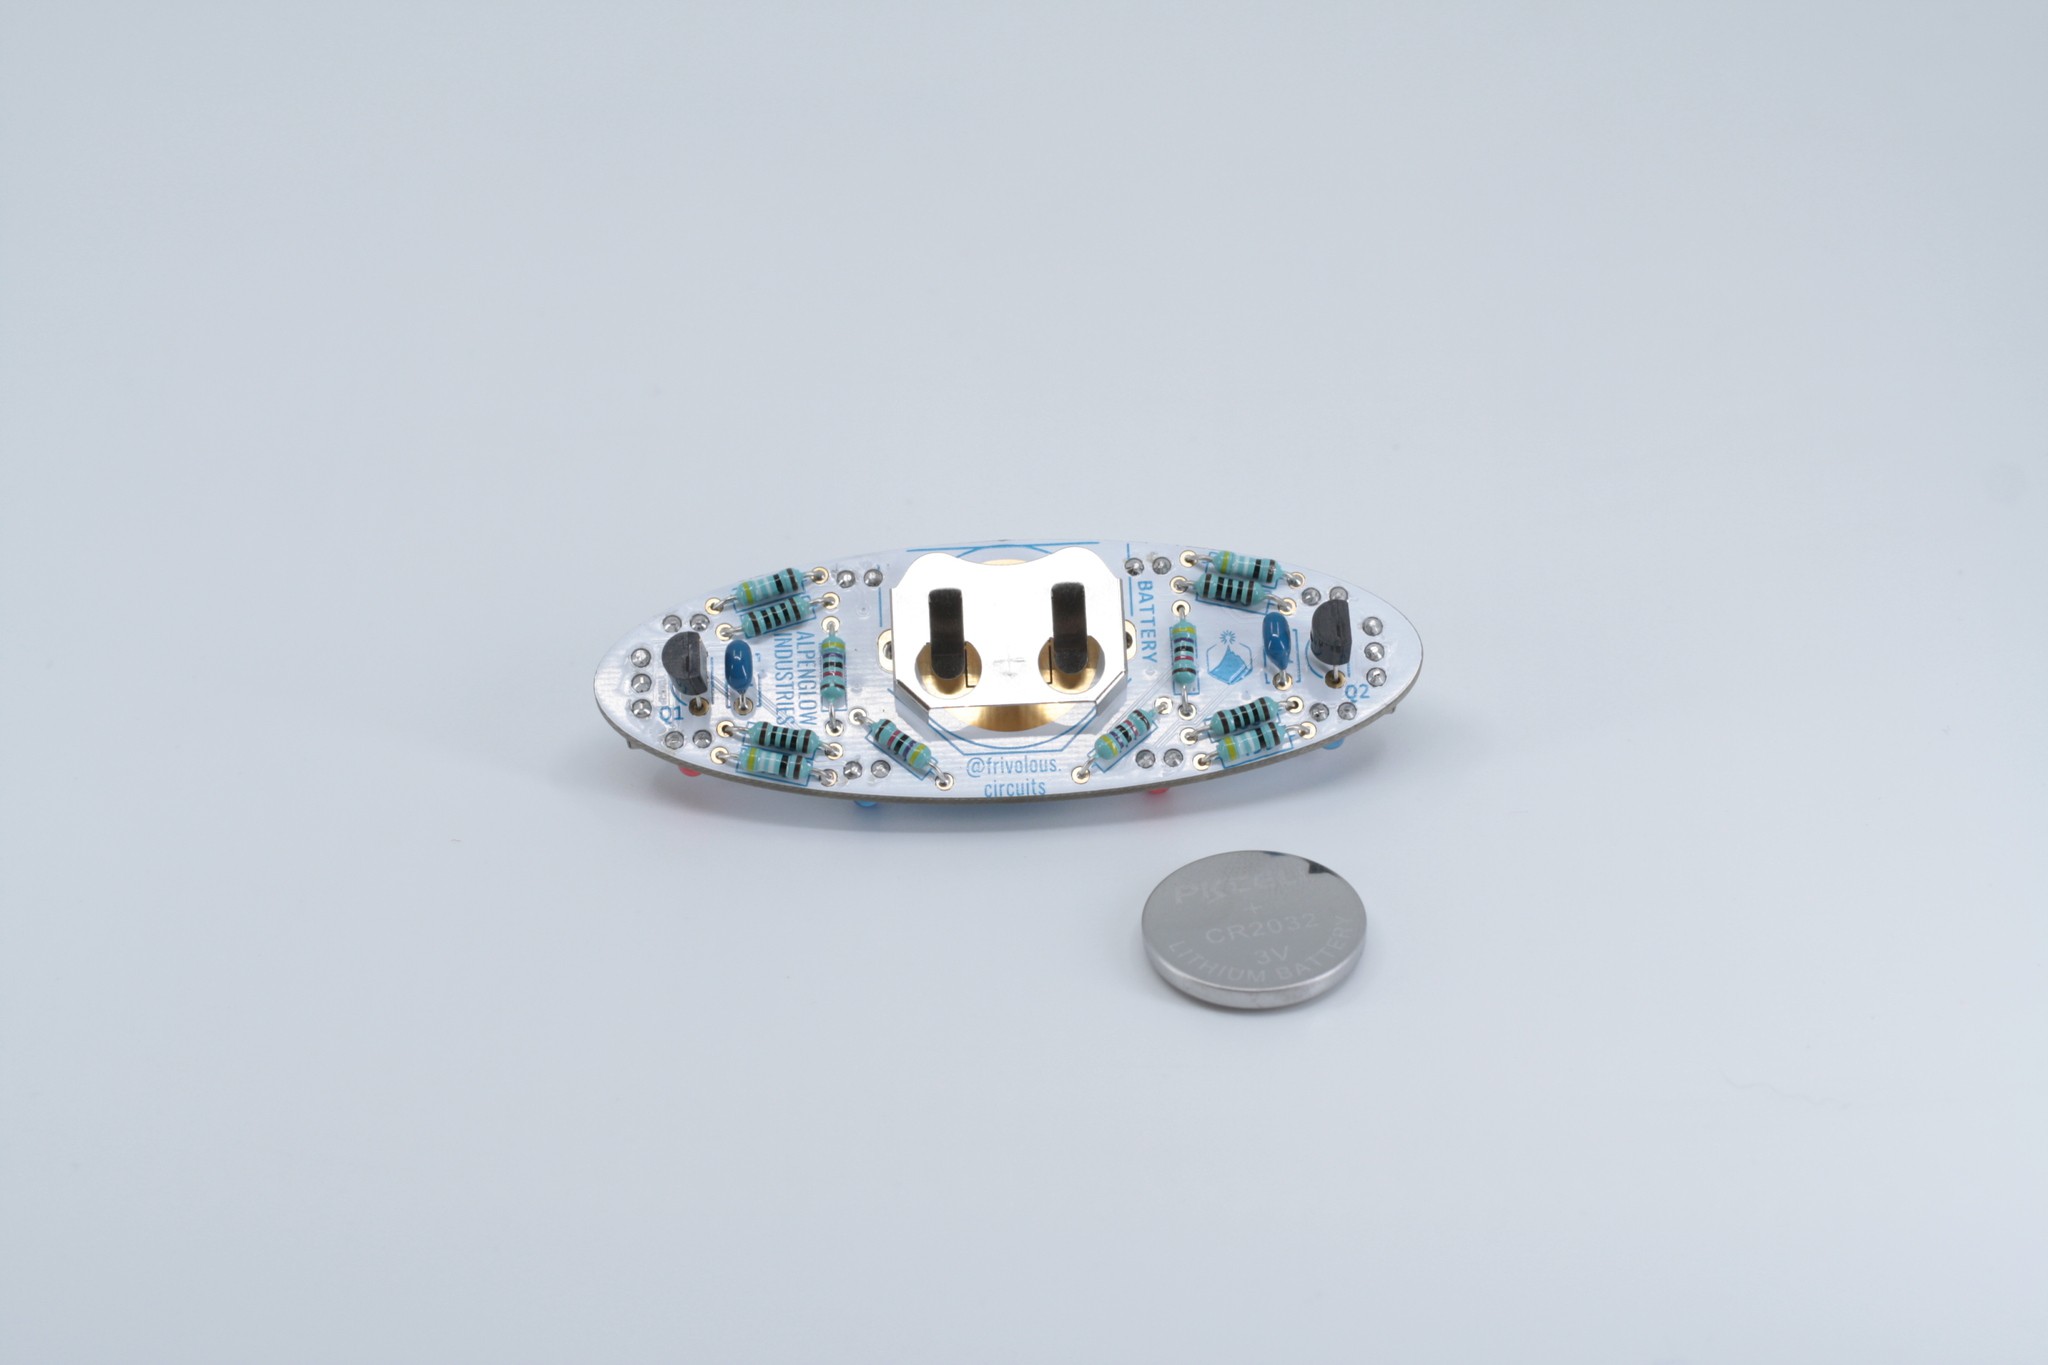
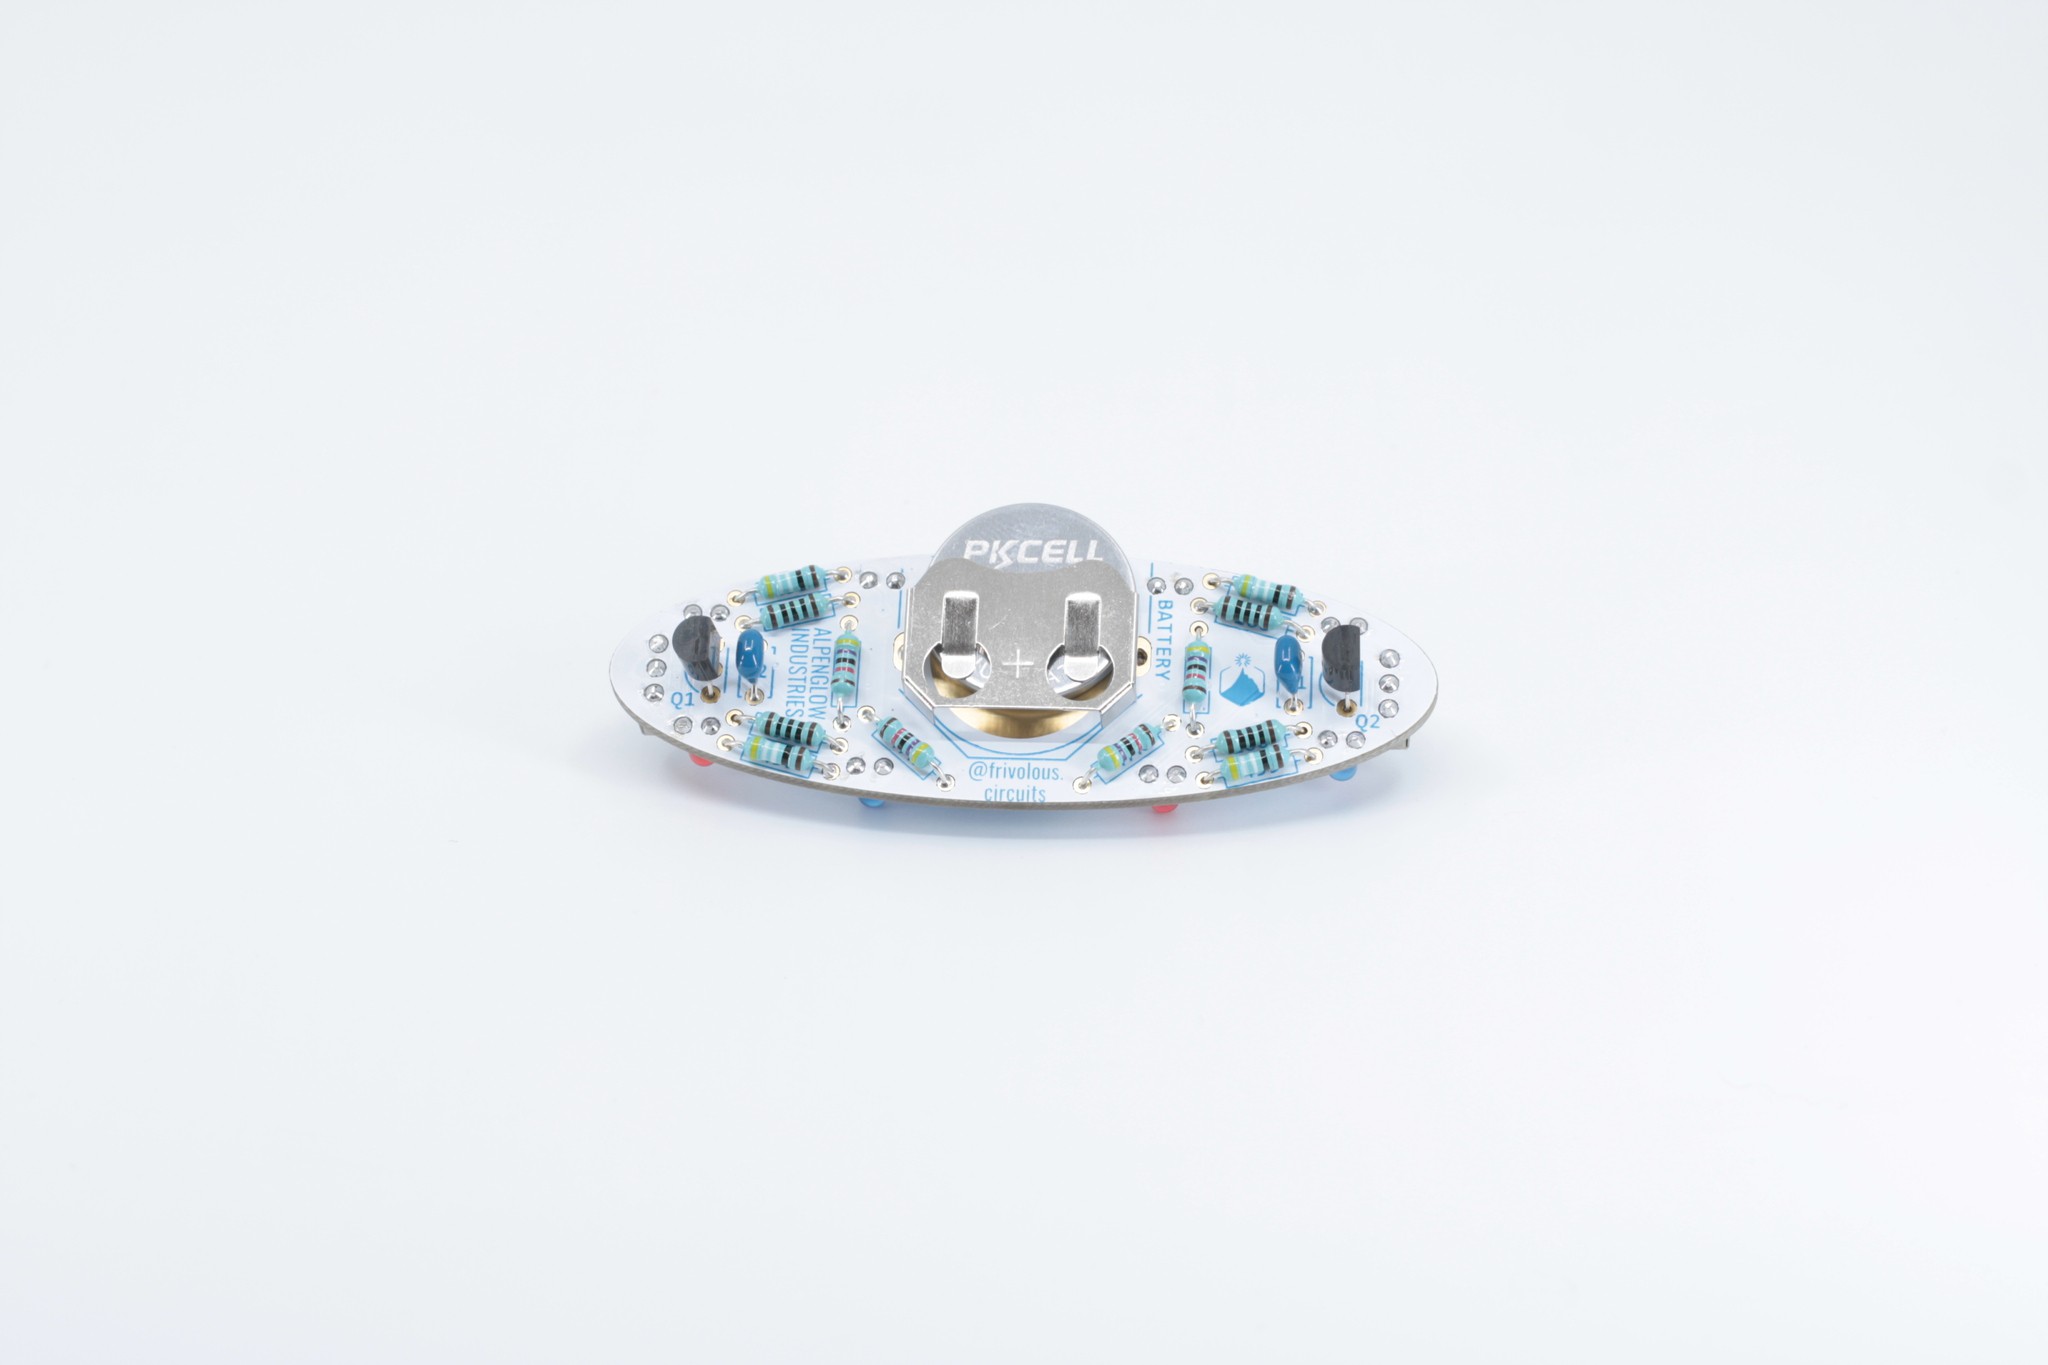
7Place Battery
Note: Be sure to place the positive side of the battery facing up to match the marking on the battery holder.
![]()
![]()
-
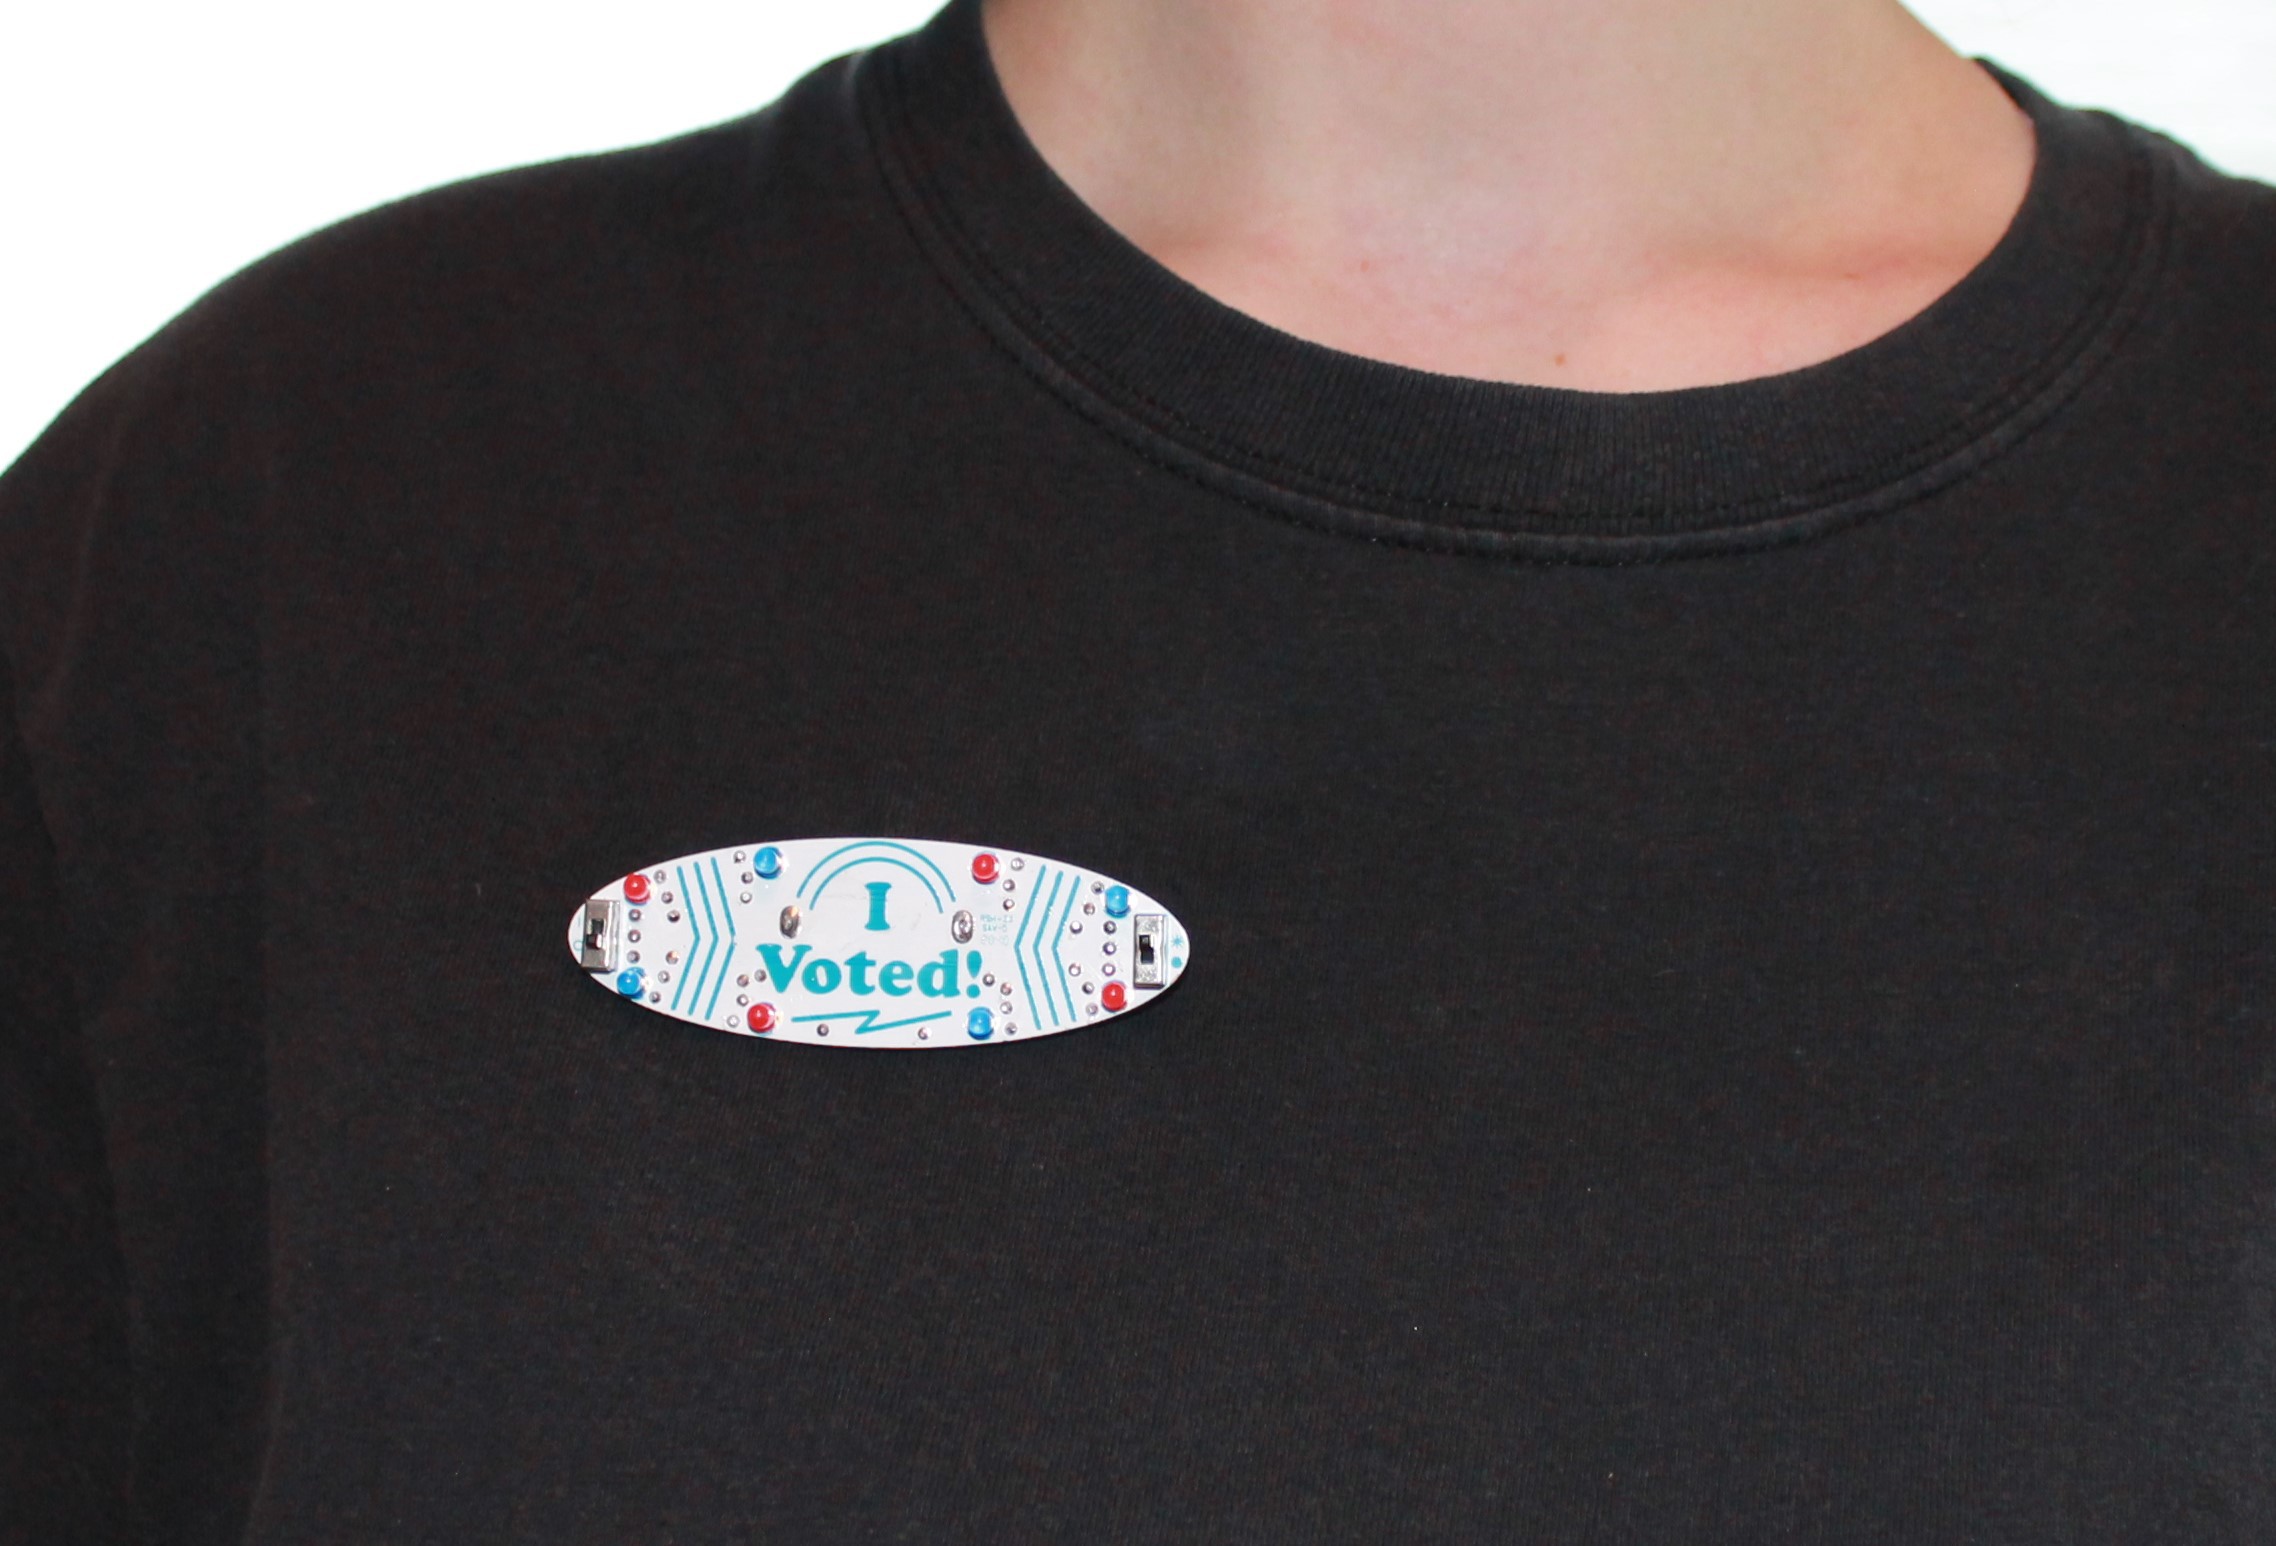
8Place Magnets (optional)
The magnets are very strong, use caution when handling. Place one magnet on the battery holder, this will only work if the battery is installed. You can then attach it to any magnetic surface. If you'd like to wear your badge, you can use the two magnets as a "pin". Place one magnet under your clothing, and the other on top. Then place the battery holder over the magnets. An adhesive disc is provided in case you want to permanently attached your magnet to a surface.
![]()
![]()
-
9Turn it on!
Note: The Switch on the left side of the board turns the lights on and off. The switch on the right side of the board controls whether the lights are blinking or solid.


Discussions
Become a Hackaday.io Member
Create an account to leave a comment. Already have an account? Log In.