 makeTVee
Project video:
STL files are available on prusaprinters
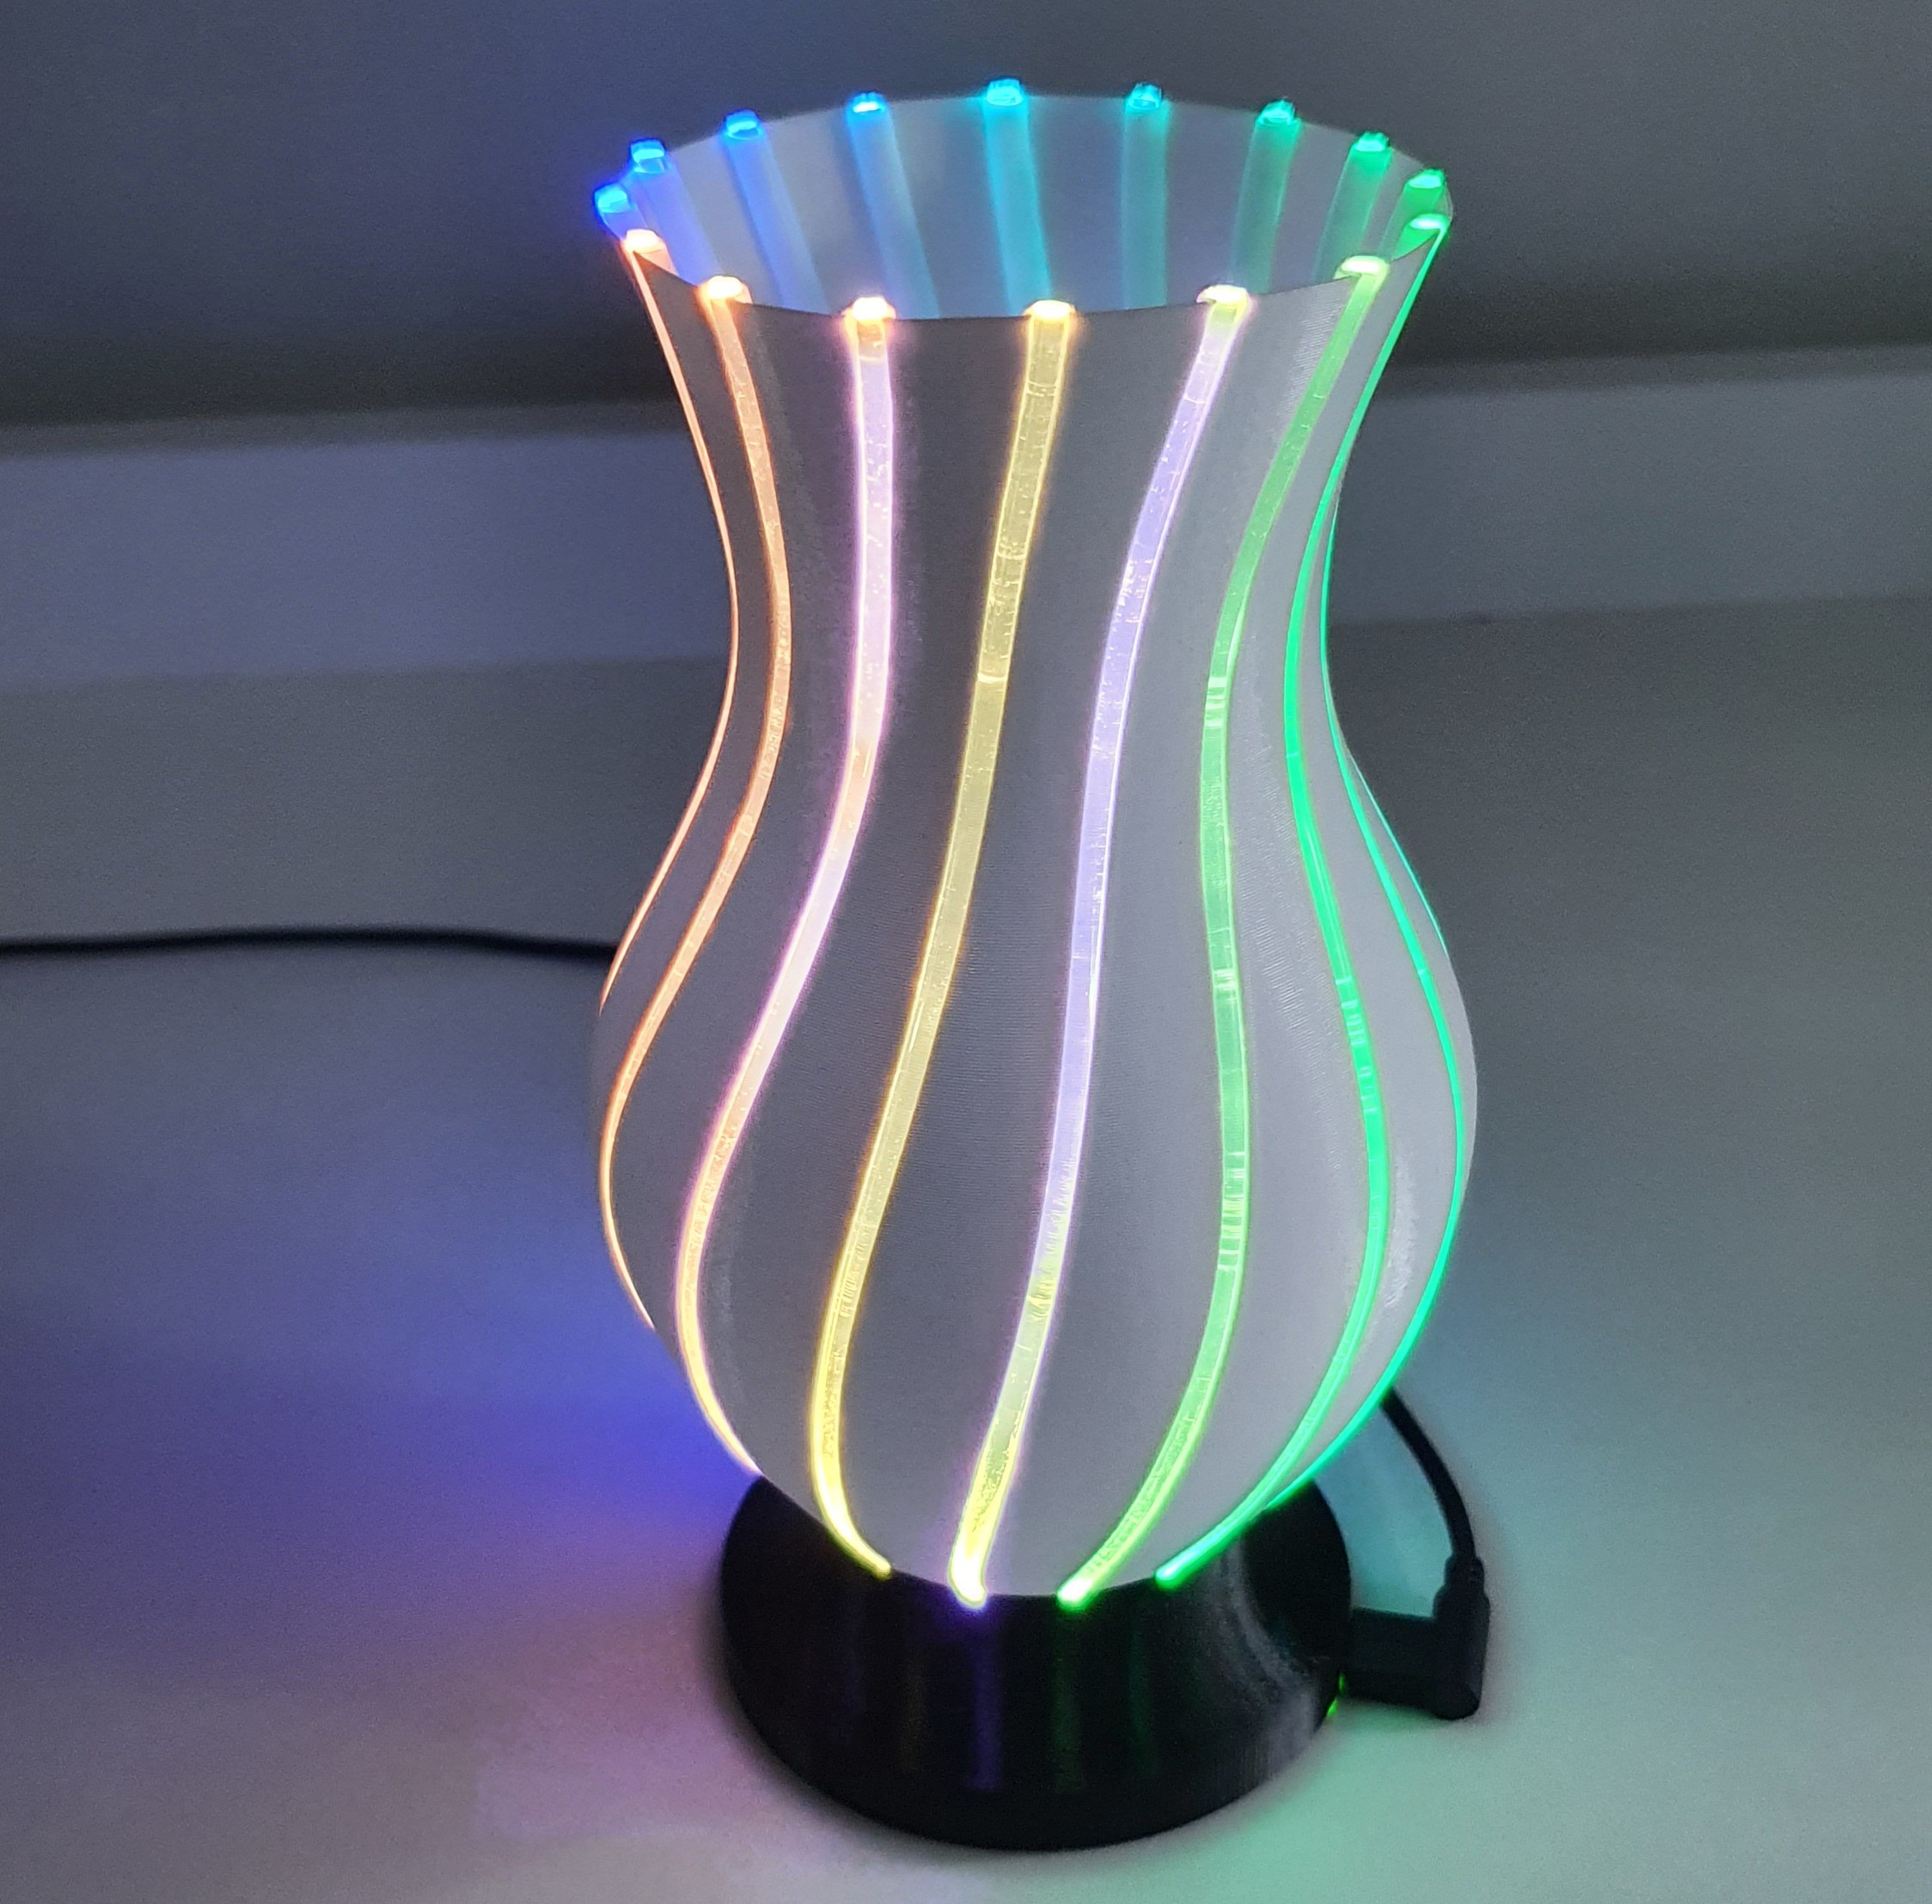
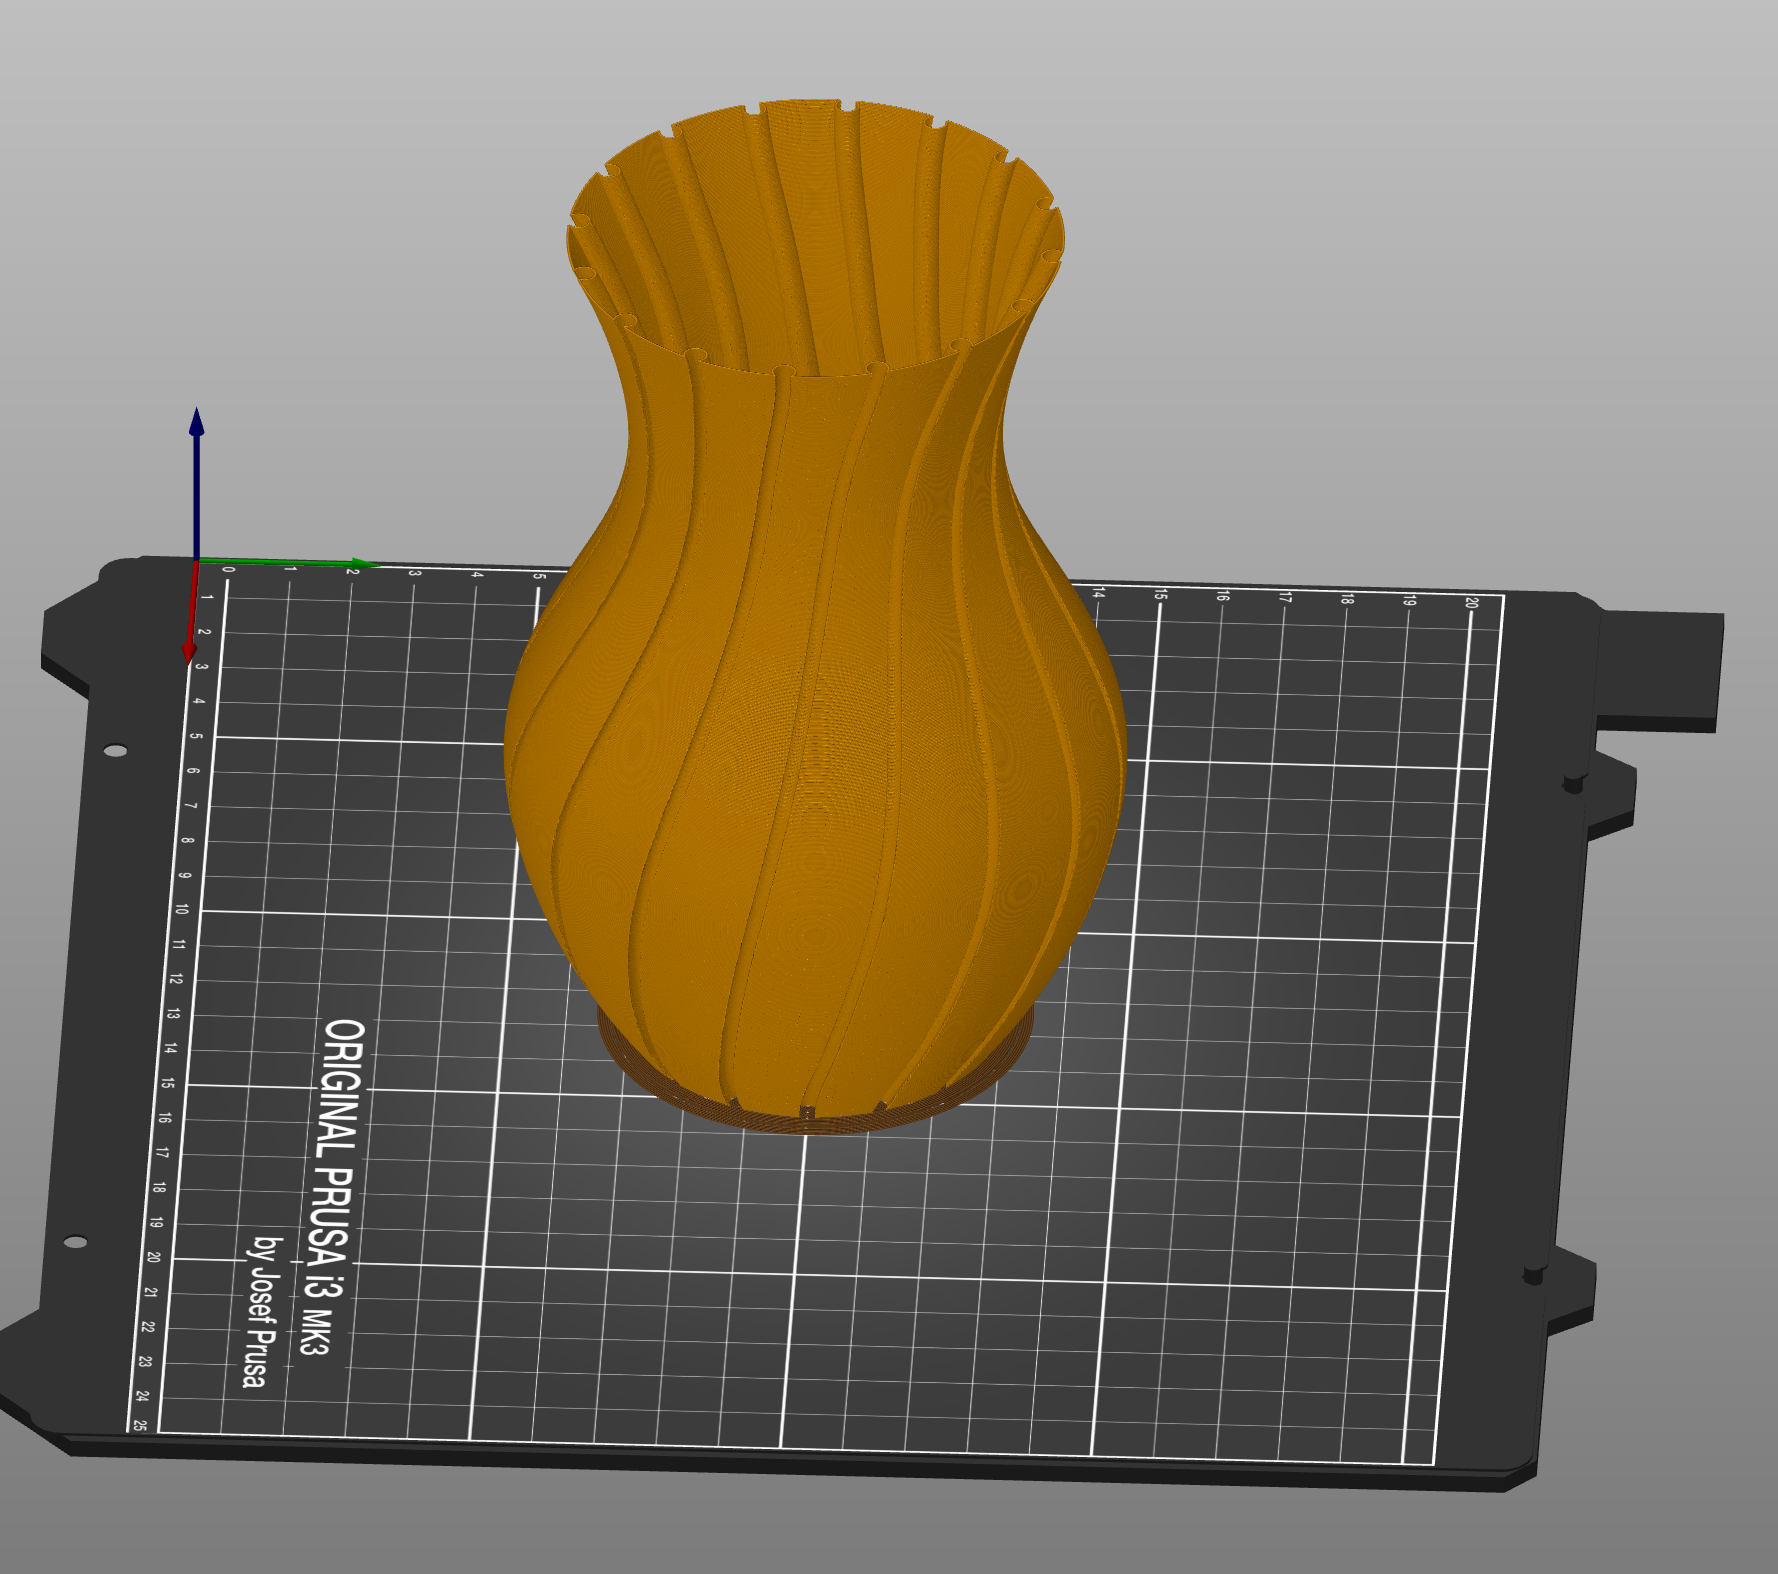
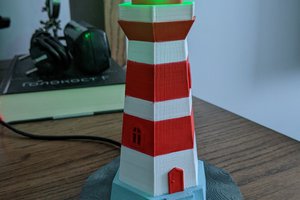
3D printed vase using transparent 3D printer filament as light guide and Neopixel LEDs for illumination.
Already have an account? Log in.
To make the experience fit your profile, pick a username and tell us what interests you.
Project video:
STL files are available on prusaprinters
DemoReel100.inoFastLed Example Pin2ino - 3.51 kB - 11/03/2020 at 04:32 |
|
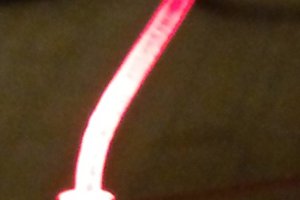
That's my first test of using standard transparent 3D filament as a light guide for addressable LEDs. First results with 1.75 mm filament were not satisfying, because the LED opening of standard WS2812 (Neopixel) LEDs is around 3 mm and not all light is coupled into the filament.
So the next test was using 2.85 mm filament, which worked much better. I tested PETG and PLA and both are working fine, but PETG is more transparent and depending on the project, you want to have more diffusion (PLA) for short traces or longer light guiding (PETG). For this vase I used PETG.
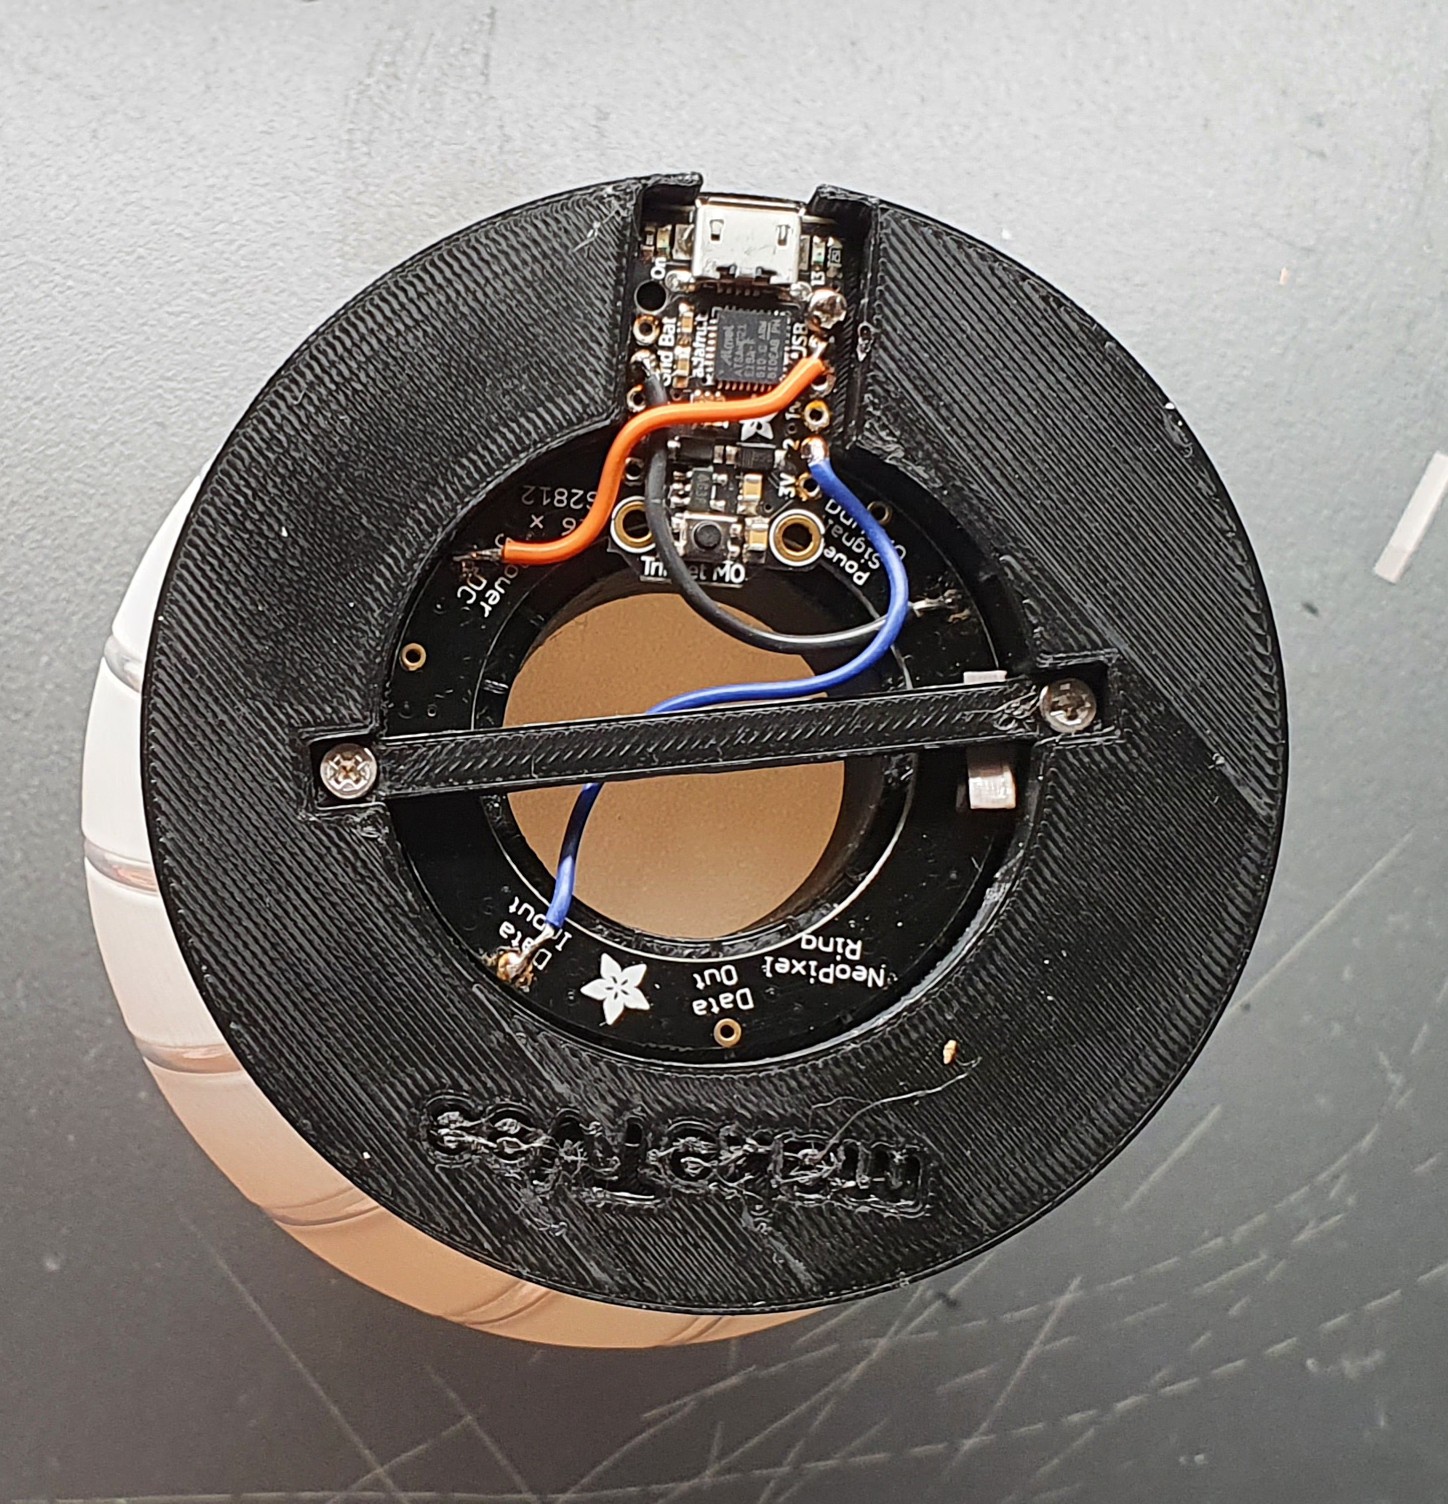
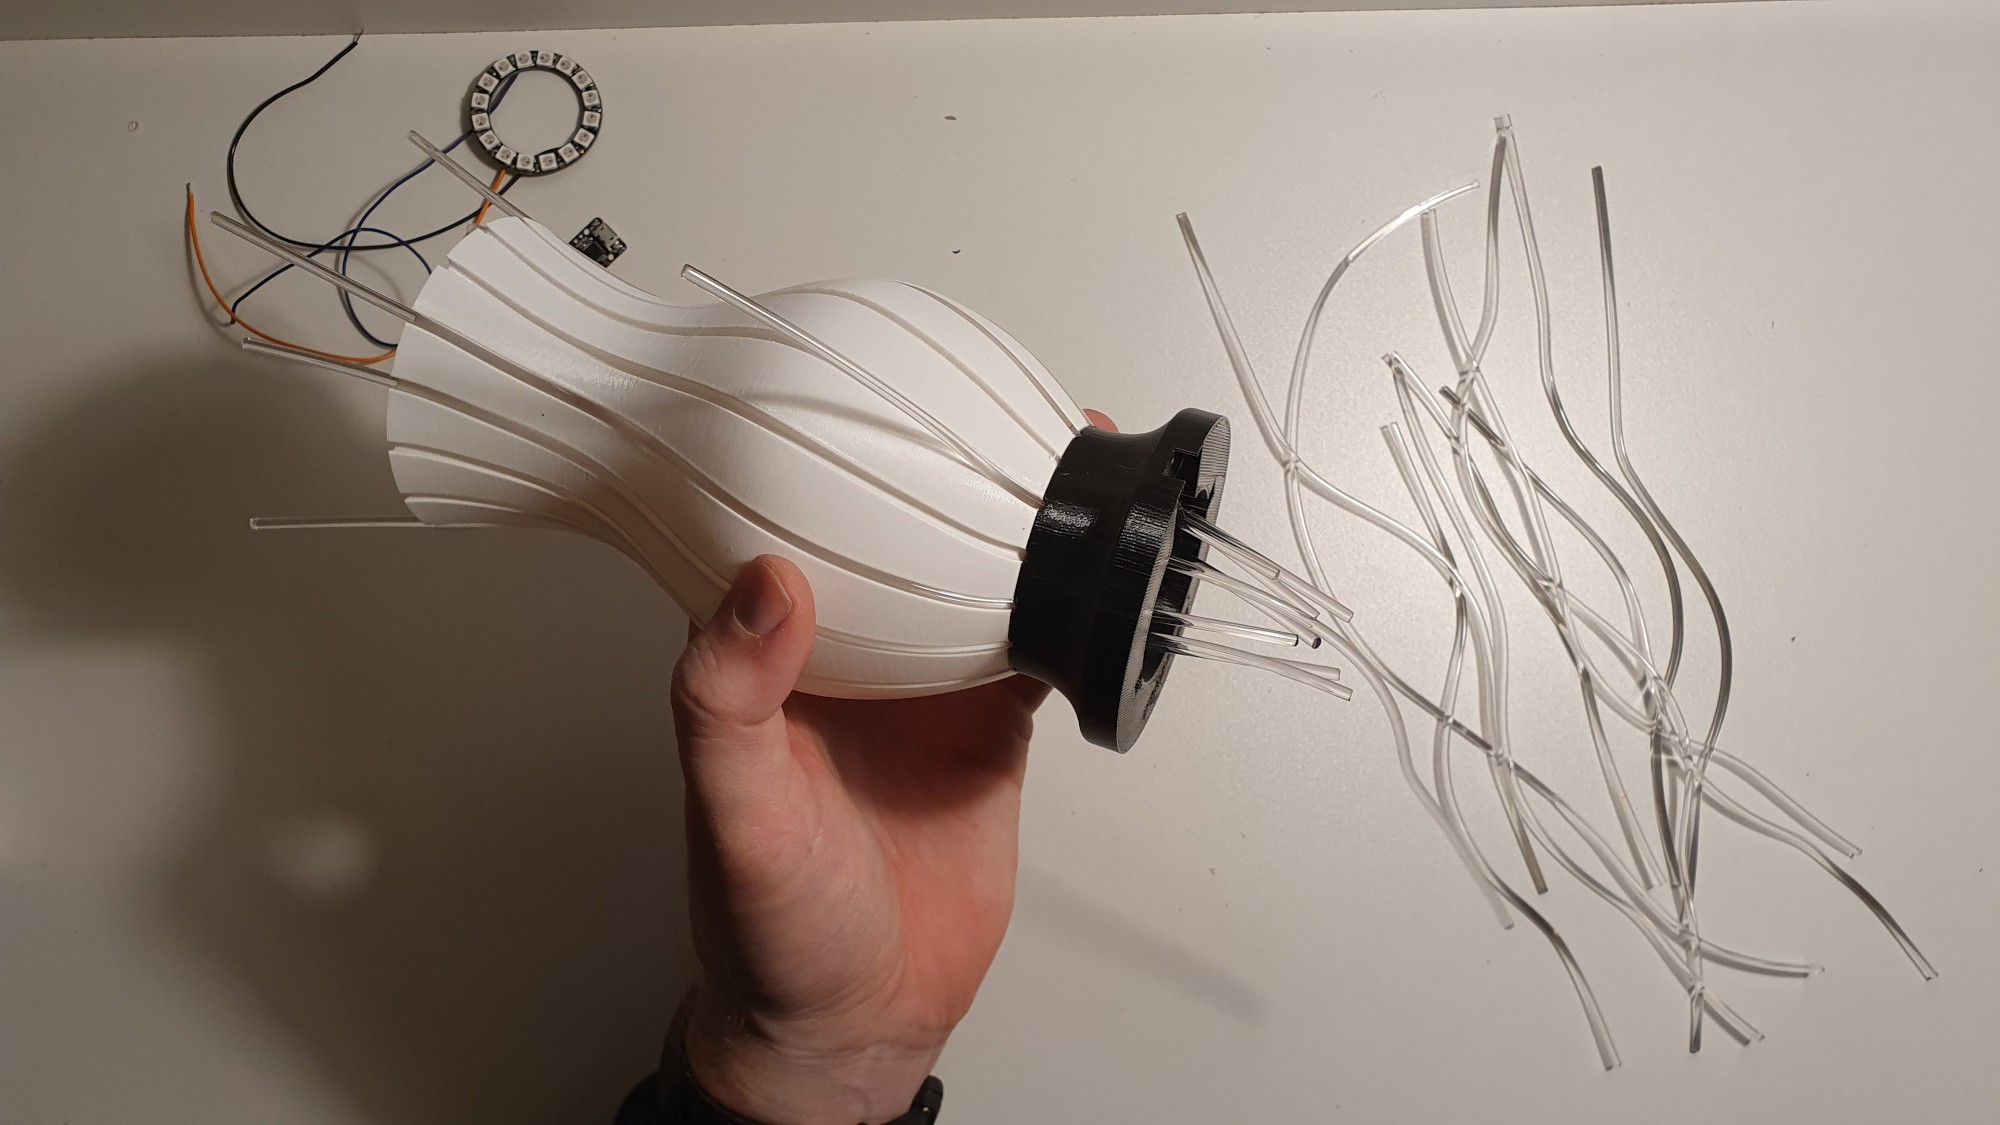
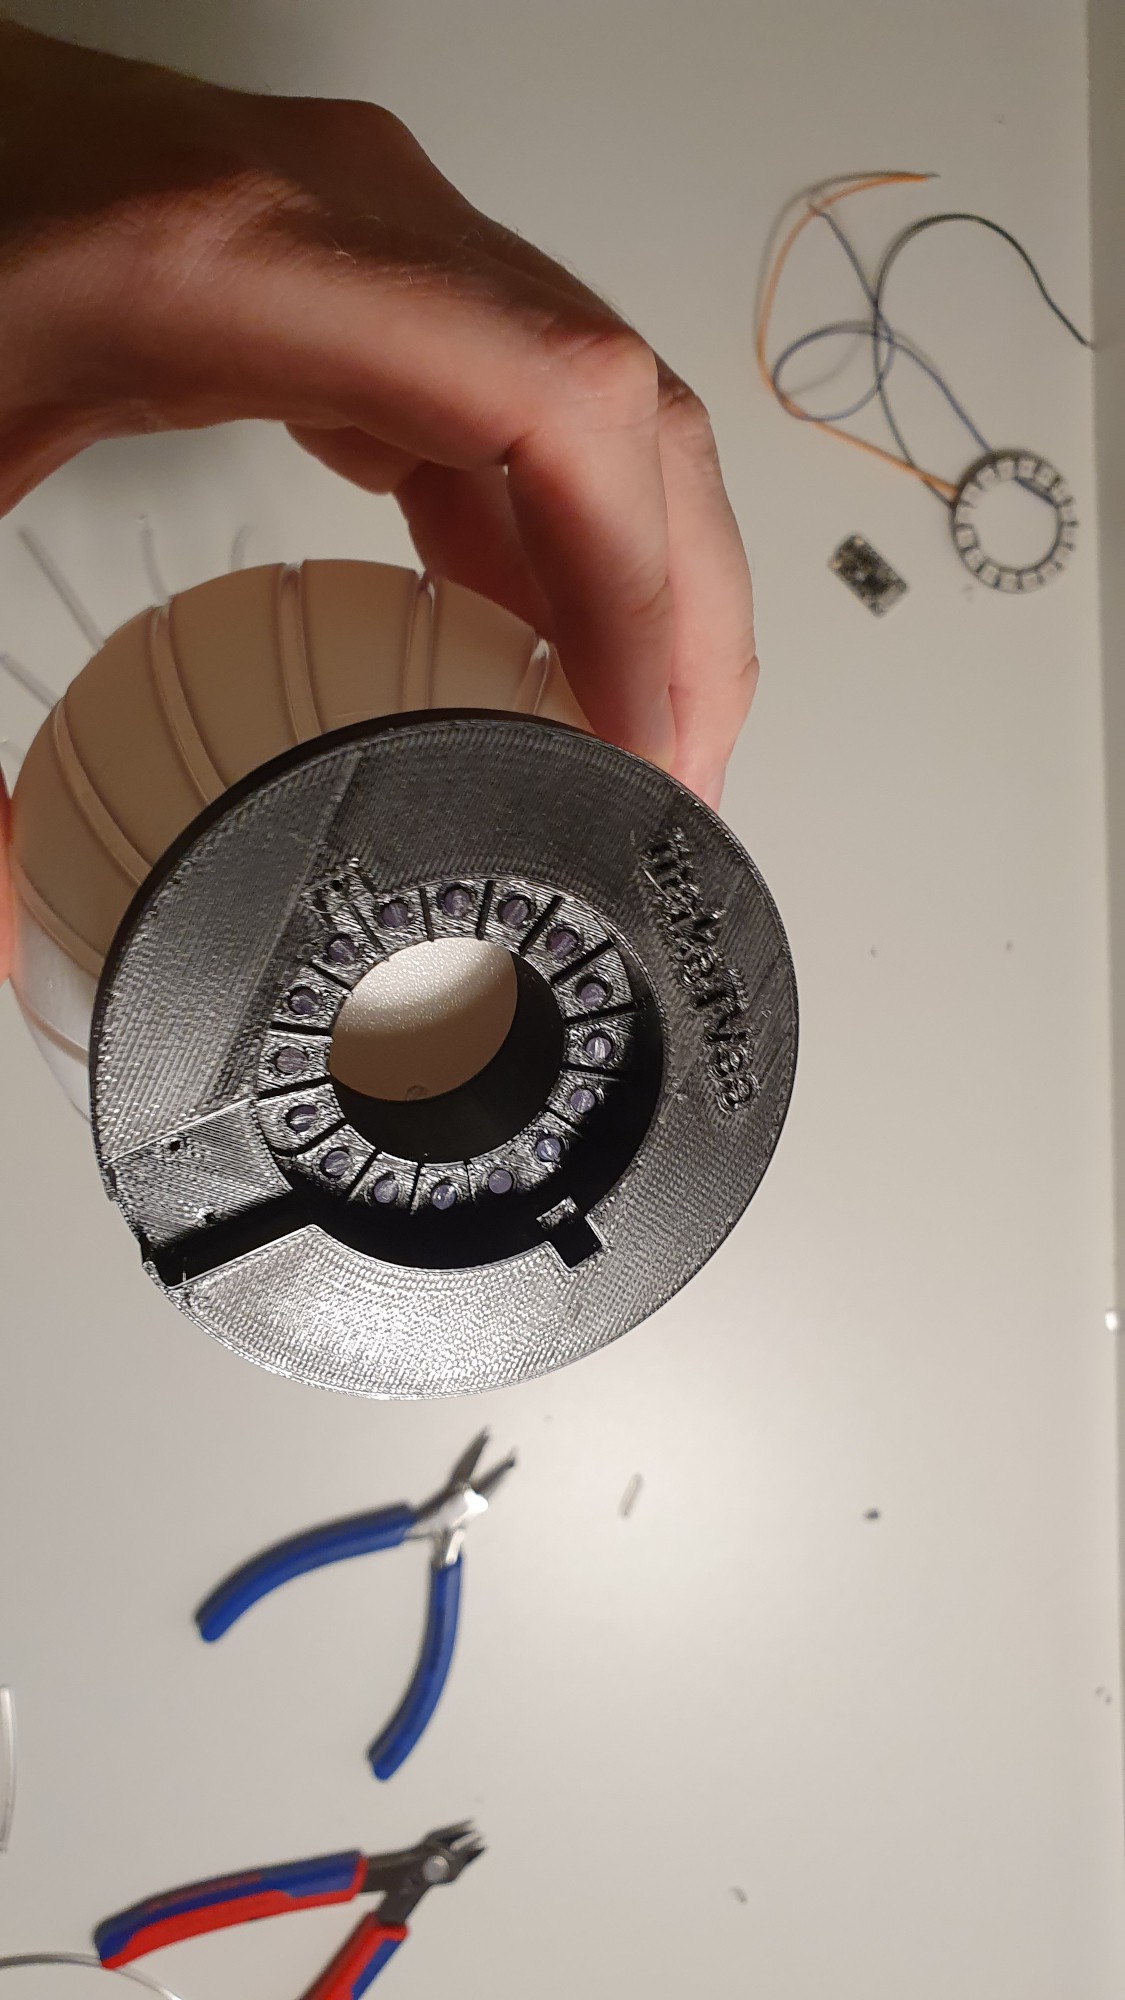
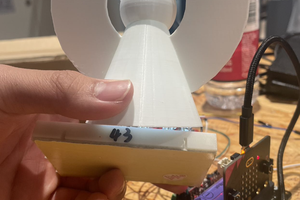
The filament pieces end up in the black base, were the LED ring is integrated and controlled by a tiny Arduino board.
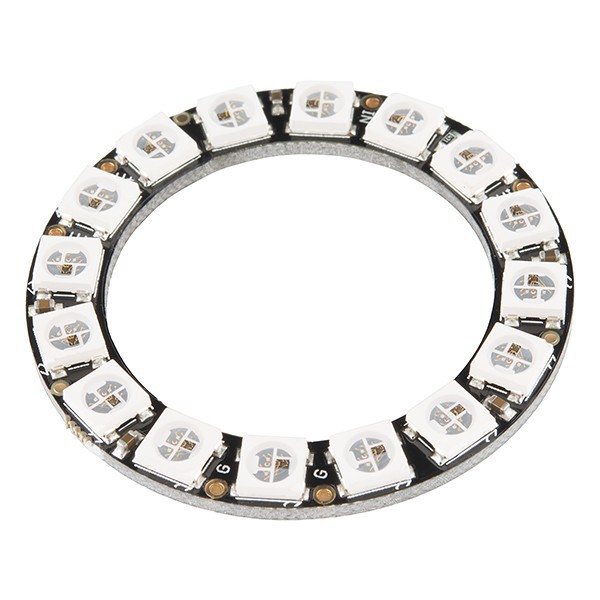
A standard 16 pixel Neopixel ring was used and the vase was designed according to its pattern:
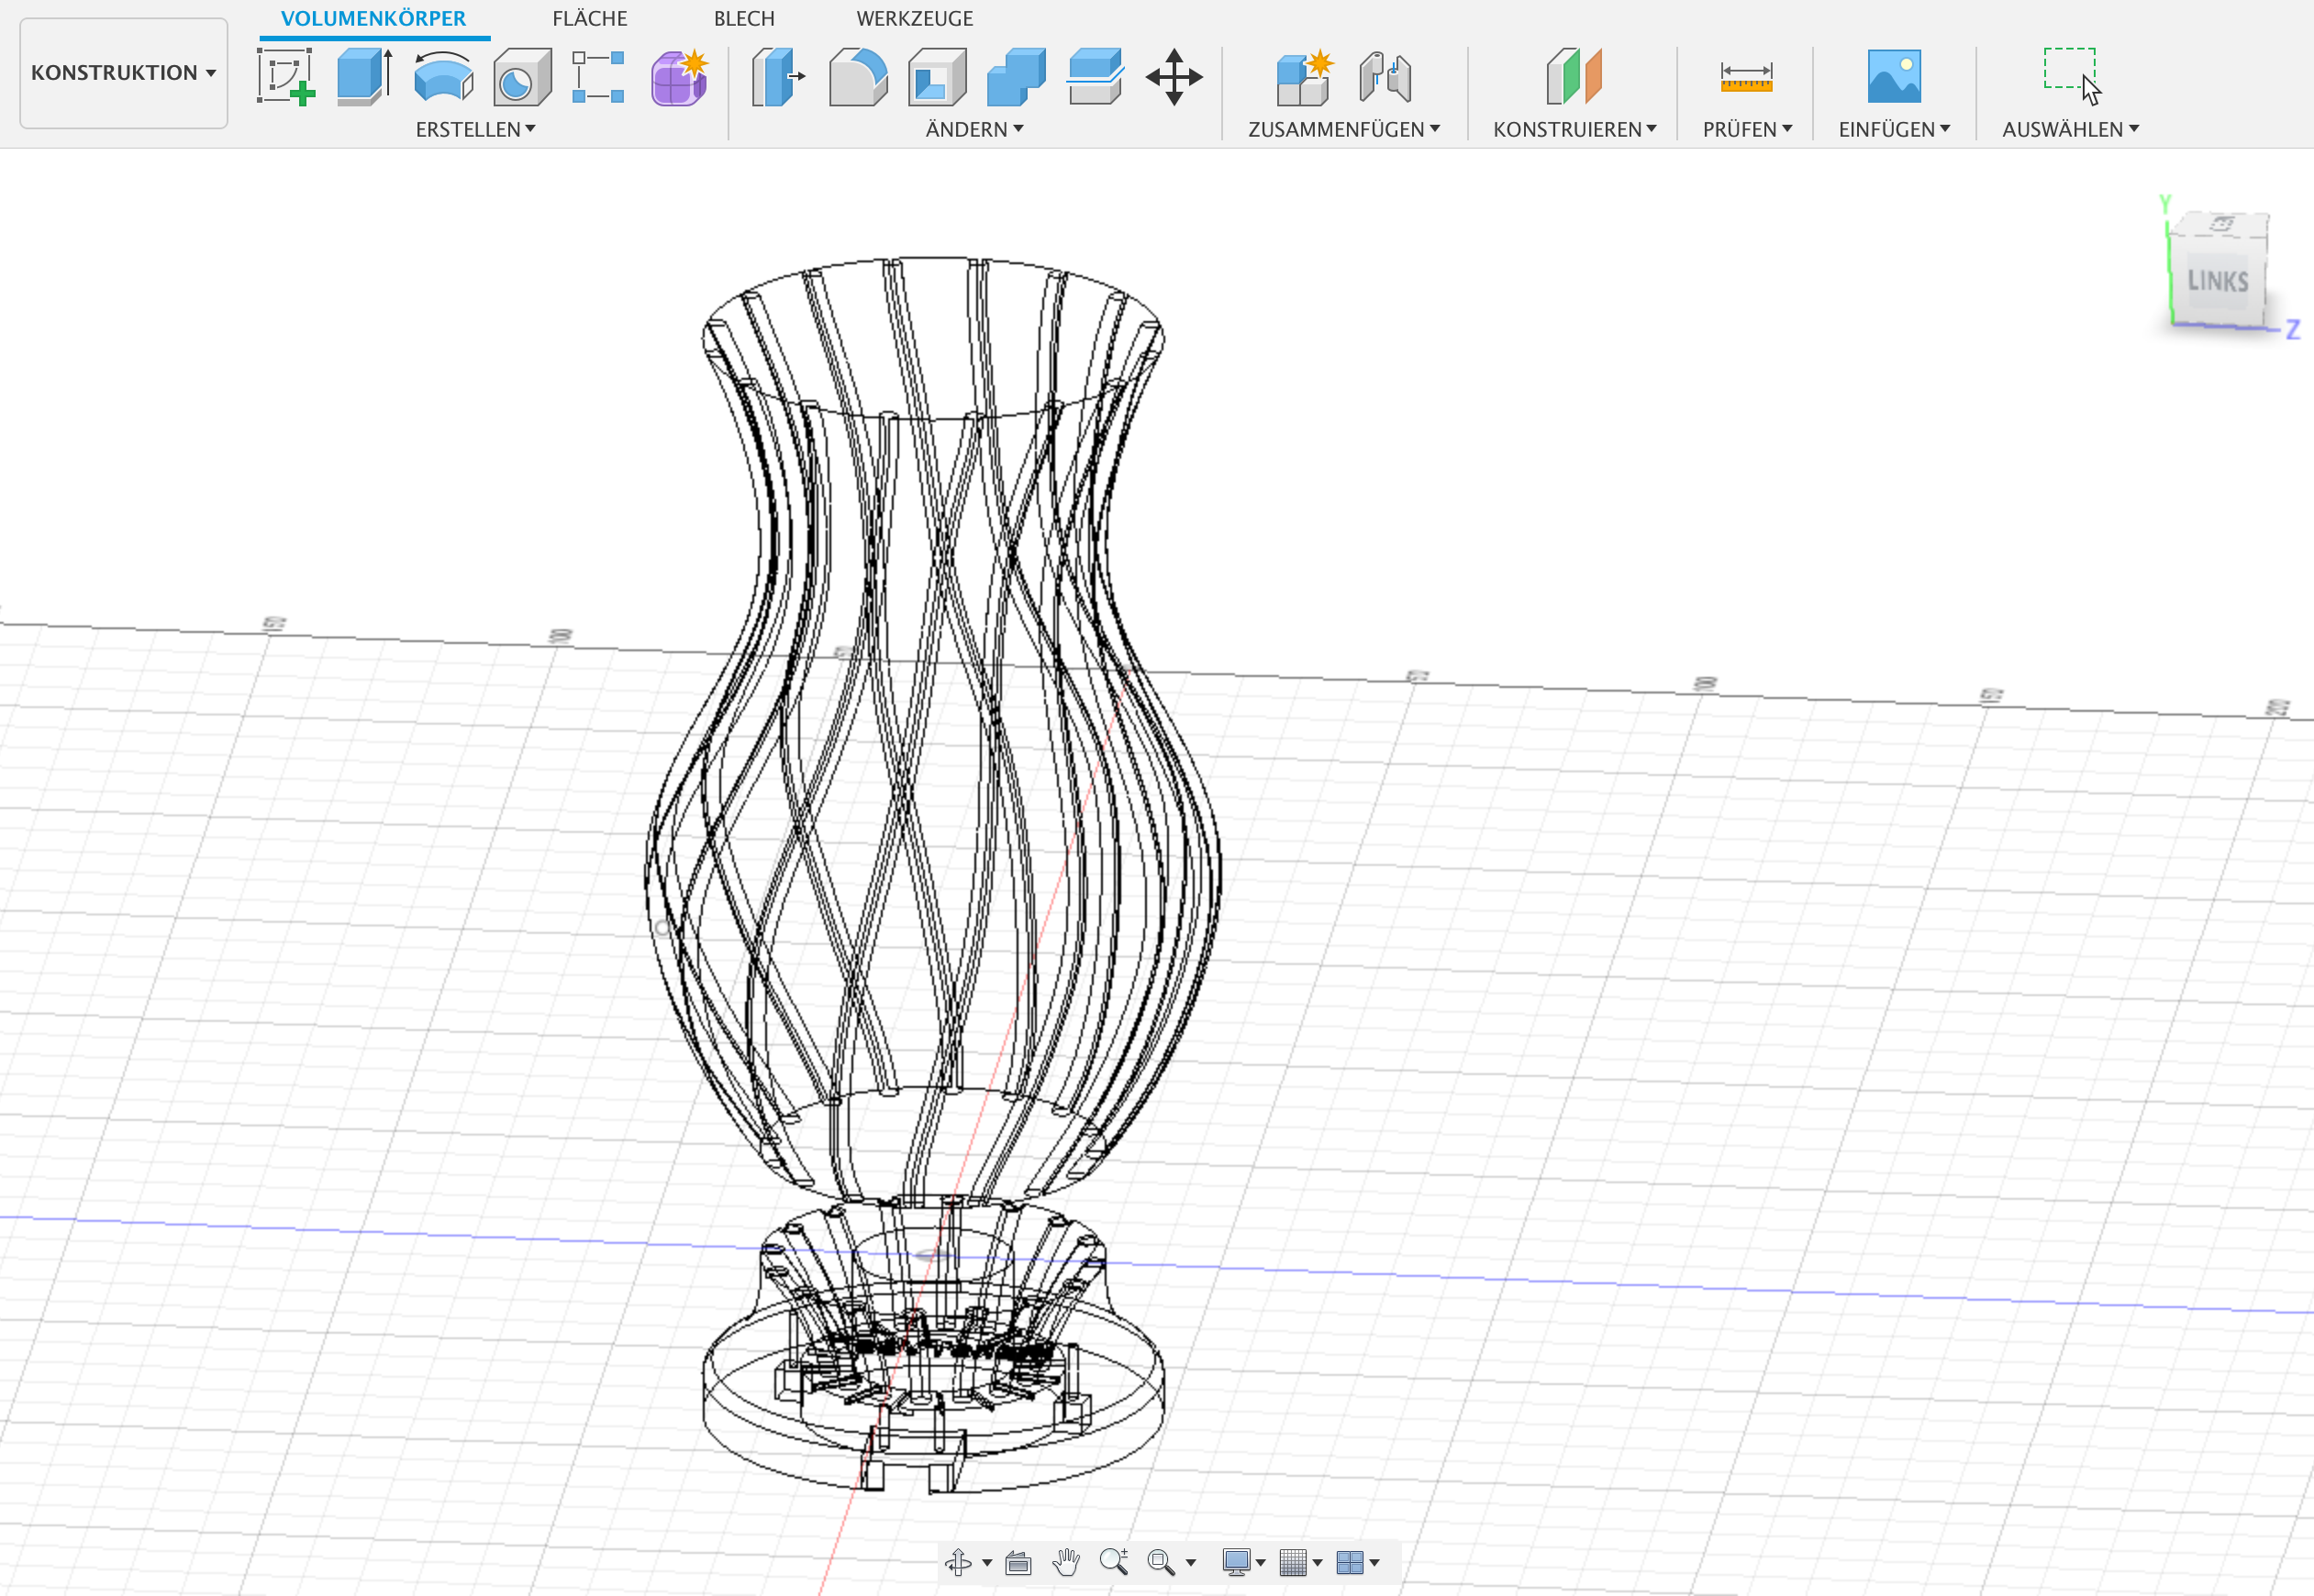
The vase design was inspired by: https://cults3d.com/en/3d-model/home/filament-vase
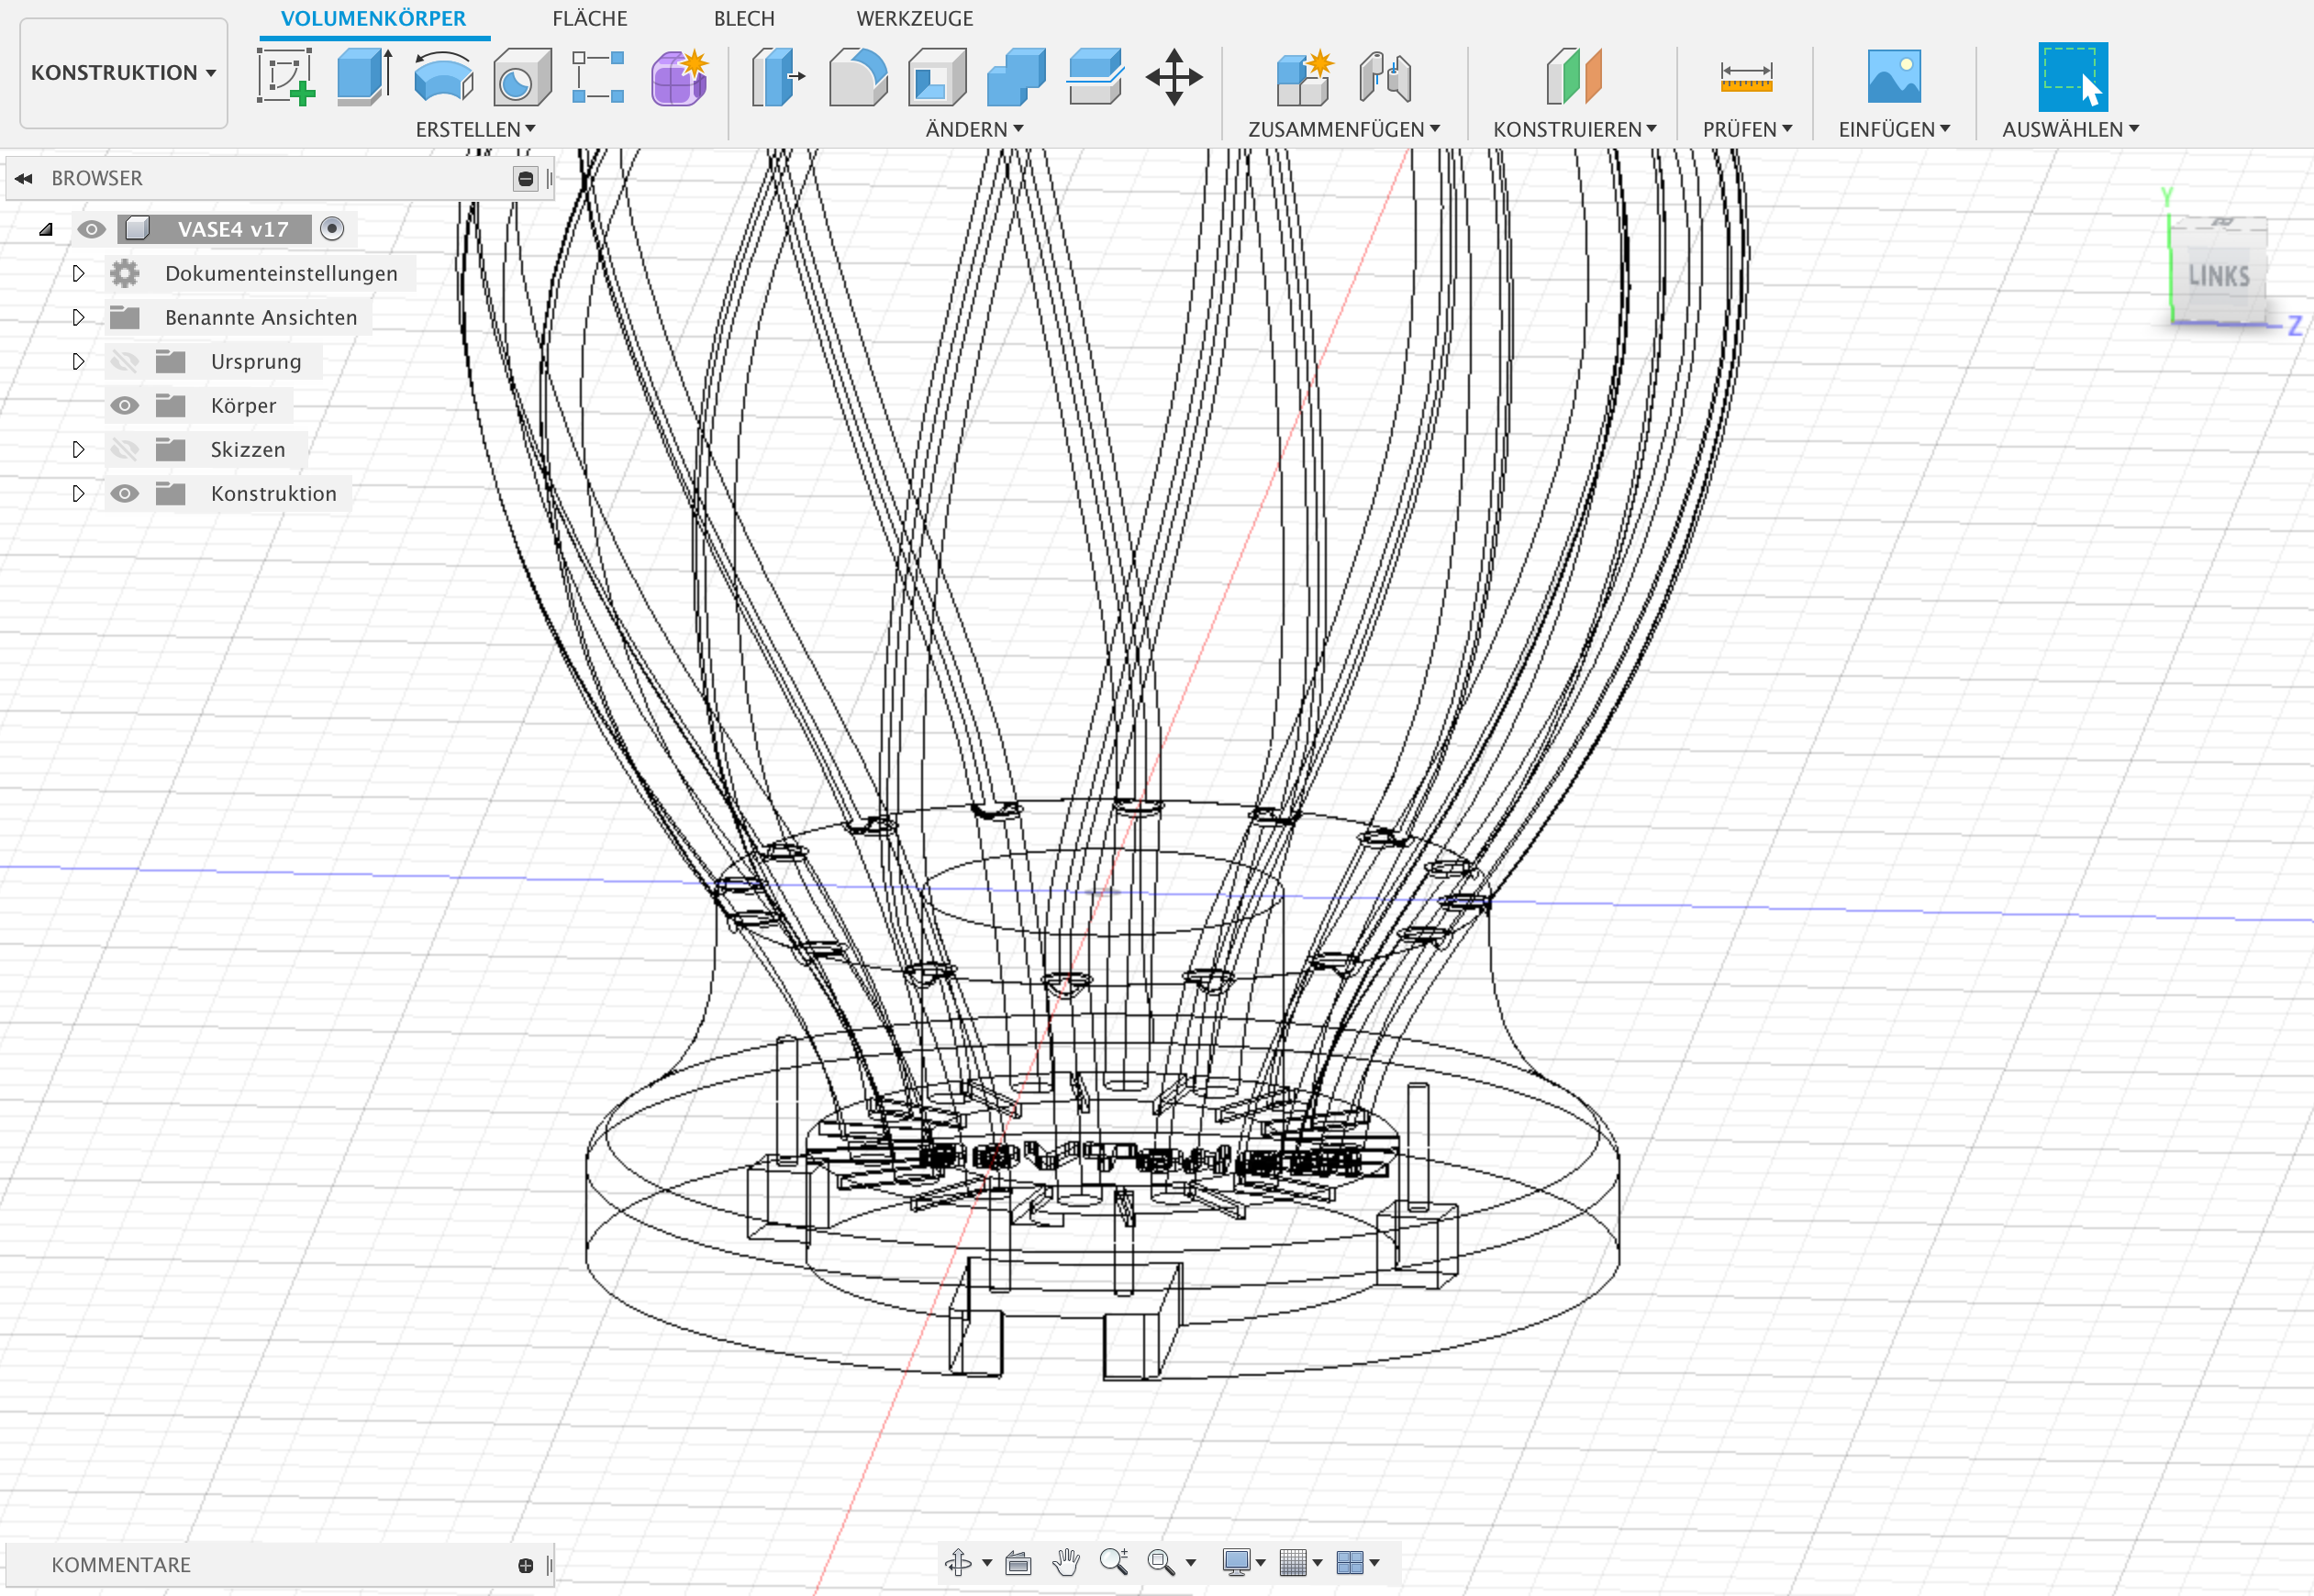
Instead of normal colored filament, transparent filament is used and illuminated by a hidden Neopixel LED ring in the base of the vase. The vase was designed in Fusion 360.
Base design:
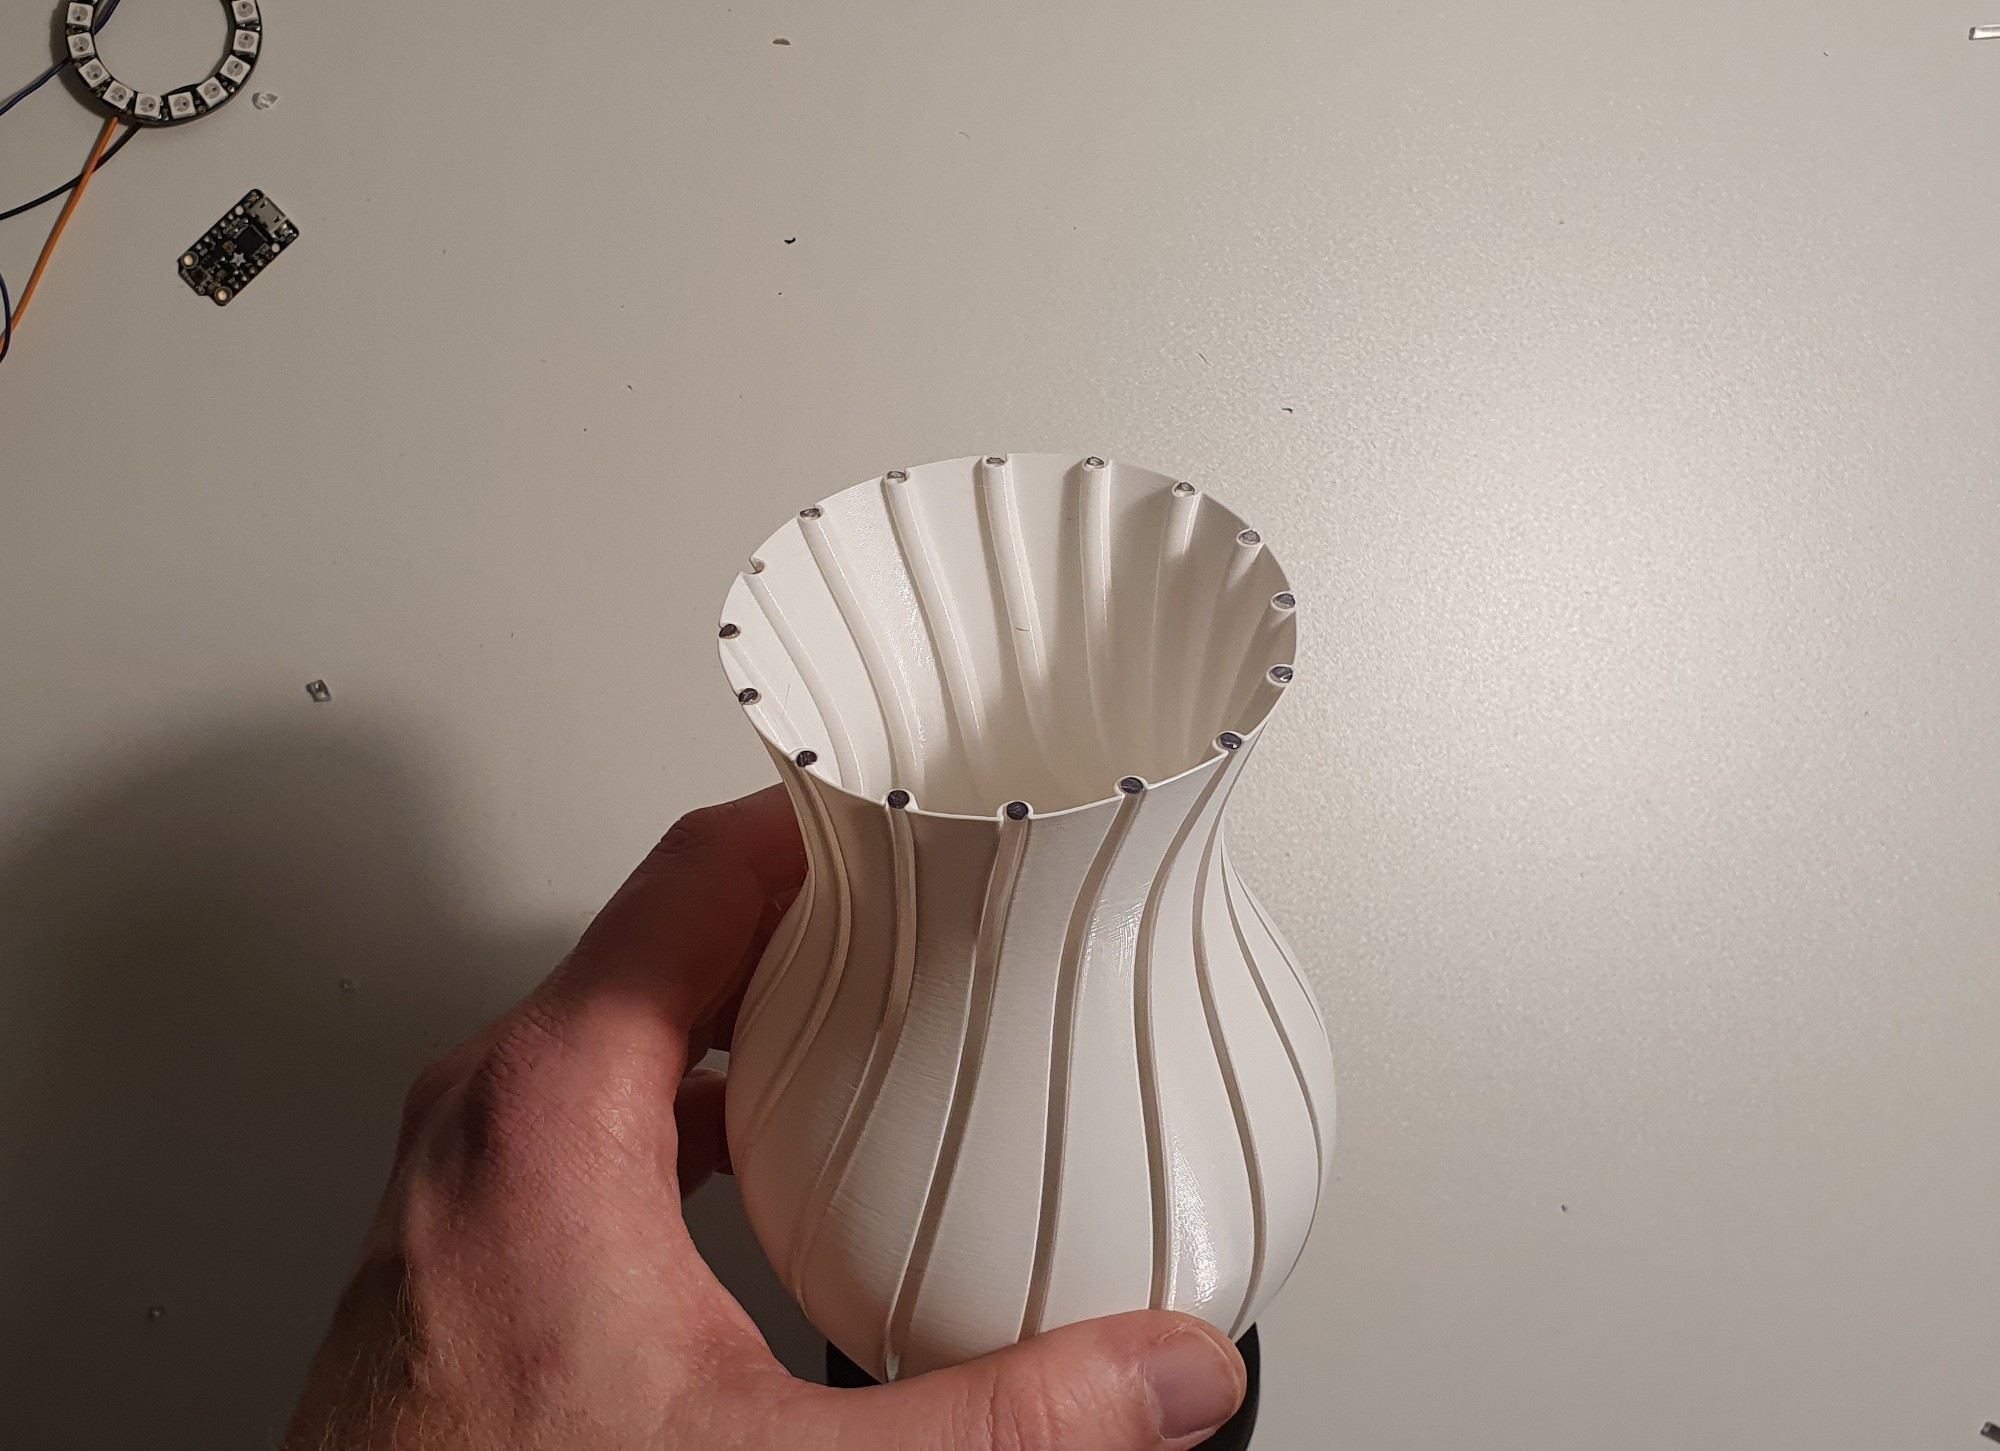
The vase is printed in vase mode, the channels for the filament are clearly visible:
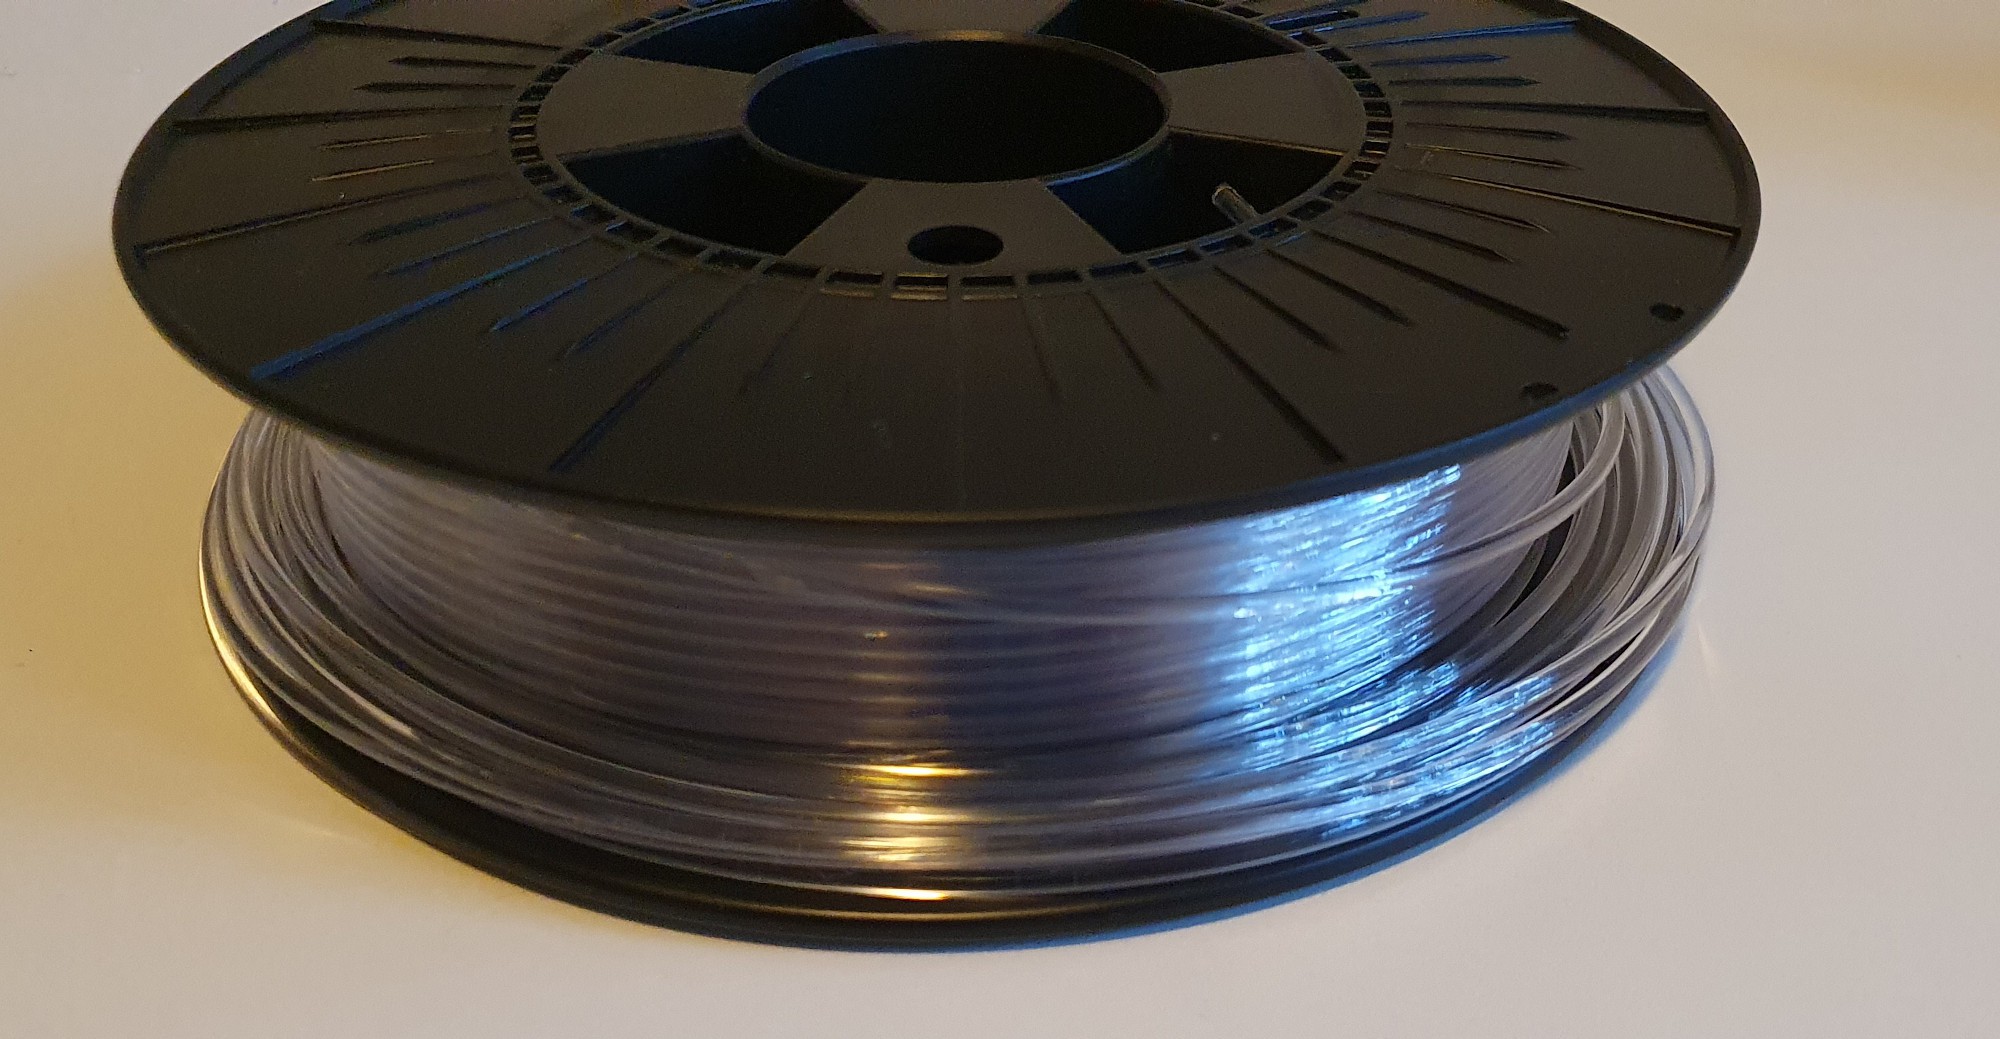
As light guide standard 2.85 mm transparent PETG filament is used. This diameter fits better to the Neopixel LED opening than 1.75 mm filament.
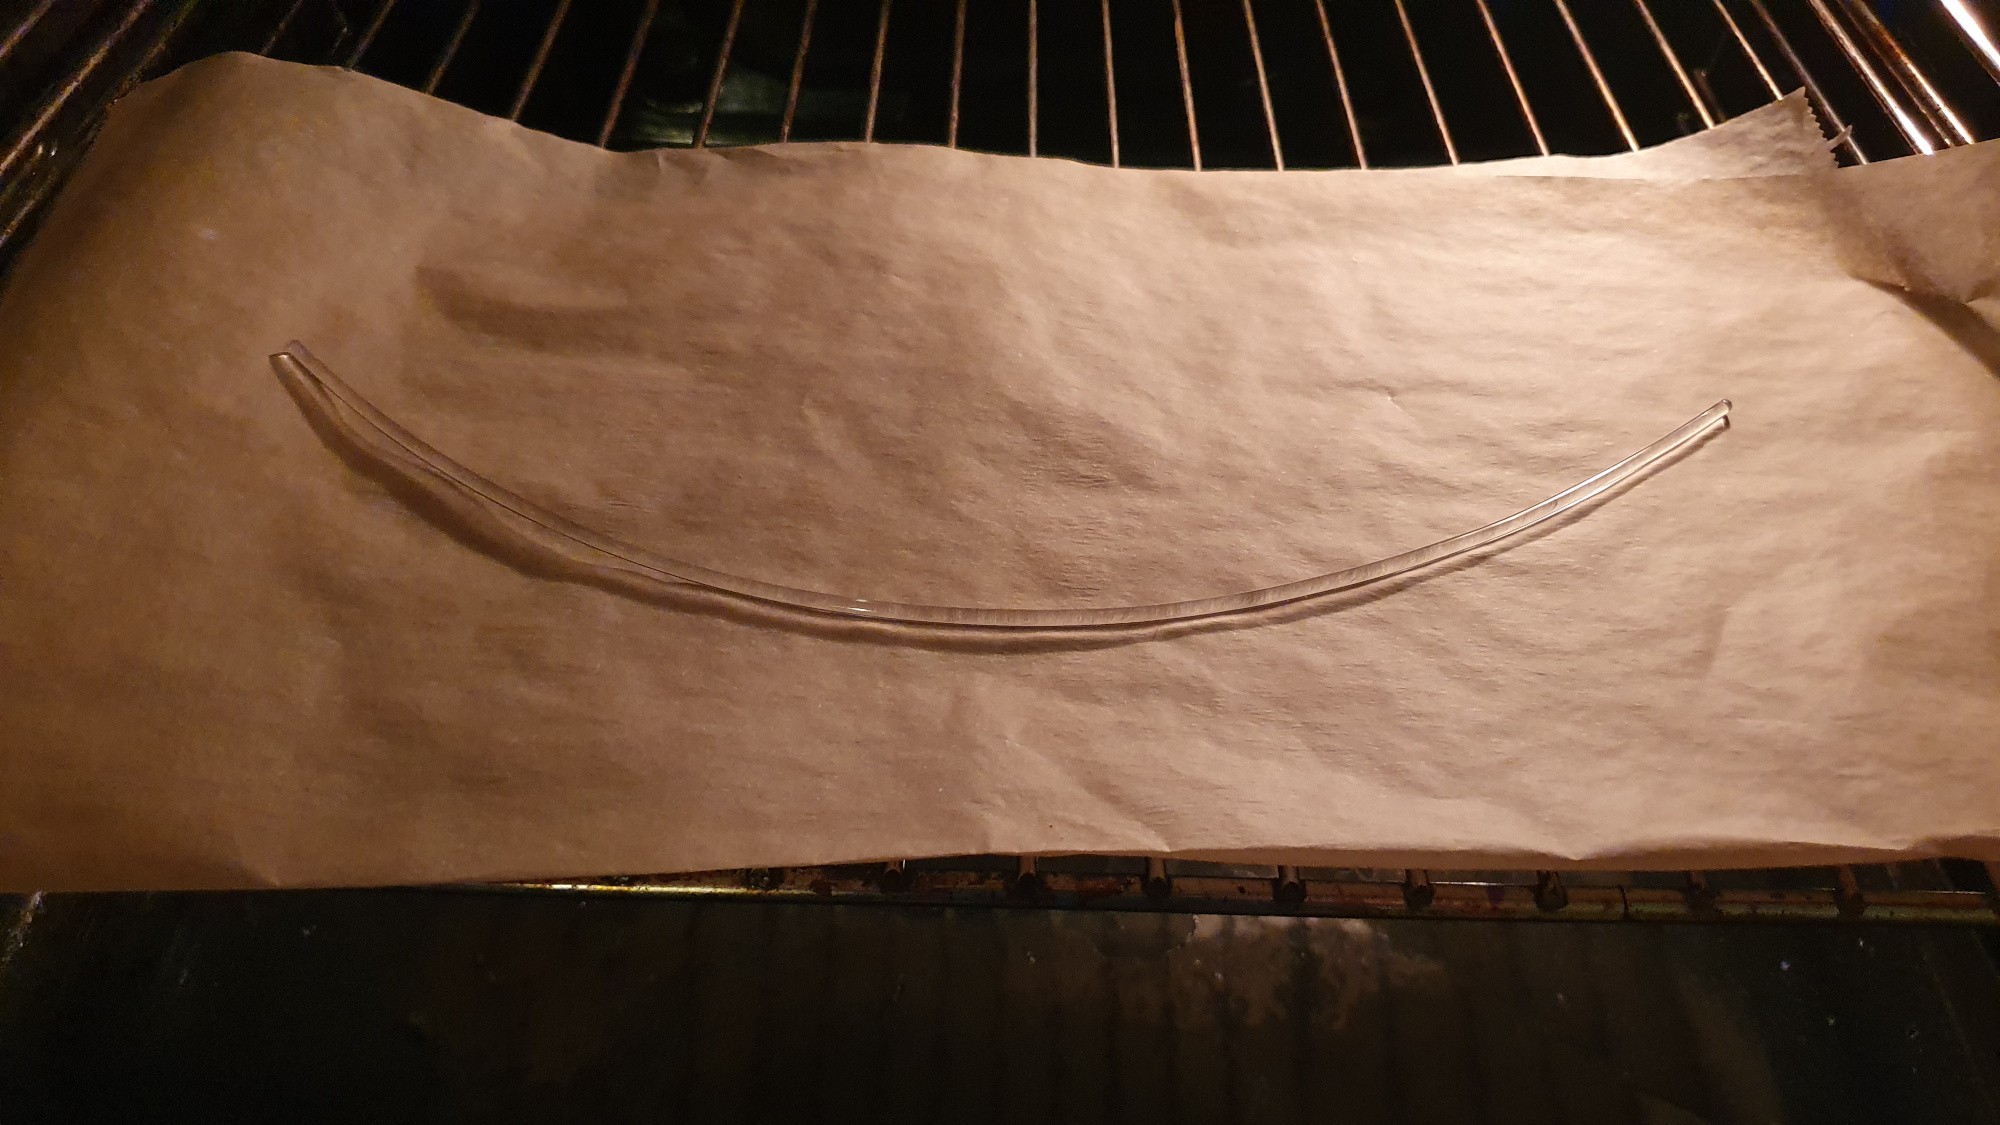
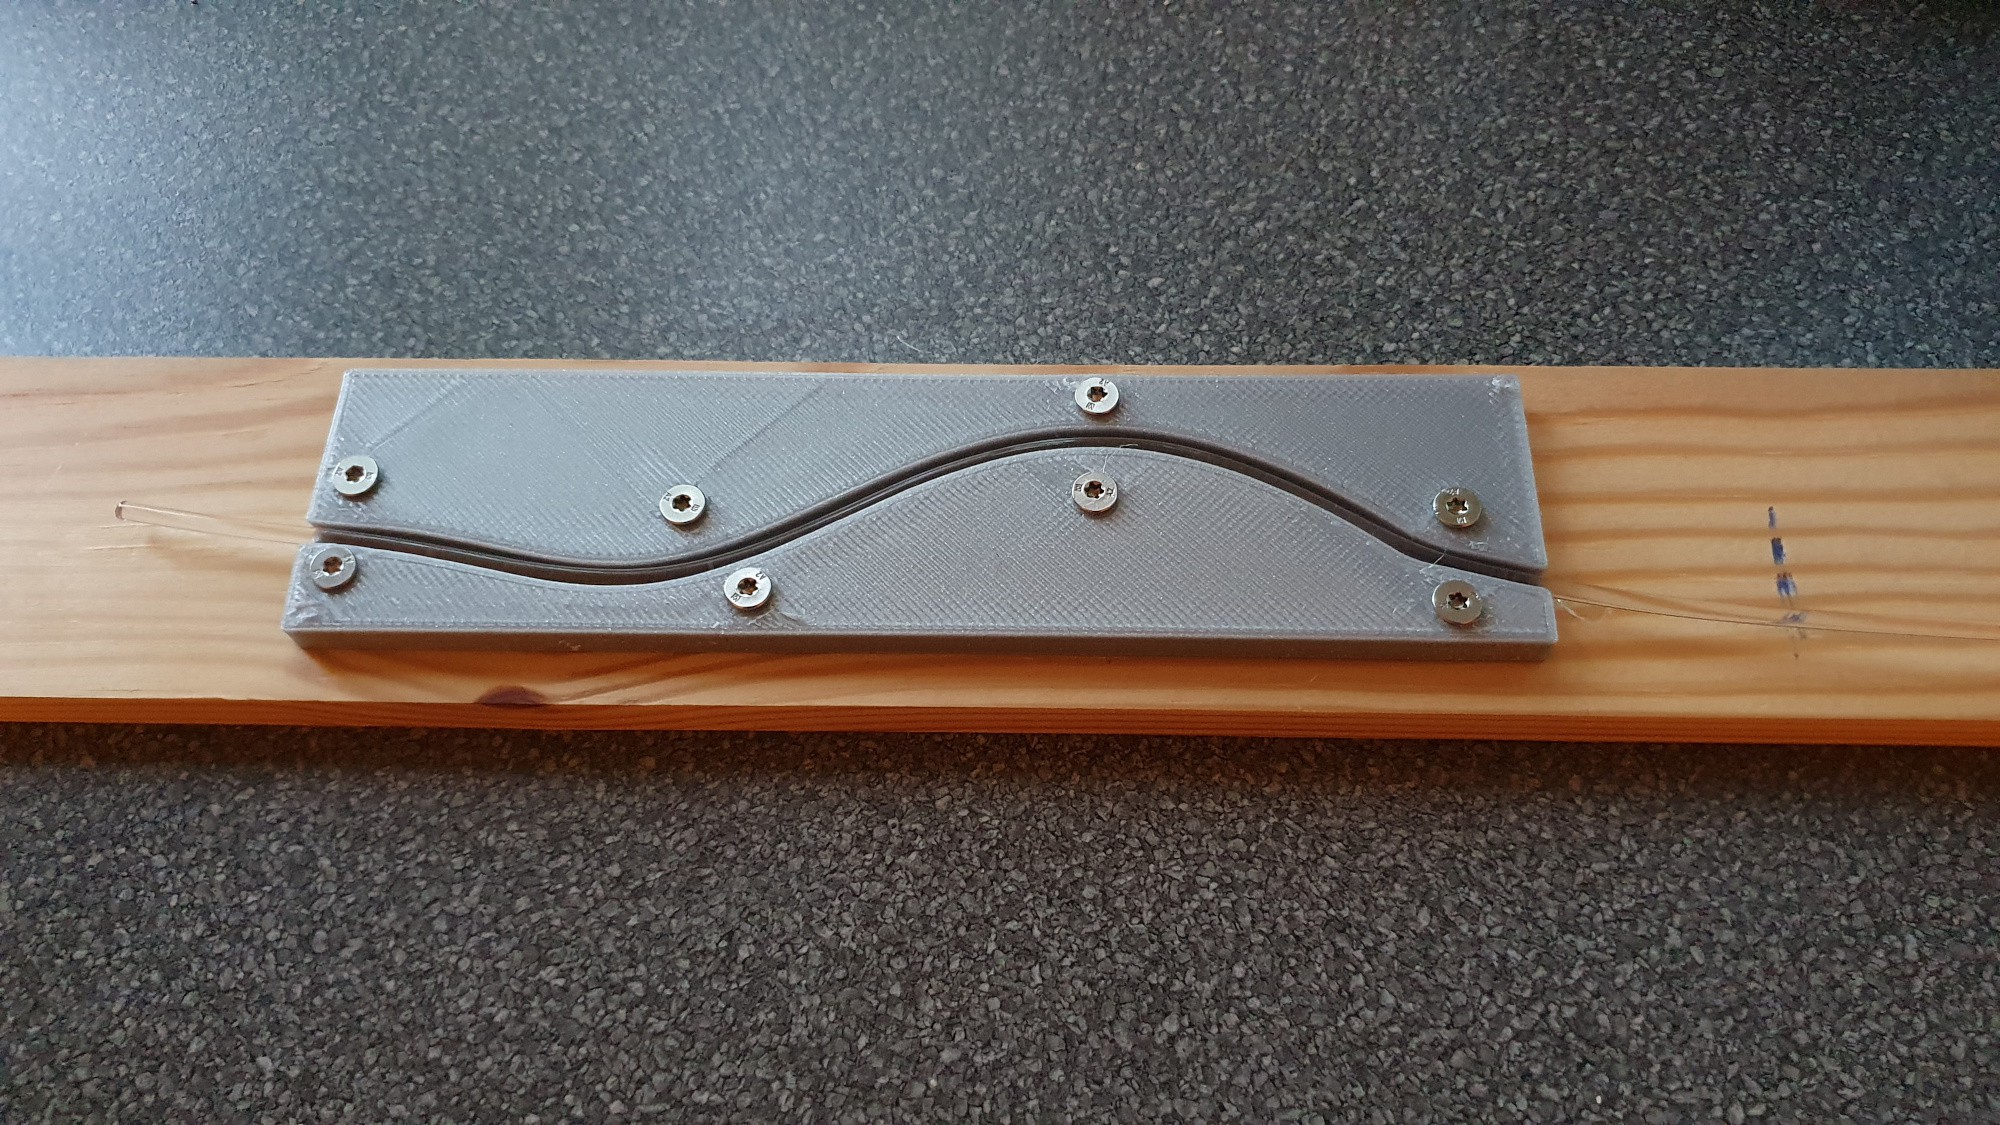
Because the filament is rolled, is has a preformed circle shape, so it's not easy to snap into the vase. Therefore, the filament pieces were preheated at 90°C in an oven and formed by a custom 3D printed mold. STL file for the mold is also at prusaprinters.
The mold follows the vase shape, so it is much easier to snap in the filament after forming. Originally it was planned to heat up the filament in the mold (and the screws should prevent the mold from deforming), but this did not work as good as expected. So preheating and forming in the cold mold works perfect.
The filament pieces are slid in from the bottom to the top of the vase. They are snapping into the vase without the need of any glue.
After all filaments are put in, the ends were cut off with a side cutter.


Thanks! No, just used it directly from the spool. It works very well, only local bending reduces the effect. So the longer the light pipe should be, the less bending is possible.
 strange.rand
That's really interesting, I wouldn't have thought filament would act like such a good light pipe. Did you do anything to the surface of the filament to make it a better diffuser?