compukidmike
-
3D Printing Files Available
11/13/2020 at 21:53 • 1 commentI've put the STL files on thingiverse: https://www.thingiverse.com/thing:4652663
-
Future Development
11/10/2020 at 00:53 • 0 commentsThere are some things I would change in a future version.
- The power supply is too weak. With both lamps, I have to turn it on very slowly so that it doesn't trip. I think I'll try a normal 24V power supply rather than USB PD.
- The lamp holders get soft. I need to get some PETG or ABS and reprint them.
- The LED dimmer uses small diameter wire and the wire gets too warm when the heater is turned all the way up. I'll probably replace the wires since I must have the dimmer to keep the power supply from tripping. (the dimmer is rated for 12-24V and 6A. I'm running it at 20V and 3A. There's no way it would handle 6A without melting).
Overall the project cost me about $65 USD.
- $20 - 2 halogen work lamps from walmart
- $5 - LED dimmer
- $25 - 65W USB PD power supply
- $12 - 20V USB PD trigger cable
- $2 - Barrel Jack
A couple of these items came as part of a larger pack, so I've adjusted the prices for that since I'll use the extra parts for other projects.
-
Making a proper enclosure
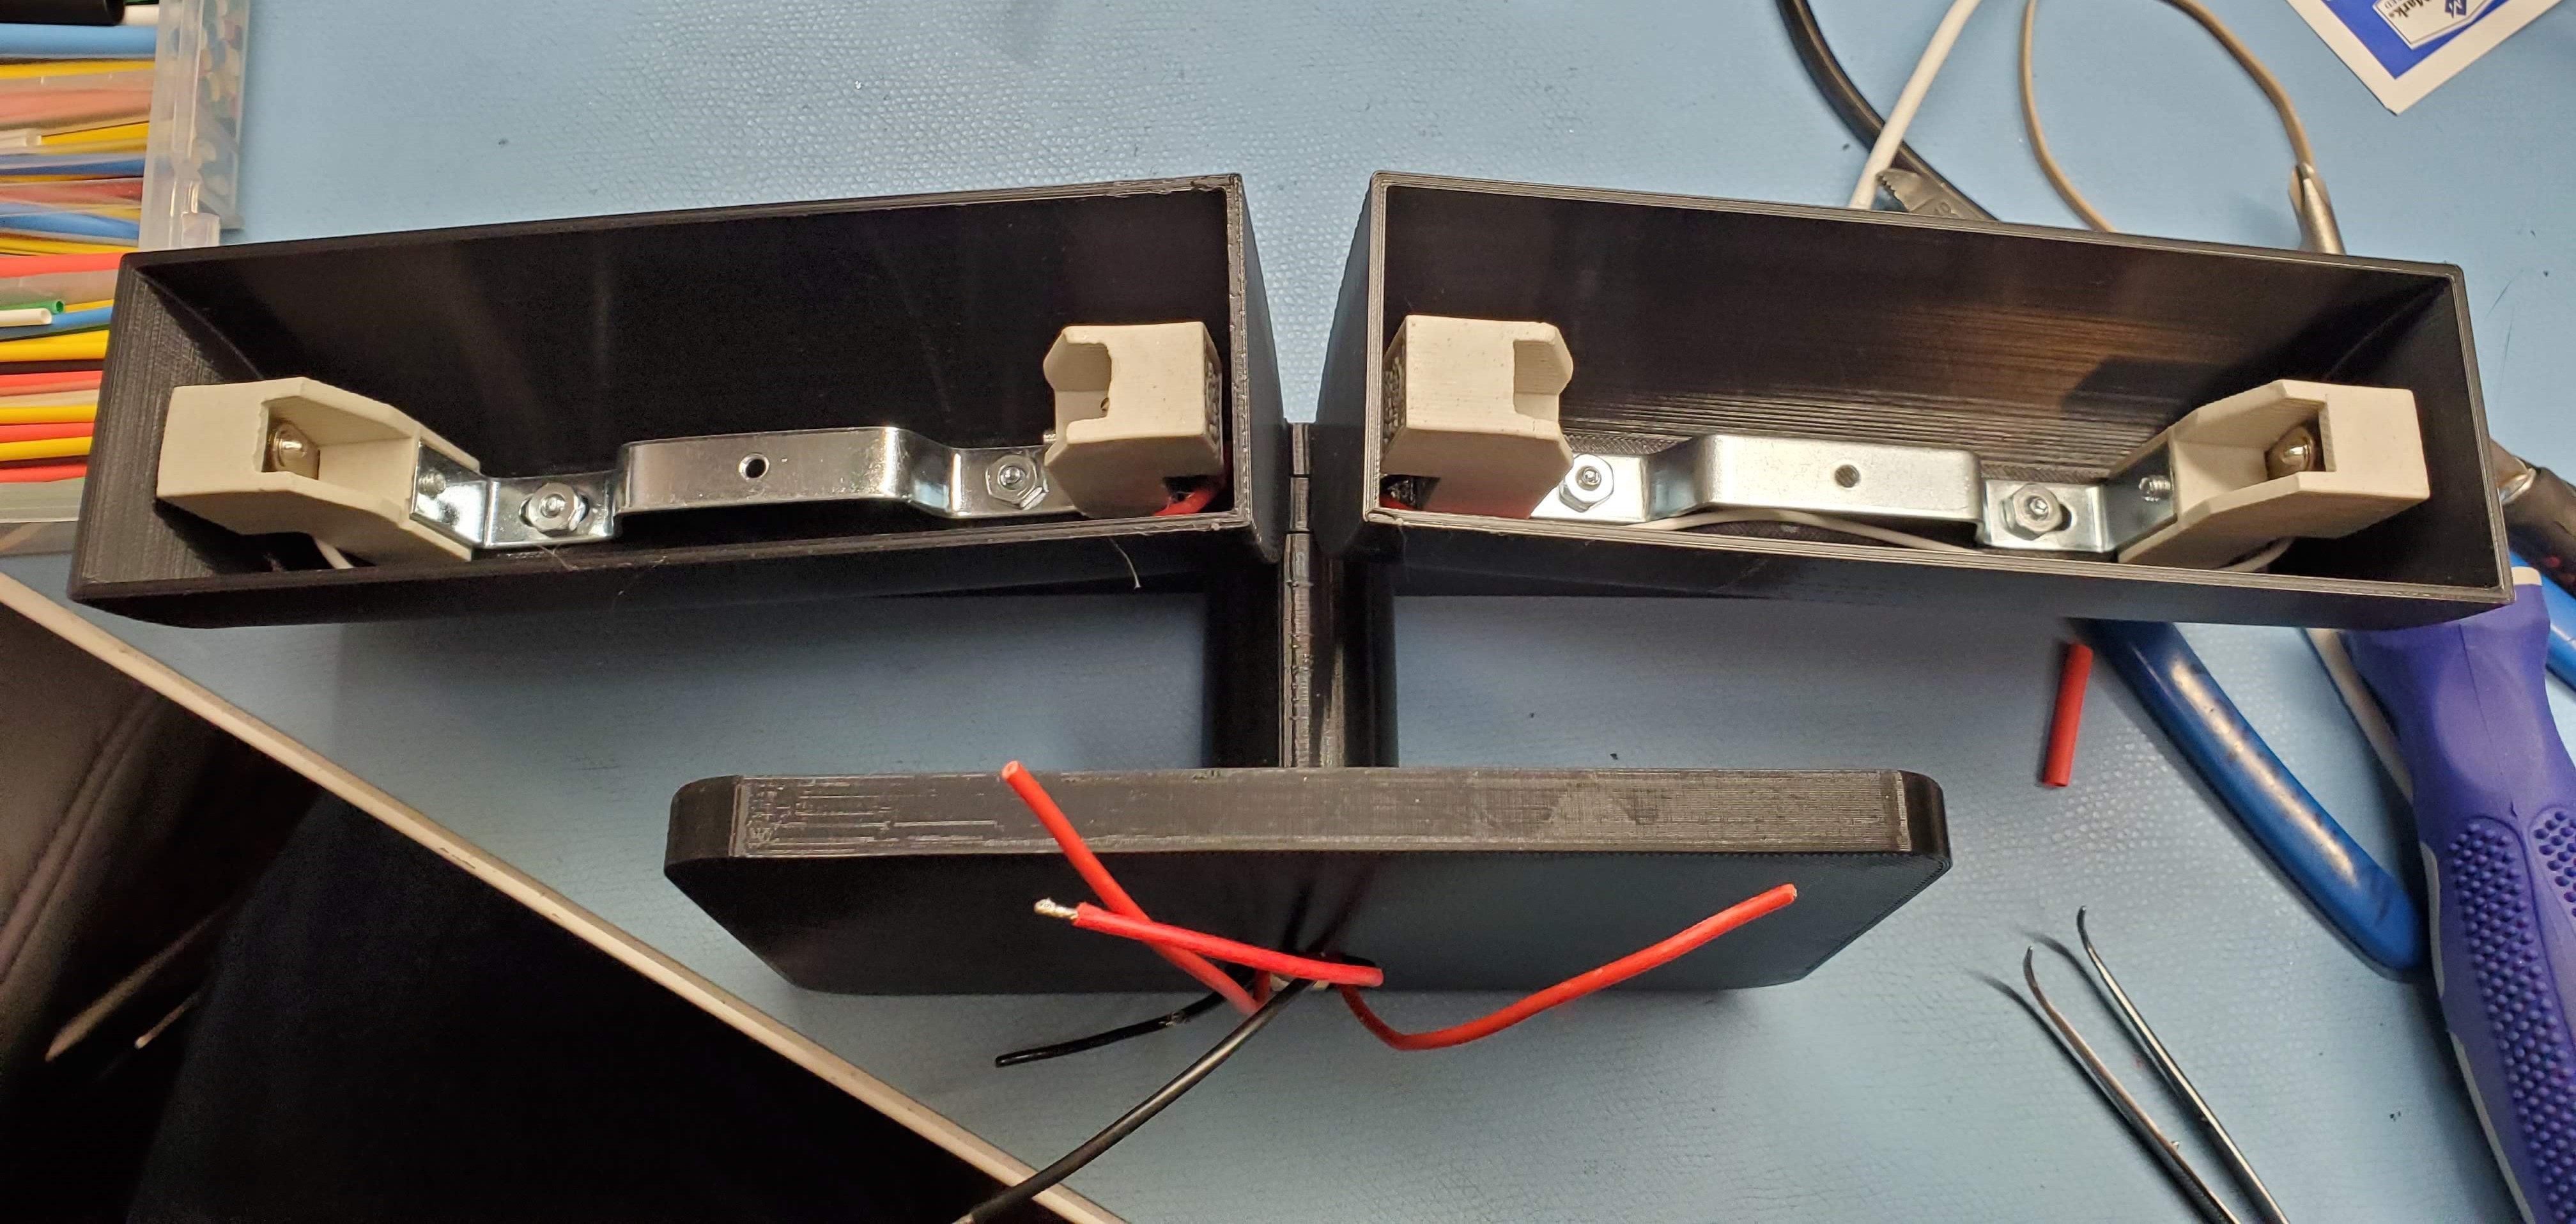
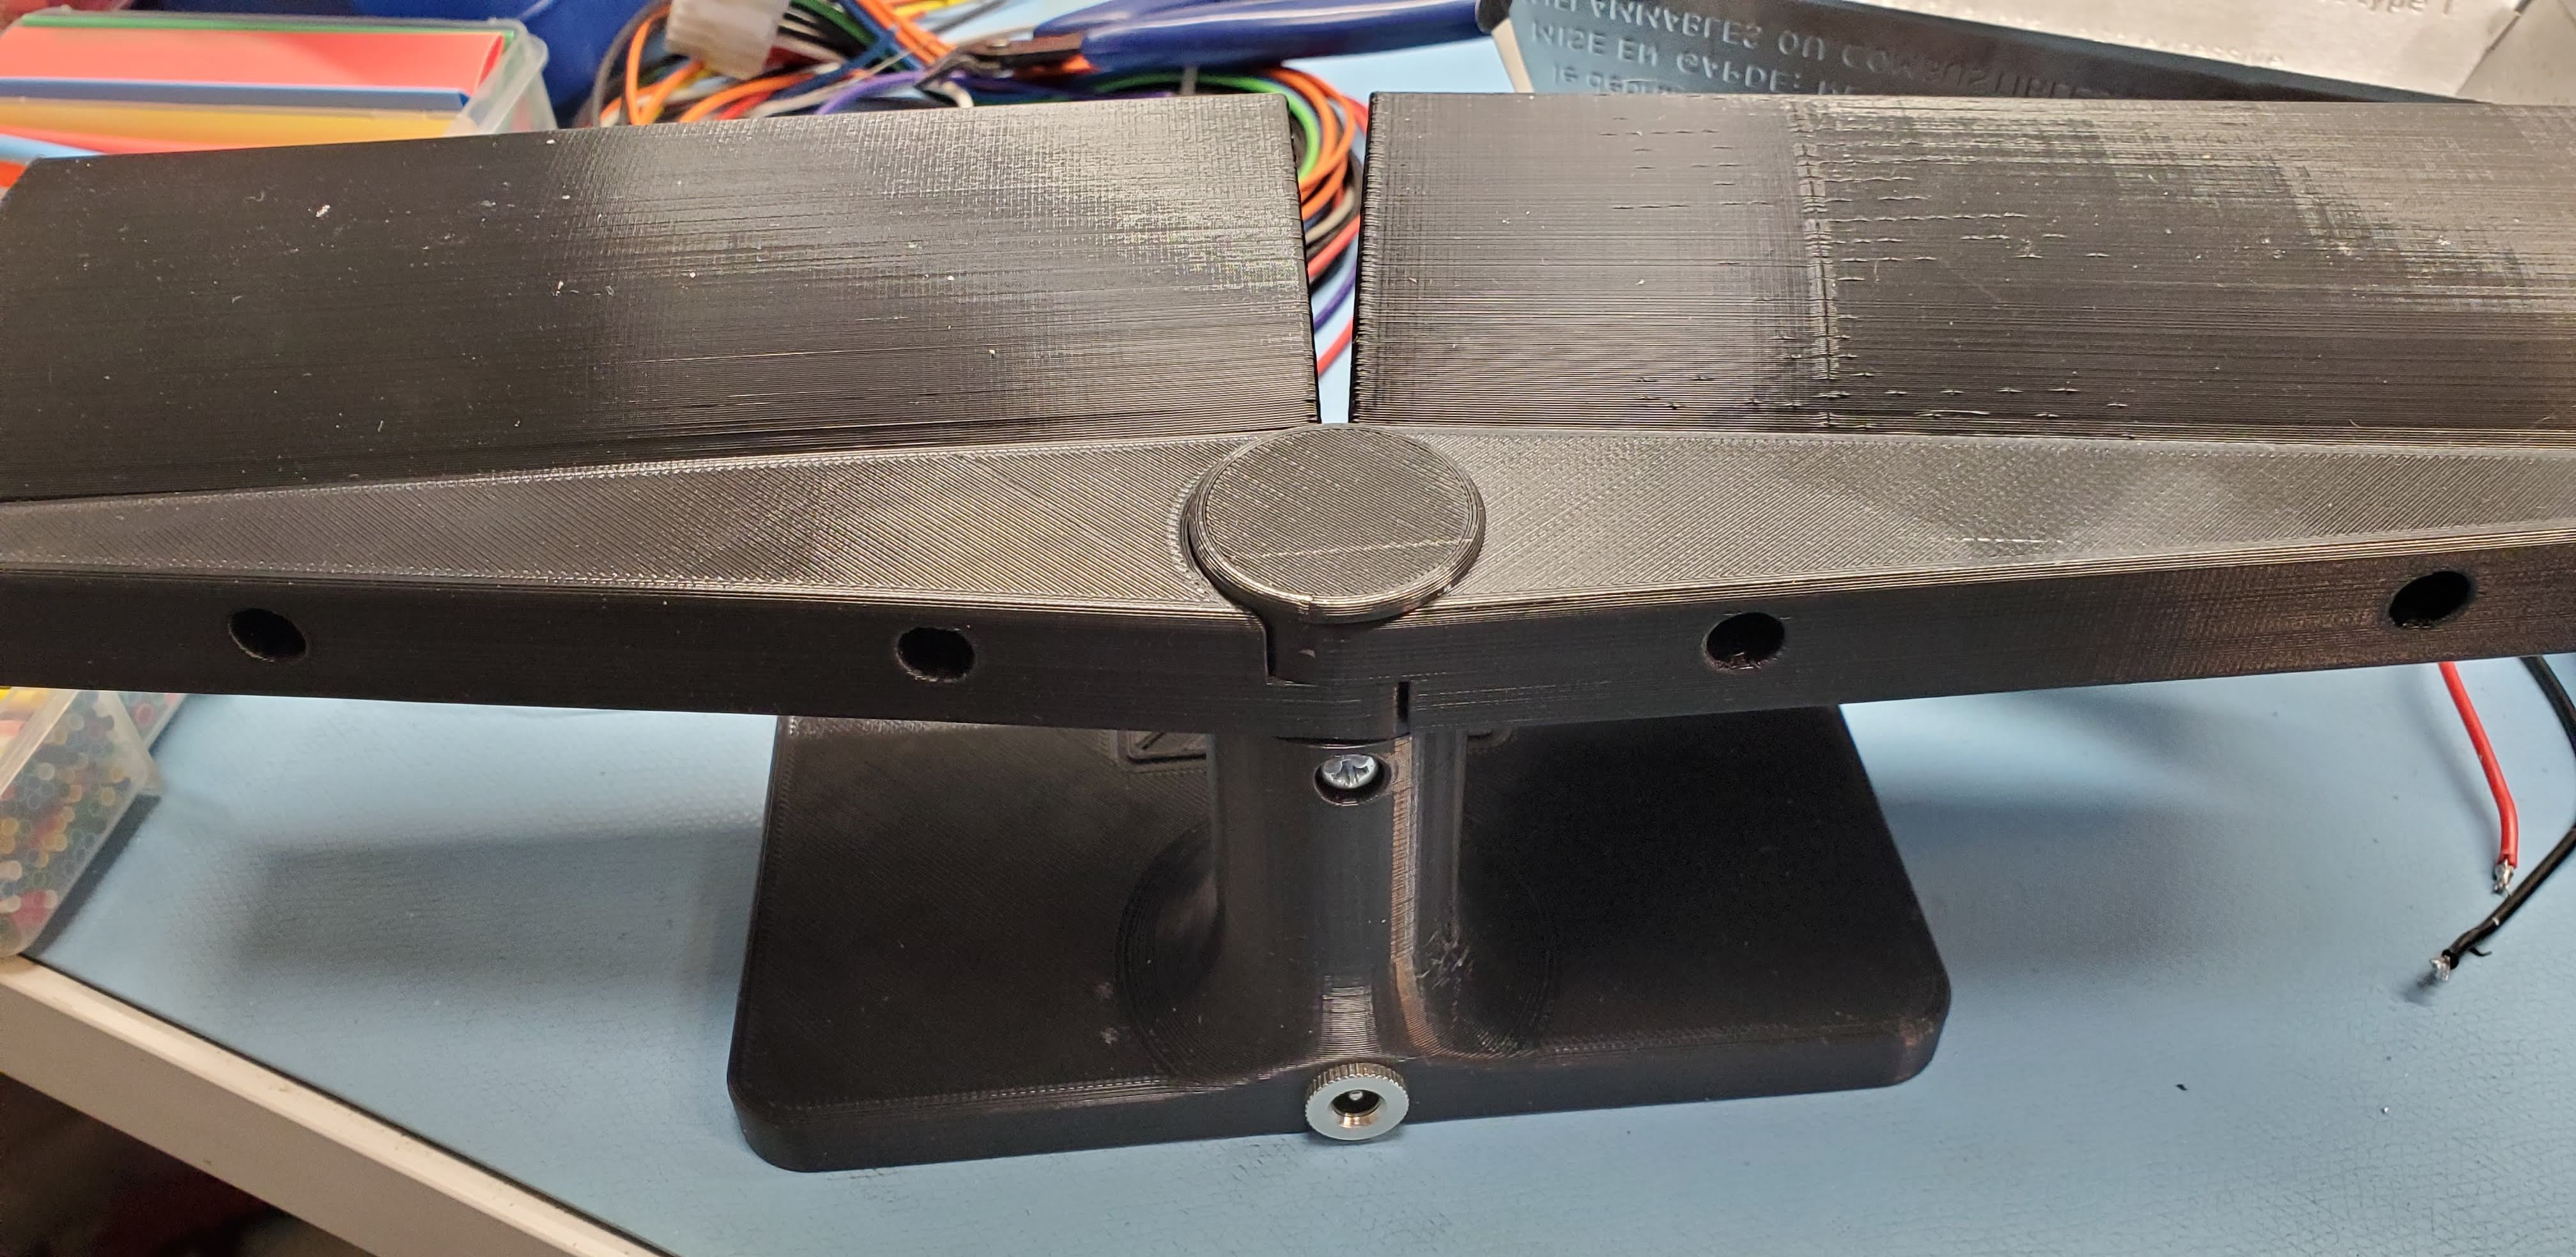
11/10/2020 at 00:42 • 0 commentsNow that I had proved it all worked, it was time to design an enclosure and make it real. I used Fusion 360 to design it and then 3D printed the enclosure. The design heavily draws from the commercial version, but I don't intend to sell these. This is just for me and their design seems good enough.
I made the lamp holders tilt down 5 degrees. It seems about right, but might be worth tweaking later.
![]()
![]()
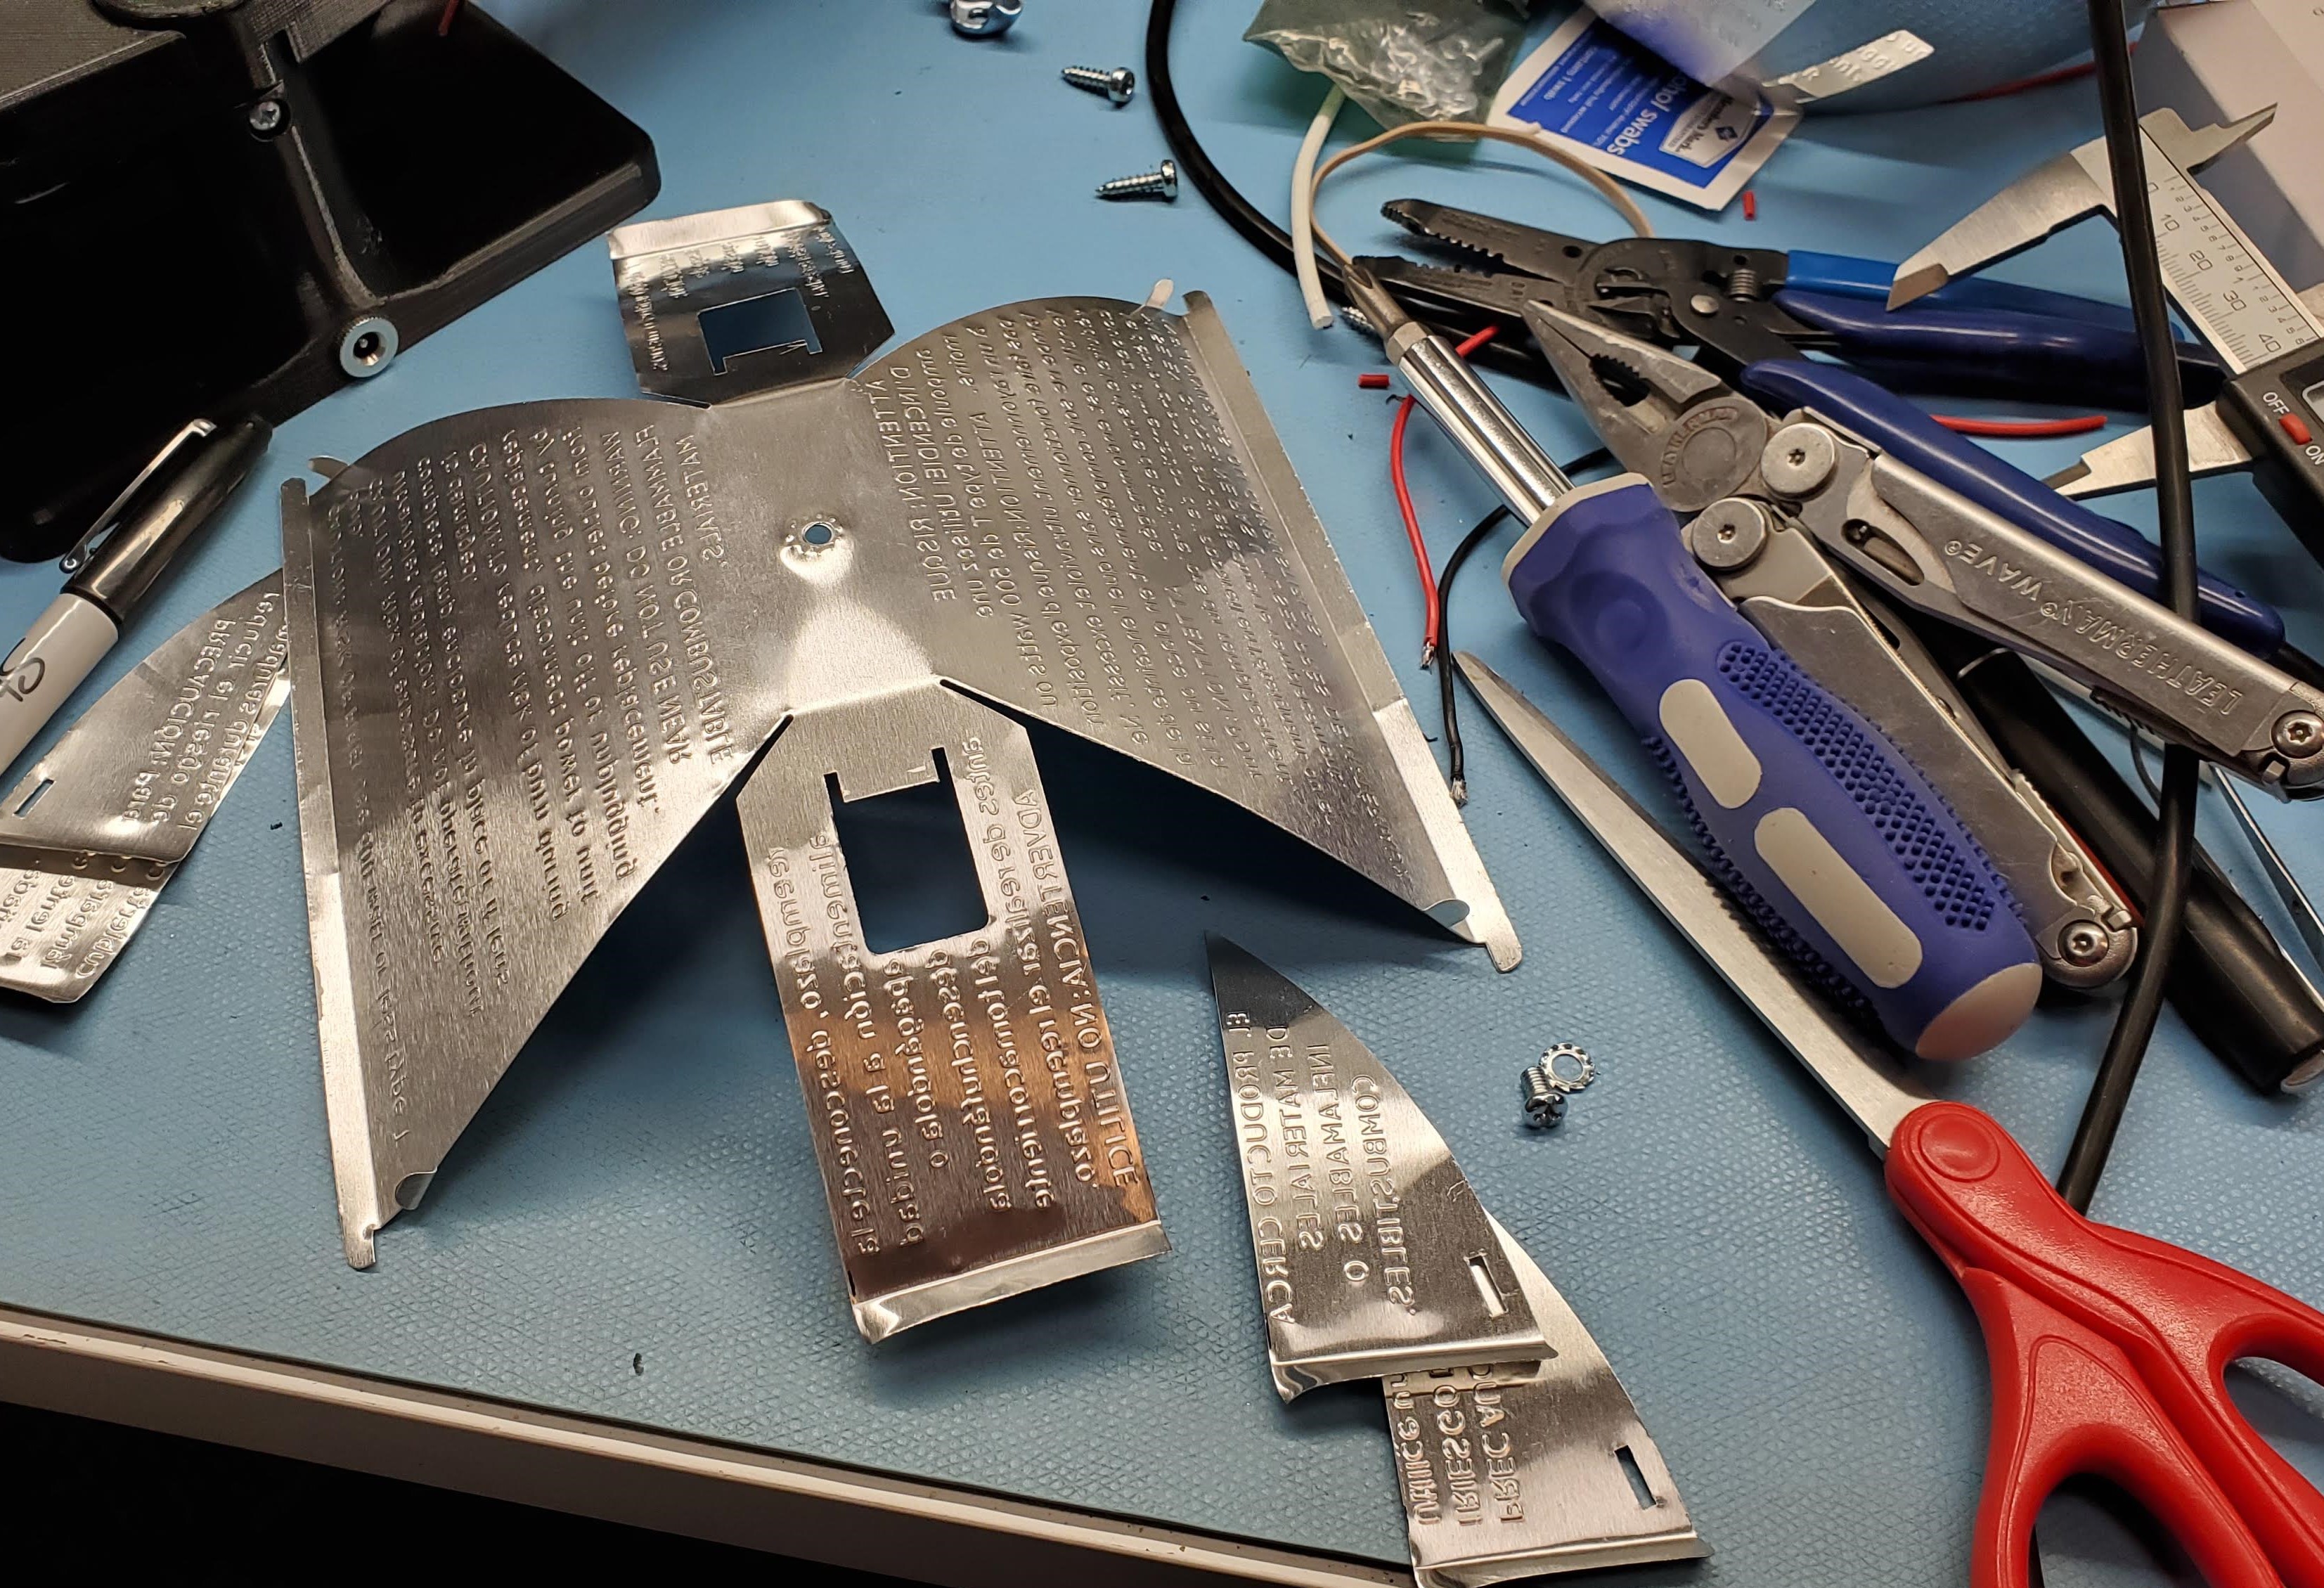
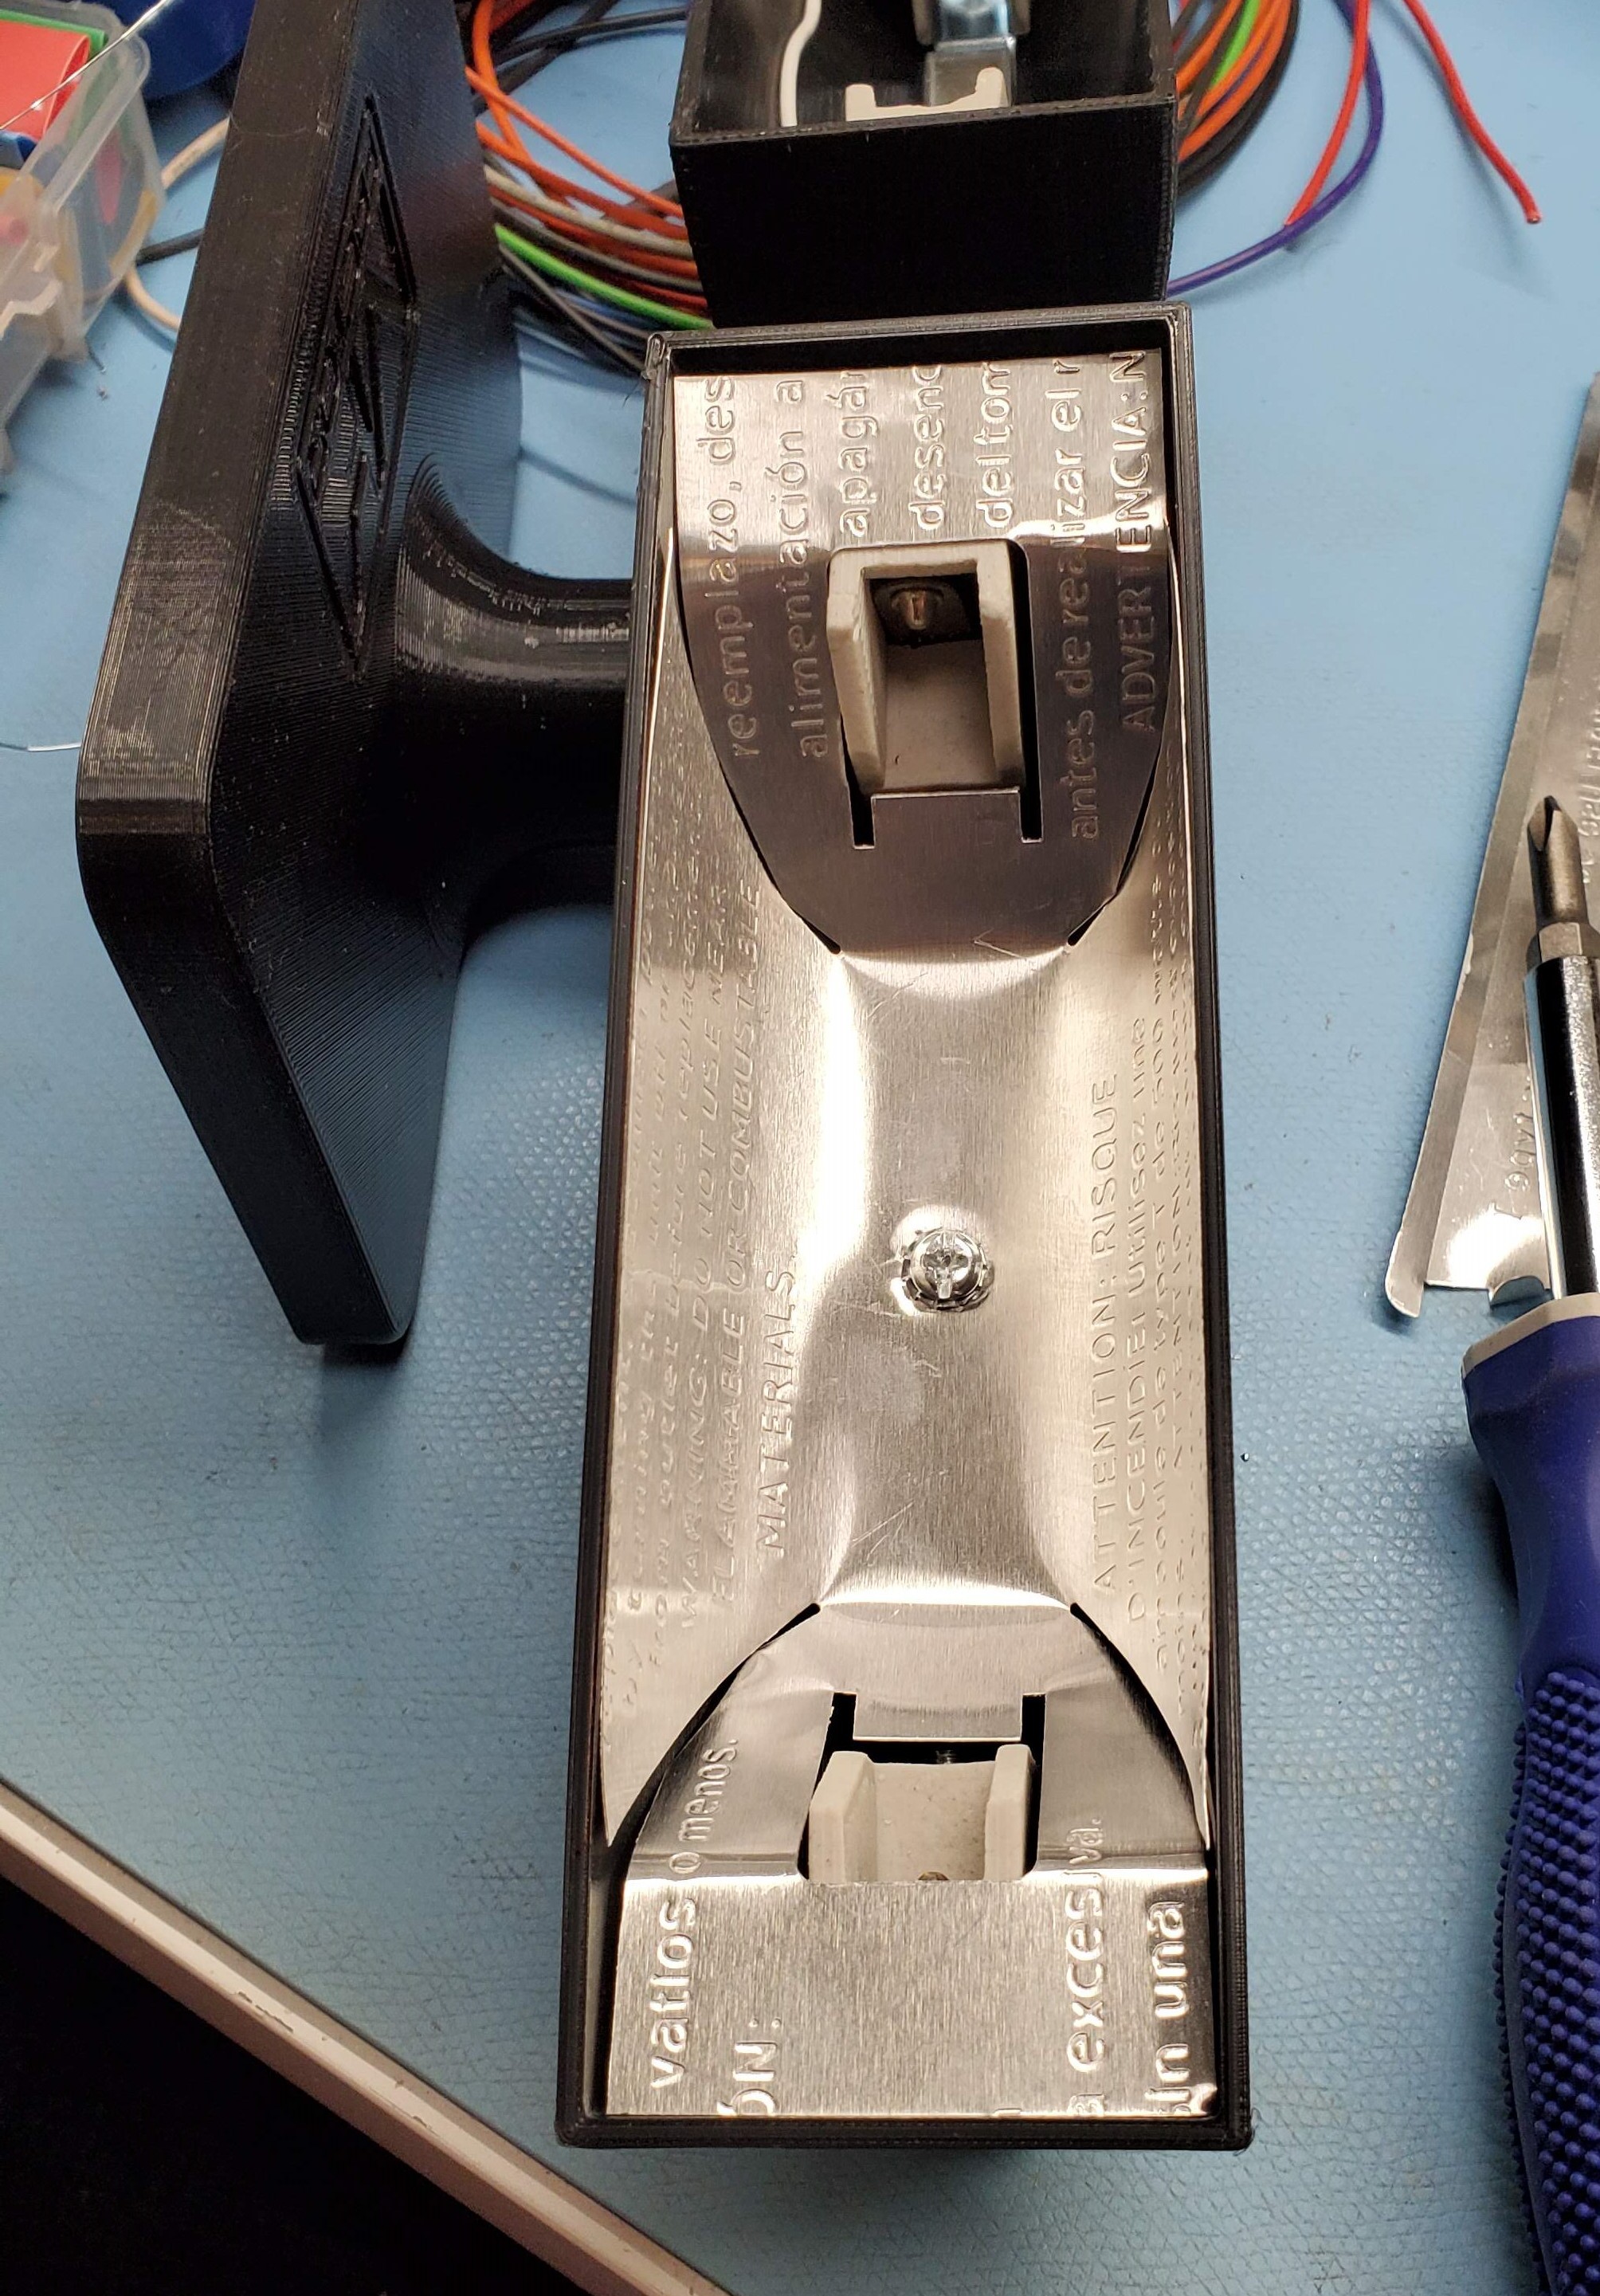
I had to modify the reflectors to make them fit in the new enclosure. Luckily they're made from very thin aluminum which is easy to cut with a pair of scissors.
I cut the sides first and then shoved the reflector in the lamp holder, marked the edges, and cut them to length.
![]()
![]()
![]()
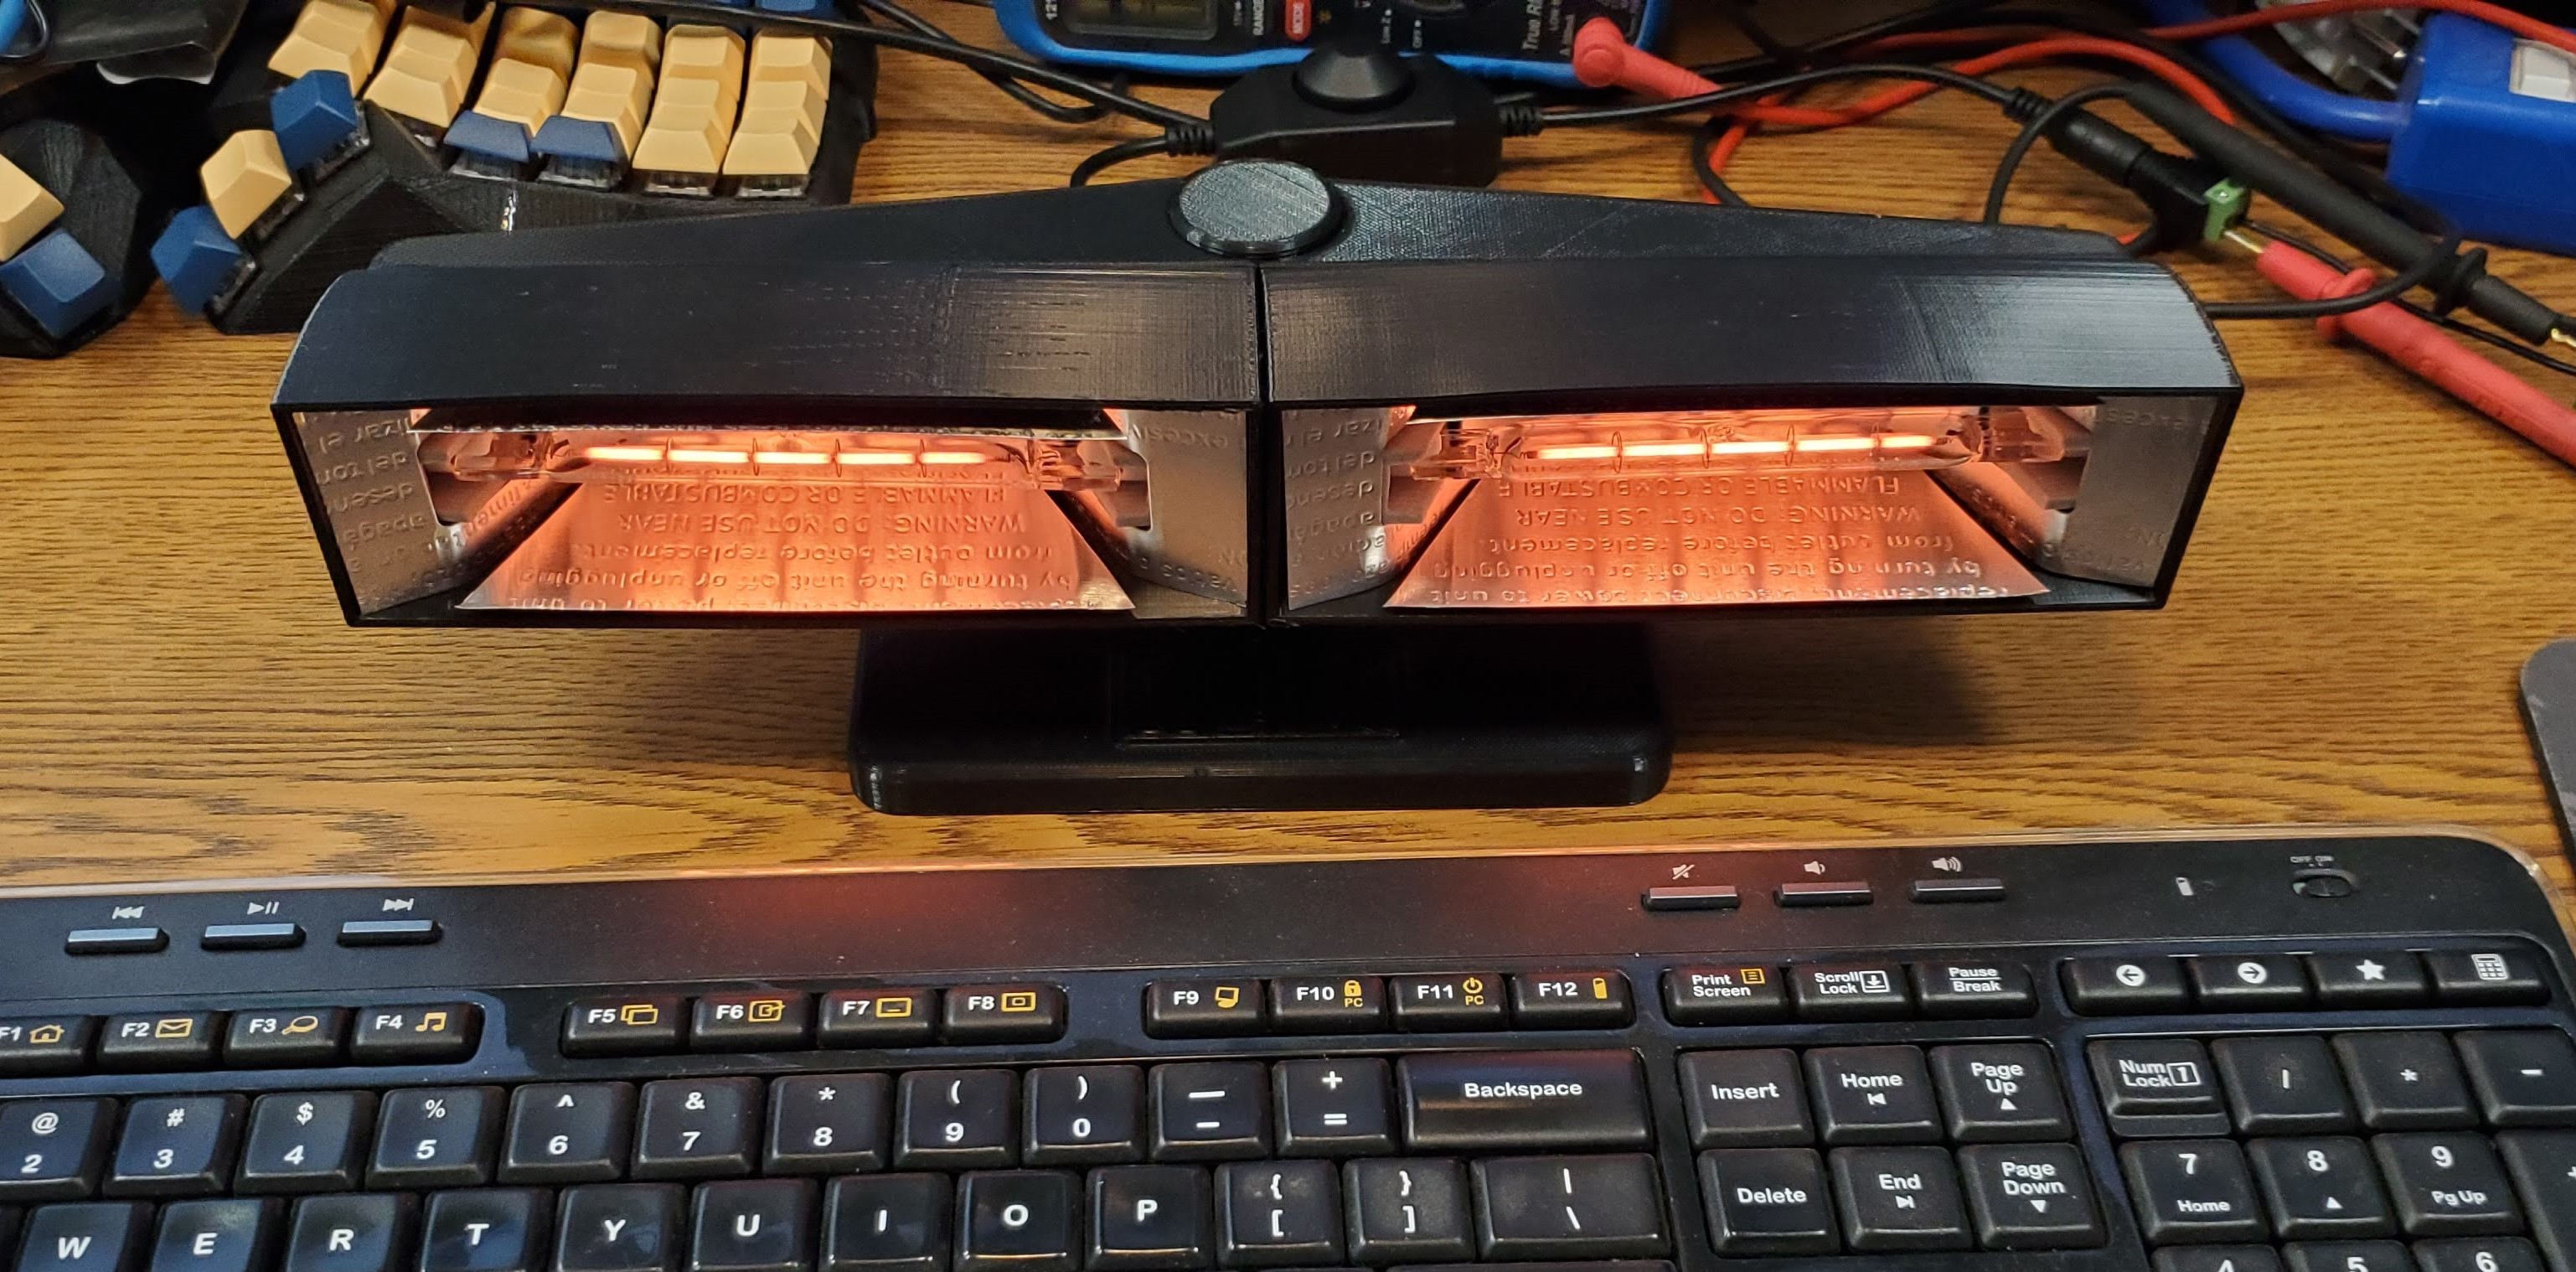
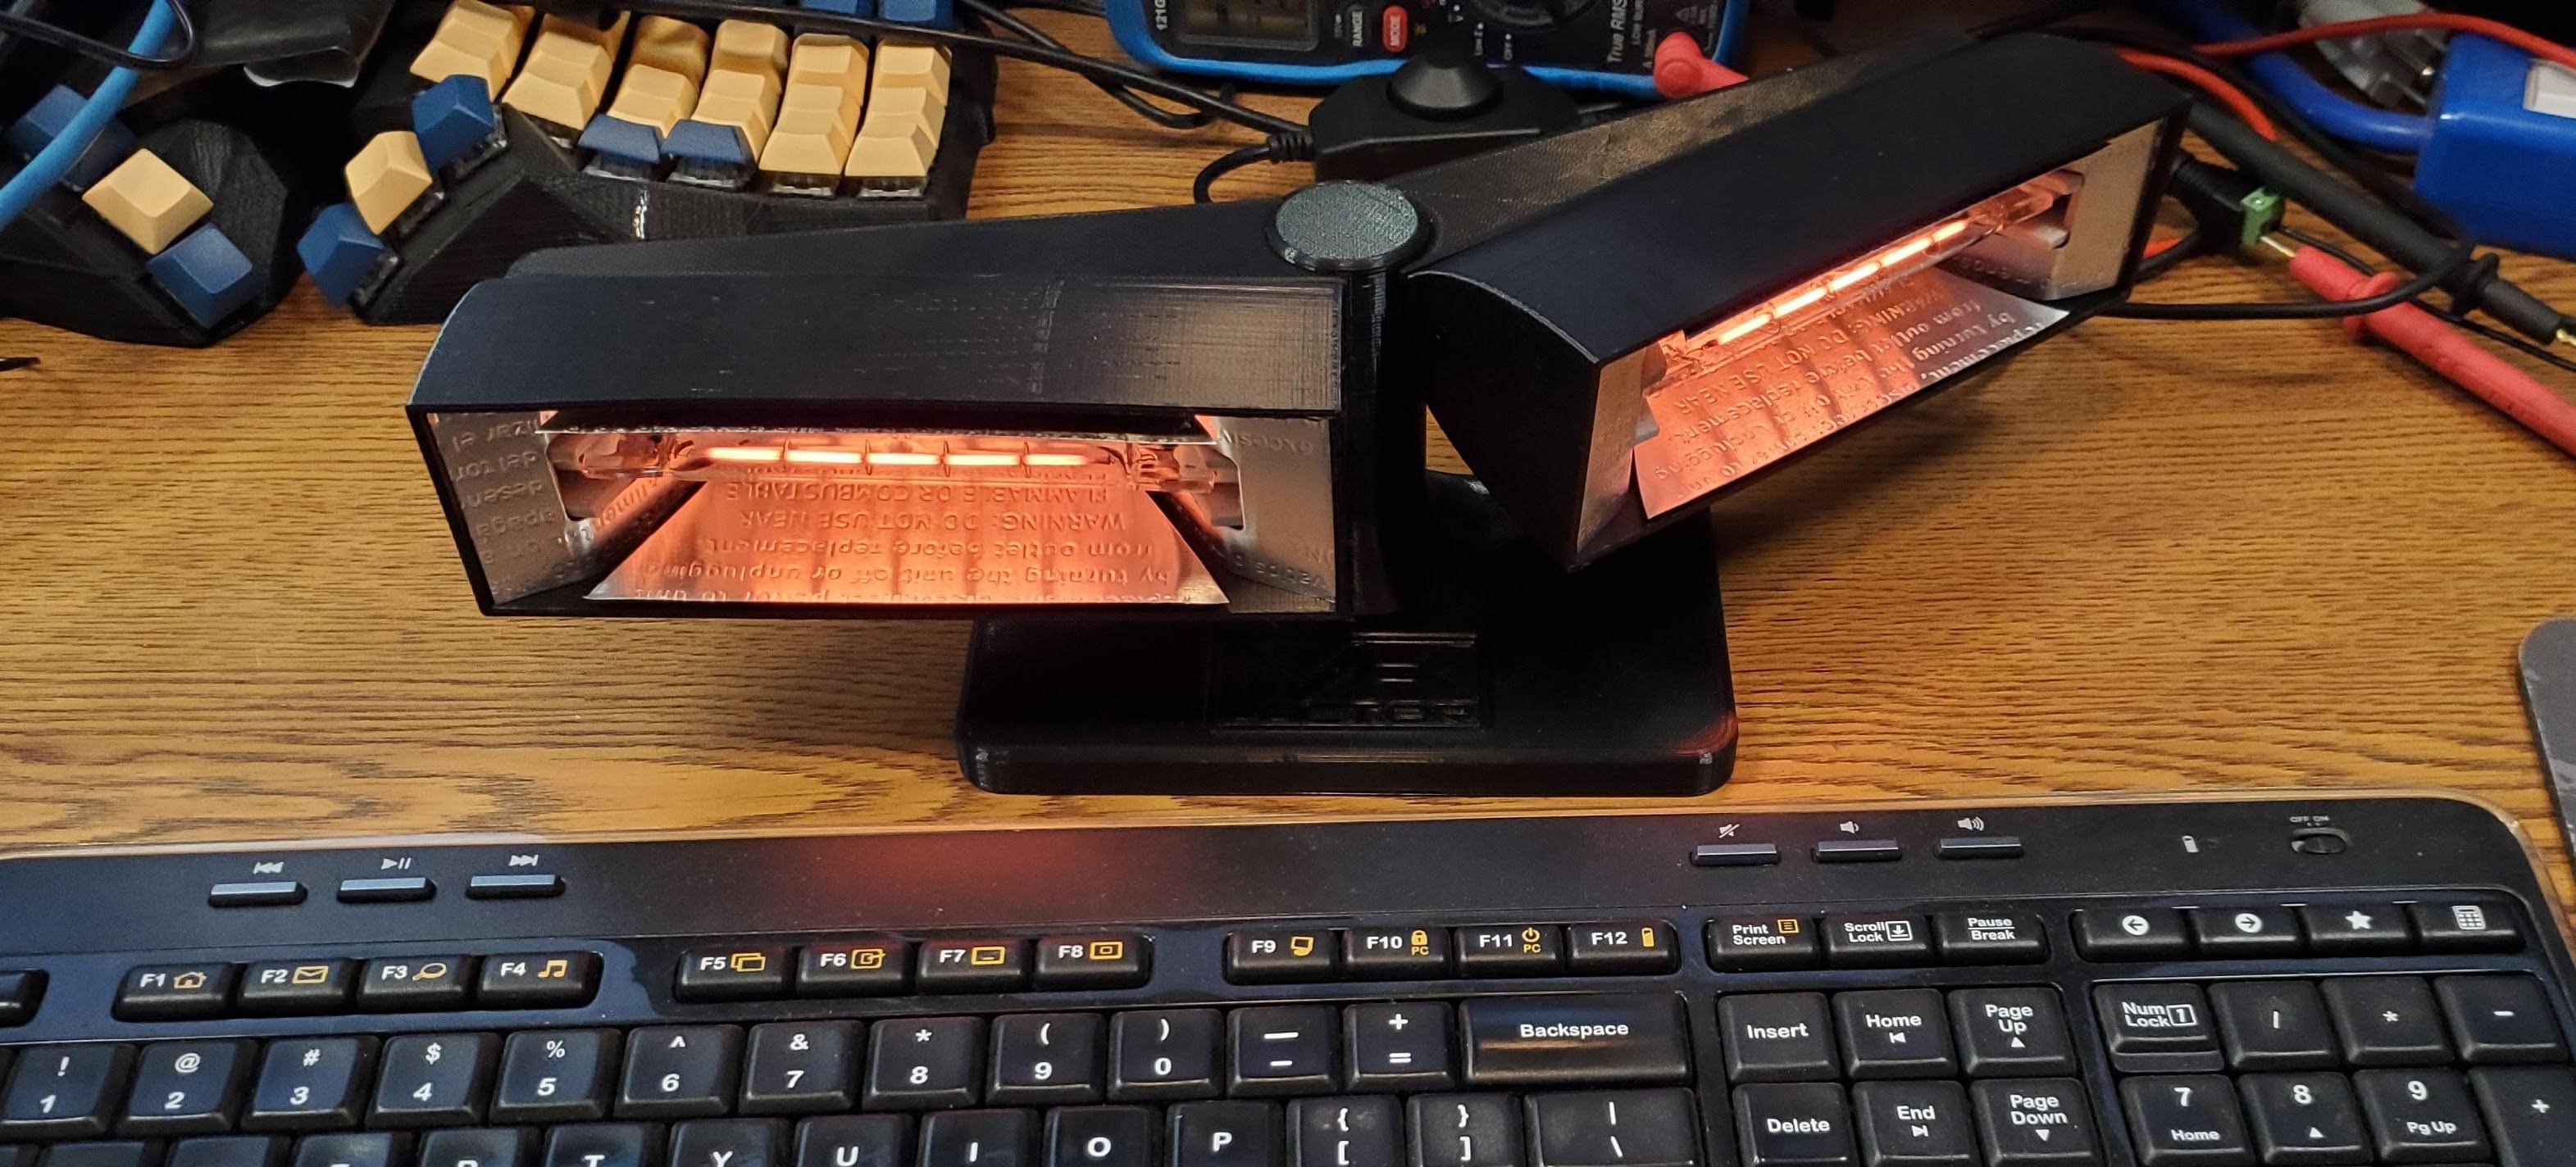
Here's the finished product:
![]()
![]()
One thing I was concerned about was the heat. Running the lamps on low voltage means they don't get scorching hot like intended, but they're still warm. After running the heater for ~30 minutes the lamp holders started to get soft on the top. I measured the temp with an infrared thermometer and it was about 120 F. Just enough to make the PLA soft. You can see a slight bulge in the top of the lamp holders in the pictures. I made a quick fix by bending the reflector away from the top and bottom of the holders, and that seemed to help. I'll probably get some PETG or ABS and reprint those pieces.
-
Power Supply
11/10/2020 at 00:21 • 0 commentsNow that I knew what voltage and amperage I needed, I ordered a power supply from Amazon. What I got was a dead 24V 5A power supply :(
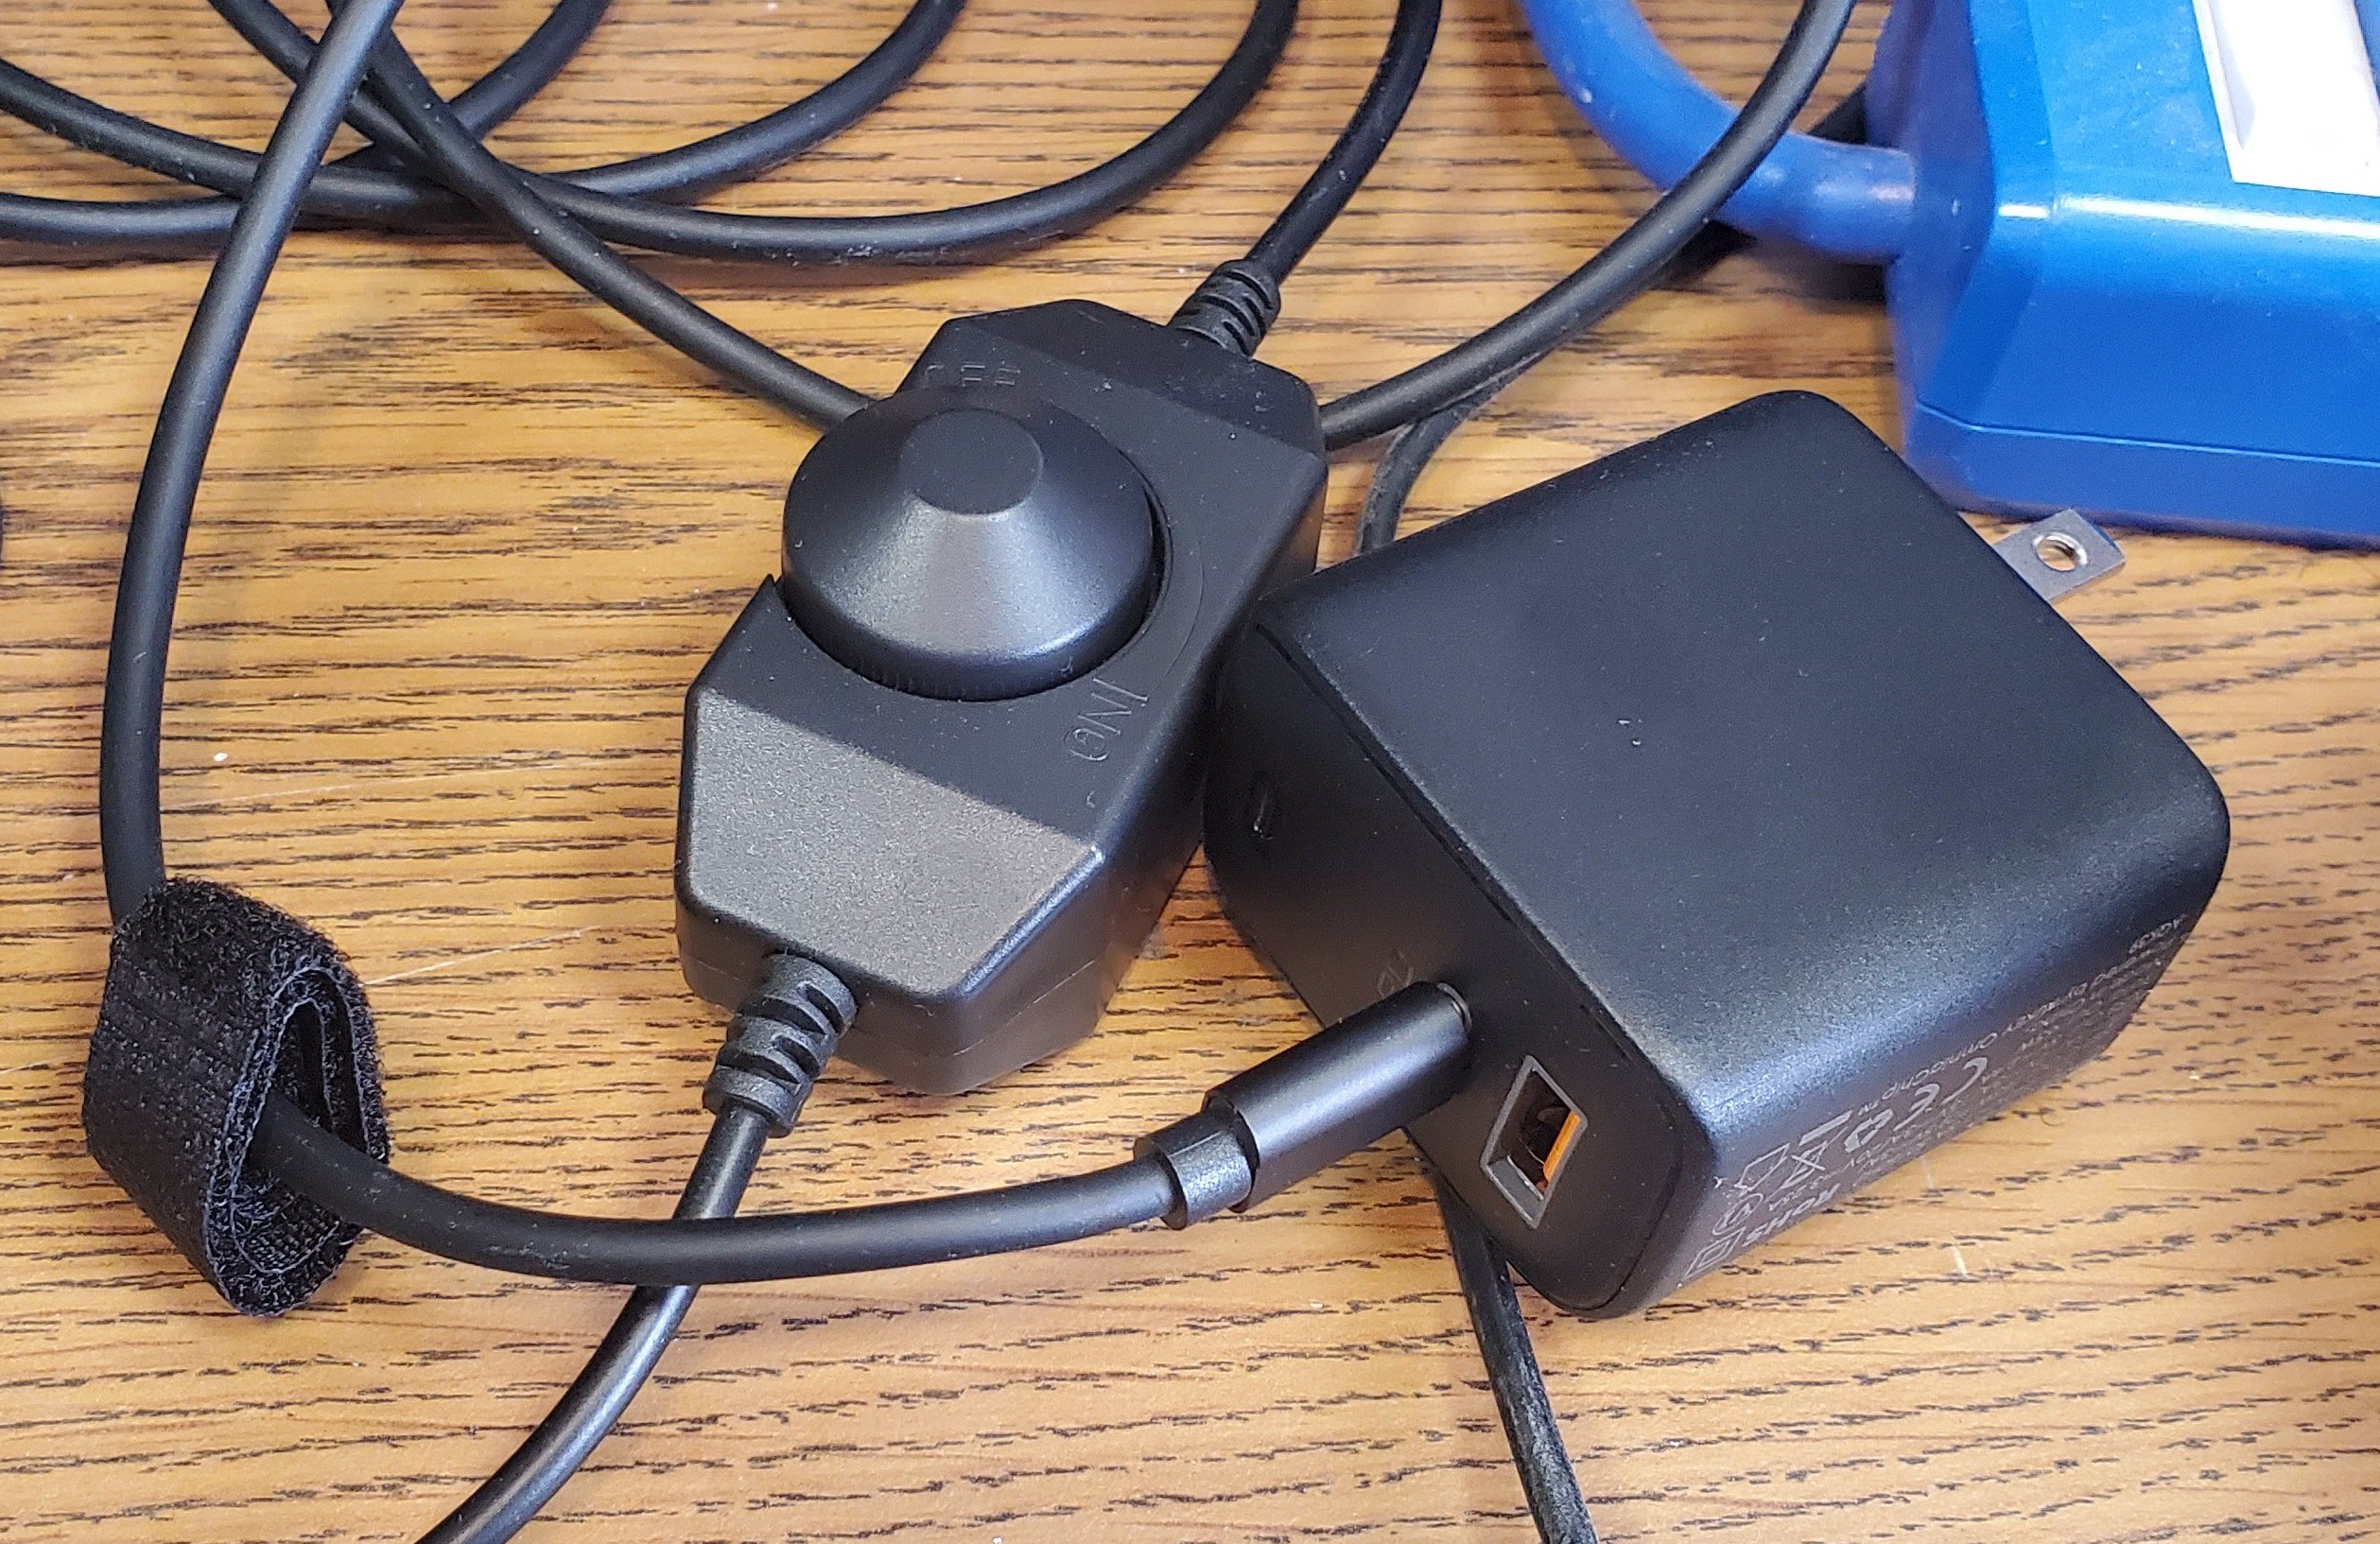
After returning it, I decided to go a different route. I've been interested in USB PD, and after some searching I found a PD trigger cable that requests 20V and has a simple barrel plug on the other end. Just pair that with a USB C power supply capable of 65W and everything should work. Running the lamps at 20V is less heat, but I tested it with my bench power supply and it seemed adequate. The current draw was also reduced to 1.5A which means 60W total. This should work! I also got a cheap LED dimmer so that I could control the heat. This turned out to be a crucial element later.
![]()
I tested this power supply with a single lamp and it didn't work...
I grabbed my multimeter and the reason became clear. The power supply initially supplies 5V, then after the PD chip negotiates, it supplies 20V. The problem is that the lamp is essentially a short until it heats up. It doesn't take long for it to heat up, but it's still enough to make the power supply shutdown.
So I put the LED dimmer in-line and slowly turned it up. This gave the lamp time to heat up before the voltage got so high that it tried to draw too much current. So as long as I always turn it on slowly, it works. I can live with that.
-
First Steps
11/10/2020 at 00:12 • 0 commentsMy initial thought was to use the heating elements from a small radiant space heater. I ordered one from Amazon and after taking it apart, decided it wouldn't work quite like I wanted. I got looking closer at the pictures of the commercial version, and I noticed something that looked familiar.
The heating element was a small coil inside a glass tube, and I realized that it's a halogen lamp! With that information, I went to walmart and grabbed a couple $10 halogen work lights. Normally they run on 120V and draw 500W. I suspected that the commercial product was simply running them at a lower voltage. After some testing, I determined that it was probably 24V since that resulted in a 1.66A current draw and 40W for each lamp, which matches the stated 80W current draw of the commercial version (2 lamps).
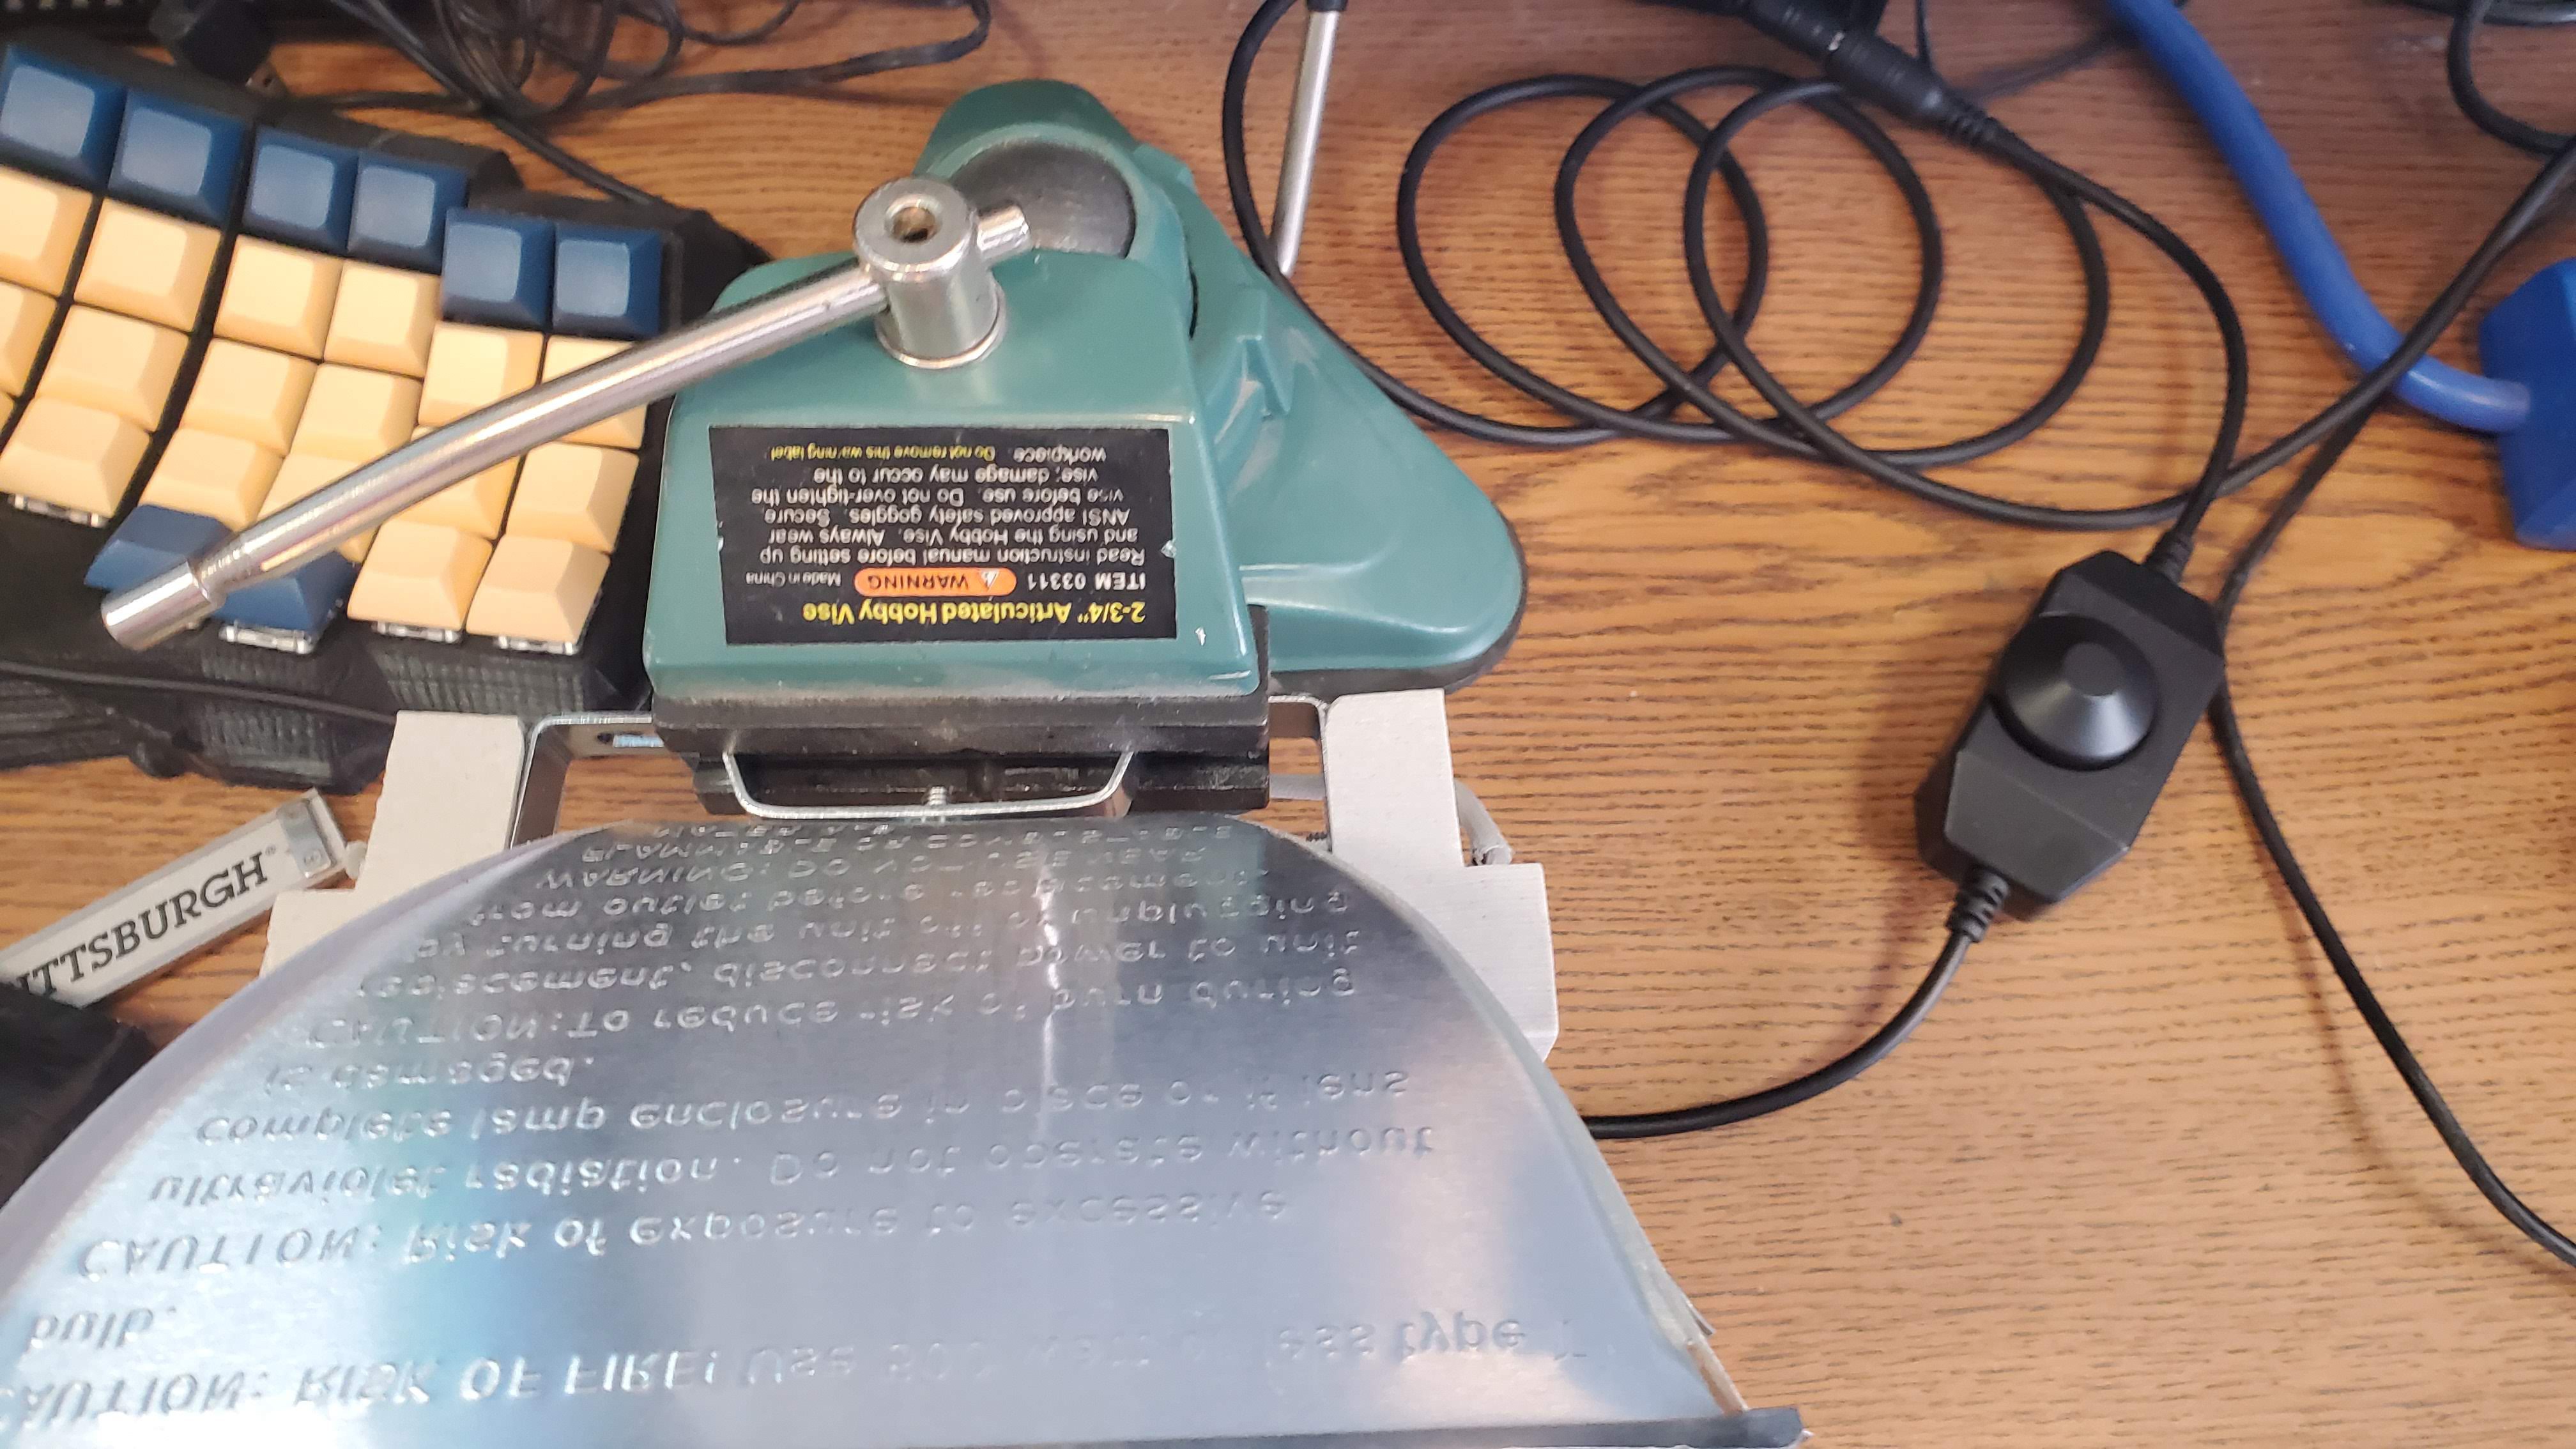
At this point I decided to try it out for a few days to make sure it was going to work like I thought. I pulled out the lamp holder and reflector and mounted it in a small vise in front of my keyboard. It worked really well, but needed to be more focused and pointed down slightly.
![]()
![]()