 Cees Meijer
Buiding a RetroPie based handheld has been done before, and they are comercially available as well, but let's face it: building it yourself is the most fun.
Examples:
Pi Portable Console on Hackaday
PiCicle kit, available on Tindie
Well, simply Google 'retropie handheld' and you'll see what I mean.
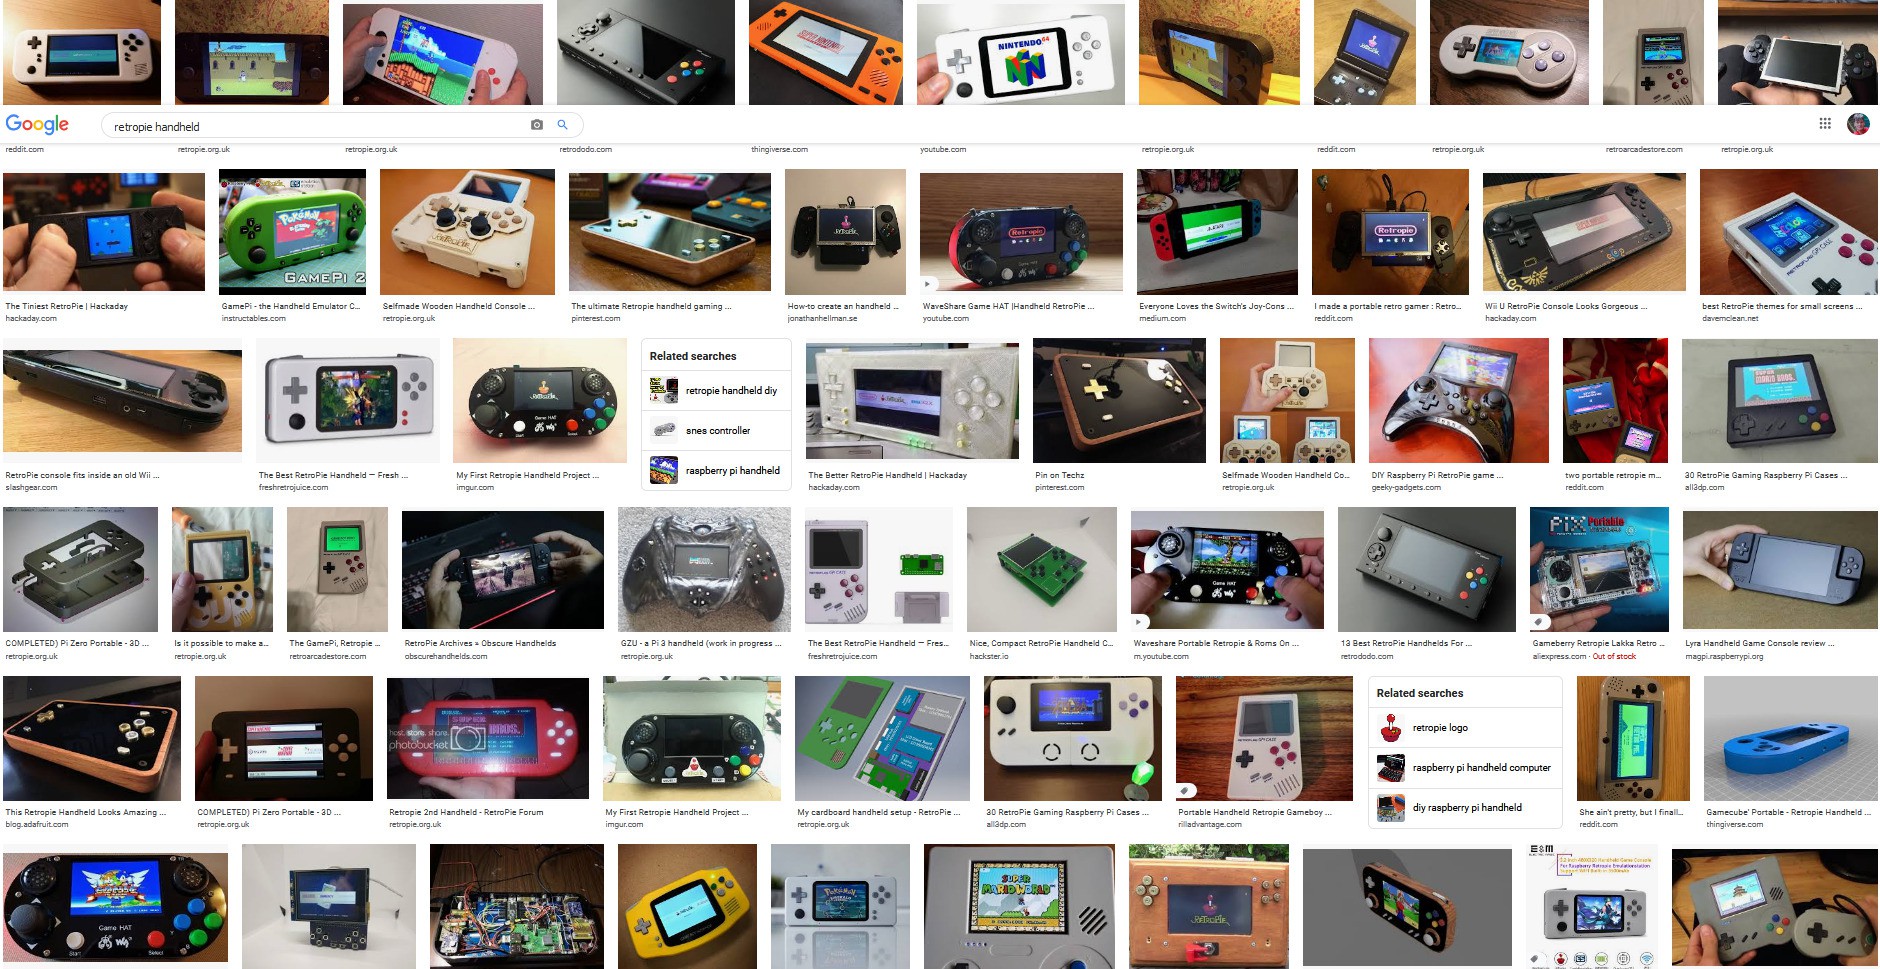
But they all lack one specific feature: the are not designed by me ! ;-)
Since this is a holiday project (during lockdown) I'll try to use only parts that I already have.
So when starting the design I made a list of criteria that it has to meet:
- Use parts that I already have.
- Minimal controls, like the Lynx : only a D-pad, two action- and two Option - buttons.
- No speaker, just headphones
- Battery powered
Let's start with some inventory, and see what I have
First: the screen. It's a 5 Inch HDMI Display, 800x640, with touch controller. I lost the packaging, but it is probably a 'Elecrow HDMI 5 Inch 800x480 Resistive Touch Screen TFT Display for Raspberry Pi' . This one from Waveshare looks very similar, but it has mounting holes on the corners so it will not fit my housing without a bit of modification.
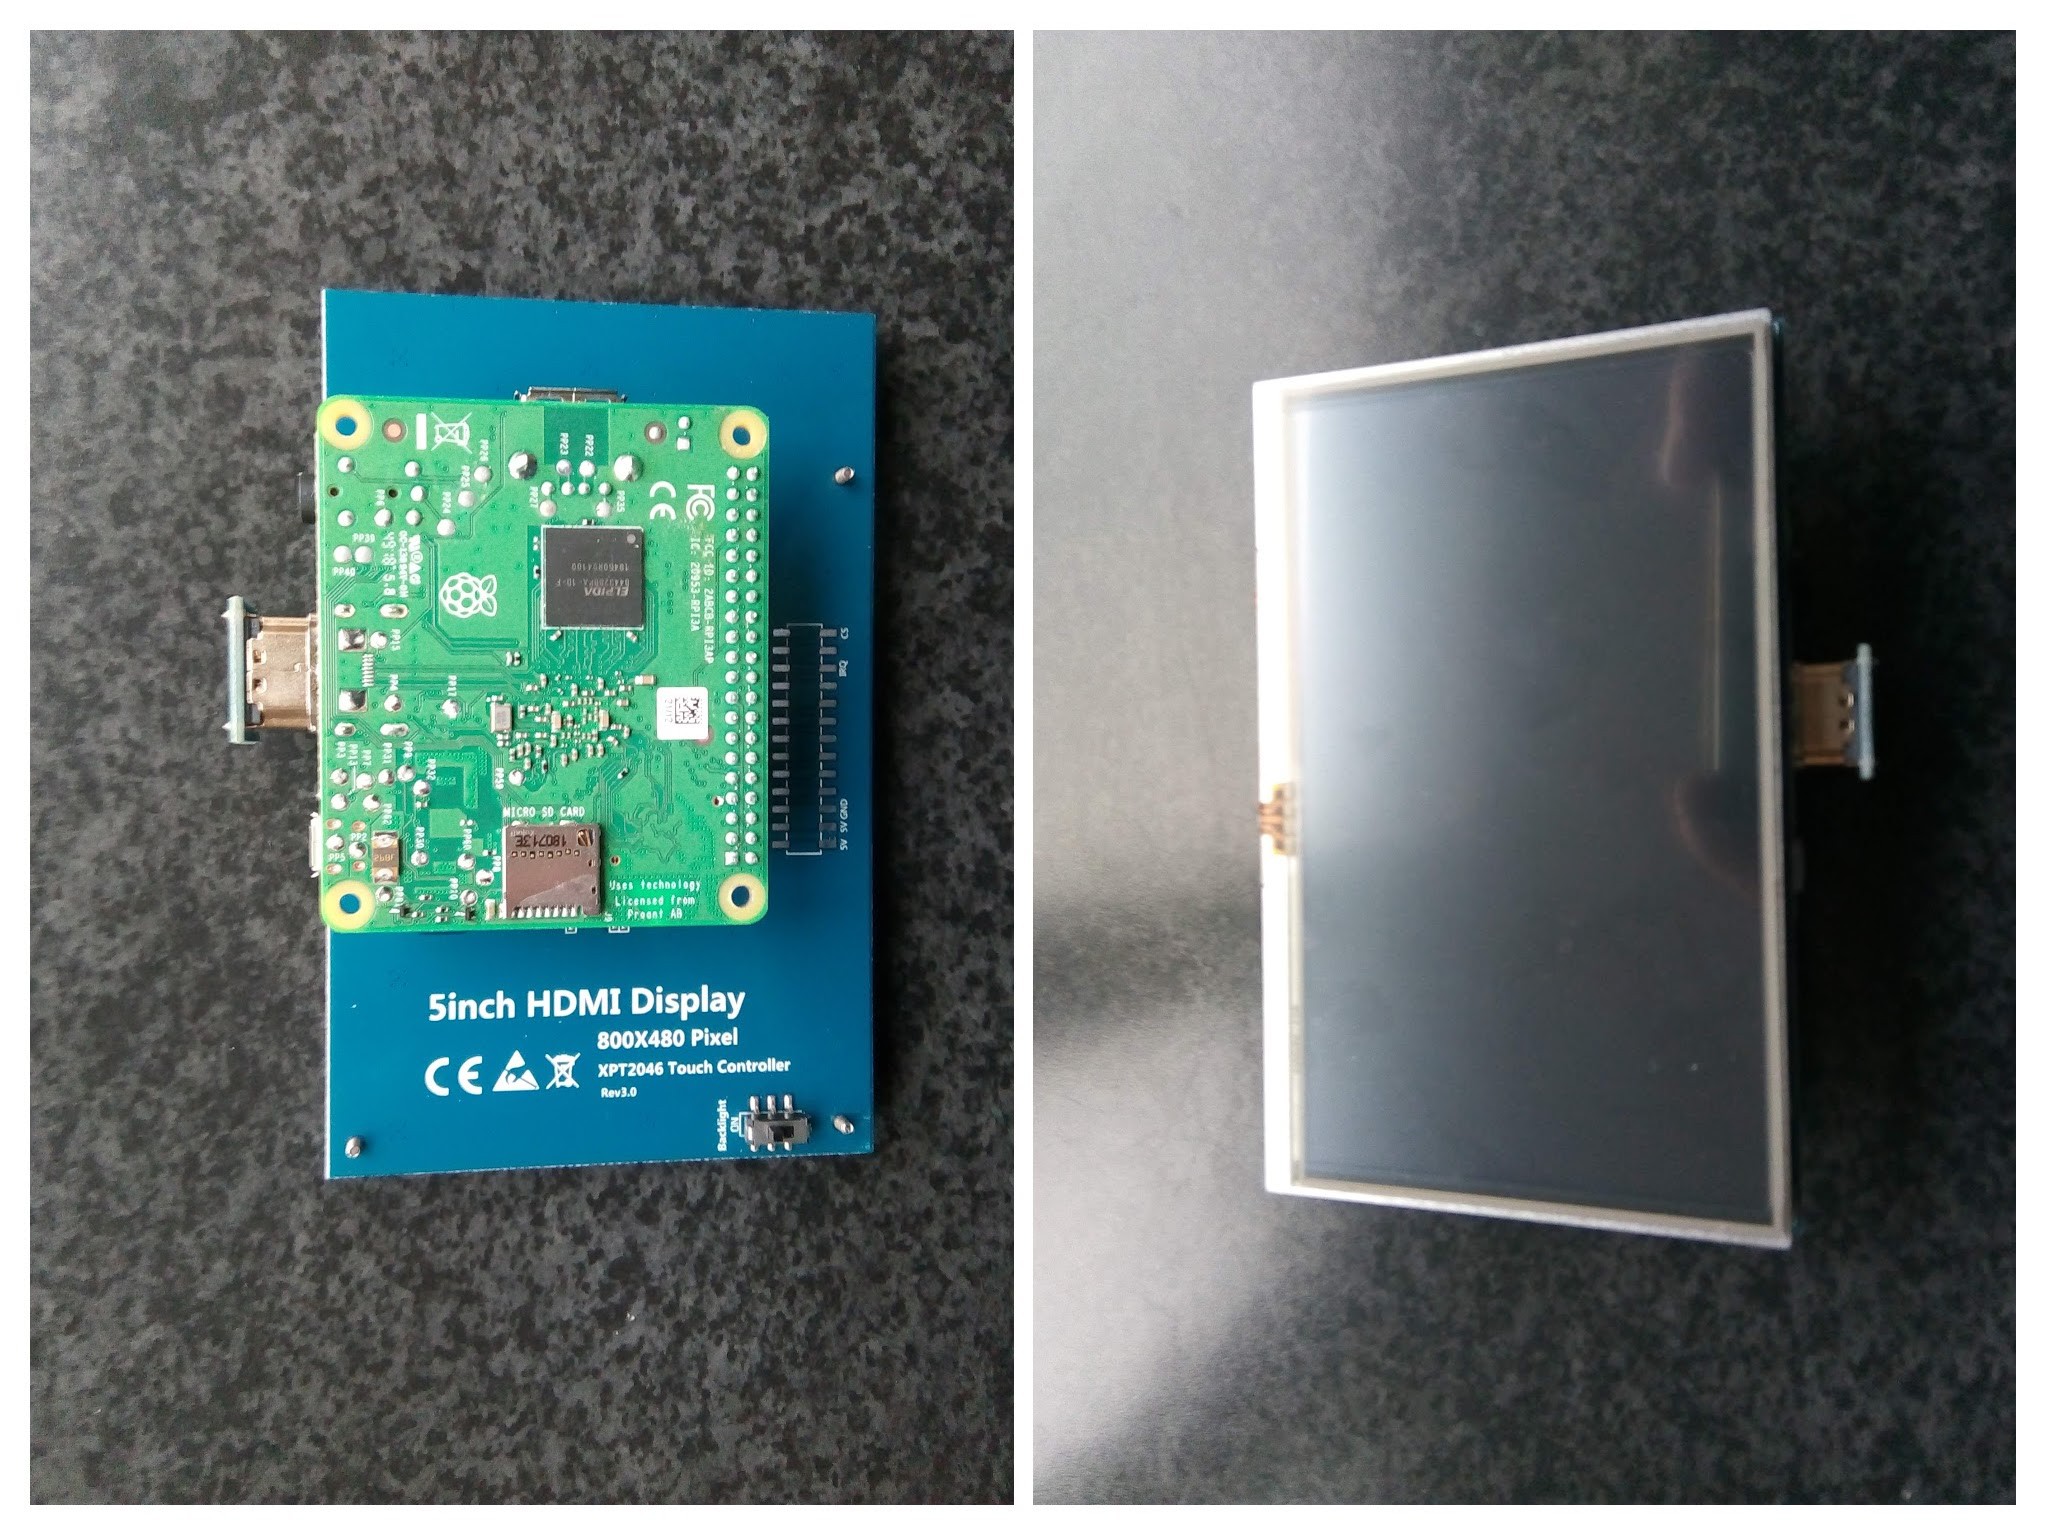
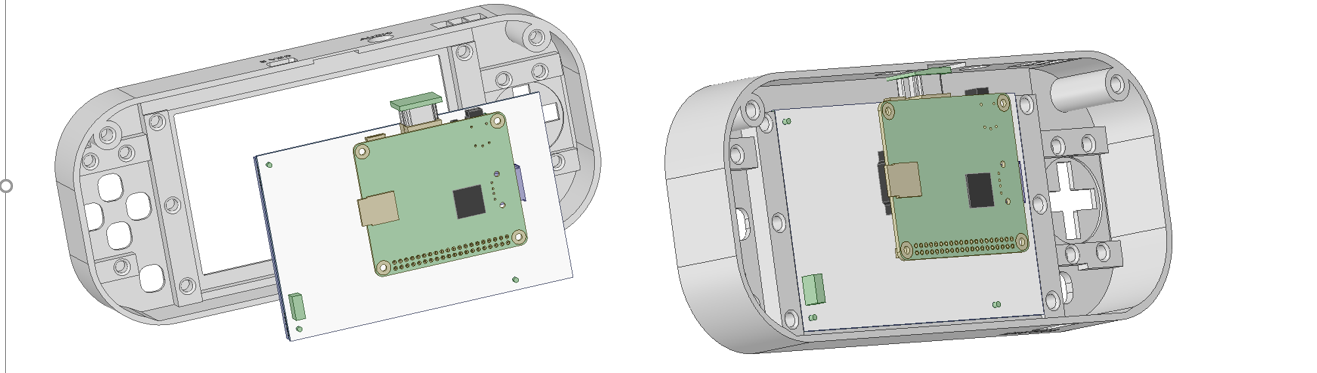
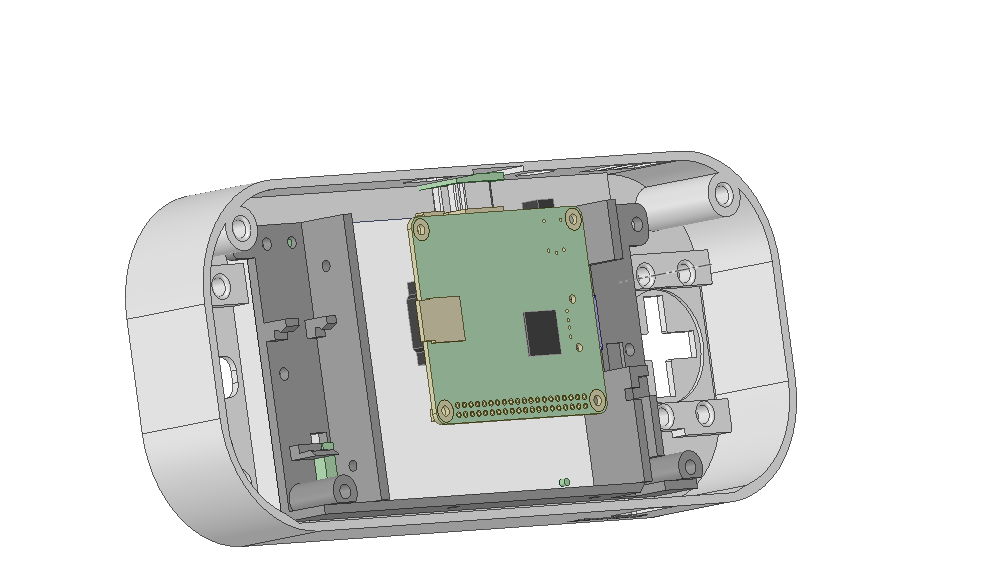
Next: A Rasberry Pi 3 A+. This fits directly to the screen (unlike the RPi Zero), yet is not a bulky as a standard Pi 3 since it lacks the extra USB connectors.
Since the IO pins on the Pi are now difficult to reach, (and because it's easier to interface ), I'll use an Arduino to read the buttons and joystick and simply emulate a USB input device. Someone calling himself 'GAMELASTER' already created a neat sketch for this, including some instructions on how to test and build it.
Most of the handheld designs get their power from a USB powerbank. First tests however showed that the LCD screen / Pi 3A combination does not boot from from a small powerbank, and when using a bigger one still keeps giving 'undervoltage' warnings.
So I think I'll use a pack of two 18650 cells. When placed in parallel they will provide approximately 19 Wh, which hopefully be enough to power the set for some time. To connect and charge the batteries I used a TP4056 module, which is capable of charging 2 cells.
 |
| (Photo taken from ACOPTEX blog) |
This will give us 3.7 V, so it has to be boosted to at least 5.1 to be usable. A MT3608 boost converter takes care of that. This unit can deliver 2A, so that should be enough. And it is, once connected to the Raspberry Pi, it boots fine and there is no more warnings about low voltage.
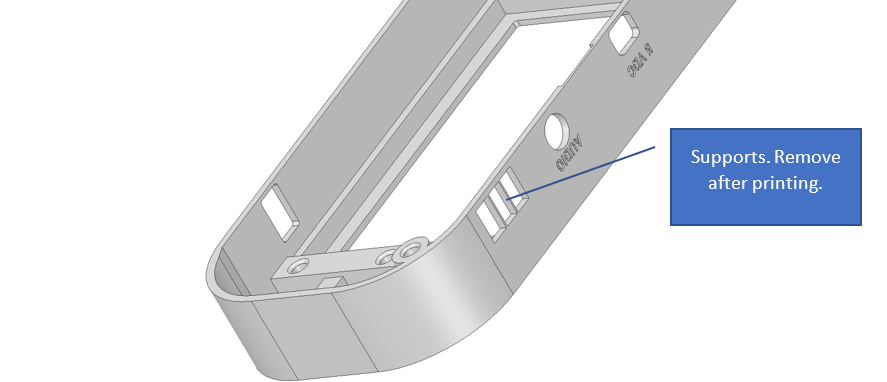
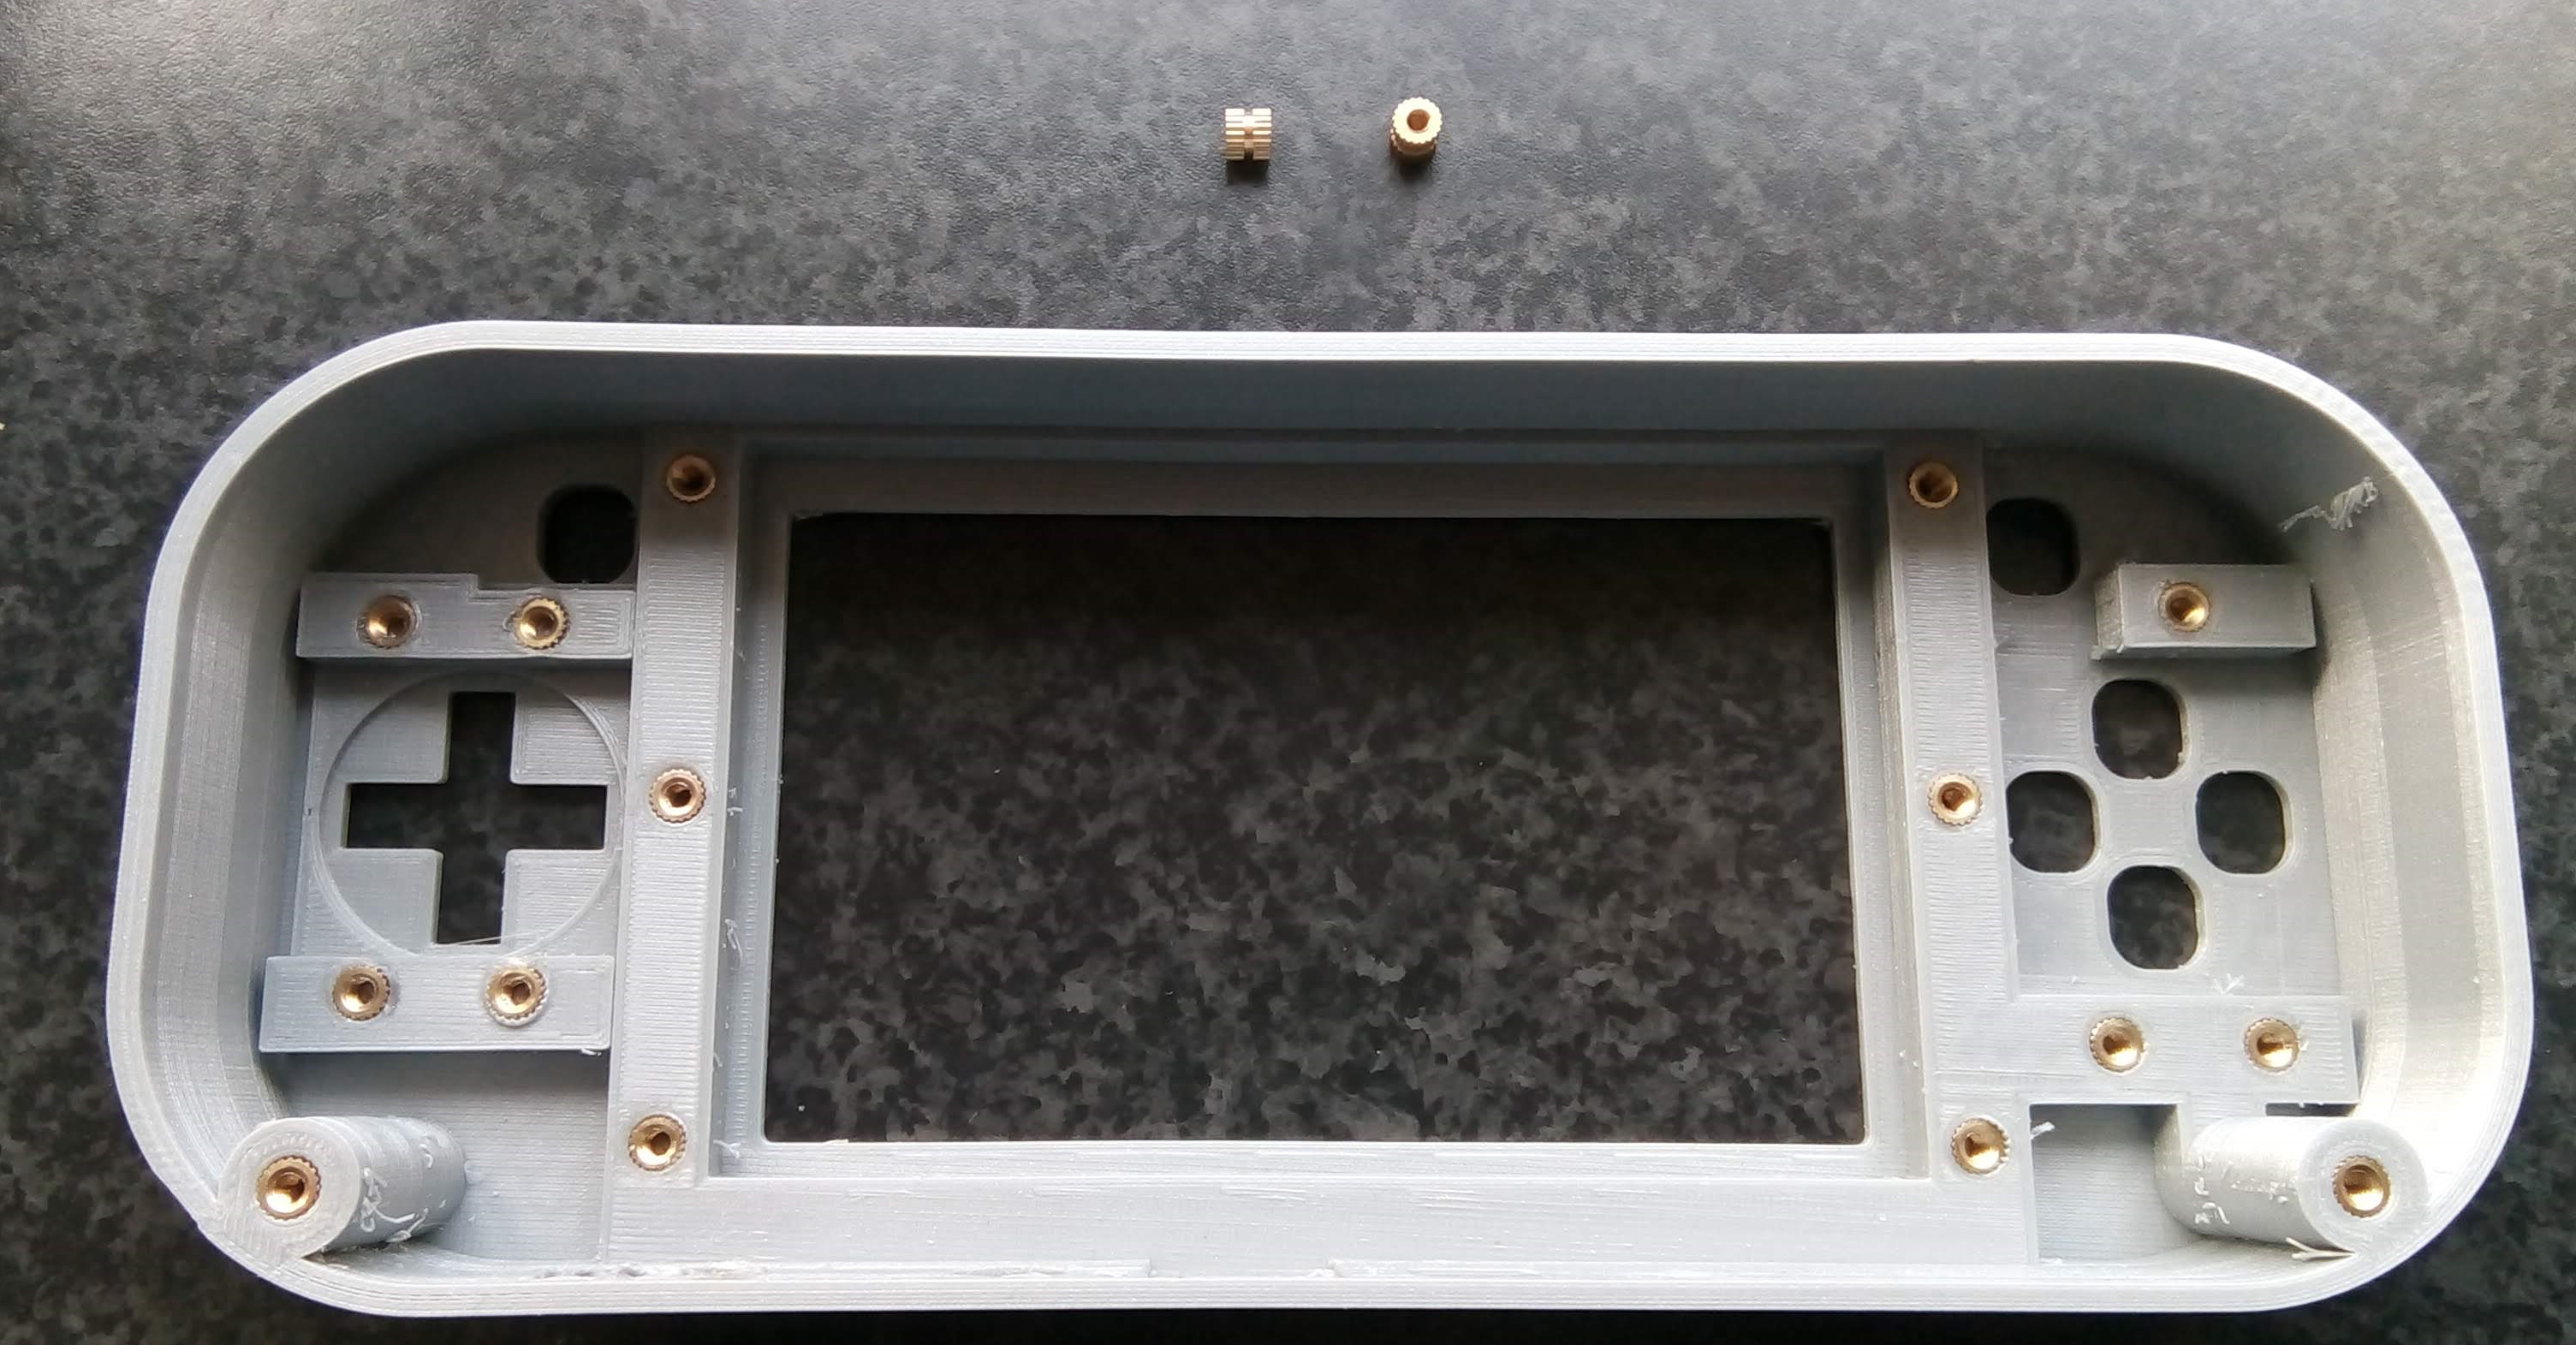
 Then fix the screen by adding the 'Mounting Frame'
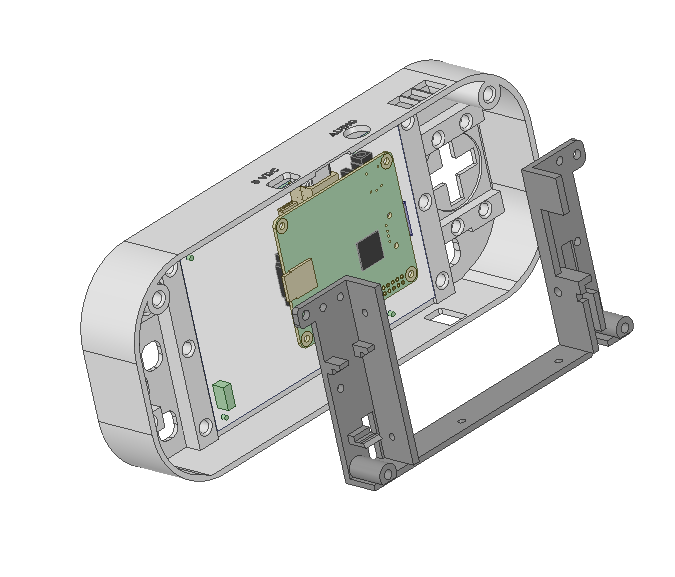
 Use 2 or more M3x6 screws to fix the mounting frame.
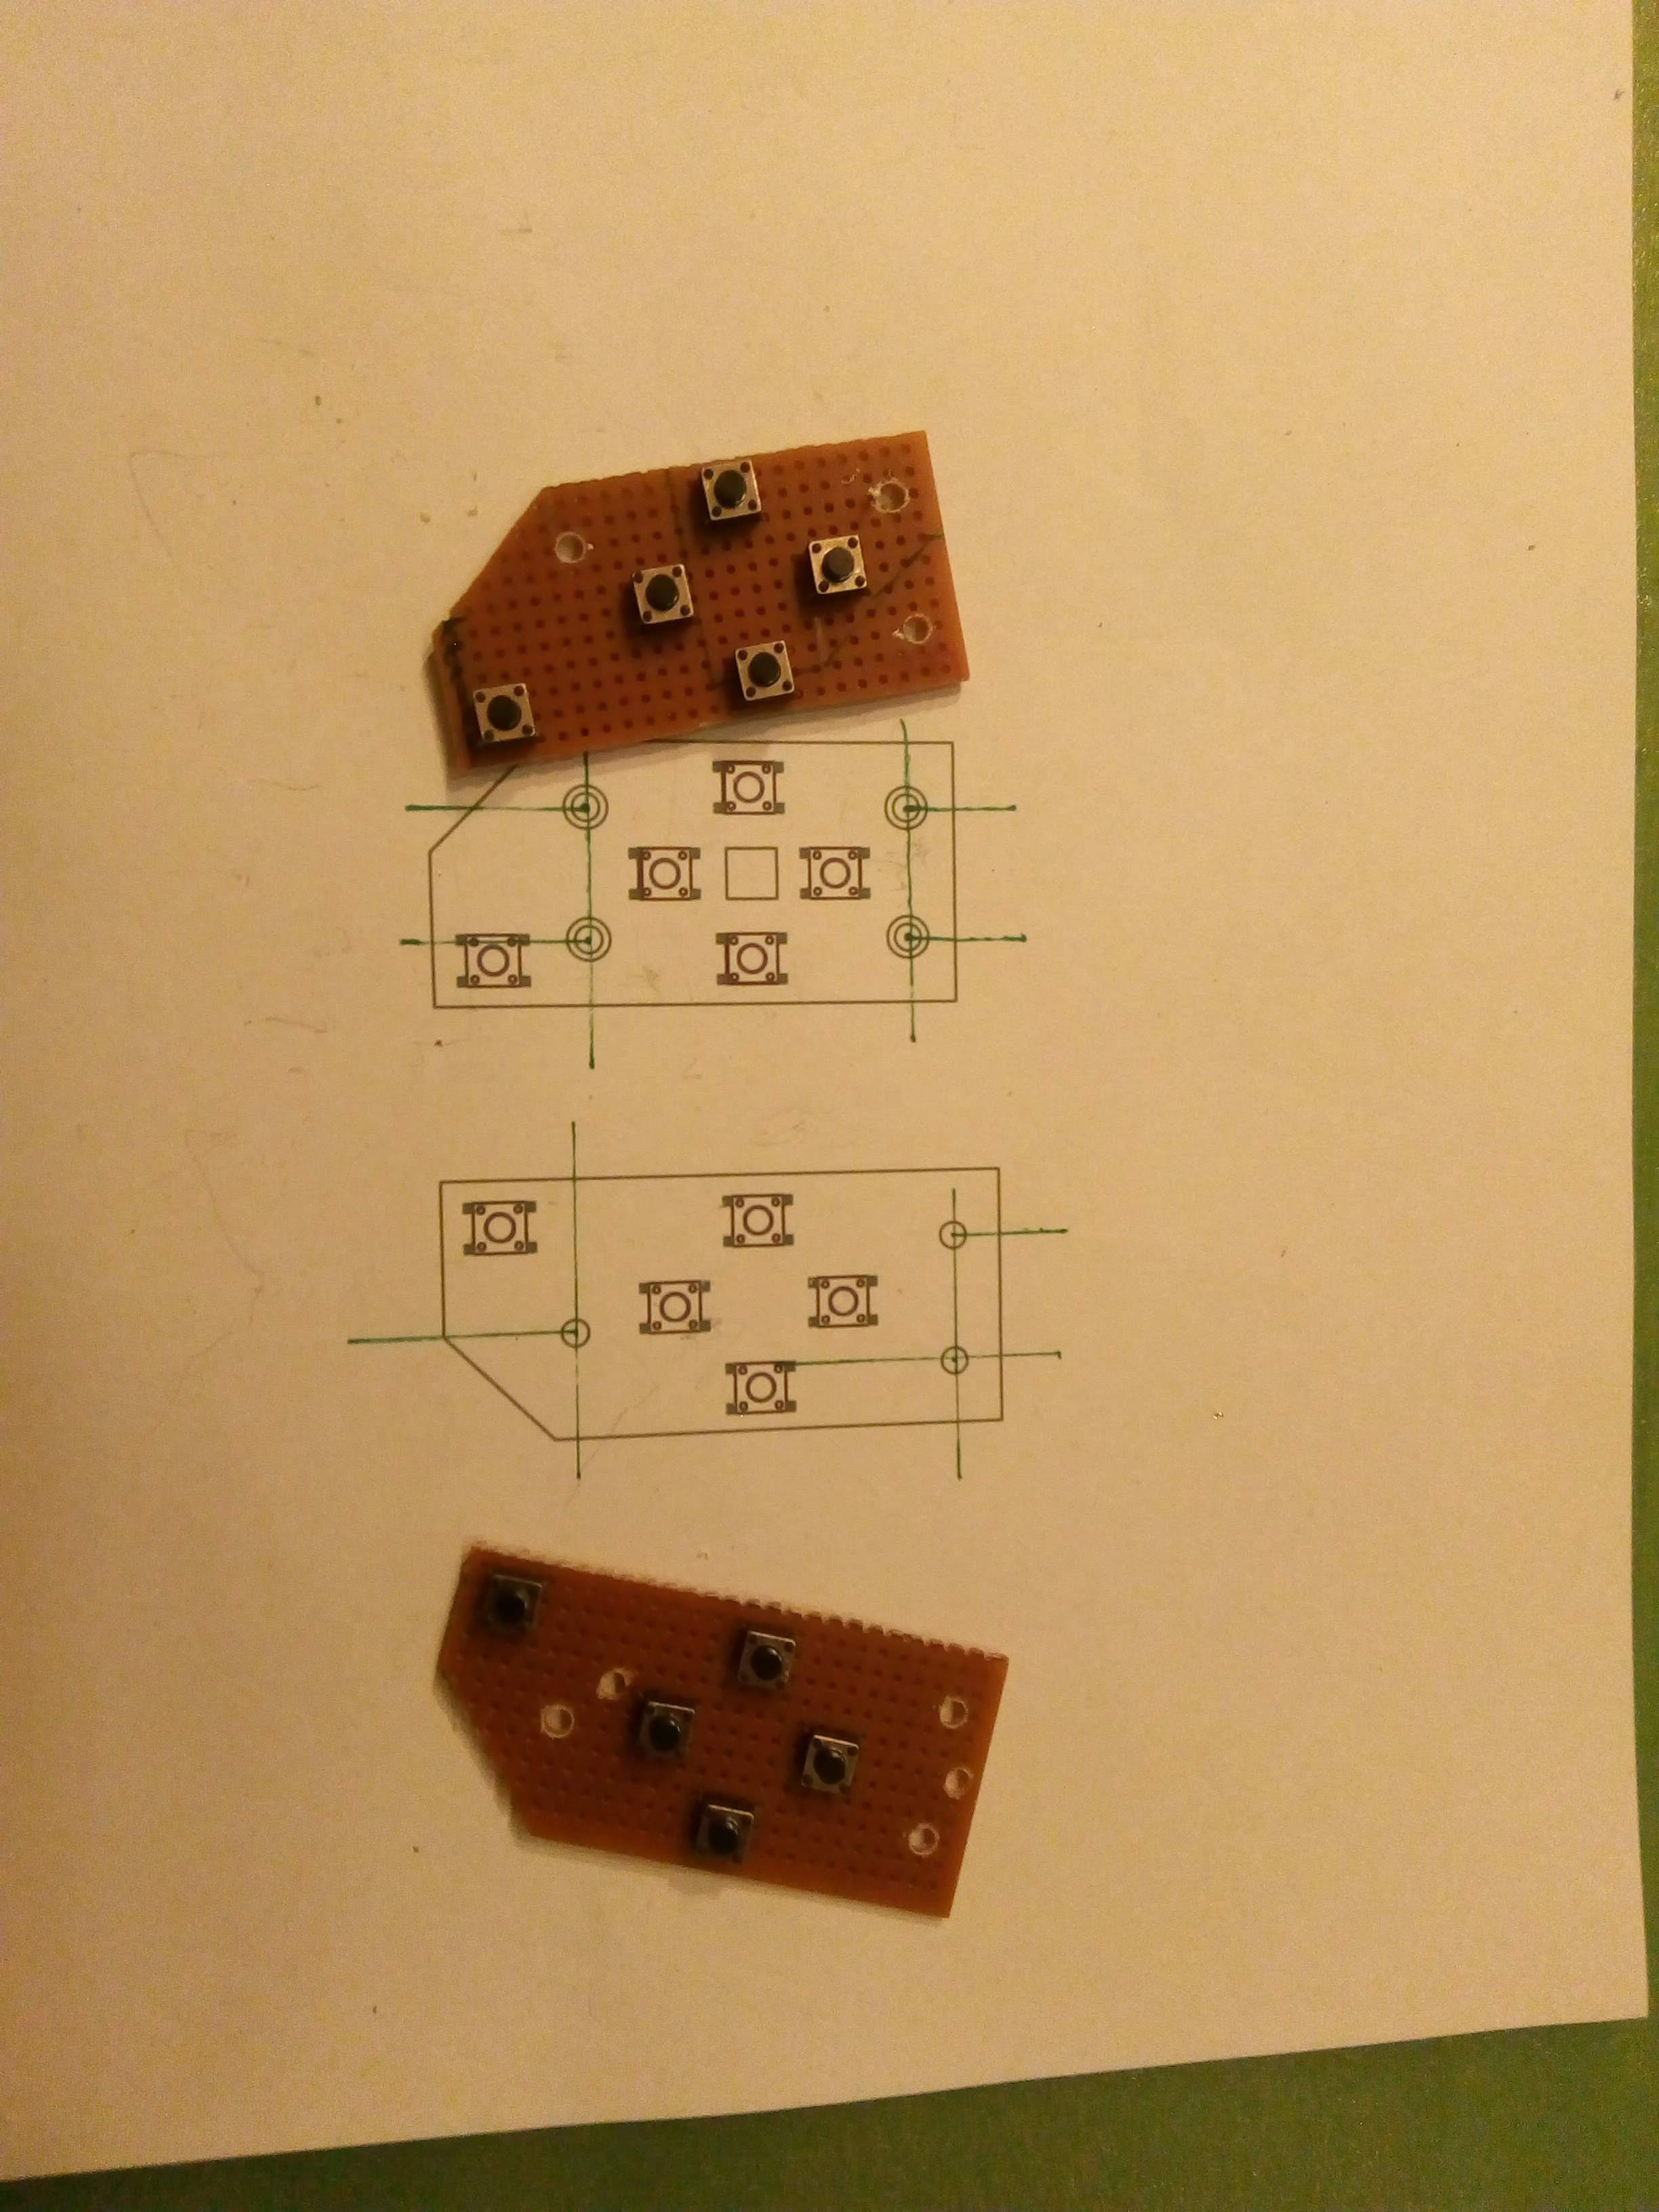
 j0z0r pwn4tr0n
 Grégory Paul
 Brian
Brian