-
1Cut fabric pieces
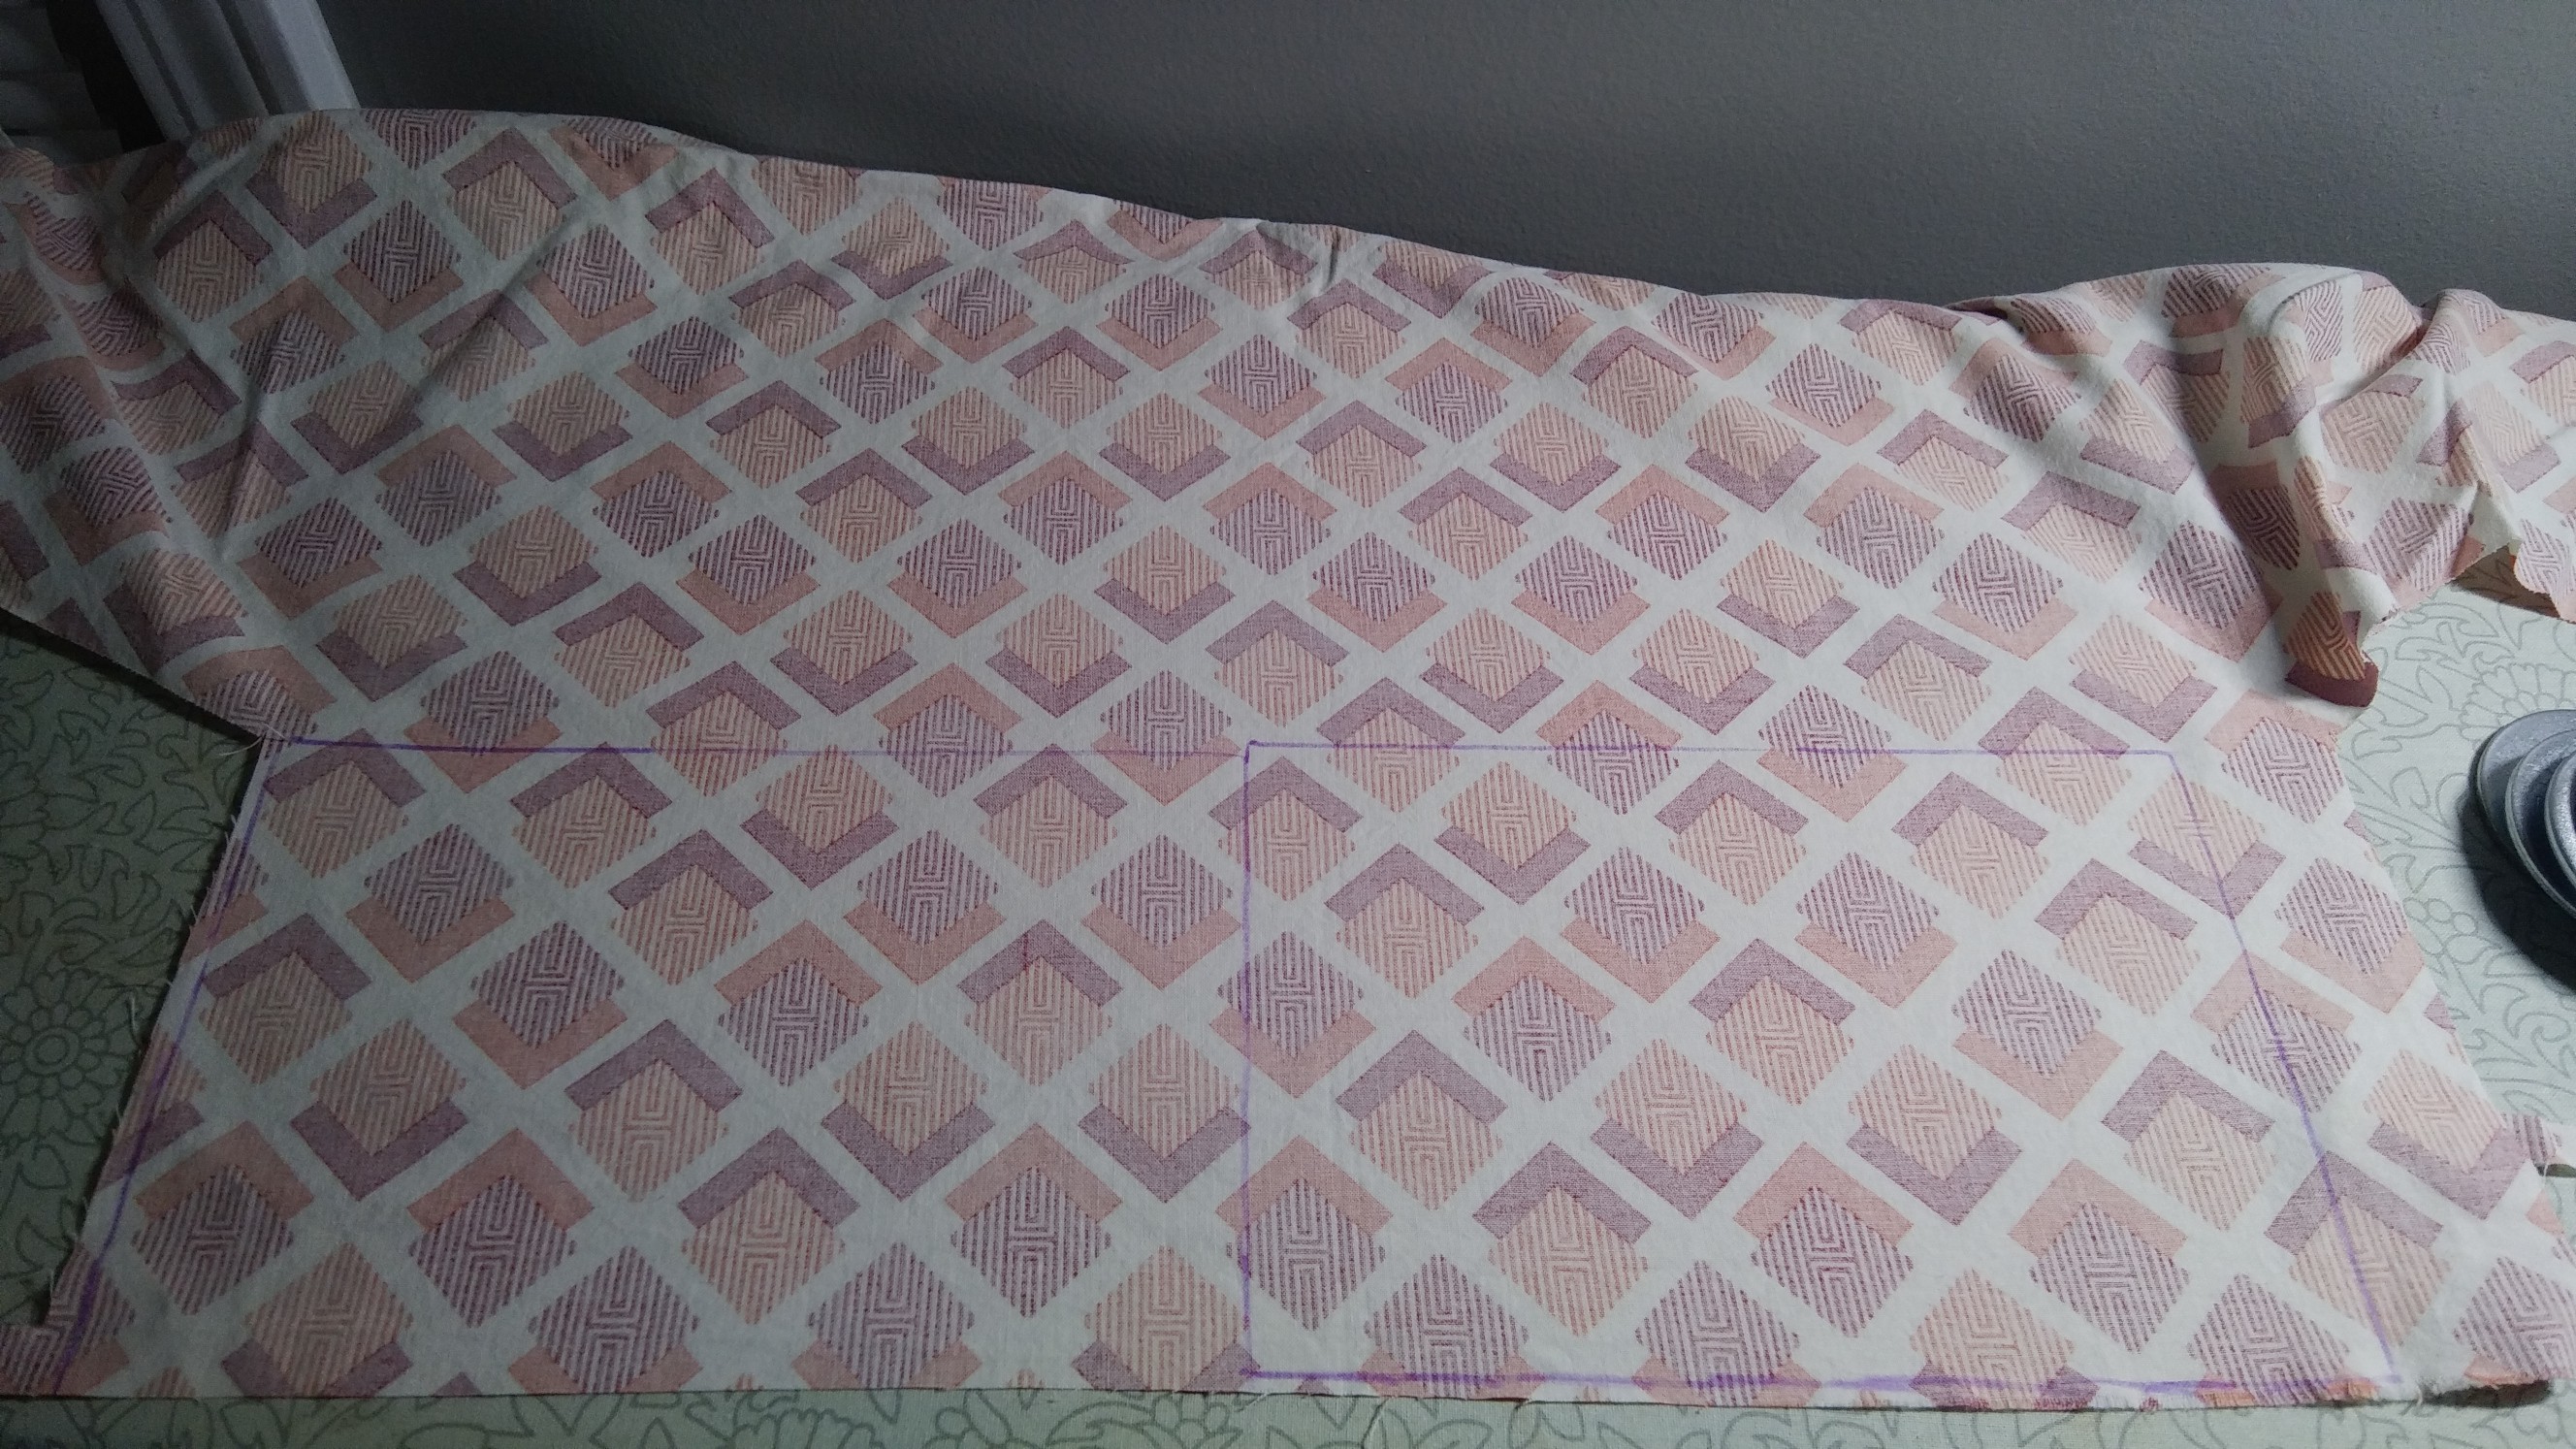
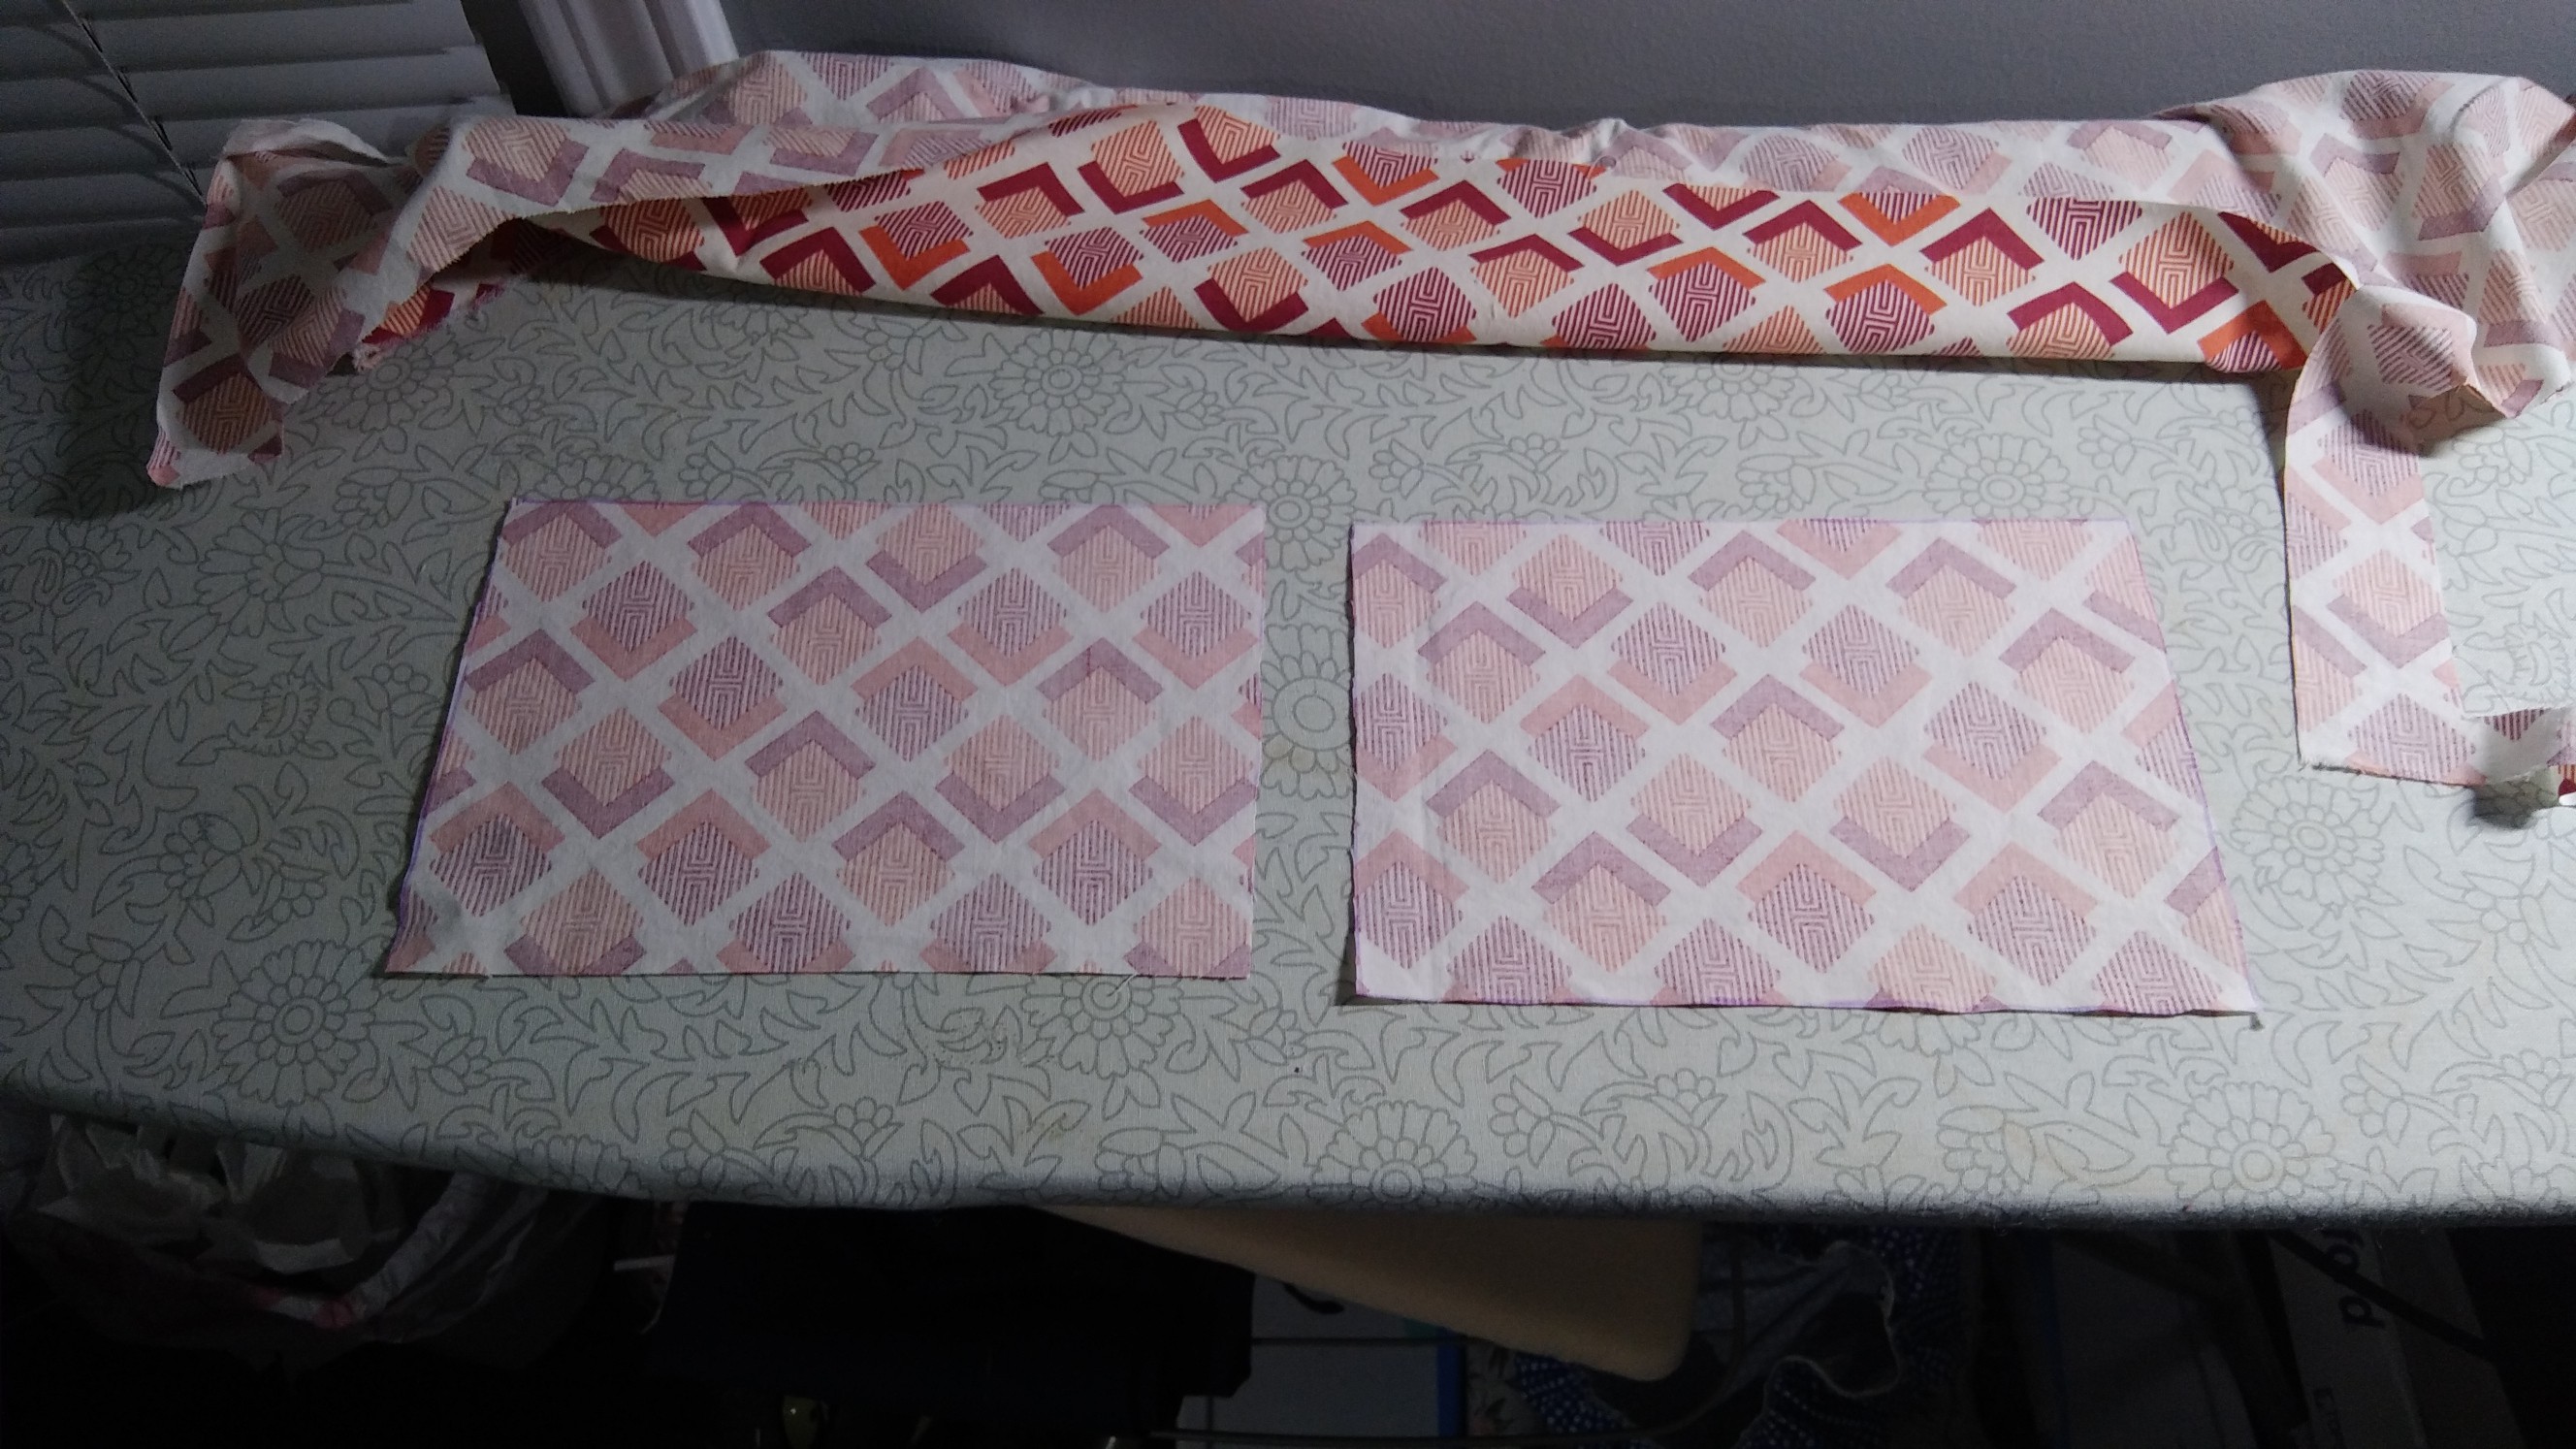
You will need two pieces that measure 6" by 9". The 9" is the width, so depending on the pattern of your fabric, you may want to cut it one way and not the other.
![]()
![]()
![]()
![]()
-
2Cut elastic pieces
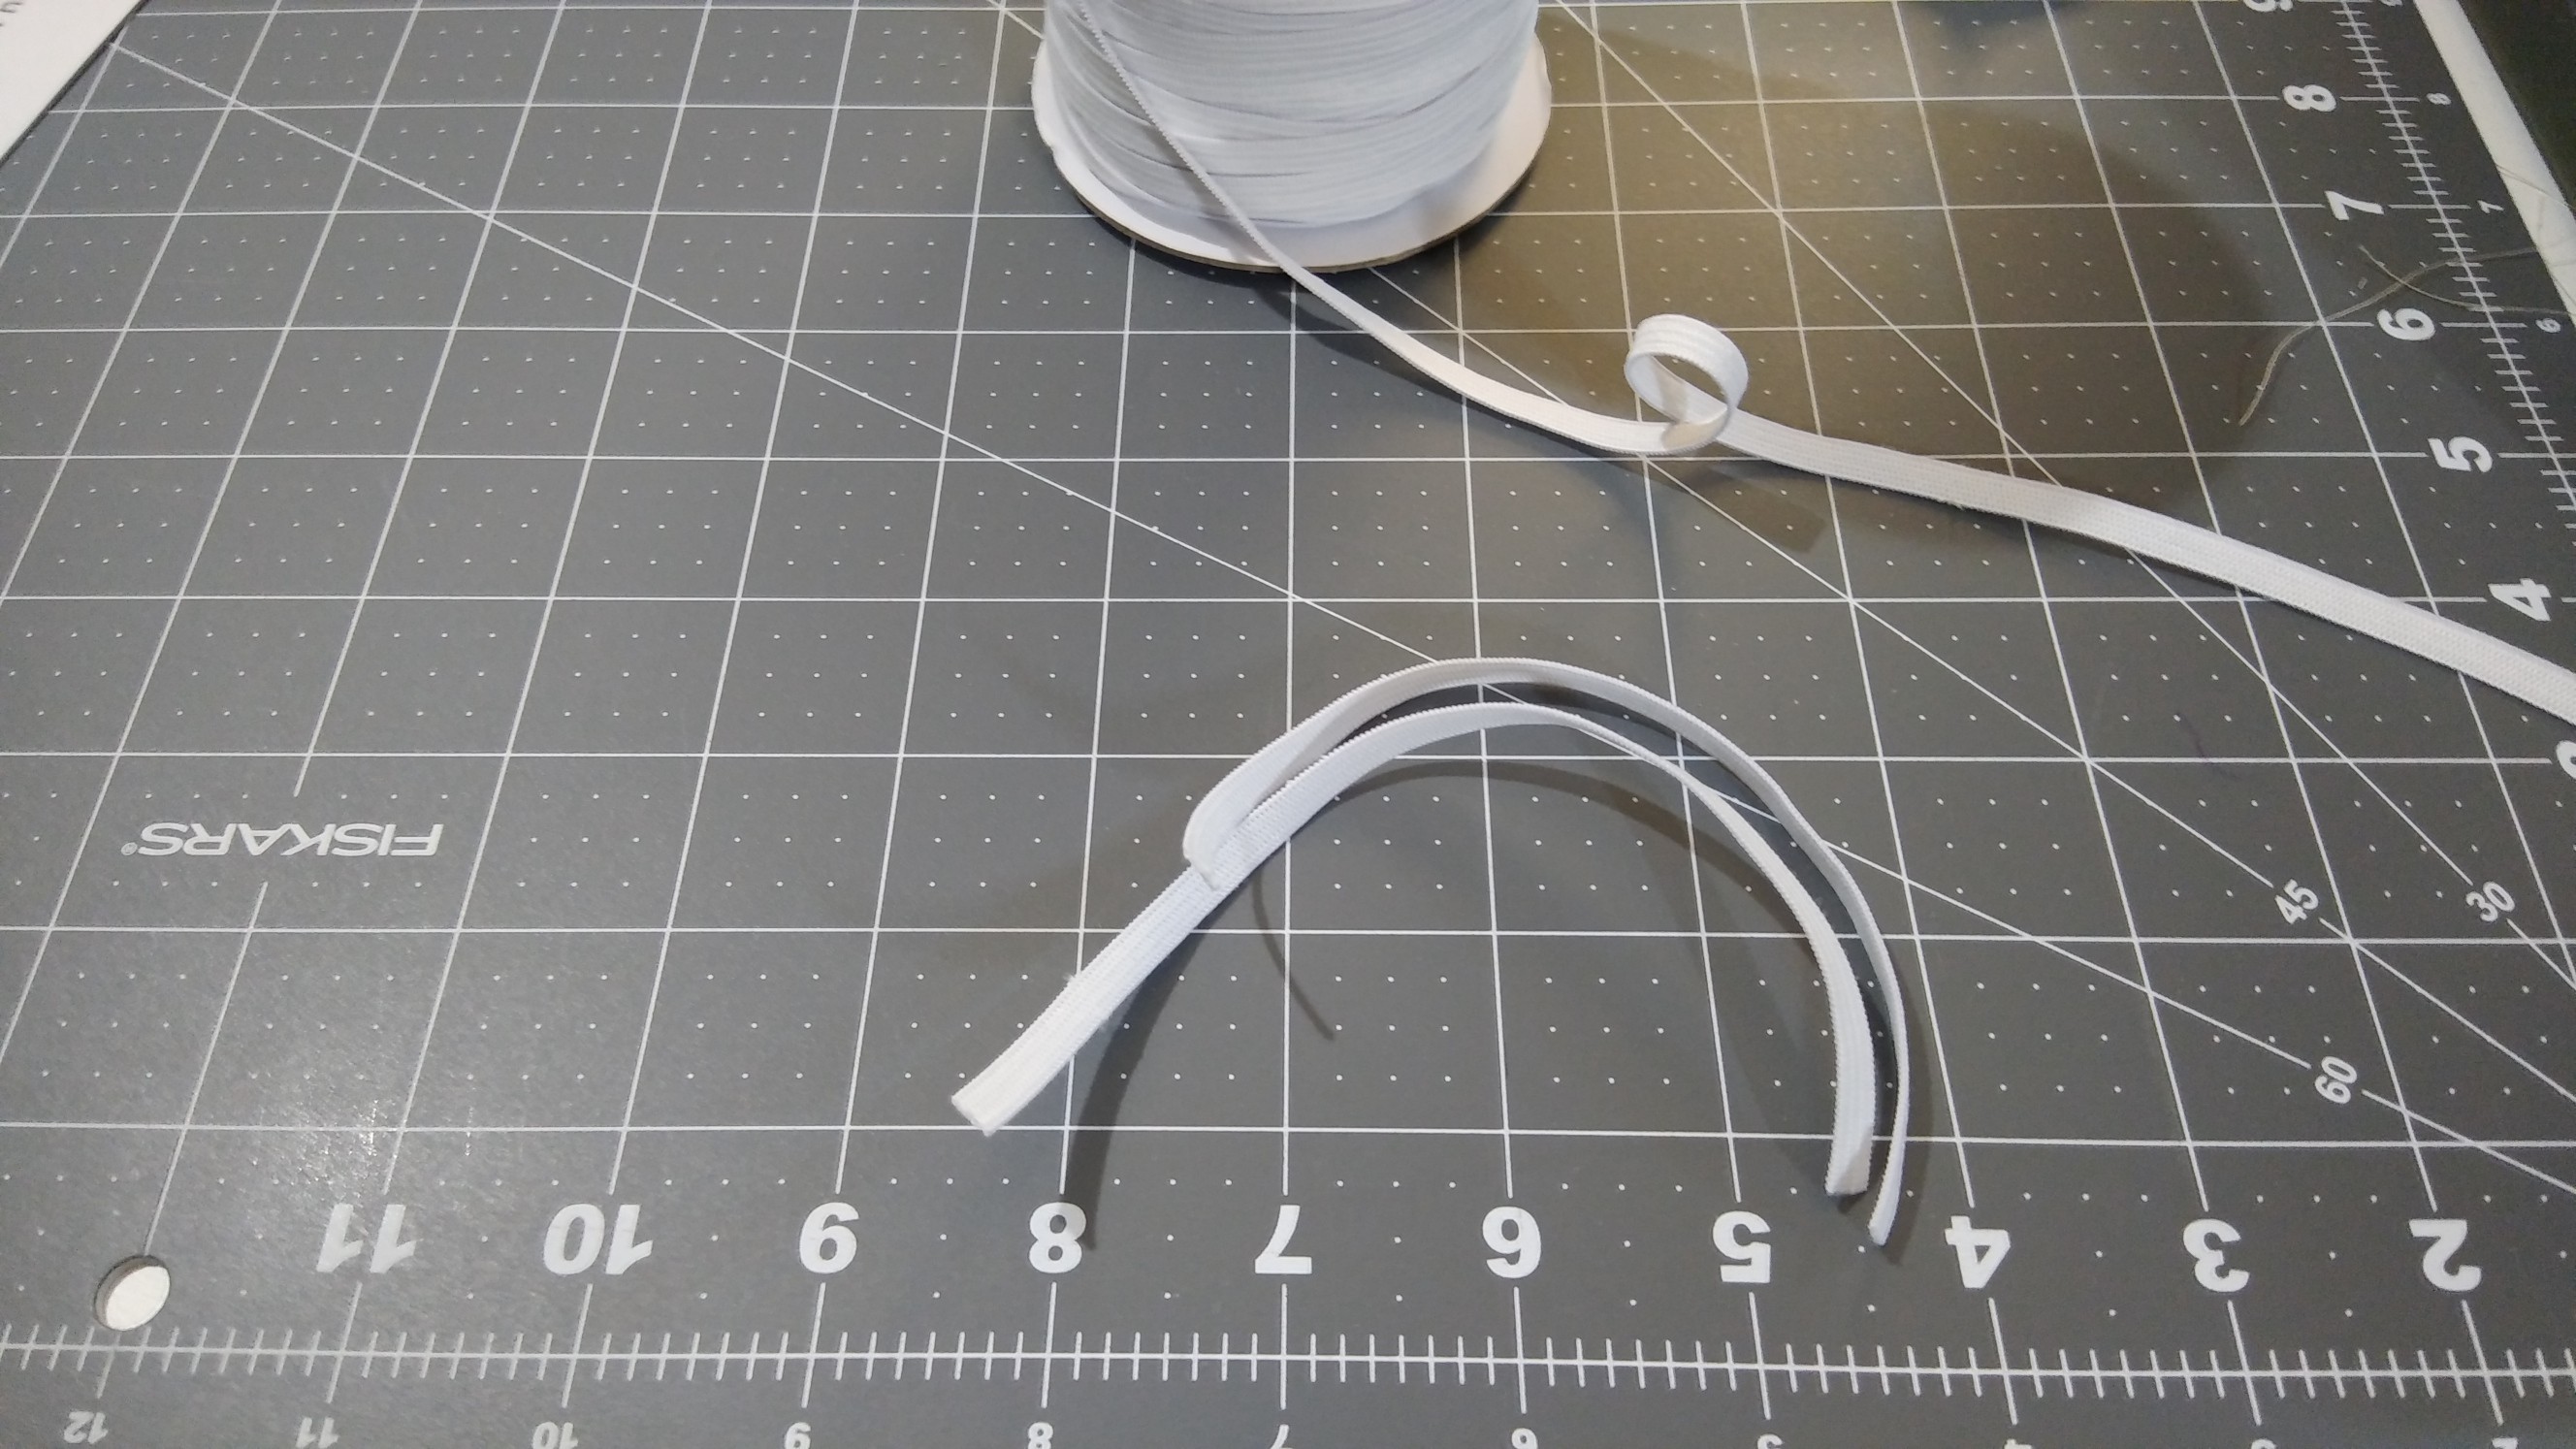
You will need two pieces of elastic for ear loops. Rough guide: somewhere between 6 3/4" and 8" will probably work for you. I was told to average 7", but found that those are too loose on my face. My husband has a beard, so his are a little longer than average.
![]()
-
3Iron your fabric
This isn't completely necessary, but helps avoid sewing mishaps.
-
4Pin the pieces RST
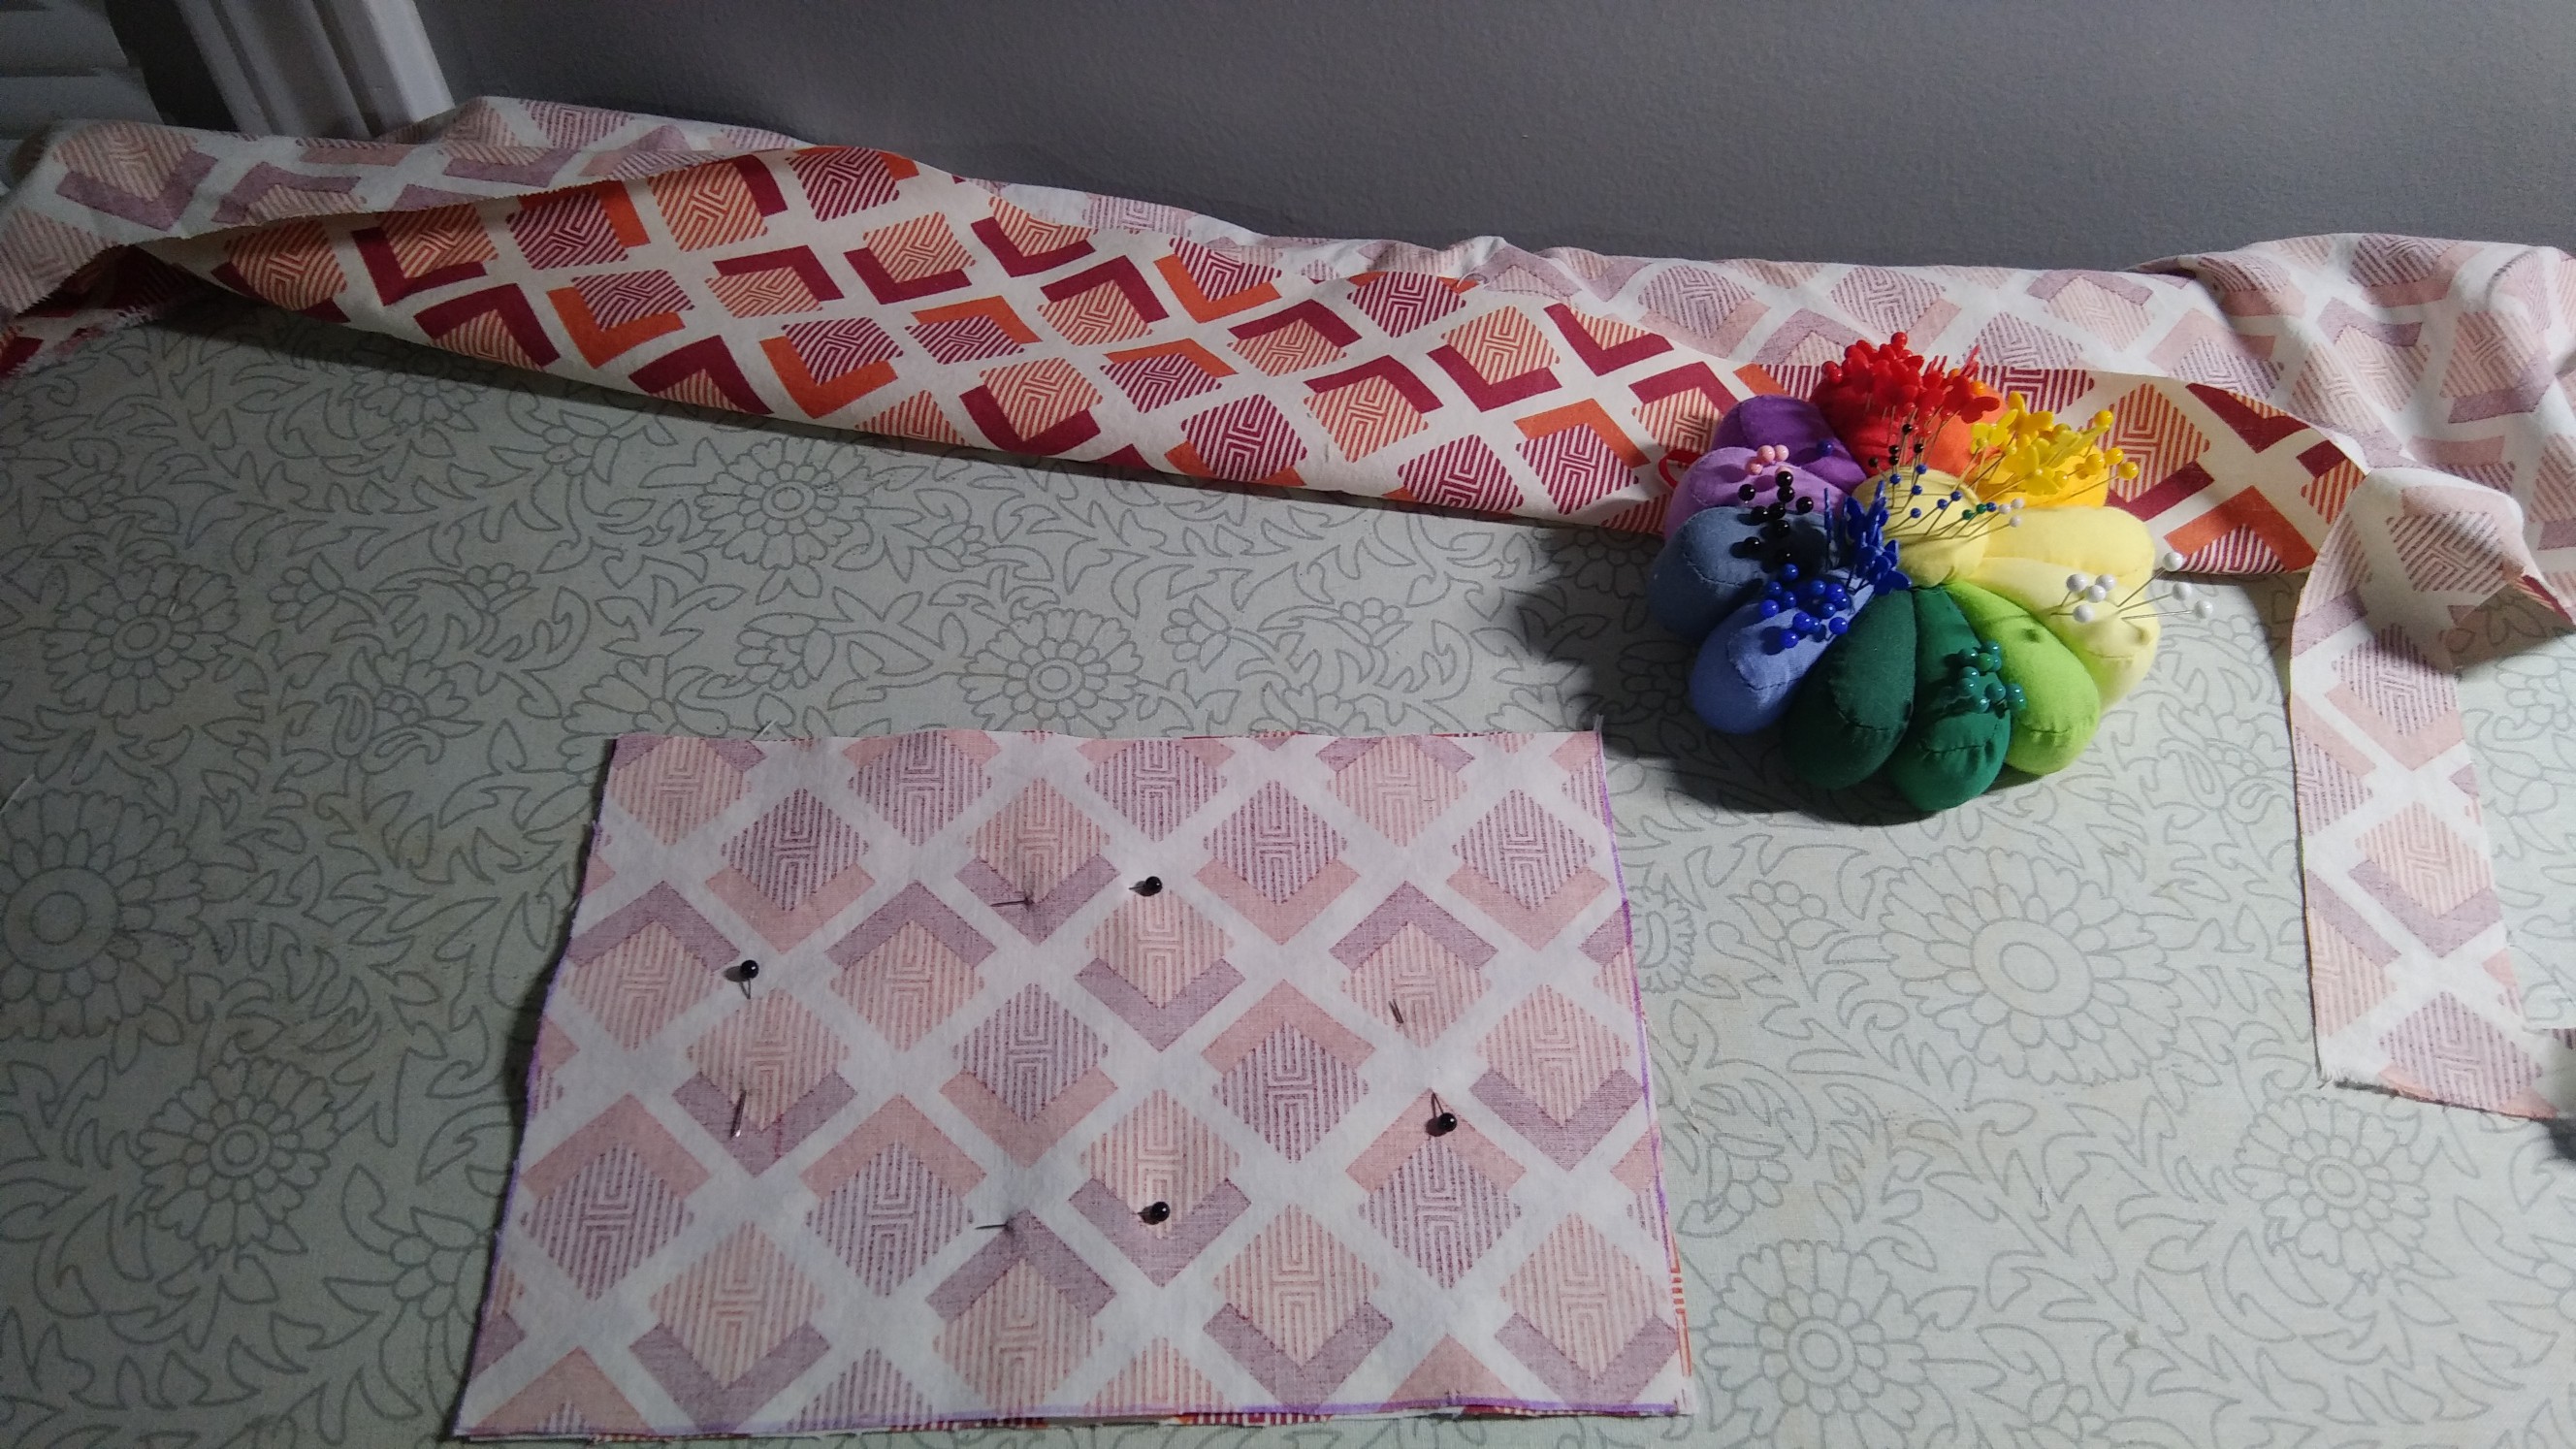
That means right sides together (the pretty side with the print). Some fabrics look the same on both sides, so it won't matter. The point is that you will be turning this inside out after sewing the pieces together, so keep that in mind.
![]()
![]()
-
5Sew the pieces together
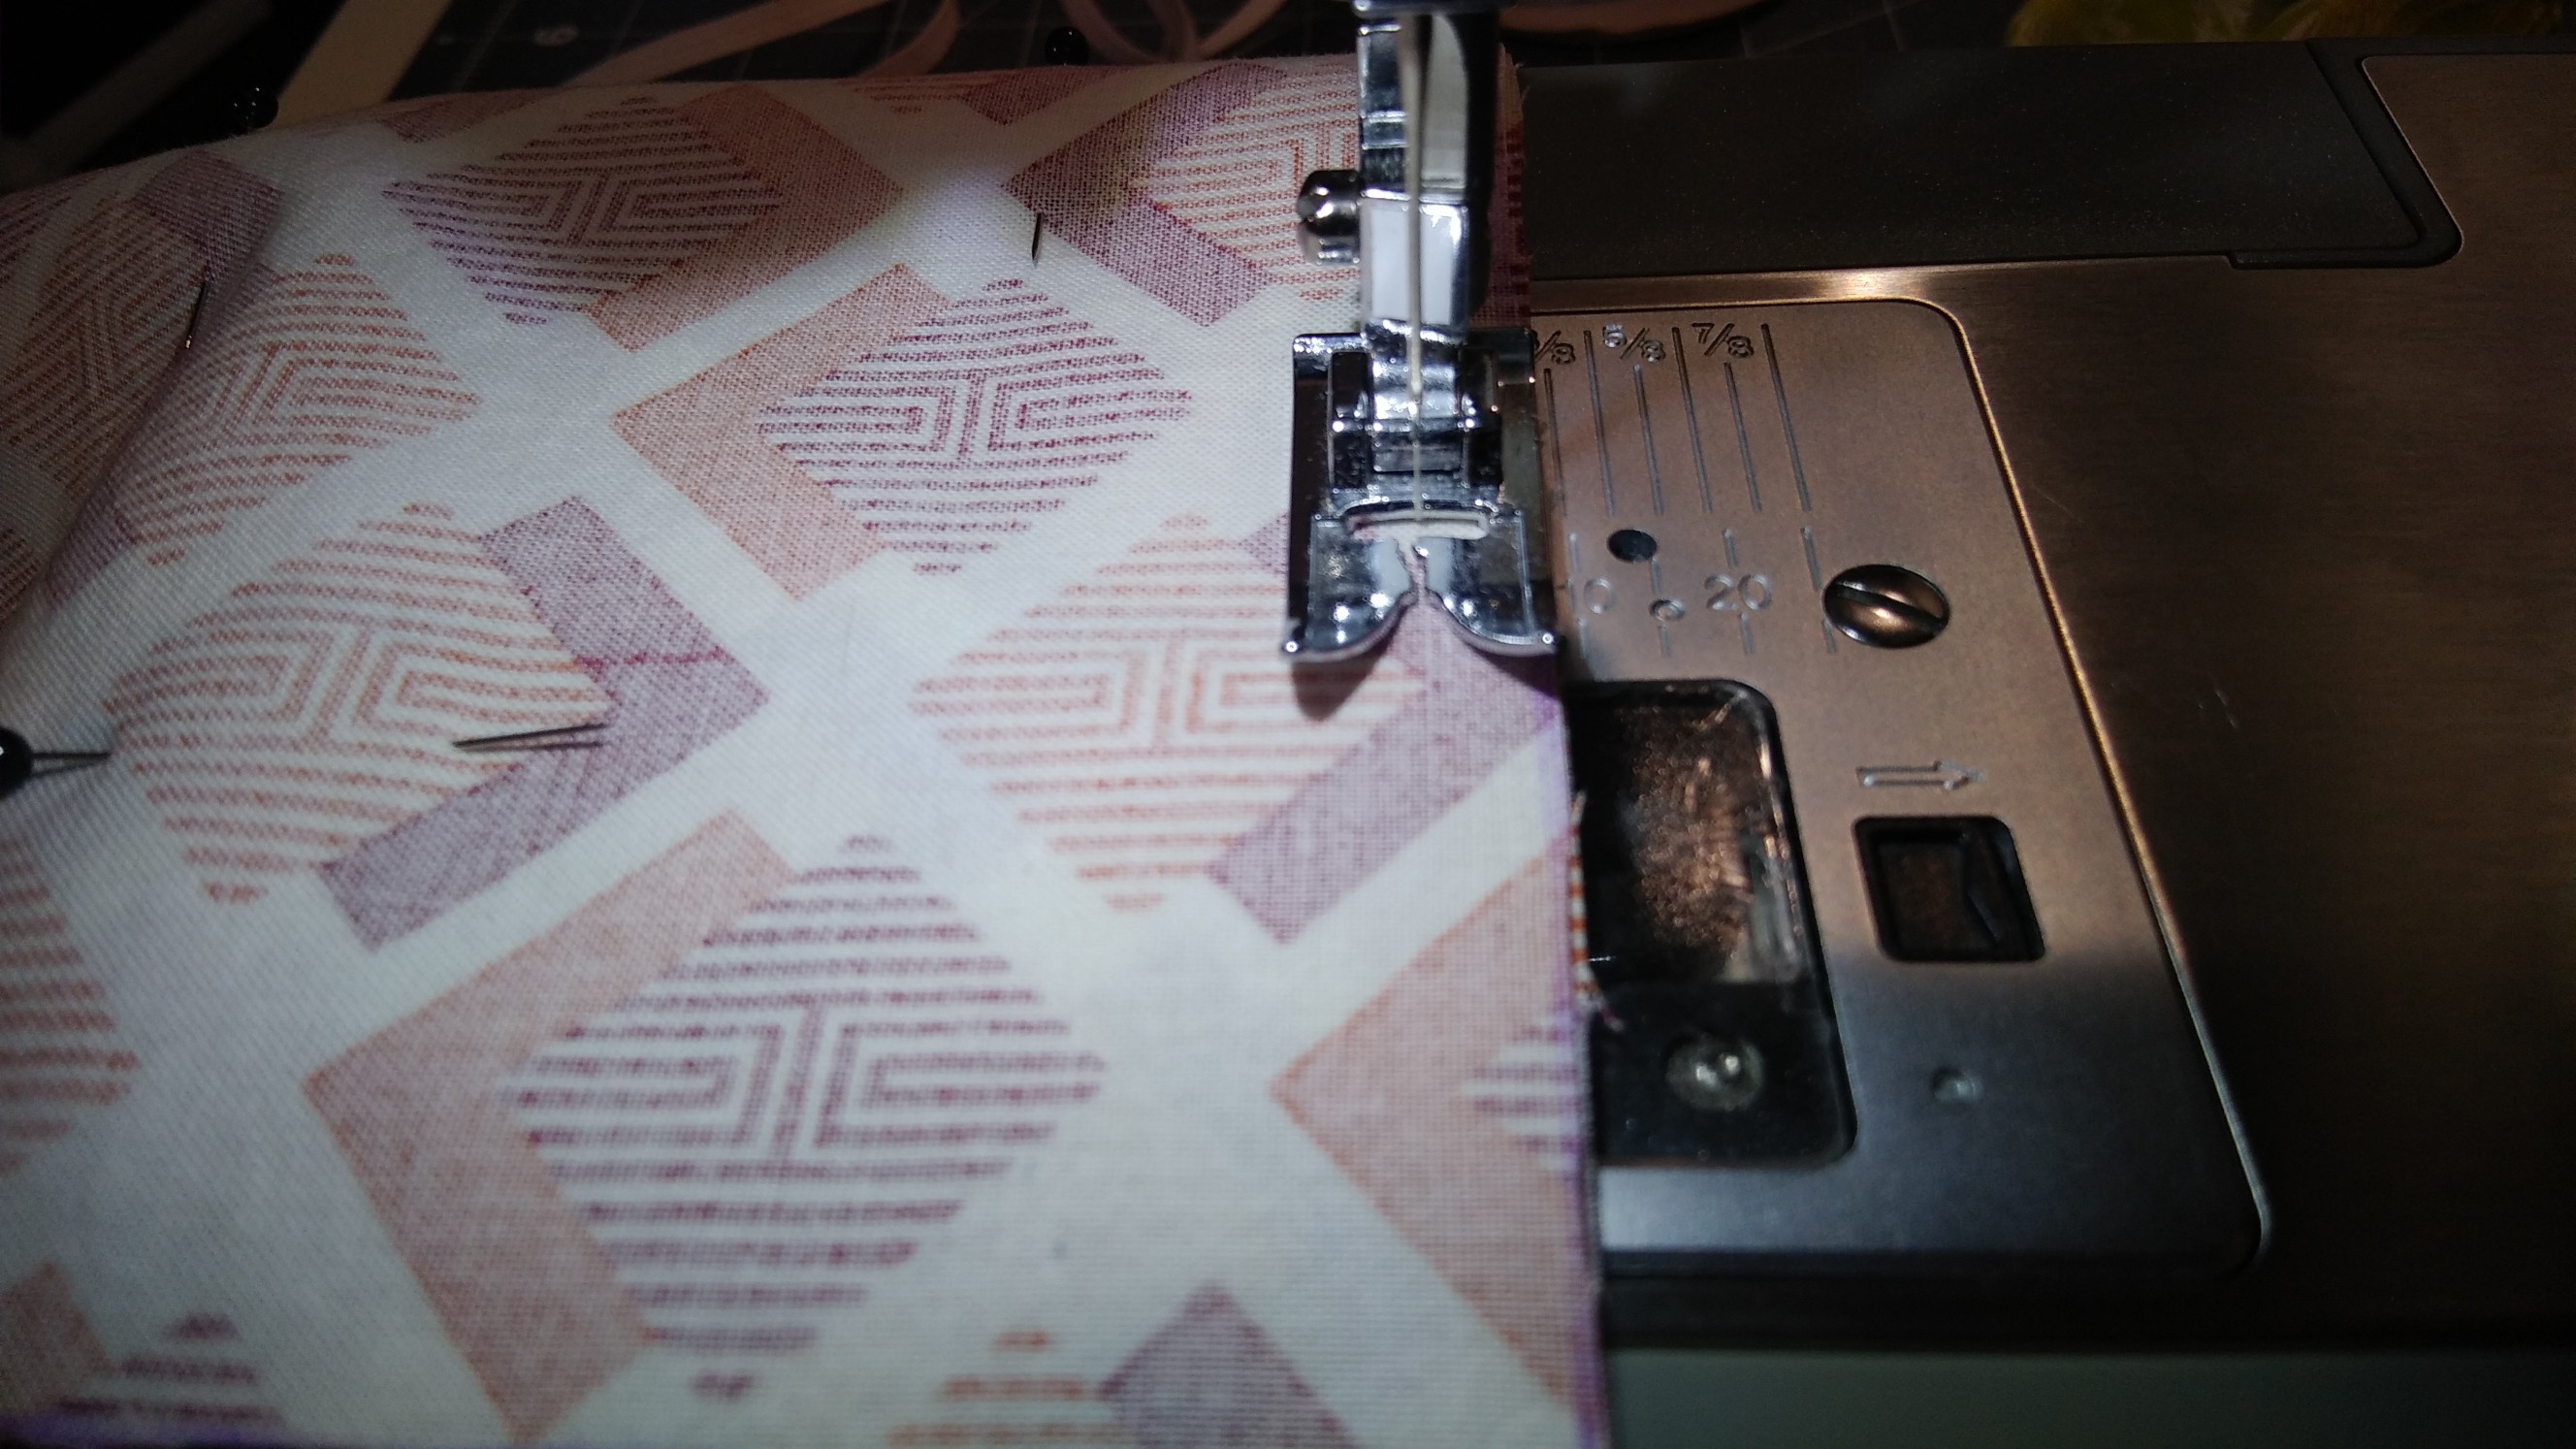
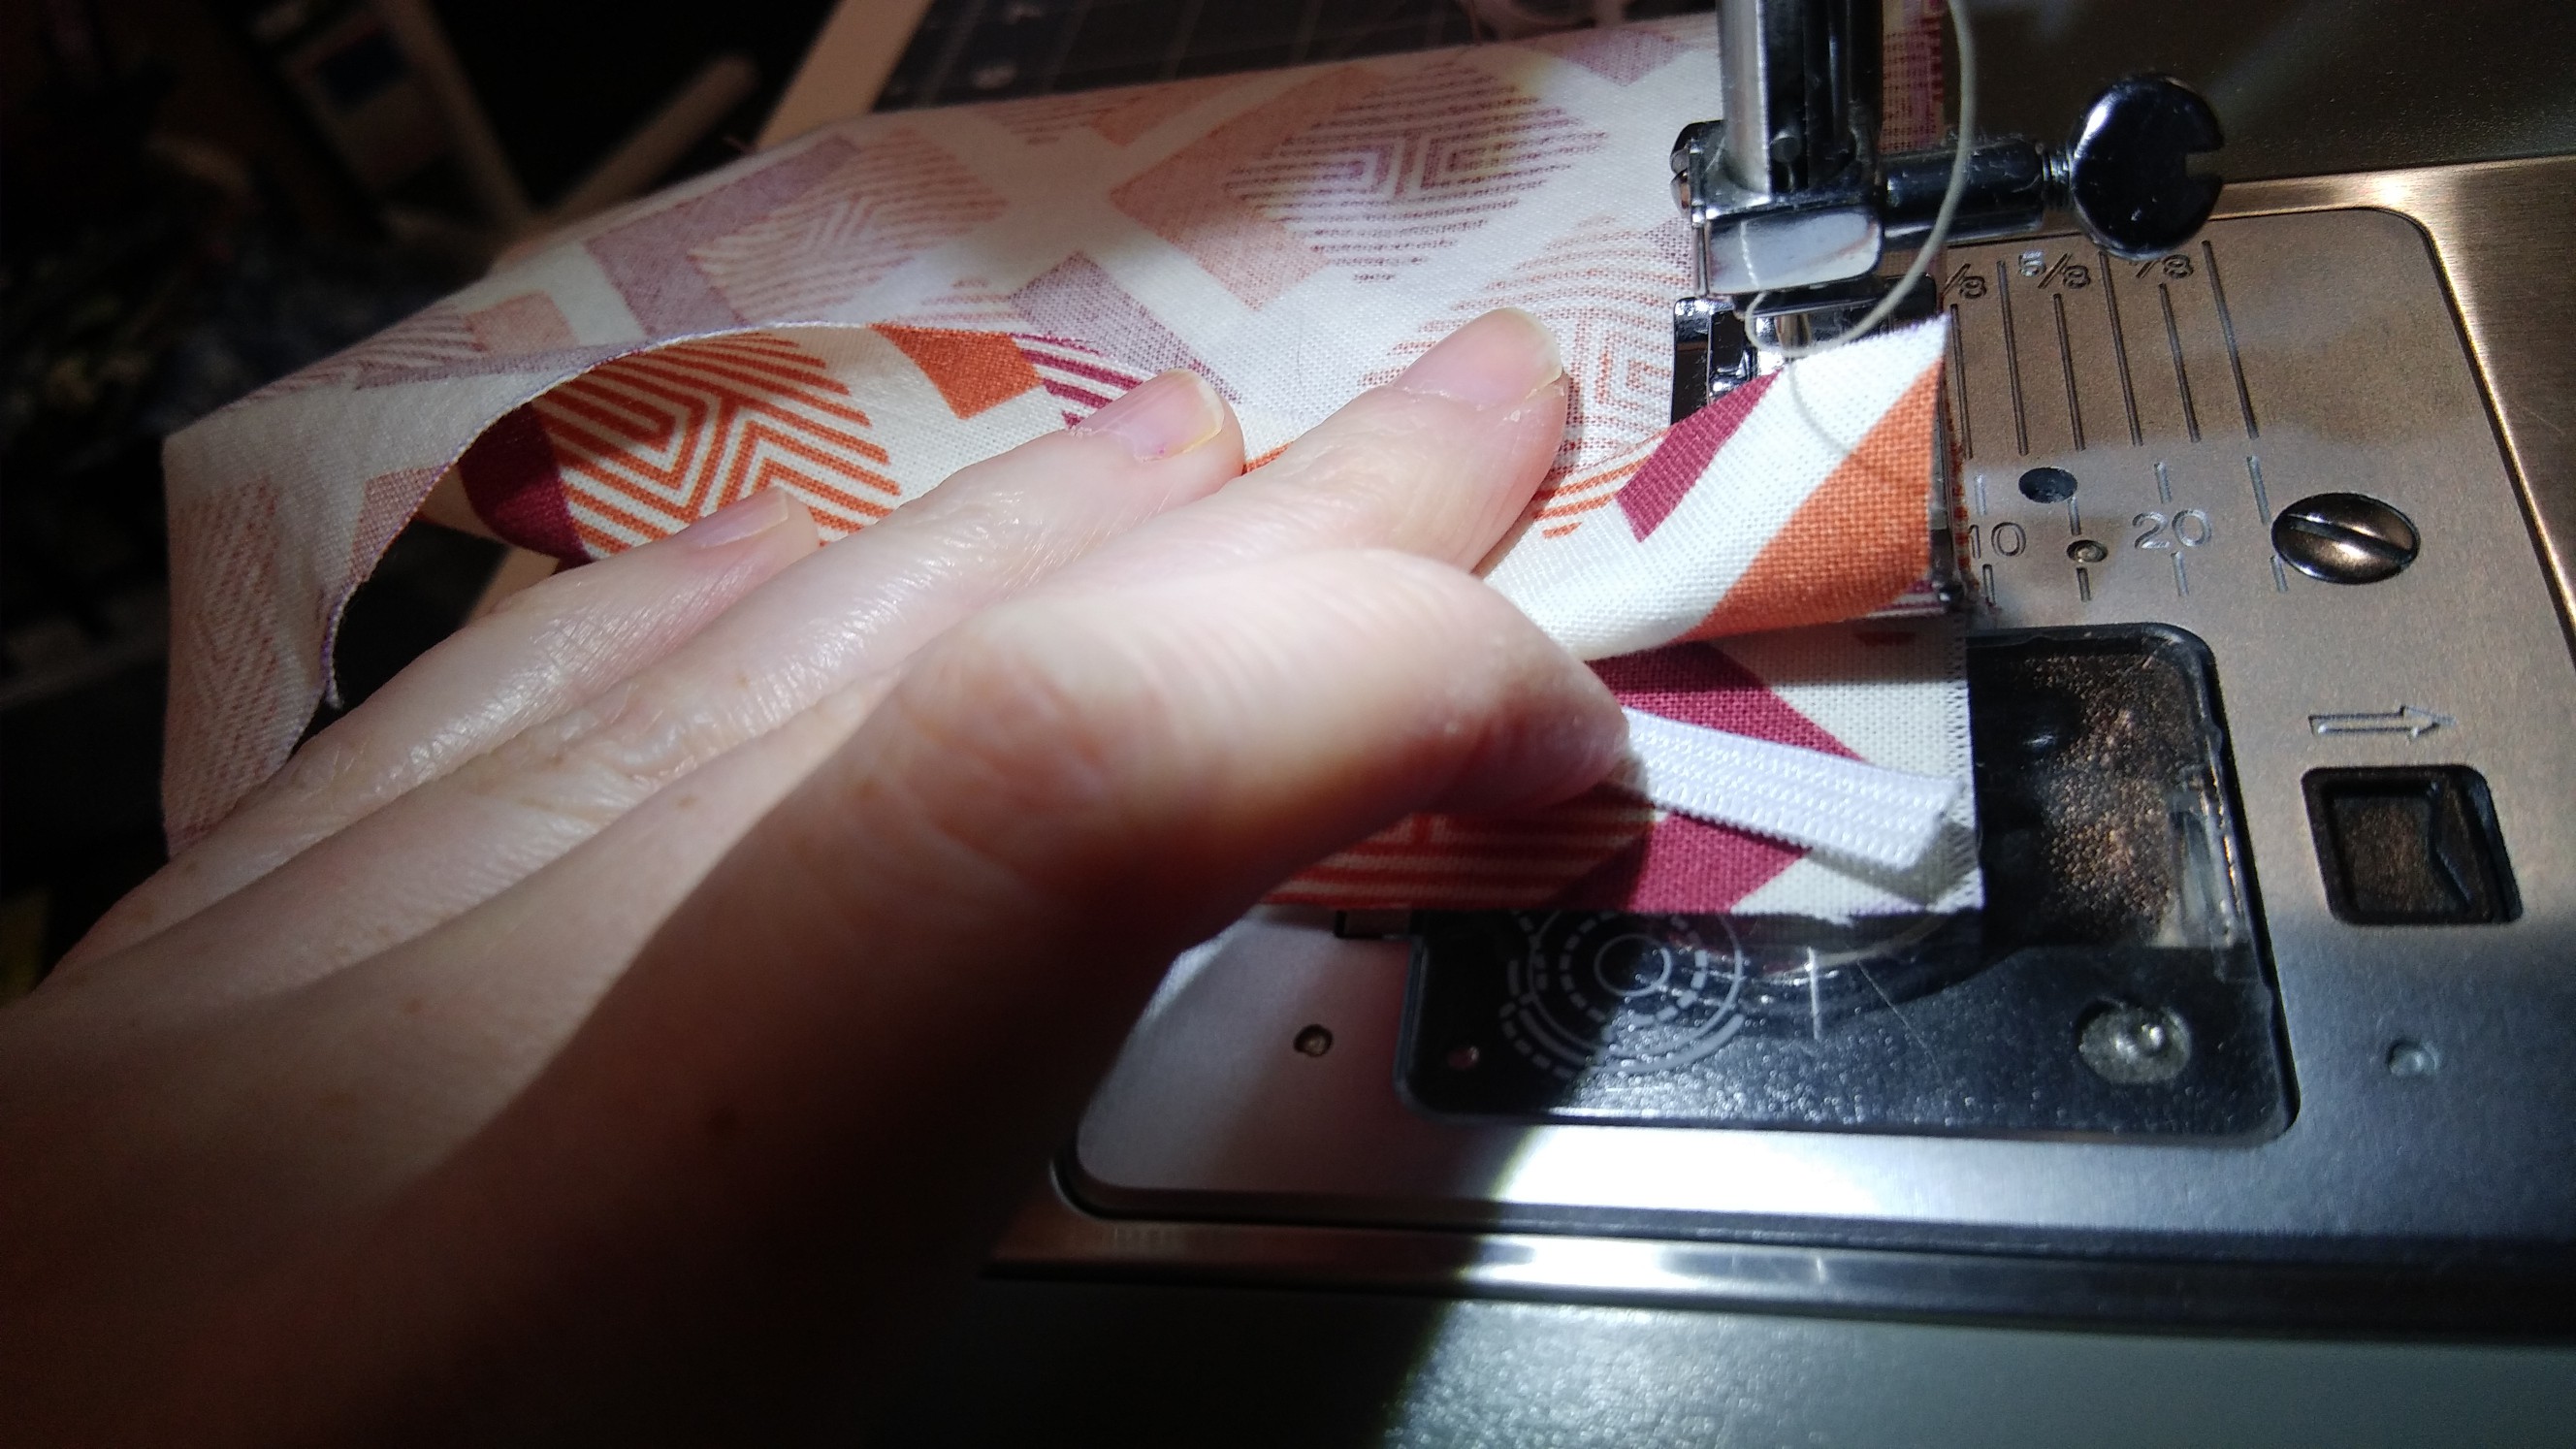
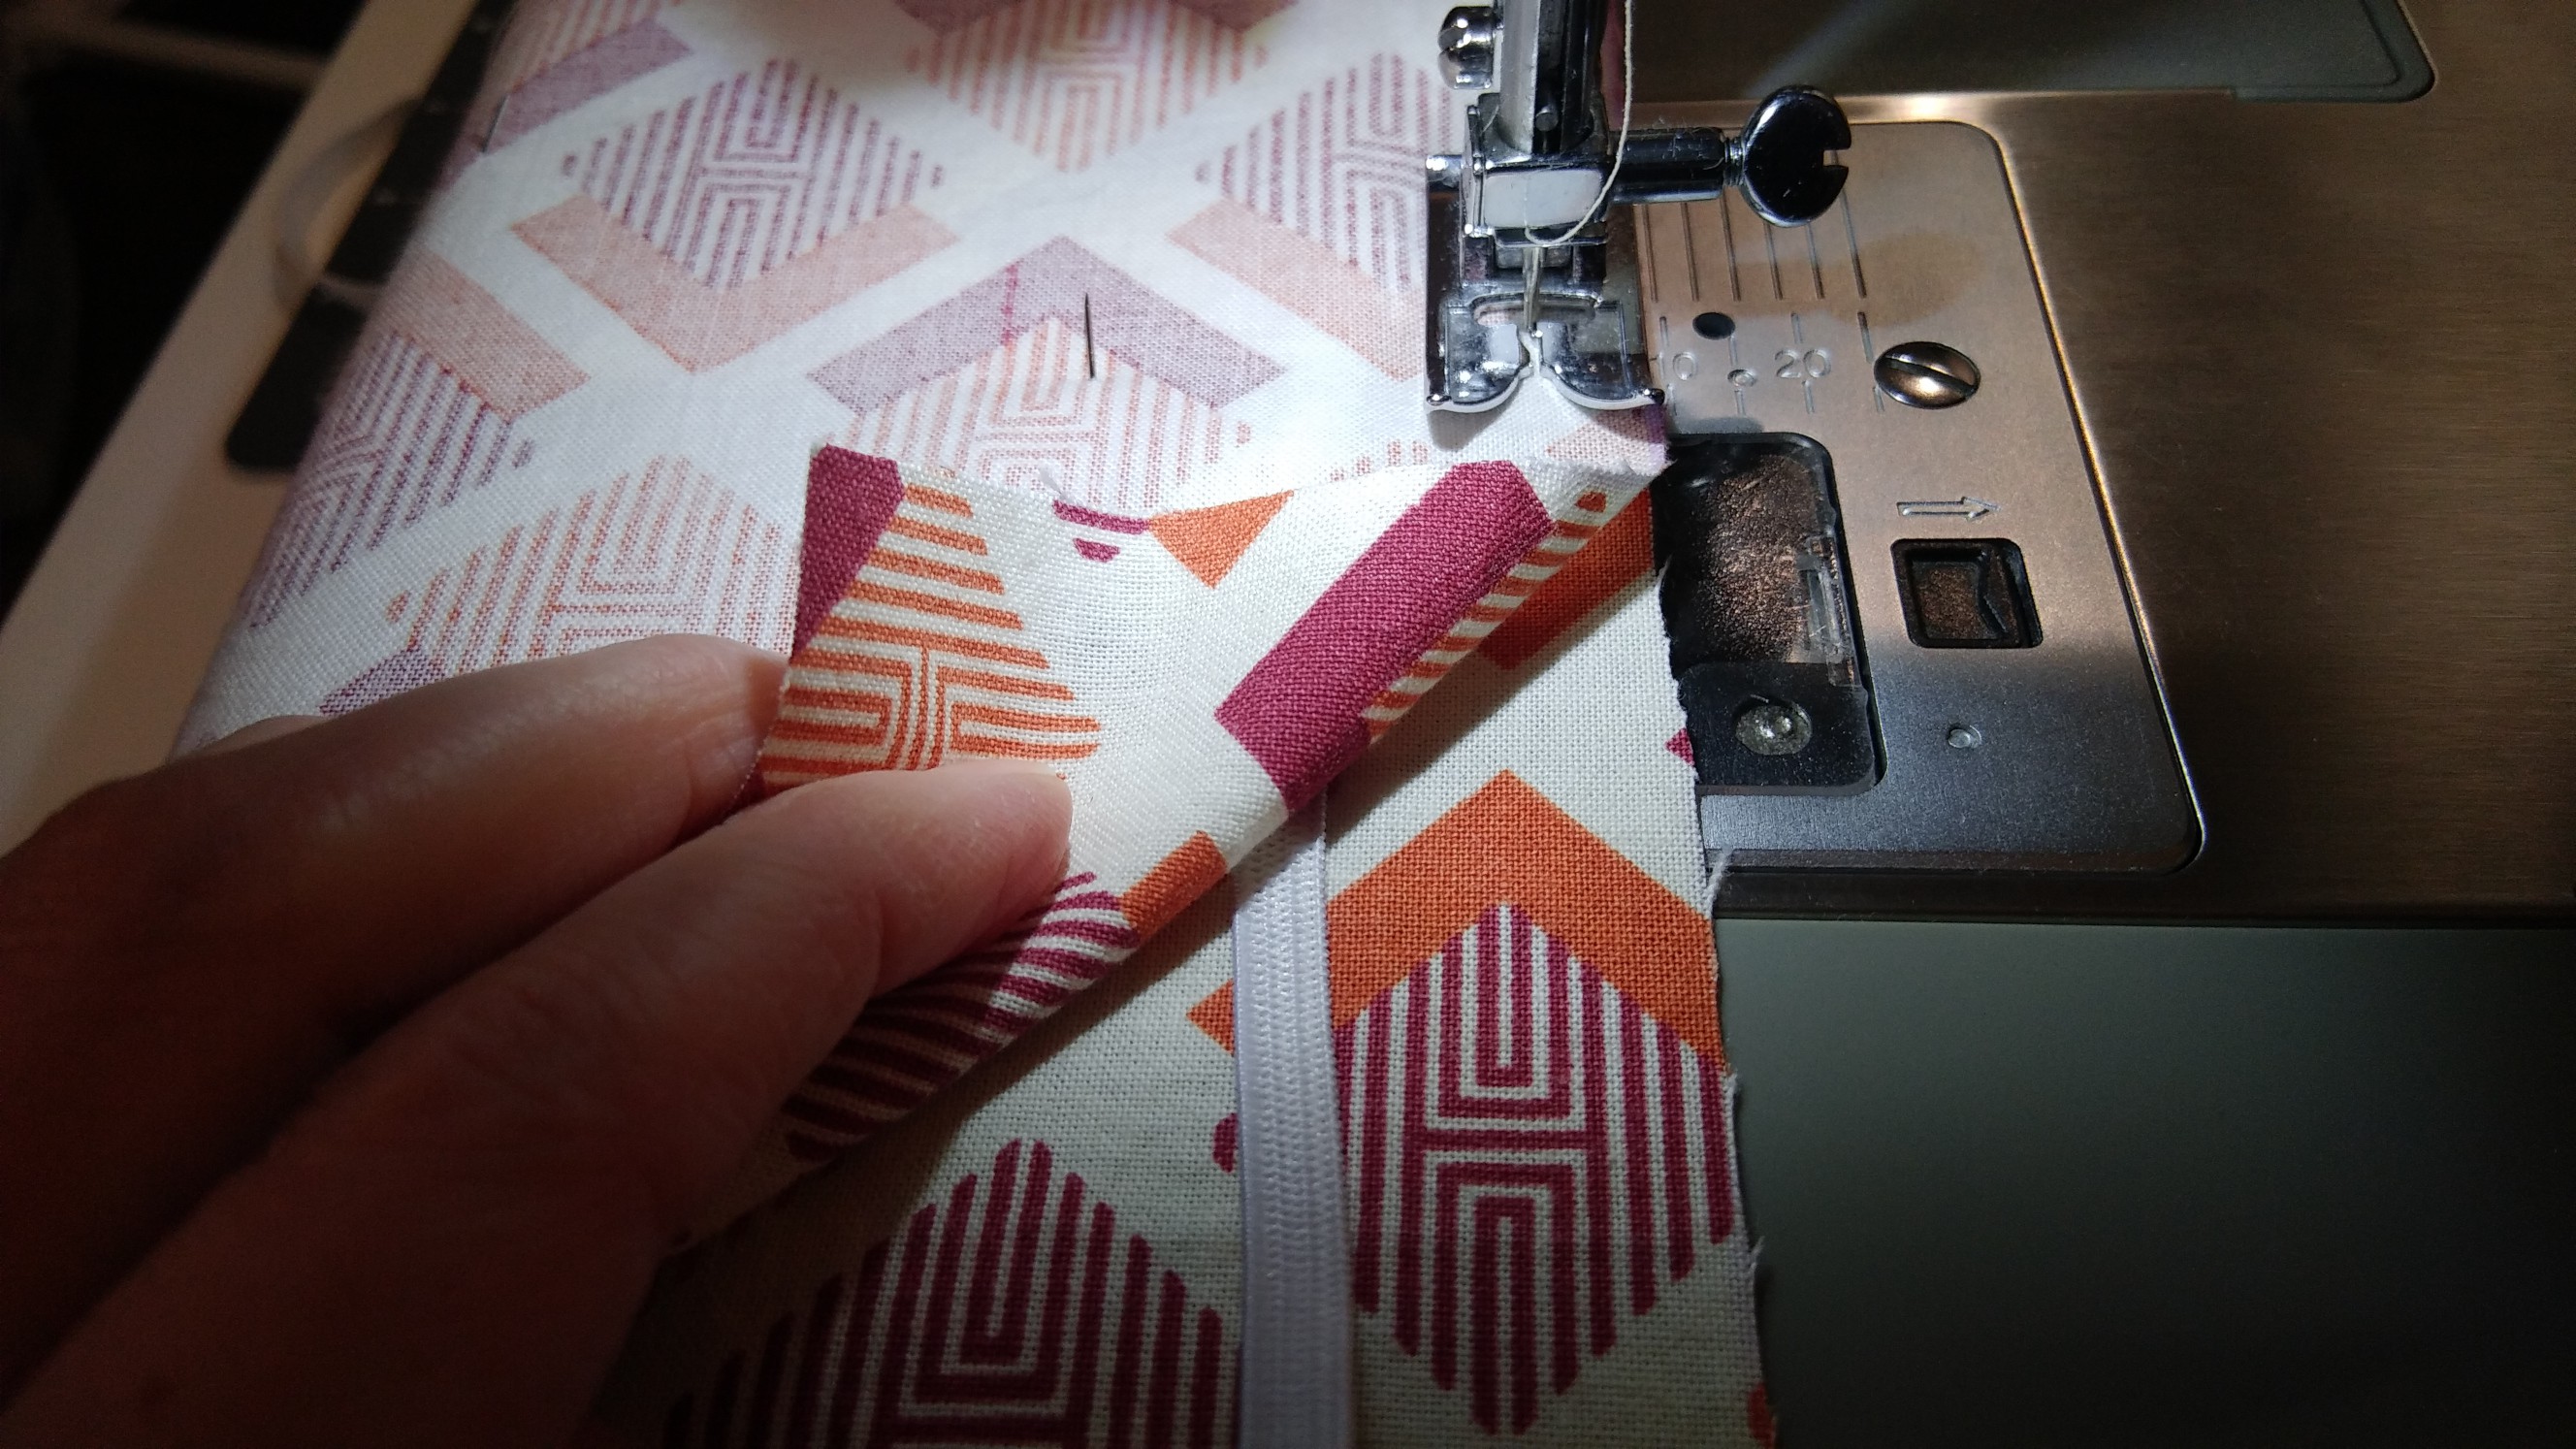
I use a 1/4" seam allowance and insert the elastic at the corners.
![]()
![]()
Take care not to catch the length of the elastic under your presser foot or needle. The shorter the elastic, the harder it is to avoid this. (But don't worry, it's pretty easy to avoid.)
![]()
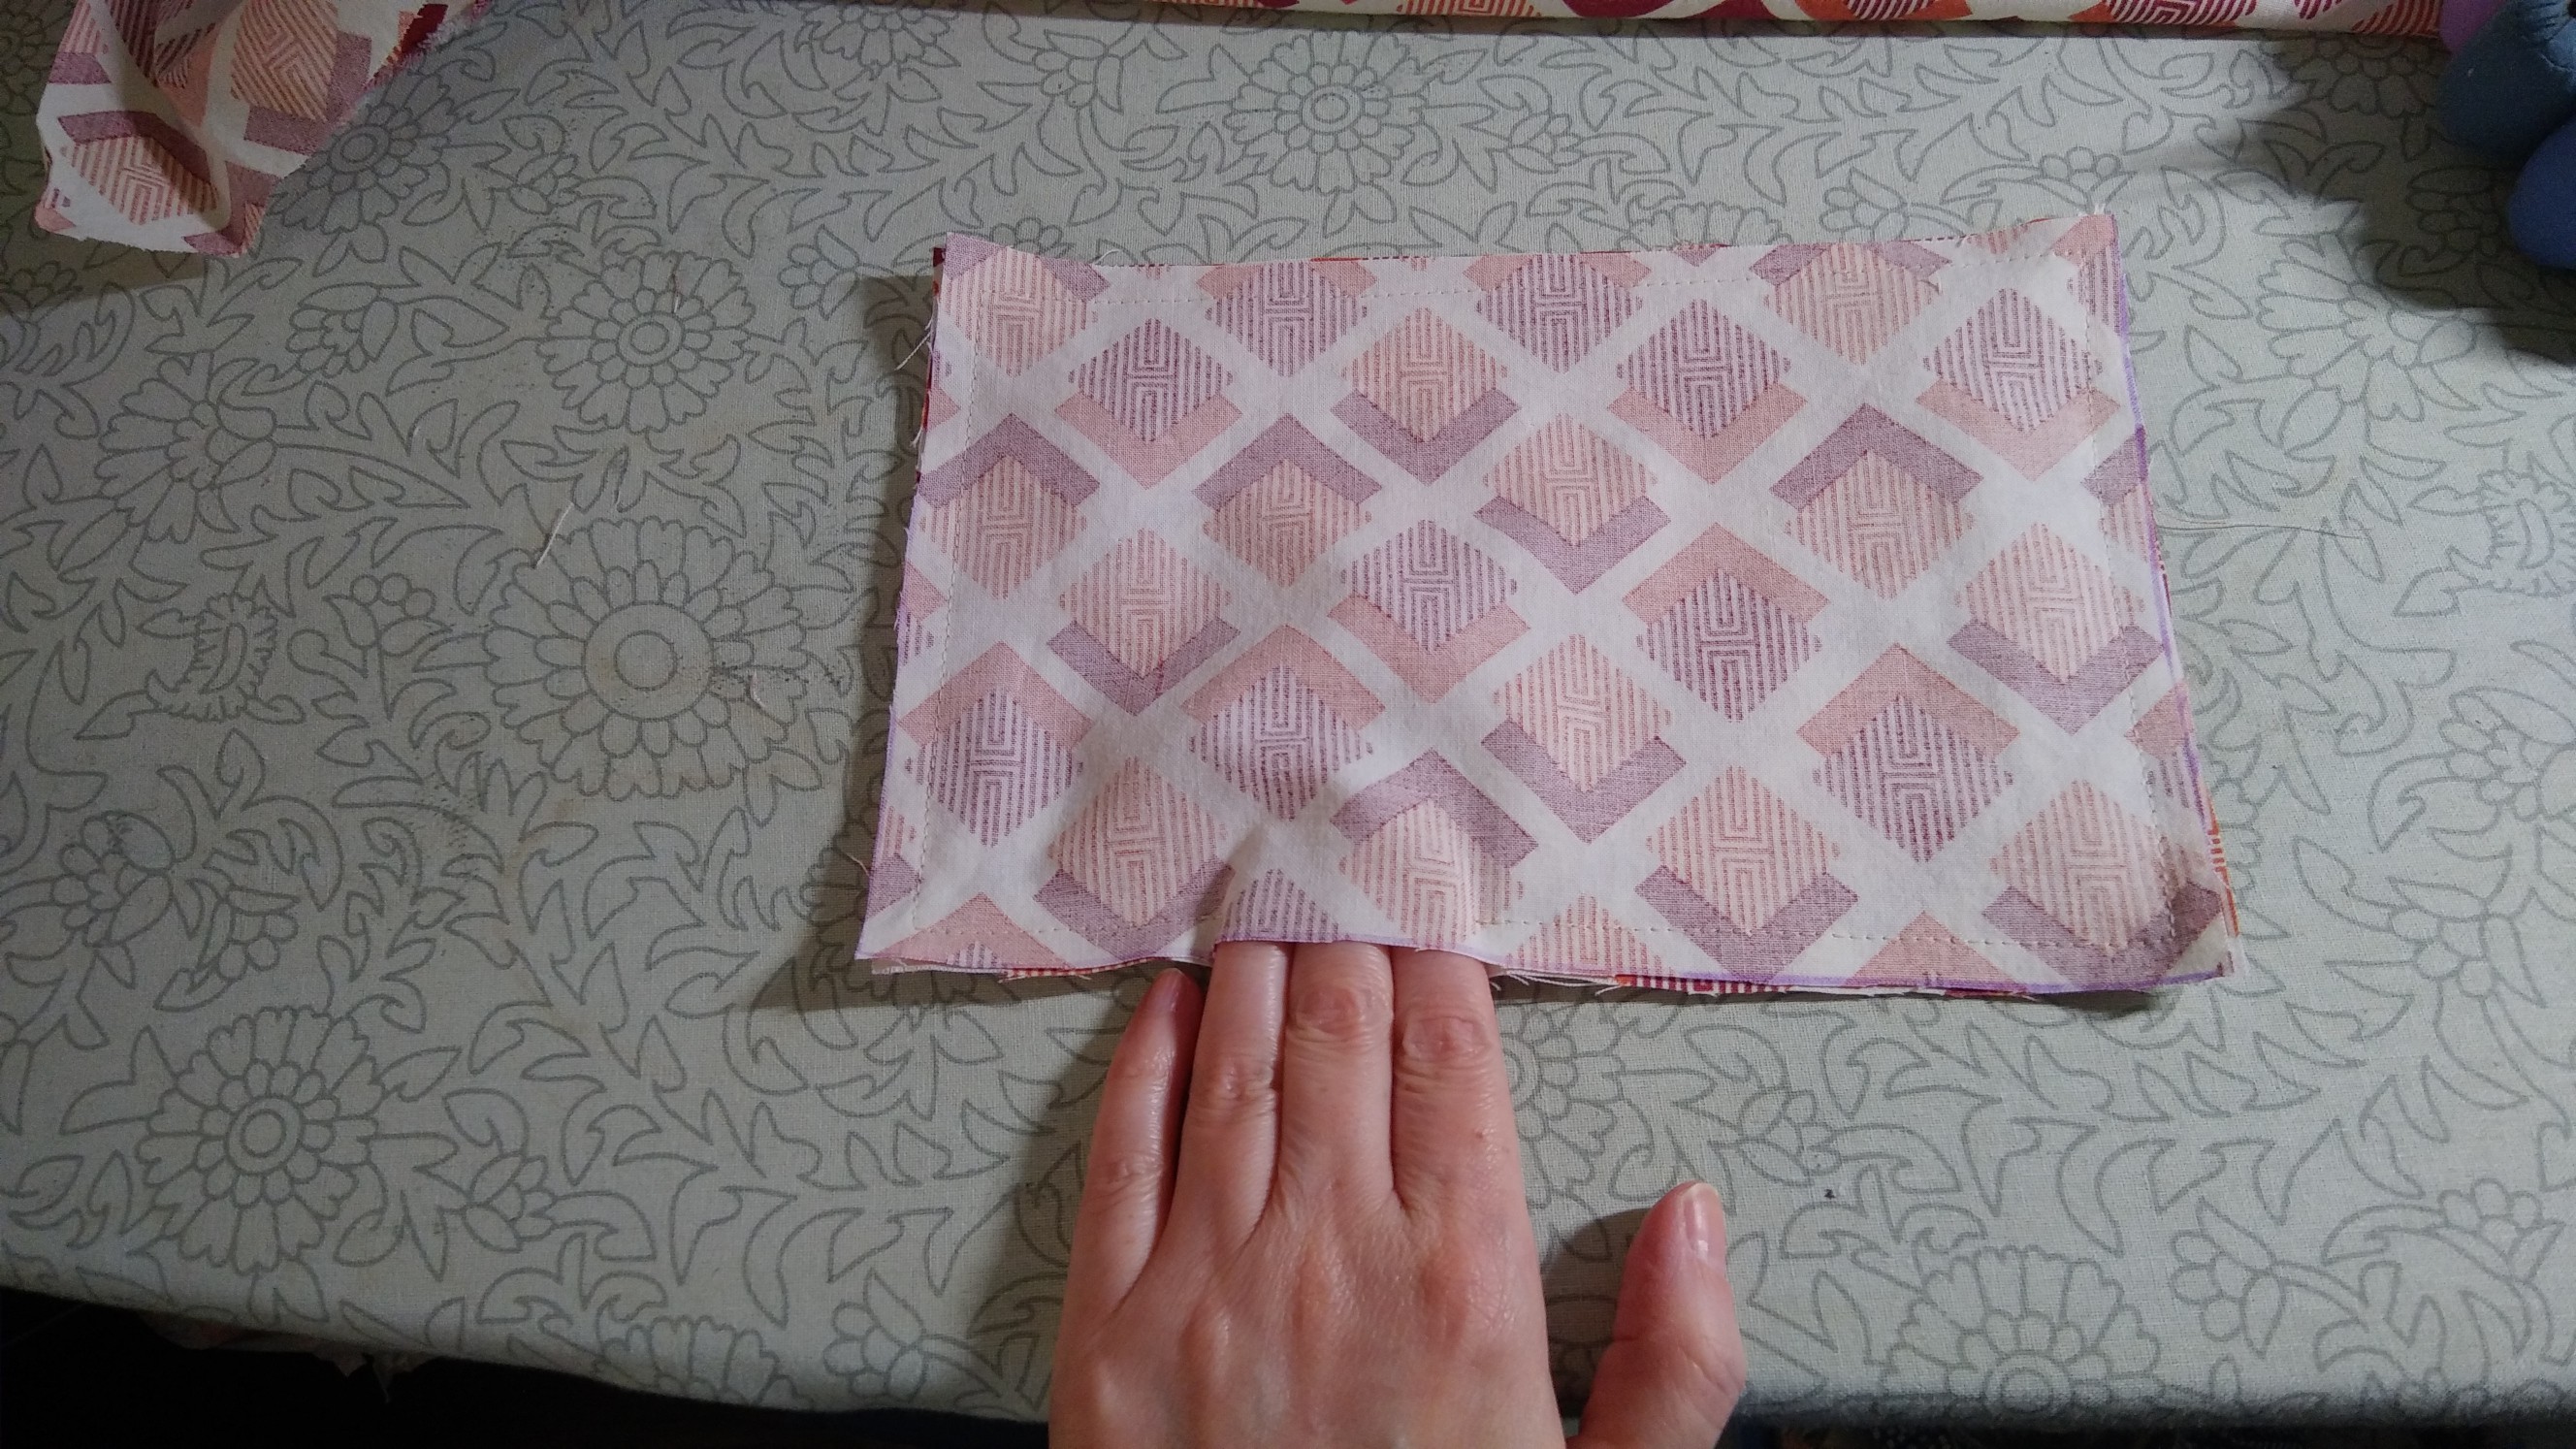
IMPORTANT: Leave a turning hole. This means don't sew it up all the way because you still need to turn it right side out. My turning hole is about two inches. You will close this up when you topstitch, which also creates the pleats. Turn on the iron before you start turning it right side out.
![]()
![]()
-
6Turn it right side out
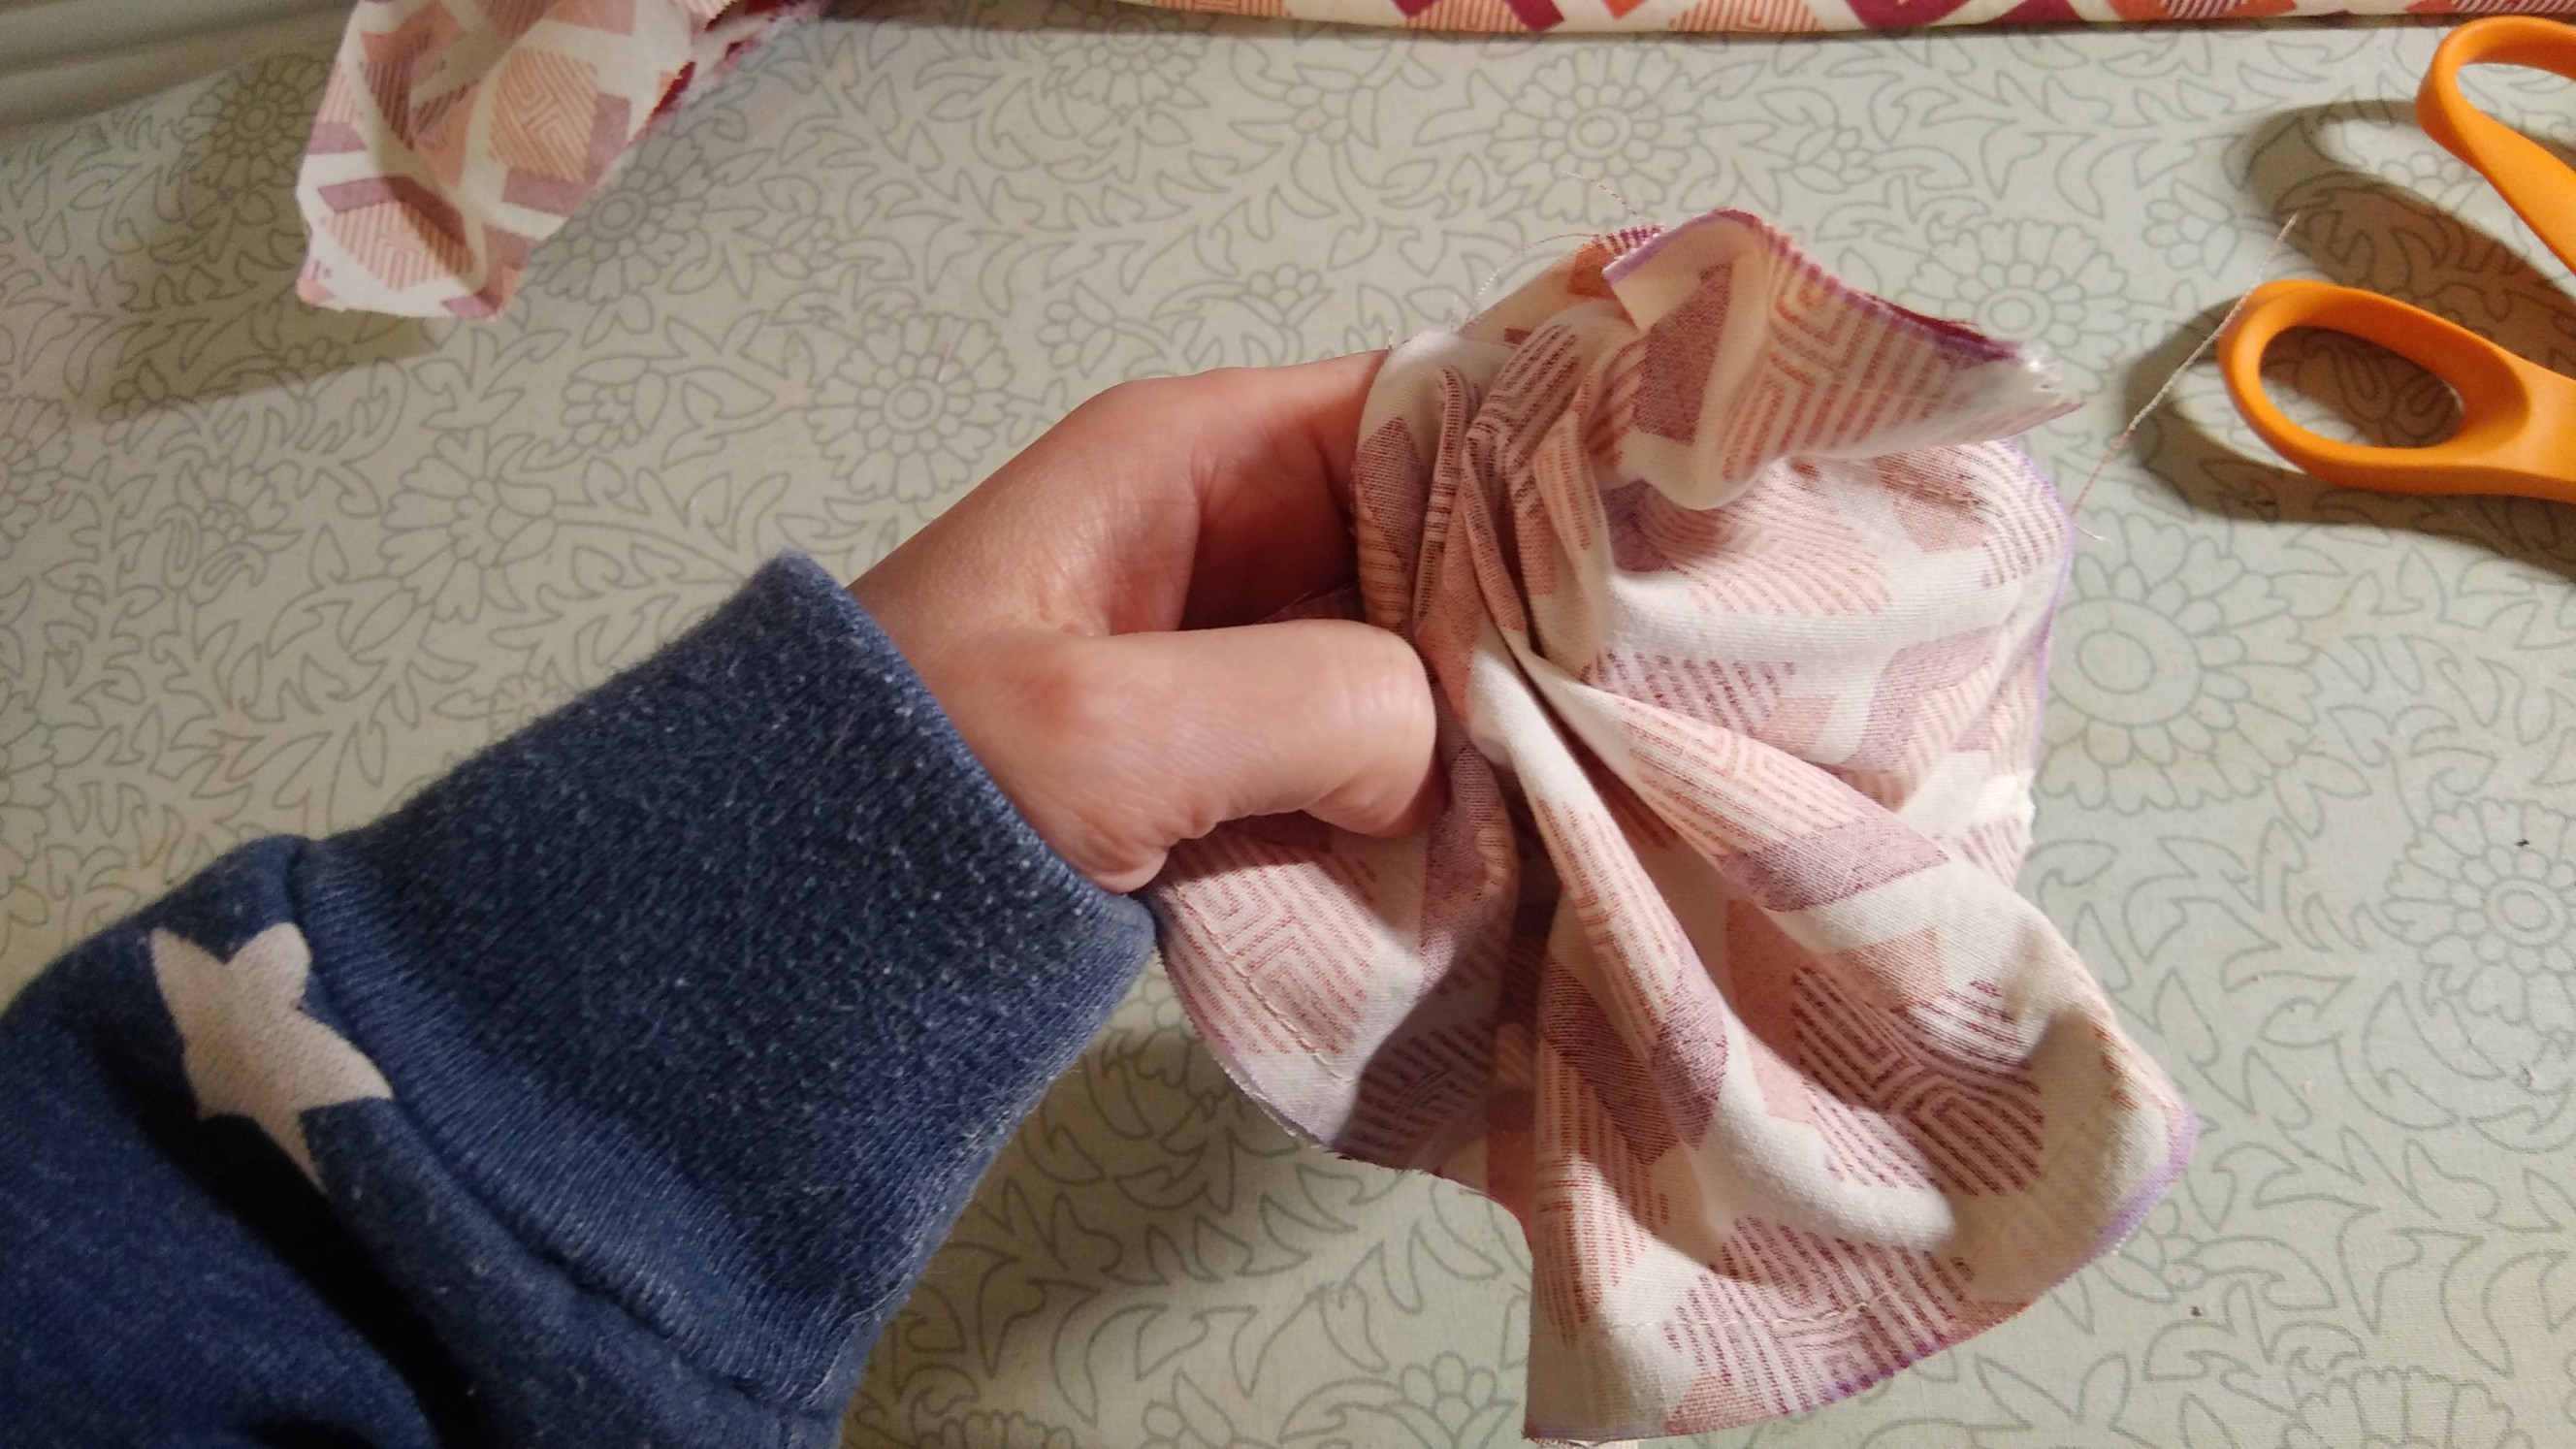
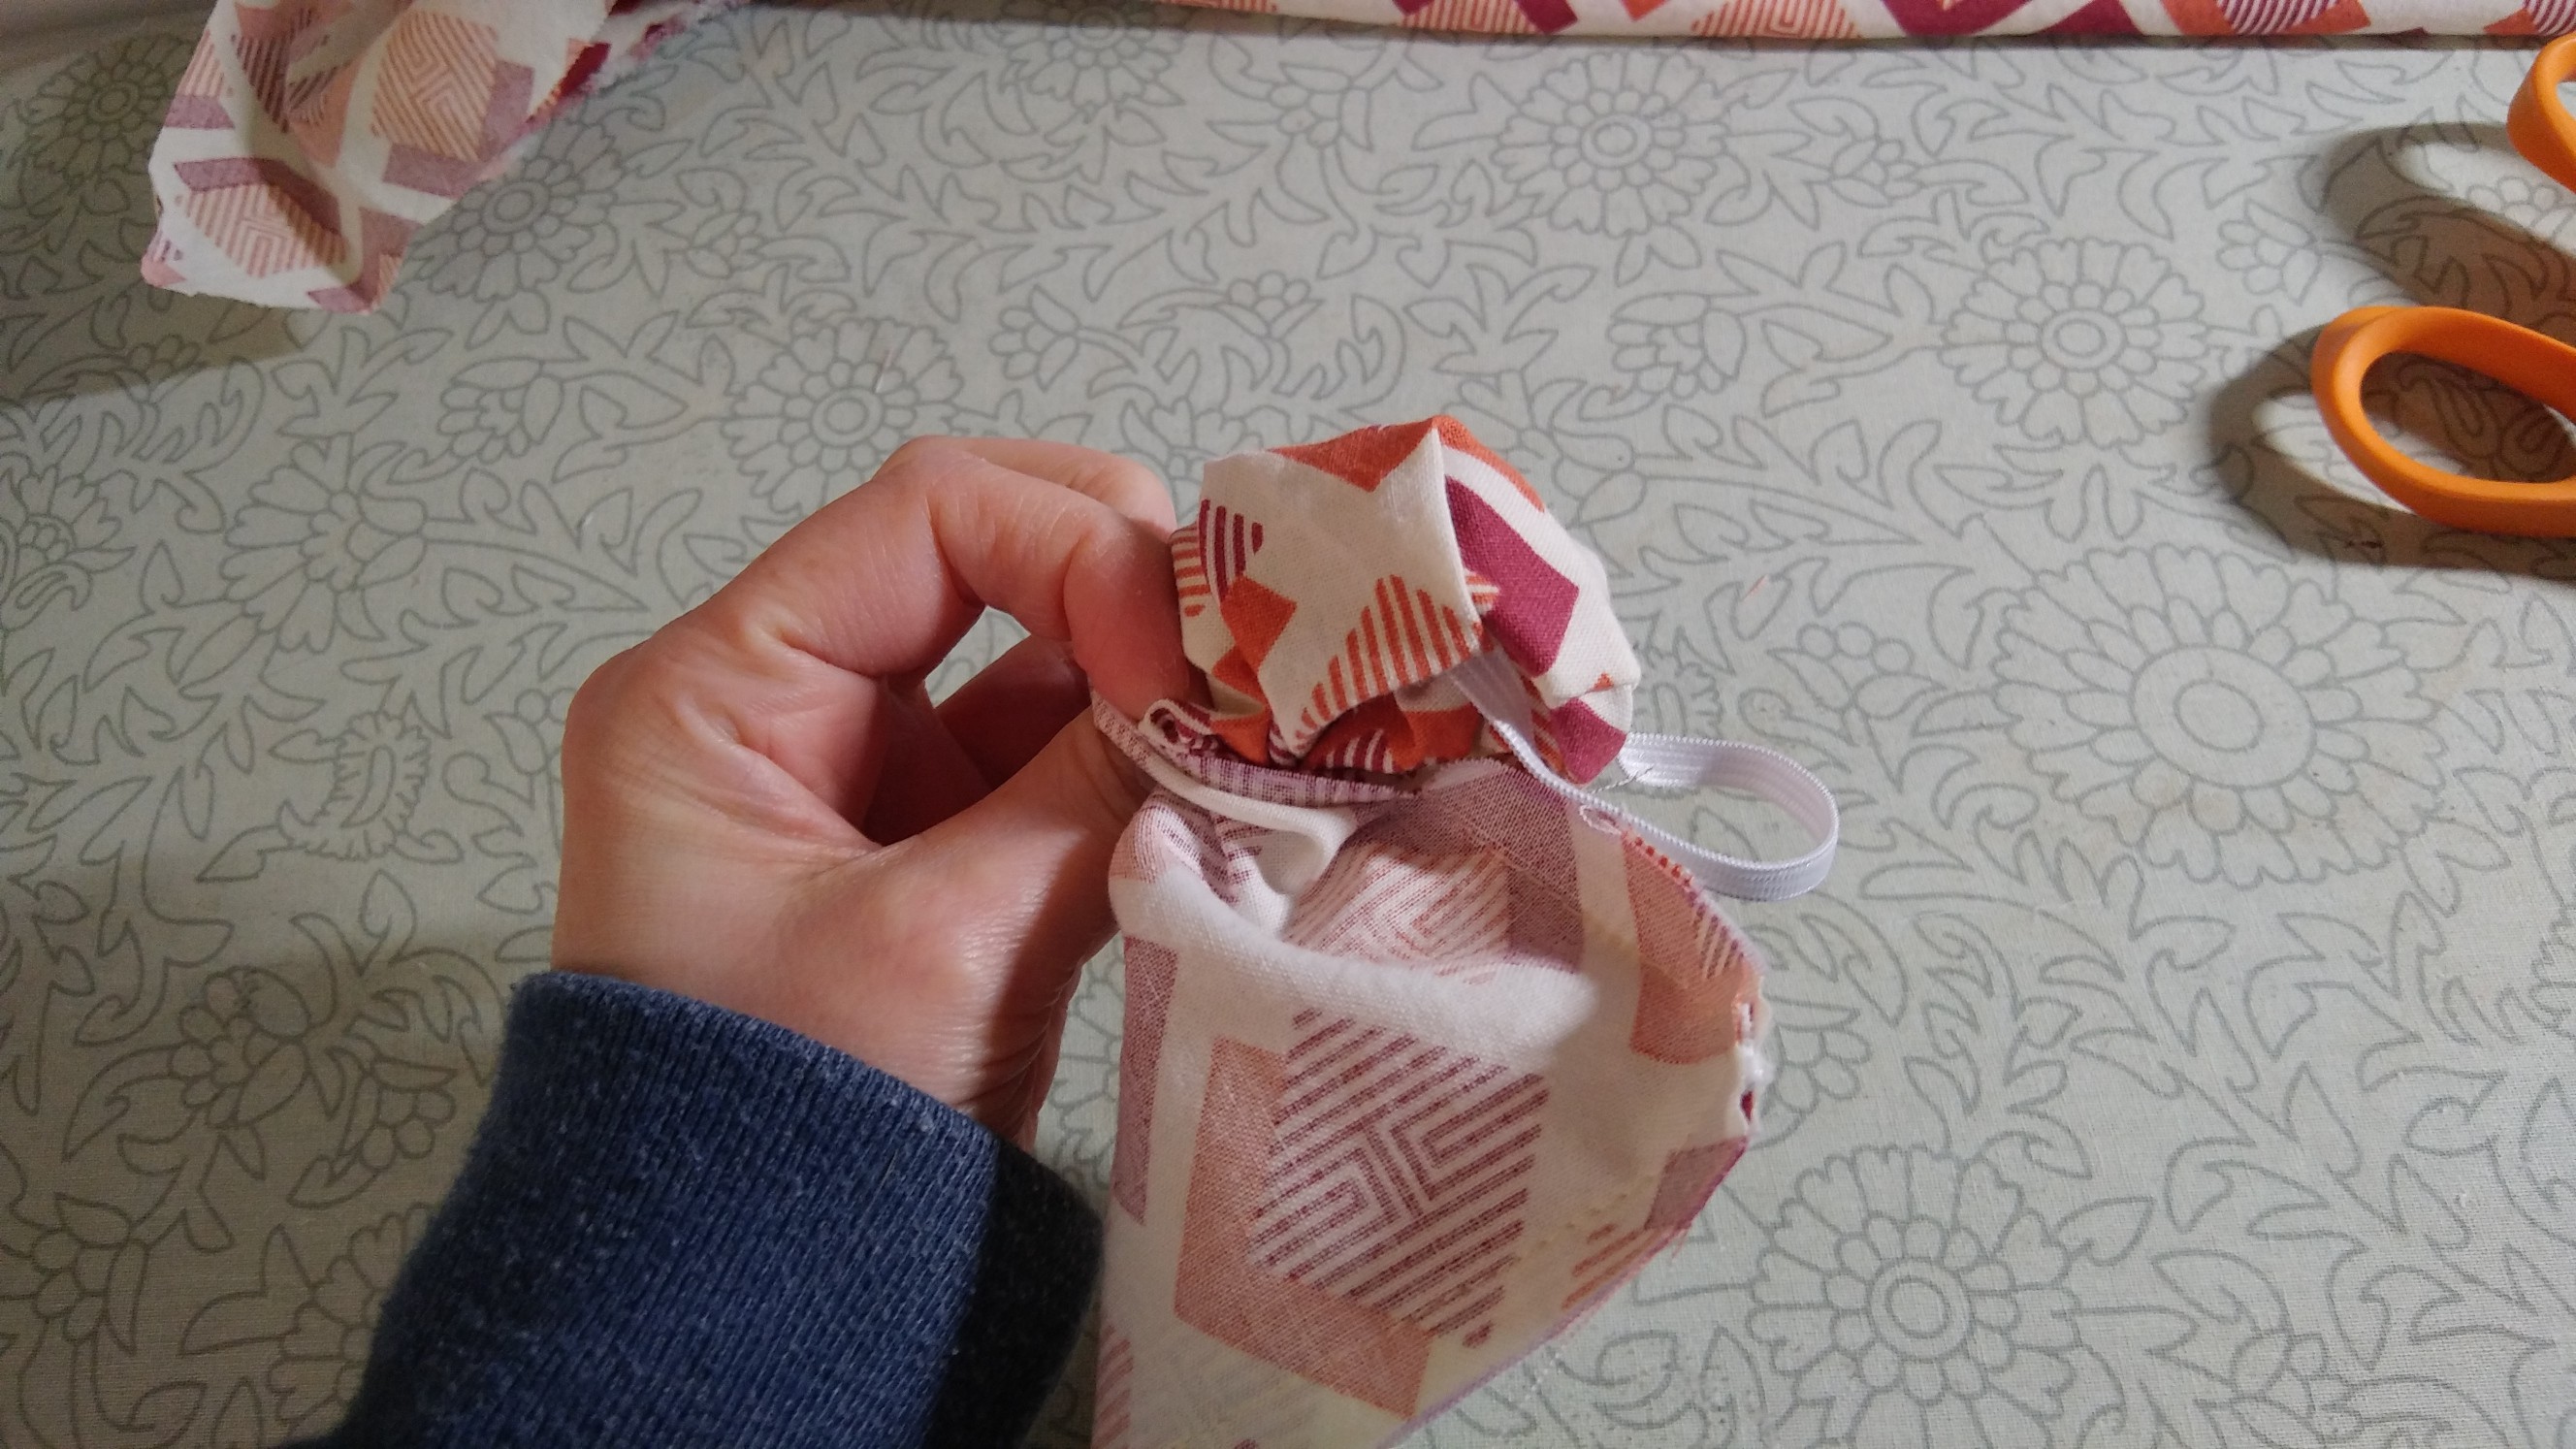
Reach into your turning gap and grab the far elastic. Turn it completely right side out.
![]()
![]()
![]()
-
7Iron time
Using the appropriate steam setting, press your seam all the way around. You will also press the raw edges of the turning hole inward.
![]()
-
8Make the pleats
Iron in three horizontal pleats to make it more three-dimensional. I hold these in place with Clover clips, which are pretty much the best things ever.
![]()
![]()
-
9Topstitch
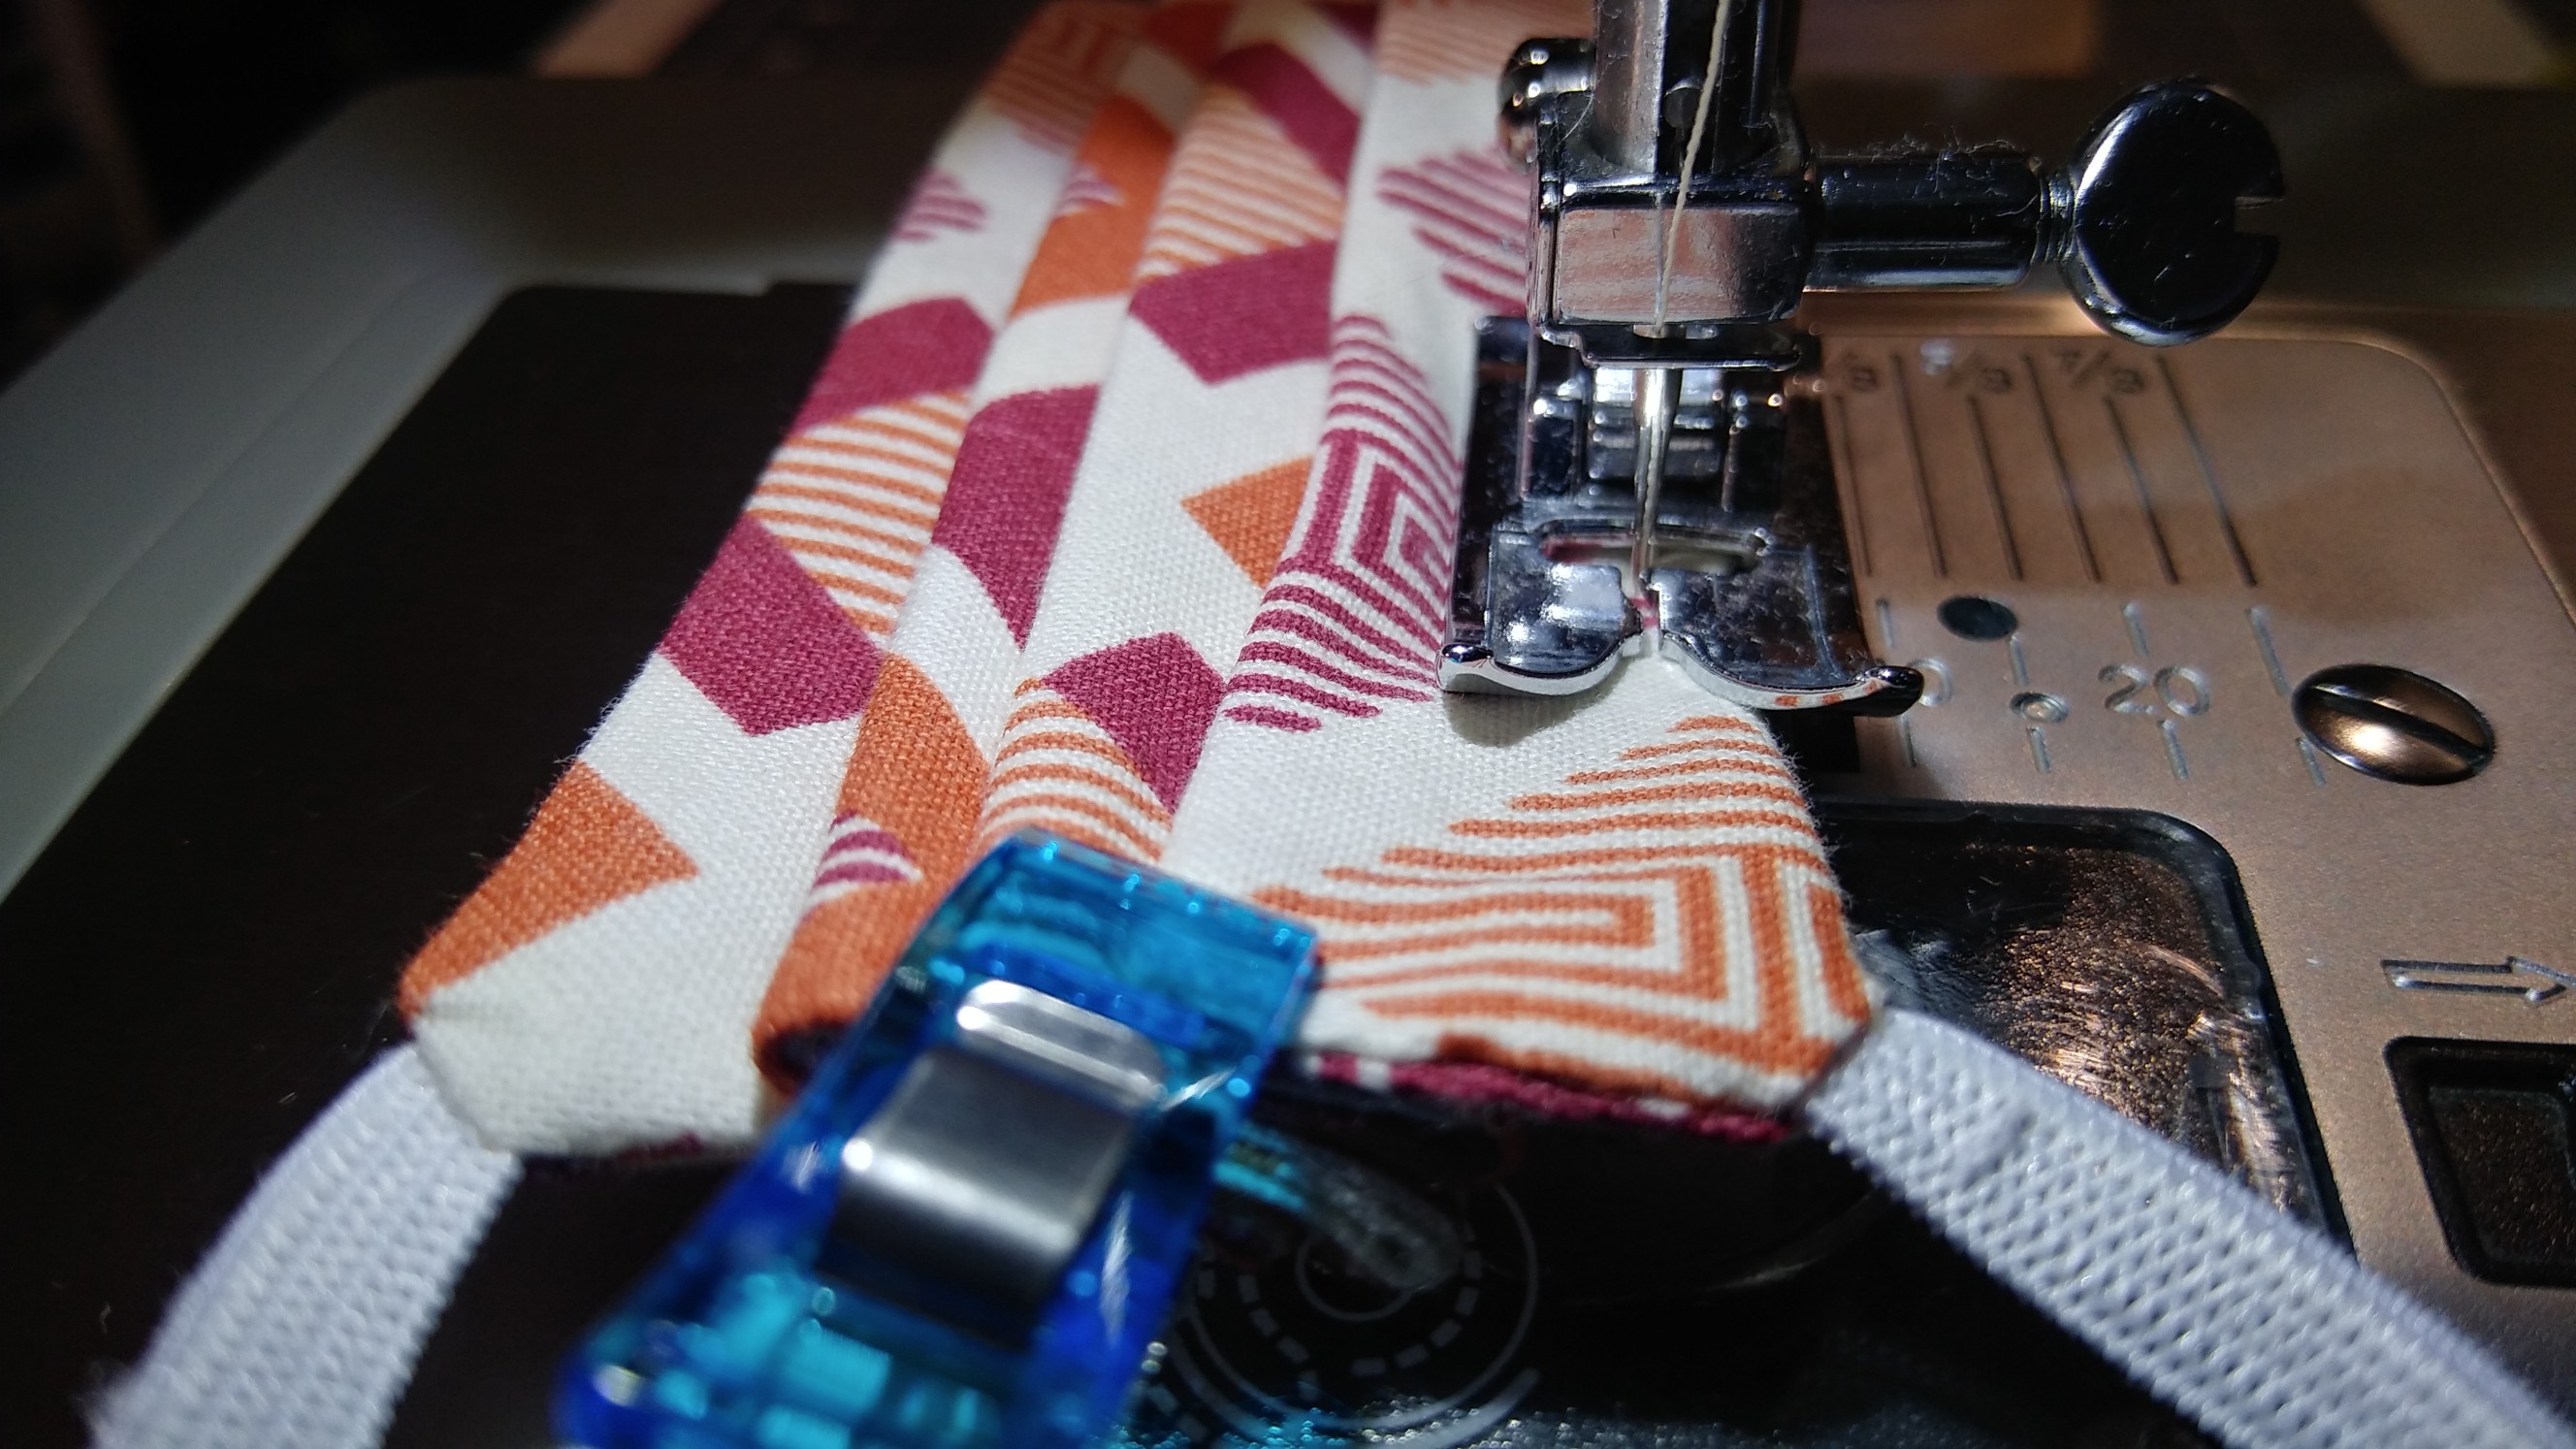
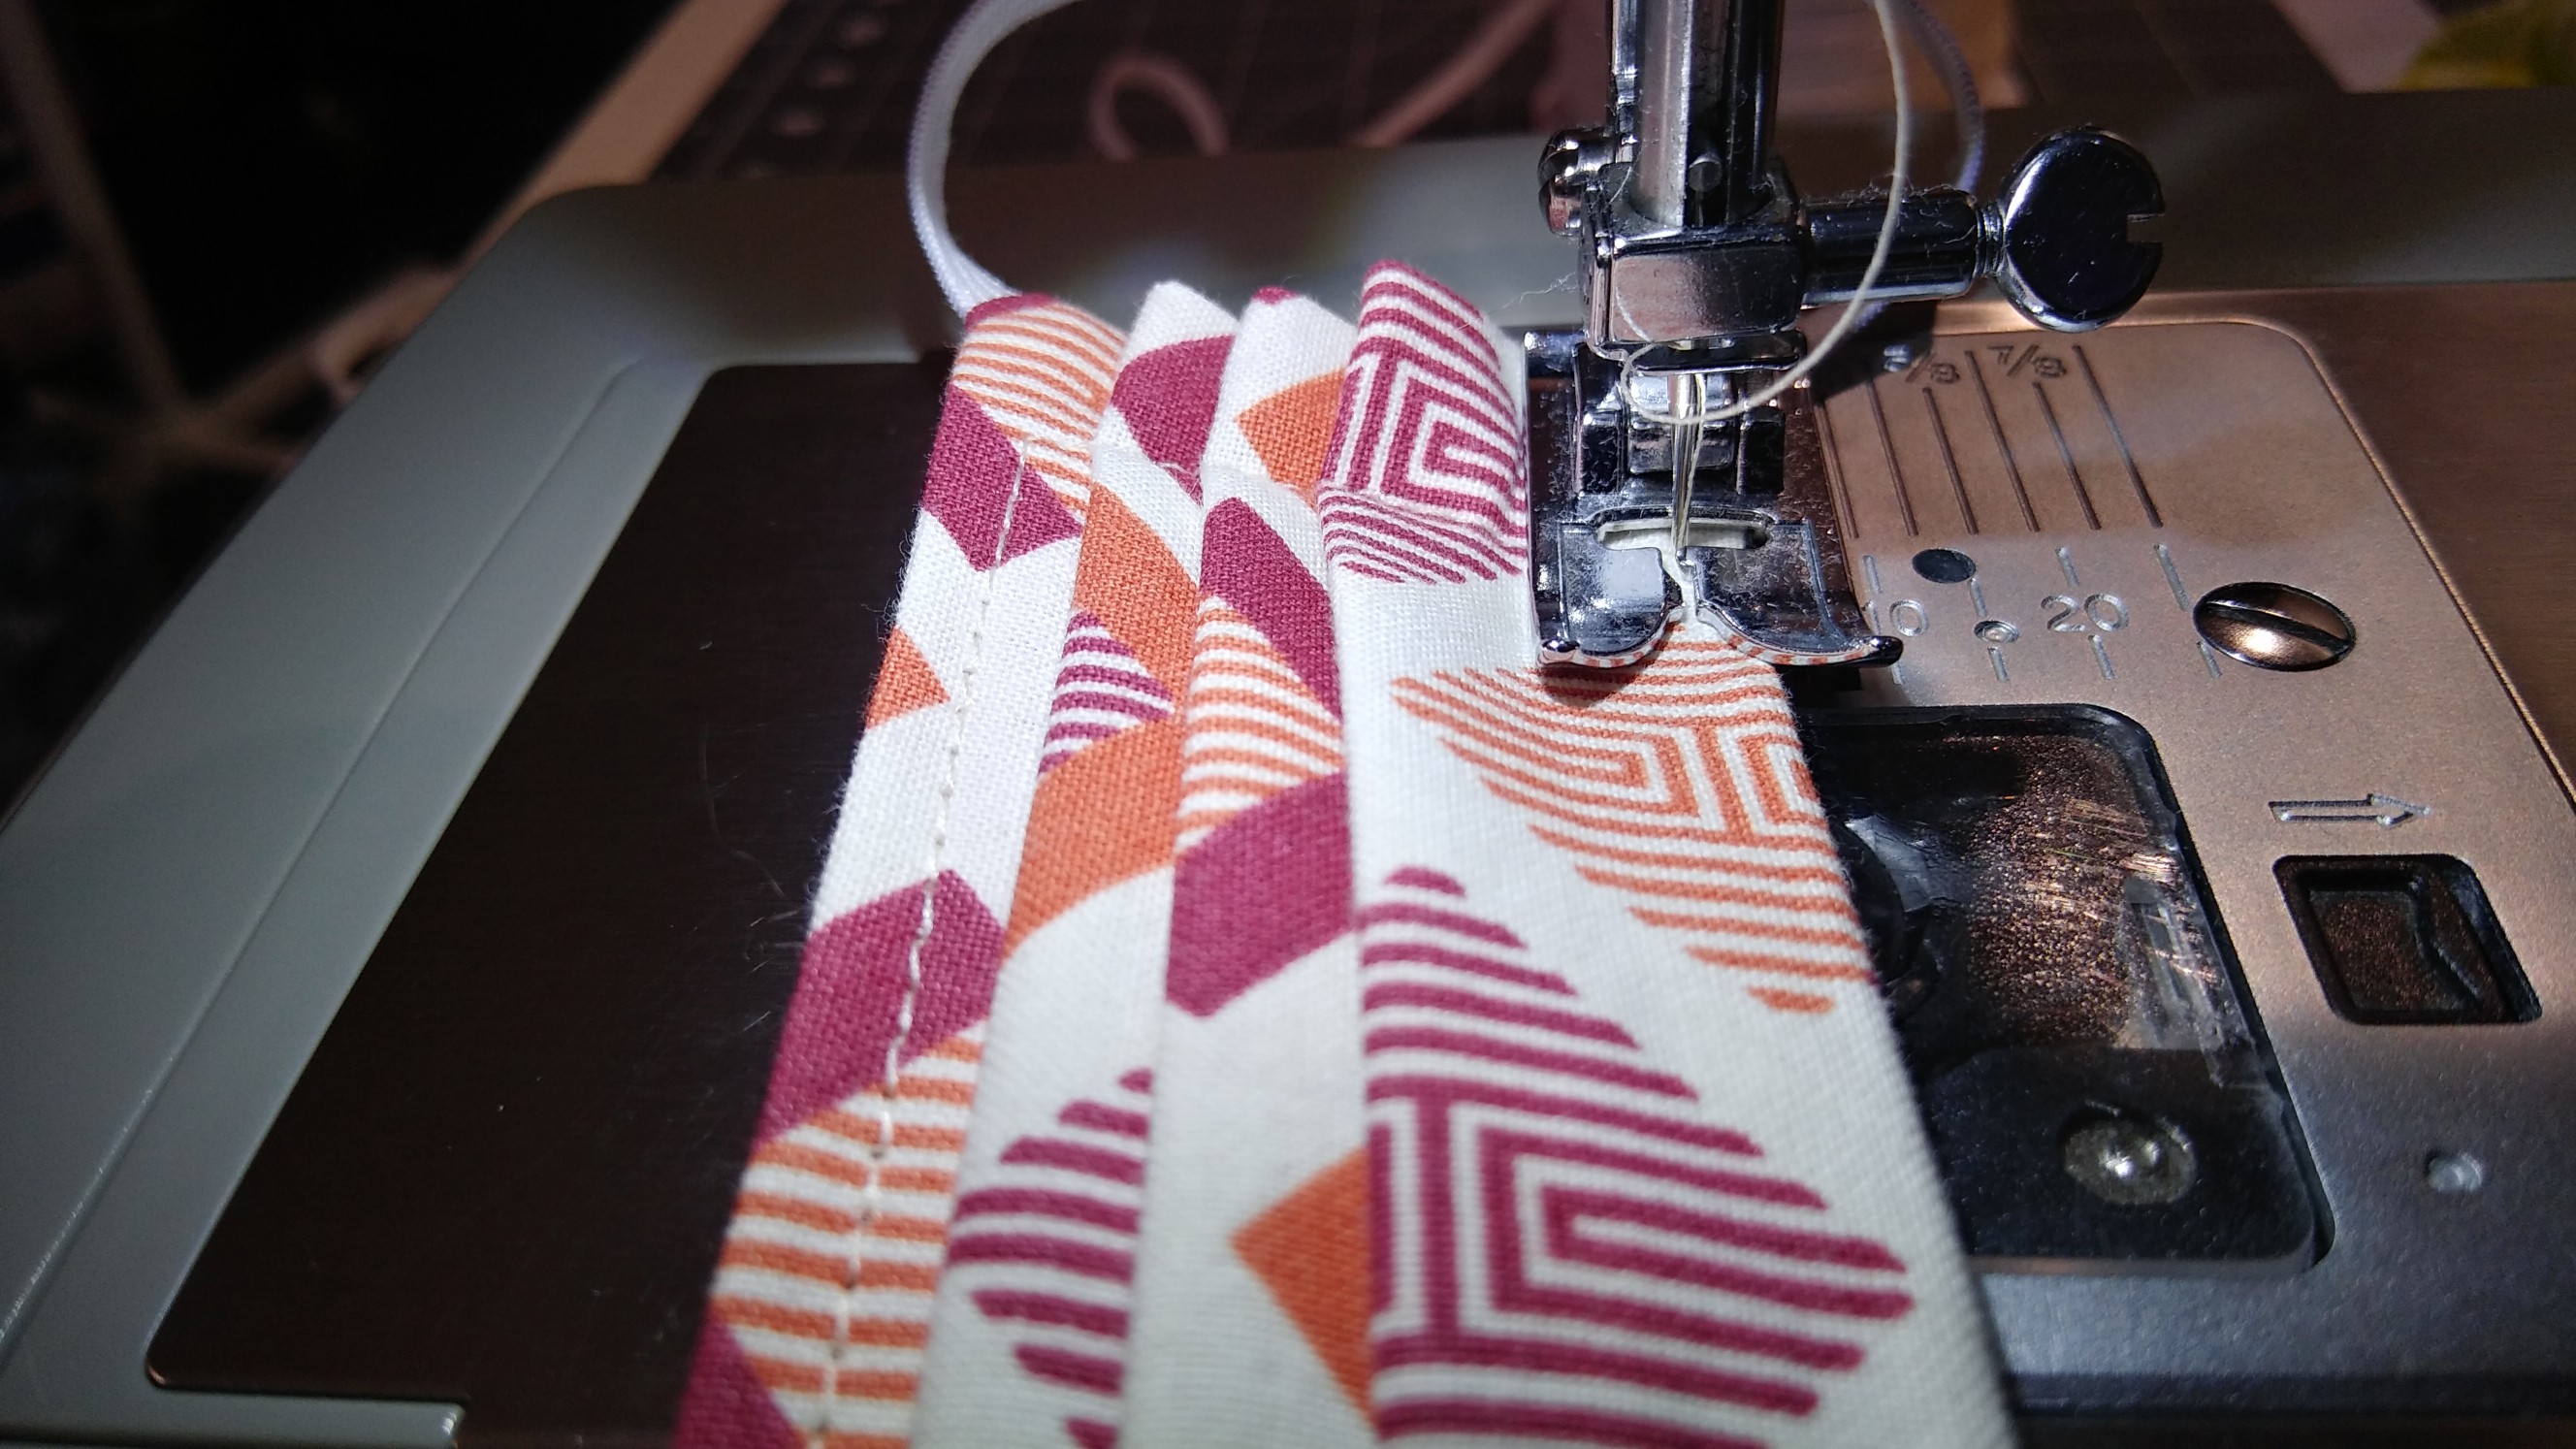
With your pleats clipped in place, go back to the machine and sew at a 1/8" seam allowance all the way around the edge. This will close your turning hole and lock your pleats in place.
![]()
You may want to increase the seam allowance to 1/4" or more on the short sides for stronger pleats. This is a 5/8" seam allowance.
![]()
-
10Try it on!
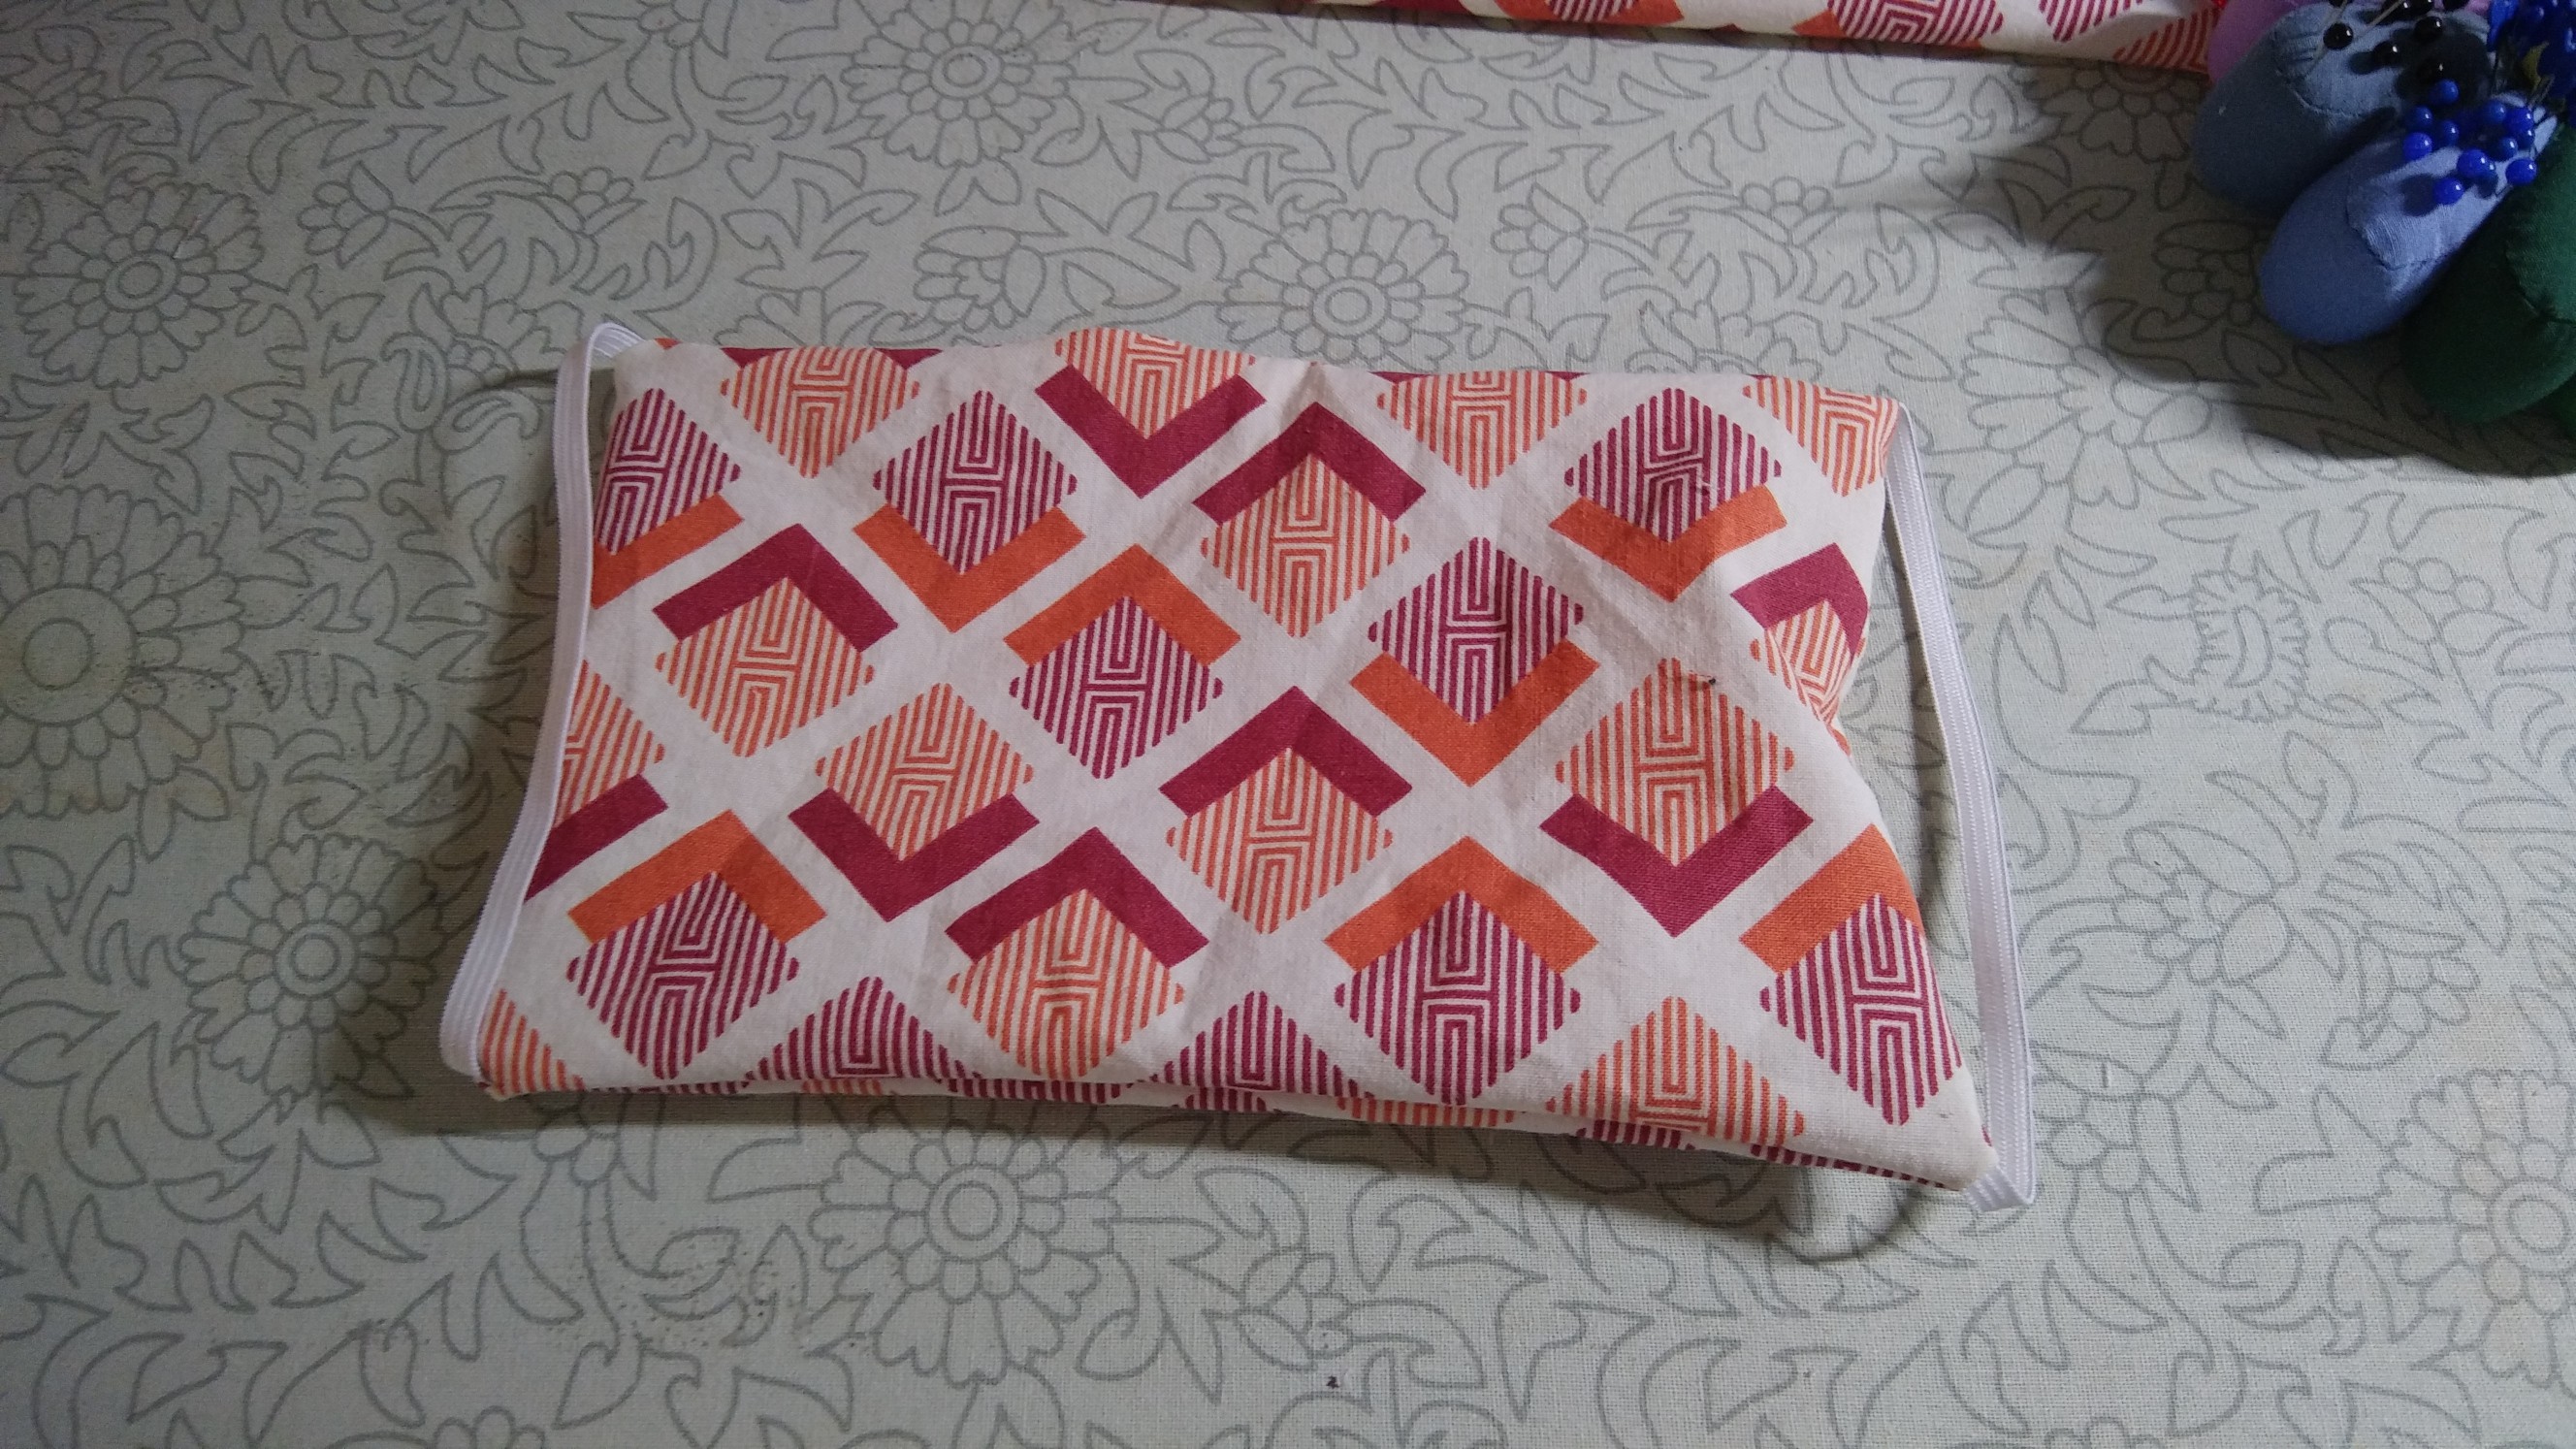
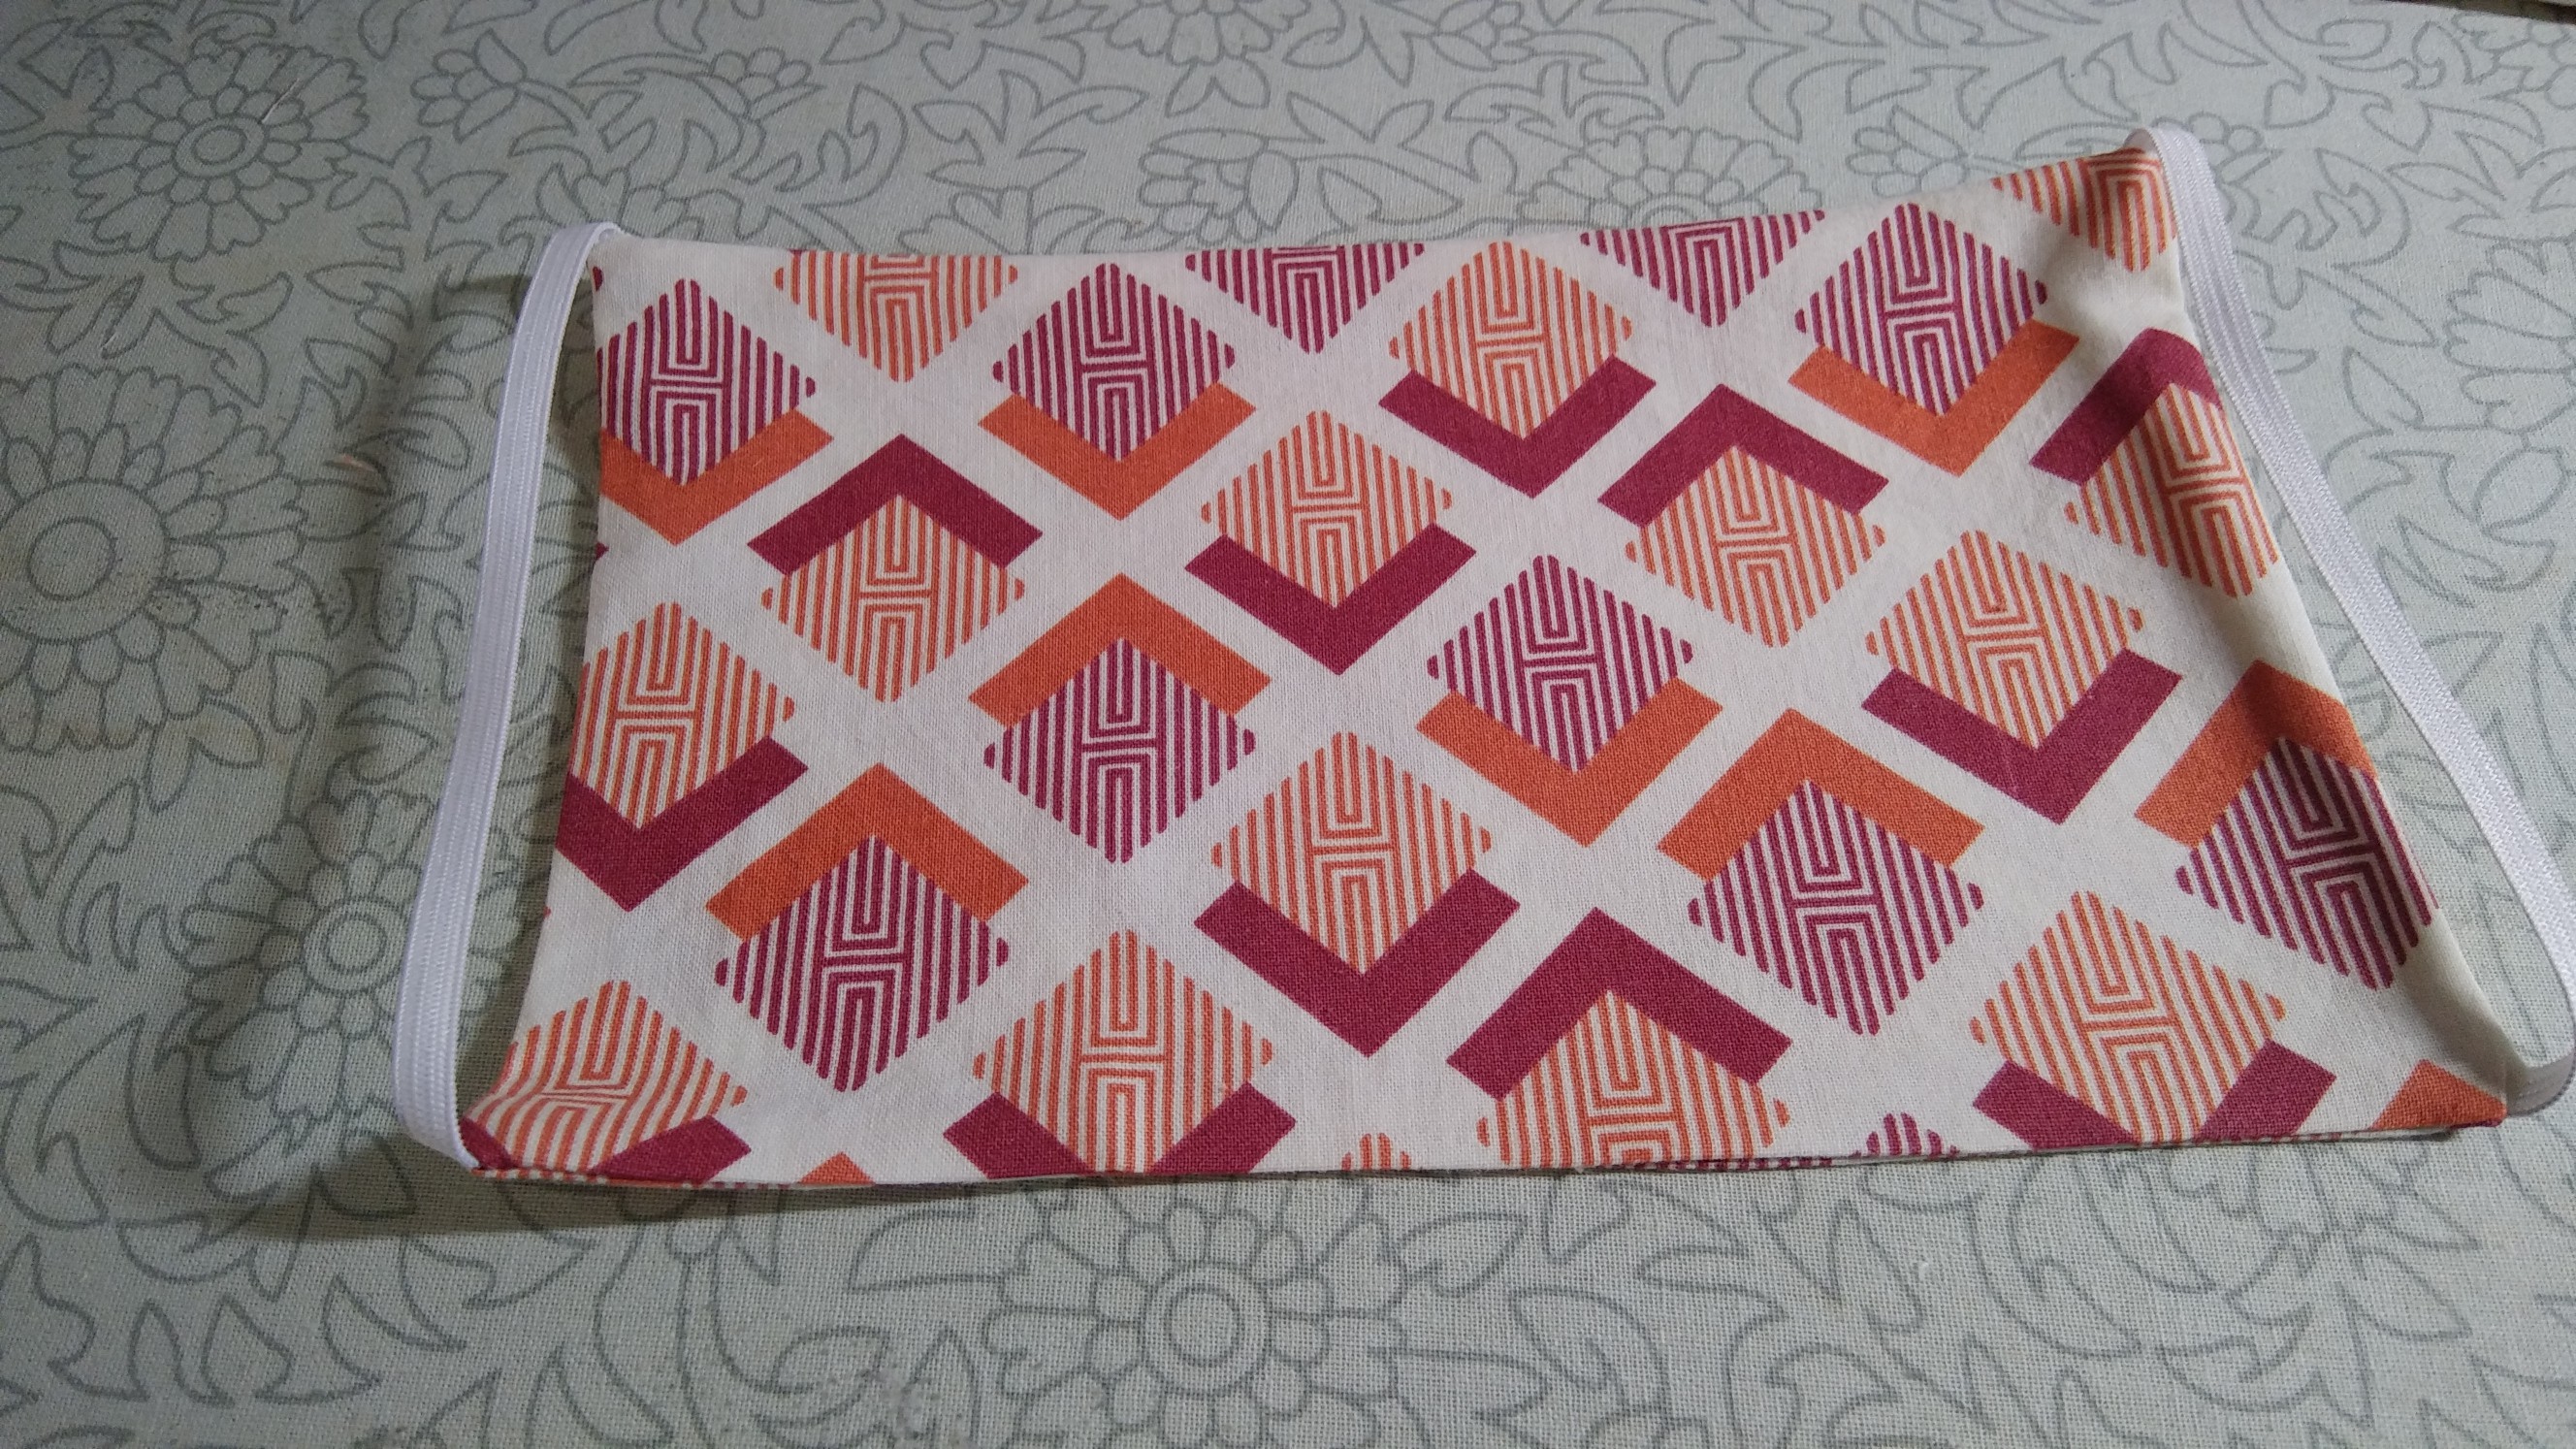
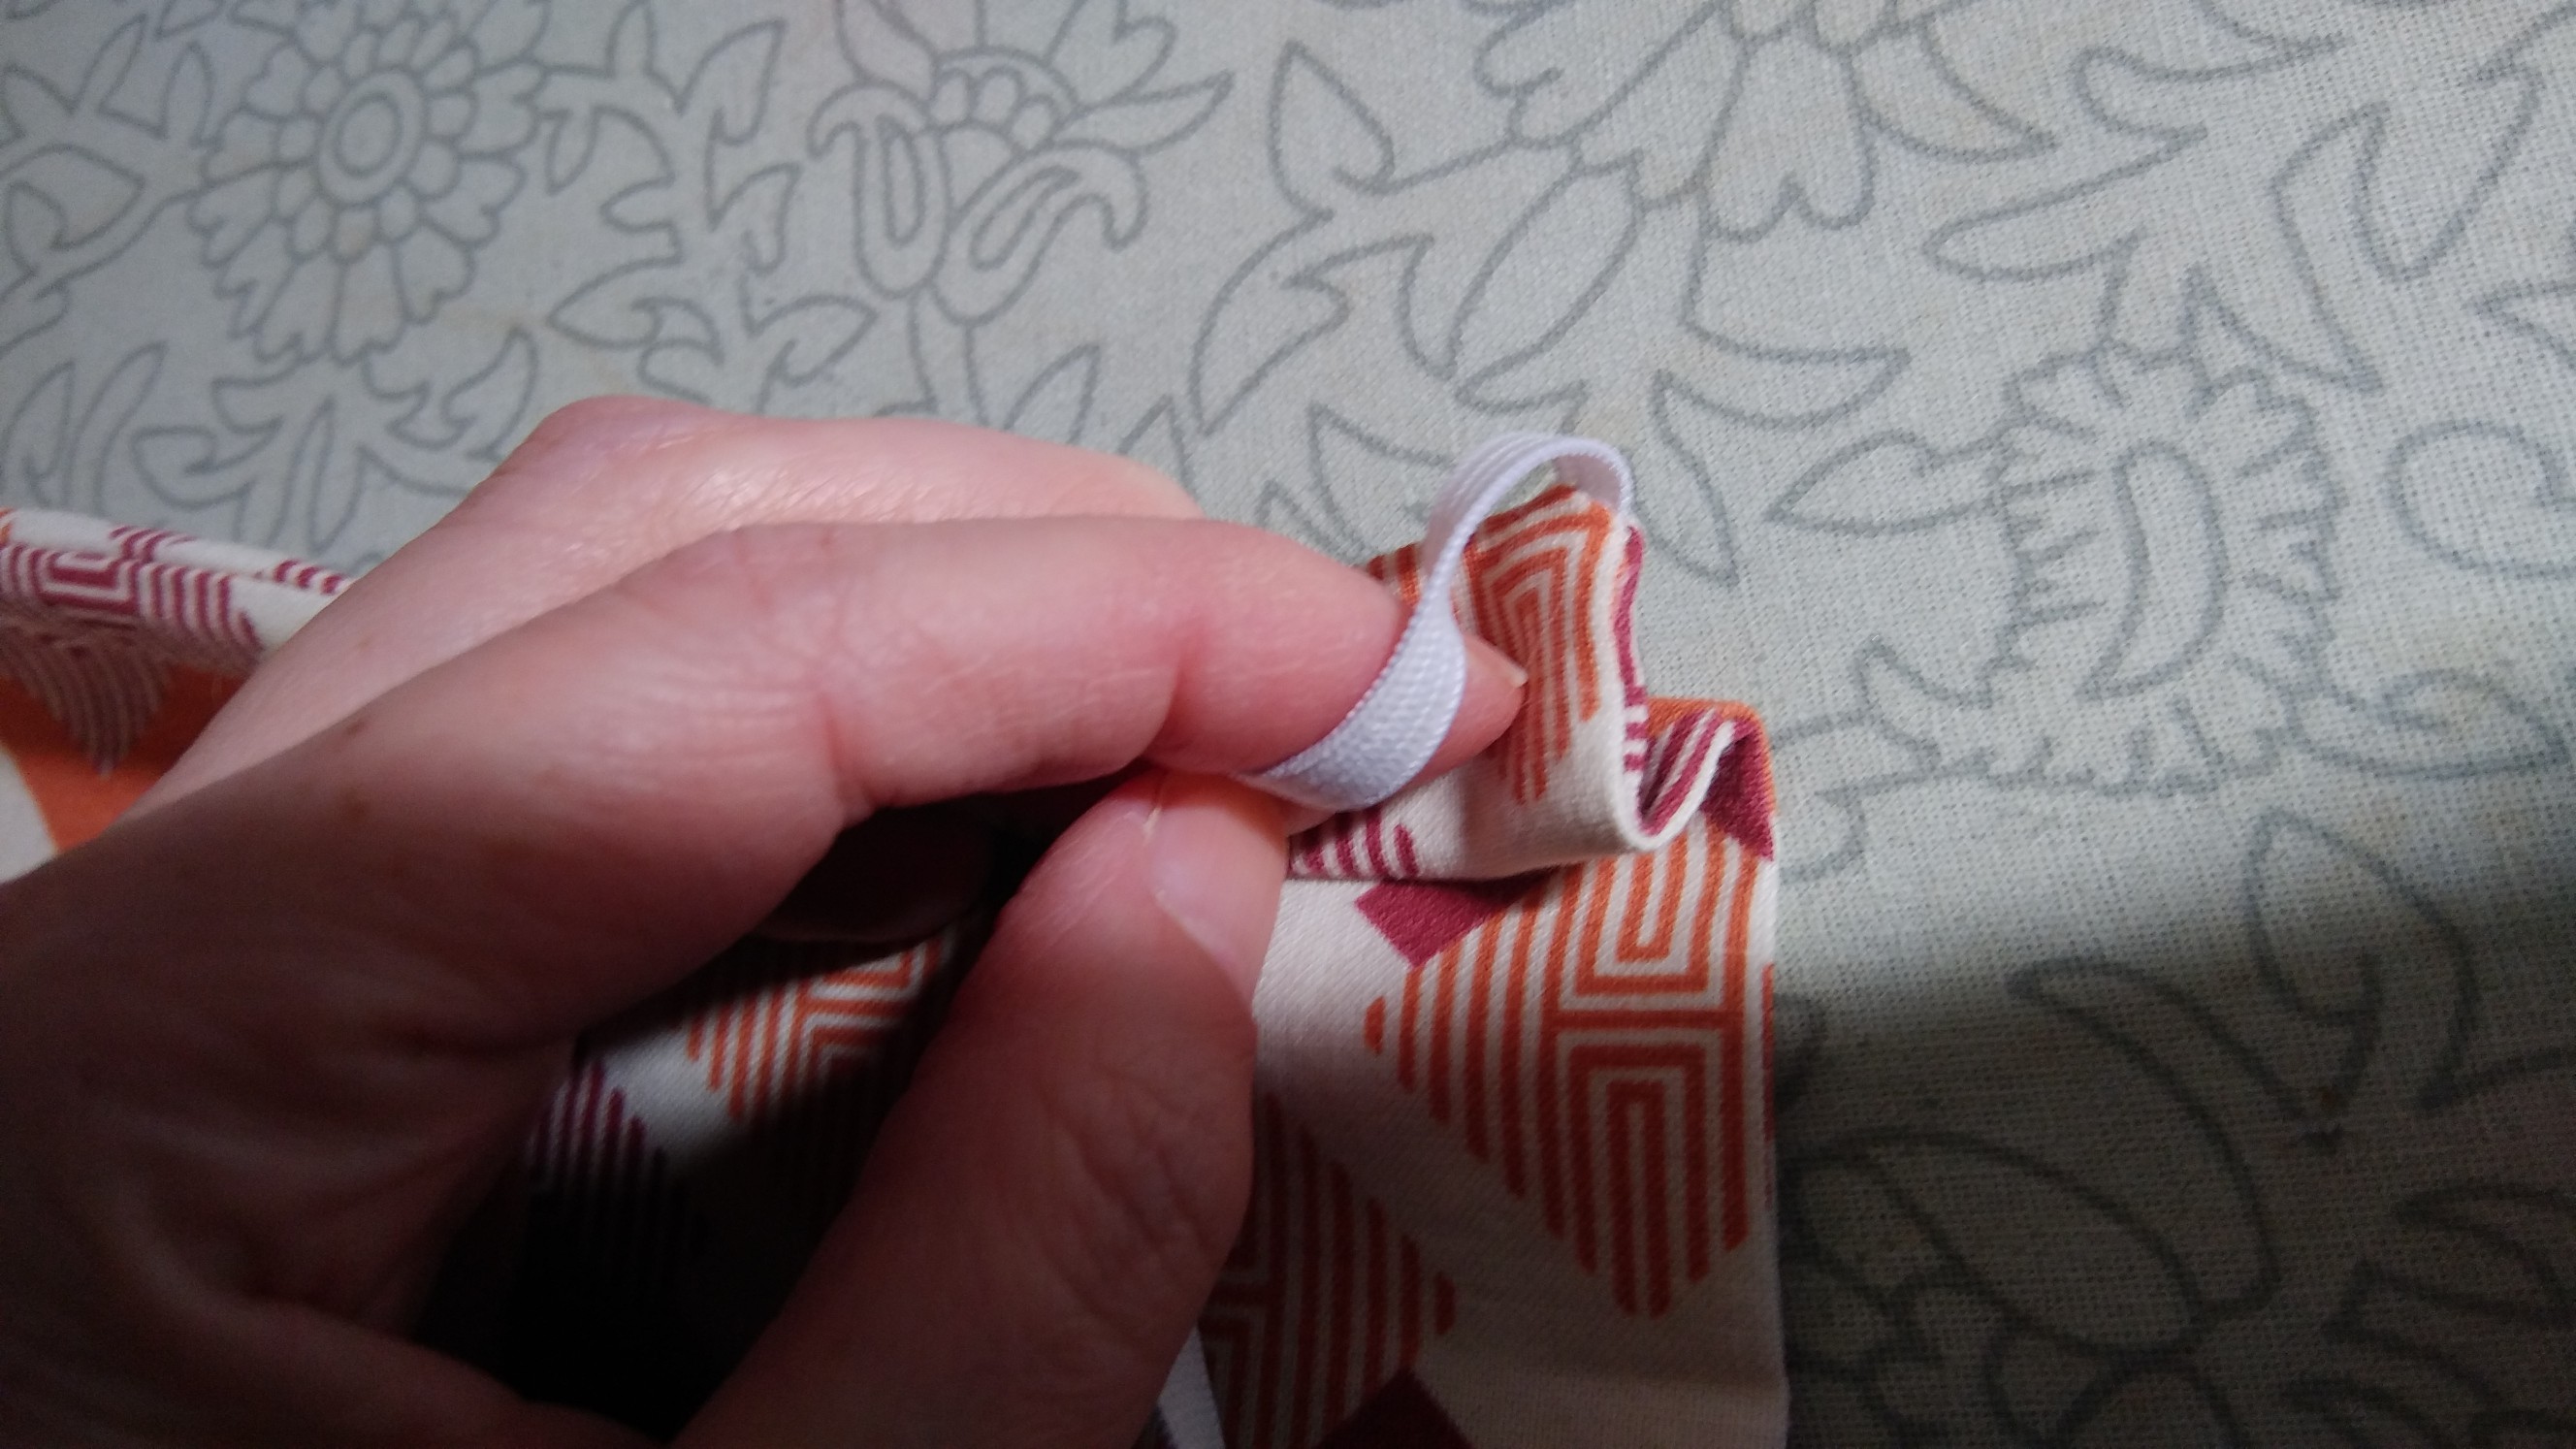
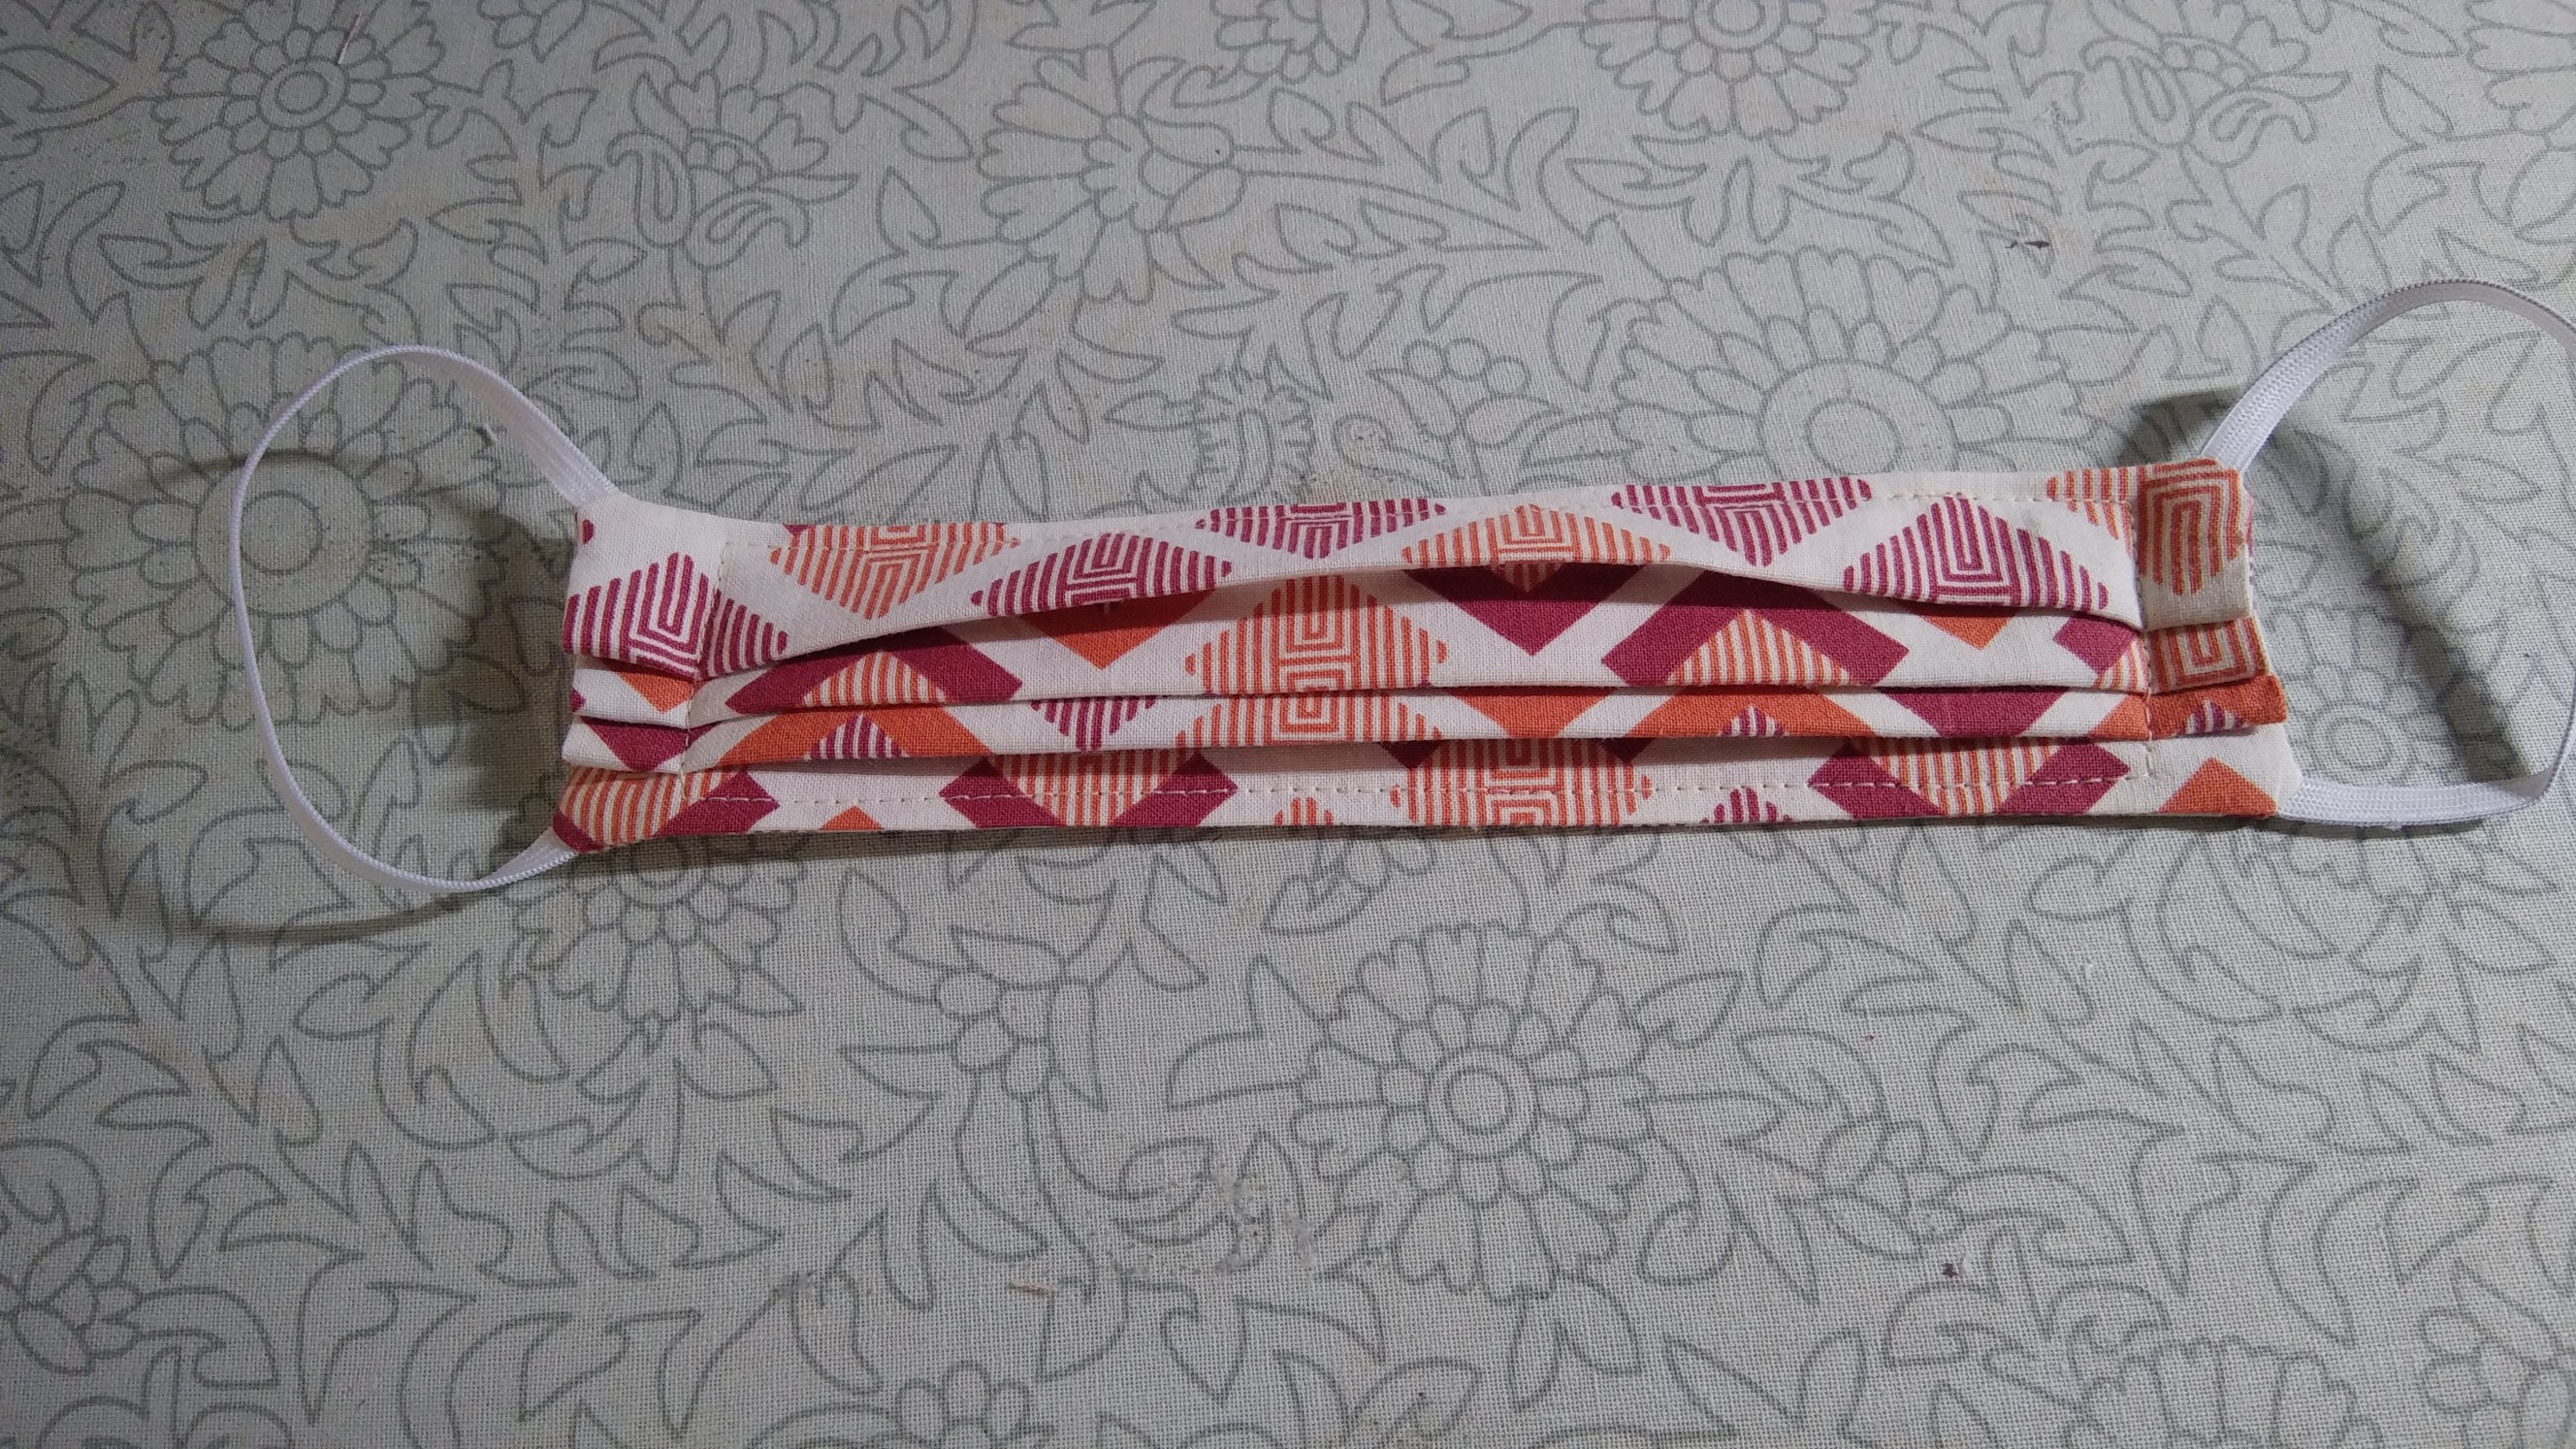
Elastic too loose? You can fold it at the centers and sew to make the mask fit tighter. Elastic too tight? Sorry. Better luck next time. You might be able to stretch it out enough to work, but you might as well just make another mask. Surely you know someone who could use the one that's too small.
![]()
![]()
 kristina panos





Discussions
Become a Hackaday.io Member
Create an account to leave a comment. Already have an account? Log In.