-
1Order Materials
The circuit board was ordered from OSHPark, but I have also ordered PCBs from PCB Way in the past with good results, OSHPark's ordering process is just a bit more intuitive. You can download the necessary gerber files here.
Parts can be ordered from all the standard electronics supply houses, Mouser and Digikey being my mainstays. I have compiled the list of parts you need on the project page here.
-
2Installation
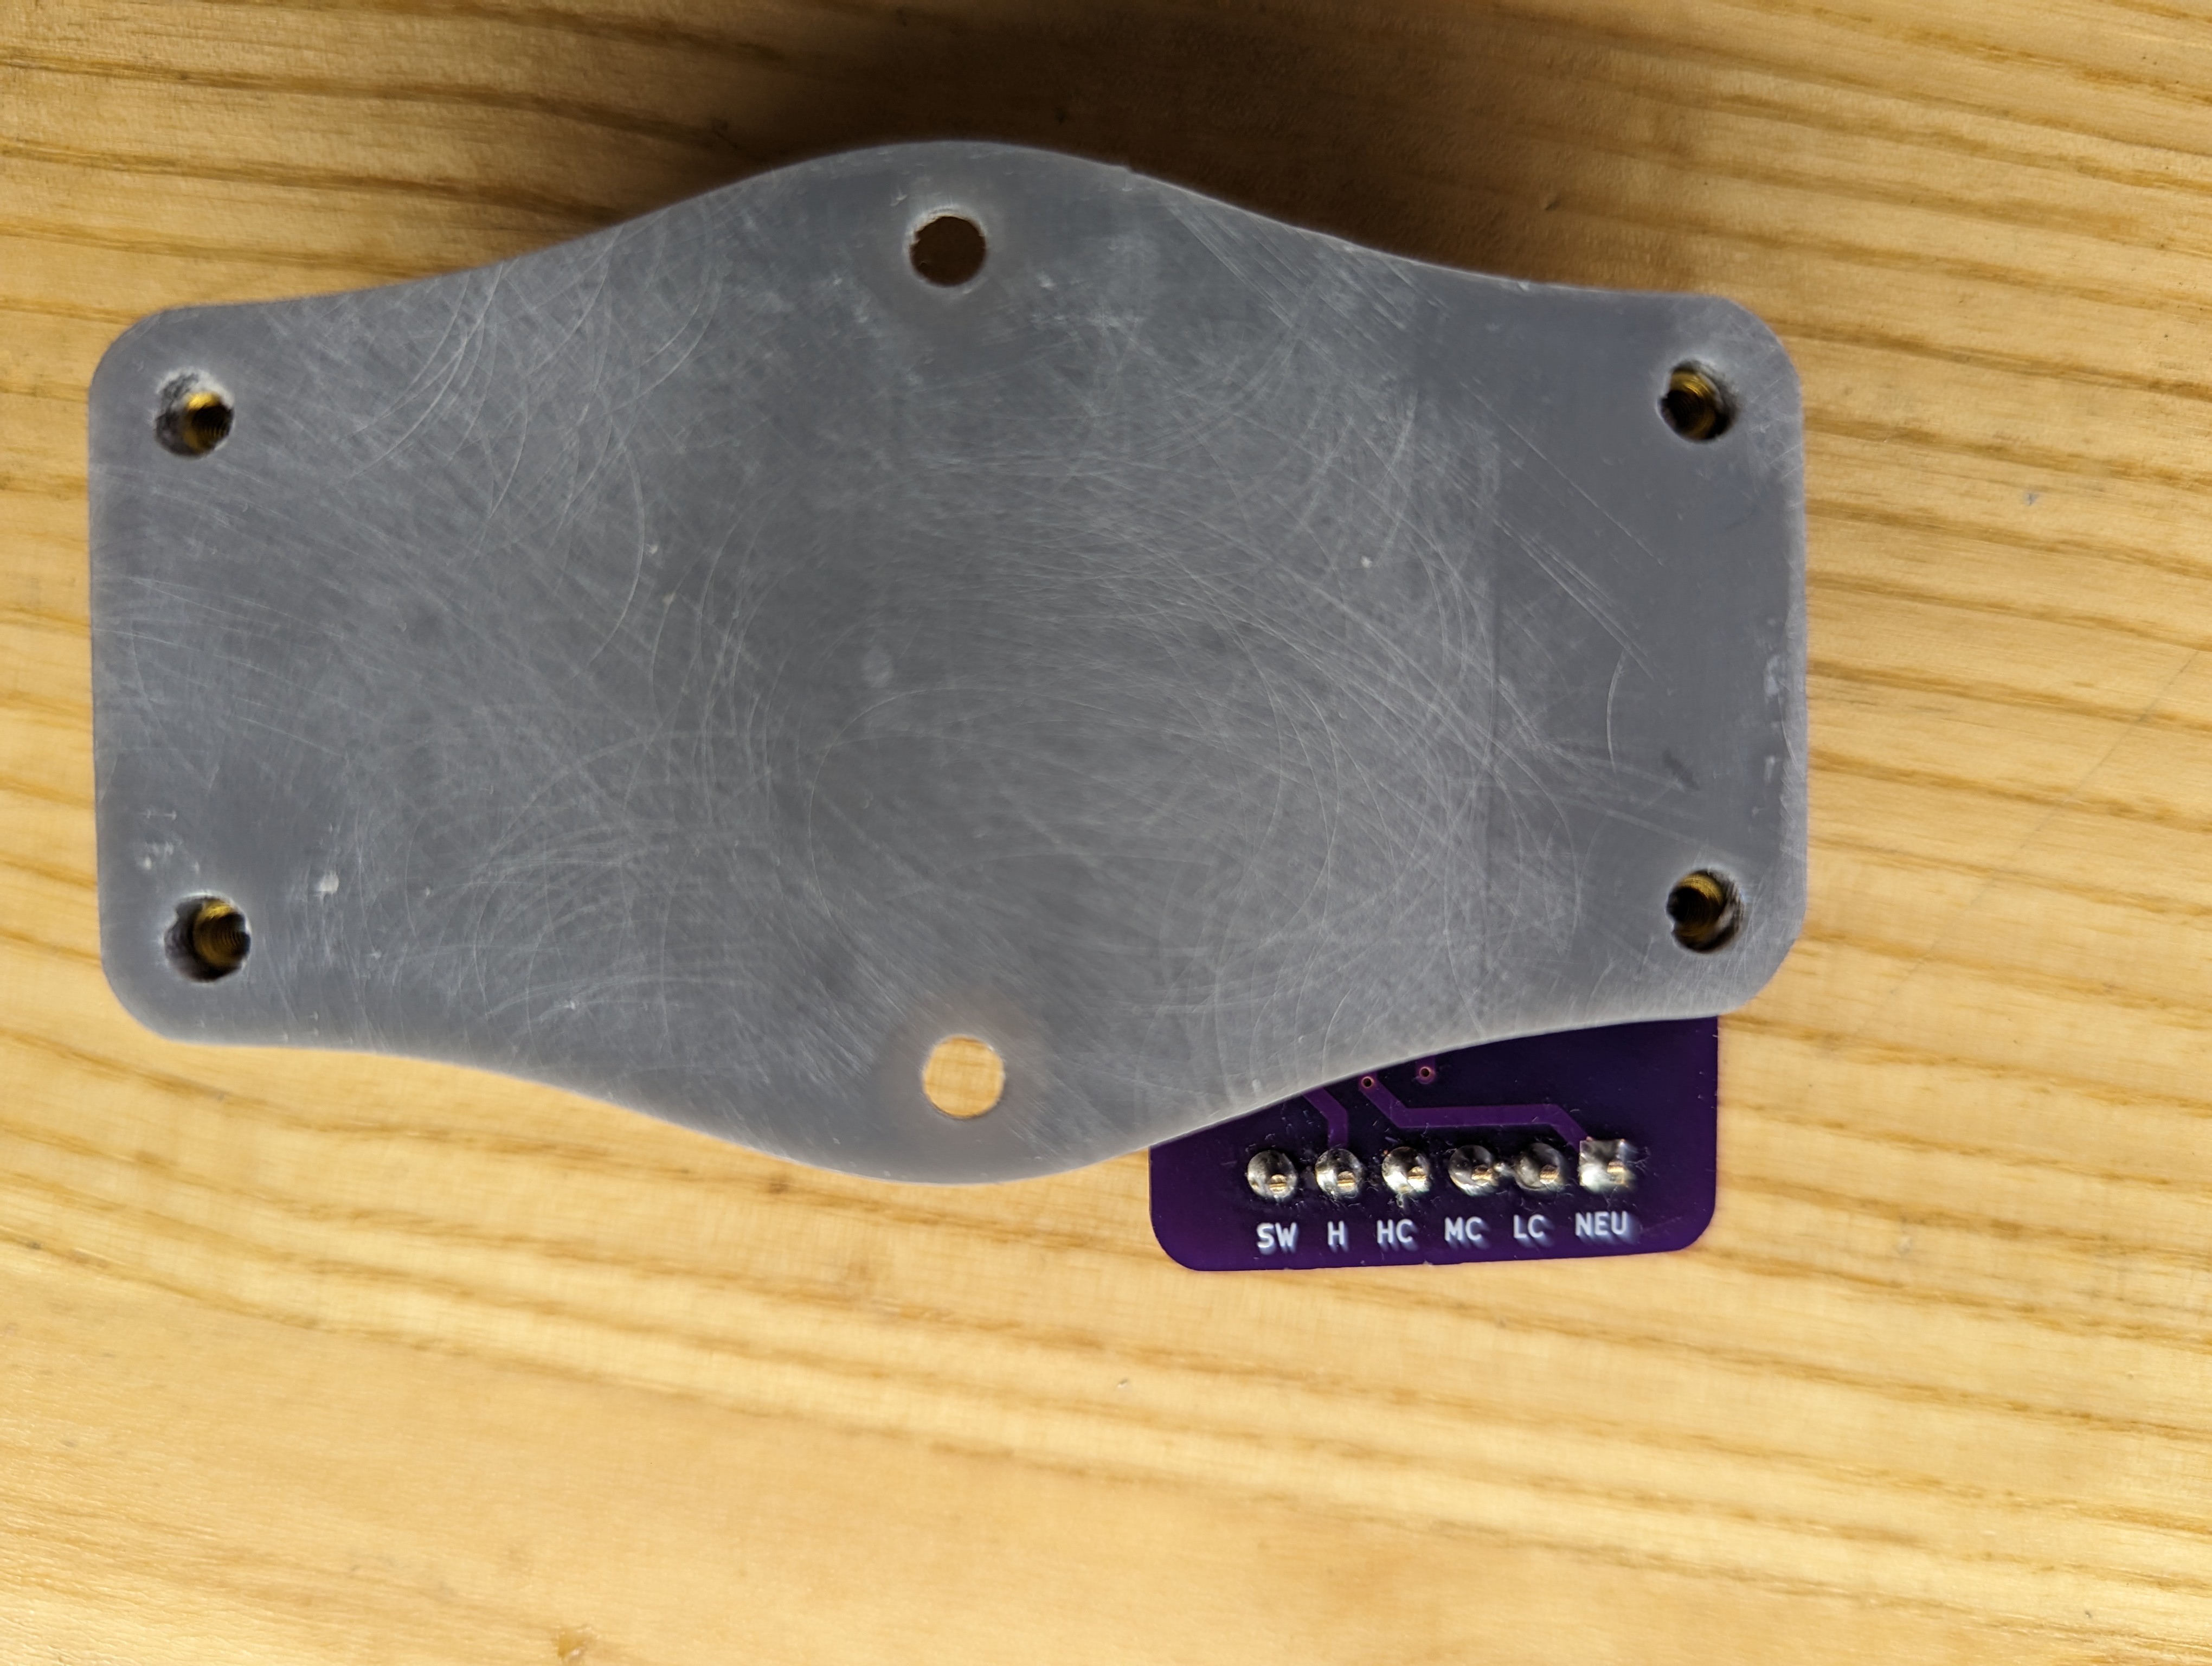
The board as it is made has silkscreening on the bottom marking the hookups for each wire attached to the doorbell. Here is a picture of that:
![]() The notations are as follows:
The notations are as follows:
SW - Switch hot, this should be connected to the doorbell switch on the terminal
H - this should be the constant hot from the terminal (connected directly to the transformer)
HC - High Chime, wire connecting to the high chime
MC - Mid Chime, wire connecting to the middle chime
LC - Low Chime, wire connecting to the low chime
NEU - Connect to the neutral terminal post (connected directly to the neutral wire on the transformer) -
3Installation of the mount on the doorbell
On the back of the doorbell, there are six screws that hold the brass resonators onto the mounting plate. In order to mount the new sequencer, you need to remove the center two screws. Once removed, center the sequencer mount so the two center holes align with the two screw holes that you just removed. Use the screws to fasten the sequencer mount to the mounting plate, making sure to catch the screws in their original holes in the resonator.
-
4Flashing the software
This project is using ESPhome as the arduino software that actually does the work of ringing the chimes. In order to install it on the esp board, you’ll need the ESPhome server which can be installed in multiple ways.
As an add-on to home-assistant: https://esphome.io/guides/getting_started_hassio
As a docker image: https://esphome.io/guides/getting_started_command_line
As a standalone server: https://esphome.io/guides/installing_
Once you do, you can use the yaml file in the files section to flash your microcontroller with the needed code to run your doorbell. The example YAML provides a few extra bells and whistles if you connect your doorbell to HA, but out of the box it should still ring without any inputs apart from someone pressing the doorbell button.
Rittenhouse 520 Sequencer
Replacement sequencer for a Rittenhouse 520 doorbell
 The notations are as follows:
Discussions
Become a Hackaday.io Member
Create an account to leave a comment. Already have an account? Log In.