 Alexandra Covor
-
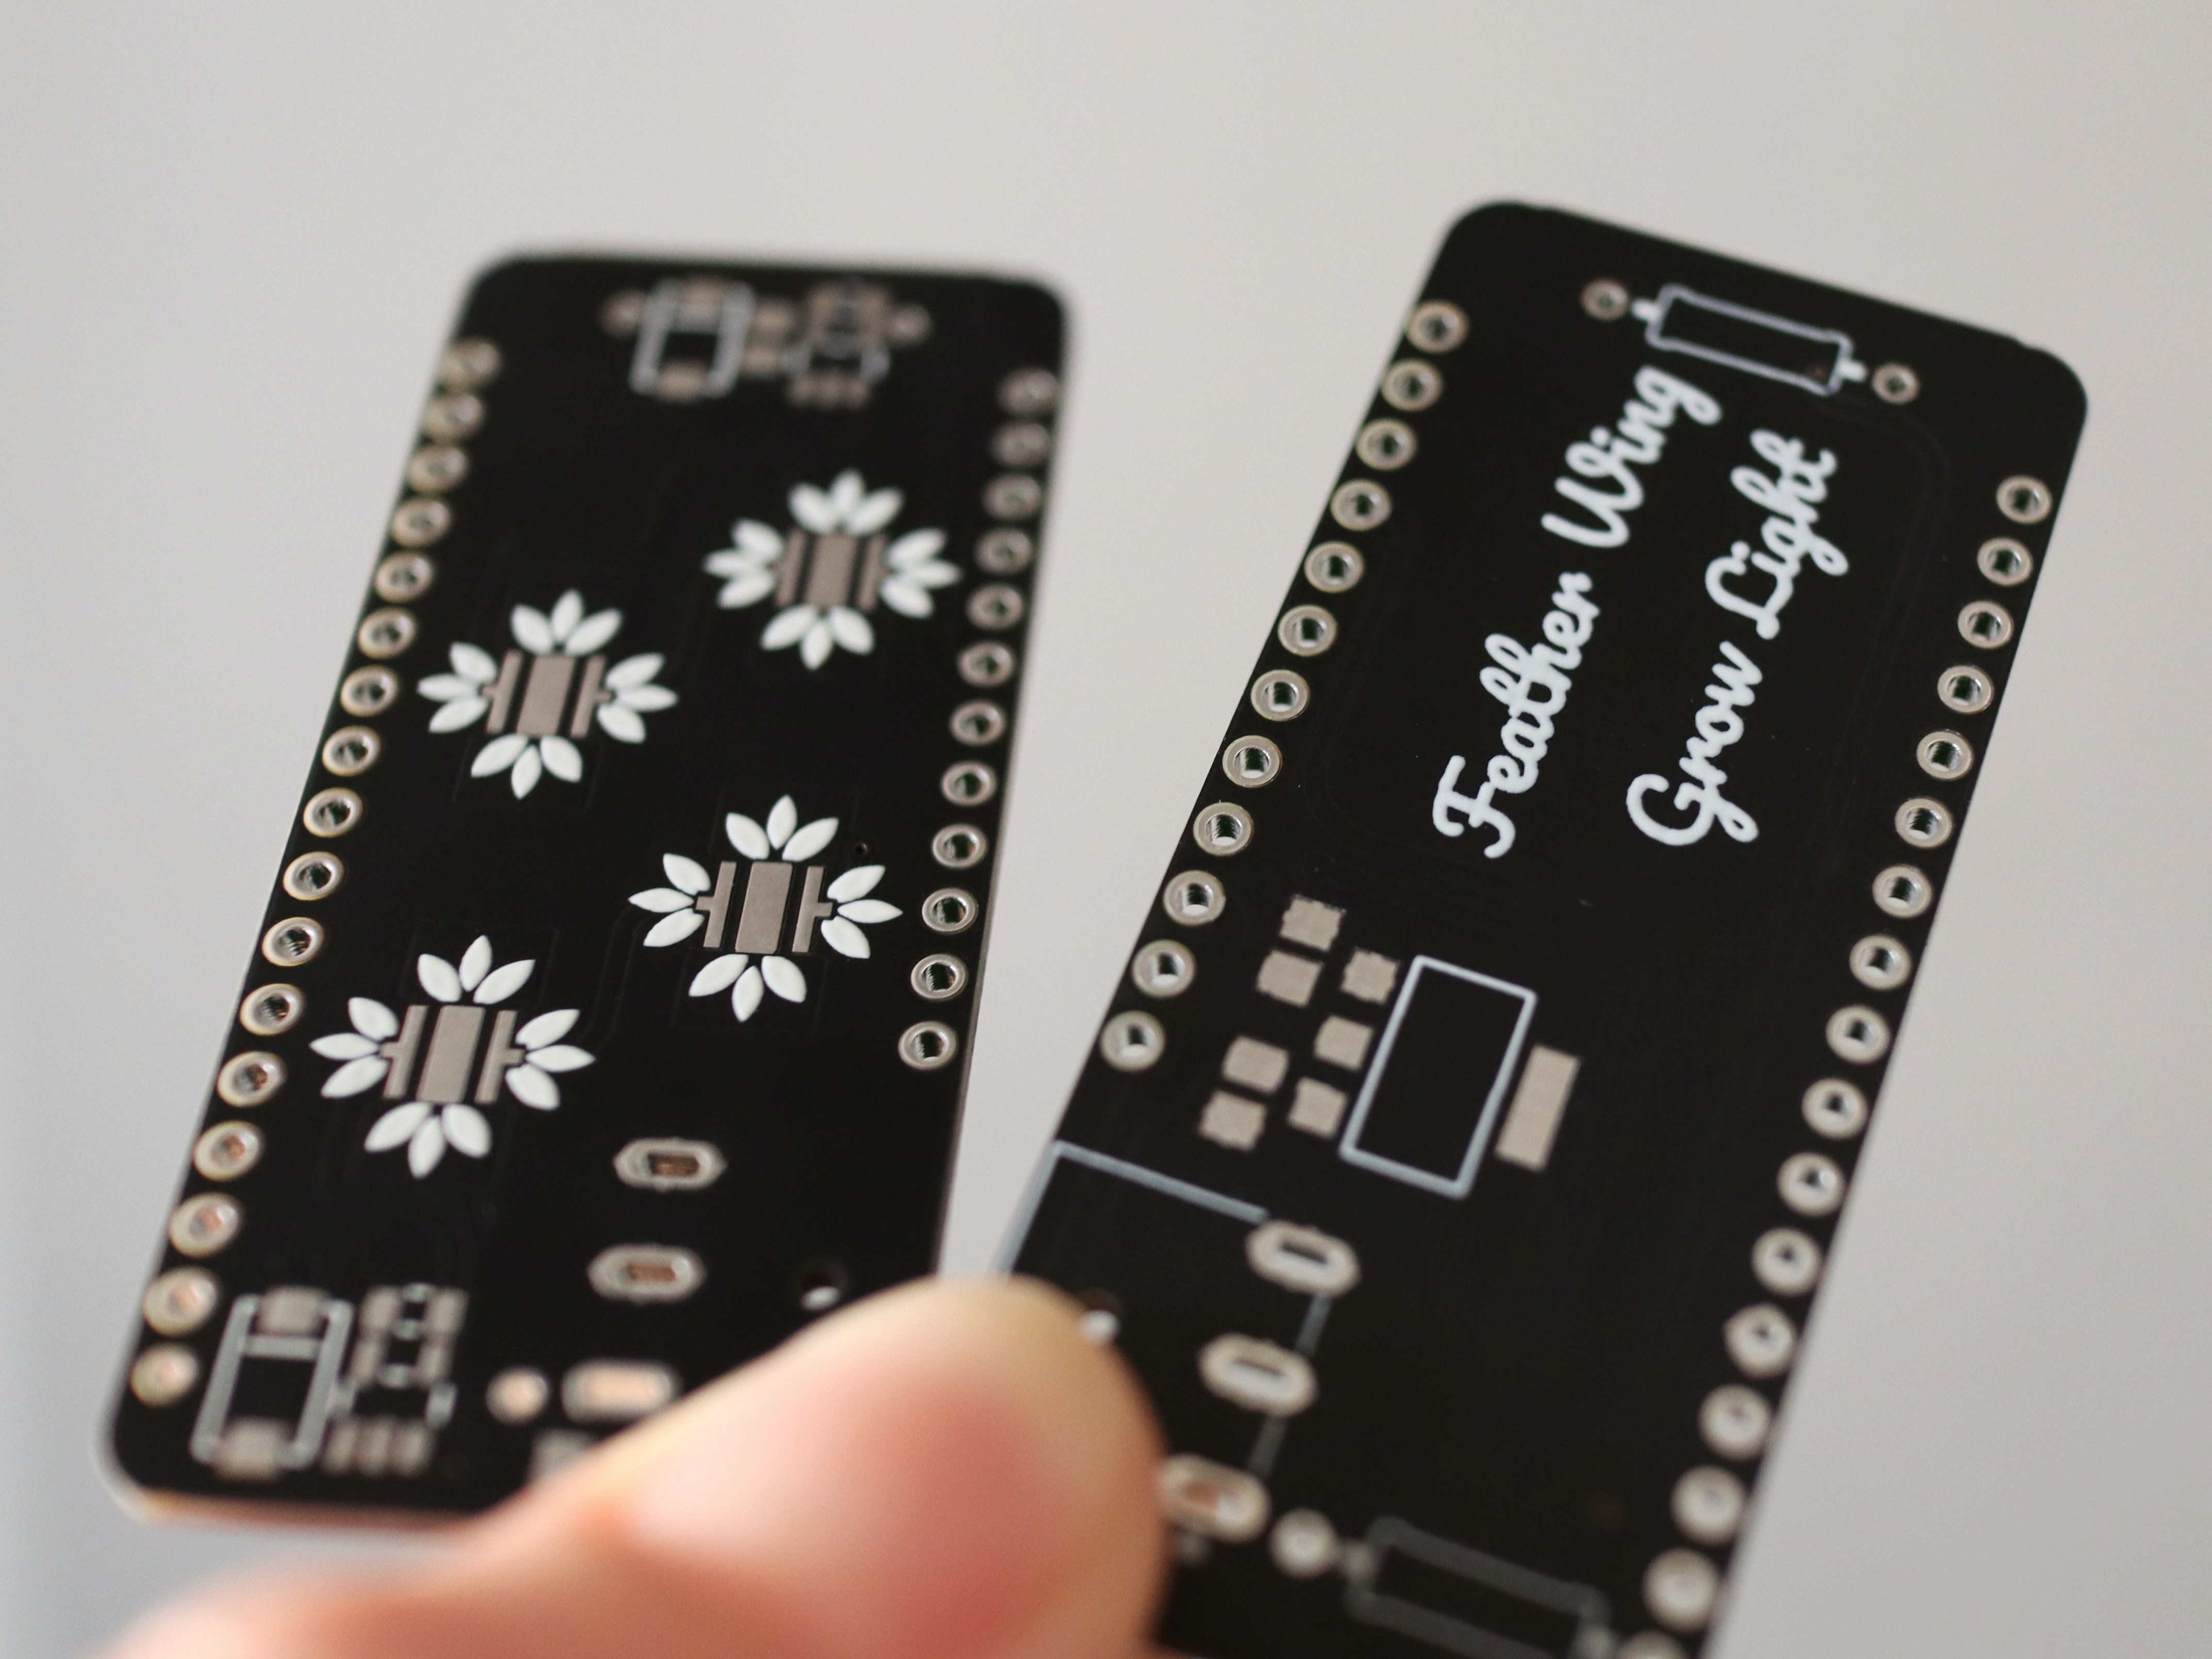
1Ordering the PCBs
I ordered the PCBs and the stencil from JLCPCB, they're super fast and the quality never disappoints!
You can find the Eagle CAD files in the Github repository which I've linked in the project description.
![]()
-
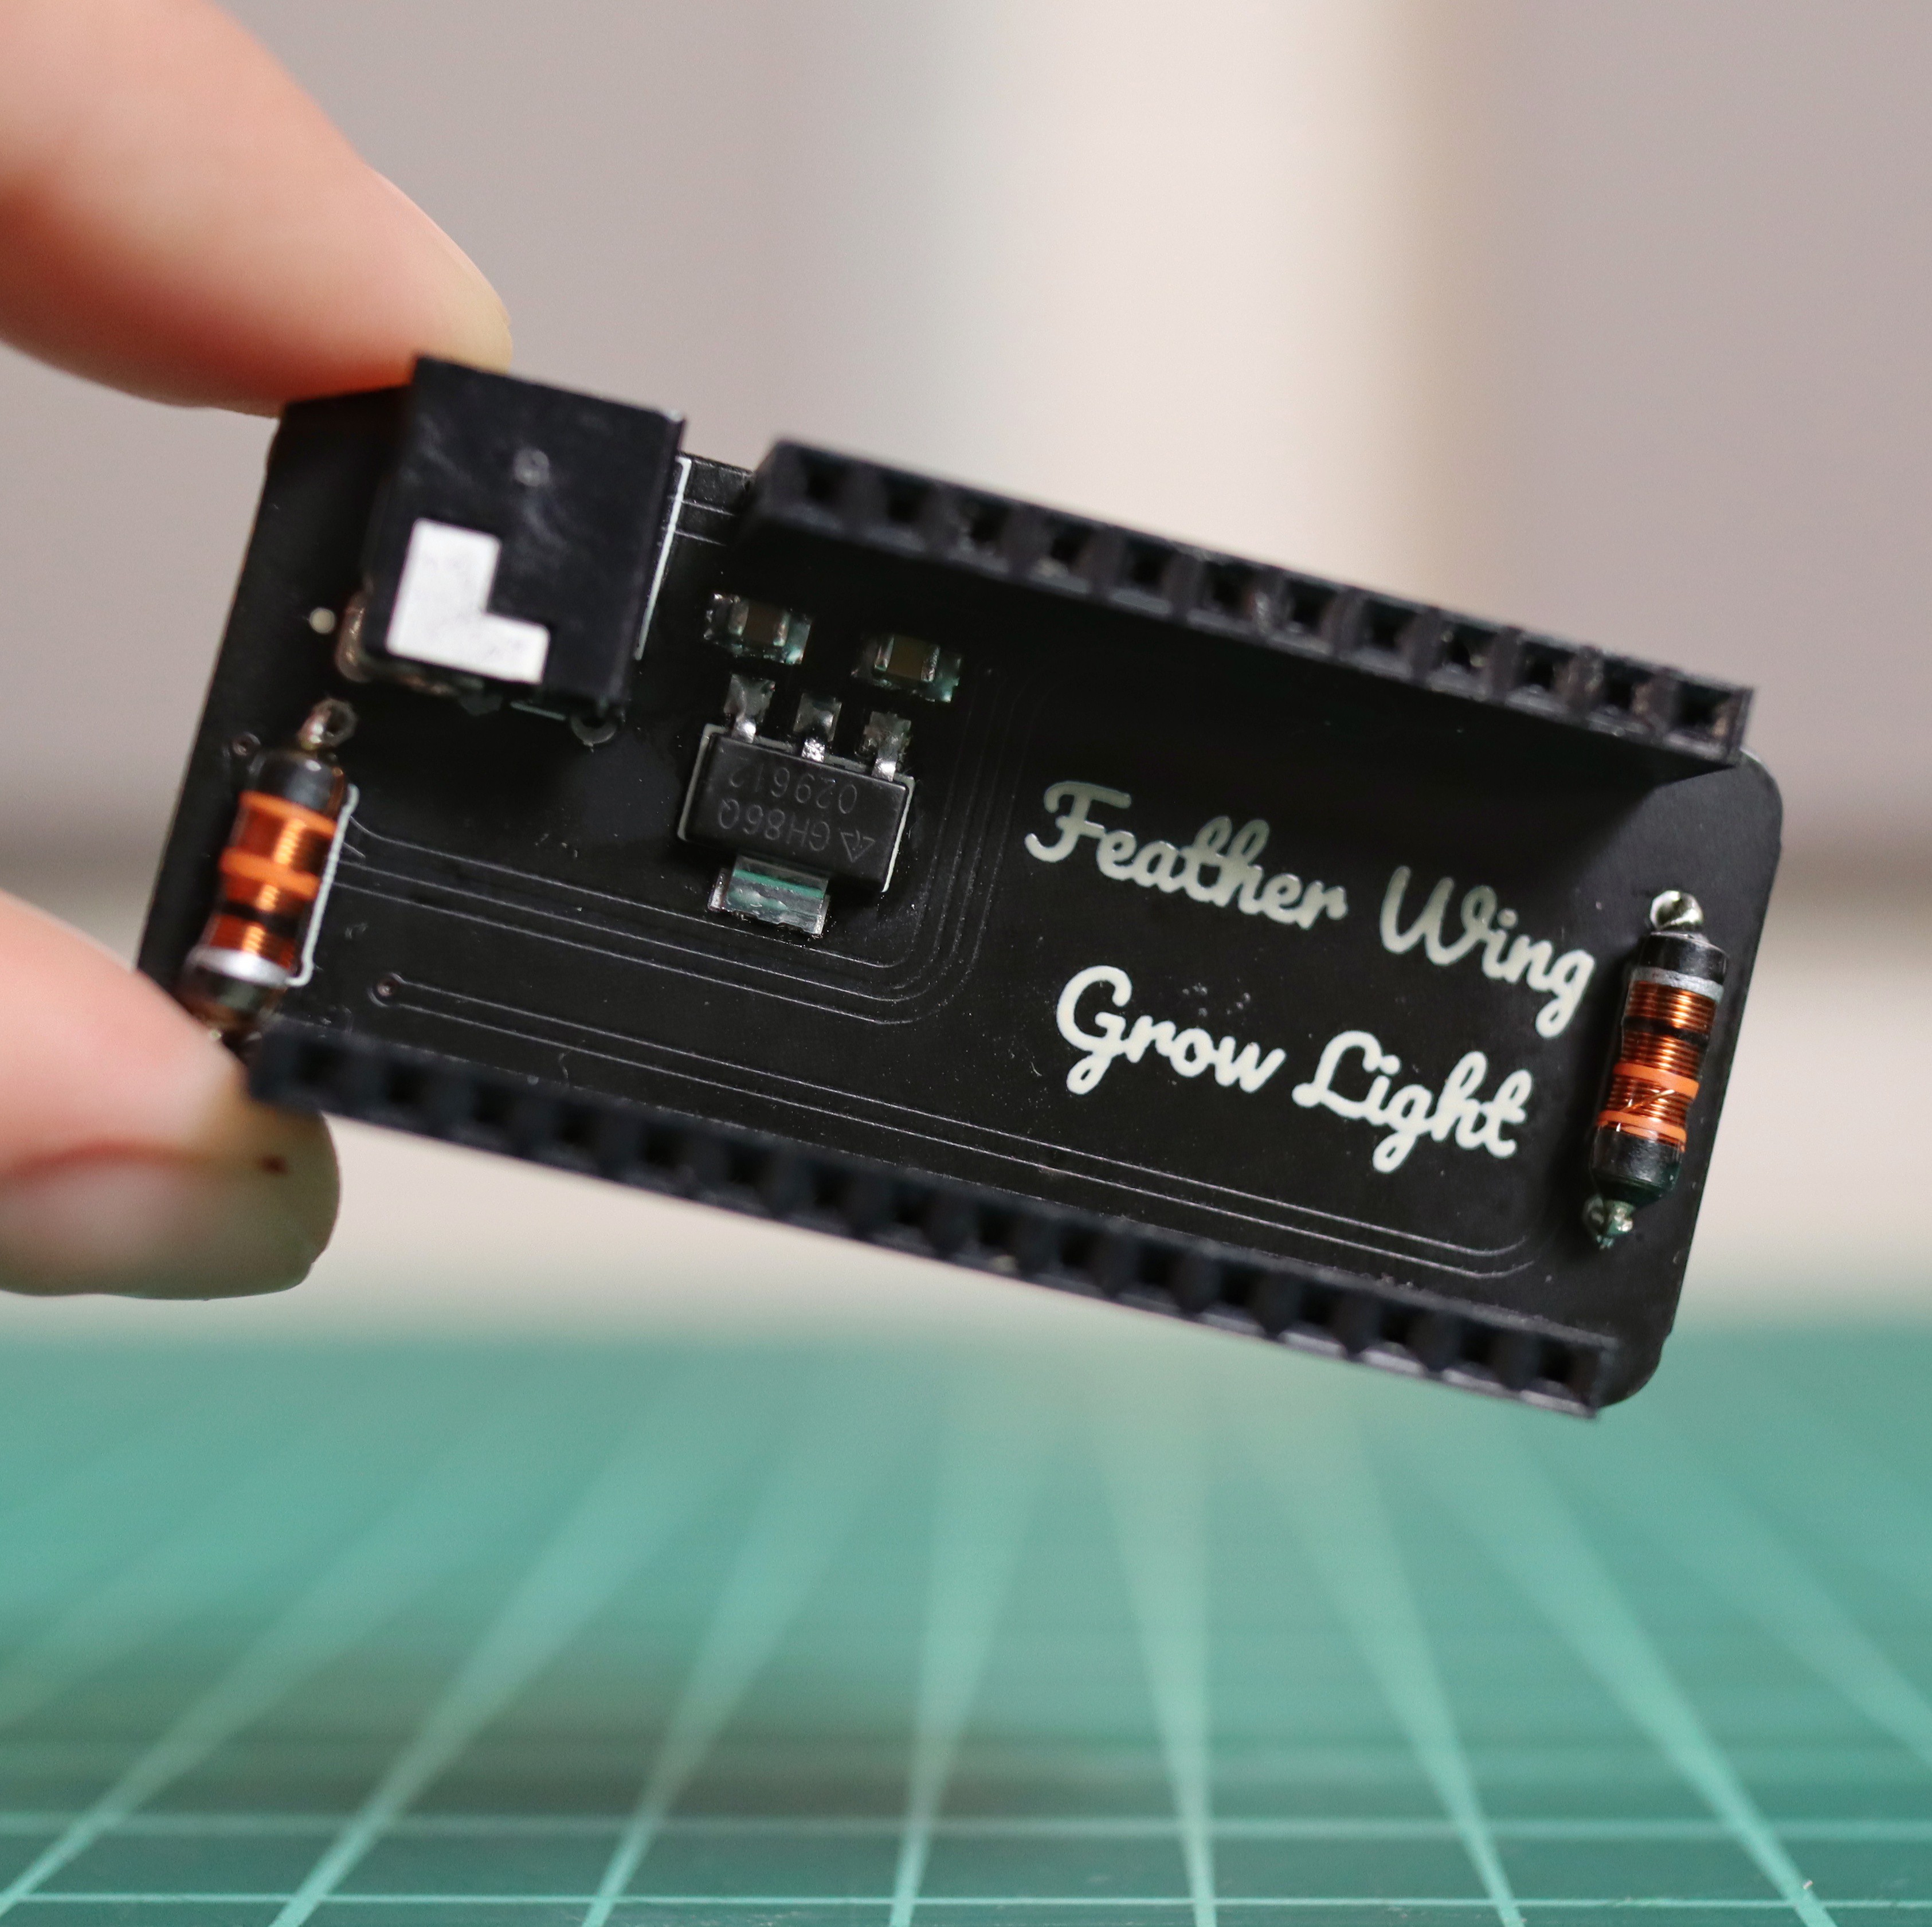
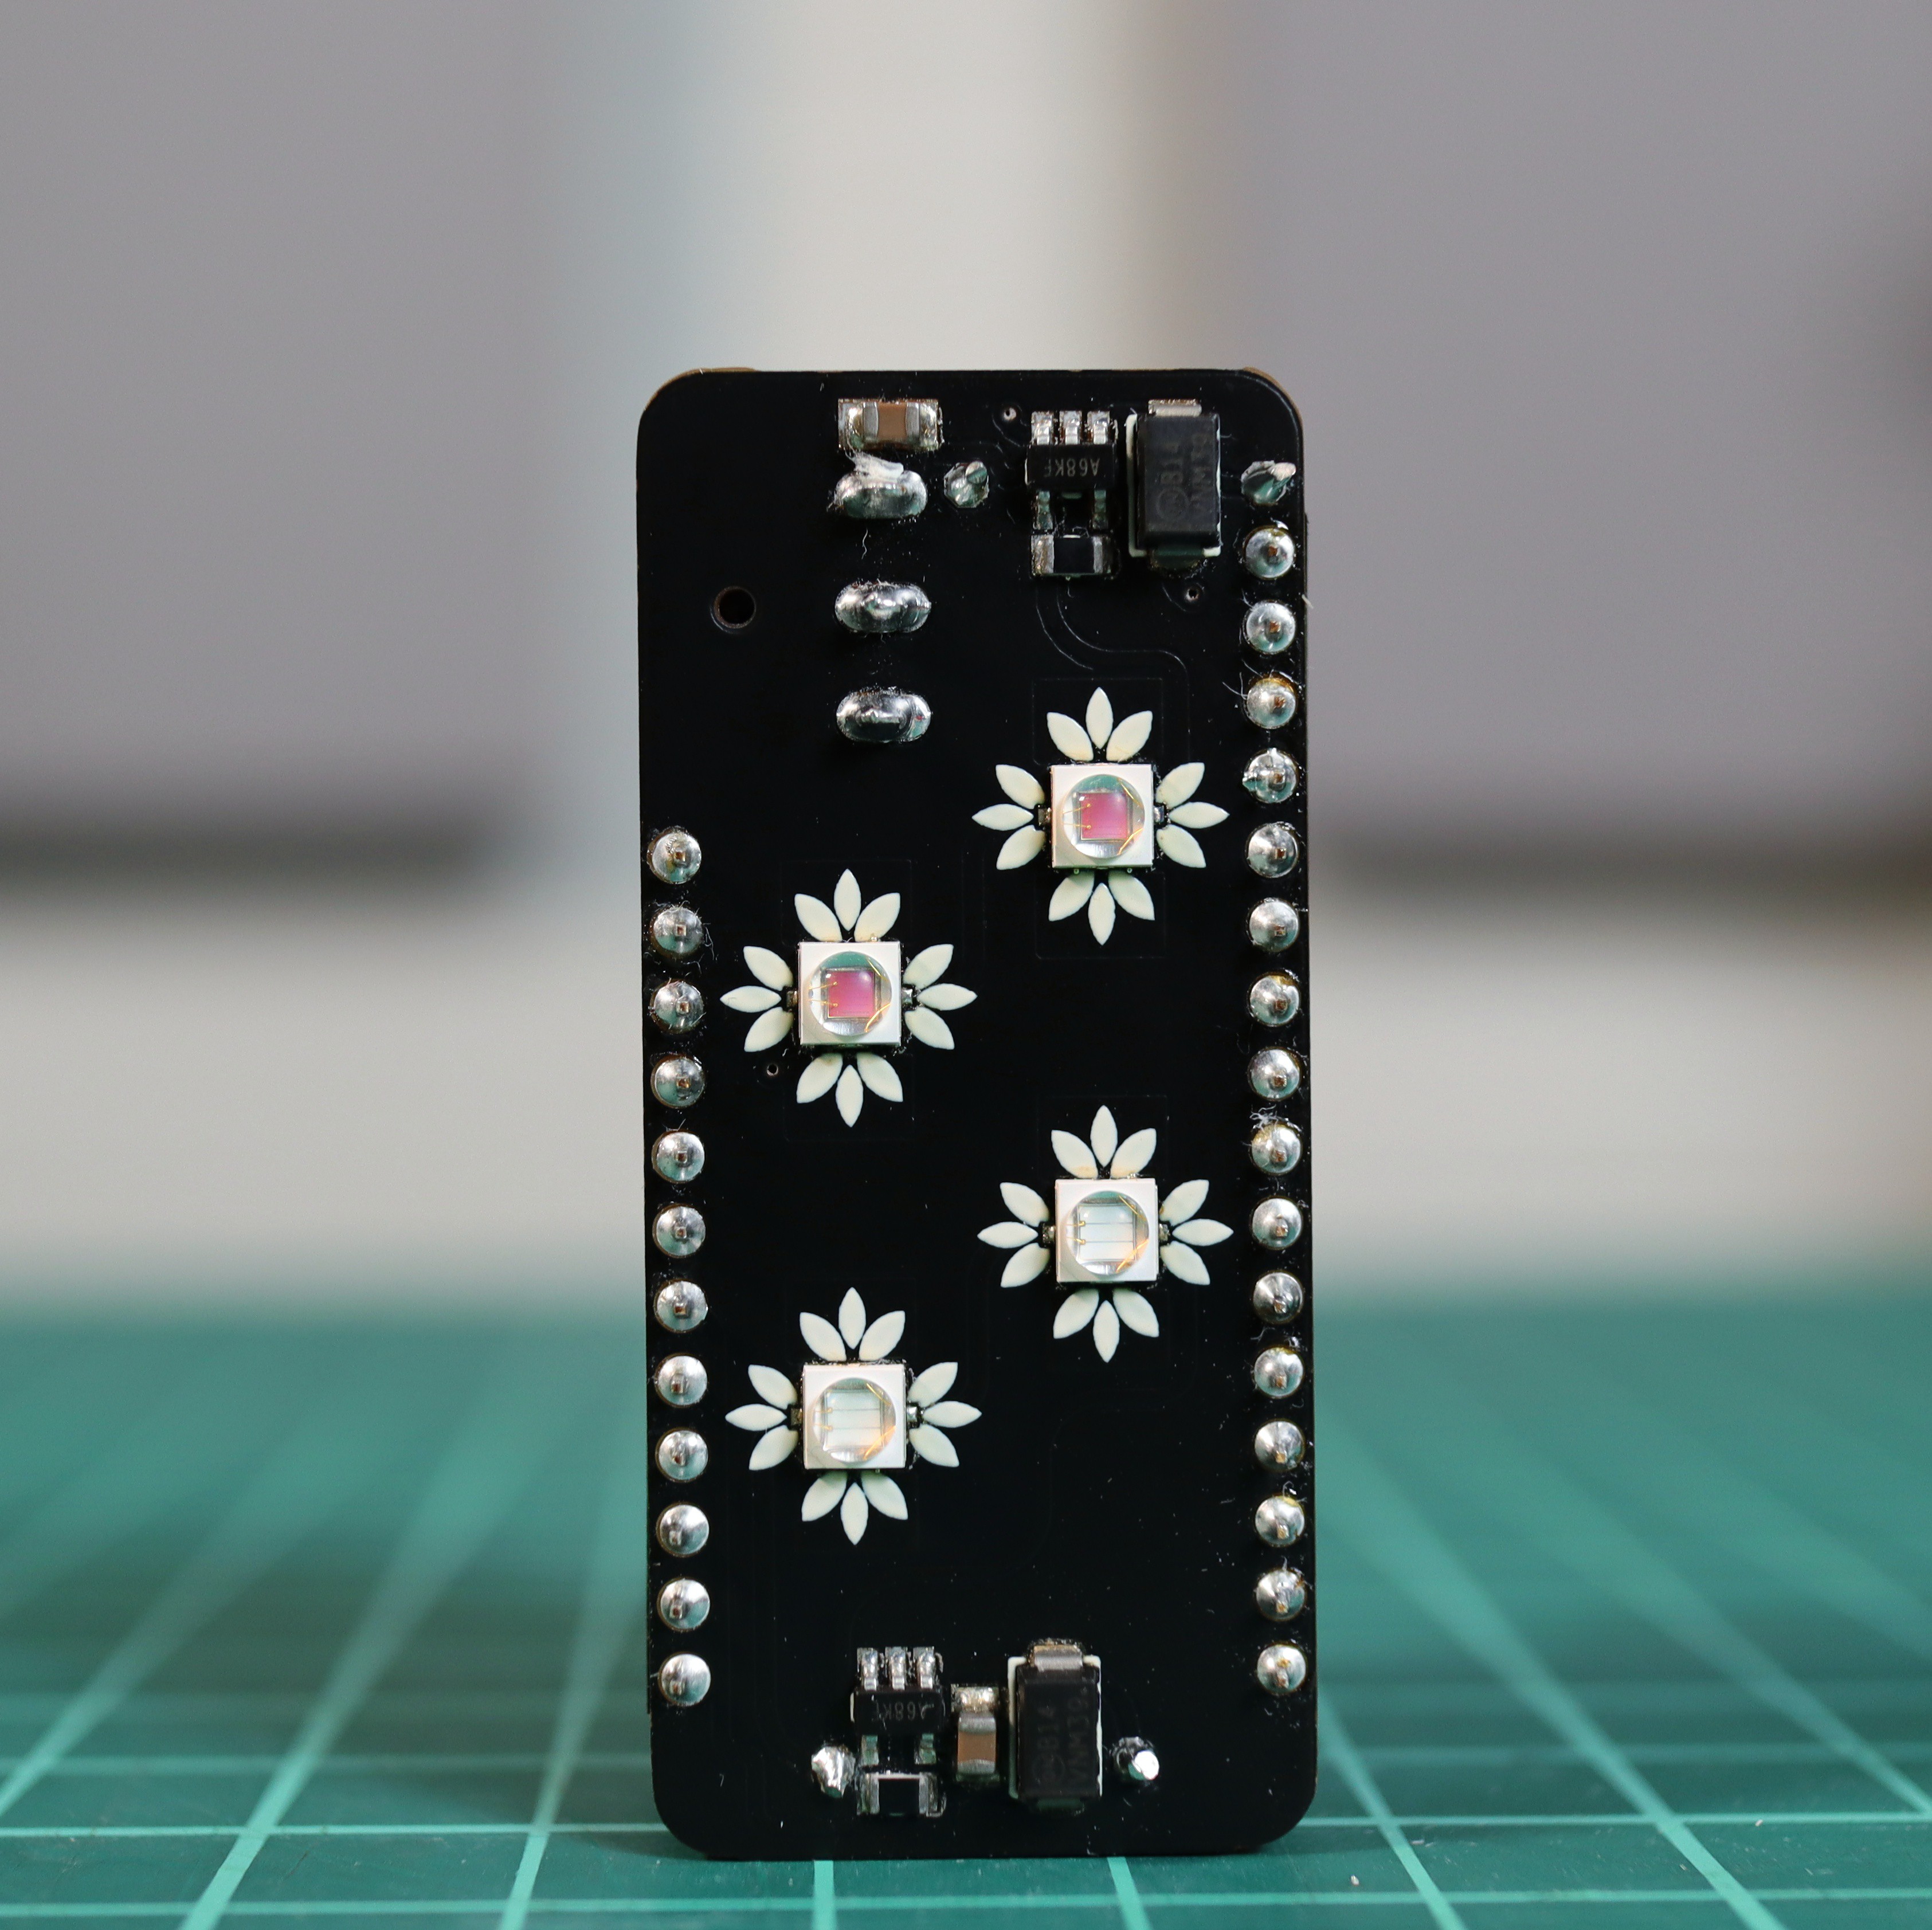
2PCB Assembly
I soldered the top SMD components using a DIY reflow oven and then I manually soldered the rest of the components on the back: the two coils, the power jack and the 5V regulator.
![]()
![]()
-
3Test & Code!
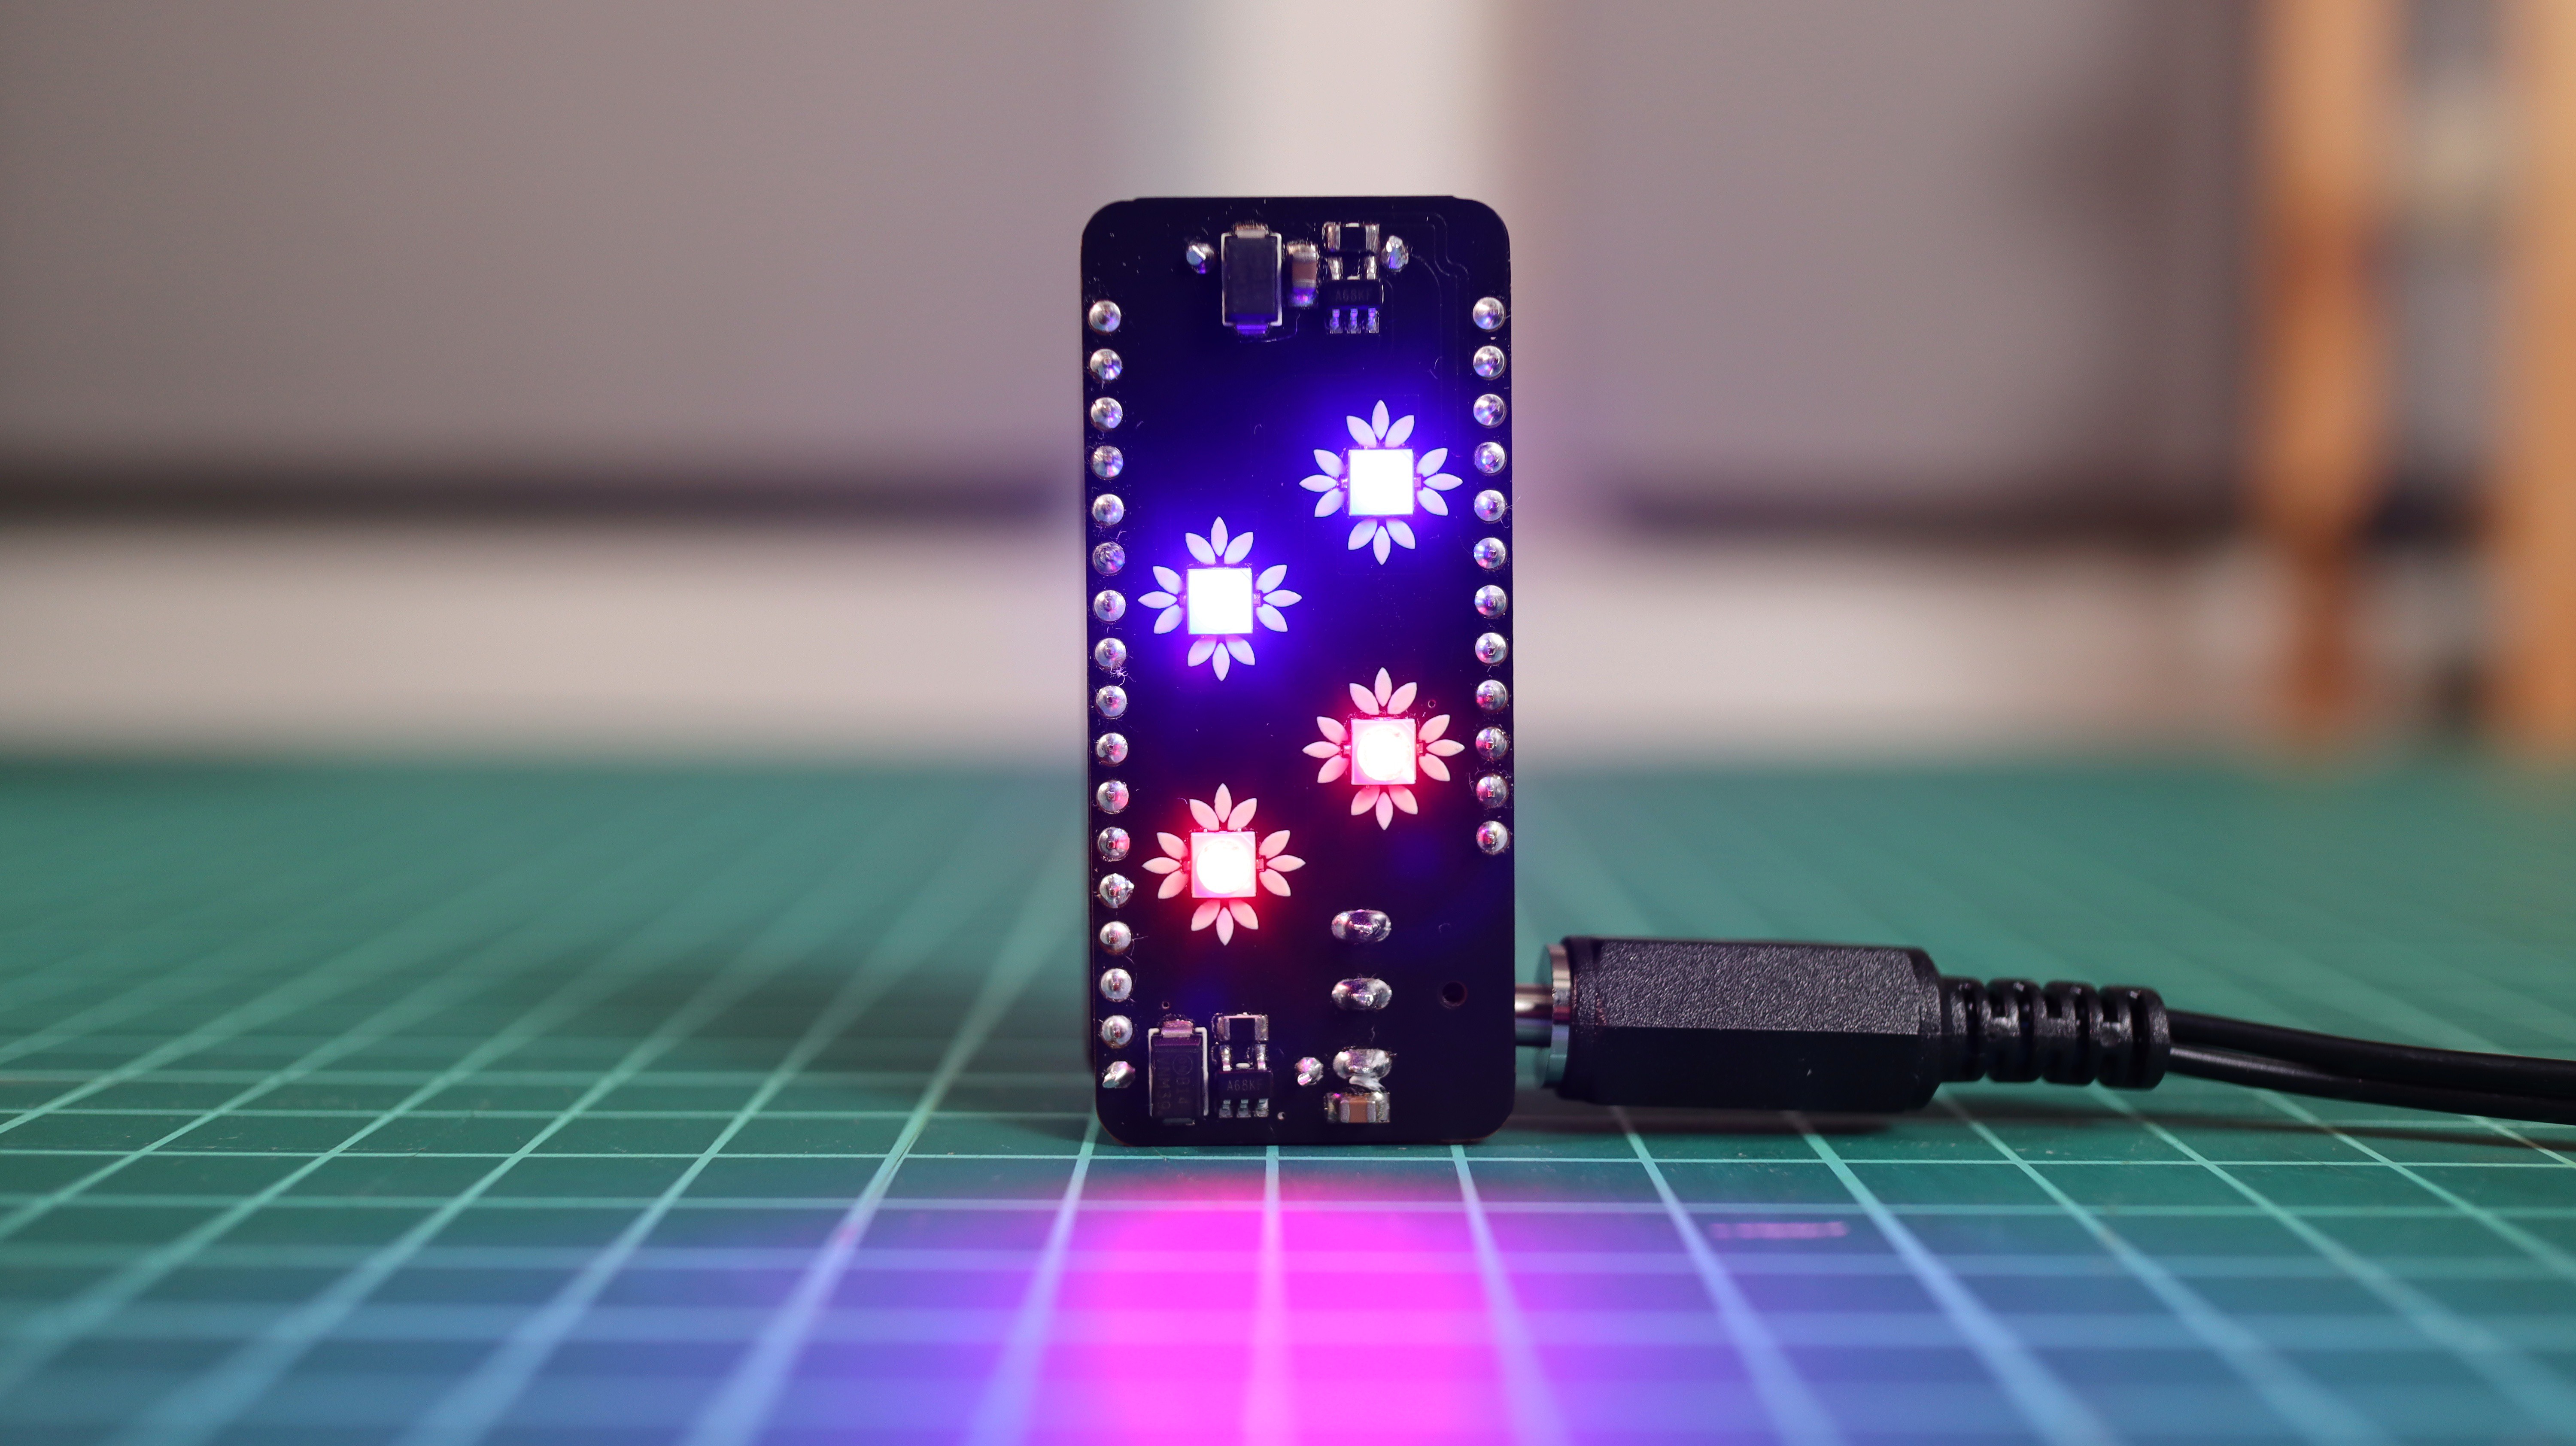
You can power it using a 9V or a 12V, 2A power supply. The LEDs I chose are by default suuuuuper bright, they can light up an entire room :) But I dimmed them a bit using PWM on pins 15 & 16.
The light can be adjusted remotely through the Adafruit IO app and it can be timed to turn on/off at certain hours.
![]()
Grow Light Feather Wing
A minimalist grow light that is compatible with the Adafruit Feather Huzzah dev board.
Discussions
Become a Hackaday.io Member
Create an account to leave a comment. Already have an account? Log In.