 Alpenglow Industries
-
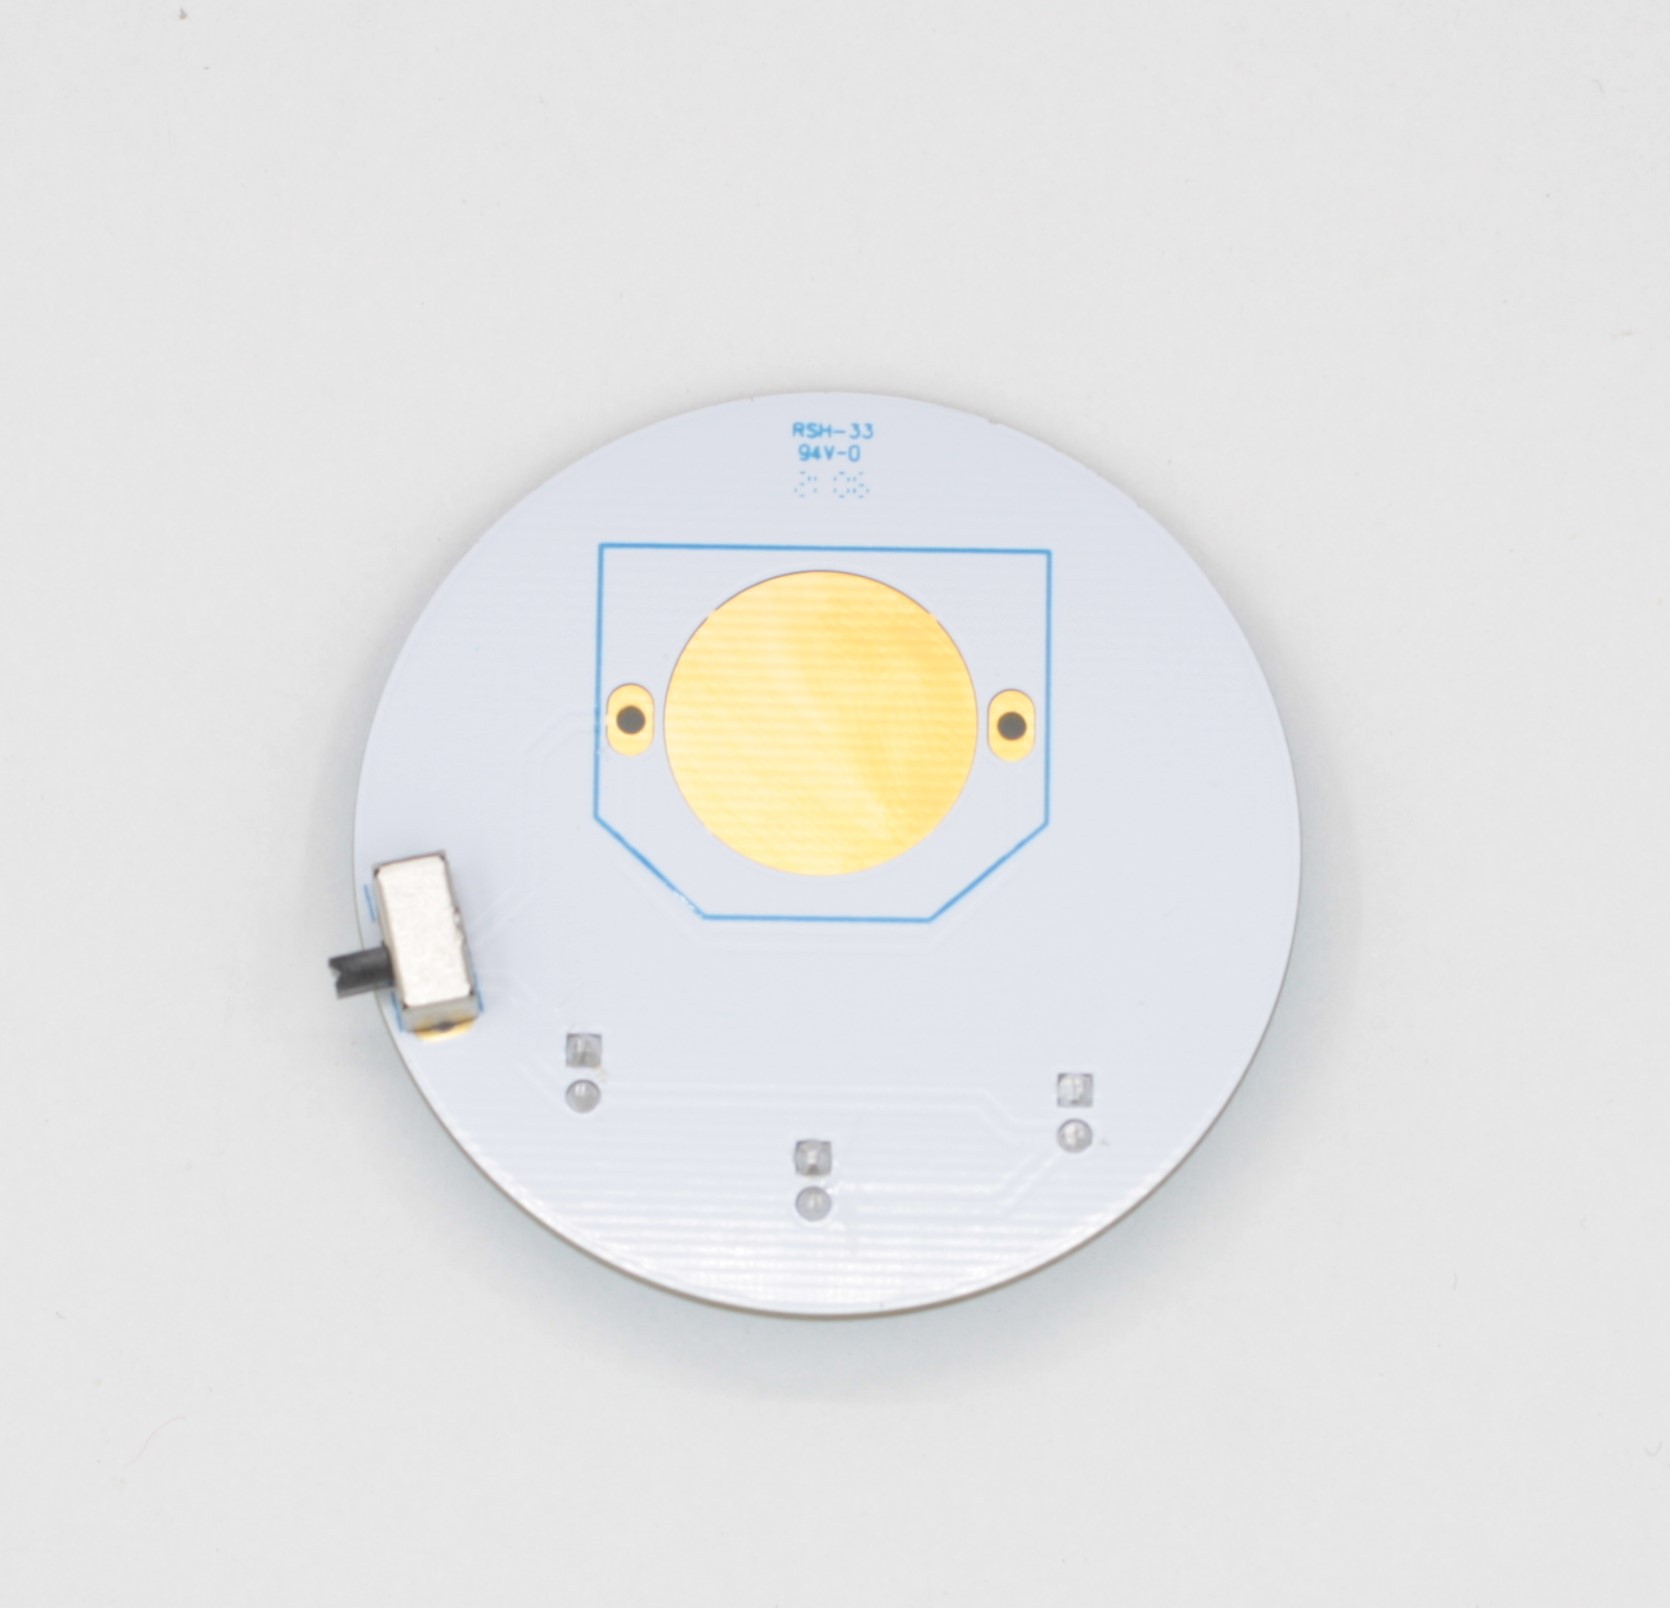
1Start with the switch!
The design on this board is super simple so you can solder the components on in any order. Personally, I like to start with the switch. Be sure to not bridge any of the pads together!
If you're having trouble keeping the board from moving when soldering you can use a piece of tape to hold the board down. Just be sure not to have the tape too close to where you are soldering your joint!
*Note: The switch is made of metal so it gets hot when soldering. Be careful touching it during and directly after soldering!
![]()
![]()
-
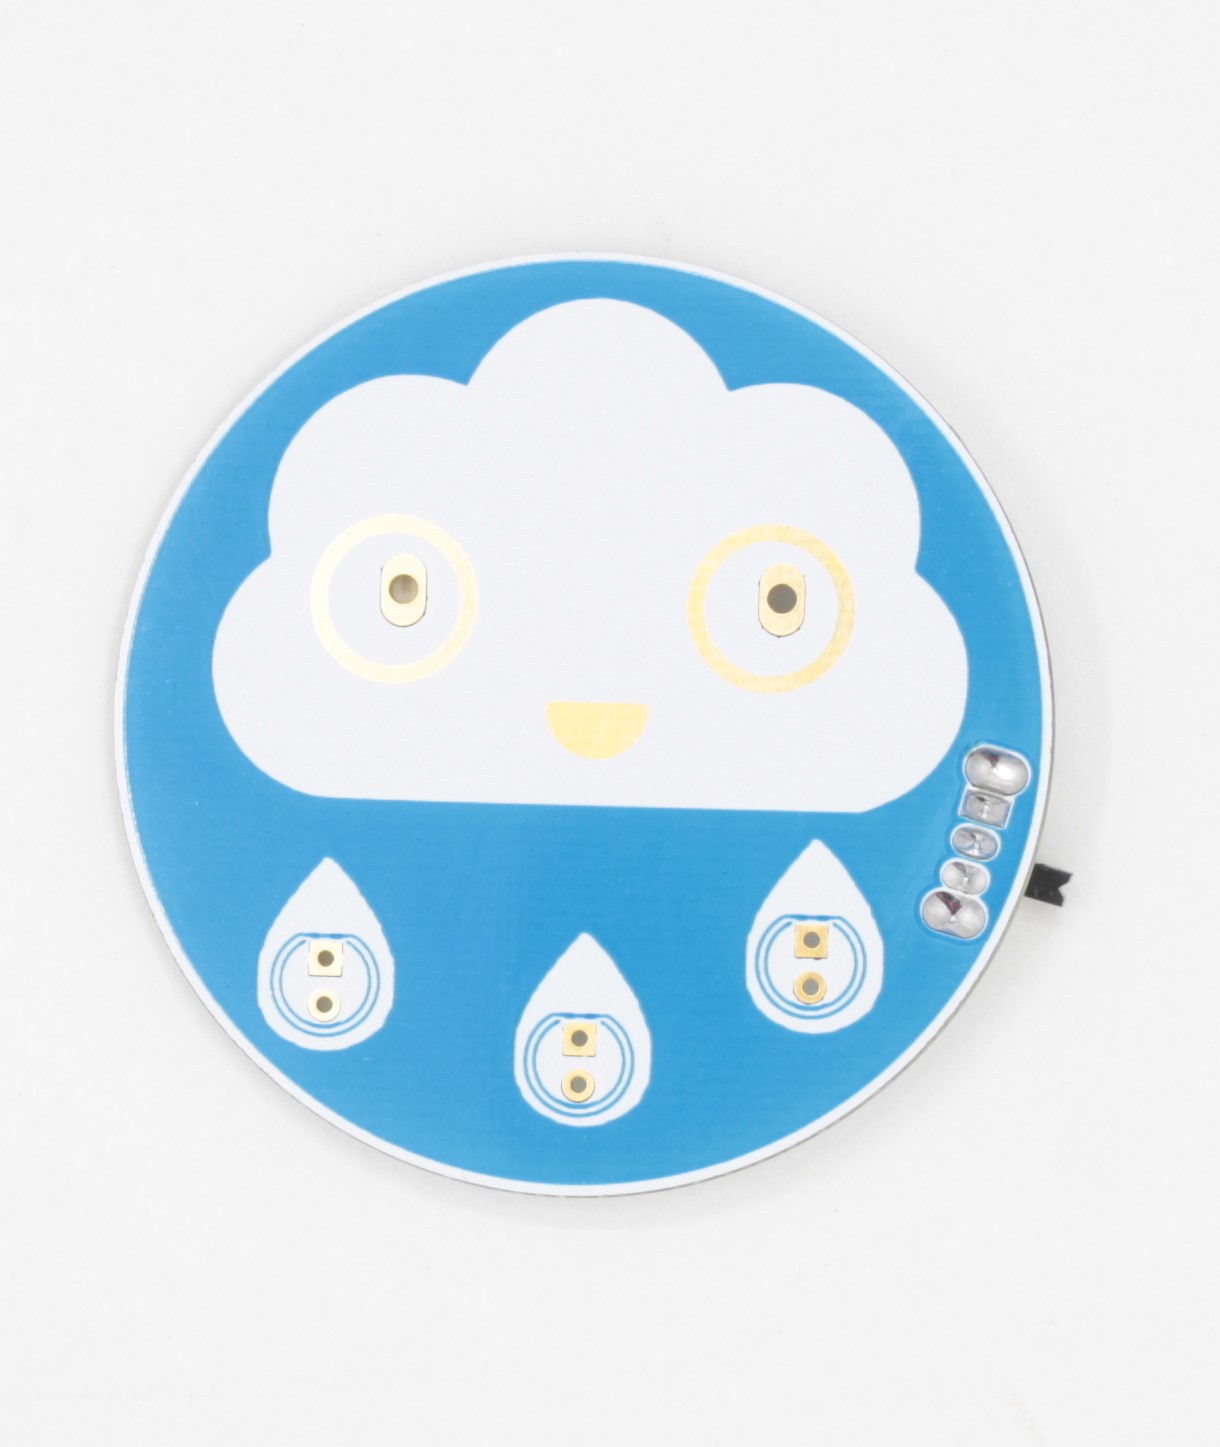
2Next, solder on the LEDs
*Note: The front silkscreen shows which way the LED should be facing. The long LED leg should go through the bottom hole and the short LED leg should go through the top hole.
![]()
![]()
-
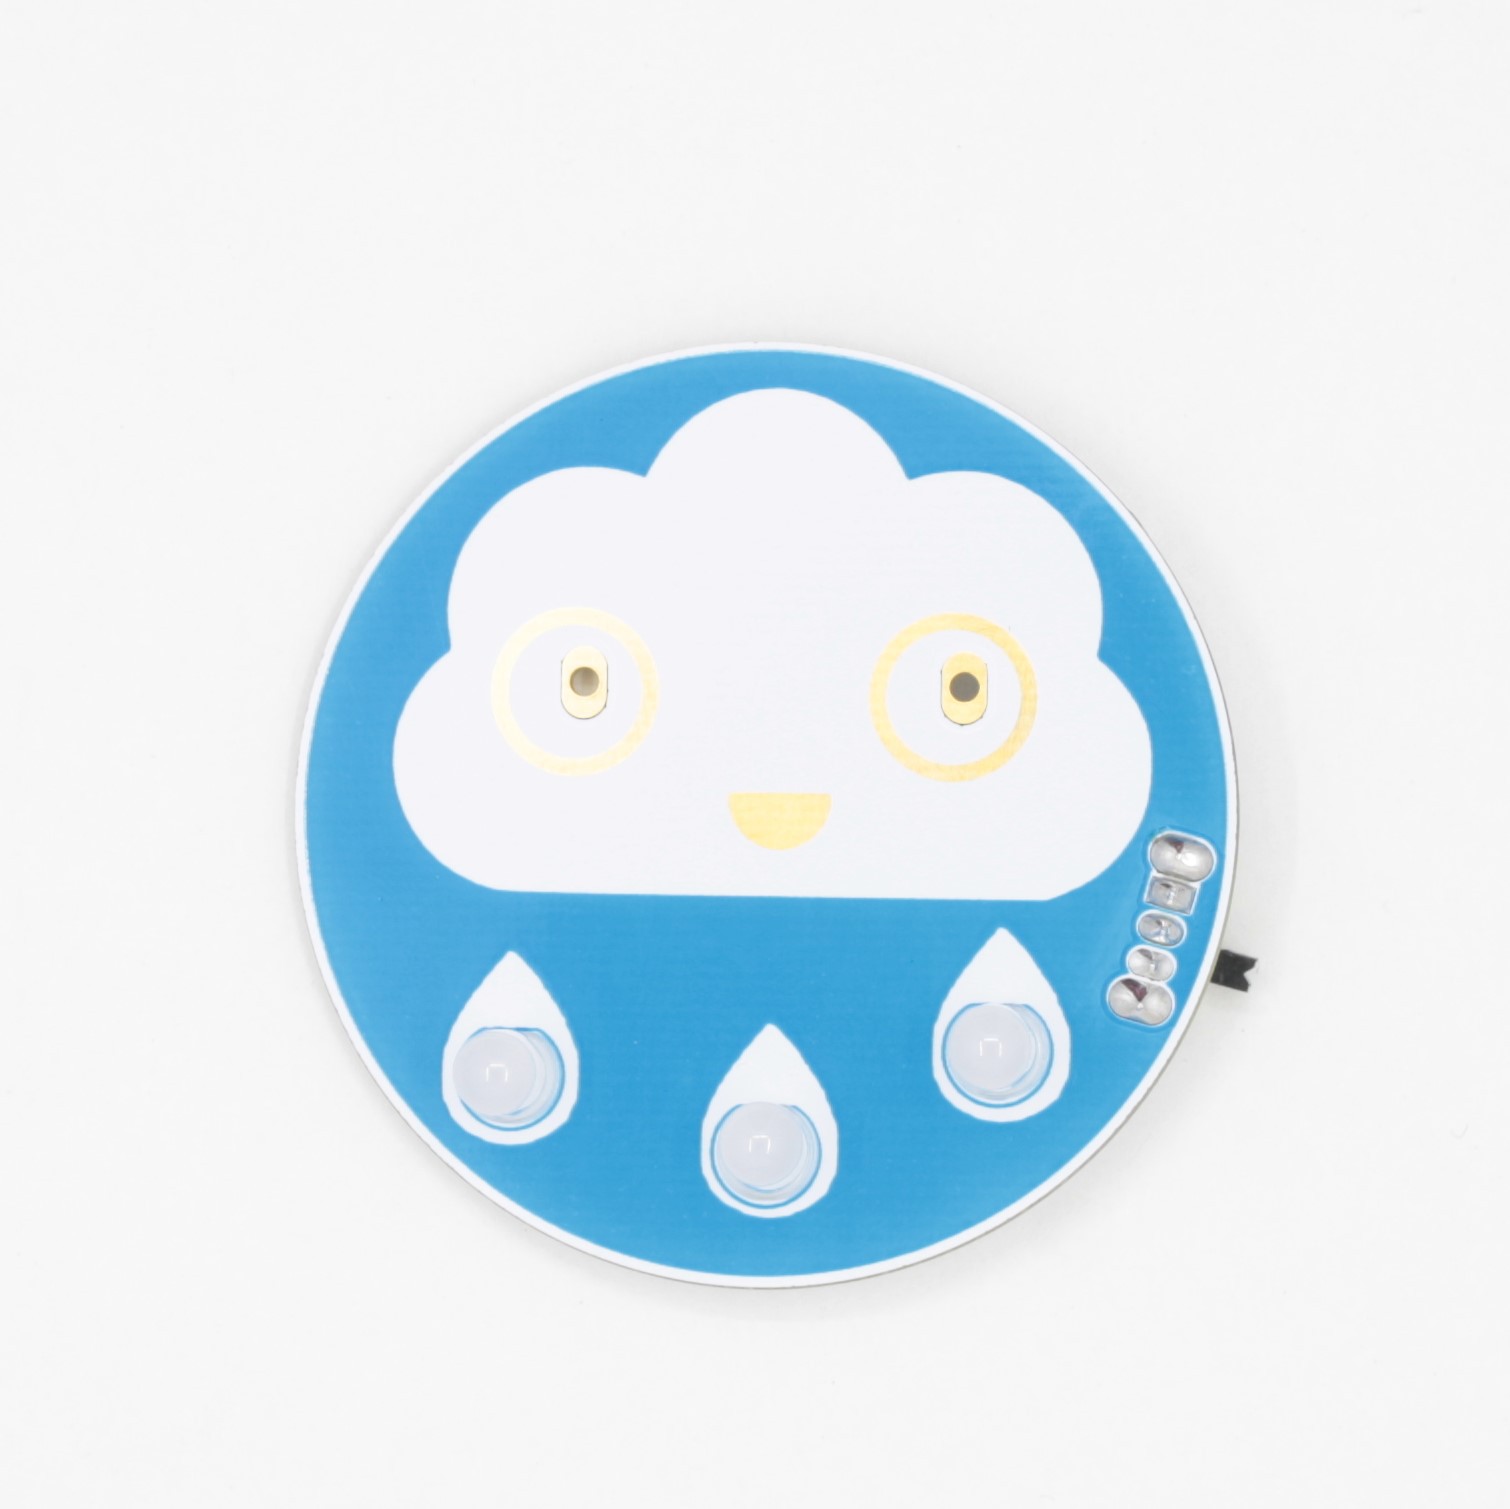
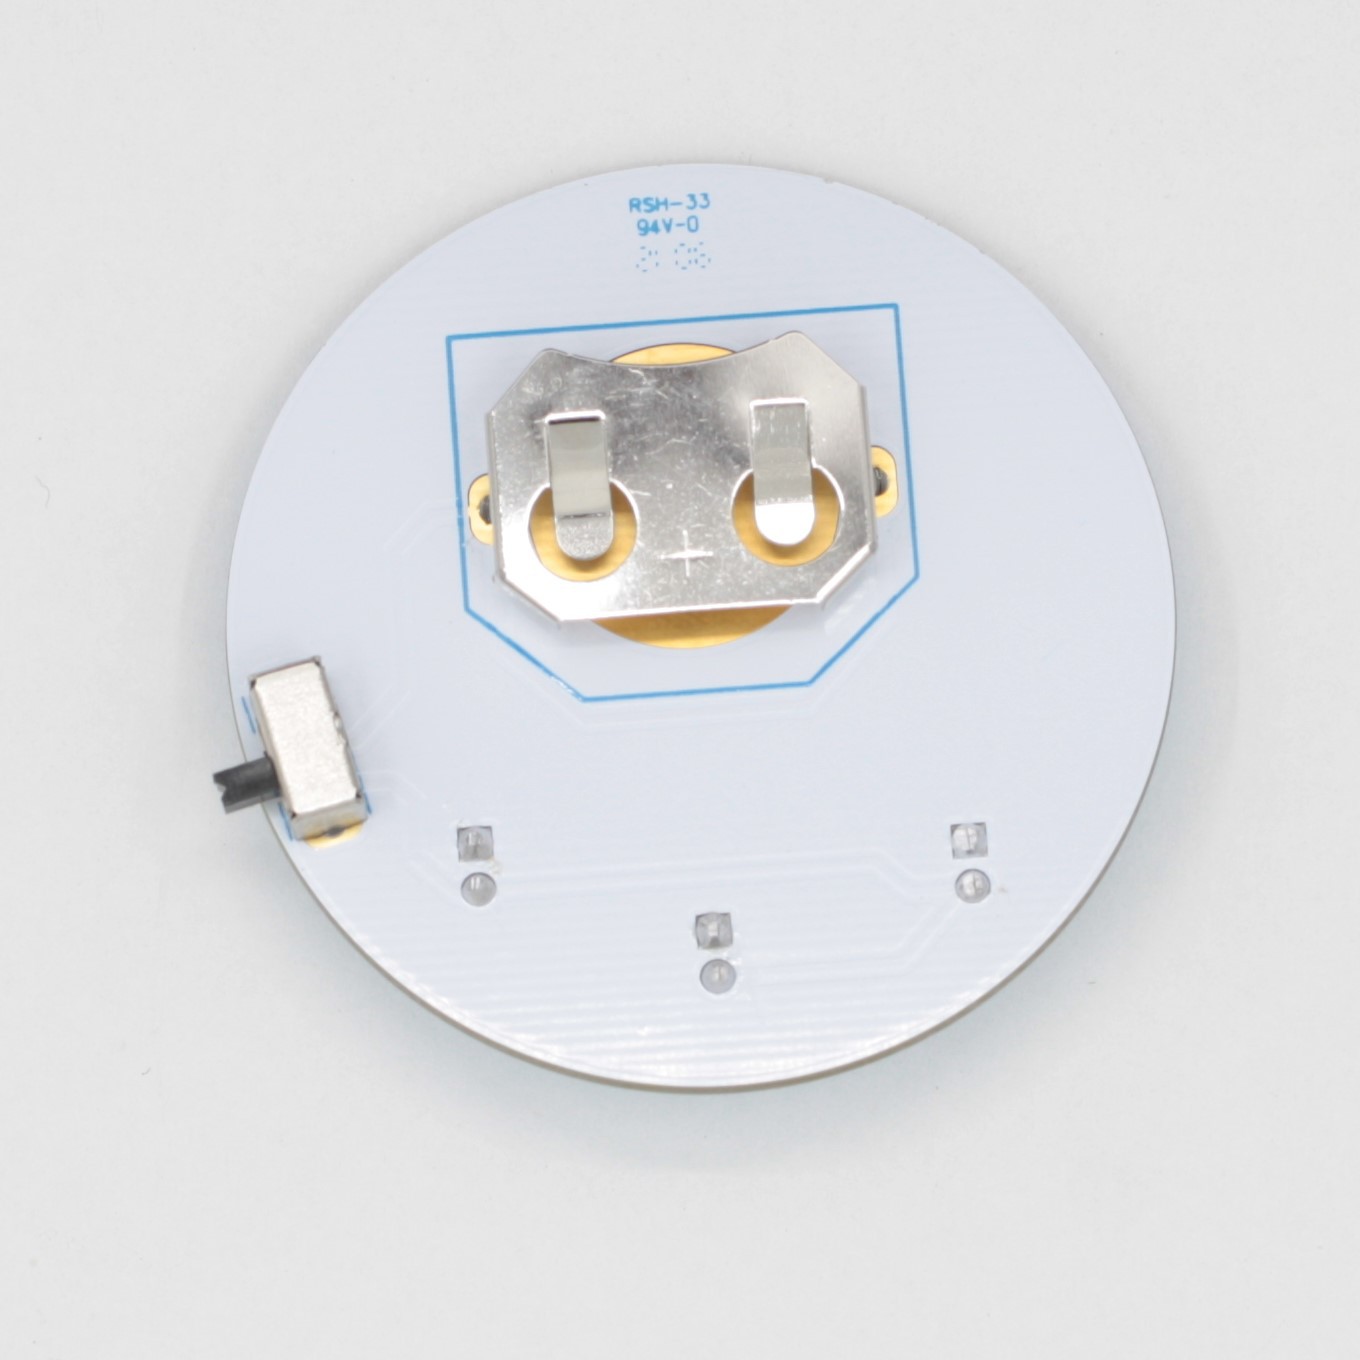
3Finally the battery holder
I made the holes for the battery holder snug so with a little pressure it should snap into place for easy soldering!
*Note: The battery holder is made of metal so it gets hot when soldering. Be careful touching it during and directly after soldering!
*I like to add a bit of extra solder so the clouds eyes look nice and smooth.
![]()
![]()
-
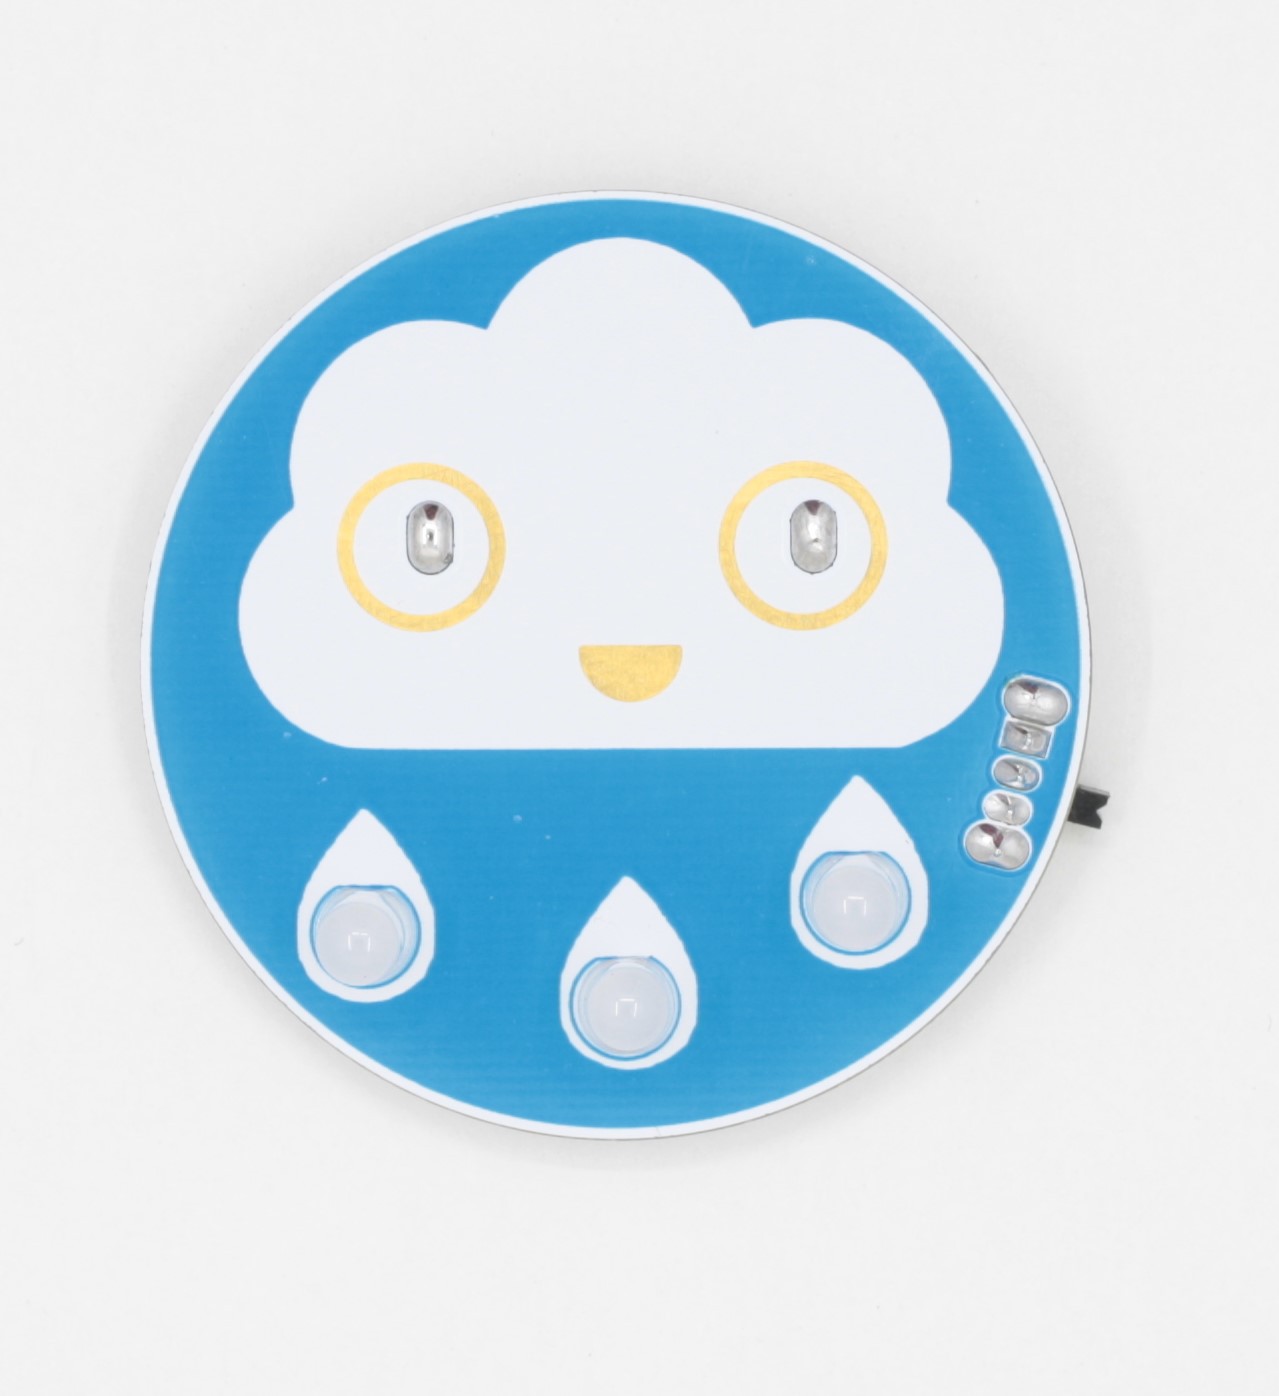
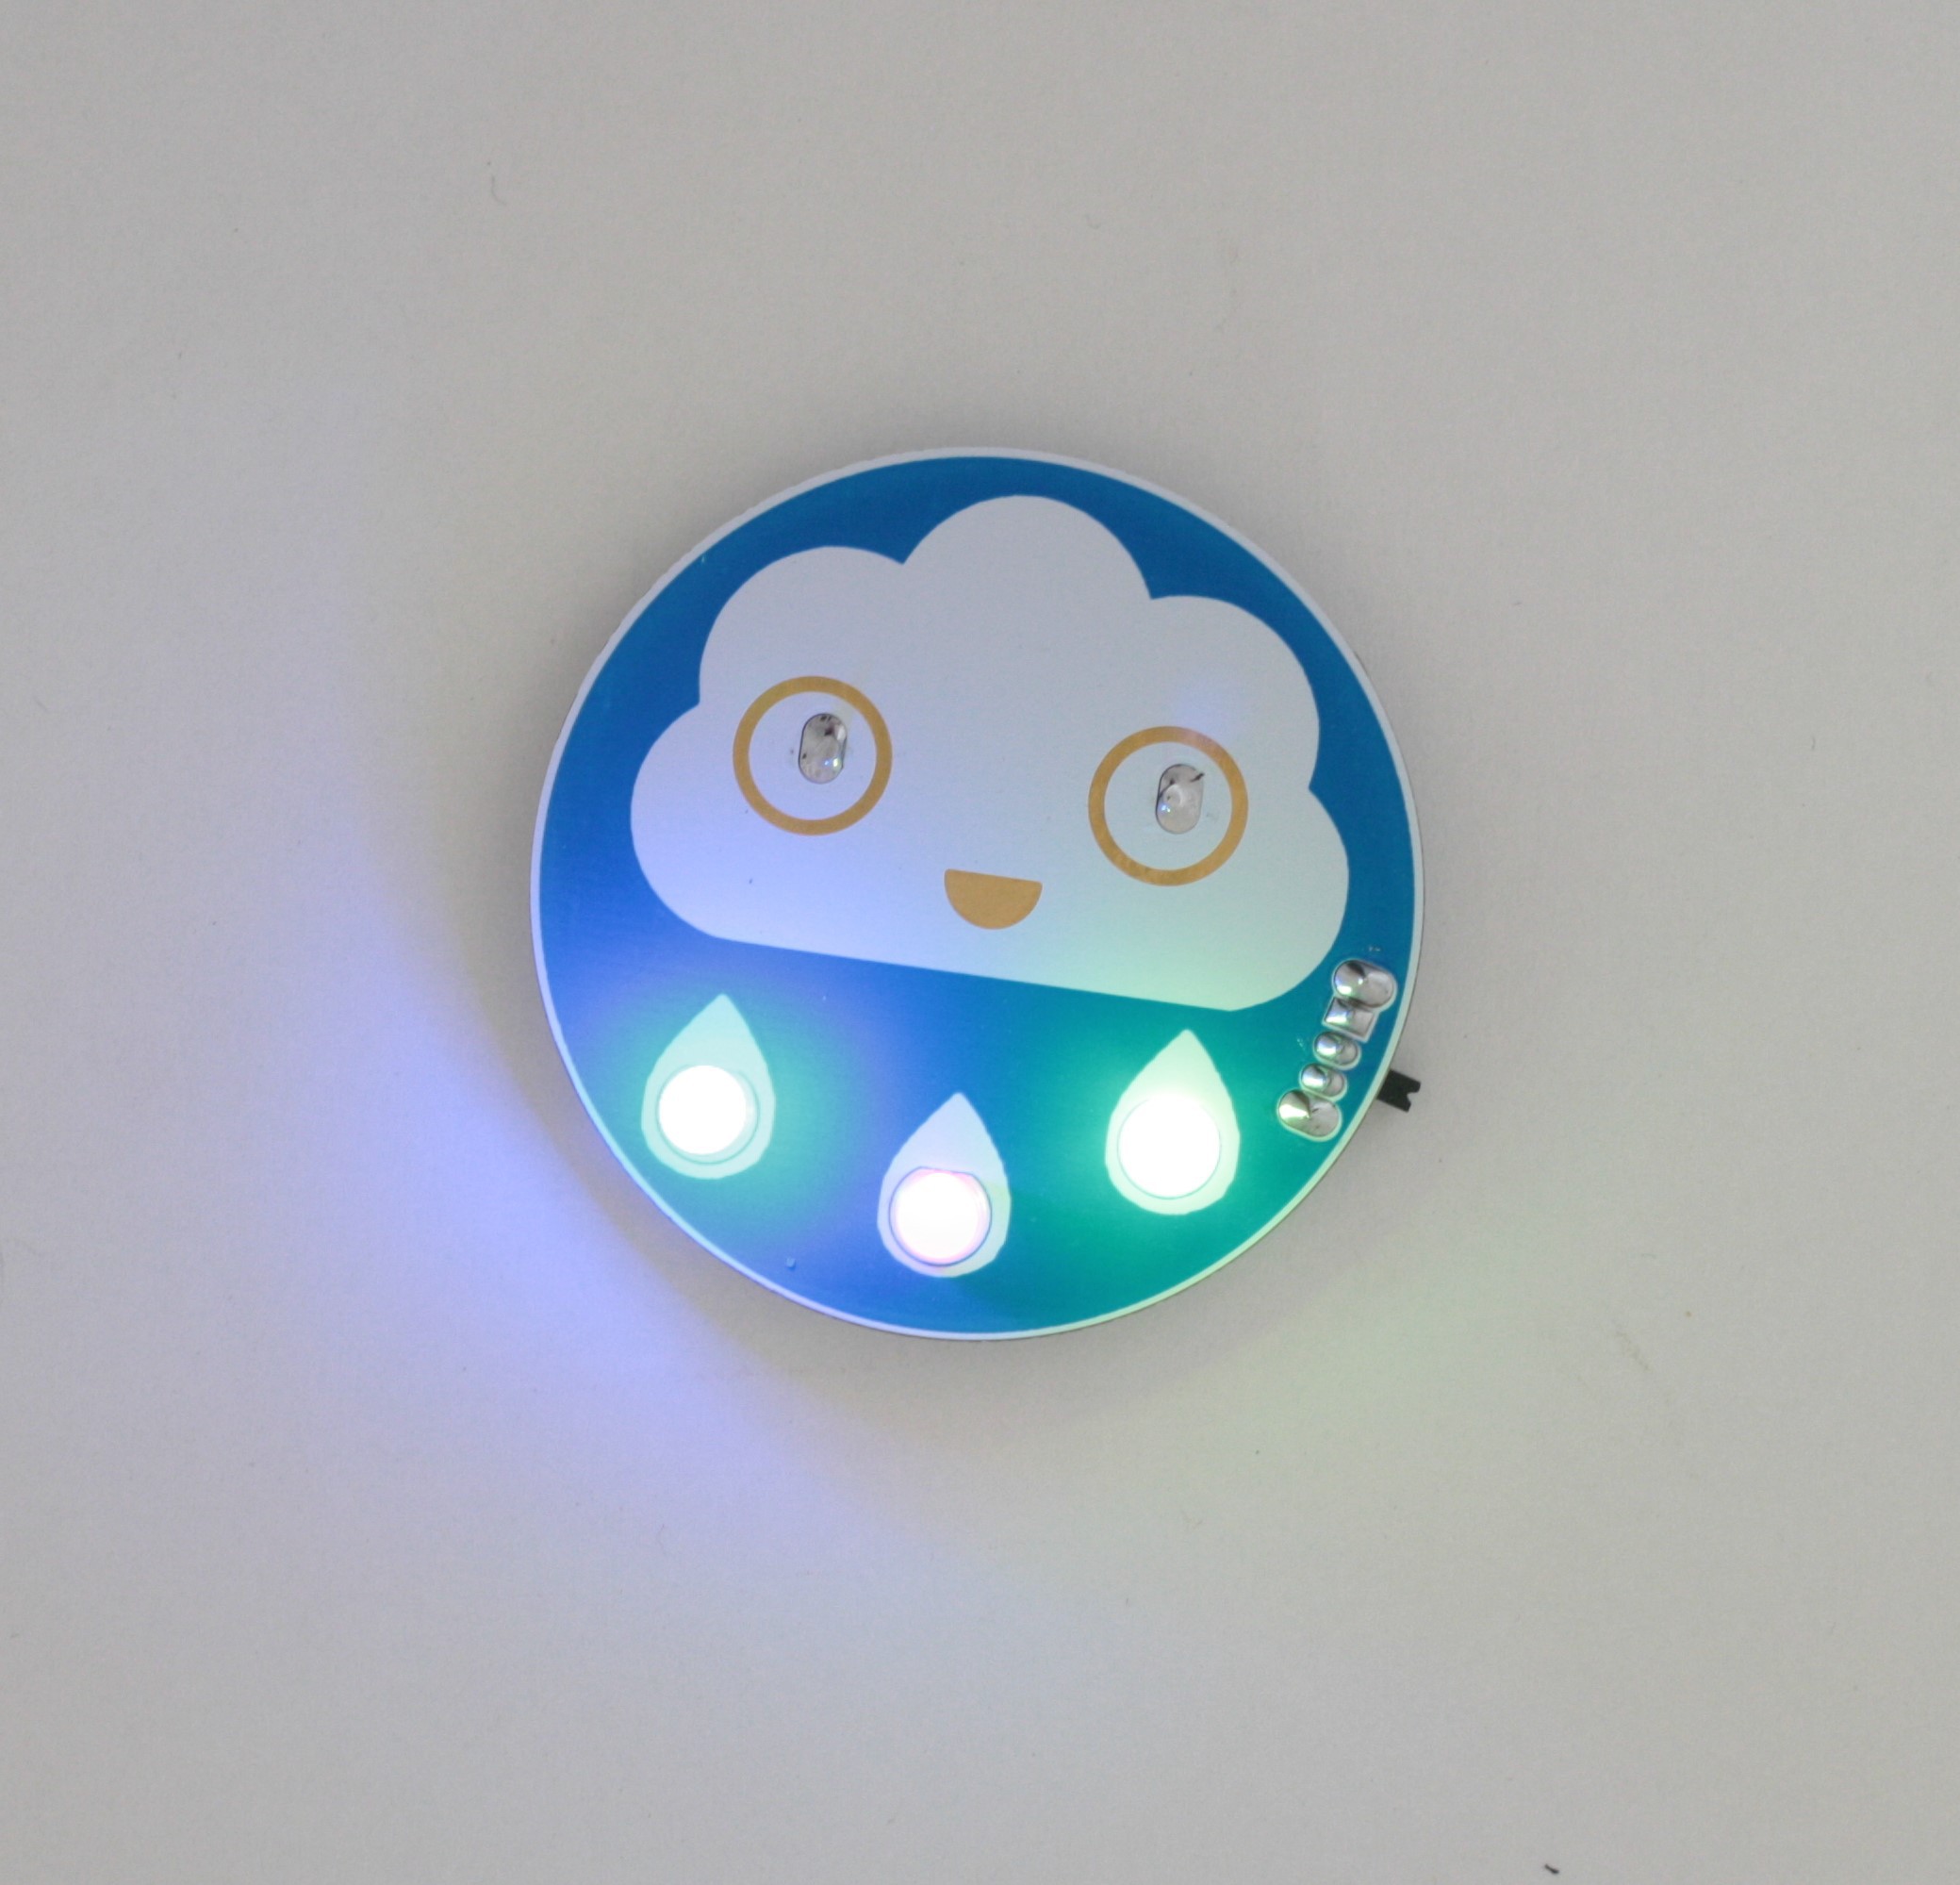
4Put the battery in and turn it on!
![]()
Happy Rain Cloud
A fun learn-to-solder kit and first circuit board layout

Discussions
Become a Hackaday.io Member
Create an account to leave a comment. Already have an account? Log In.