 finallyfunctional
-
11Attach toes spacer
Attach the toes spacer (row 4) as shown below.
![]()
This spacer pushes the user's toes up slightly, making it so the shoe doesn't flop around as the user takes steps.
-
12Construct the back of the vr shoe
Take the back piece (row 18) and build it using the same steps you followed above. You will attach two sets of wheels instead of one, but the process is the same. The back stopper is constructed the same way, but swap row 3 for row 19 (row 19 has a curved top side).
![]()
-
13Decide which middle-back piece you'll use
The middle back piece (row 21) I used is the right length for my foot. My foot is size 10.5 US male. I also provided a piece that is 1 inch shorter (row 22), which fit my wife's shoe size of 6.5 US female, and a piece 1 inch longer (row 23).
![]()
-
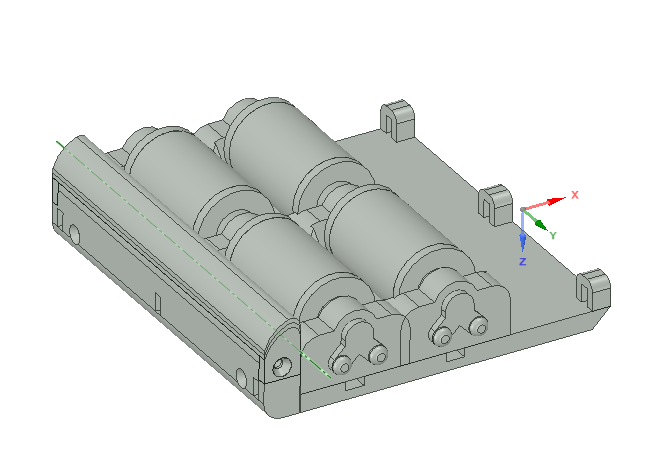
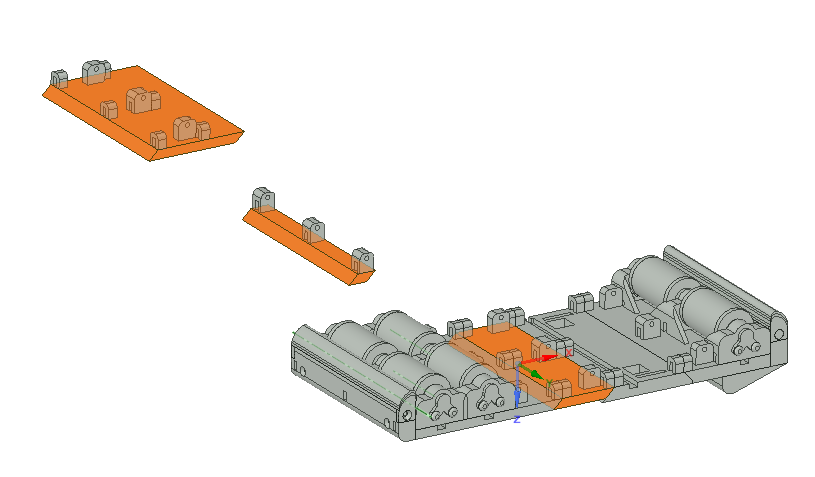
14Line up pieces
Take the back you've assembled, middle-back (row 21), middle-front (row 20), and front and line them up like below.
![]()
-
15Insert short reinforcement bars
Cut eight pieces of your 1/8in by 1/4in bar (row 16), each 4.875in long. Slide them into the shoe as shown below.
![]()
-
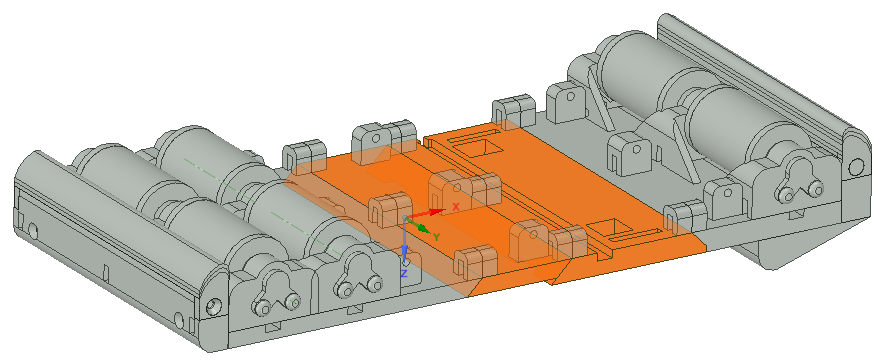
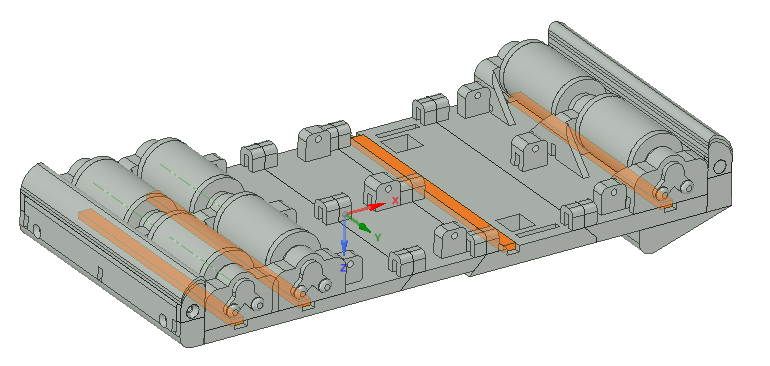
16Insert longer bars
Measure how long the shoe is. For me it's about 11.25in, using the medium middle-back piece. If you're using the shorter middle-back piece, it should measure an inch shorter at 10.25. If you're using the longer middle-back piece, 12.25.
Cut 6 pieces of your 1/8in by 1/4in bar (row 16), each long enough to span the entire length of the shoe as shown below. Insert 3 of the bars into the shoe.
![]()
-
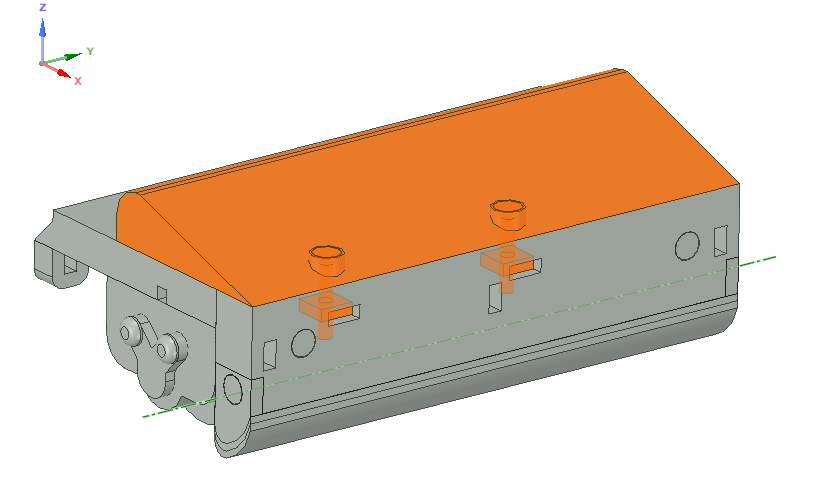
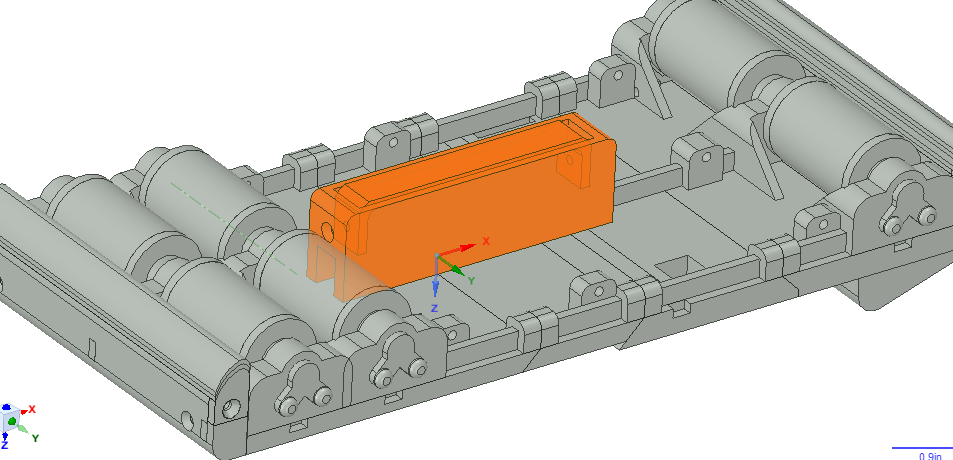
17Attach friction piece
The friction piece is shown below. It just slides onto the vr shoe in the middle.
![]()
It can be easily taken on and off. It's purpose is to let the user walk around without being in the safety rig. If you never plan on walking around with these vr shoes on outside of the safety rig, you don't need to make this friction piece.
It consists of a 3D printed part (row 24) and a strip of neoprene (row 25). The neoprene is for extra friction.
Future Improvement
The neoprene strip the friction piece uses is a little expensive. I happened to have a strip laying around so I used it. In the future I'll probably redesign the shoe to not need the strip, or possibly substitute it with cheaper material. Maybe weather strips would also work.
-
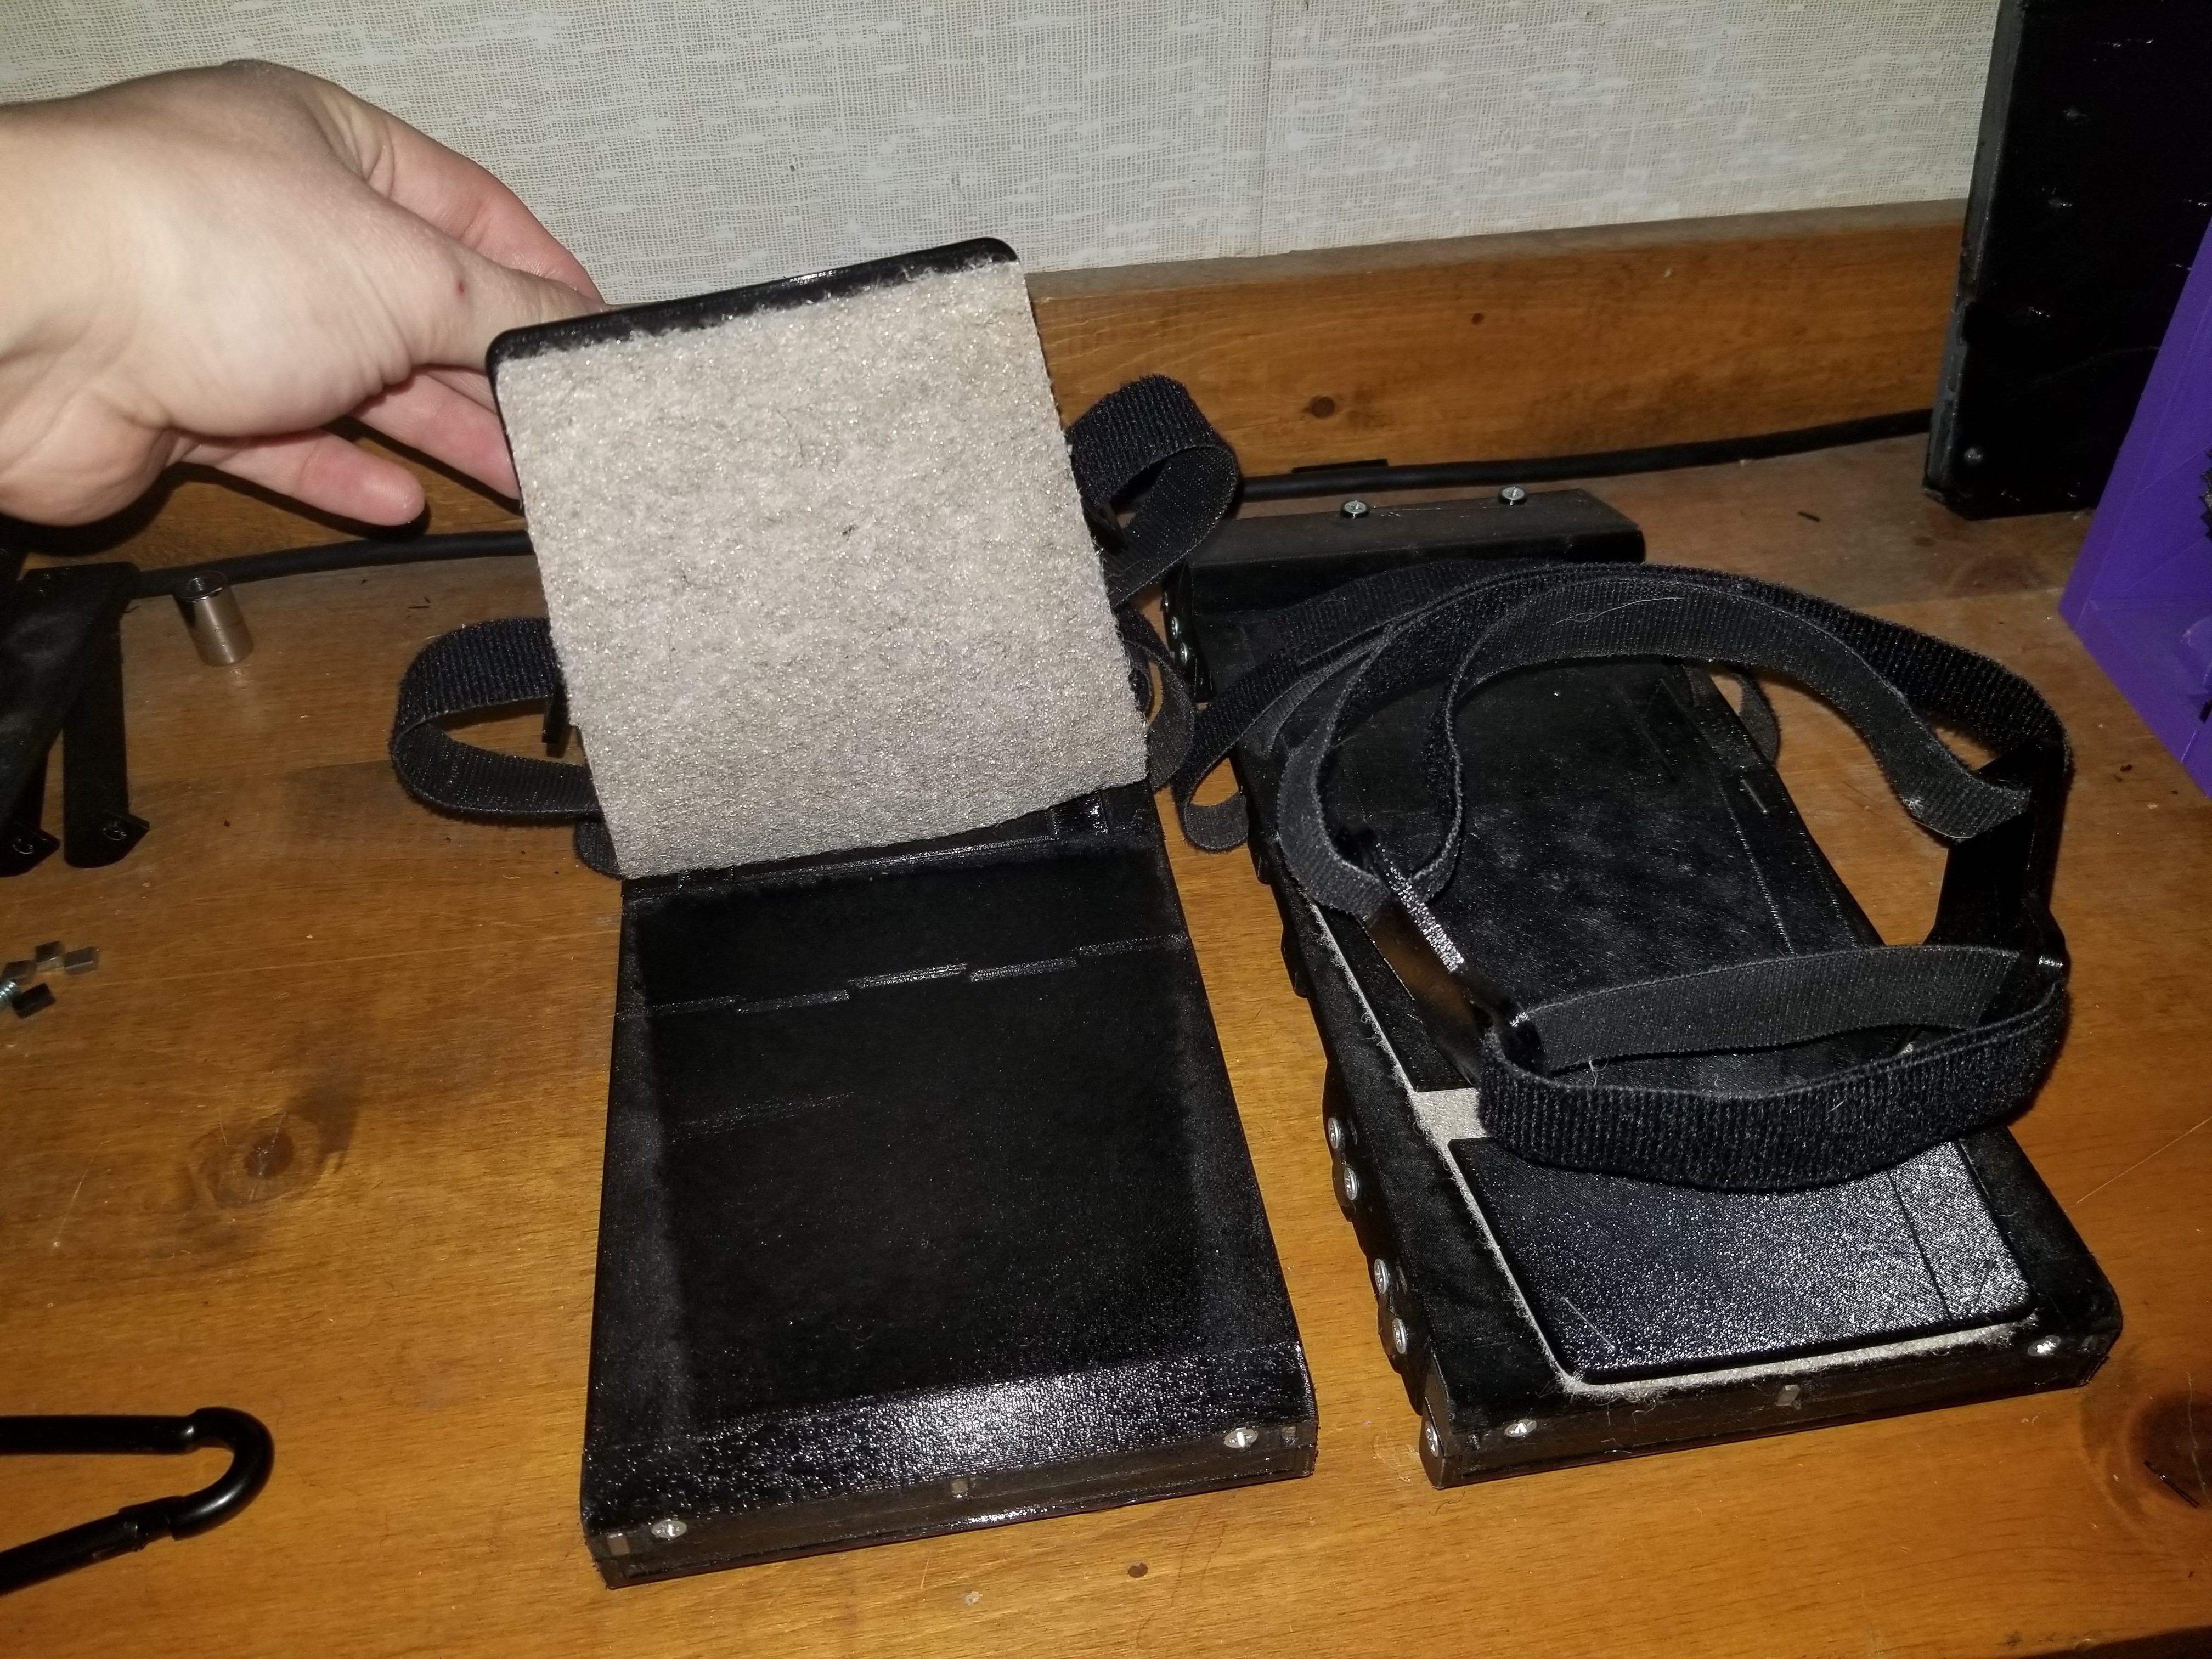
18Staple cloth to foot strap
3D print the foot strap (row 28, 29, or 30, depending on if you printed the shorter, medium, or longer middle-back piece). Take an old cloth, t-shirt, towel, (row 27) or some of the rug that you may have used for the platform for the support rig (this is what I used), and staple it to the underside of the foot strap as shown below.
![]()
This cloth helps minimize noise when the foot strap slaps against the top side of the shoe.
-
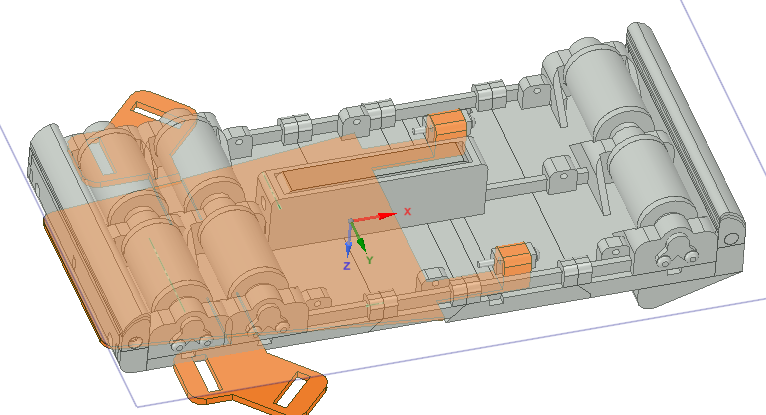
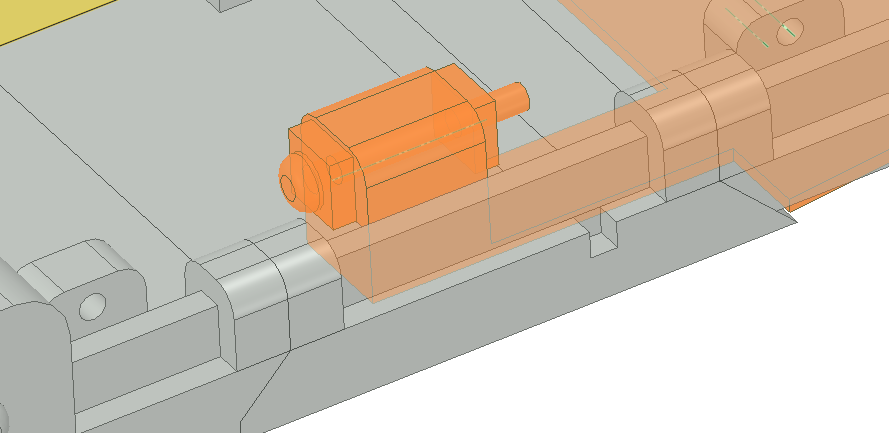
19Attach foot strap to vr shoe
Attach the foot strap to the VR shoe as shown below.
![]()
Take two 6-32 screws, 1in long (row 27), and four square nuts, and screw them together as shown below. This is so that the foot flap doesn't come out while in use.
![]()
The foot flap is to allow the user to lift his heel while using the VR shoes, so he doesn't have to walk as flat footed as he would have to otherwise.
-
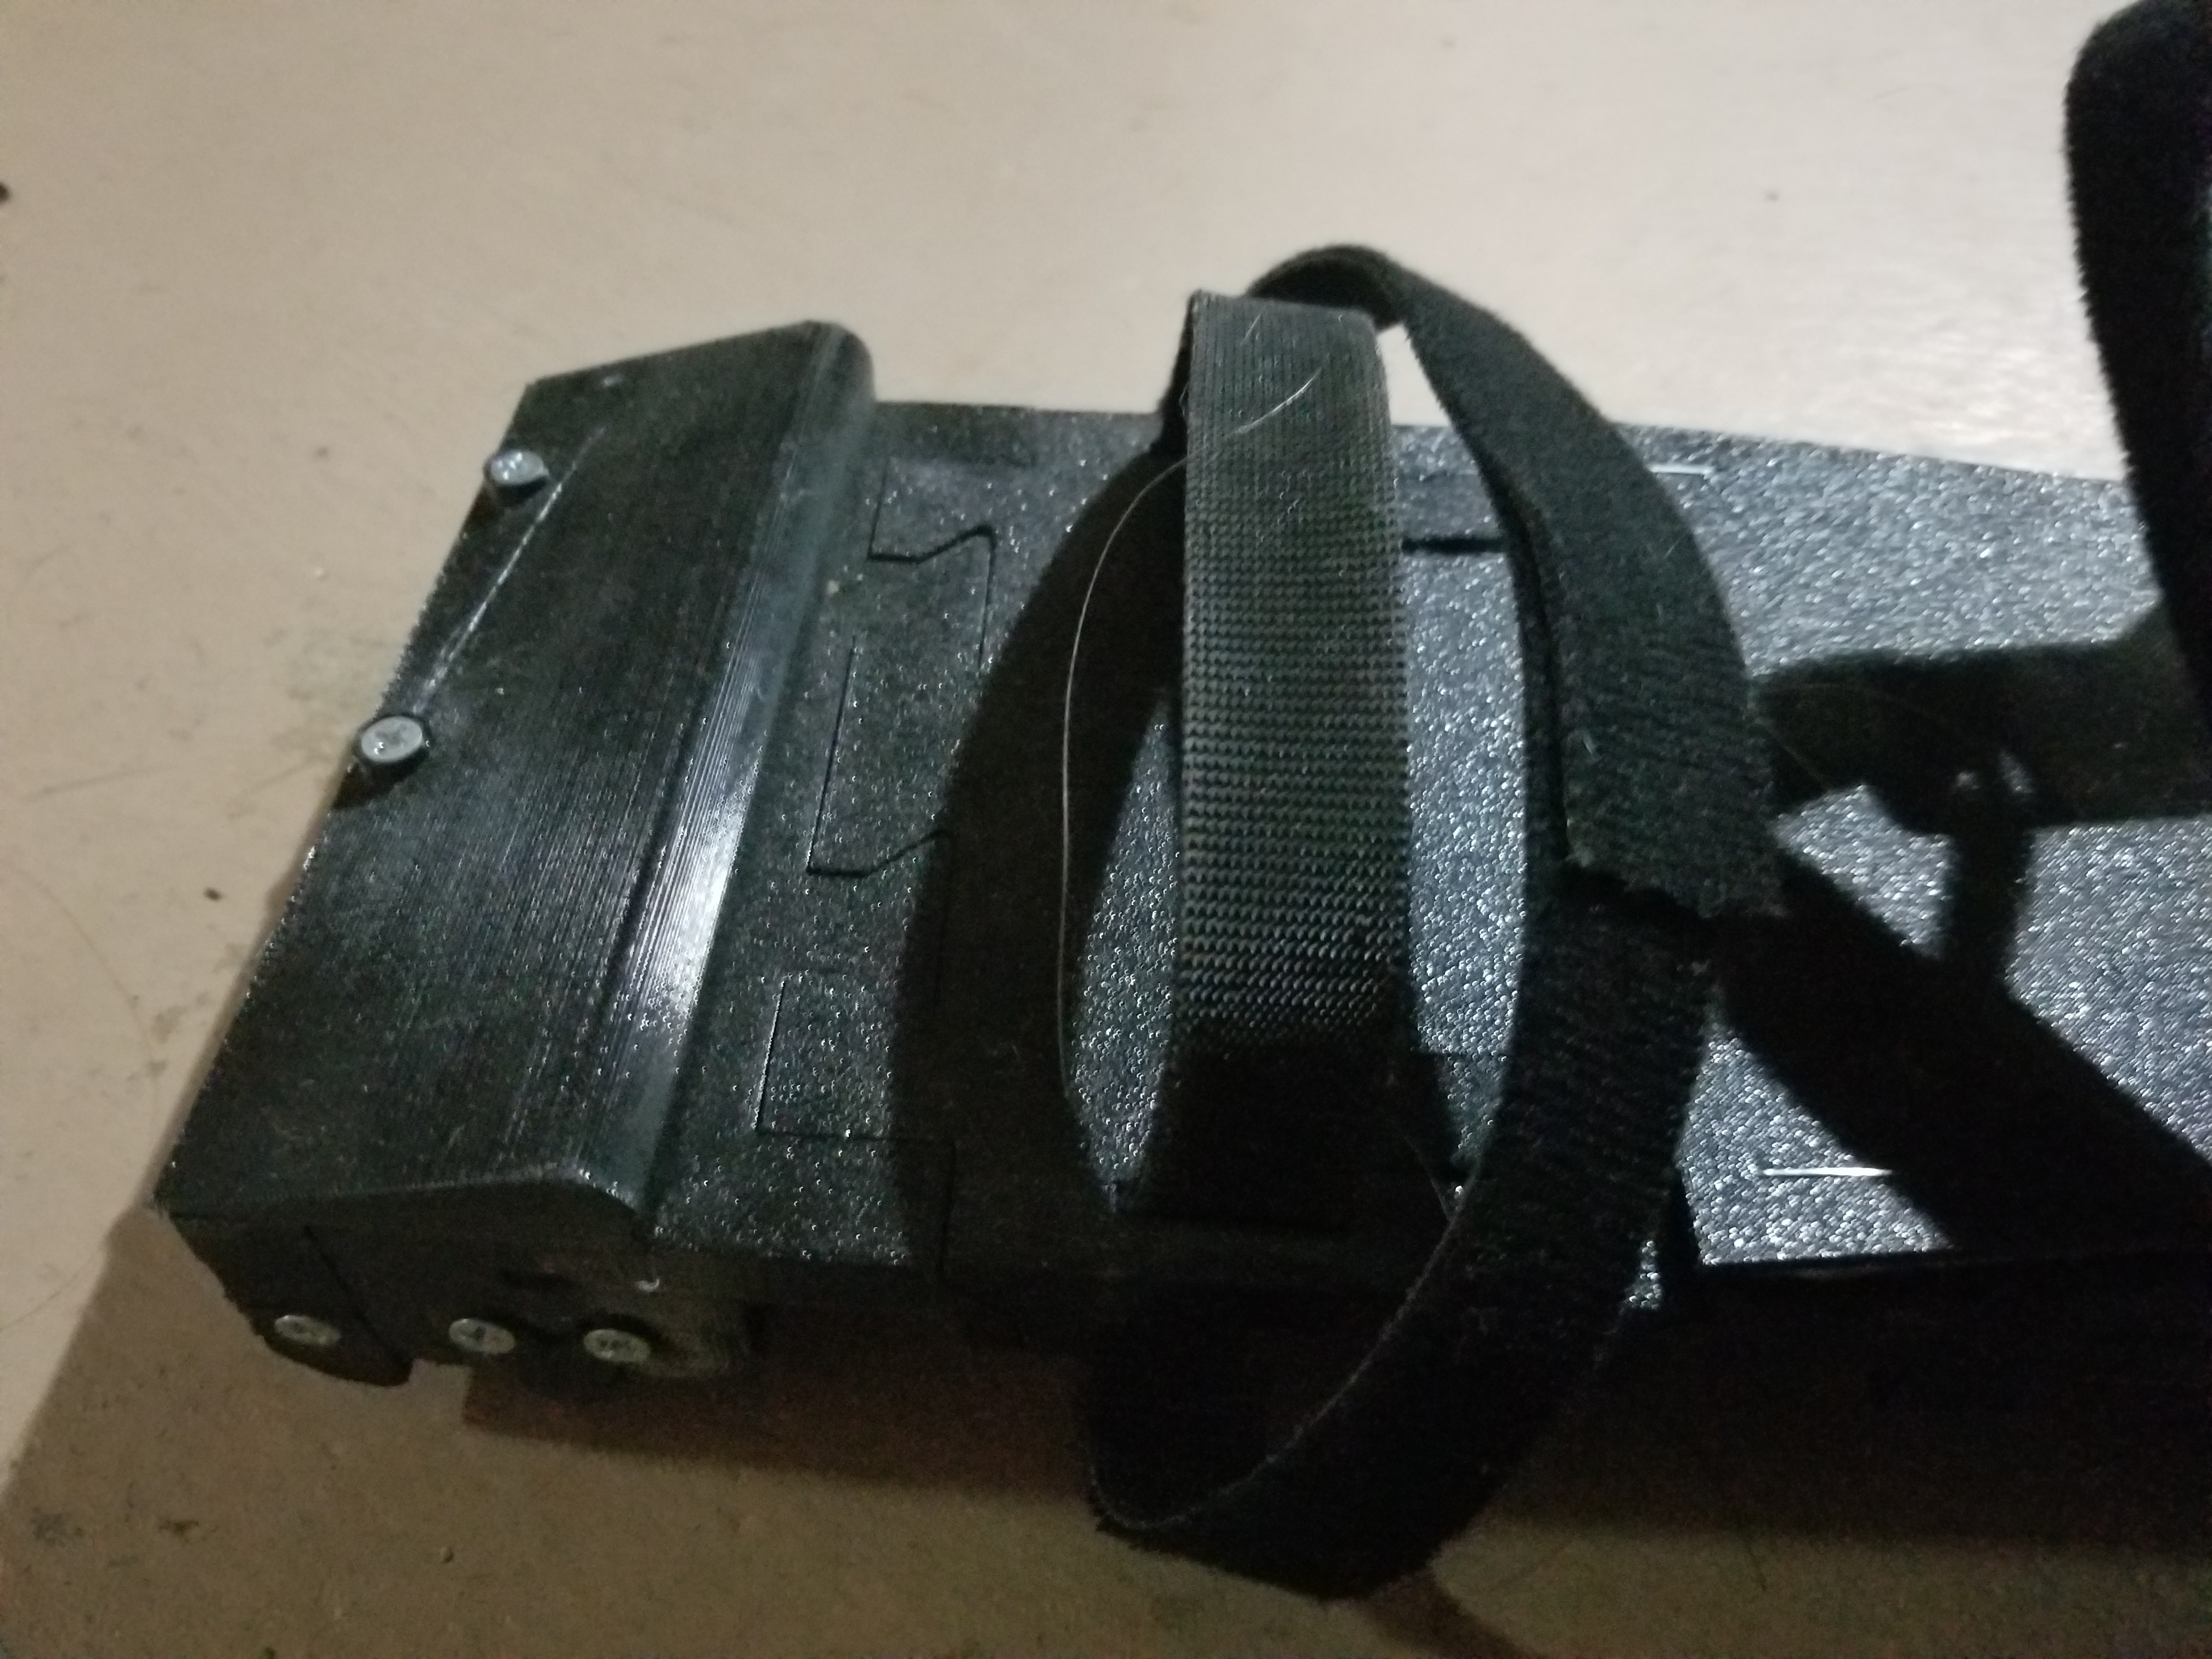
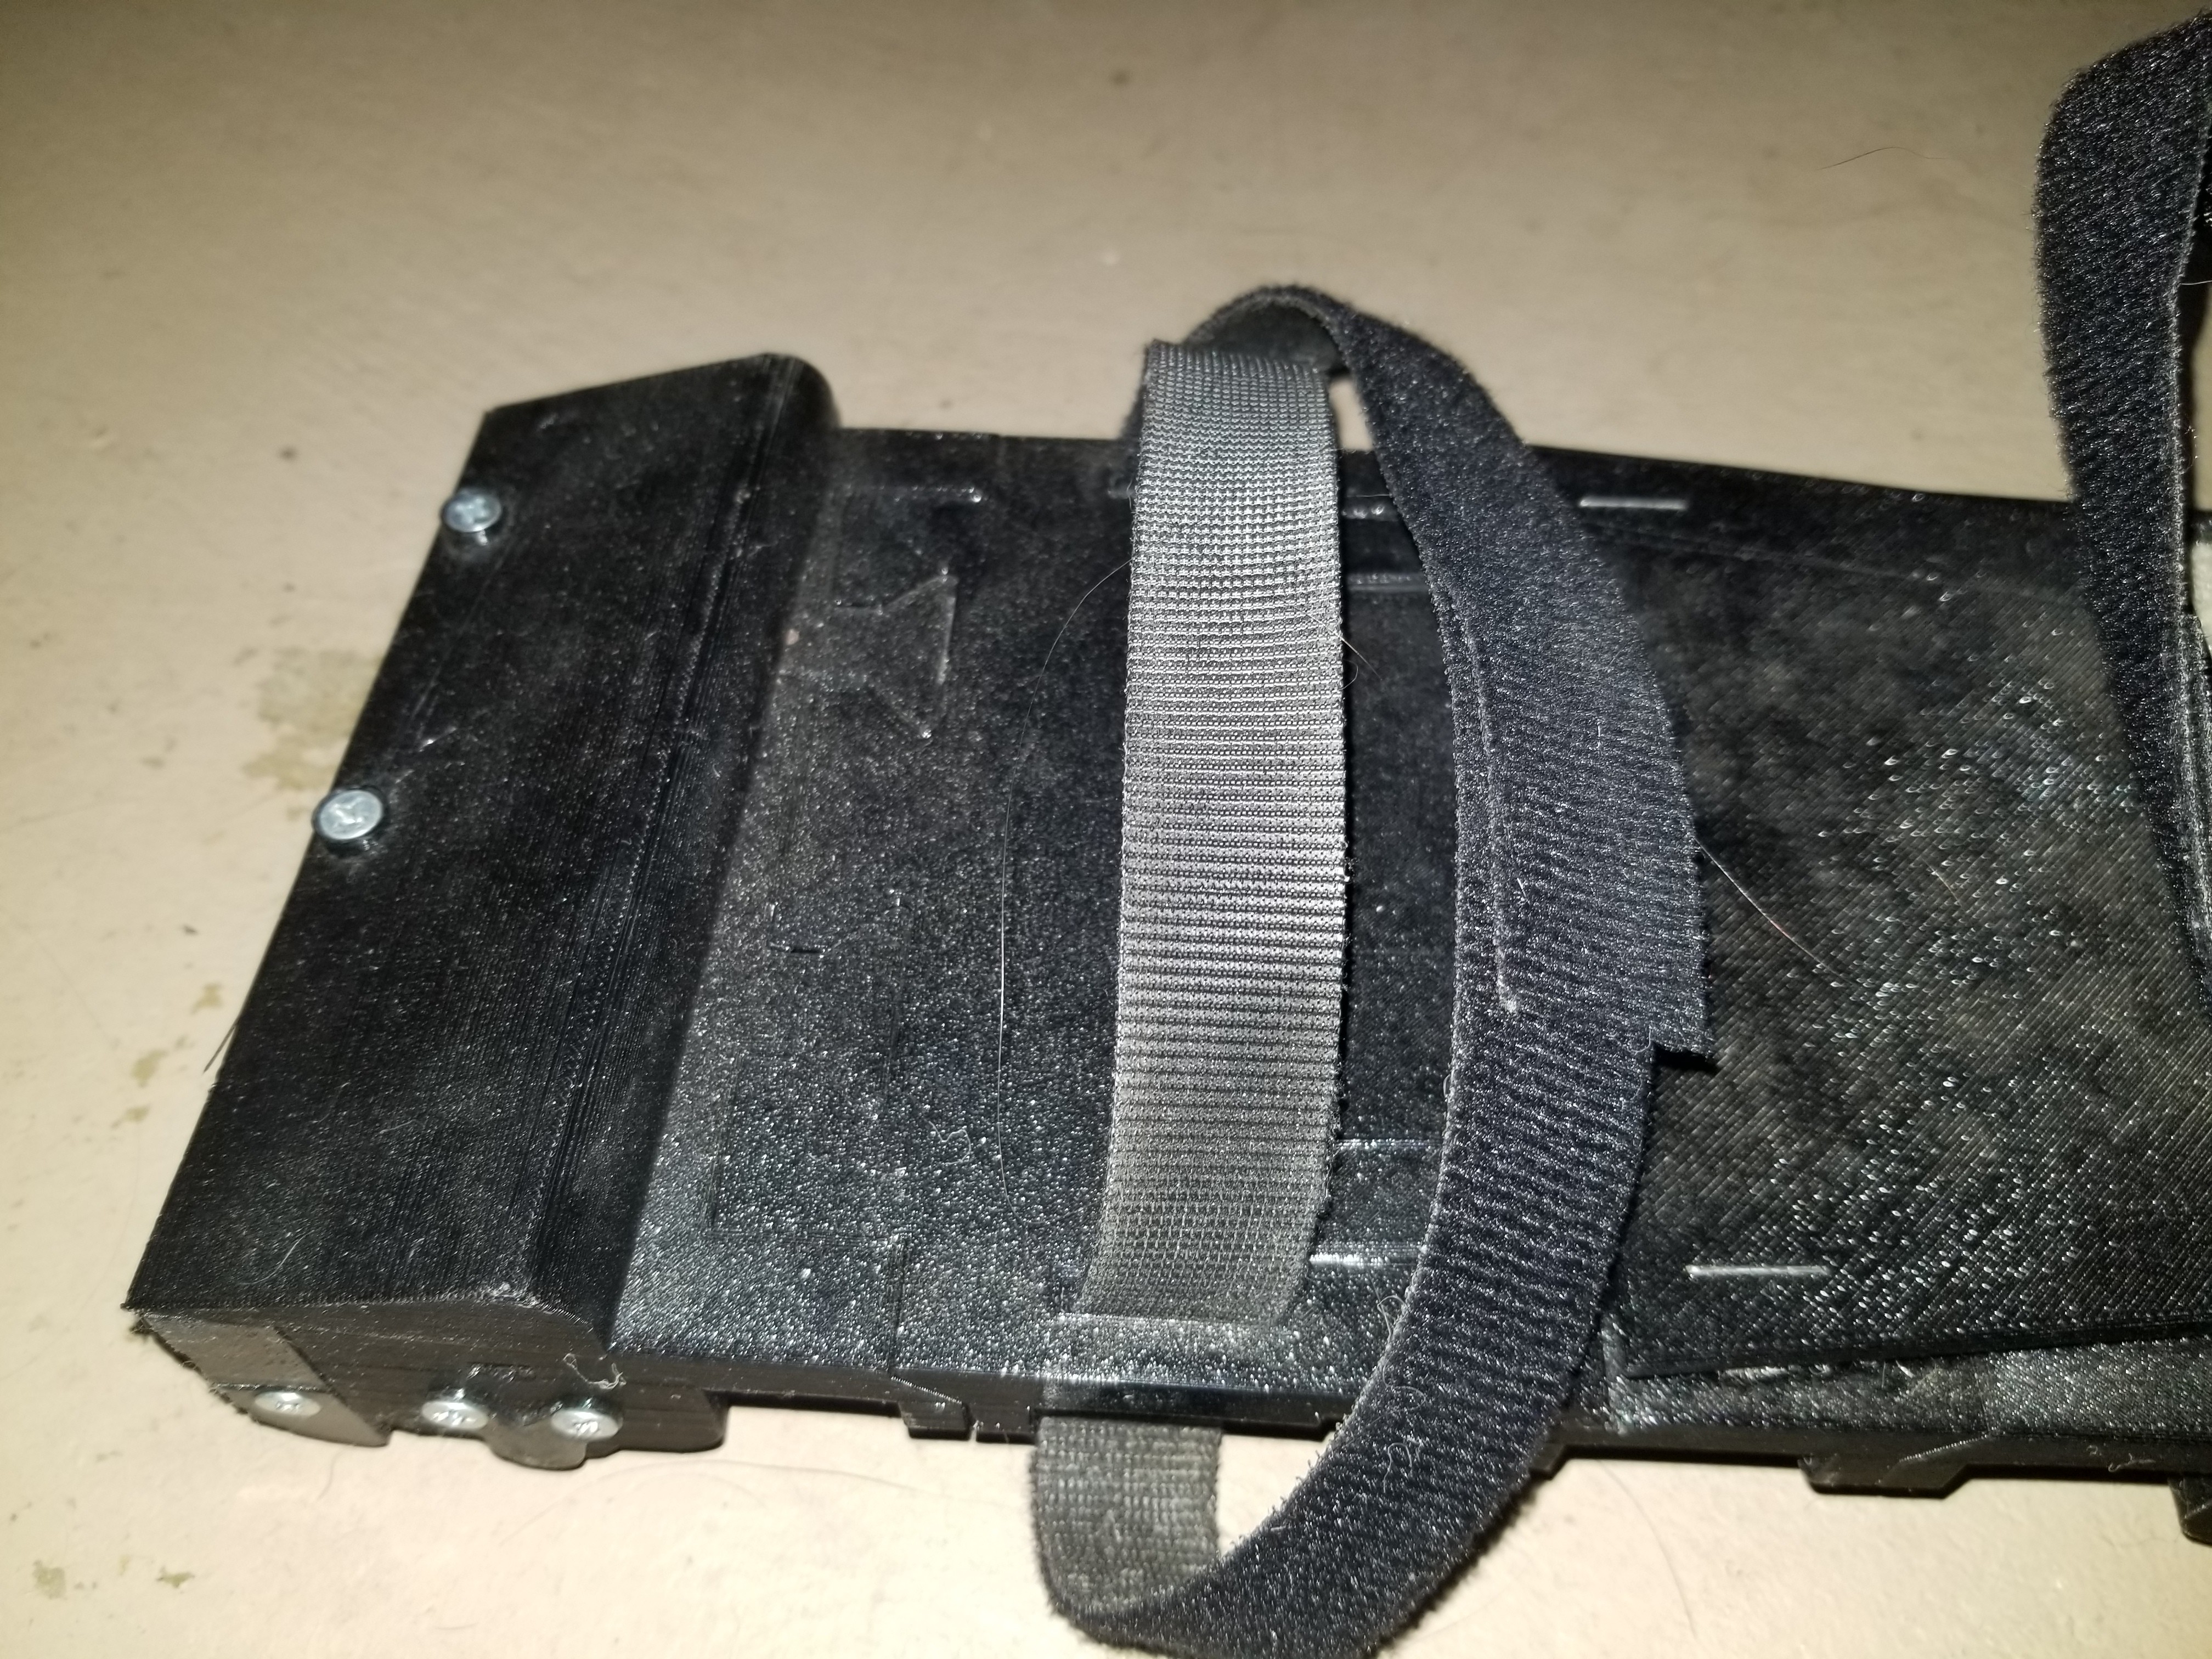
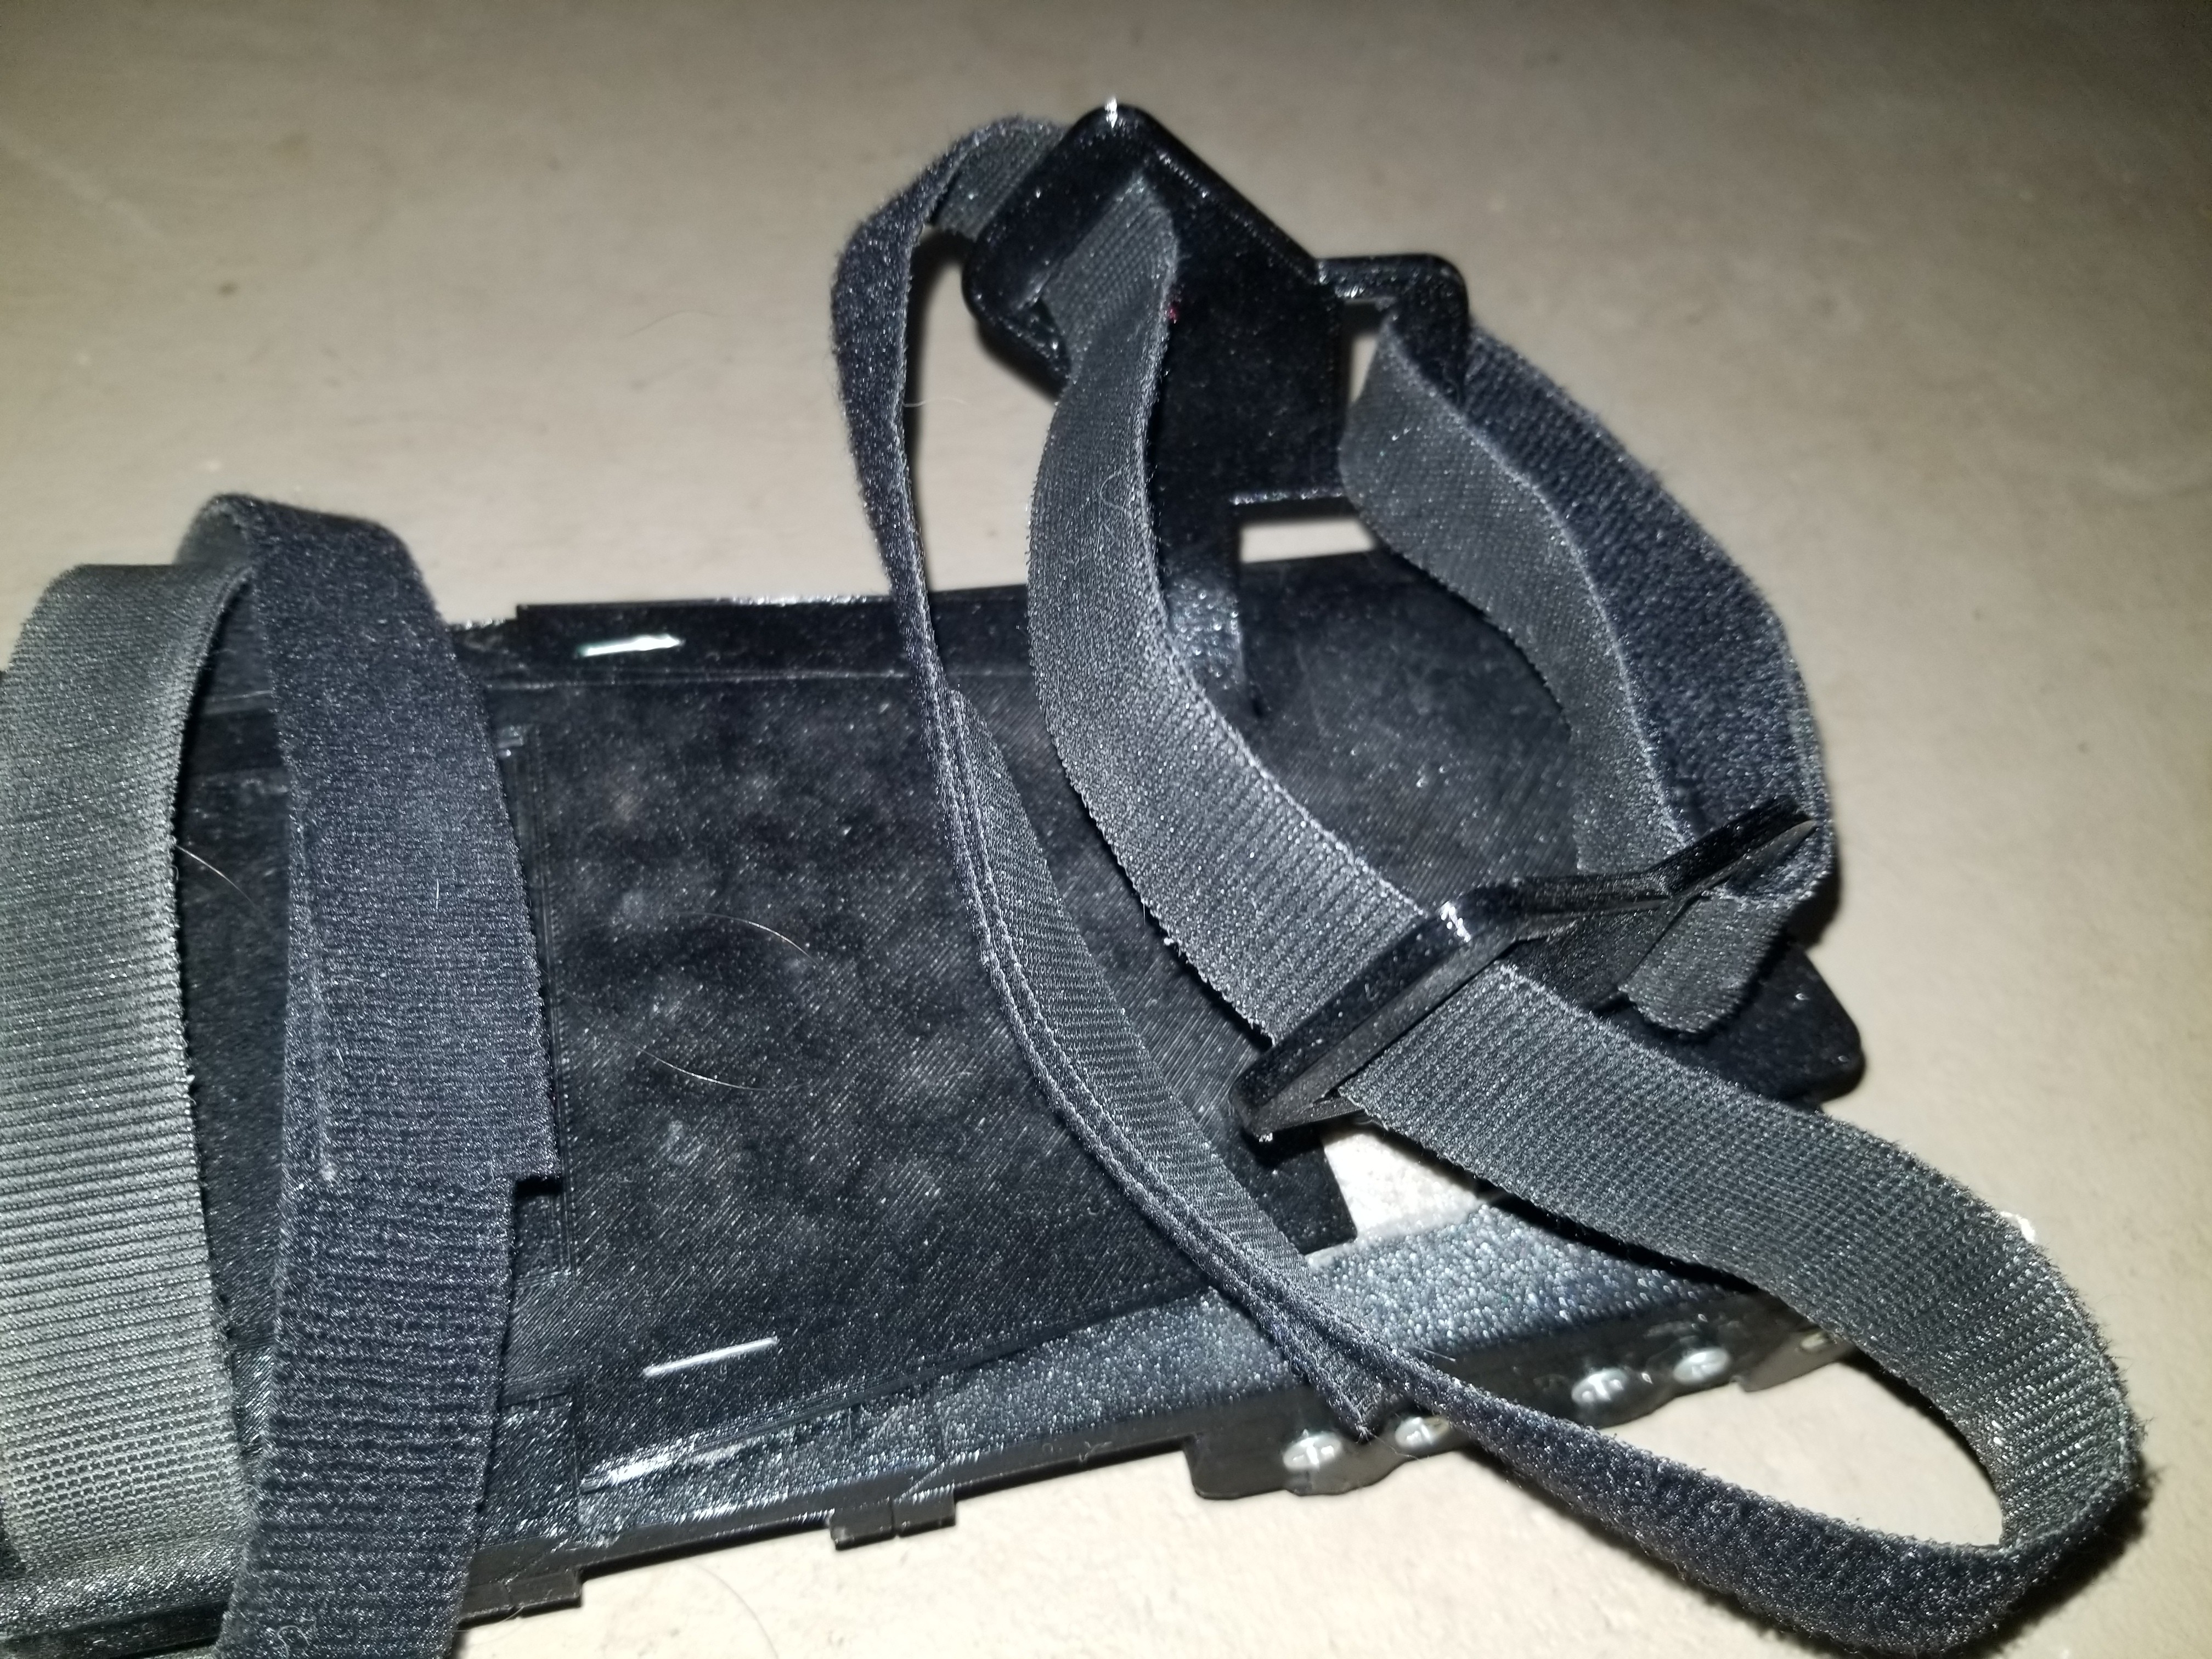
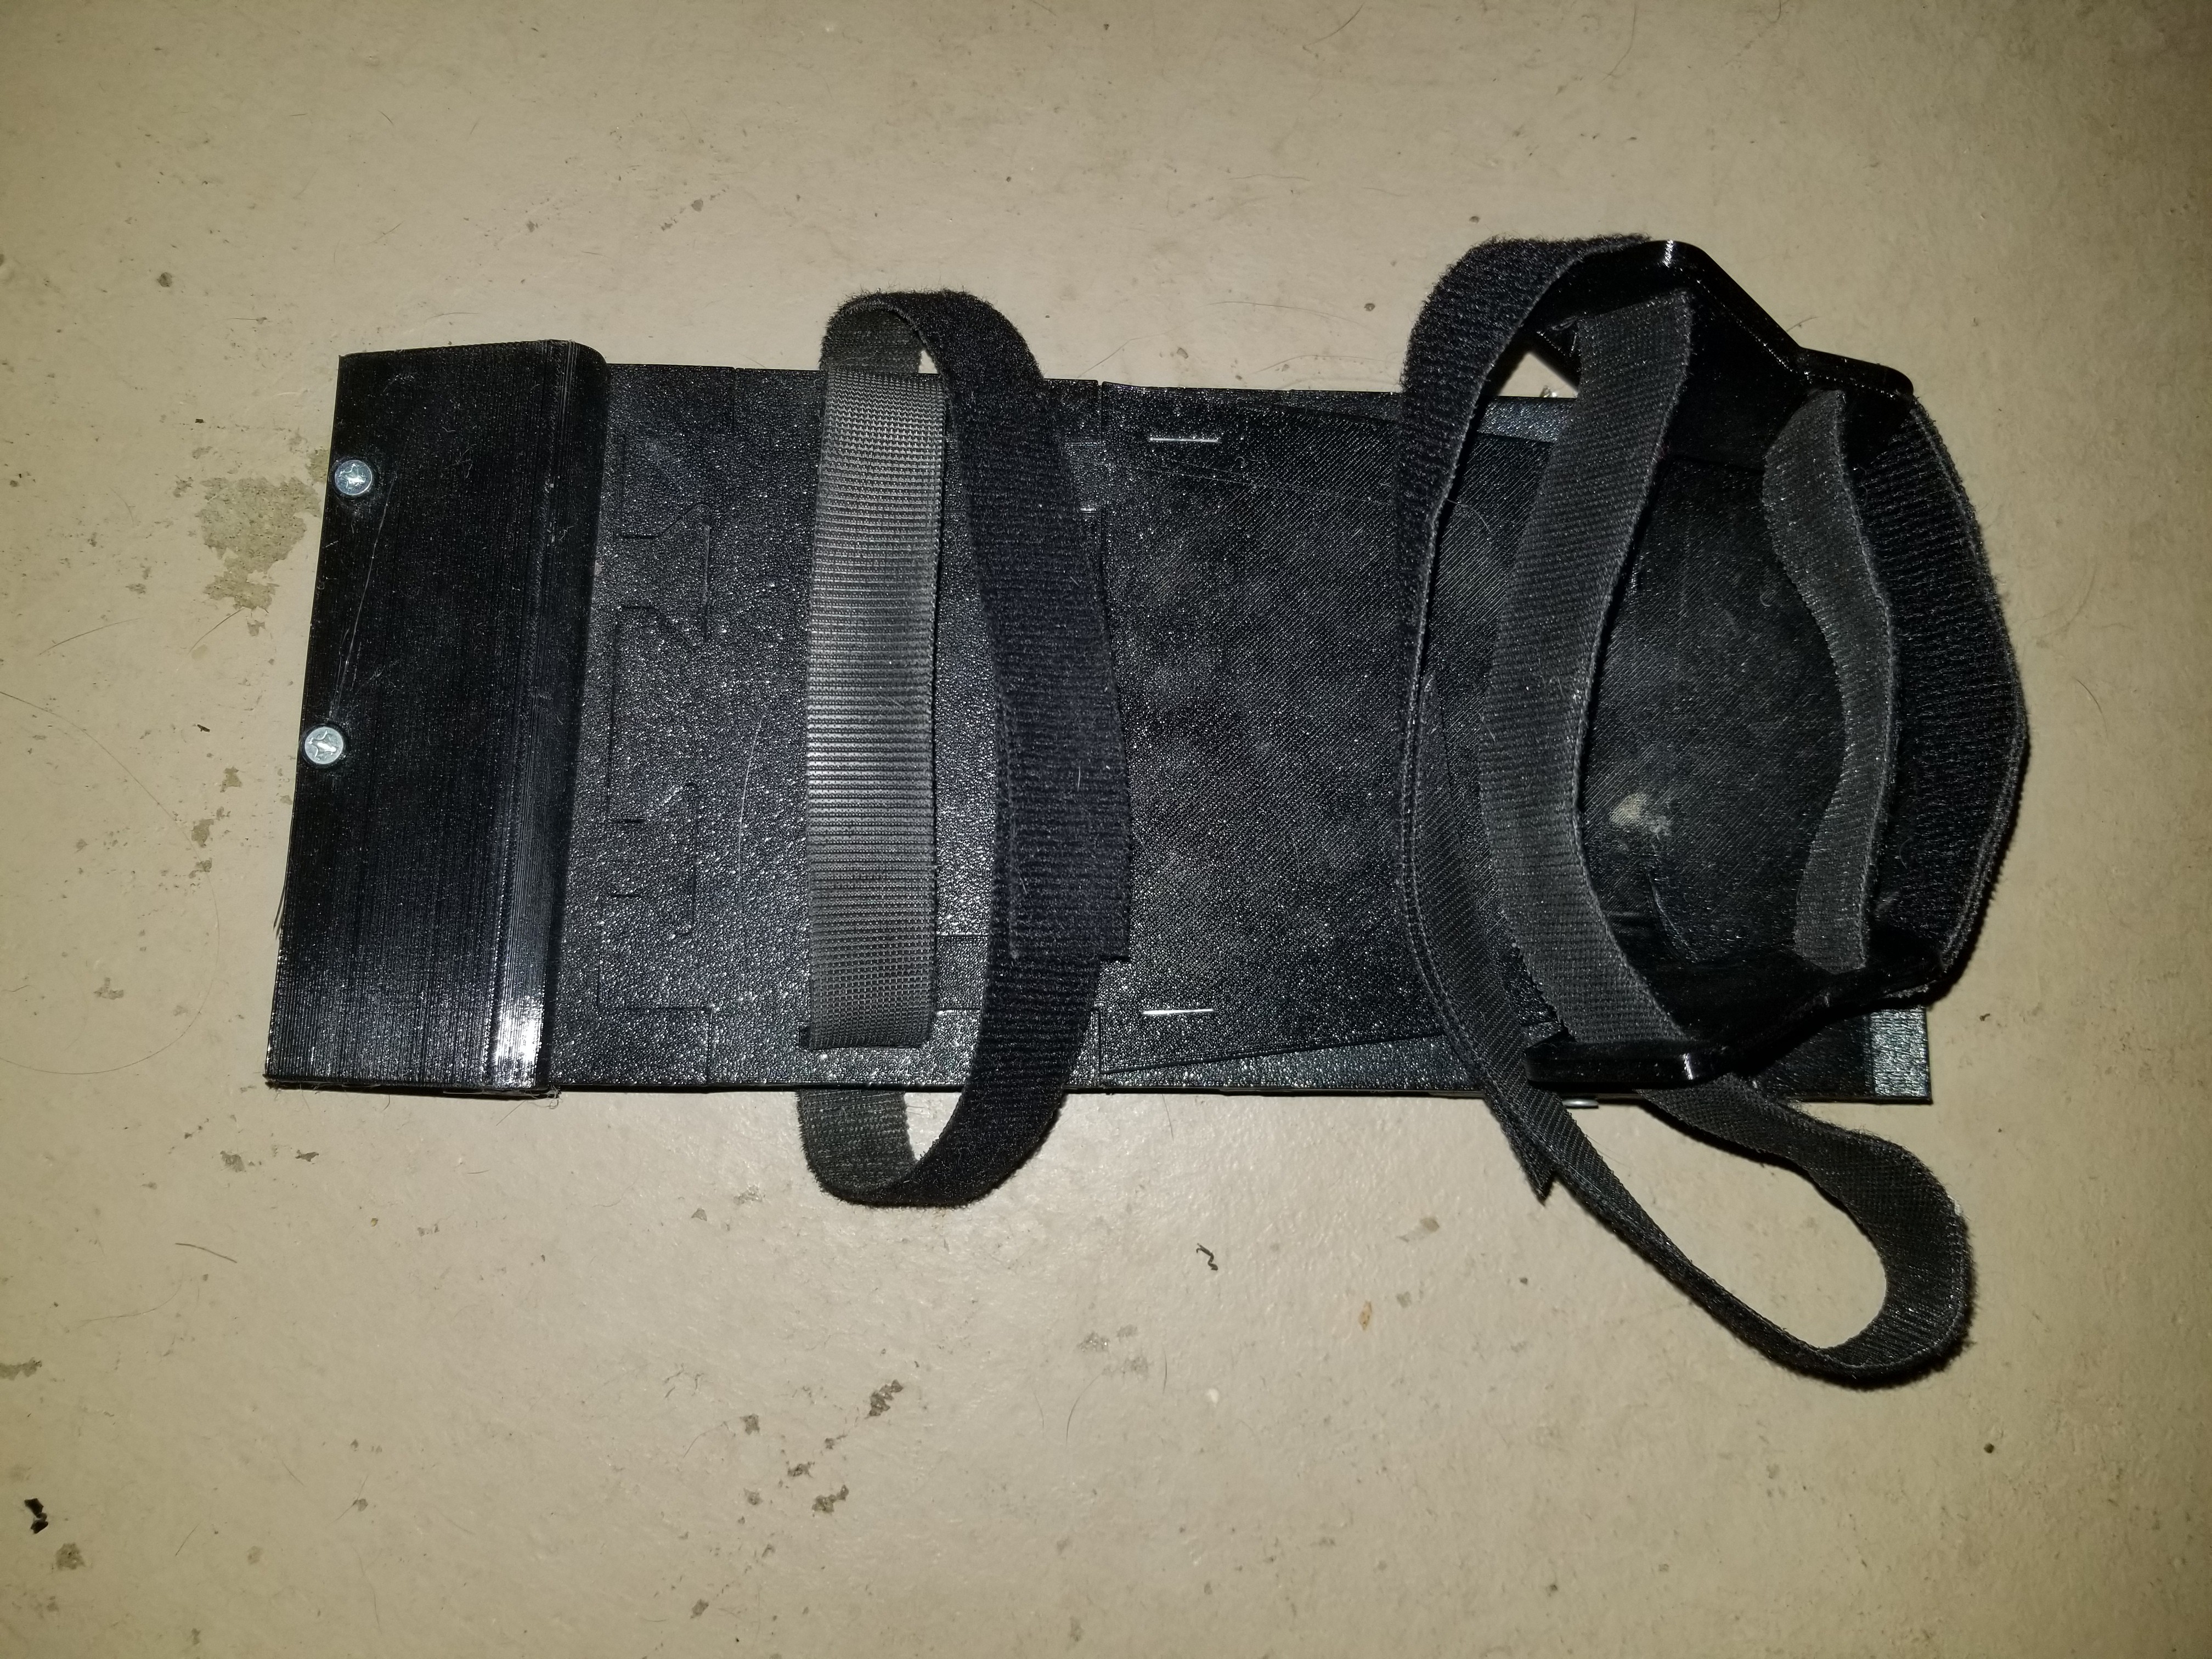
20Add velcro straps
Add velcro straps (row 31) as shown below.
![]()
![]()
![]()
![]()
Passive Virtual Reality Shoes
I'm making a shoe that allow you to walk around as much as you want in VR while staying in the same spot in real life

Discussions
Become a Hackaday.io Member
Create an account to leave a comment. Already have an account? Log In.