Close
0%
0%

KSGER T12 Foot Pedal

A foot pedal mod for the popular KSGER T12 soldering stations to control the boost function for temporary power.

Similar projects worth following
Ever found yourself waiting too long for those big ground planes on a circuit board to warm up and wishing you had a bit more power? But changing the temperature of the soldering station is just too much hassle?

This foot controller for the KSGER T12 soldering stations will allow you to activate the boost function with your foot, keeping your hands free for soldering.

The project works by using a foot controller to trigger an Arduino Nano, built into the case of the soldering station. As I haven't found a way to easily provide input to the microcontroller, this project uses an Arduino Nano to fake rotations of the rotary encoder. As you might know, rotating the button clockwise several clicks activates the boost function on KSGER soldering stations. When clicked again, the Nano will send a fake 'counter-clockwise' signal to disable the boost function again.

SolderingStationFootpedal - Arduino_Bracket.stl

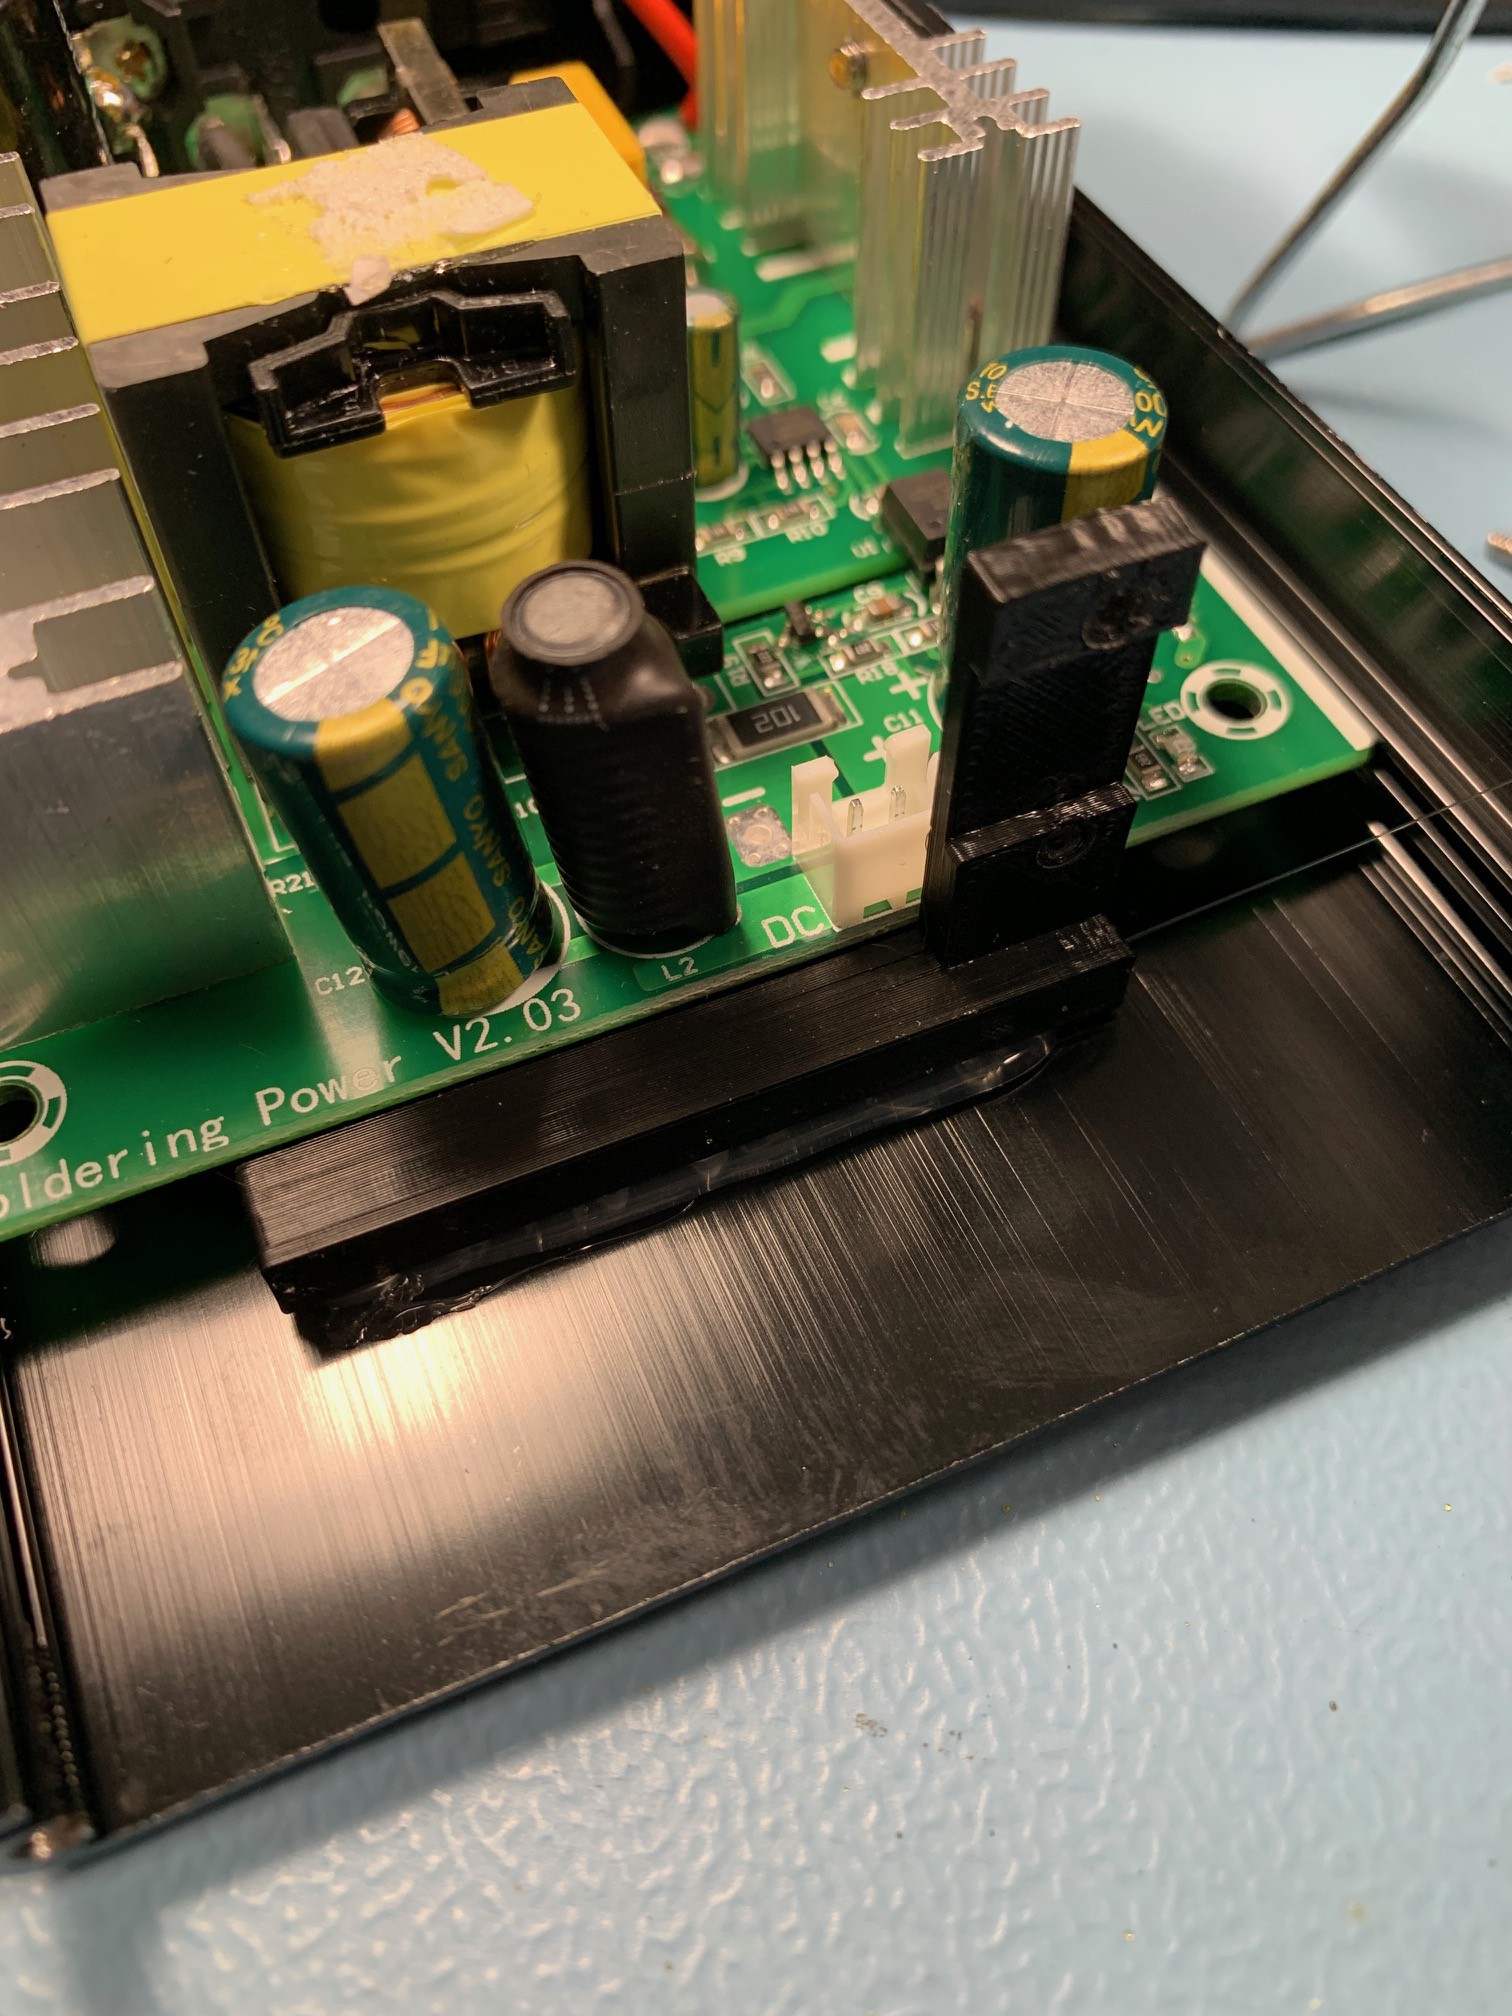
Bracket for Arduino Nano inside the KSGER case

stl-binary - 89.93 kB - 02/01/2021 at 09:54

Download

footswitch.ino

Arduino Nano code

x-arduino - 1.61 kB - 02/01/2021 at 09:54

Download

  • 1 × Arduino Nano
  • 1 × DC barrel and jack Or use another connector of your choice. Just make sure it's a panel mount connector so it fits neatly in the back of the station
  • 1 × Foot switch I've used one off an IKEA lamp, but you could use any on-off foot switch
  • 1 × 22 AWG stranded wire
  • 1 × 10K resistor

View all 7 components

  • 1
    Program the Arduino Nano

    Program the Arduino Nano with the attached footswitch.ino sketch. You might have to remove the include if you're using Arduino IDE (I use PlatformIO).

  • 2
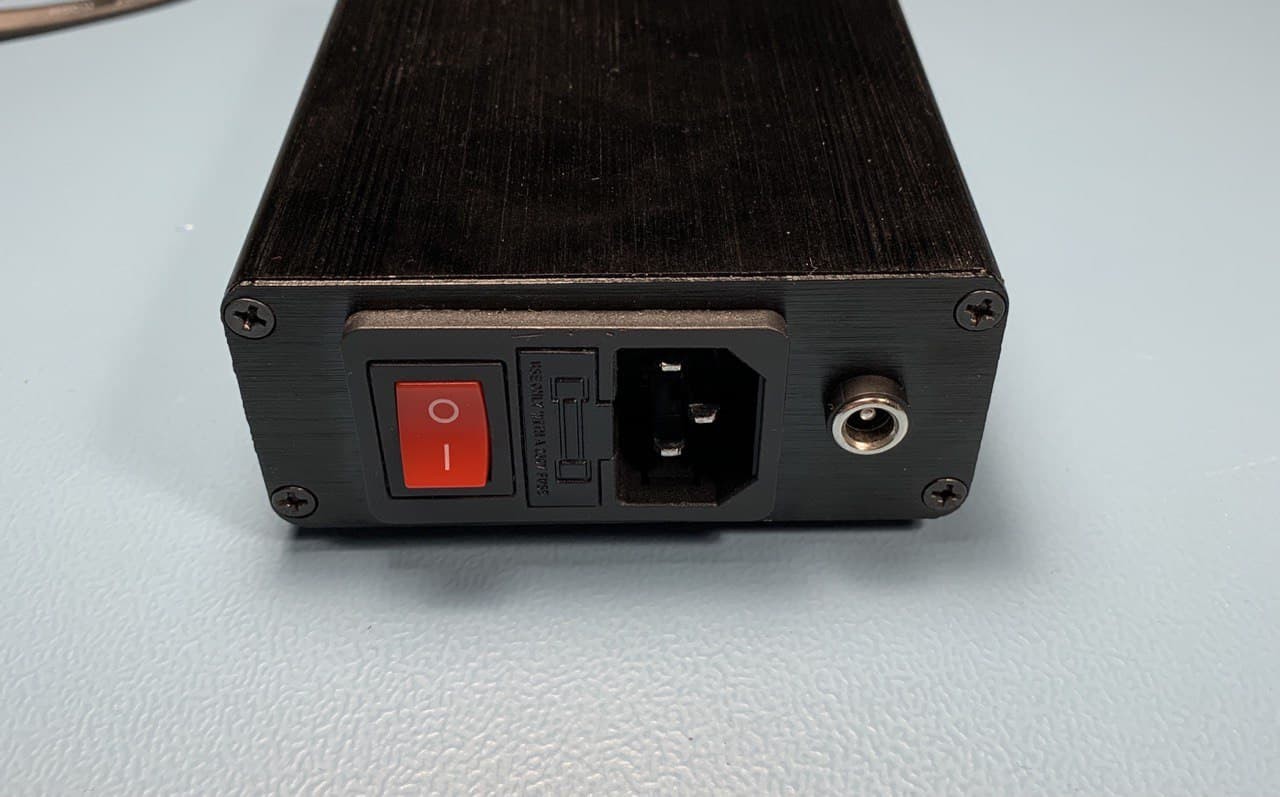
    Drill a hole for the connector and install it

    Drill a hole in the case for the connector. I found that there's plenty of space at the back of the case. It's aluminium, so make sure you have a sharp metal drill bit, and don't spin the drill too fast. I used a 4mm pilot hole and finished it with an 8mm drill. Make sure the aluminium chips don't go everywhere.

  • 3
    Print the bracket for the Arduino Nano and mount it in the case

    Print the bracket for the Arduino Nano (STL included). It's fine to use whatever plastic for this (I used PLA). After printing, mount it inside the case using hot glue, but make sure to work quickly as the aluminium case sinks heat really well. You can mount the bracket right up to the existing PCB

View all 6 instructions

Enjoy this project?

Share

Discussions

Similar Projects

Does this project spark your interest?

Become a member to follow this project and never miss any updates