deftcoyote
-
Construction
02/07/2021 at 20:24 • 0 comments![]()
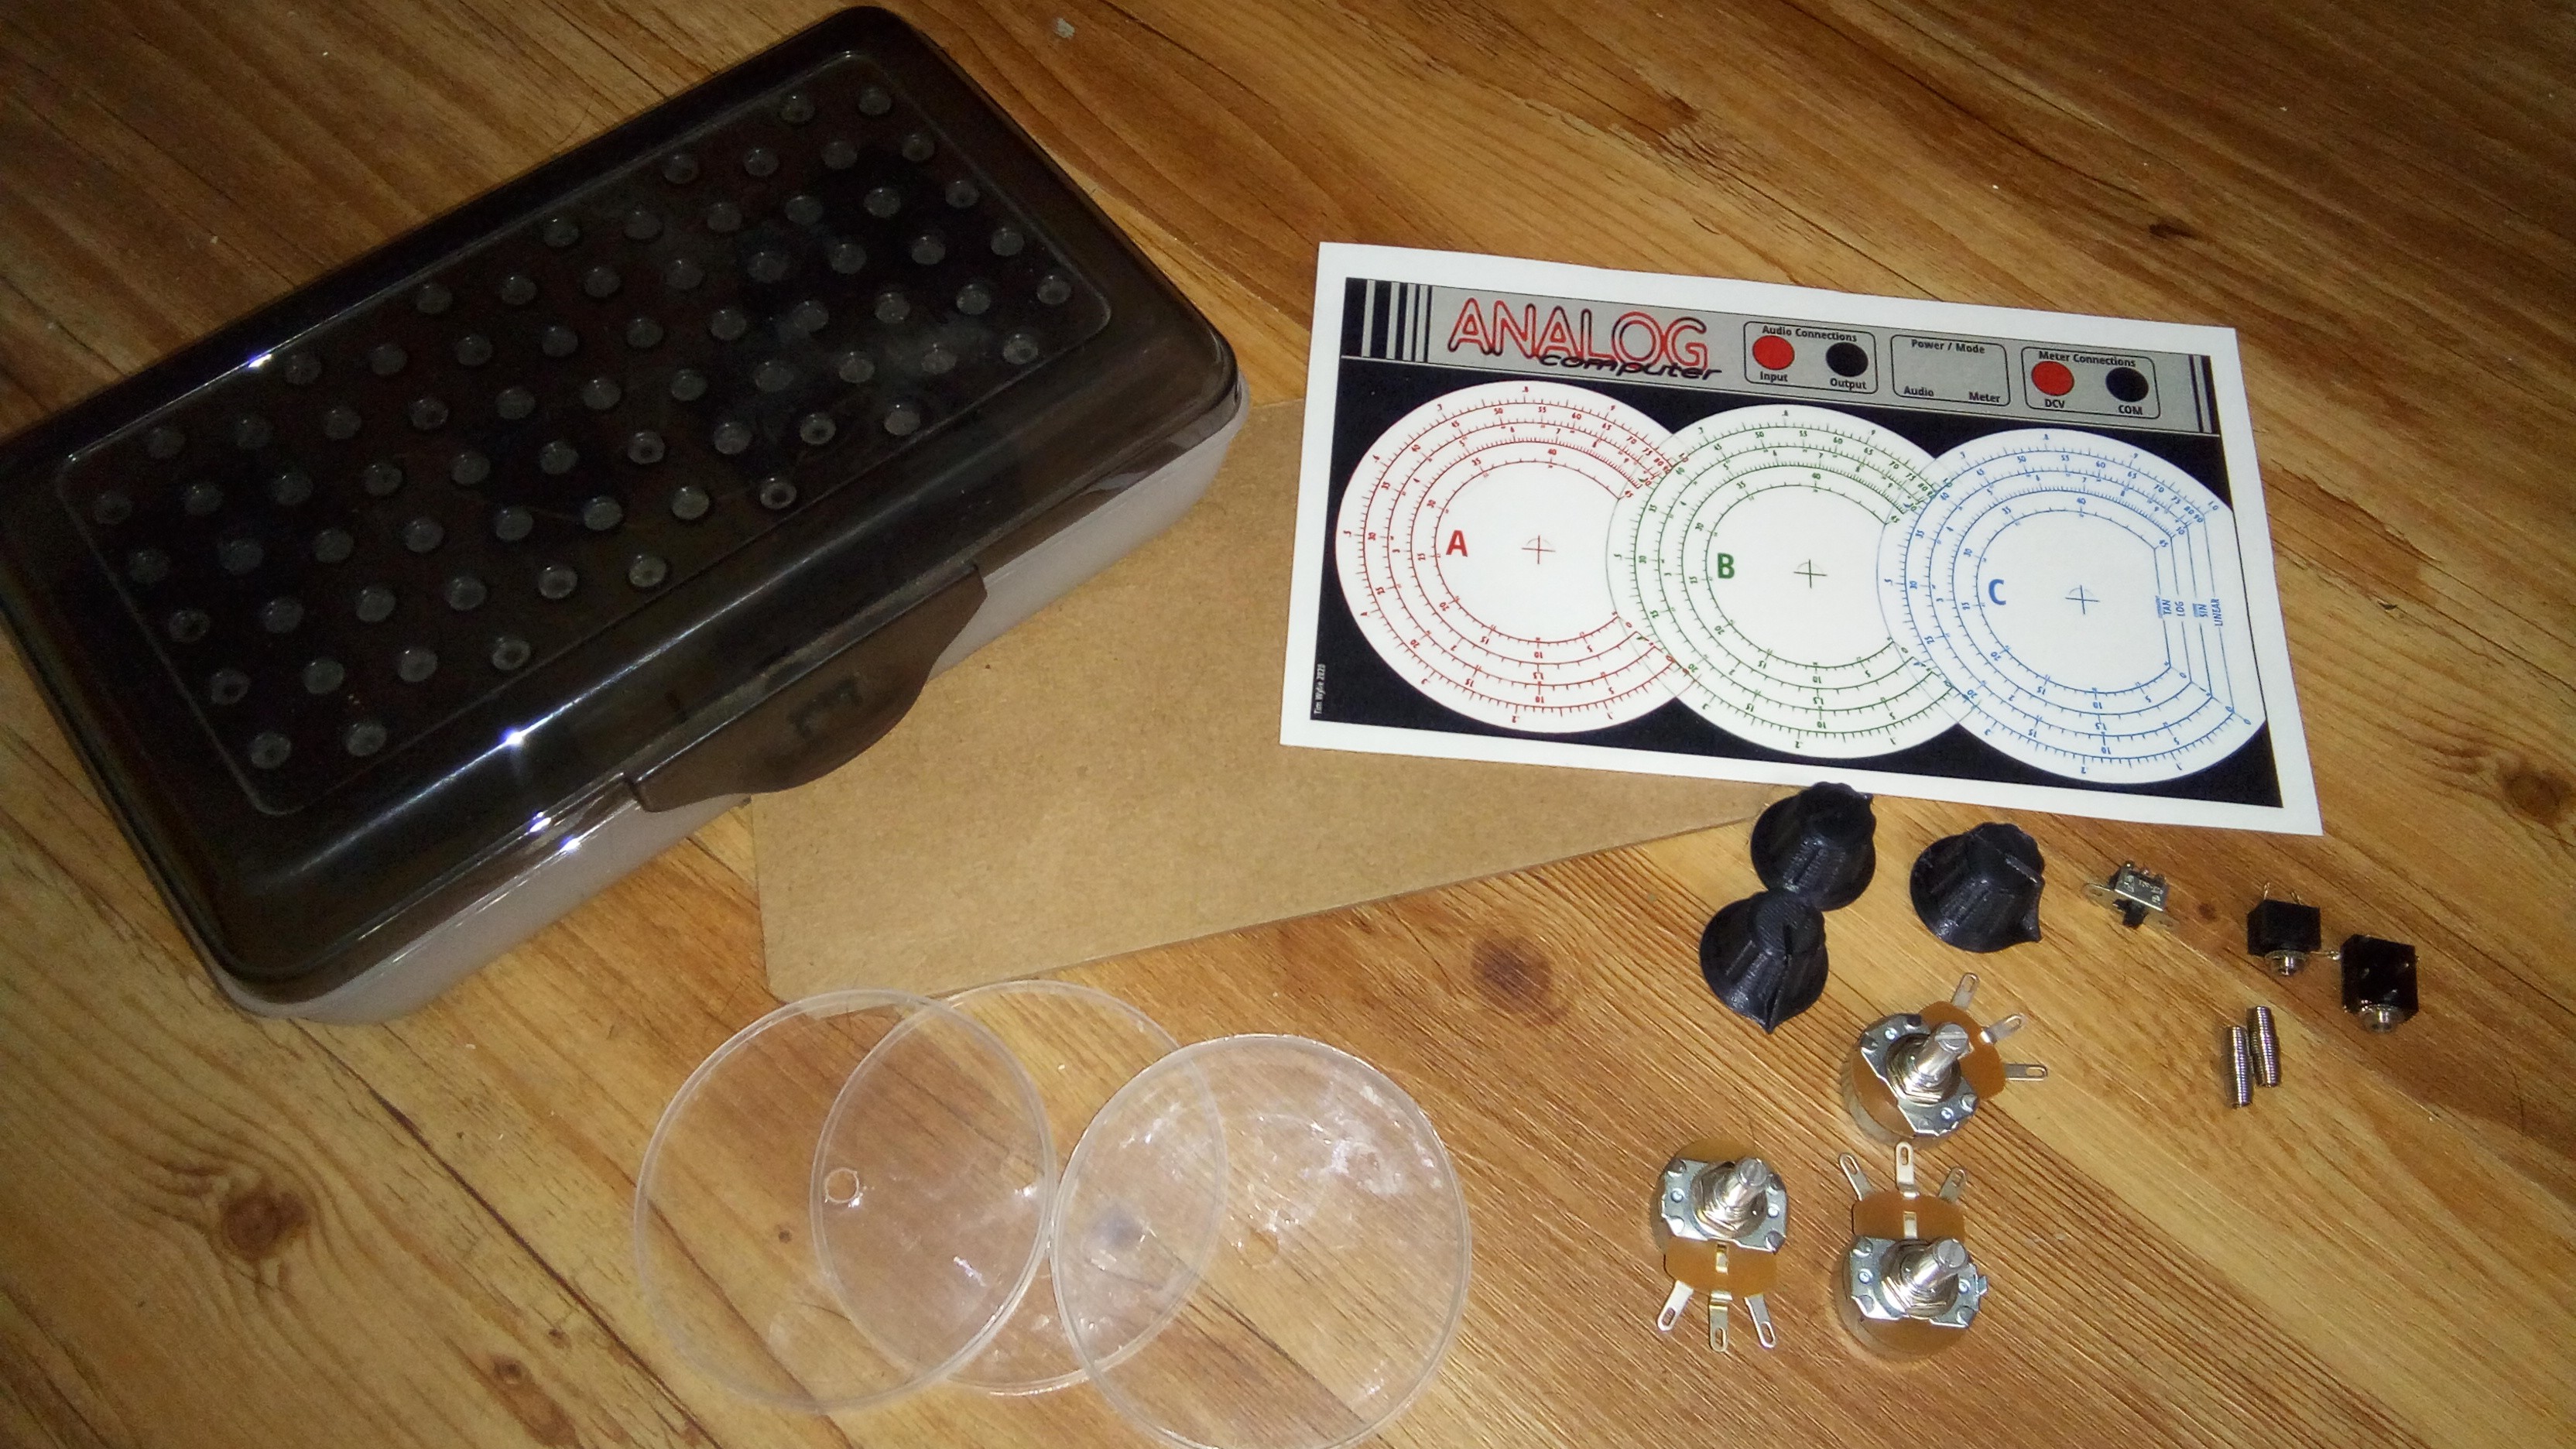
The pieces used to build the analog computer.
- 3 knobs that are 3d printed (https://www.thingiverse.com/thing:3460654)
- 3 potentiometers (Two 50 Ohm, One 1K Ohm)
- 2 springs
- 2 headphone jacks
- 1 SPDT switch
- 3 pringles lids or circles cut from clear plastic
- battery holder that is 3d printed (https://www.thingiverse.com/thing:3115171)
- a pencilbox :)
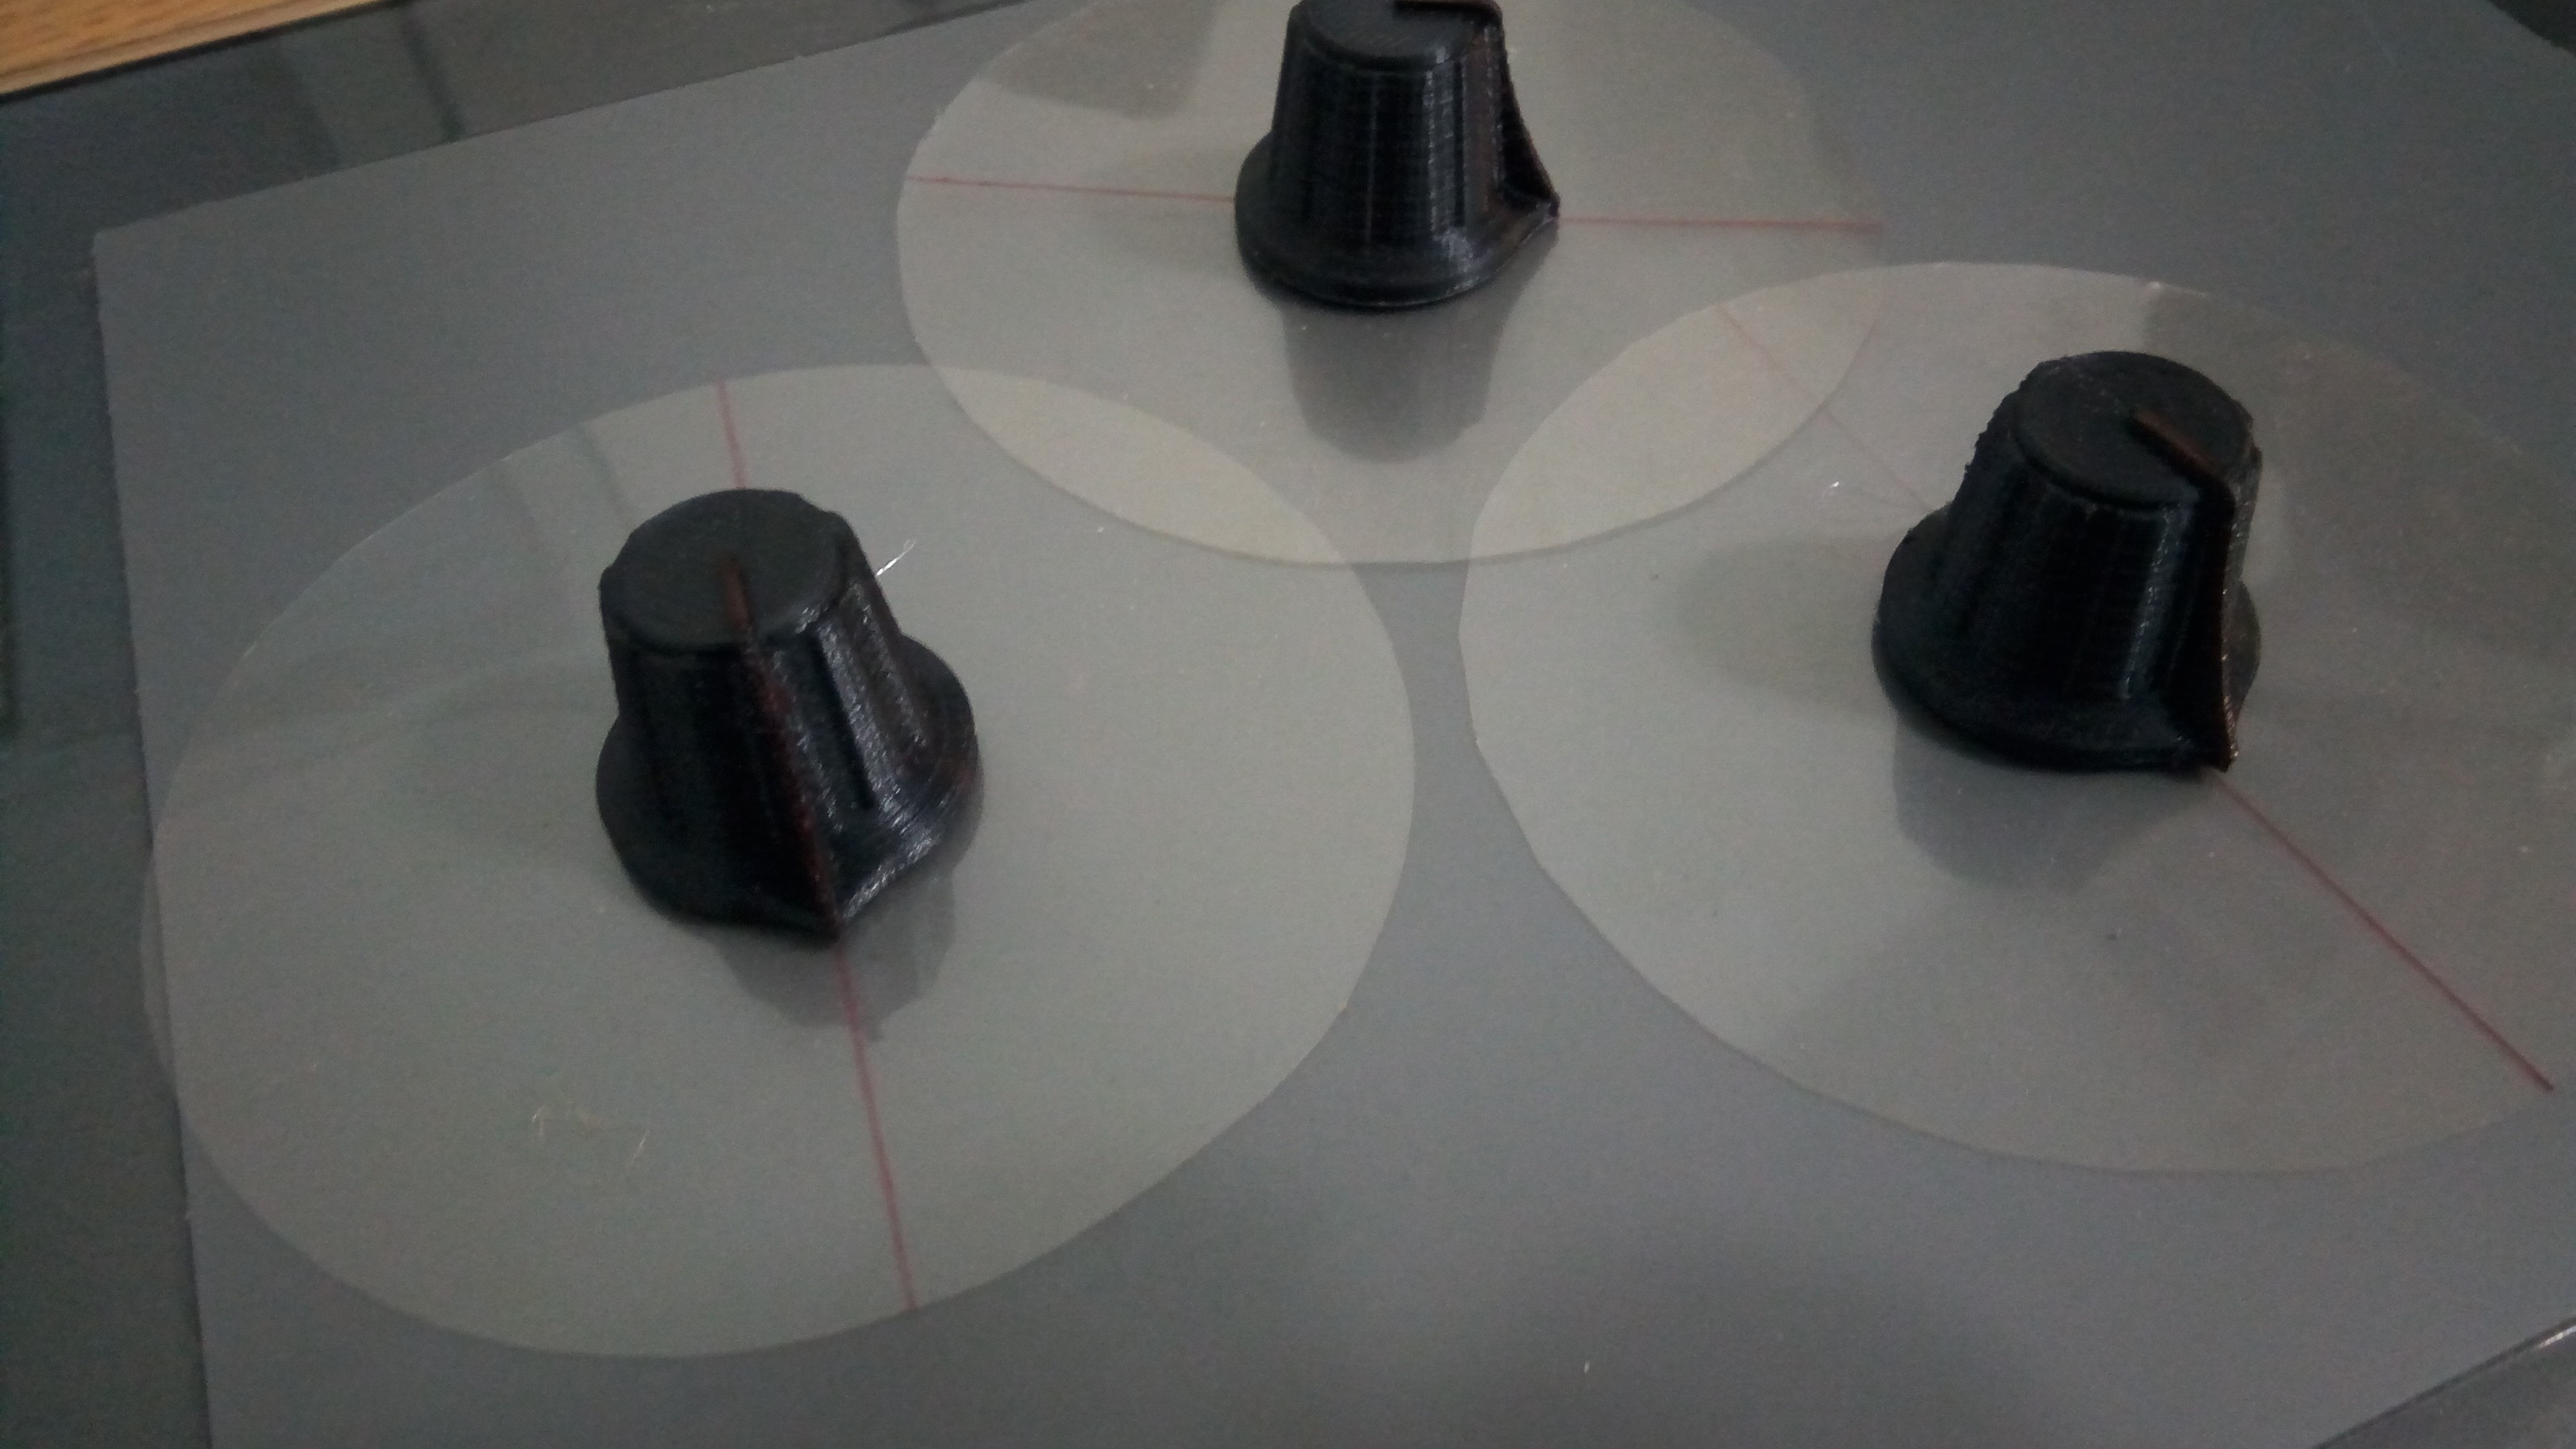
For space, I overlapped the 3 potentiometer gauges. Rather than 3d print needles, which might hit each other, I glued the plastic circles to the knobs and drew a line on it for the needle.
![]()
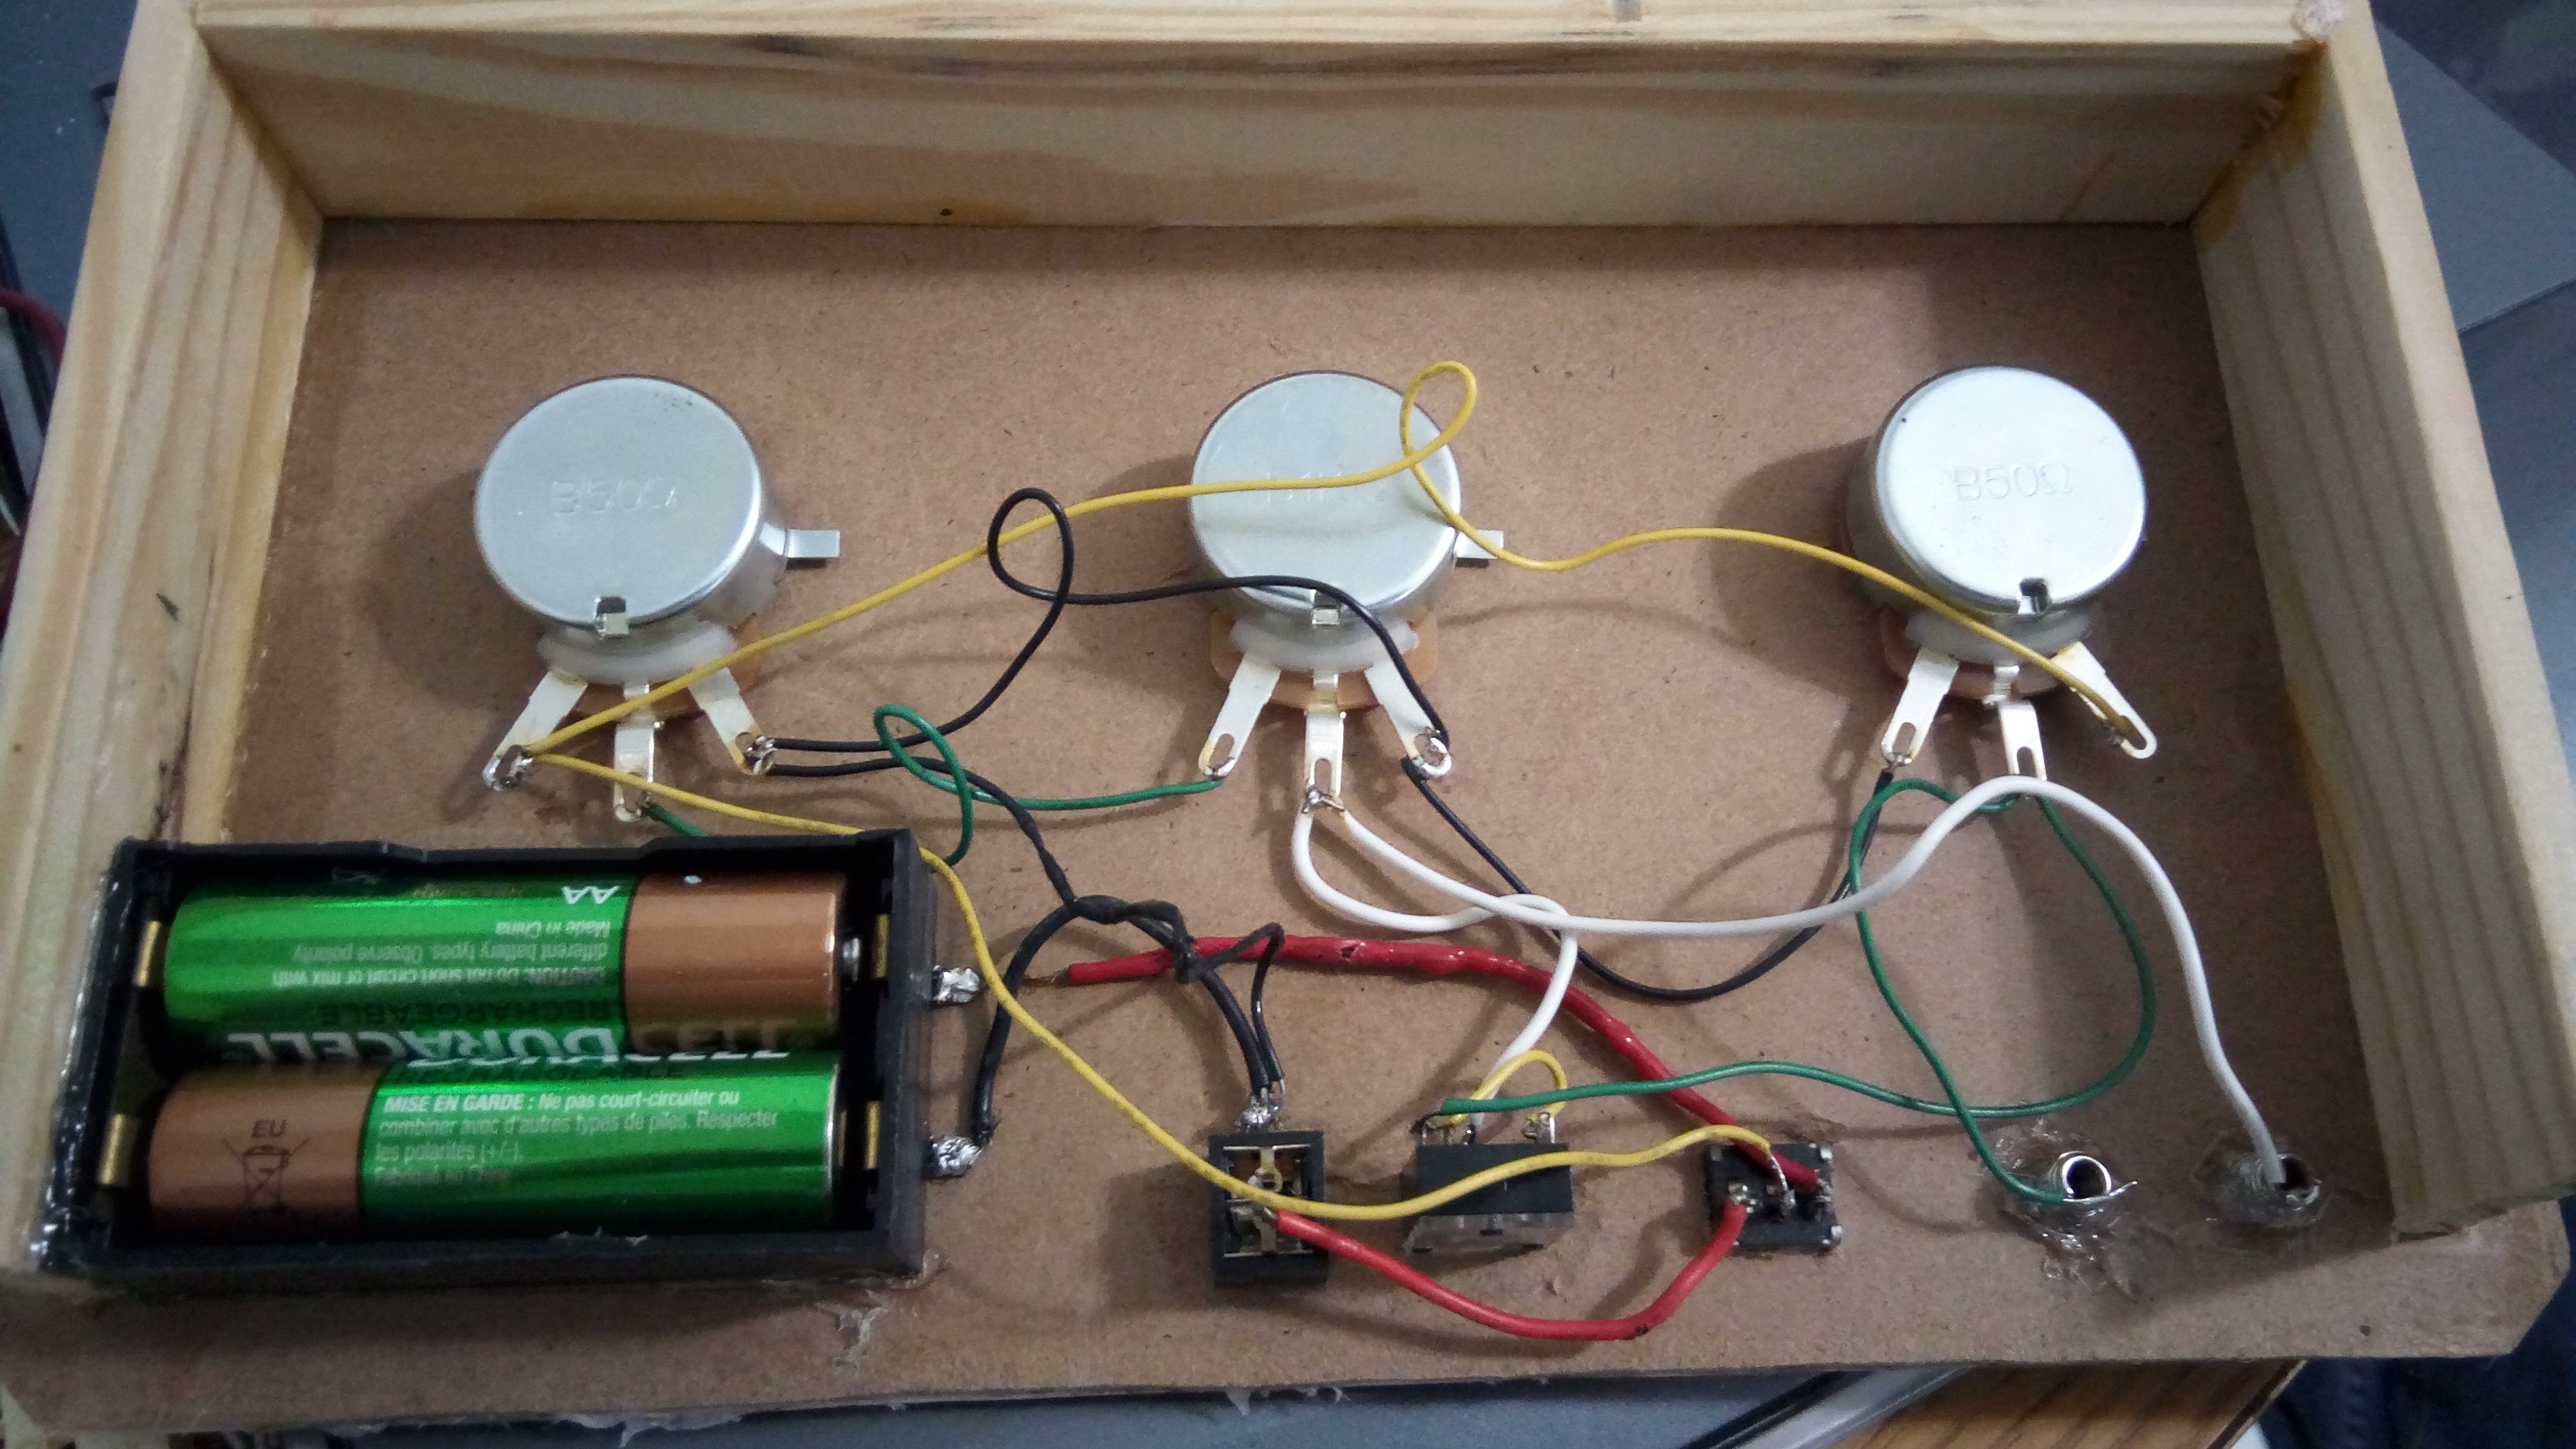
The face of the computer with the gauges was laminated and glued to wood. I thin added side walls to mount in the pencilbox. I also 3d printed a battery holder for AA batteries. Again this is wired for either the voltage or the audio input. The finished bottom looks like this.
![]()
And that's it! There's a lot to be said about the actual potentiometers used. The tolerance should be less than 5% in order to get fairly accurate results. Using 20% tolerance means that between the 3 pots, your error could be too large to be useful.
![]() I included in the files the gauge section without any numbers as well. This allows you to mark the gauges specific to your pots so that they're more accurate.
I included in the files the gauge section without any numbers as well. This allows you to mark the gauges specific to your pots so that they're more accurate. -
Headphones or meter?
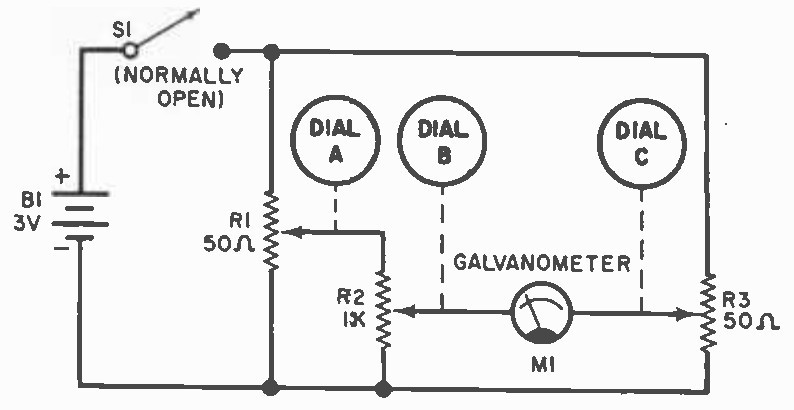
02/07/2021 at 08:25 • 0 commentsThe article in Popular Electronics discusses how there are two ways to make this circuit. You can test whether the comparator is zero by using a galvanometer (or potentiometer) if you give the circuit a voltage. However, if you feed it an audio signal, you can use headphones to hear when the sound is silent. Most of them used the meter, but some like the G.E. kit used headphones.
I am going to use both. I want it to be relatively cheap overall, so I don't want to embed a meter into the computer. I'm going to have two posts in order to attach a potentiometer, but I'll also have audio input/output jacks. A simple switch will select which to use- so the audio option is essentially off.
Here's the version with the meter.
![]()
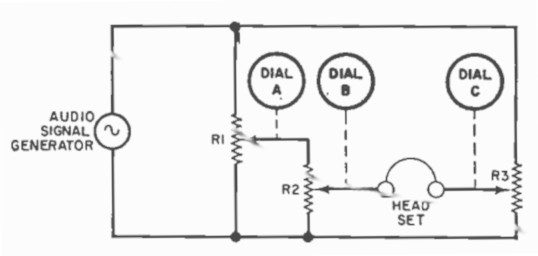
Here's the version with headphones.
![]()
You can see that they're essentially the same circuit, so both can be wired with a single switch. These images come from the Popular Electronics article.
Simple Analog Computer (Electronic Slide Rule)
An electronic slide rule, which was often called a simple analog computer in the 50s and 60s.
 I included in the files the gauge section without any numbers as well. This allows you to mark the gauges specific to your pots so that they're more accurate.