Close
0%
0%

The Beamboarder

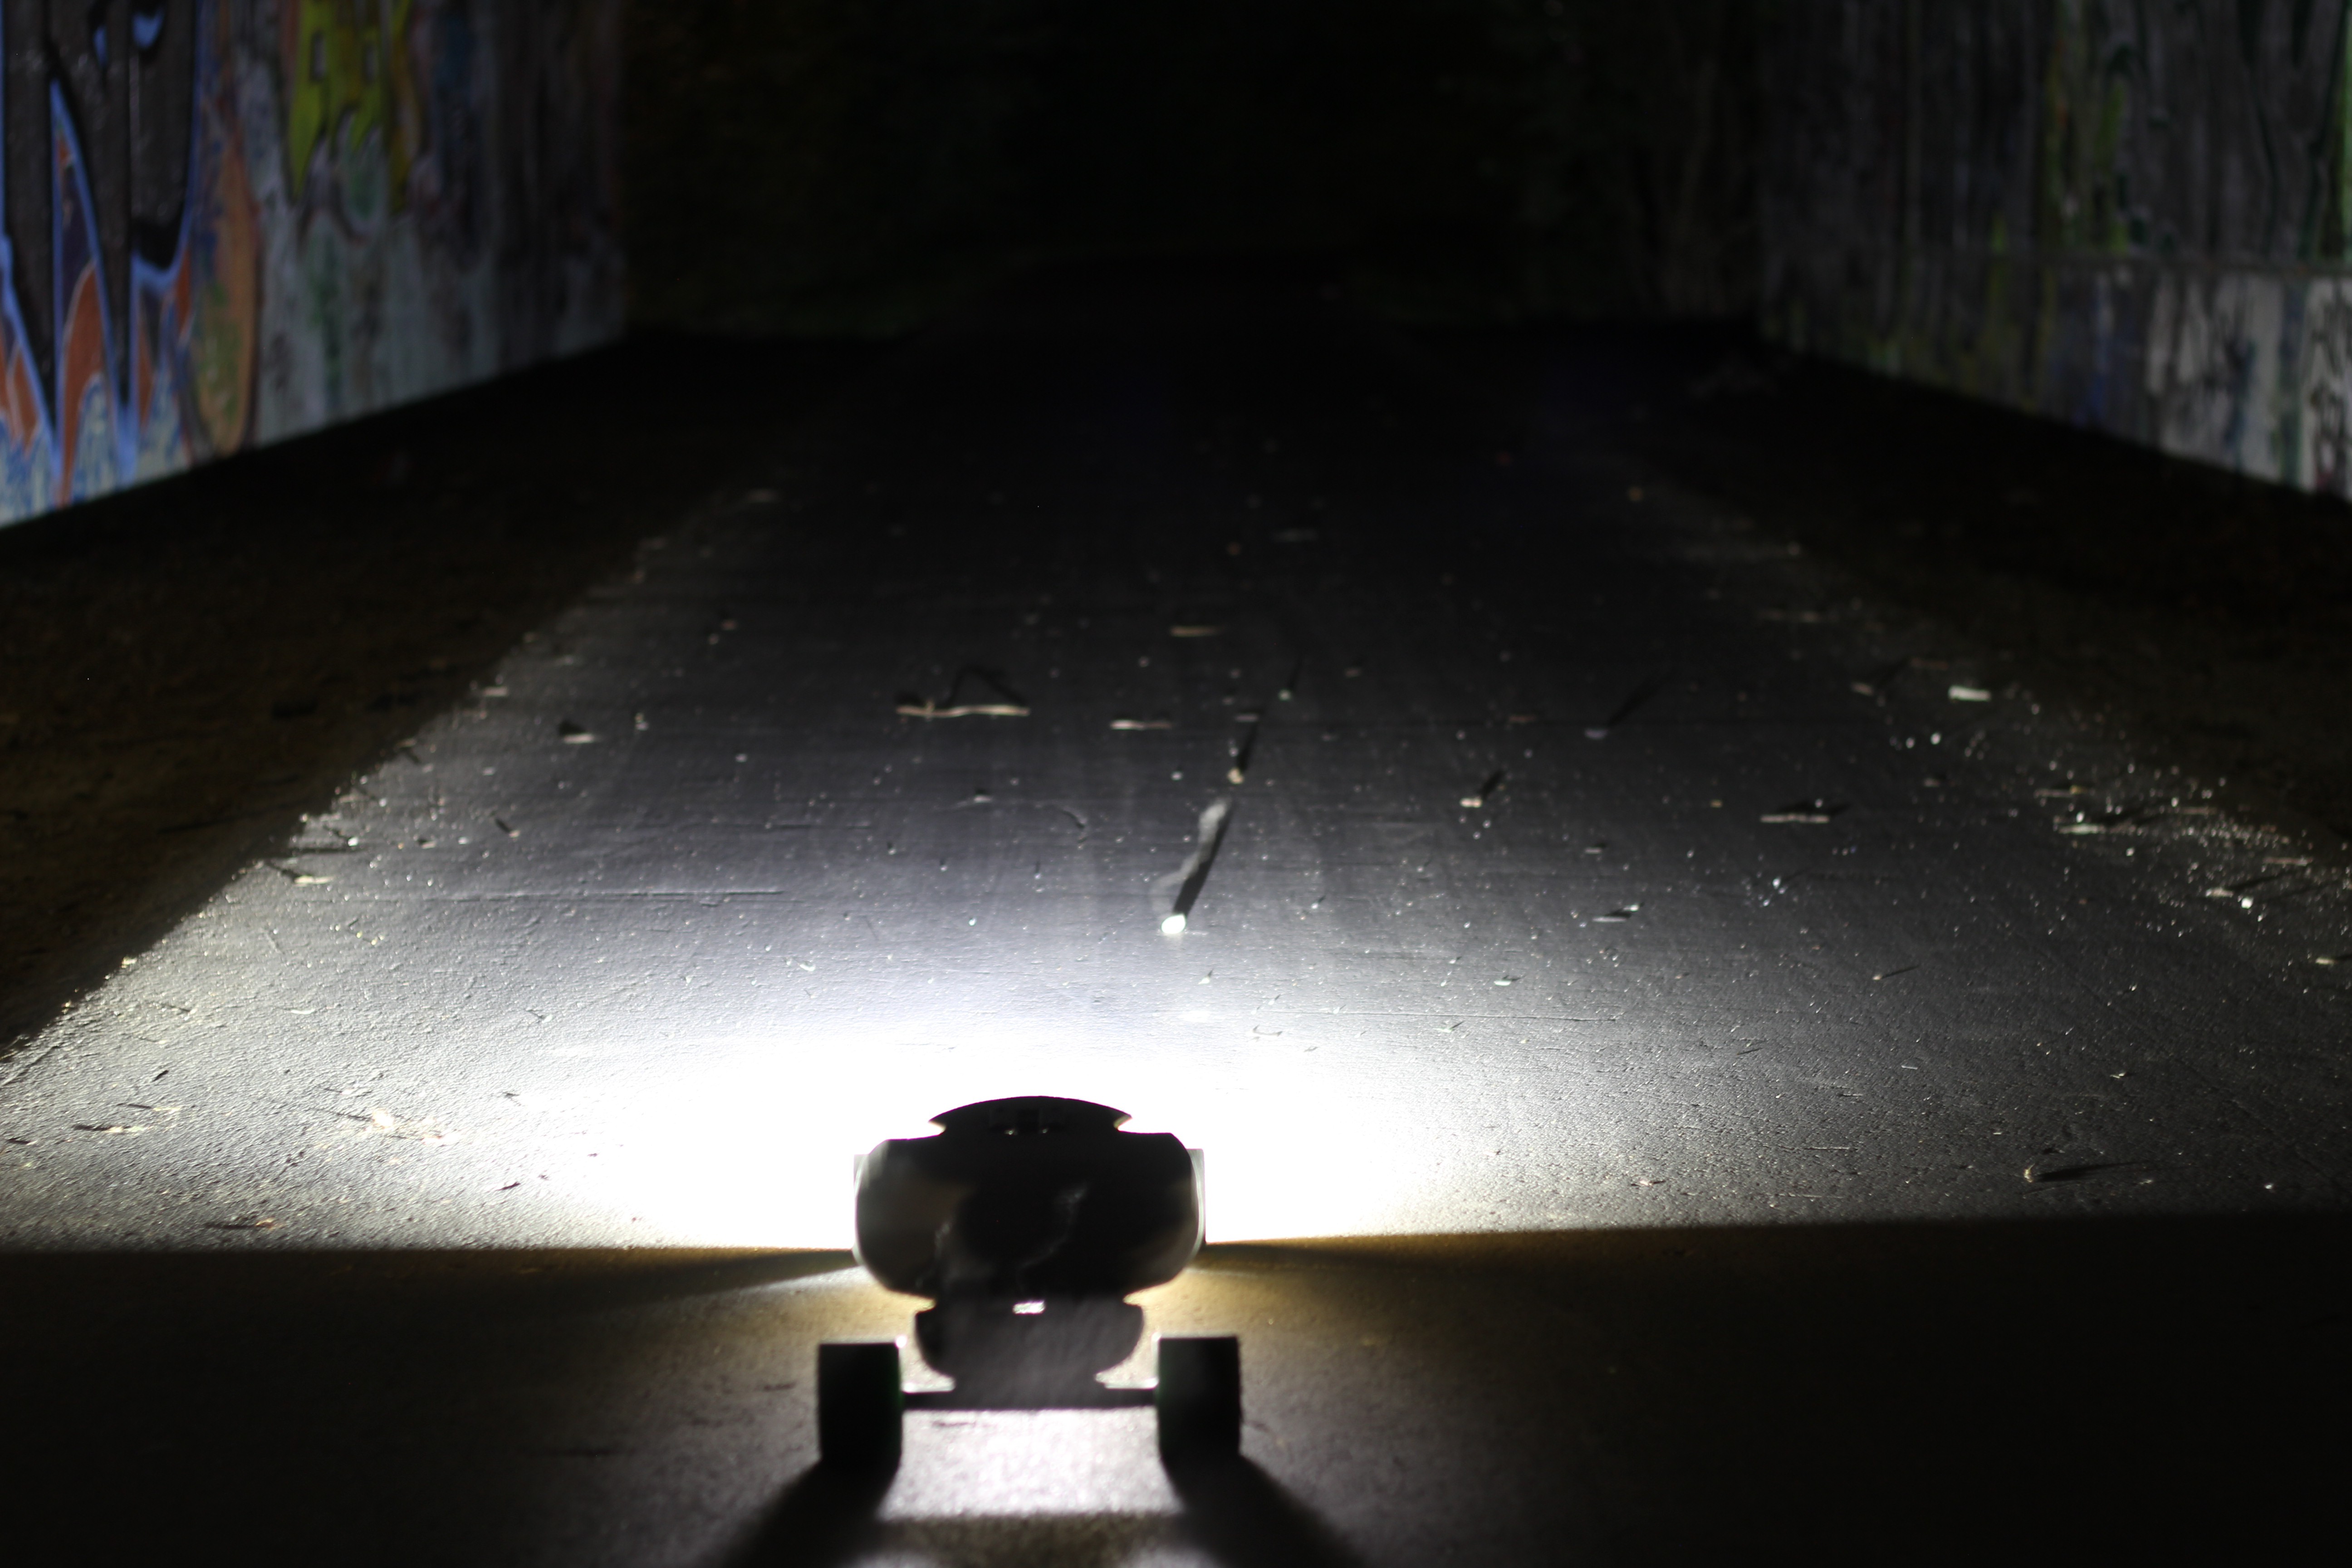
Create a magnetic 4 watt high power LED head lamp for applications like longboards out of an old hard disk drive for less than 25 $.

Similar projects worth following
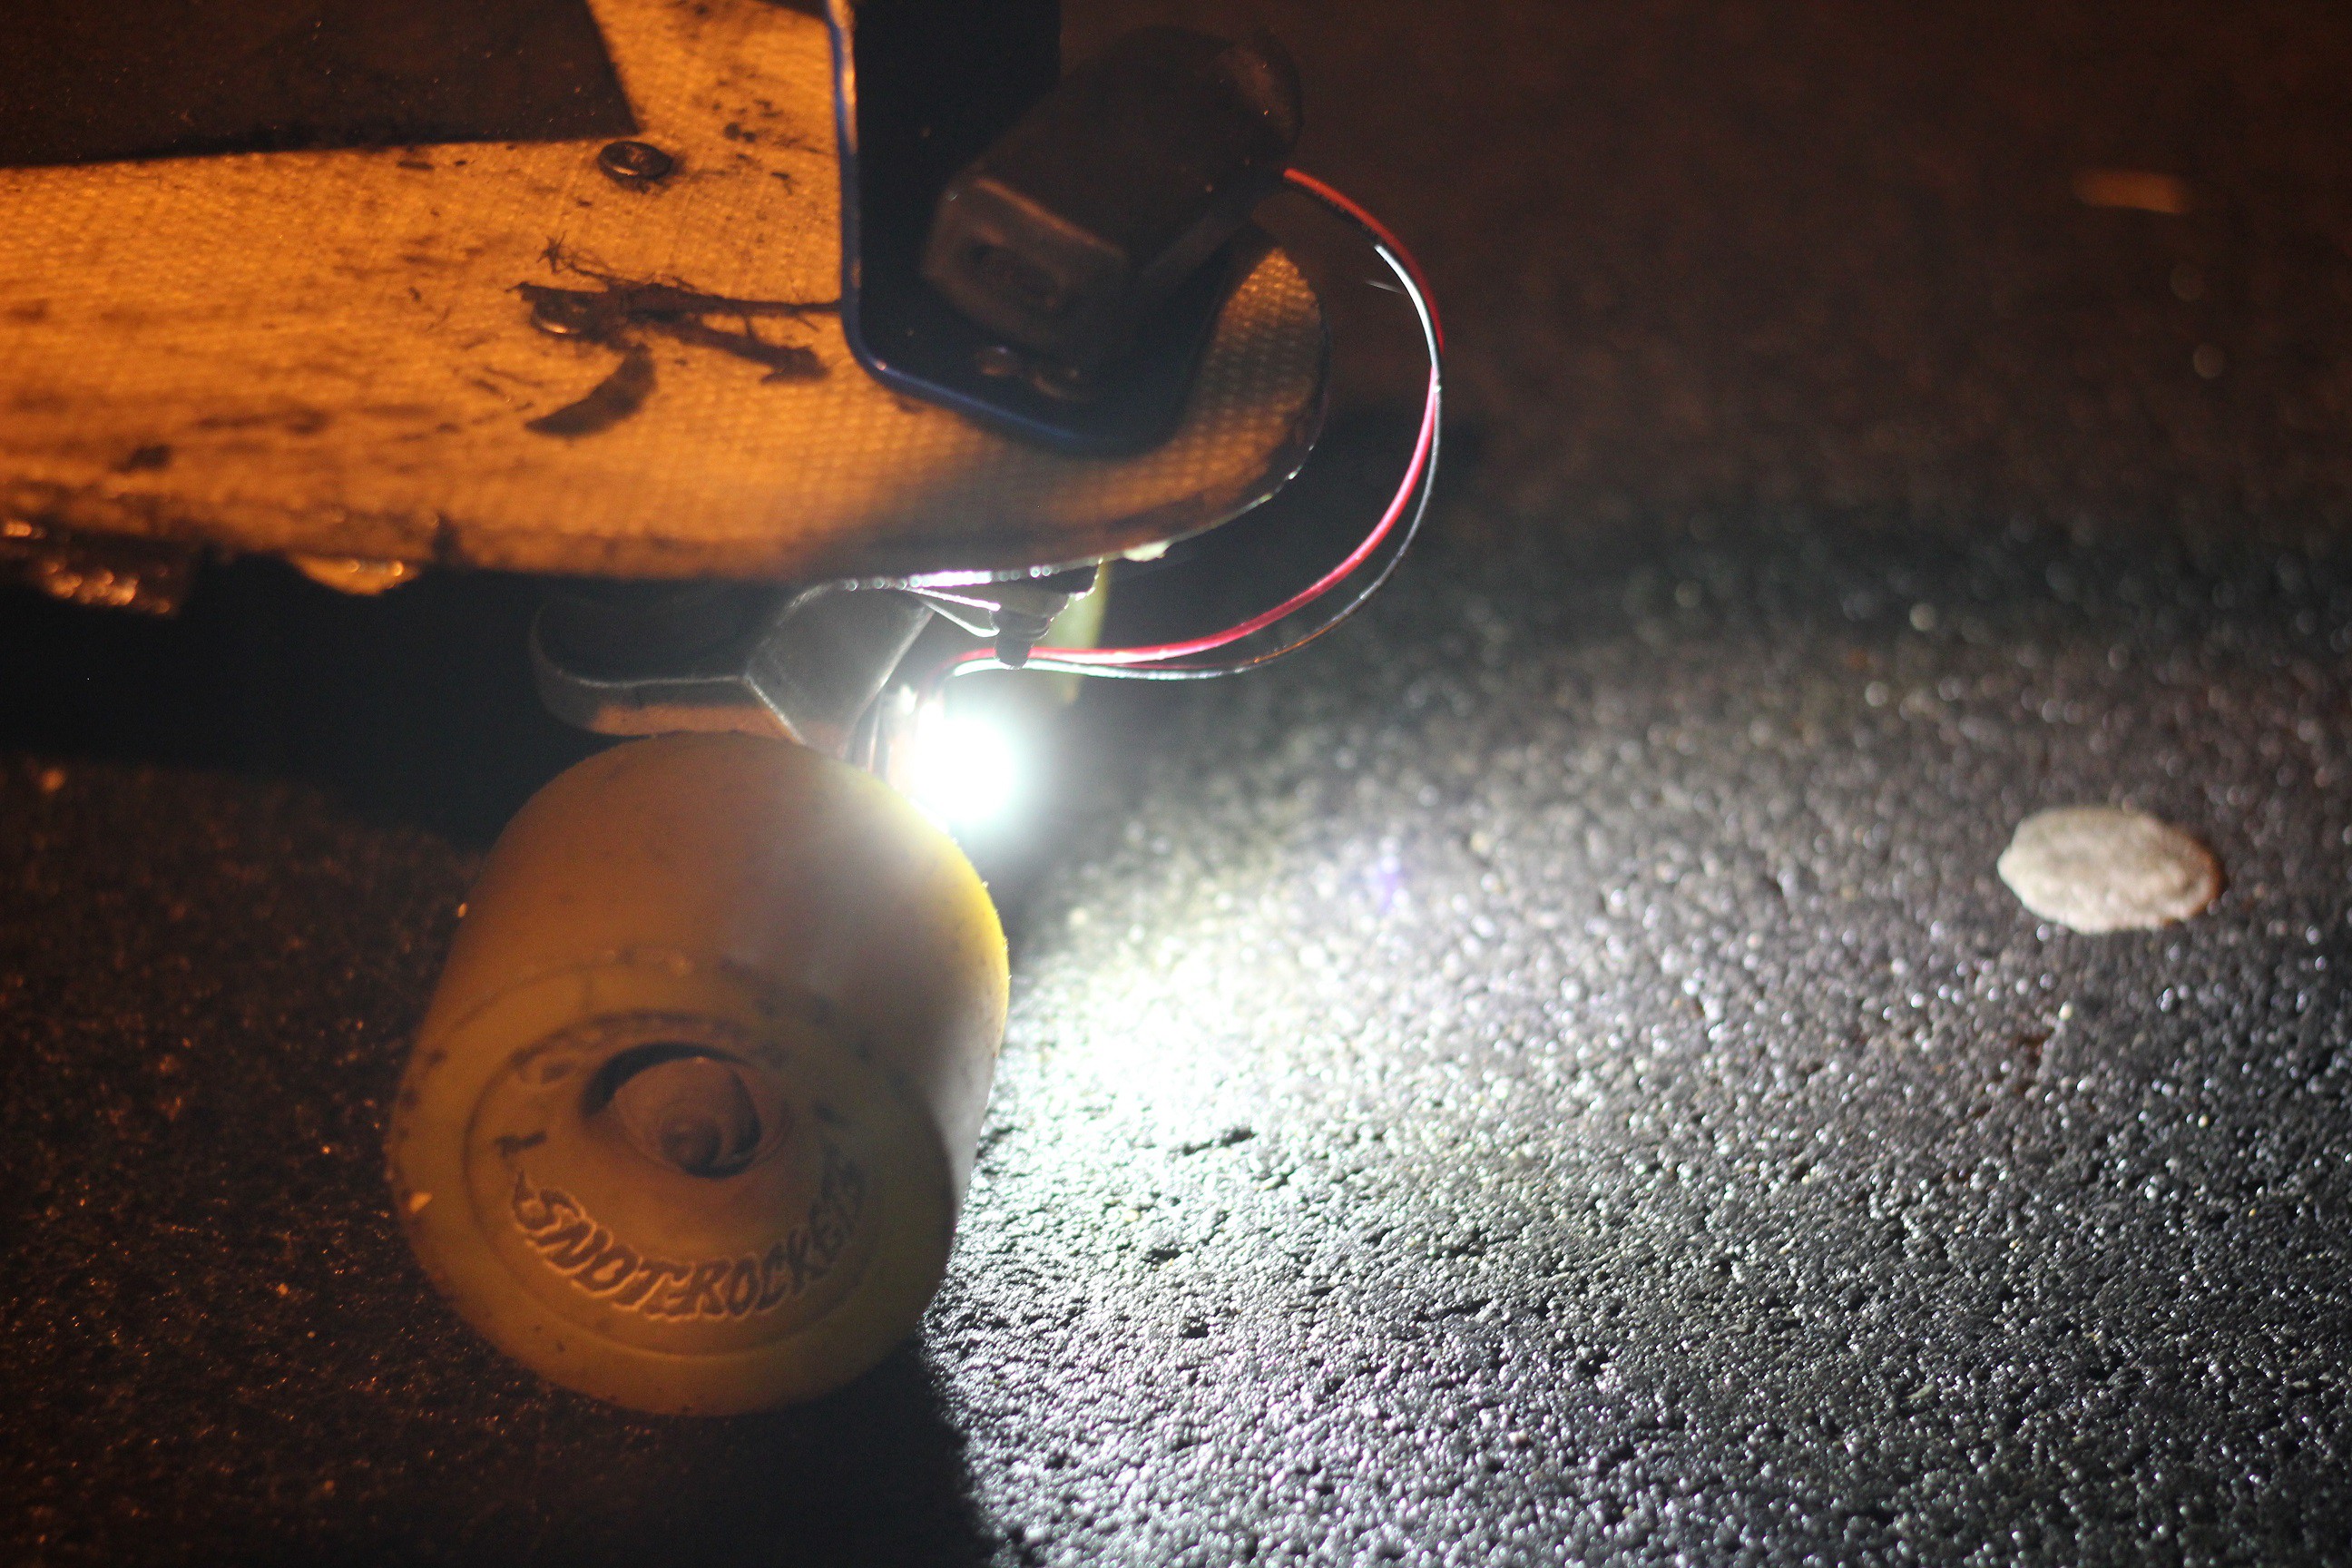
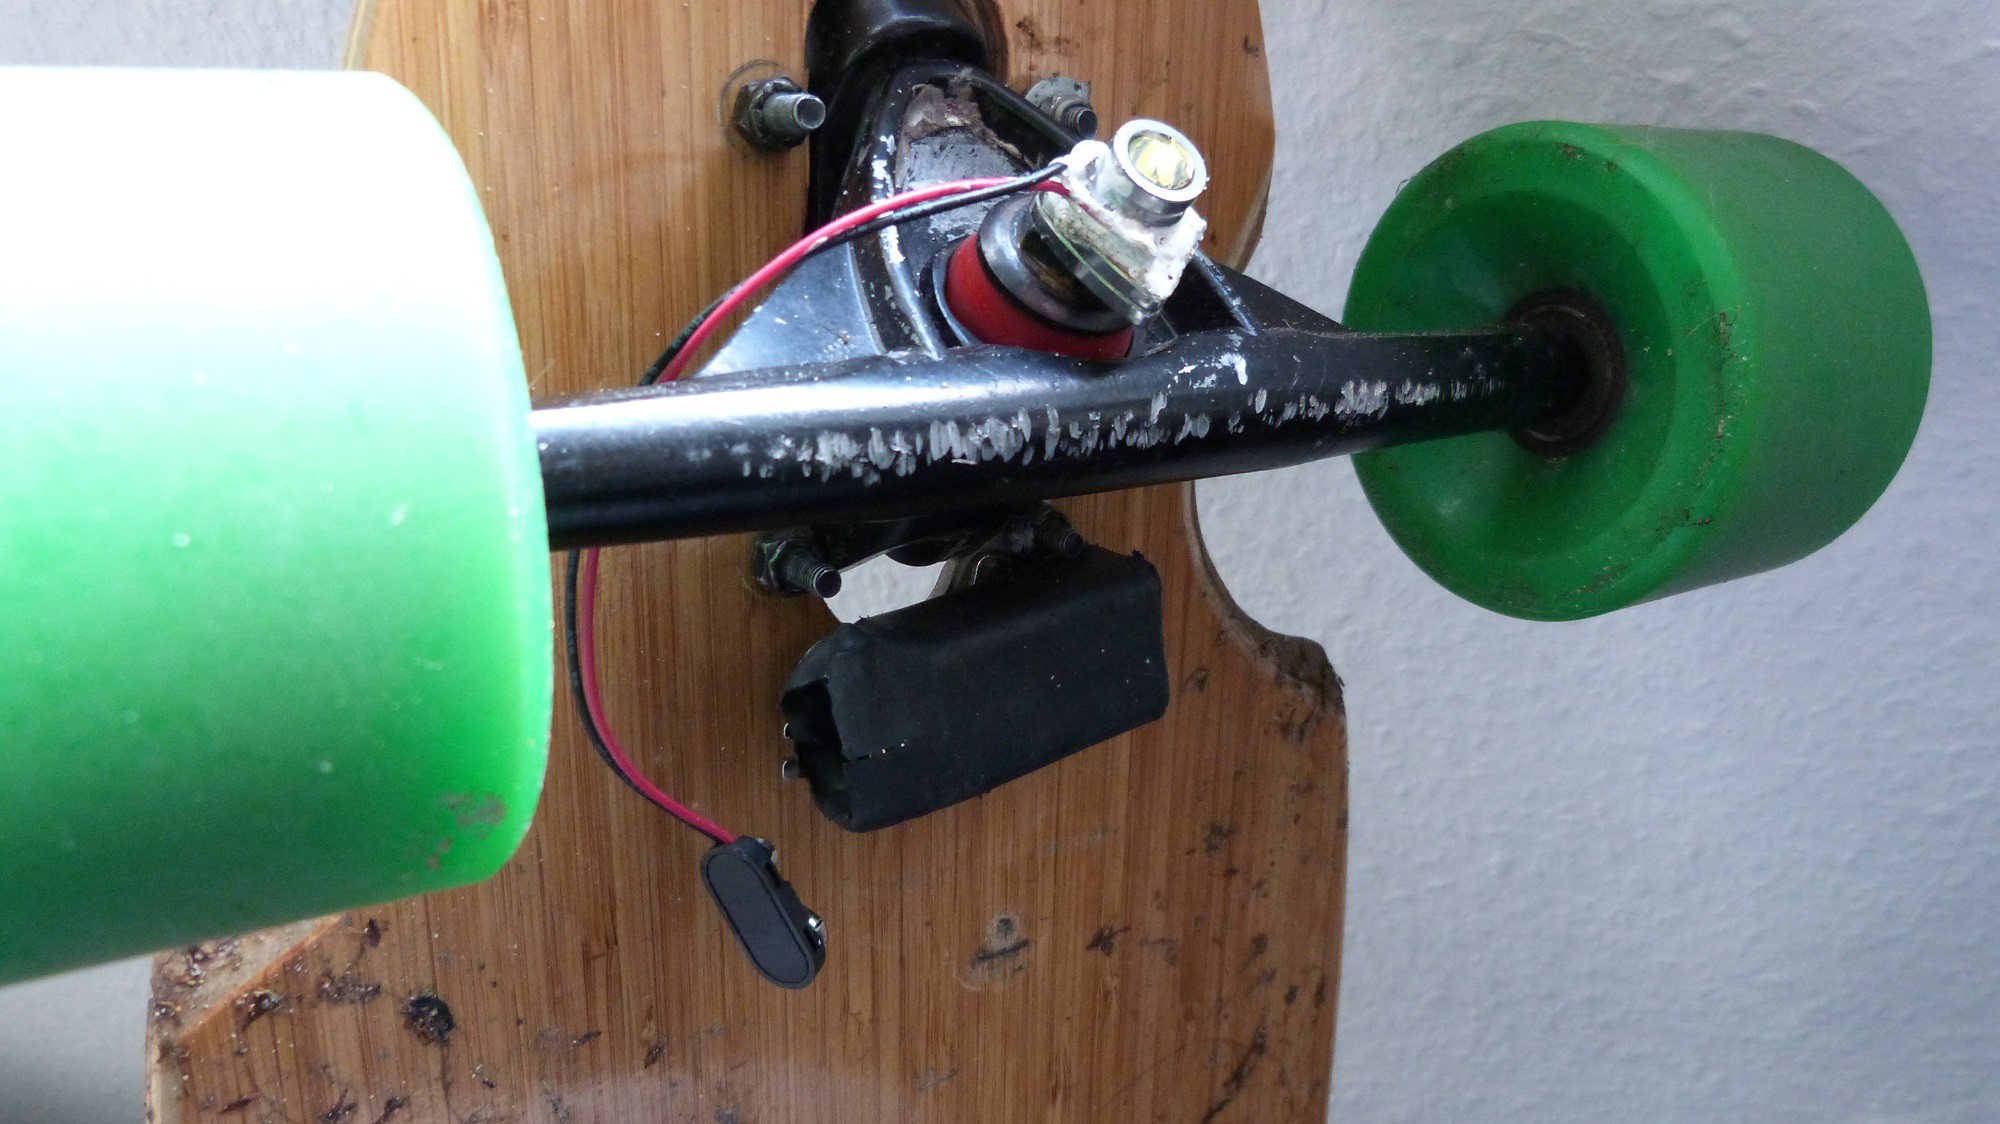
Skating at night can be really dangerous. Other road users won’t see you and you can’t see the road you are riding on. That’s why I invented the Beamboarder. It’s a mobile head light that allows you to ride for up to two hours in absolute darkness with a sight of several meters. The LED and the rechargeable battery can easily be attached to your board on any ferromagnetic material. The Cree LED is a high power light source out of an array of several LEDs with the highest standard of light efficiency you can find actual on the market. Only minimum changes on the longboard truck have to be done. The construction of the lamp is possible with a small amount of money and equipment. Even it’s easy, there are several risks for you and other road users you have to keep in mind. The following instruction shall guide you through the experience I made and how you can build your own Beamboarder by yourself. Keep in mind that this product is still in early prototype status.

Preperations

At first you will need an old 3.5” hard disc drive (HDD) with as many gigabytes as you can find. Old HDDs with high capacity for their time will have huge magnets from my experience. These HDDs often have multiple discs. Open the case with a Torx 8 screwdriver. Under the large sticker on the cover you will find additional screws that you have to remove. After opening the coverage you see two thick iron plates at the end of the read head. These two plates hold your magnets. In most cases you can remove the first magnet-plate with a lever. The force between the two magnets can be quite strong. For the second magnet-plate you have to remove the read head with a screwdriver. Sometimes this plate is also fixed by some screws on the other side of the HDD.
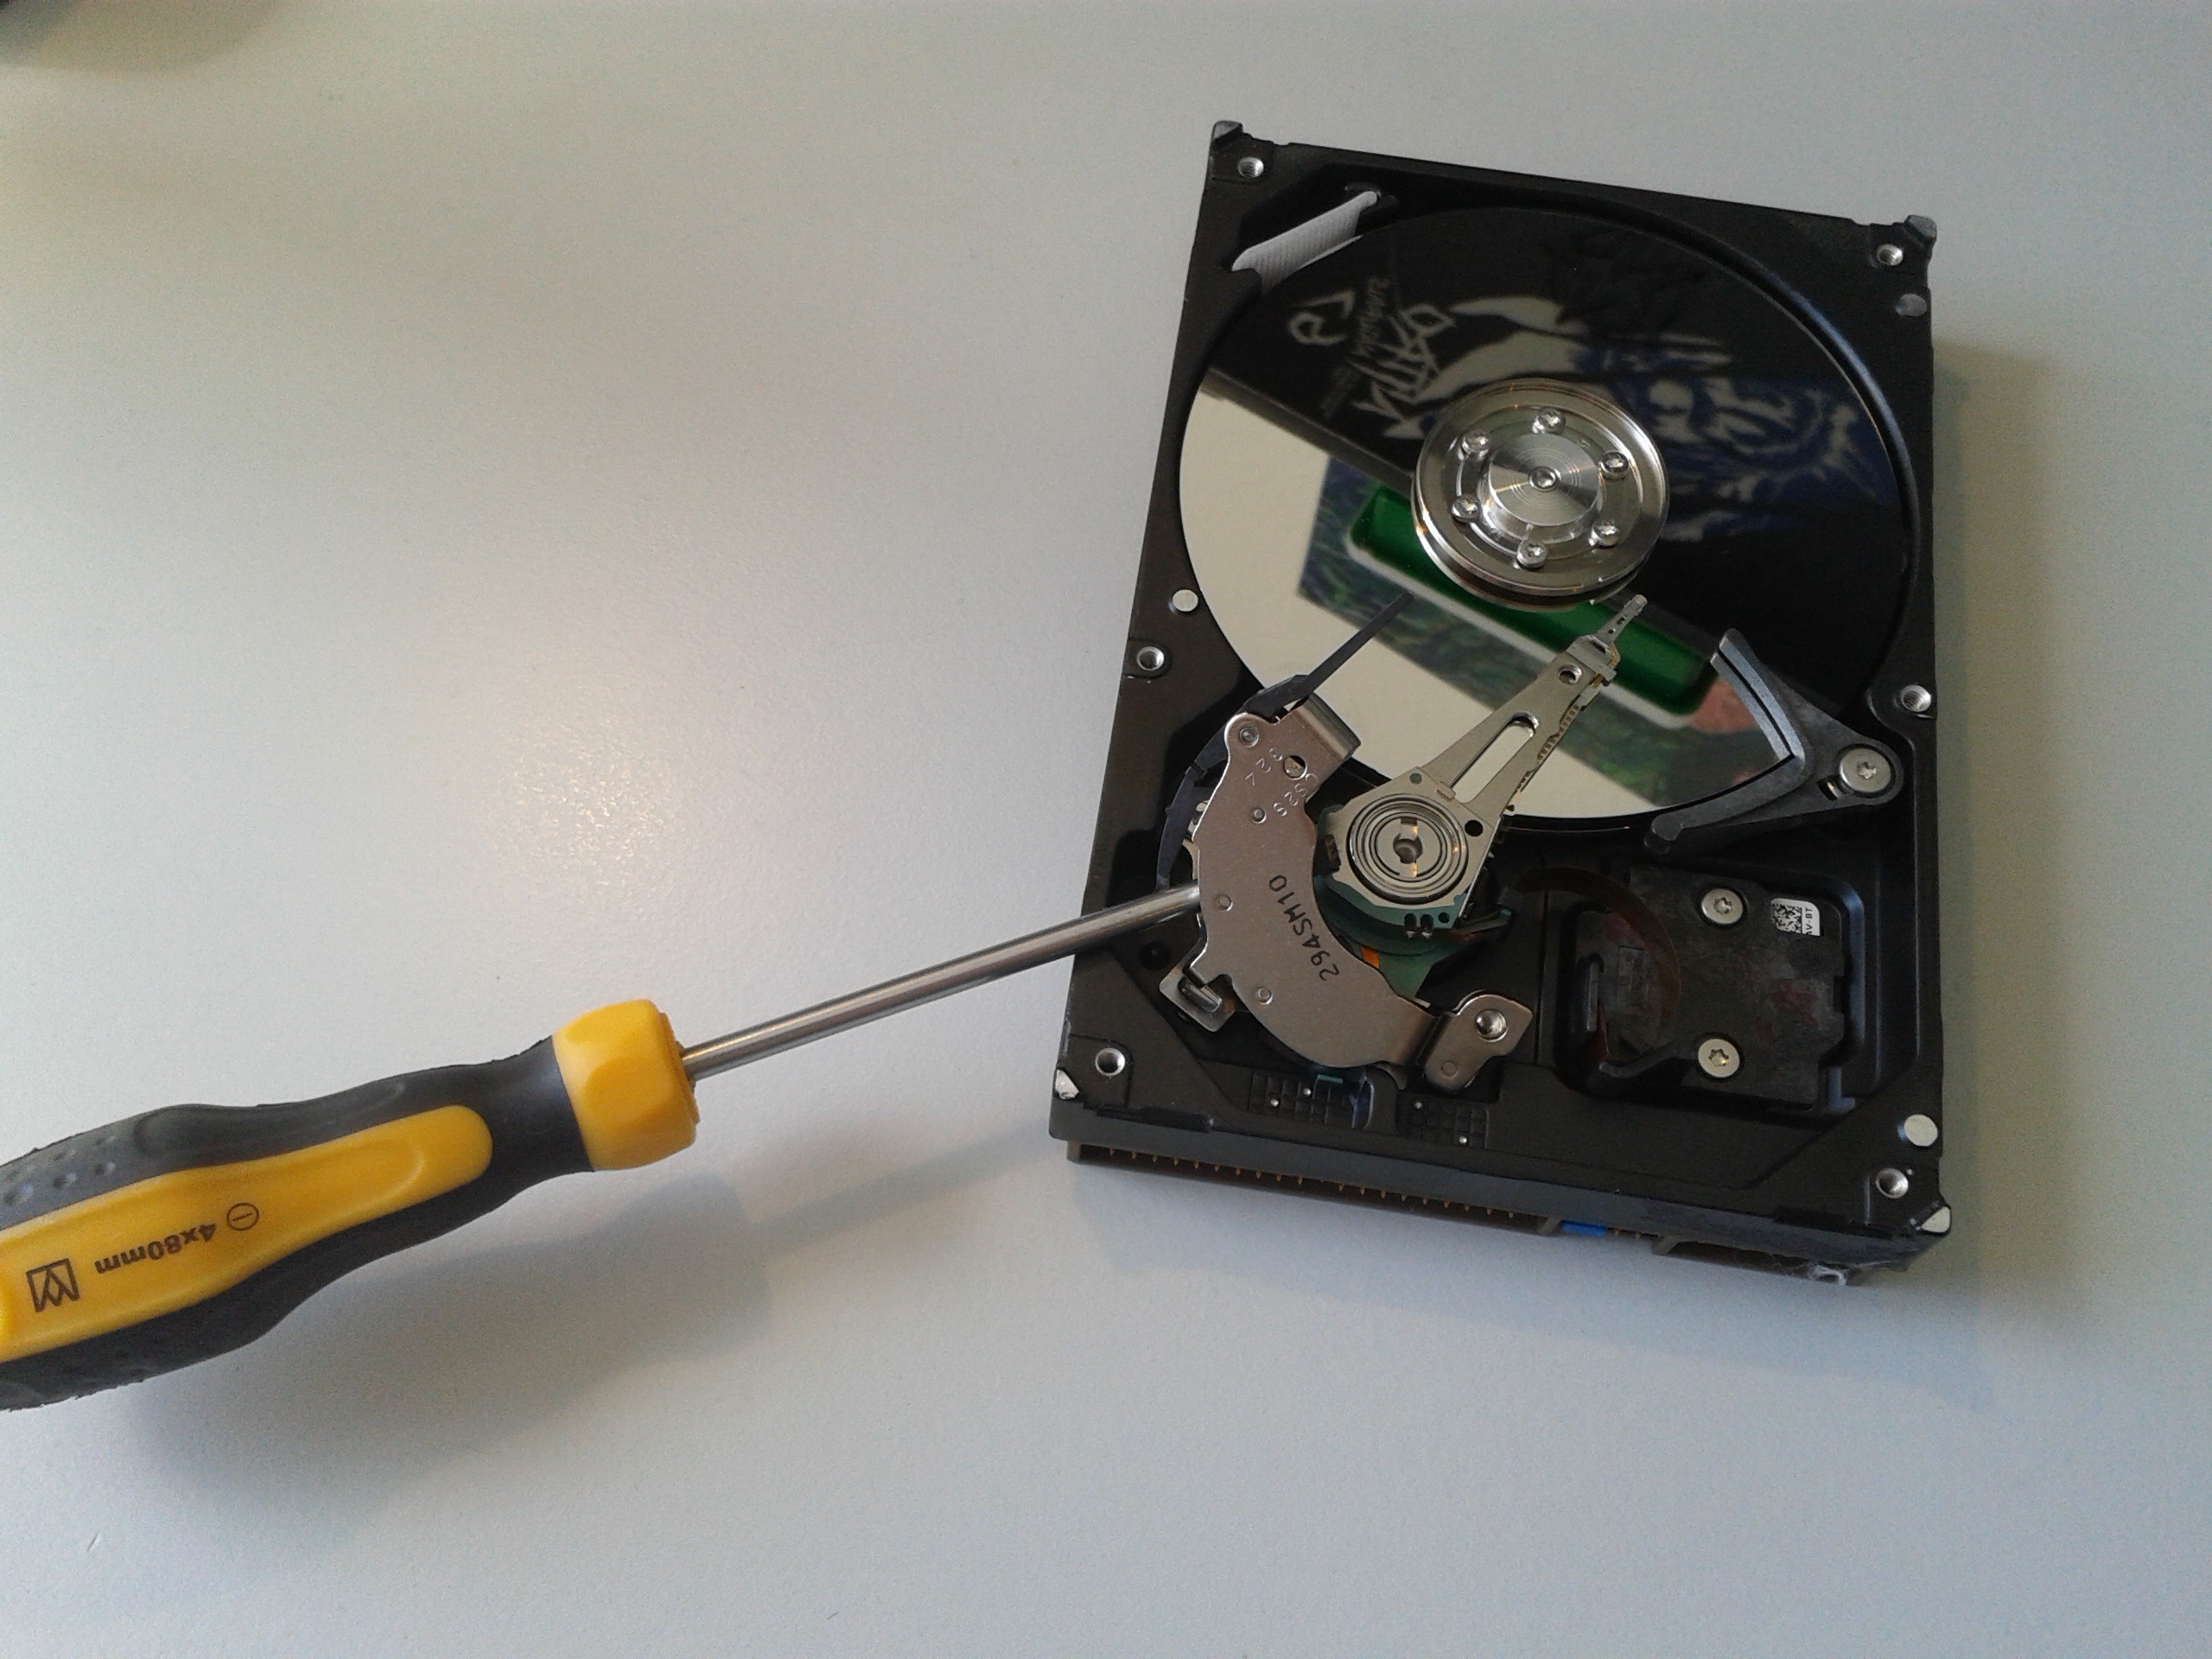
The Beamboarder is based on these two plates. Handle them with caution. When they snap together uncontrolled your finger or the magnets can get damaged. The LED must fit on the iron plate without overlapping. Look at the LED datasheet for the dimensions. A large plate will decrease the temperature of your LED what causes a higher efficiency and longer lifetime. With a small plate the LED is getting to hot and the lifetime will decrease. If you cannot touch the metal anymore do not use it in this way. Try to find HDDs with large plates and stronger magnets.
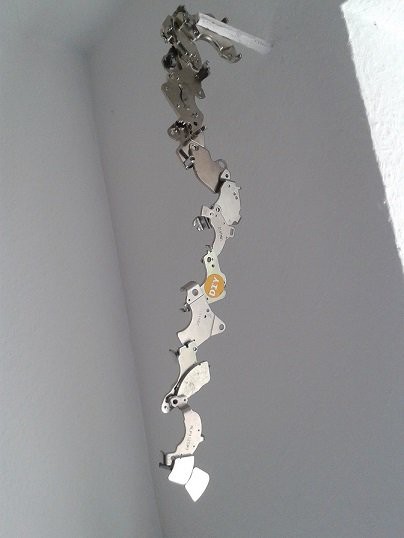
Now look for a place at the trucks where the magnet will hold. The kingpin is the only ferromagnetic part of most trucks. If your magnetic force is not strong enough you will need another HDD with bigger/stronger magnets or other trucks. Paris trucks have the ideal design and will safely hold your lamp. For downhill and freestyle skating I recommend to stick the LED directly to the truck without the magnet. But keep in mind that you will need a chisel for removing the led when you stick it directly to your trucks.

So check your skate equipment with the magnets before you order the rest of the material. Some trucks are not capable to hold the Beamboarder safely. You should also think about possible beam angles at this point and if you are gone blind other people on the road.


Beamboarder Construction

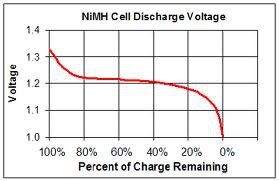
The components I have listed are a result of many experiments. First I tried to use 9V Li-ion battery in the 9V Block size with 680 mAh. Soon I had to learn that these batteries actually have only 8.4 V fully charged. This voltage is much too low for the Cree XLamp CXA1304. The LED will only glow a little bit. Use the 9.6V Ni-Mh 270 mAh batteries and the LED will glare like a star. A fully charged battery will have a voltage up to 10V. This will cause a very bright light of about 600 Lumen. The brightness of your LED will follow the discharge voltage of your battery. The following figure shows the voltage process over the charge that’s remains in one cell:
You can use a resistor to dim the light, but be aware that this will decrease the efficiency and increase the complexity of your setup. Other batteries like an 11.1V Li-Po will destroy this version of LED arrays.

For maximizing the lumen per watt use the LED version with the highest ANSI White value you can get. The cold white LEDs will be much brighter at the same energy consumption. The LED works also as a safety circuit for the battery. Under a voltage of about 7V the LED turns out and preserves depth discharge. The reason for that is the threshold voltage of multiple LEDs in series inside the Cree CXA1304. 

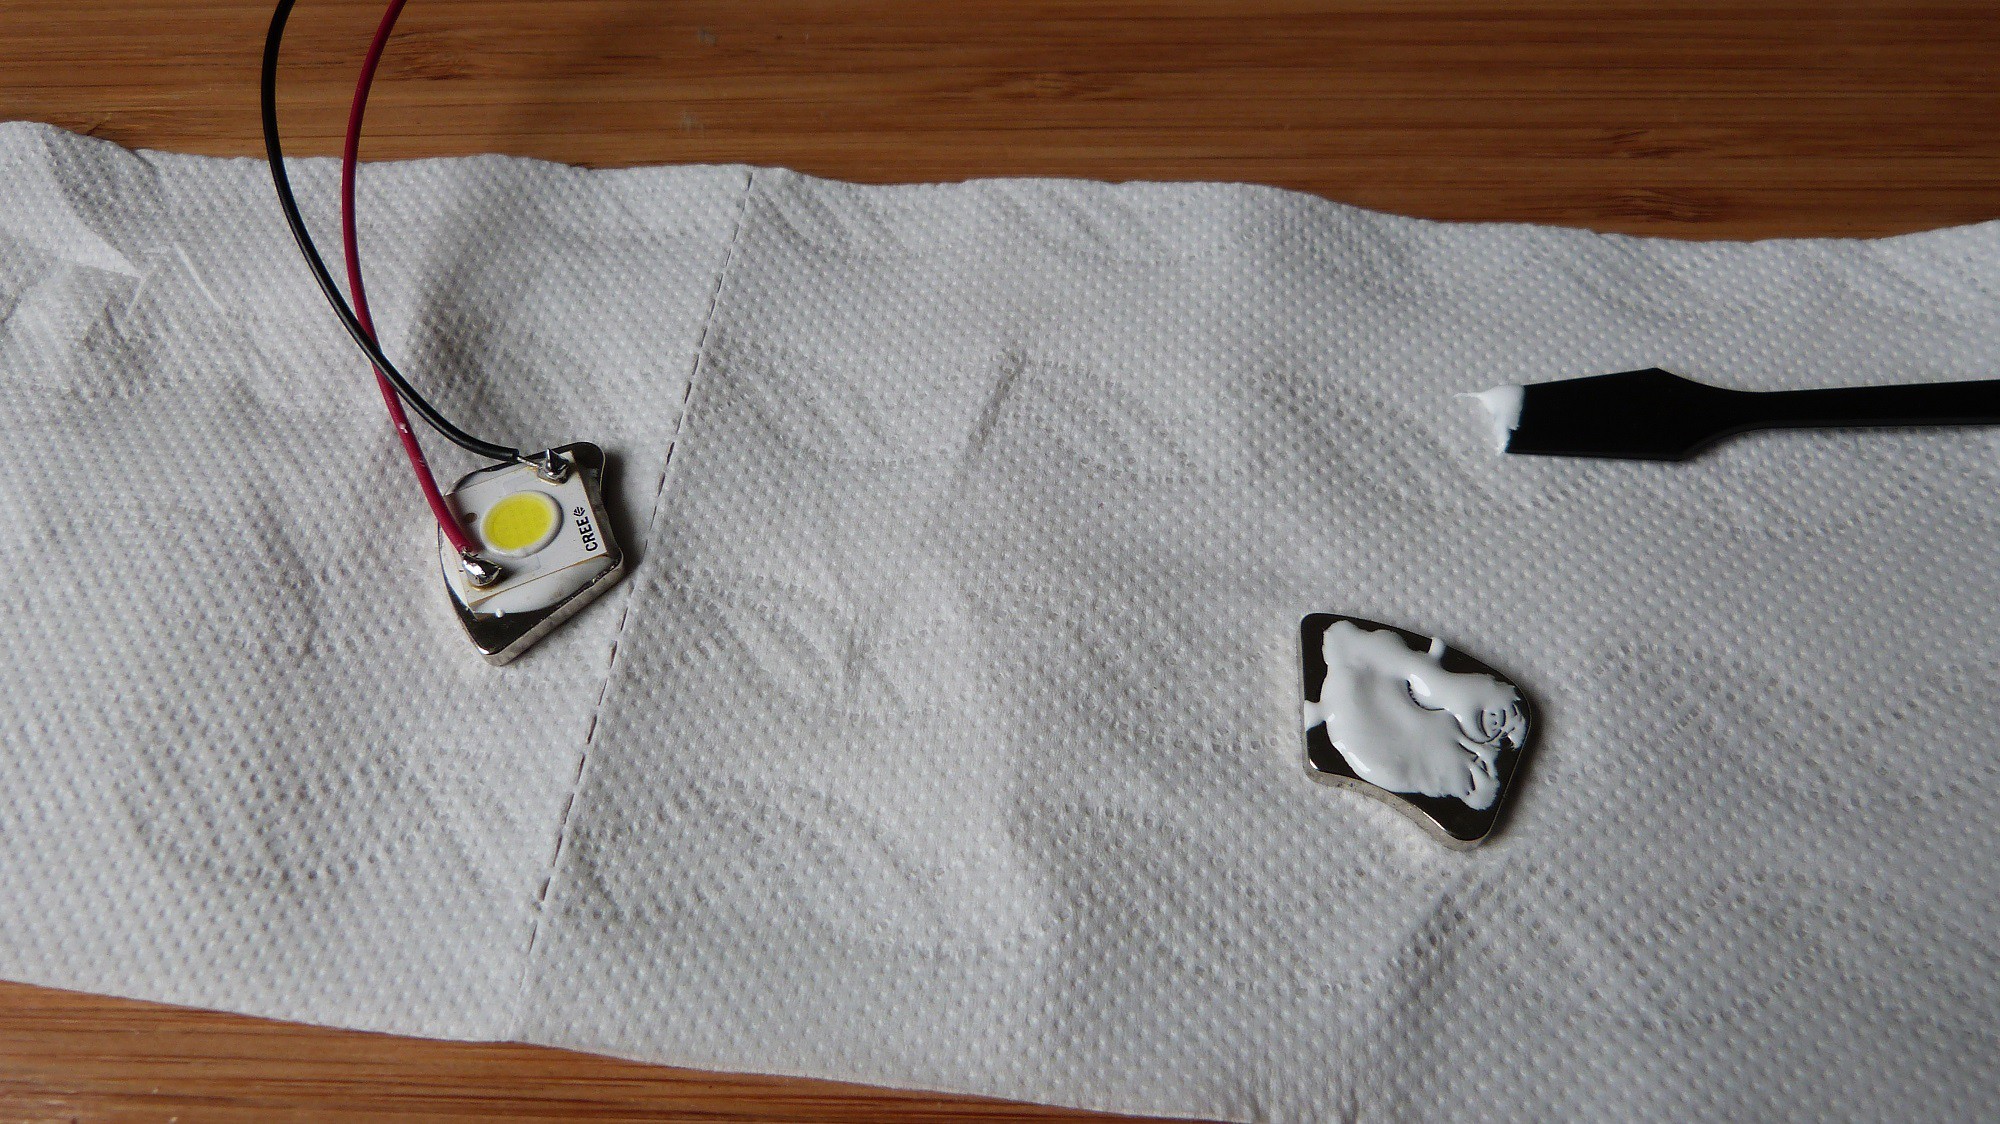
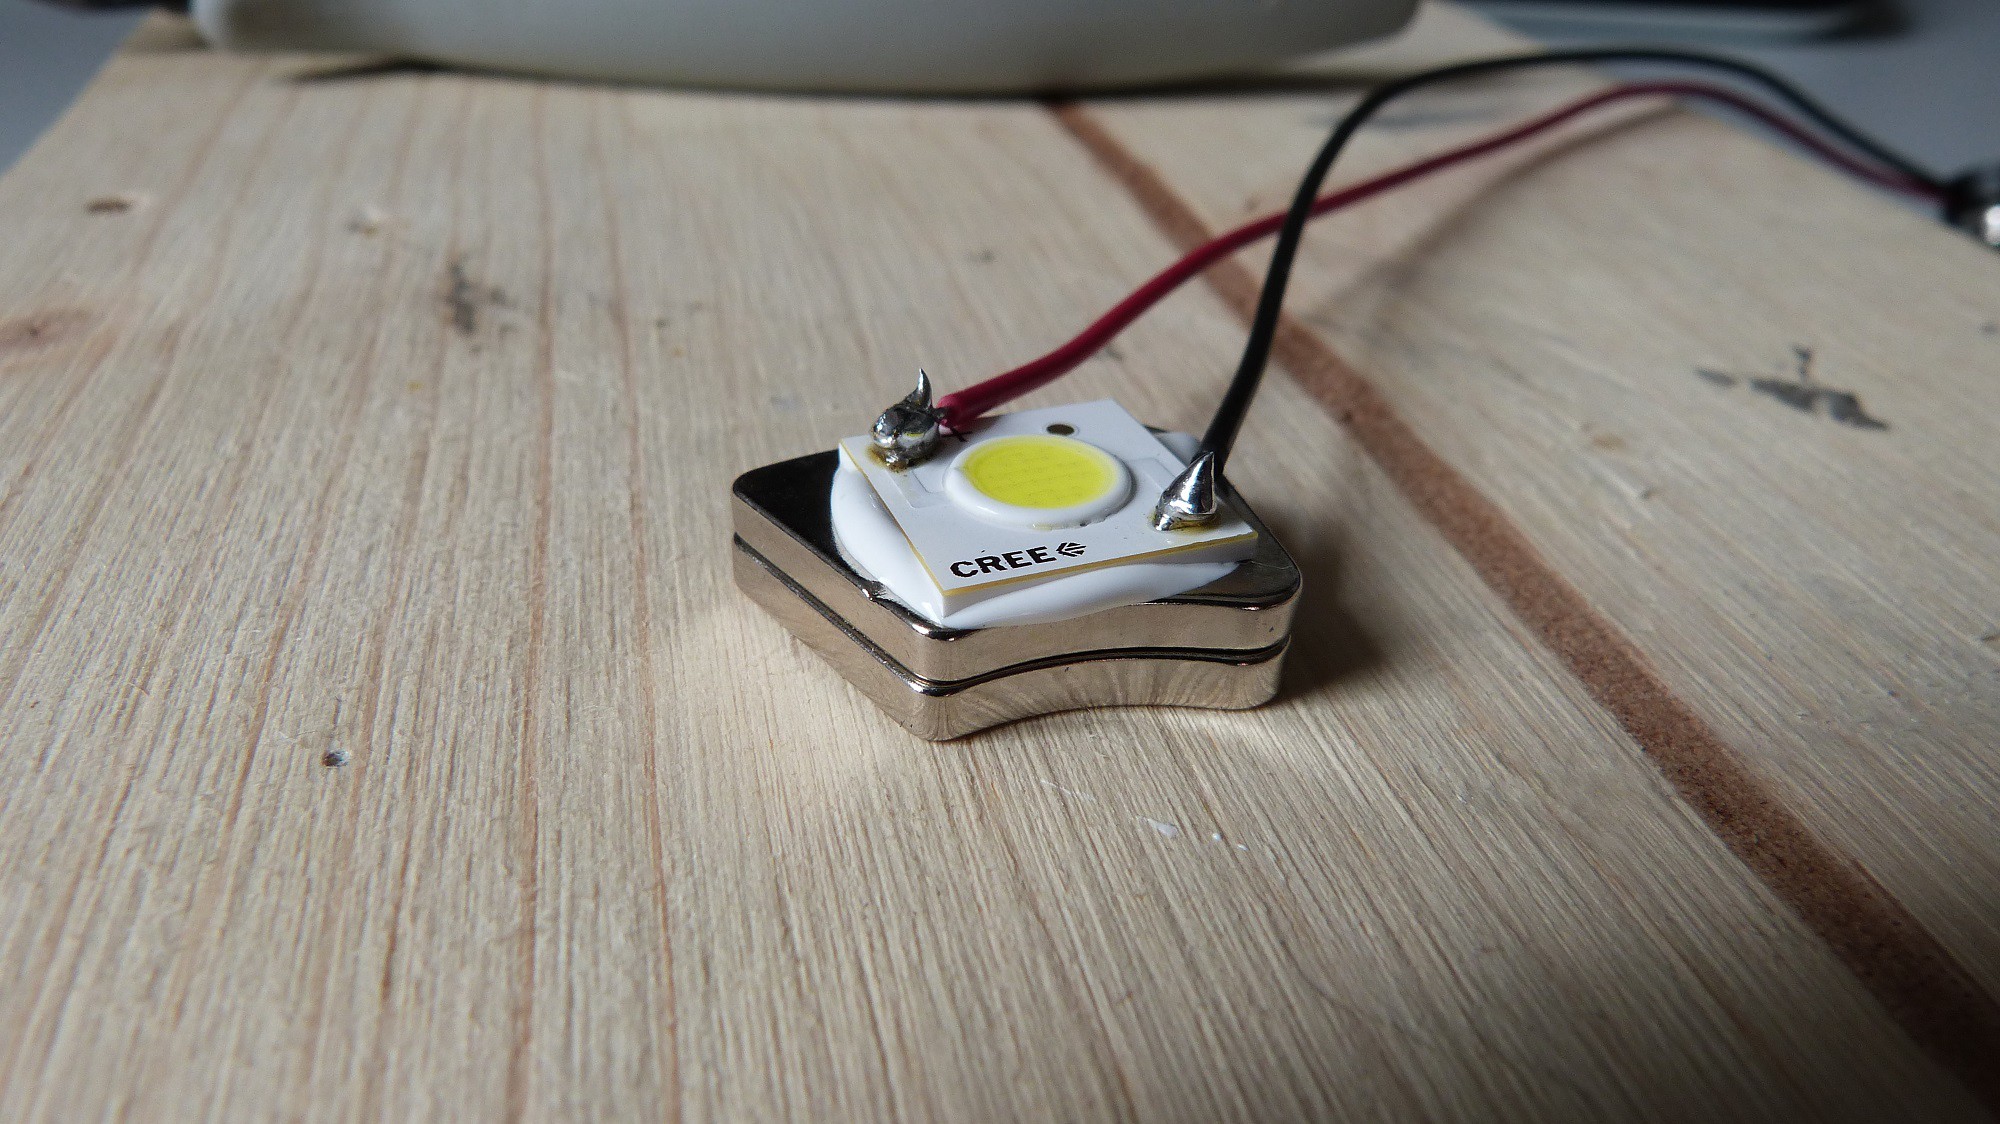
Crafting this LED lamp can be a mess but also a lot of fun. Try to stay clear with the components and remove all dirt with some tissue from the metal surface you want to put on the LED.  Have your tissues ready. Combine a small amount of Arctic Alumina Thermal Adhesive 1 to 1 in the middle of the plate and mix is up with a small stick. Place the LED on the Adhesive and press it gently on the plate. A little amount of adhesive should come out on every side of the ceramic body. The drying will last several hours. Do not turn the LED on before the adhesive...

Read more »

  • 1 × 3.5’’ Hard Discs Drive with large capacity SSDs will not work ;)
  • 1 × Cree XLamp CXA1304 9V High Power LED This is the magic
  • 1 × Tensai TR-9.6V (9V-Block) 270 mAh Ni-Mh Rechargeable battery The only battery I found yet that fits to the LED
  • 1 × 9V battery clip with about 15 cm wires Do not buy the cheapest one.
  • 1 × Arctic Alumina Thermal Adhesive The minimum quantity I could find is with 5g.

View all 15 components

  • Using PWM LED Dimming for Data Transfer

    Lyon08/19/2014 at 08:10 0 comments

    For hitting the new requirements of the Hackaday price here a new feature for the Beamboarder and for all the other headlights out in this world. 

    Running the high Power LED with DC will only be possible when you hit the forward voltage of 9V of the LED Array.  A  11.1 V Li-Po Battery like this one would be perfect from the capacity but the light output and heat would be much to high:

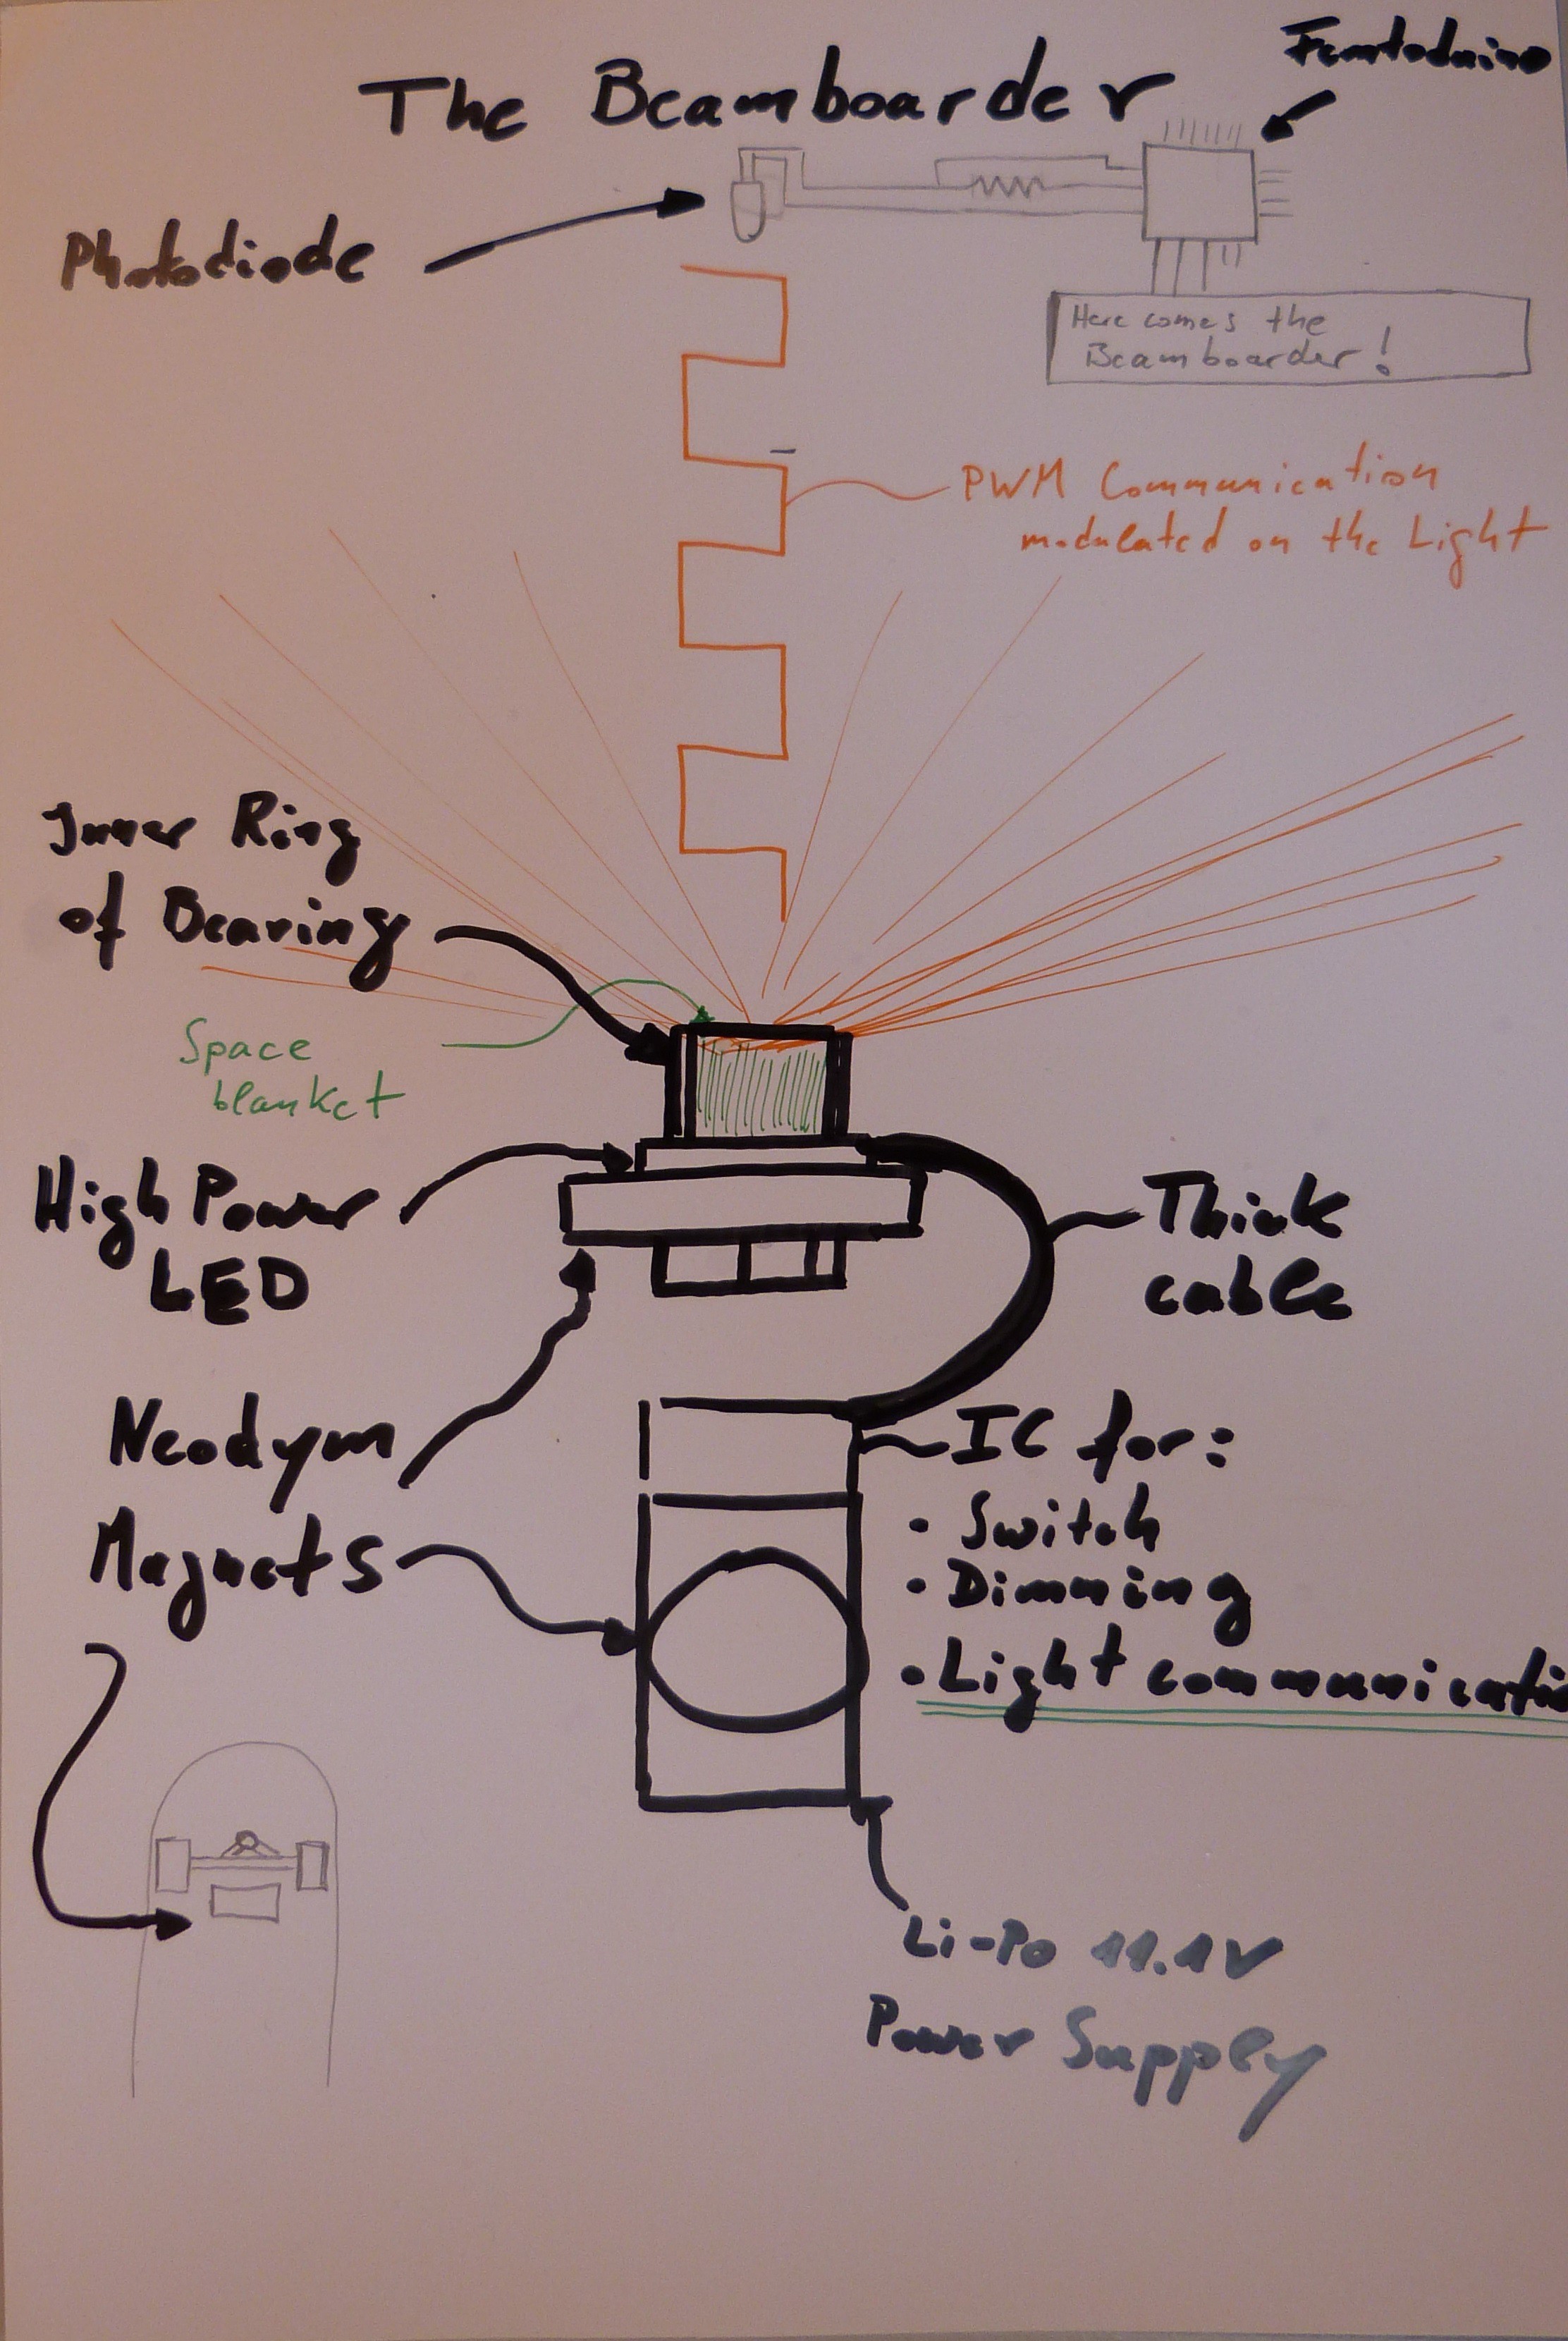
    Thats why I want to use a PWM dimm circuit. In this combination the runtime would also be increased to mulitple hours and the output can be controlled by a small microcontroller. The PWM curcuit can also be used for Data Transfer. A fixed frequency modulated with PWM on the light output can be measured by other road user with a little fotodiode. This would be a very simple way for communication between multiple road users with just one message:

    I'am also on this road! Please dont hit me!

    This technique could also be used for bicycles and other vehicles that are difficult to see at night on the road. The high amount of light created by the Beamboarder should be able to measure from different angles of the Photodiode.

    The measurment of the LED Temperature and the creation of the PWM signal can be done by a very small µC like this one:

    http://www.cuteminds.com/index.php/en/electronics/picmicro/picprorudiments/115-12f683

    Here a paper I found that discibes the light communicaton more in detail:

    http://www.opticsinfobase.org/oe/abstract.cfm?uri=oe-20-9-10170

  • CAD Construction of the Beamboarder

    Lyon08/13/2014 at 10:32 0 comments

    For future designs I did some CAD construction that fits to a longboard kingpin. The magnet will be stopped from rotating and hold your optic in the position you want it. You will find lots of round neodym magnets in the internet or in hard disc drives but try to find a thick one that will keep enough force to the kingpin. The surface the lamp sticks to the iron should be as huge as possible. The nut on the backside will keep a lamp at his place and reduce the LED temperature. All joins are done with Arctic Alumina Thermal Adhesiv. The optic is still under construction. By changing the shape of the space blanket the reflection of the light can be controlled in a way, so that other road users will not get blinde. I will show this in detail in some future steps.

    Here the CAD Data:

    https://grabcad.com/library/beamboarder-v1-1

  • Li-ion + another High Power LED mission started

    Lyon07/21/2014 at 22:11 0 comments

    When I ordered the Cree LED with 9V forward voltage I calculated a runtime of about 4 hours. I couldn’t check the actual voltages of the 9V block lithium ion batteries and ordered multiples with 680 mAh. Actually this kind of batteries will not have the 9 V :/ . Fully charged they have only 8.4 V. This is much too low for this array. The LEDs will only glow a little bit but for a very long time. The NiMH can help with a higher voltage of about 9.6V. The larges battery I could found was with 270 mAh. This gives you 1 hour of high lighting and one hour medium lighting. So what we will need is an LED array with a lower forward voltage. I checked and found this:

    http://www.digikey.de/product-detail/de/NT-42D0-0426/521-1039-6-ND/1154195

    This type of array fits with 7.6 V forward voltage but the efficiency is much lower than with the Cree. It doubles your capacity and halves the efficiency. Sound wired but that’s what I’m expecting with the the Lamina LED and the 8.4 Li-ion batteries.

    http://www.dx.com/p/mp-rechargeable-680mah-9v-6f22-li-ion-battery-for-microphone-remote-control-more-silver-183353

    Will this work as Beamboarder?!

  • Don't forget to recycle

    Lyon07/21/2014 at 21:46 0 comments

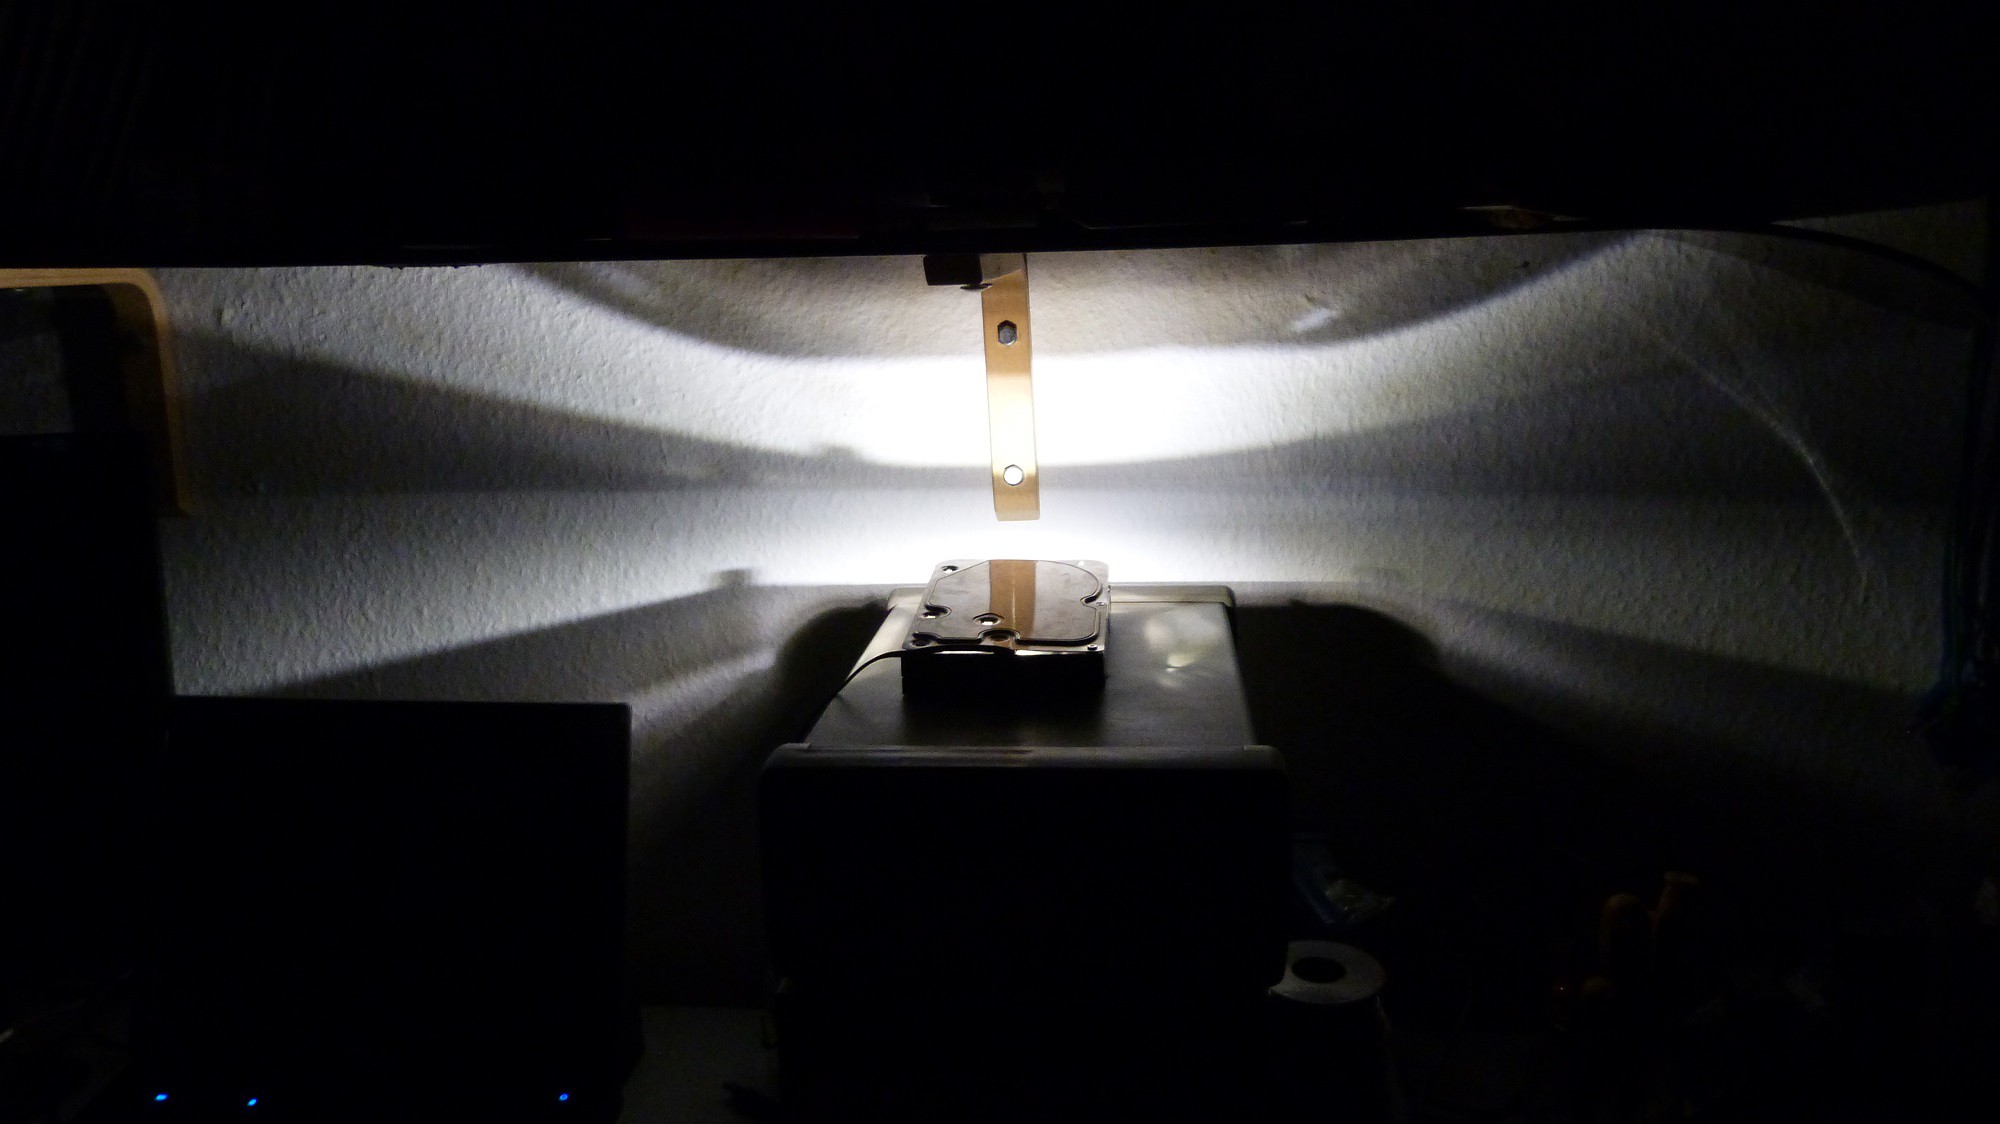
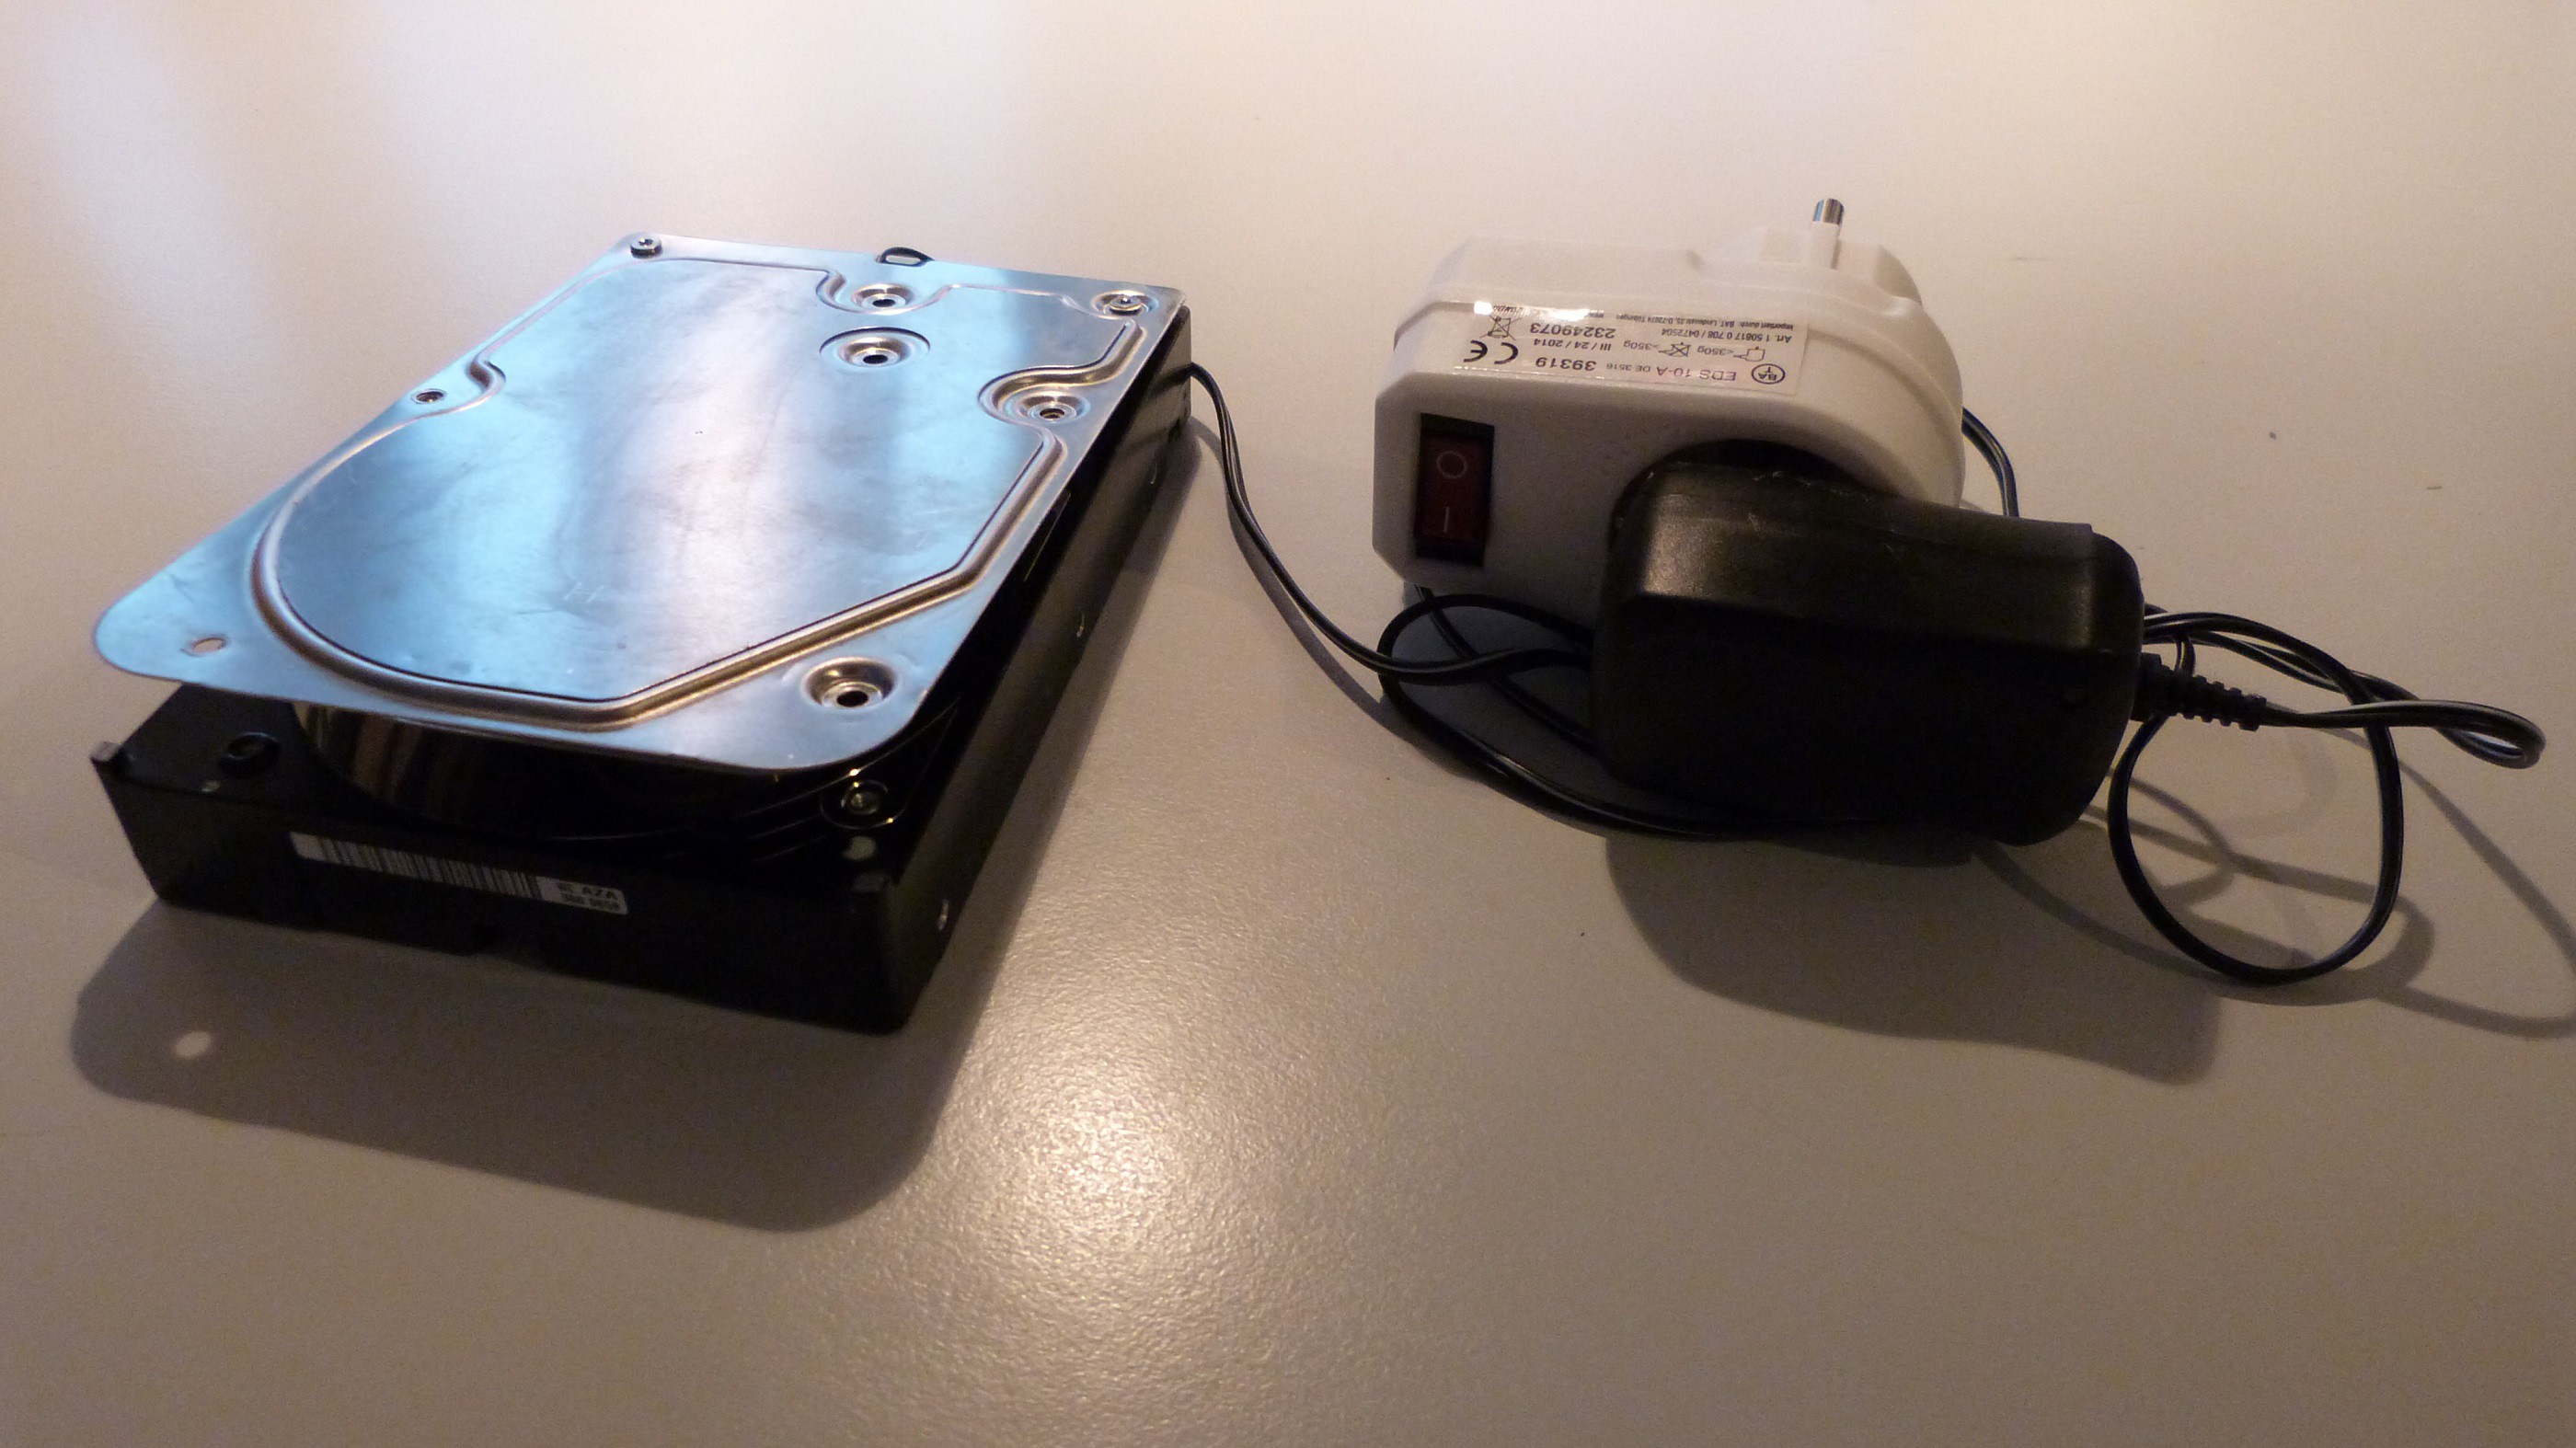
    With another LED and a 9V 400 mA mains adapter you can build a simple but efficient room light out of the hard disc drive case. The reflection inside the mirror discs creates really amazing shadows from my point of view :) . Check inside the details for how you can build this by yourself.

  • More Picture of the Beamboarder construction

    Lyon07/14/2014 at 17:07 0 comments

    Now that I realized that the smallest Version of the Beamboarder is ideal for skating around here some more pictures. Use some adhesive between the magnets to increase the heat transfer :


    An small package of high power light. In the details you will find more informations about the how to build your own optic.


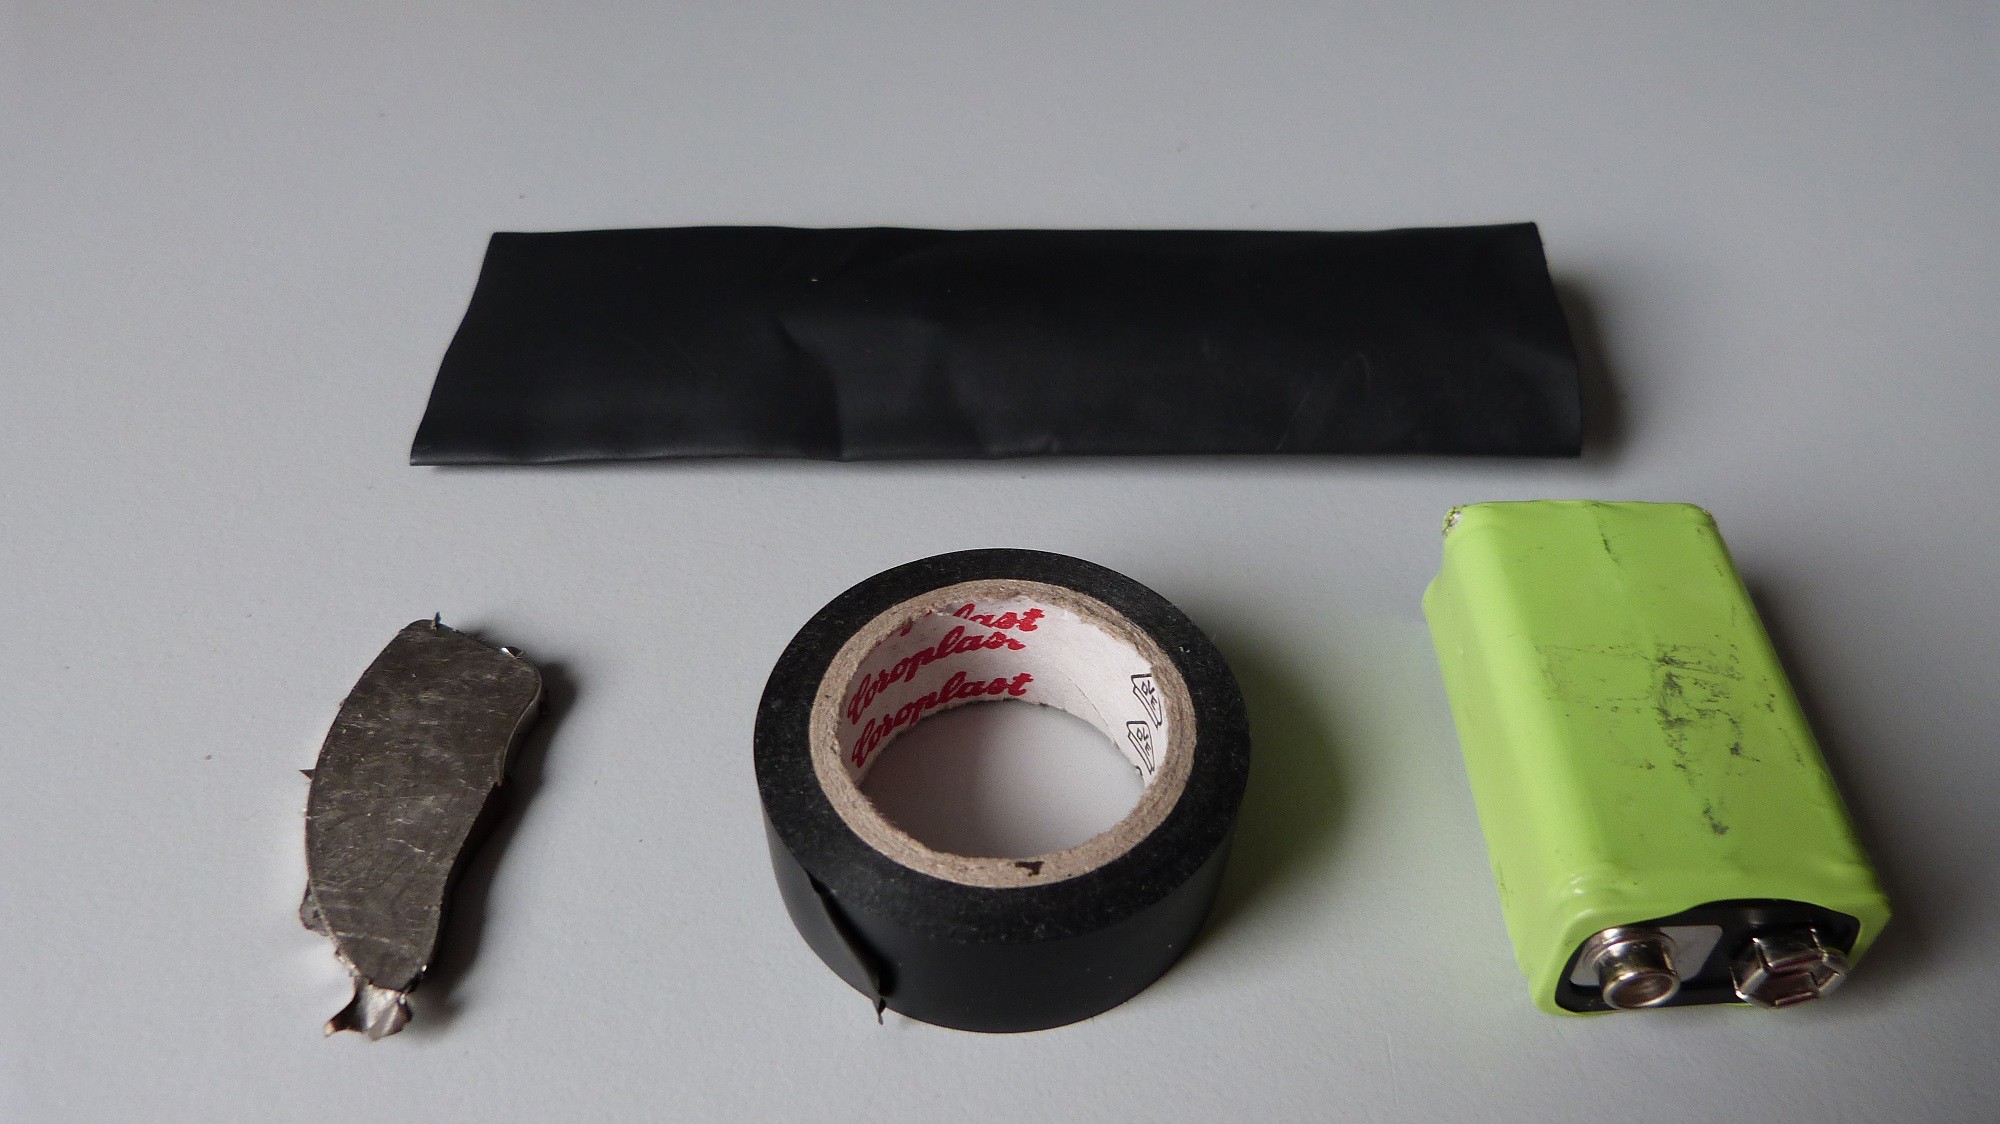
    The material you will need for crafting the battery pack:


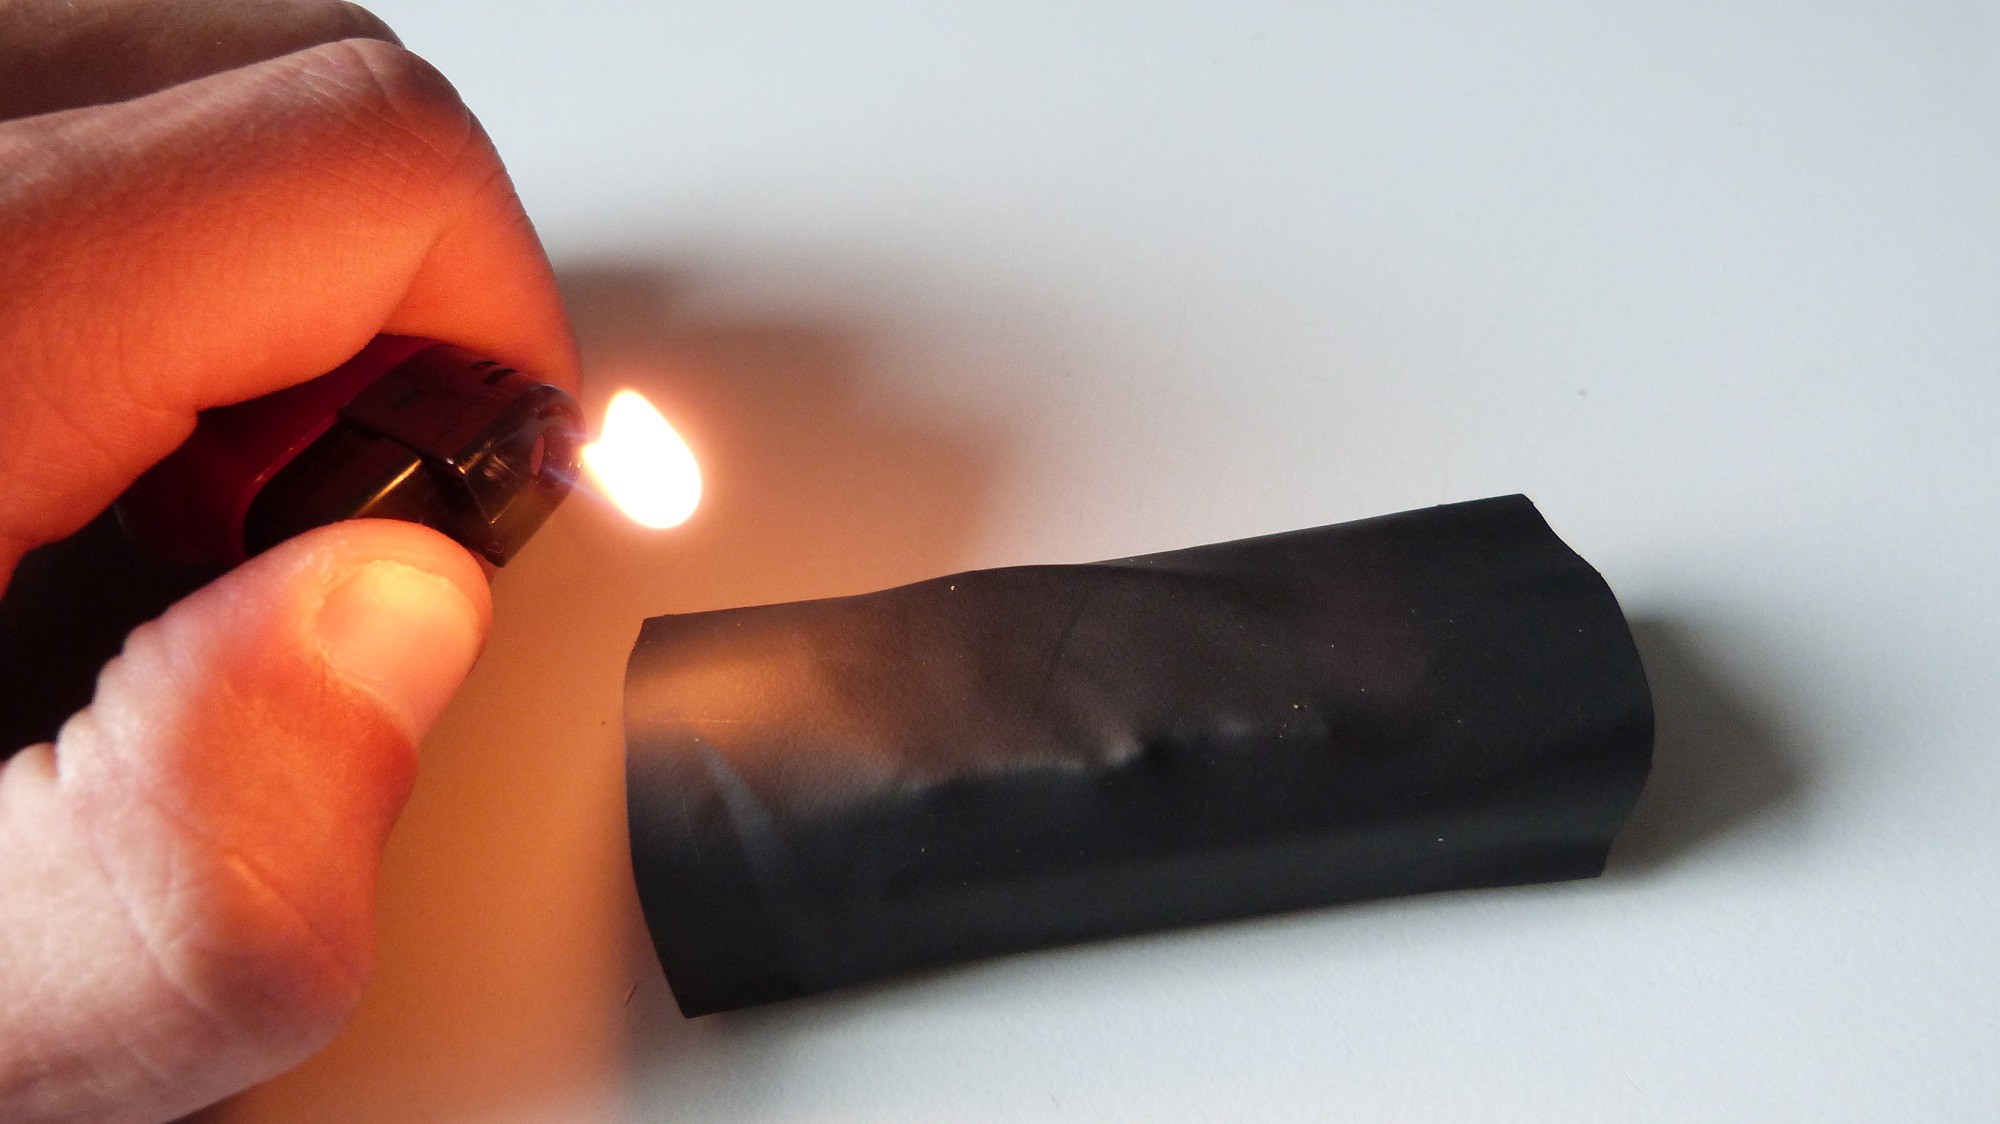
    You can shrink all together with a lighter:


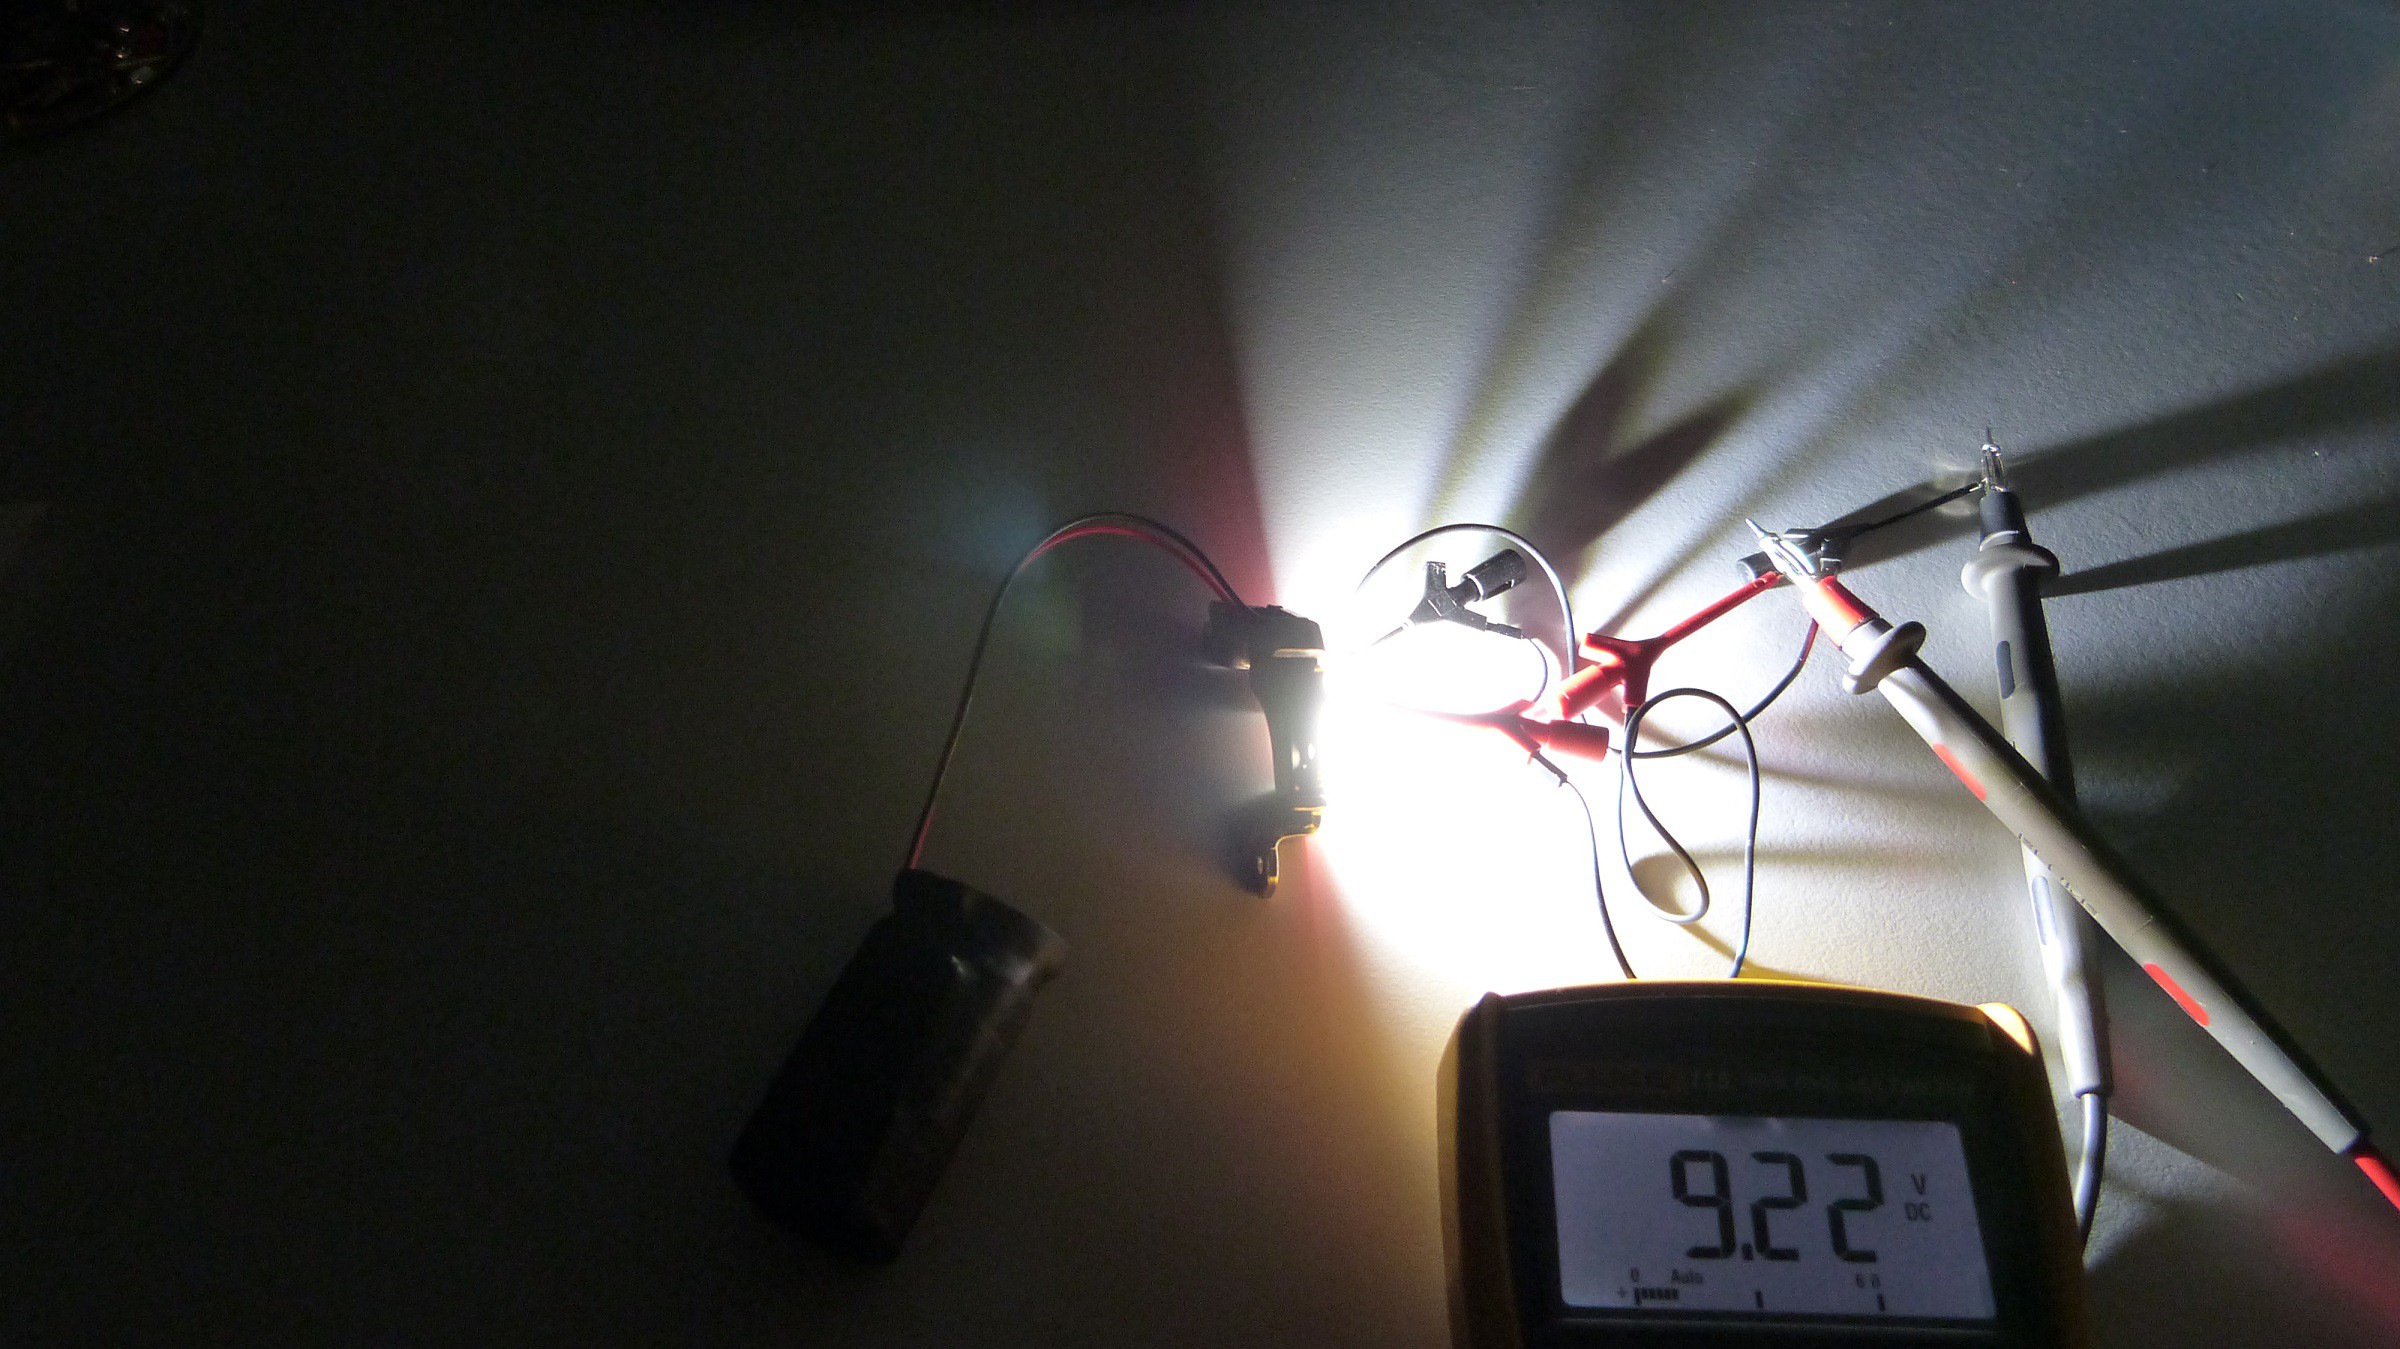
    The voltage will stay at arround 9V and gently drop down. This is the perfect voltage for your LED.

  • First longtime trips with the Beamboarder

    Lyon07/13/2014 at 16:56 0 comments

    We made several longtime tests  in the last days on the Vennbahn next to Aachen to test the new optic with the space blanket. The results are really amazing. The optic is now ideal for mounting it on the kingpin of your trucks. Much less of the light is swallowed and other road users are not dazzled. On MelloMas’s board we found a way to fixture the battery without an additional plate:

    The best experiences we made with the Lichtbohne design. It’s the the savest, lightest und simplest way to get lighting on your board. It was impossible to lose the lamp or the battery without really hard impact. On the kingpin the temperature kept in an acceptable range:

    You can also see the slugs we meet on the road still on the board :).

    We also tried to film the Beamboarder in action. This was really a challenge in darkness but we found a way to create acceptable footage. The video will follow soon. Try to stay informed.

  • To-Do

    Lyon07/06/2014 at 09:29 0 comments

    • Create a night trip video with just the Beamboarder as light source. We will make a little night trip on the vennbahn from the border Germany/Belgien to Aachen
    • Better night pictures
    • Optimization of the optic.
    • Organization of the Night Boarder Event in AC at the end of summer when the nights are longer
    • Instructables.com entry

    Everybody who likes to join me can do this.

  • Safety aspects for your night trip

    Lyon07/05/2014 at 22:37 0 comments

    • Do not look directly into the LED from a near distance!
    • Do not give the lamp to children!
    • Do not turn on the lamp without a proper metal underground for heat transfer. The lamp itself can get to warm driven by a fully charged battery.
    • Heating of the battery will decrease efficiency and can damage your battery. Do not mount the warm magnets directly to the battery without isolation.
    • With a full battery and a very small plate the LED can get very hot and you will burn your fingers!
    • Strong hits or vibrations to your board can cause the battery or the lamp to fall off. Try to increase your magnetic force by direct magnetic contact on a maximum surface area. Place the magnet on the kingpin and use the stumps to avoid rotation. Fixture your battery with one magnet on the battery and on under the longboard. The magnetic setup will properly not hold in all downhill or freestyle actions. You can also tie the battery with an additional binder and mount the LED directly on the trucks. This should survive most actions J.
    • The middle of the beam should point in front of you on the ground. Use a proper optic on your lamp to avoid dazzle of other road users.
    • Remove the lamp when you are not using it.
    • Don’t lose the magnets or the battery on the road.

  • Possible features, Open Questions and Known Issues

    Lyon07/05/2014 at 13:59 0 comments

    Possible features in the future

    • Dimming of the Kingbeam depending on the temperature
    • Switch for turning the LED on and off without removing the clipper
    • Strong plug-in cable between battery and the LED
    • USB charging of the battery
    • Bypass of the battery for direct USB Power Supply with a Step Up Converter
    • Use the HDD bearings as optic

    Open Questions

    • How long will the magnets keep enough force for holding the equipment?
    • How does the heating of the lamp influence the magnets on the plate?
    • Can the optic for the Beamboarder created out of the HDD?

    Known Issues

    • The Clipper can get damaged after multiple usages.
    • The Beam Boarder battery and lamp will fall off by strong impacts and vibrations caused by the street.
    • The optic is not finished completely.

  • Credits

    Lyon07/05/2014 at 10:32 0 comments

    First I want to give credits to the people who helped me on the Beam Boarder until now.

    Mello for your battery charger and your camera

    Tine for reading my texts and her camera.

    Manta for filming with his video camera and making an amazing night trip possible

    Johannes for organizing more hard disc drives

    Paul for giving lots of feedback and reading my texts

    Dommay for crafting the perfect board for the beam boarder

View all 10 project logs

  • 1
    Step 1

    Find an old 3.5“ Hard Disc Drive and open it with a Torx 8 screw driver.

  • 2
    Step 2

    Gently remove both plates with a lever. The first one will be easy and the second one is sometime attached with more screws from the back side of the HDD case. You also have to remove the read head with a screwdriver of the second one.

  • 3
    Step 3

    Put the two parts of thermal adhesive 1:1 on the plate with the stumps and mix the adhesive with a stick.

View all 9 instructions

Enjoy this project?

Share

Discussions

Emerica wrote 08/18/2014 at 18:20 point
Skateboarding most of my life that's a nice idea, especially for sidewalk riders.
On the contest aspect though, how do you plan to make it connected?

  Are you sure? yes | no

Lyon wrote 08/18/2014 at 21:47 point
So here are the original requirements when I put this online:
http://web.archive.org/web/20140513015623/http://hackaday.io/prize/details

1. You must actually build something
2. It must involve some type of electronics that are connected to something
3. Our main requirements have to do with documentation. This includes lists of parts, schematics, images, and videos. Remember, Openness is a Virtue.

The magnets connect the high Power LED to the longboard. Mission done :D
You should also check the new video.

  Are you sure? yes | no

Emerica wrote 08/19/2014 at 01:49 point
I will check your video, but from what I remember they narrowed "connected" down to transferring data to and from something in some way. That's how it's described in one of the first videos on youtube anyway. I haven't really gone through the fine print, but I hope that's not some technicality that knocks you out right off the start.

  Are you sure? yes | no

Lyon wrote 08/19/2014 at 09:27 point
I had an idea for connecting the Beamboarder over night and will try to update everything. Thanks for your feedback. It was really inspiring!

  Are you sure? yes | no

Emerica wrote 08/19/2014 at 16:25 point
Good luck man :)

  Are you sure? yes | no

Adam Fabio wrote 07/24/2014 at 03:01 point
Great project Lyon! Thanks for submitting The Beamboarder to The Hackaday Prize! I really like how you recycled hard drive magnets both as a mounting method and as a heatsink for those power hungry LEDs. Can't wait to see your video for this project! Good luck!

  Are you sure? yes | no

Lyon wrote 07/19/2014 at 22:57 point
There are better neodyme magnets for the LED but for holding the battery under the board you will still need the hard disc drive magnets with the plates.

The design you showed in the sketch could solve one problem. Sliding to the side at night will be difficult with the lamp in the front. The lamp at the rear truck pointing forward would solve this problem. But the magnets cannot be attached in this direction :/. You will need a fixed design like yours.

  Are you sure? yes | no

davedarko wrote 07/19/2014 at 20:05 point
Have you considered using standard neodyme magnets so you don't have to harvest old hdds? I love the concept of adding leds for safety and thought about a spacer thingy myself some time ago. Here is a sketch of a mix of my early idea vs. the inspiration i got from your project.

https://www.dropbox.com/s/af8ypp6nc6o38dp/Sketch19621589.png

  Are you sure? yes | no

Similar Projects

Does this project spark your interest?

Become a member to follow this project and never miss any updates