Quinn
Quinn-
What's next
02/11/2021 at 05:33 • 0 commentsBackdrop selection
I believe I can add a third backdrop, and still easily handle the swapping method, so I'll try that.
I've ordered proper green screen material that will replace the light green fabric.
The Ivy fabric was also something I had lying around, and might leave it just as a patterned backdrop until I find something else I like better. Most of my sewing is with solid colors, so it'll have to be something I buy just for this.
As a third, I'll probably put a bit darker solid color from the spare bolts I have.
I tried using black, and while I like the effect a lot, it messes up the exposure on the laptop, and I can't find any way to adjust that. The auto exposure seems to be doing area metering, not using face detect or anything, so it sees all the back and ups the exposure, saturating my image.
Backdrop length
While the fabric I'm using is all 56" wide, the height I mounted the pole(81 inches from the floor) means that when the backdrop is all the way down, the lower edge is right at the bottom of the laptop camera frame. This would have been better if I'd mounted the pole 5" lower, as the top extent of the backdrop is never on camera.
To adjust for this, I might sew on a bit of leader, perhaps a 12inch strip of scrap fabric to the top edge of the backdrop, and attach it to the pole. This will give plenty of margin to lower it.
Control
It seems like it would be pretty easy to put a color sensor pointed at the front side of the roll, and automate switching colors. Further, with a simple rotation sensor (such as magnets and hall effect sensor) I could automate the down motion to stop at the correct spot.
I'd considered making the control wireless, perhaps operating with a keyfob, but I really only want to control it when sitting at my bench, so reaching to the switch isn't an issue, and the wire is run around the back of the bench, so it's not in the way.
I'll use it for a bit to decide if it's worth putting in the extra effort when it's simple to use as-is.
-
Controller
02/09/2021 at 15:56 • 0 commentsI attached a long wire to the motor contacts and ran it over to my desk. To control the motor I didn't need anything fancy, just the supply, power switch and reversing switch. I could have used the original speed controler here if I wanted speed control, but I was trying to keep this simple. An RC hobby brushed motor controller and servo tester could also have been used, and would have been much easier to install than the original one because it uses an actual potentiometer, while the original does not.
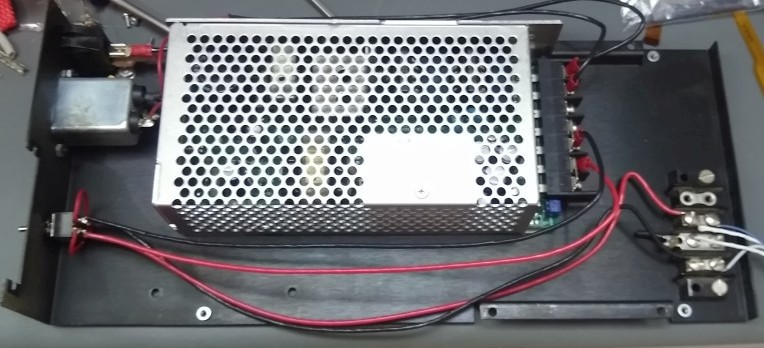
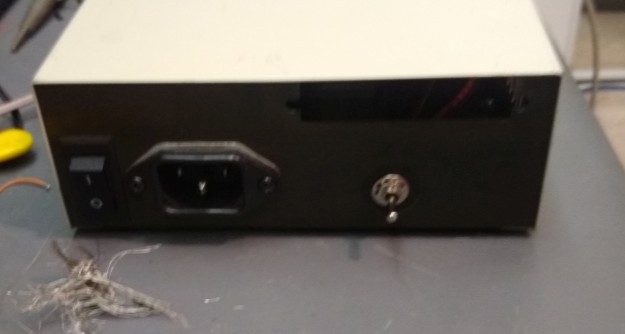
I found a case in my scavenged stock, in this case it was for a quite external 5-1/2" floppy drive. It fit both the cage supply, already had an IEC C-14 socket and switch, and has a nice slim profile to fit on my desk under a monitor.
A couple mounting screws for the supply, and a couple for a terminal block was all it needed. I was able to reuse an existing hole for the switch.
![]()
For a switch, I was fortunate to find the less common, but perfect toggle. It is a DPDT, with momentary on - off - momentary on movement. This means that by default it sits in the middle, with all contacts open. You can push it up or down, but a spring pushes it back to the middle when released. As a DPDT, I simply wired it as a reversing switch and that's all I needed. Normally the motor is off, but when I hold it up, the backdrop goes up, when I hold down, it goes down, and when I release it stops.
The built in power switch I left as switching the AC so the supply doesn't waste electricity when not in use.
The power cord ends up on the same side as the switches, which isn't ideal, but it wasn't worth making an extra bracket to mount the switches on the other end. Regardless, it's tucked away and the cord isn't in the way.
![]()
-
Mounting
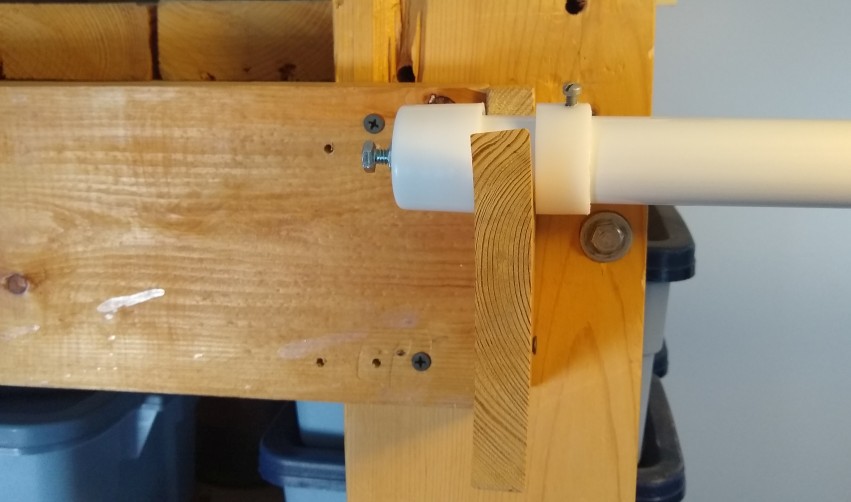
02/09/2021 at 15:41 • 0 commentsTo mount the pole and motor, I used a closet pole cup on one end. This is normally screwed to the wall in a closet, and allows you to lift the pole out. This was mounted into a brace which was screwed into the wall studs, though a drywall anchor probably would have been fine.
![]()
On the other end I had some wooden shelving I previously built, so could easily mount to it. I used a scrap 1x6, with about 3 inches cut off and screwed to the end. With a V-notch in the end wood, it creates an easy saddle for the pole to ride in. The friction between the smooth gloss painted pole and the sanded wood was plenty low so I didn't need any bearings. I was prepared to put in teflon blocks, but it wasn't needed.
![]()
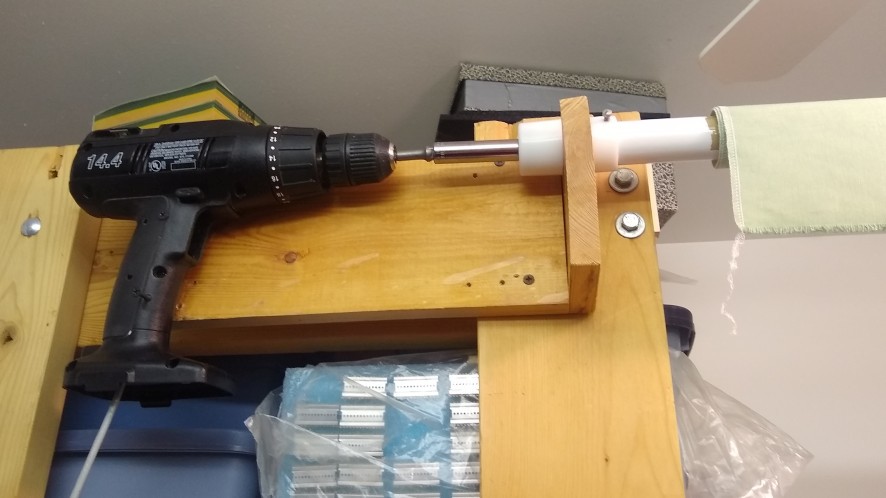
The rest of the board I simply screwed the drill to, in line with the pole. As there is a lot of flex from both the hex bolt to socket coupling, as well as the socket to driver adaptor, alignment wasn't vital, though I did line it up as best as I could.
![]()
-
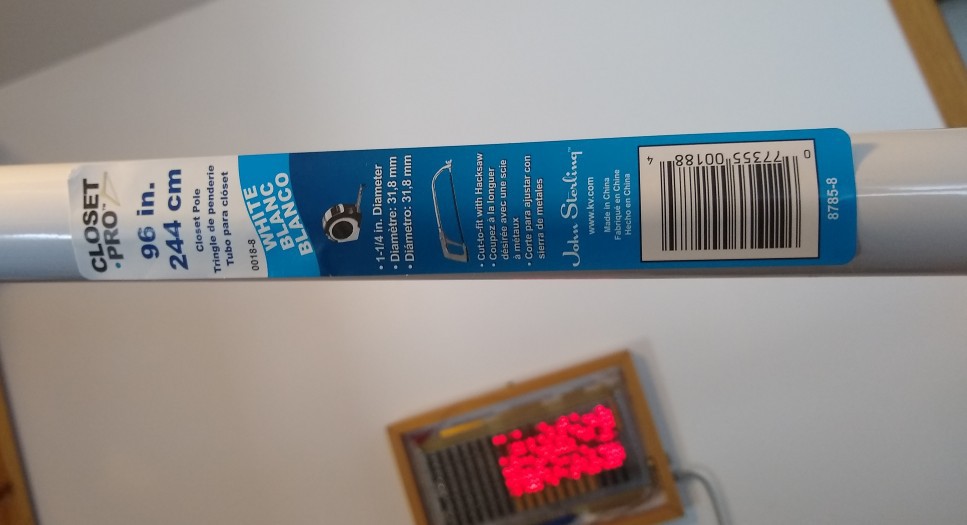
Pole
02/09/2021 at 15:33 • 0 commentsI simply used an 8 foot closet pole, the kind normally used in a closet to hang hangers on. It's a good diameter at 1.25 inch, relatively lightweight and quite stiff as it's thin steel. They do make a heavy duty version that is much heavier, but I'm not putting that much load on it, despite the long span.
![]()
I also considered PVC piping or electrical conduit. The PVC, while easier to drill, needed to be much larger diameter in order to not flex much, which would increase the motor torque and require a slower motor. The electrical conduit was much heavier.
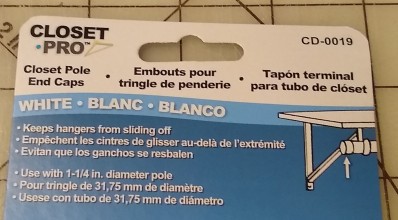
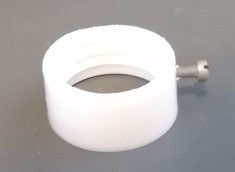
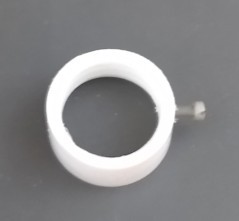
I also picked up a pair of end caps for the pole. They are surprisingly thick plastic and fit on quite firmly. I intended to use one to mount a bolt in to drive the pole, but ended up using the other cut down as a shaft collect to keep the pole from sliding end to end. I think they are PTFE, which is super easy to work with.
![]()
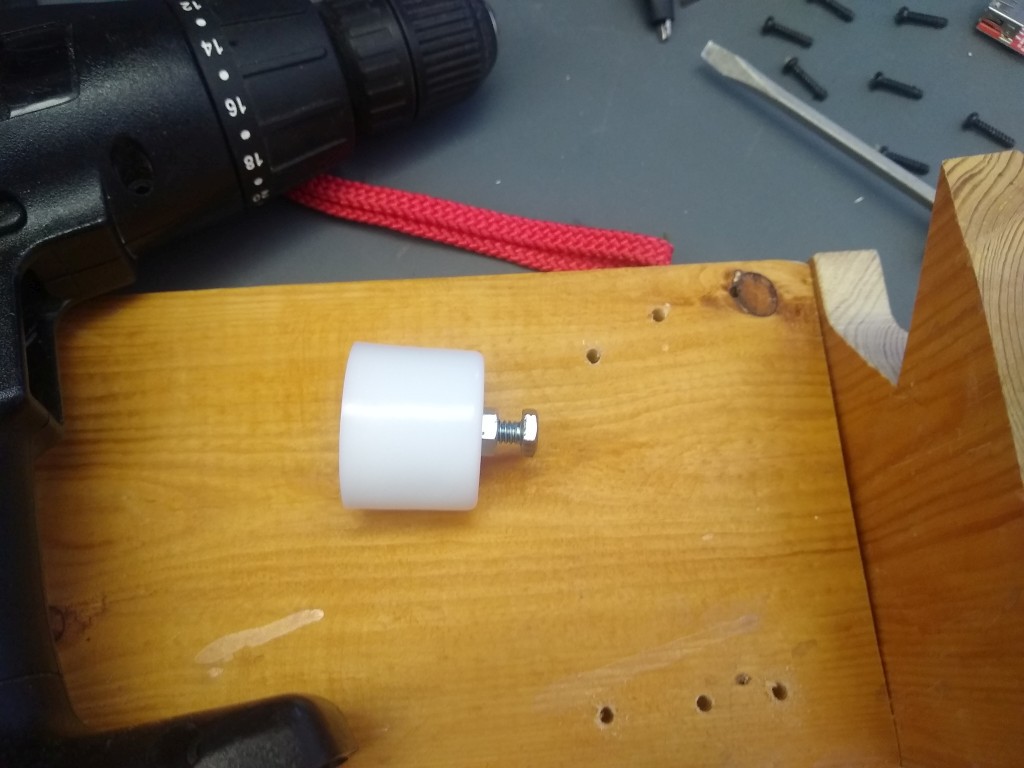
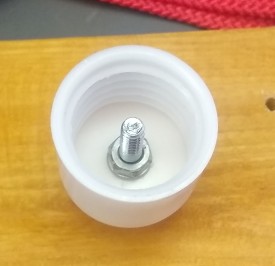
To couple to the motor, I tapped a 1/4-20 thread in the middle of an end cap, and bolted on a bolt with locking nuts on each side and a lock washer. The bolt head sticks out about 3/4 inch, with the nut on that side lined up. This allows a long socket bit to be mounted on the drill, and yet the pole can be easily slid out or installed. The hex bolt and socket form a nice coupling with easy moment, yet plenty of torque.
![]()
![]()
For the collet, I cut the cap off and threaded a locking screw in the side, though it was probably tight enough to not need it.
![]()
![]()
-
Motor
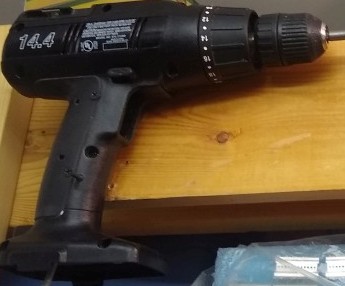
02/09/2021 at 15:20 • 0 commentsFor a motor, I used an old craftsman 14.4v drill. I've collected old cordless drills like this for projects where I need a powerful gear motor. They are often tossed out because by the time the batteries fail, replacements are difficult to find, or as expensive as buying a whole new drill. Further, the chuck makes it really easy to couple the output into projects.
This model has a fixed gear box, with stated 0-600rpm. I did some bench testing to figure out what I would need for a power supply. One of the catches with these types of drills is that the batteries themselves are the current limit, so they can draw a lot of current from a DC supply, especially when stalled.
![]()
In testing, I found that powered by 5v instead, the speed was reasonable, drawing 2-3A with no load, and 6-7 when stalled. The torque is much lower, not even enough to engage the lowest clutch setting, but it seemed plenty powerful to lift the screen. With 12v, these current numbers were higher. I could run from 12v, and use the integrated speed controller, or if from 5v, I could remove it.
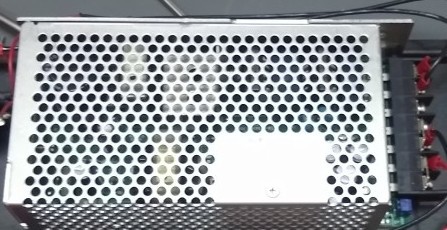
I dug through my salvaged power supplies, initially looking for a 12v one, but also found a 5v 100w cage supply, and decided to go with that as it would make a smaller case. In the end I tweaked the output voltage up to almost 6v for a little more speed.
![]()
This resulted in a 5 second lowering time, and 6 second rise time, with a single fabric backdrop. I expect it'll slow a bit further when I add a second or third due to the increased load.
To mount the motor, I simply drilled a couple holes through the plastic handle after the speed controller was removed and screwed it into the mounting board.
Motorized Dual Color Zoom Backdrop
A quick bodge to create a motorized backdrop that can switch colors