Putting this out in the hopes that someone actually sees it and has some good ideas that could help formulate my plans of lashing this all together from a networking standpoint.
I have two Pis and an Arduino that I need to talk to eachother whilst having internet access, and just having one IP address to the network it's connecting to.
Primary thought is: Small TP link AP > ethernet switch > all Pis and Arduino. This would work, but it introduces another two devices to power in the form of the access point and the switch. Both could be ran from the Pi USB ports but I'd like them keeping to a minimum where possible.
Another thought could be to drop the switch and connect the AP to the Reaper Pi via ethernet, then have that Pi operate as an AP for the other devices on the board.
Then I would always have an established network on the board, and would just need to manage the AP for connecting with different WiFi networks.
Using the below guide I was able to connect the TouchOSC app on my phone to a reaper install on my laptop; provides simple control over existing tracks and channels with very little latency, which is great. This means that, in theory, I don't need to use VNC to be able to control reaper.
It also means that there is an existing OSC convention for controlling the controls of Reaper.
As long as I can use different ones for controlling the sound effects software then we are onto a winner with the single ethernet shielded Arduino controlling the show.
While MIDI was the initial plan to control the two Raspberry Pis in this setup, I have decided to change.
Some research into Reaper and also the MODEP software running on the Pis both support OSC input, which allows for control similar to midi, just over a network.
My footswitch will now aim to usitlise an ethernet shield with an Arduino to send OSC messages to a small network switch, connected to both onbkard Pis.
The Arduino can receive power from one Pi, while my small usb powered switch can be powered from the other.
On Saturday I did a quick recording test with my son to see how this will provisionally work. It was good fun; he got to sing a bit of karaoke and I got to test out the mini rig instead of wheeling out my big 16 channel desk. Zoom U24 interface attached to a Pi4 w/8Gb RAM running Reaper via 2 USB cables, (one for data one for additional power), provided Phantom power to my Rode NT1-a exceptionally well, so only the single power supply to the Pi needed. Using my laptop here with VNC Viewer to control the Pi, but it's just as usable with a tablet or even phone. Sound files passed between devices using OneDrive.
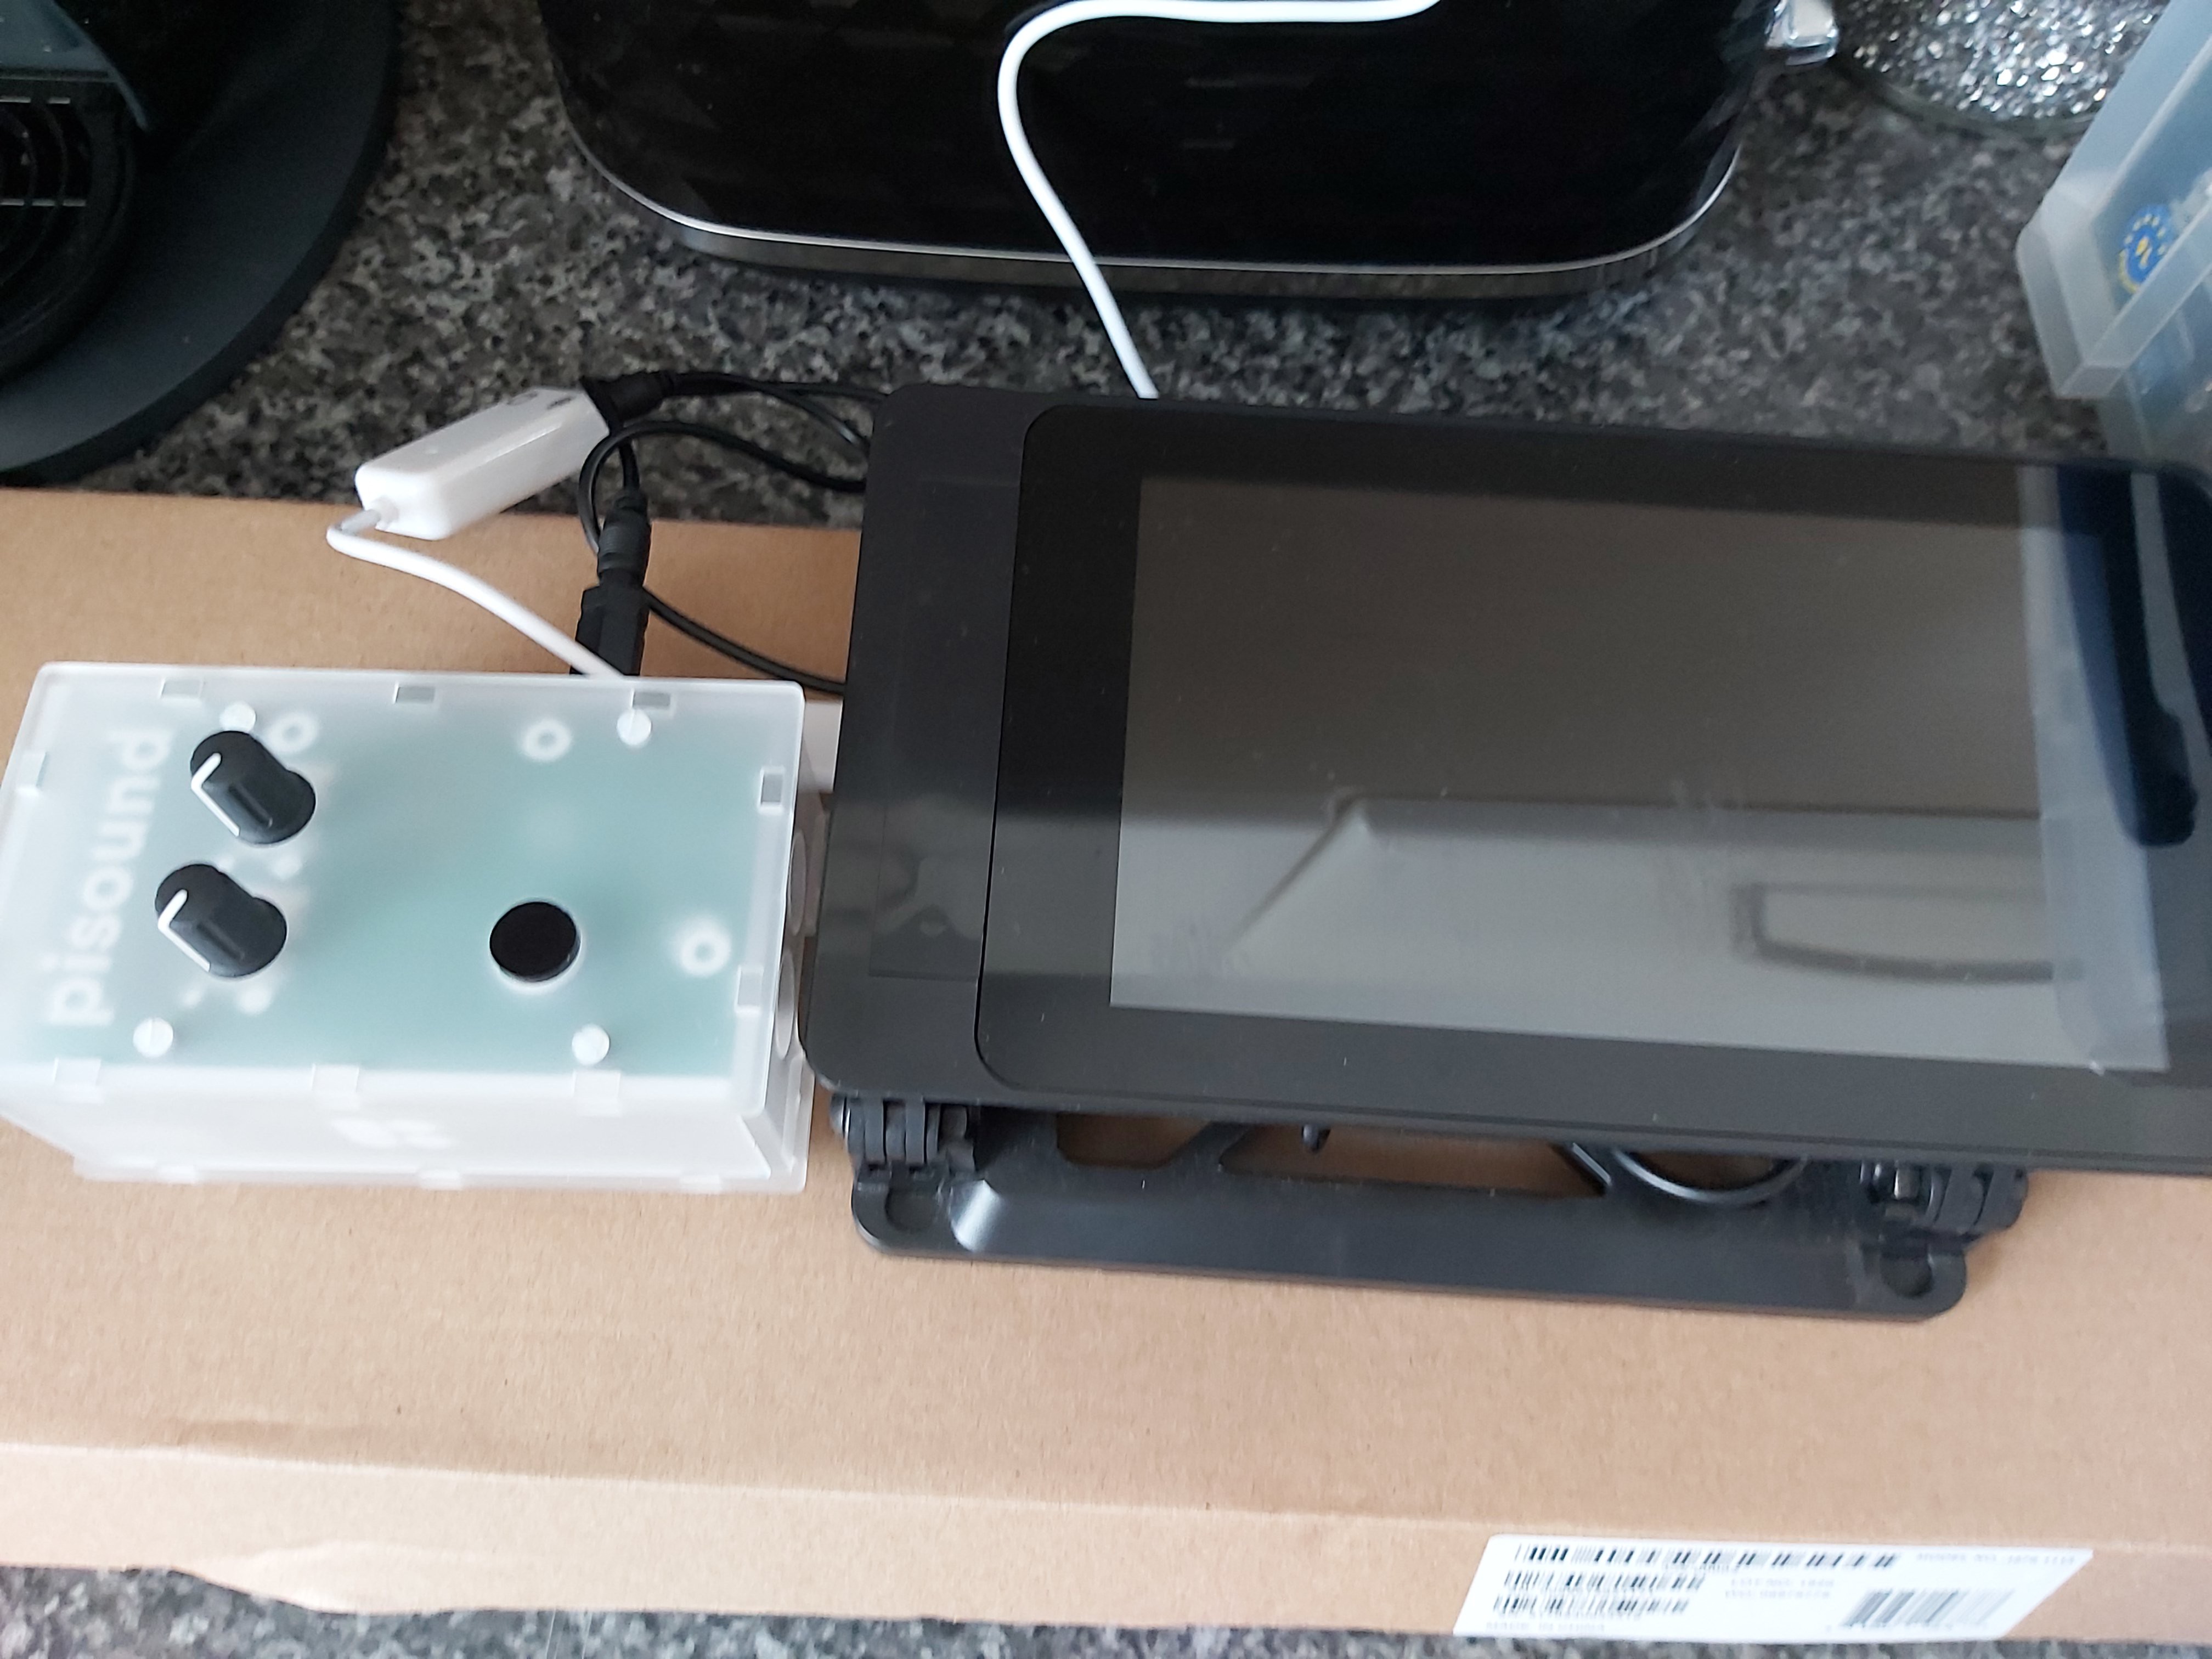
Really happy with the outcome, and looking forward to integrating the Pisound pedal for effects!
Once both pedals are in use I'll then look to adding a suitable power supply for the two USB C devices on the board.
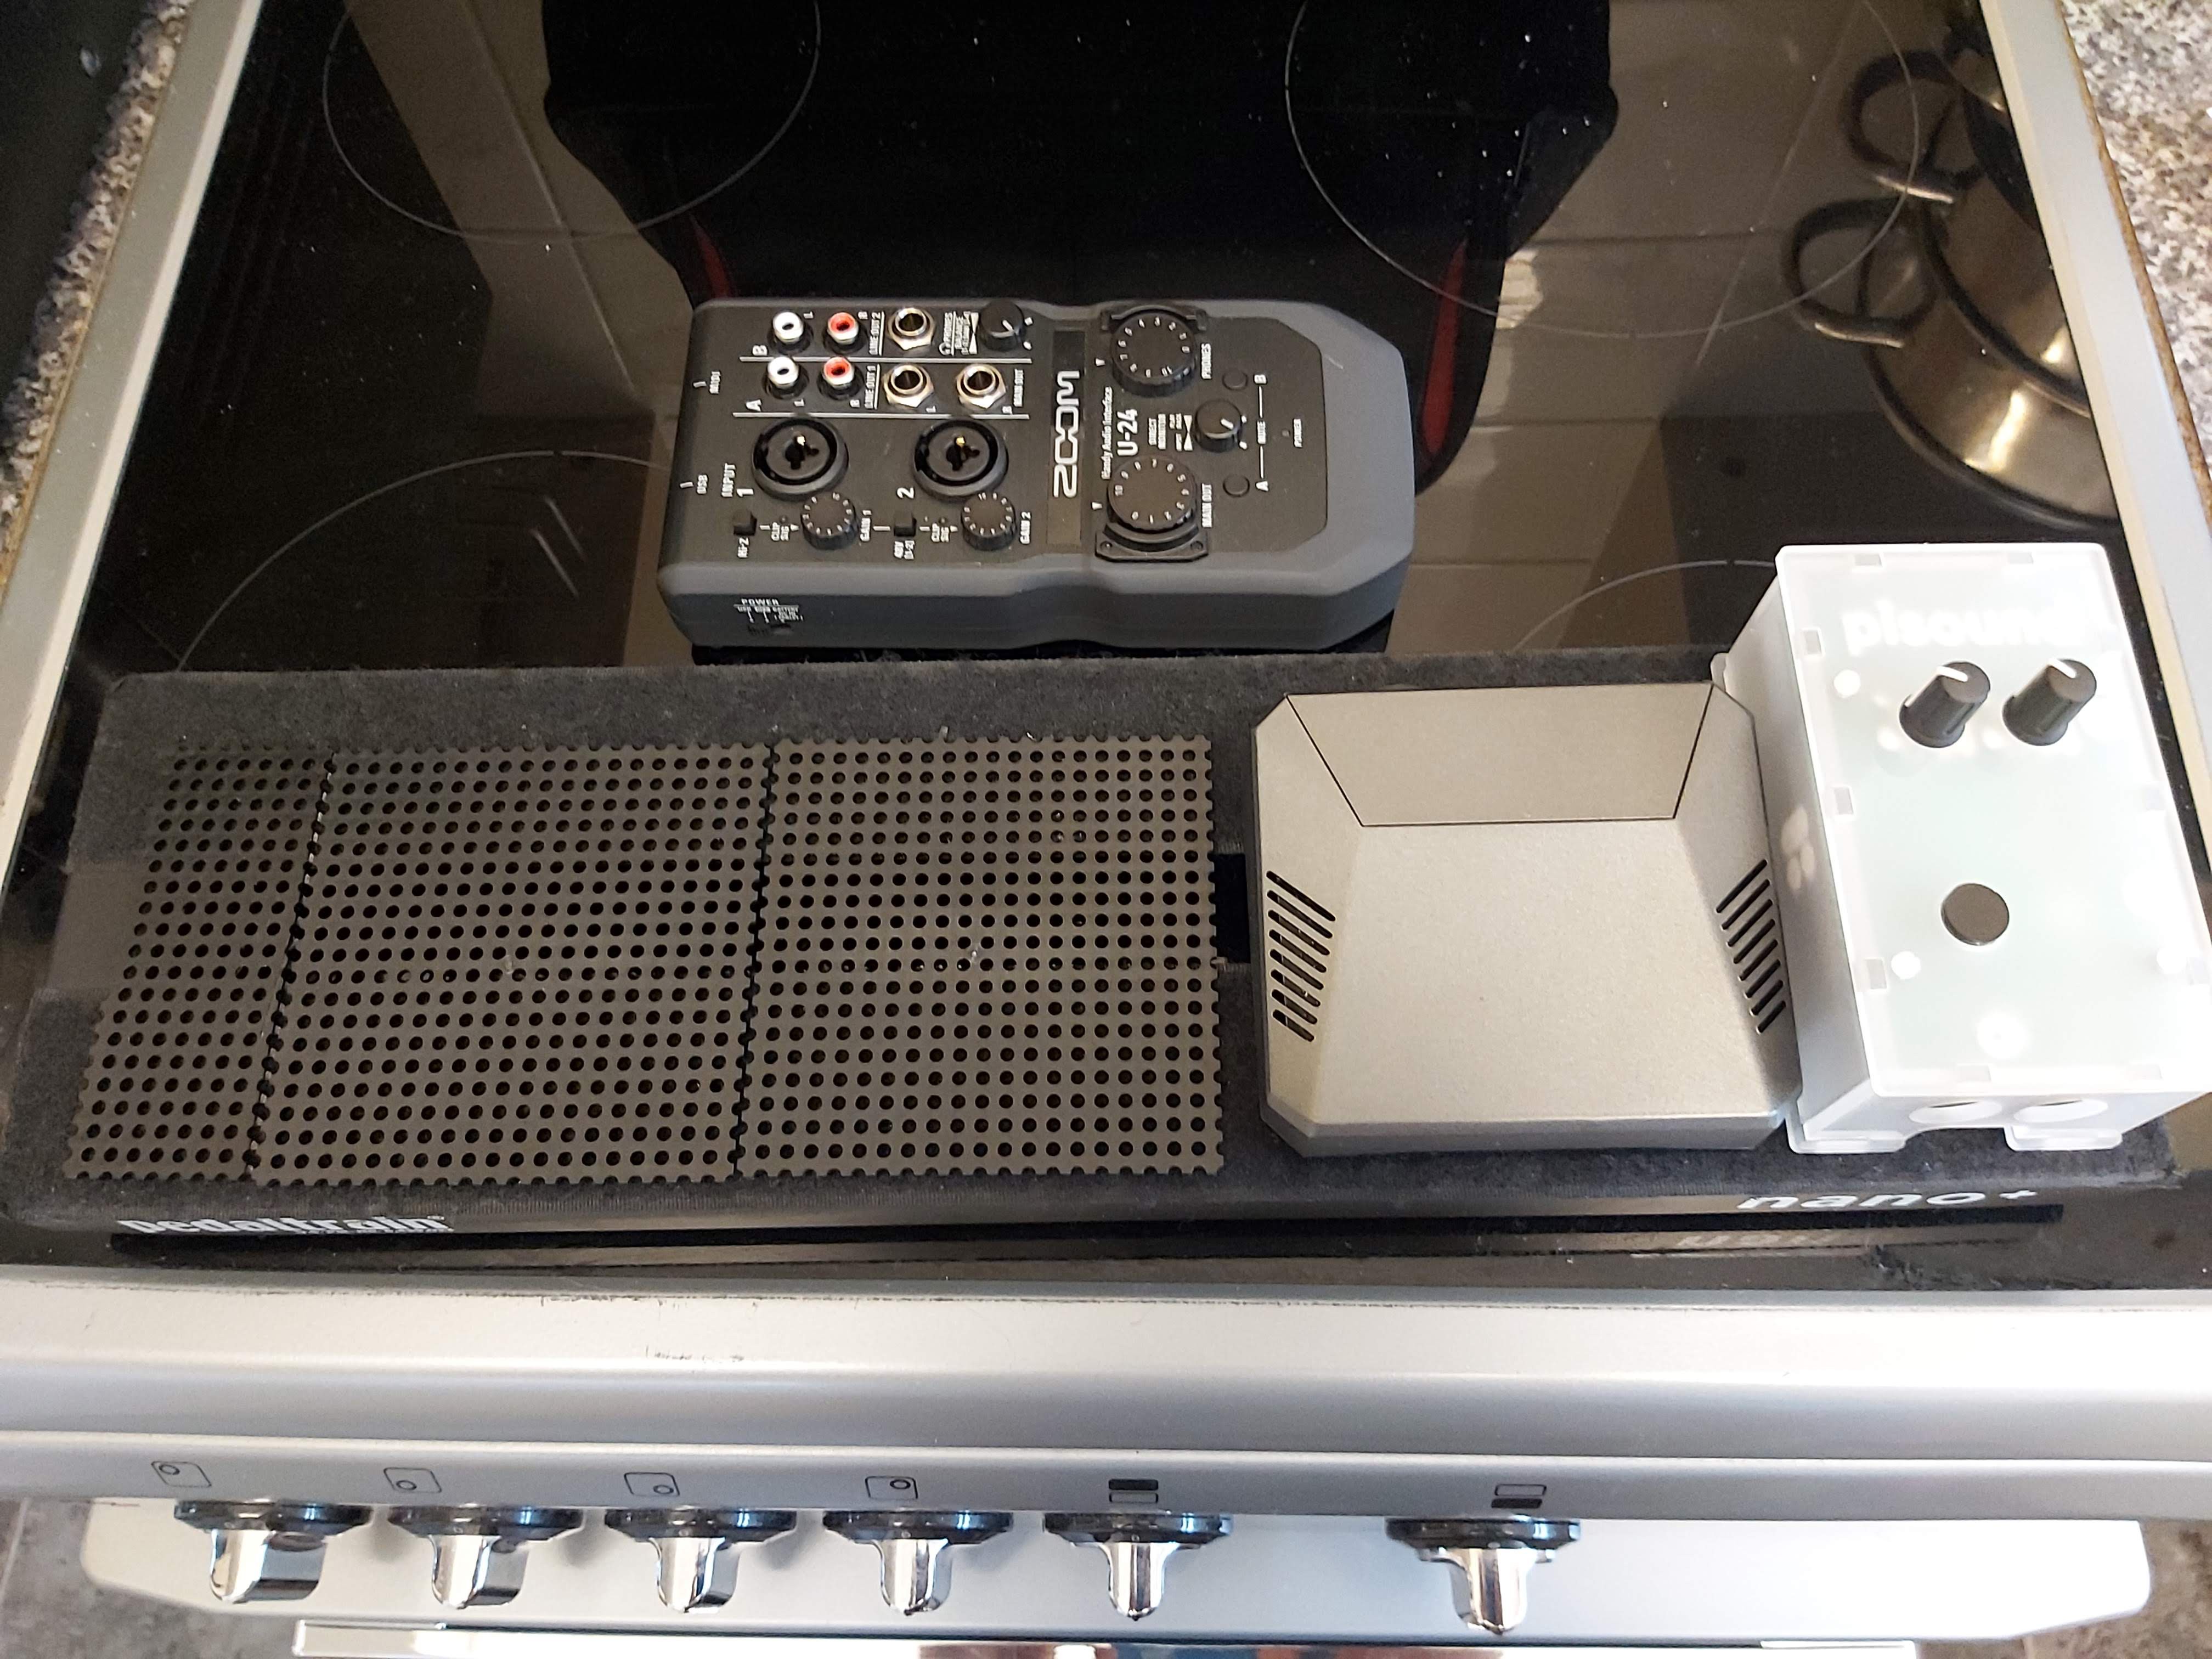
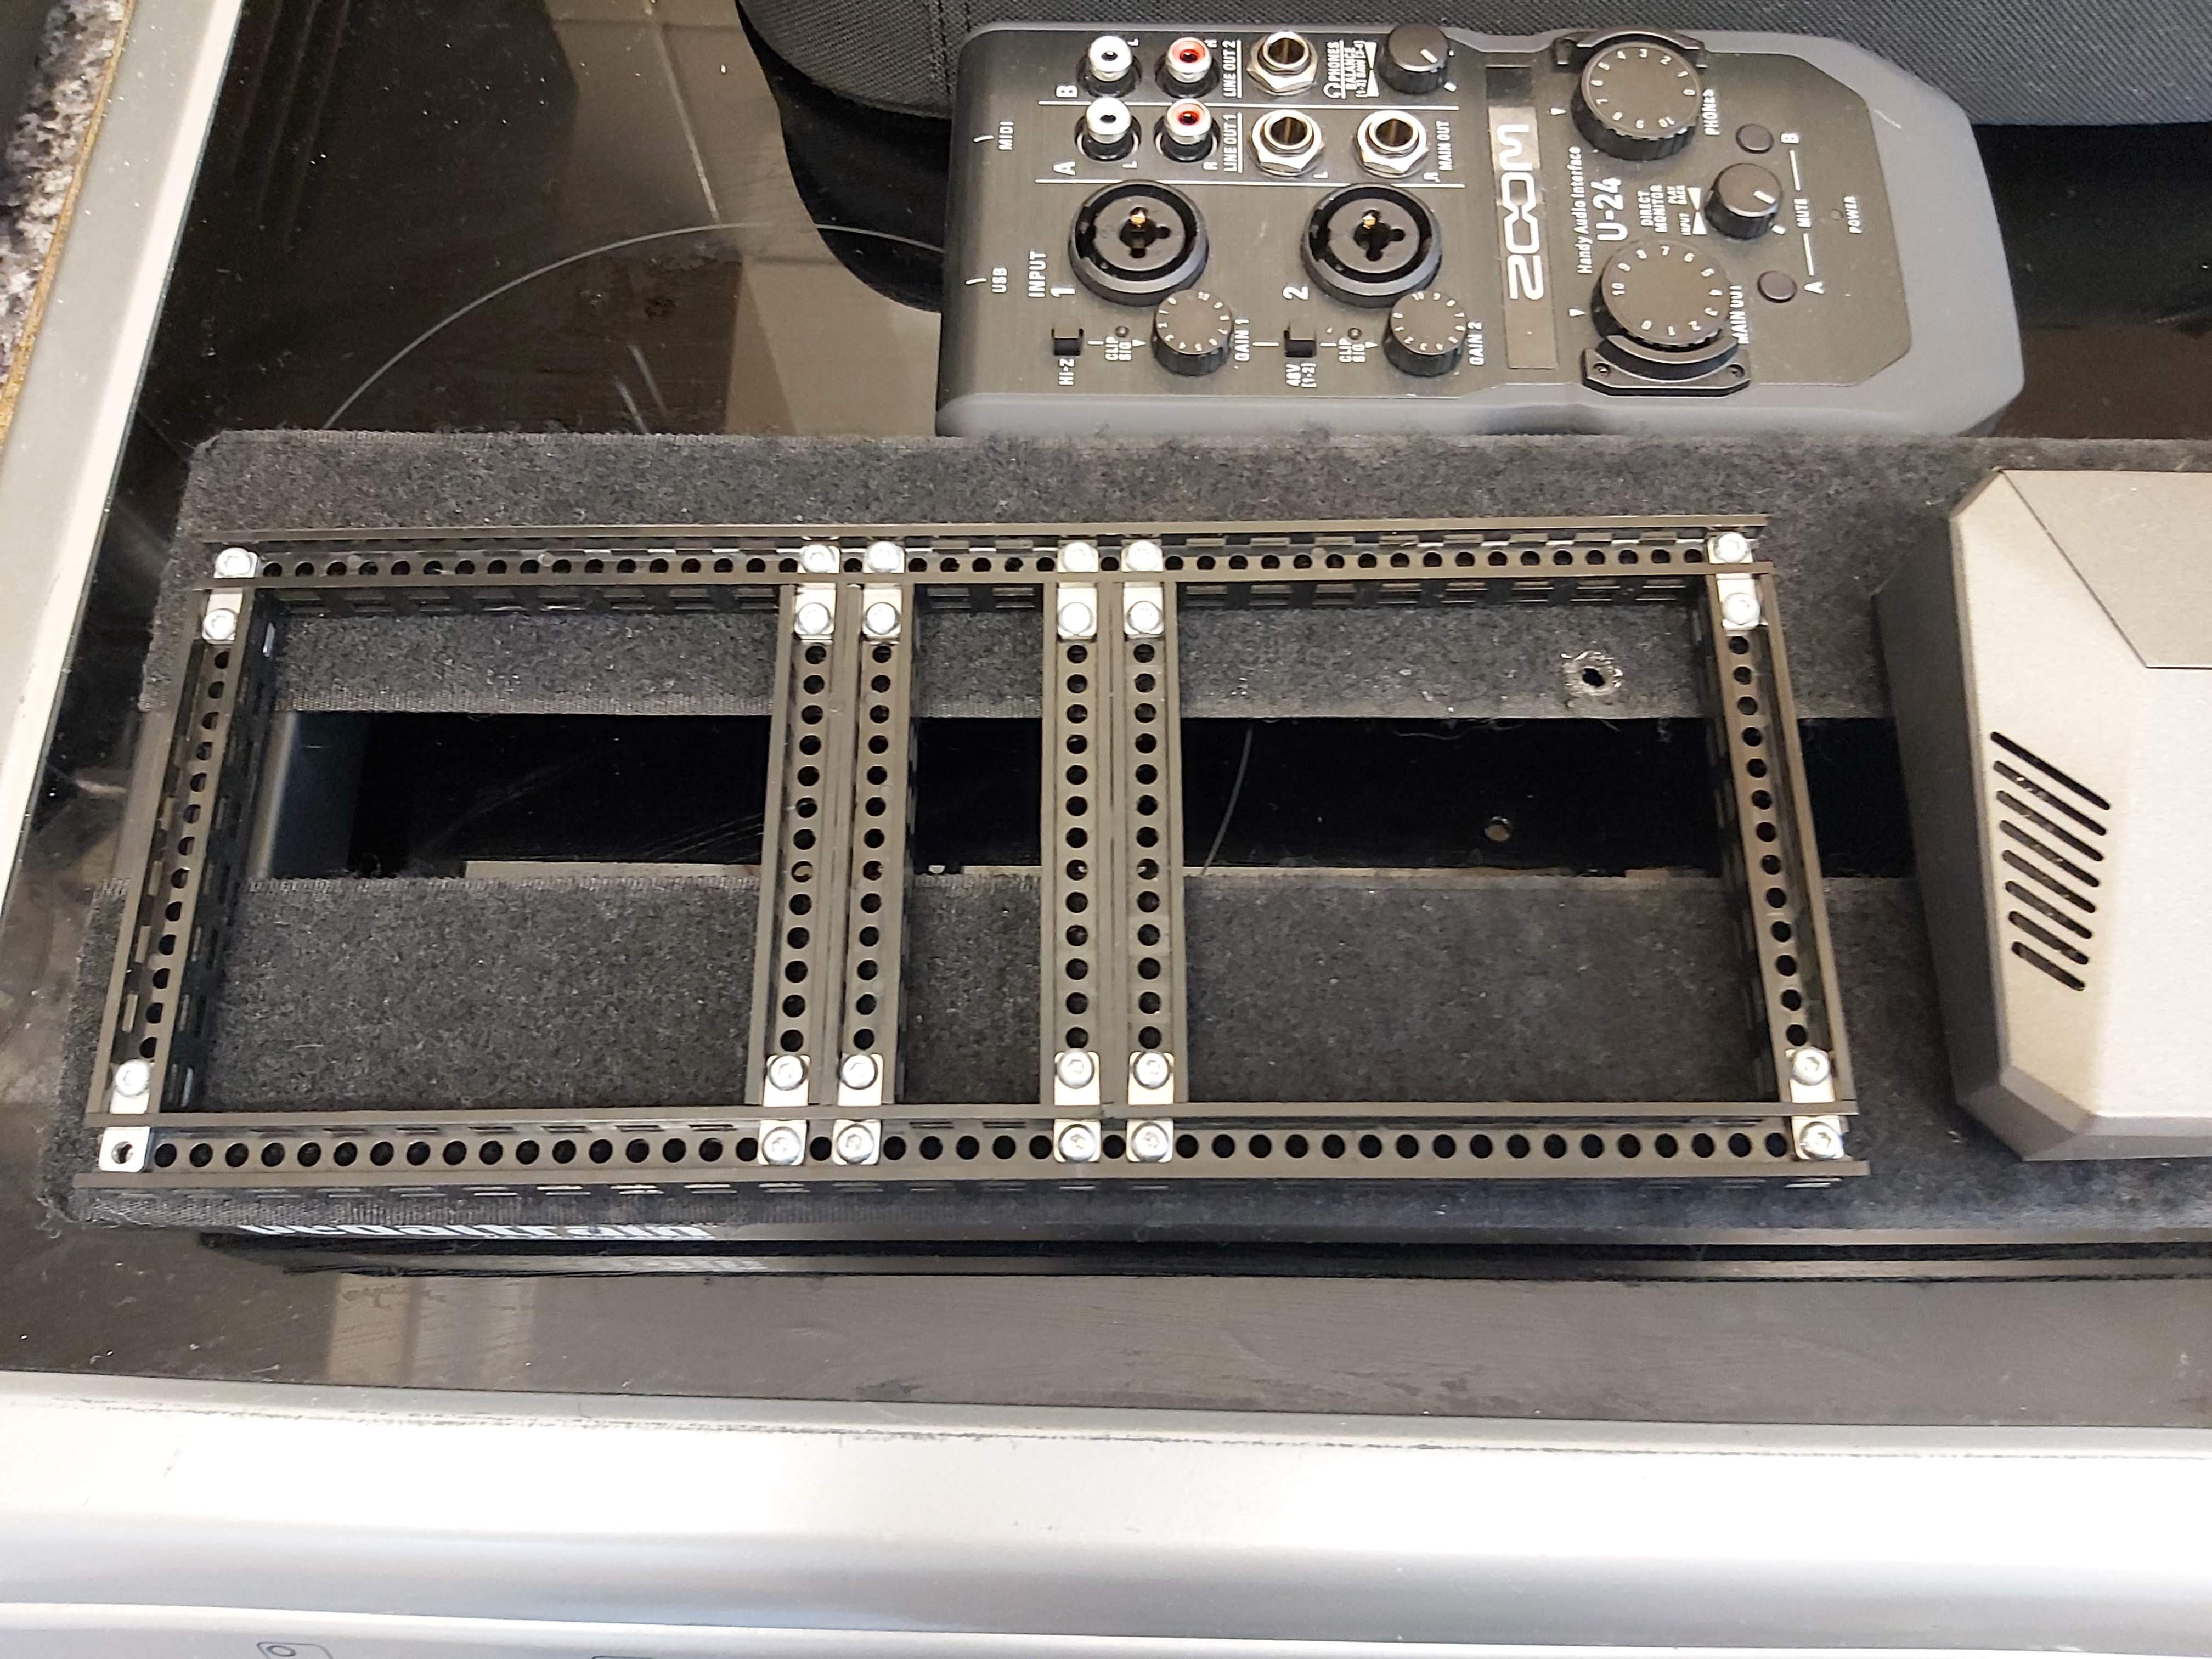
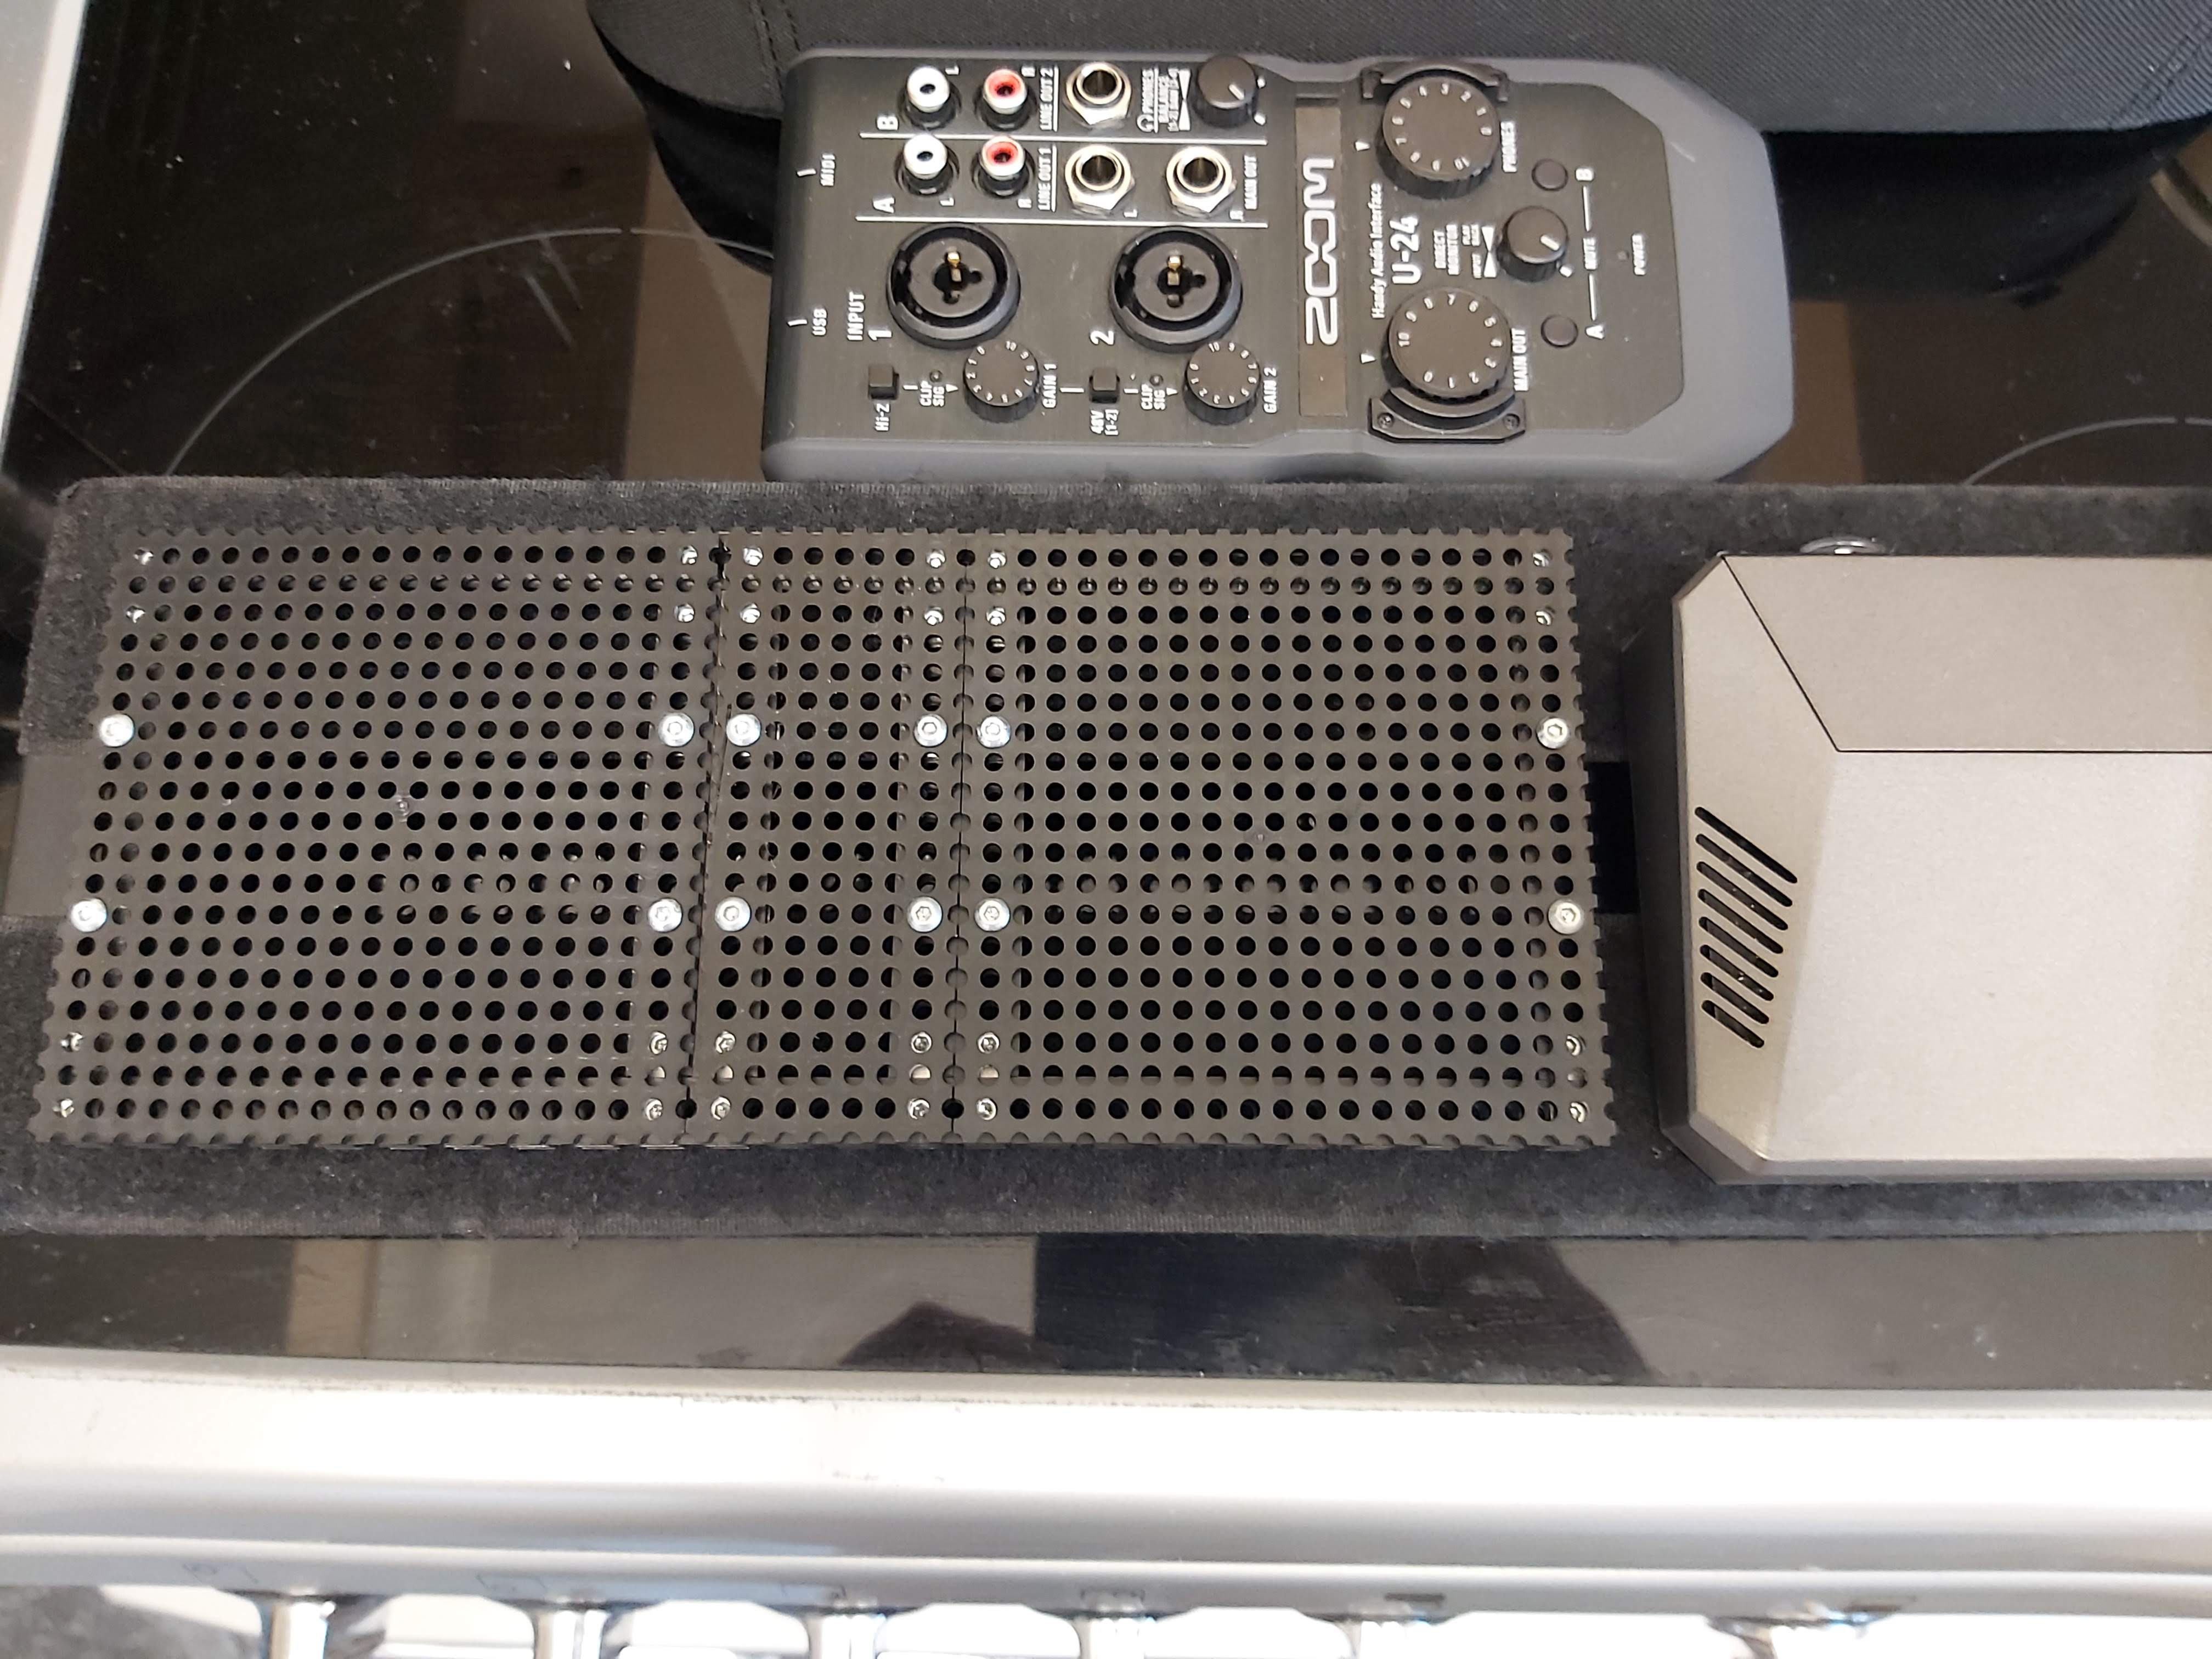
Having done some experimentation with VNC and deciding an onboard screen isn't necessary for the board I have done some sizing up for the pedalboard layout. The pisound and the Pi running reaper (mounted in an Argon case) have been attached via velcro to the board, and I have mapped out a rough footswitch layout with some Totem beams and panels.
The zoom USB interface shown is going to be the primary method of mic input for recording, but this will be mounted on my mic stand mostly with the Zoom holder for it.
The totem panel I have created is great so far; the structure is really solid, and is going to be easy to drill for footswitches when the time comes. Next step is to settle on the switch layout, drill and wire them, and then add the microcontroller.
Then I can work on powering the board from a single input and some cable management, and this beaut is done!
Currently debating dropping the touchscreen from the setup to enable a smaller footprint and an easier layout on a pedalboard.
In my big recording setup I currently travel with an iPad for controlling my Behringer X18, so using something like this to control reaper wouldn't be a stretch.
Today I tried out a cheap USB interface with my Reaper Pi, and it worked!
It was a noisy affair, but that's down to it being a rubbish interface. Next step is to try out another interface with a better quality input/output and go from there.
There is also a need to work on the footswitch underway, as a mouse and keyboard we're needed to get any kind of useful experience. Maybe trying VNC with a tablet will help.
I've spent far too long looking at Cyberdecks on HaD and Reddit, I think. It's influencing my decisions with projects like this. It's not a bad thing. Ha ha ha!
One of the main issues I've had with this project is space utilisation; fitting two separate Pi systems and still having enough space for a foot controller with plenty of controls for the two systems.
Cyberdecks always seem to have a screen mounted off-centre on the back of the keyboard, and it creates space for a fair sized keyboard input, so I'd like to explore the same here.
To that end, I'd like to look into mounting the Pisound and a much bigger enclosure for footswitches for it, then look to mount the Pi touchscreen setup to the back of the pedalboard, using two bolts through the pedaltrain board and another two through the footswitch enclosure.
Once I have mounted the Pi's to the pedalboard I need to measure the space left for the enclosure:
Length: _______mm
Width: _______mm
This will determine the amount of buttons and functions I can fit into the box.
Reaper Pi - essential controls:
Channel selection (two buttons? Or an encoder?)
Arm track to record (button)
Record / Stop (button)
Desirable: mute/solo/undo buttons. Could be added as held button press features.
Pisound - essential controls:
Pedalboard up/down (two buttons)
3-4 effect switches (with LED feedback to show on/off)
Analog inputs broken out to trs jack's for adding expression pedals.
I2c breaking out for possible extension button boxes to be added.
Research to be done:
Gut instinct is to run two Arduino Pro Micros as co-processors for this to give two native USB ports out. One used as a usb midi input for the Pisound, and the other as a usb midi device for shortcuts in Reaper.
I've picked up a Raspberry Pi Pico recently, and running Circuitpython on that also allows for native USB use. They're really cheap, so may also make for good choices for this.
Other options: run a software serial port out to a hardware midi jack and send midi data to the Pisound via the midi jack, dropping the need for dual controllers.
If there's going to be a network established between the two Raspberry Pi boards there's a shout for using an ESP8266/ESP32 board to send wireless MIDI, perhaps.
There's even a shout to use a Pi Zero in USB ethernet gadget mode to share one of the Pi's network connection.
My current plan is to run mic/instrument into the Pisound, then split the stereo output into a direct mono out for live performance and the other mono out to the Reaper Pi; itself sporting a little usb interface to get the audio in. I have a JustBoom Amp/DAC HAT I could add to the Reaper Pi, to give me options of a decent headphone out for monitoring recording/playback tracks and some RCA outs and speaker connections some interesting use cases.
Over on another forum I am tracking a thread discussing the possibily of capturing audio on the Pisound Pi itself; if this turns out fruitful there may be a good argument for running a network cable between the two Pi's and having a setup that allows for dragging clips from the Pisound into Reaper. This network connection would also allow for the Reaper Pi to open up the Pisound virtual pedalboard interface for on the fly configuration.
 Craig Hissett