 Implemented Robotics
After quite the lengthy wait thanks to the big winter storm throughout the US last week I finally got my parts order from OpenBuilds. With these parts here it is time to build the NOMAD leg test stand!
OpenBuilds items always come well packed. Not a single marred surface to be found:
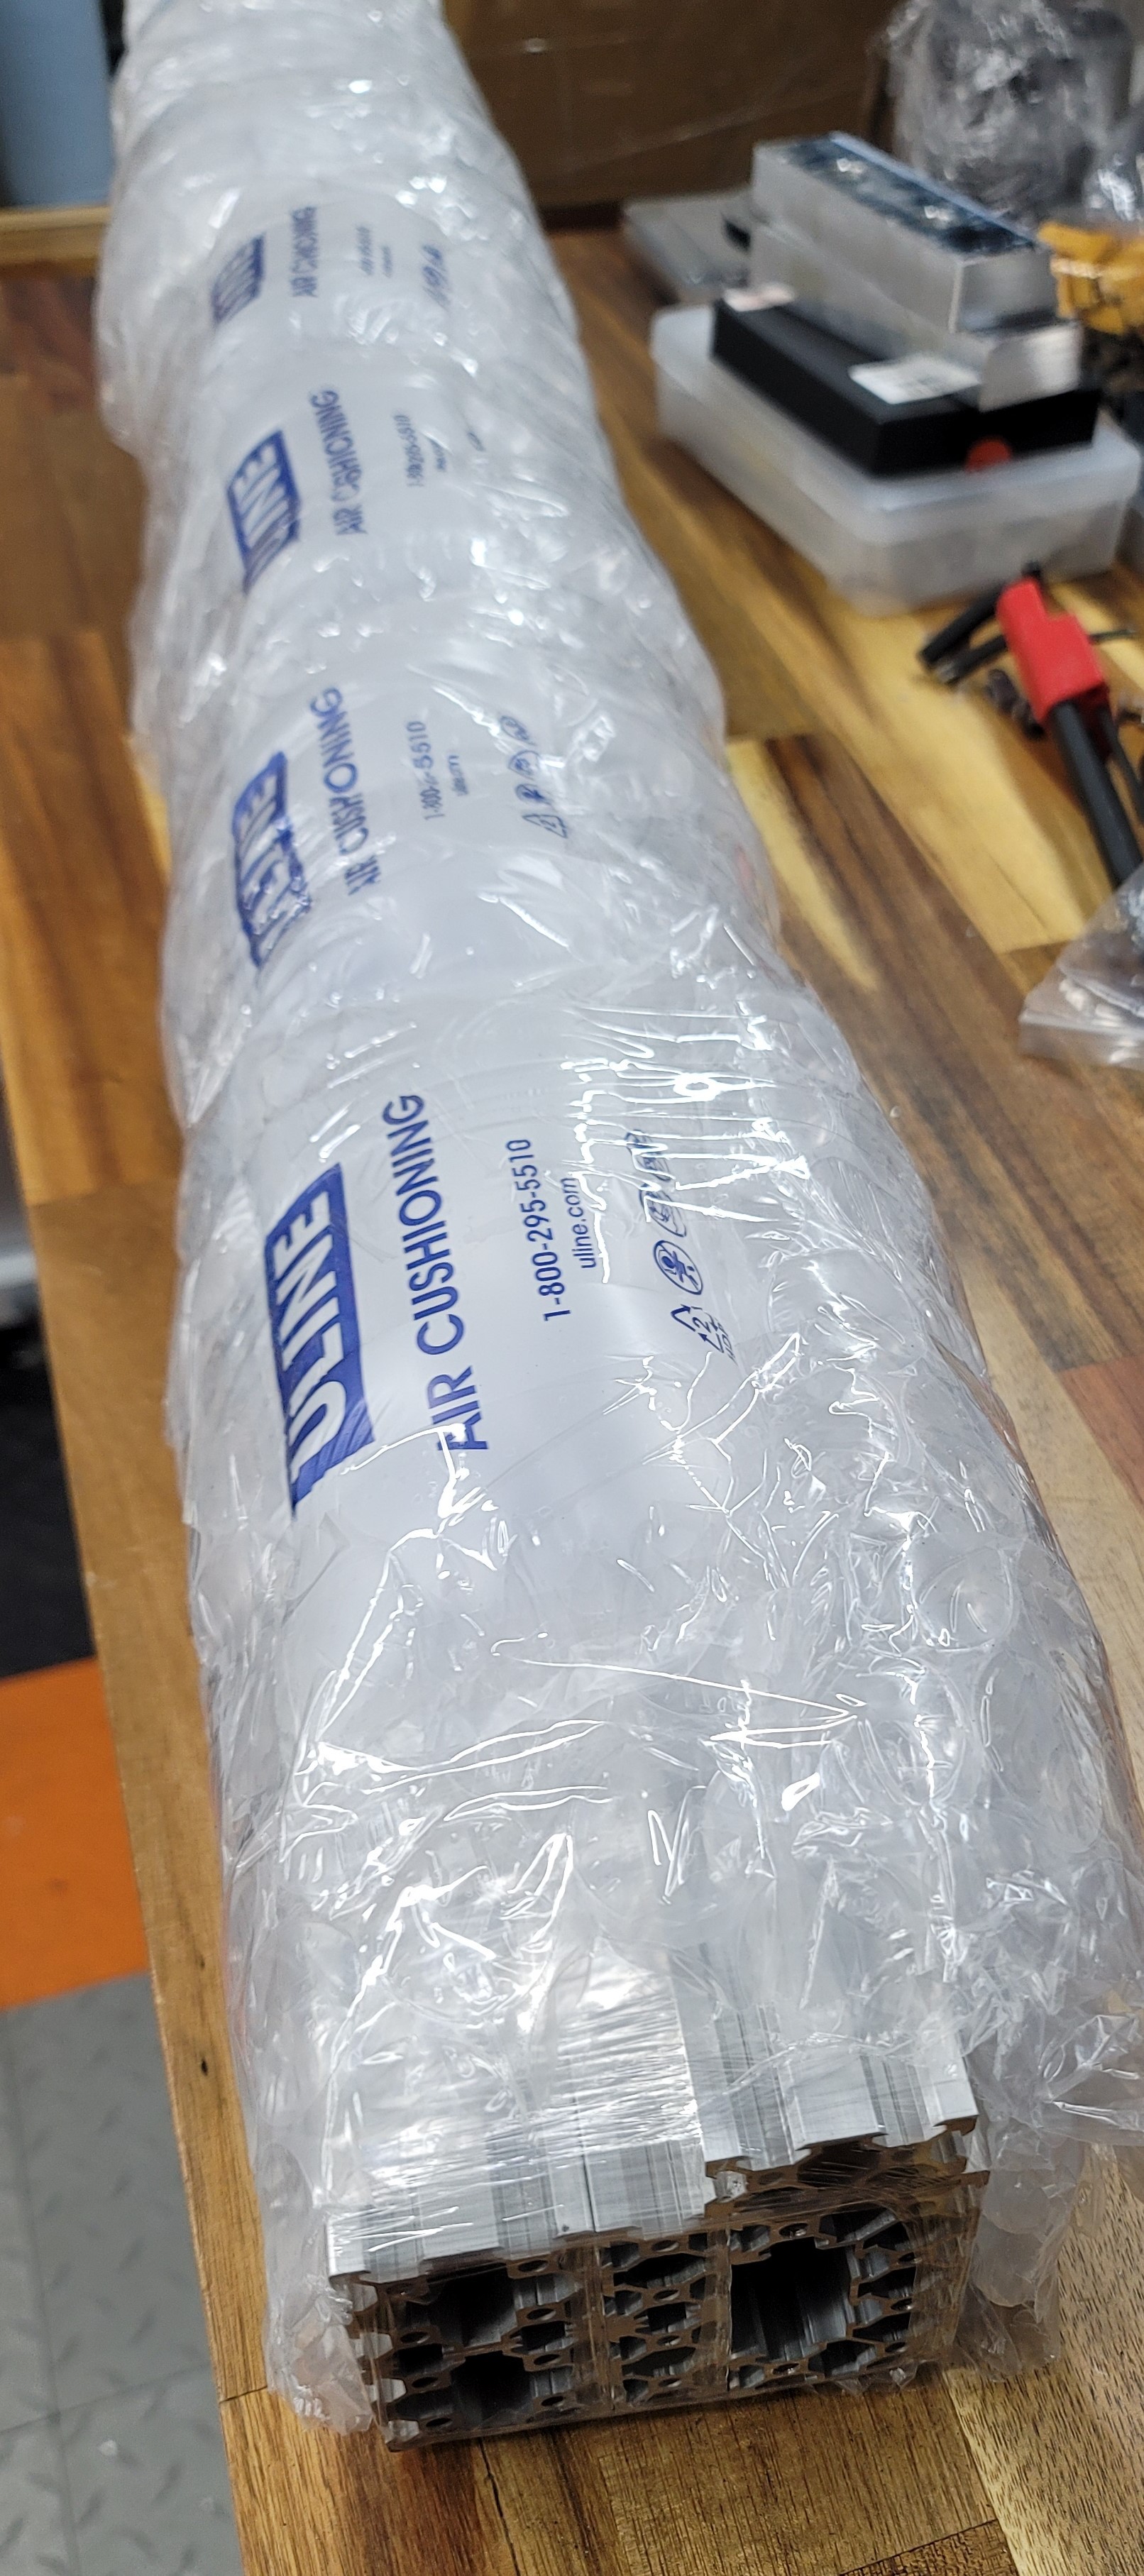
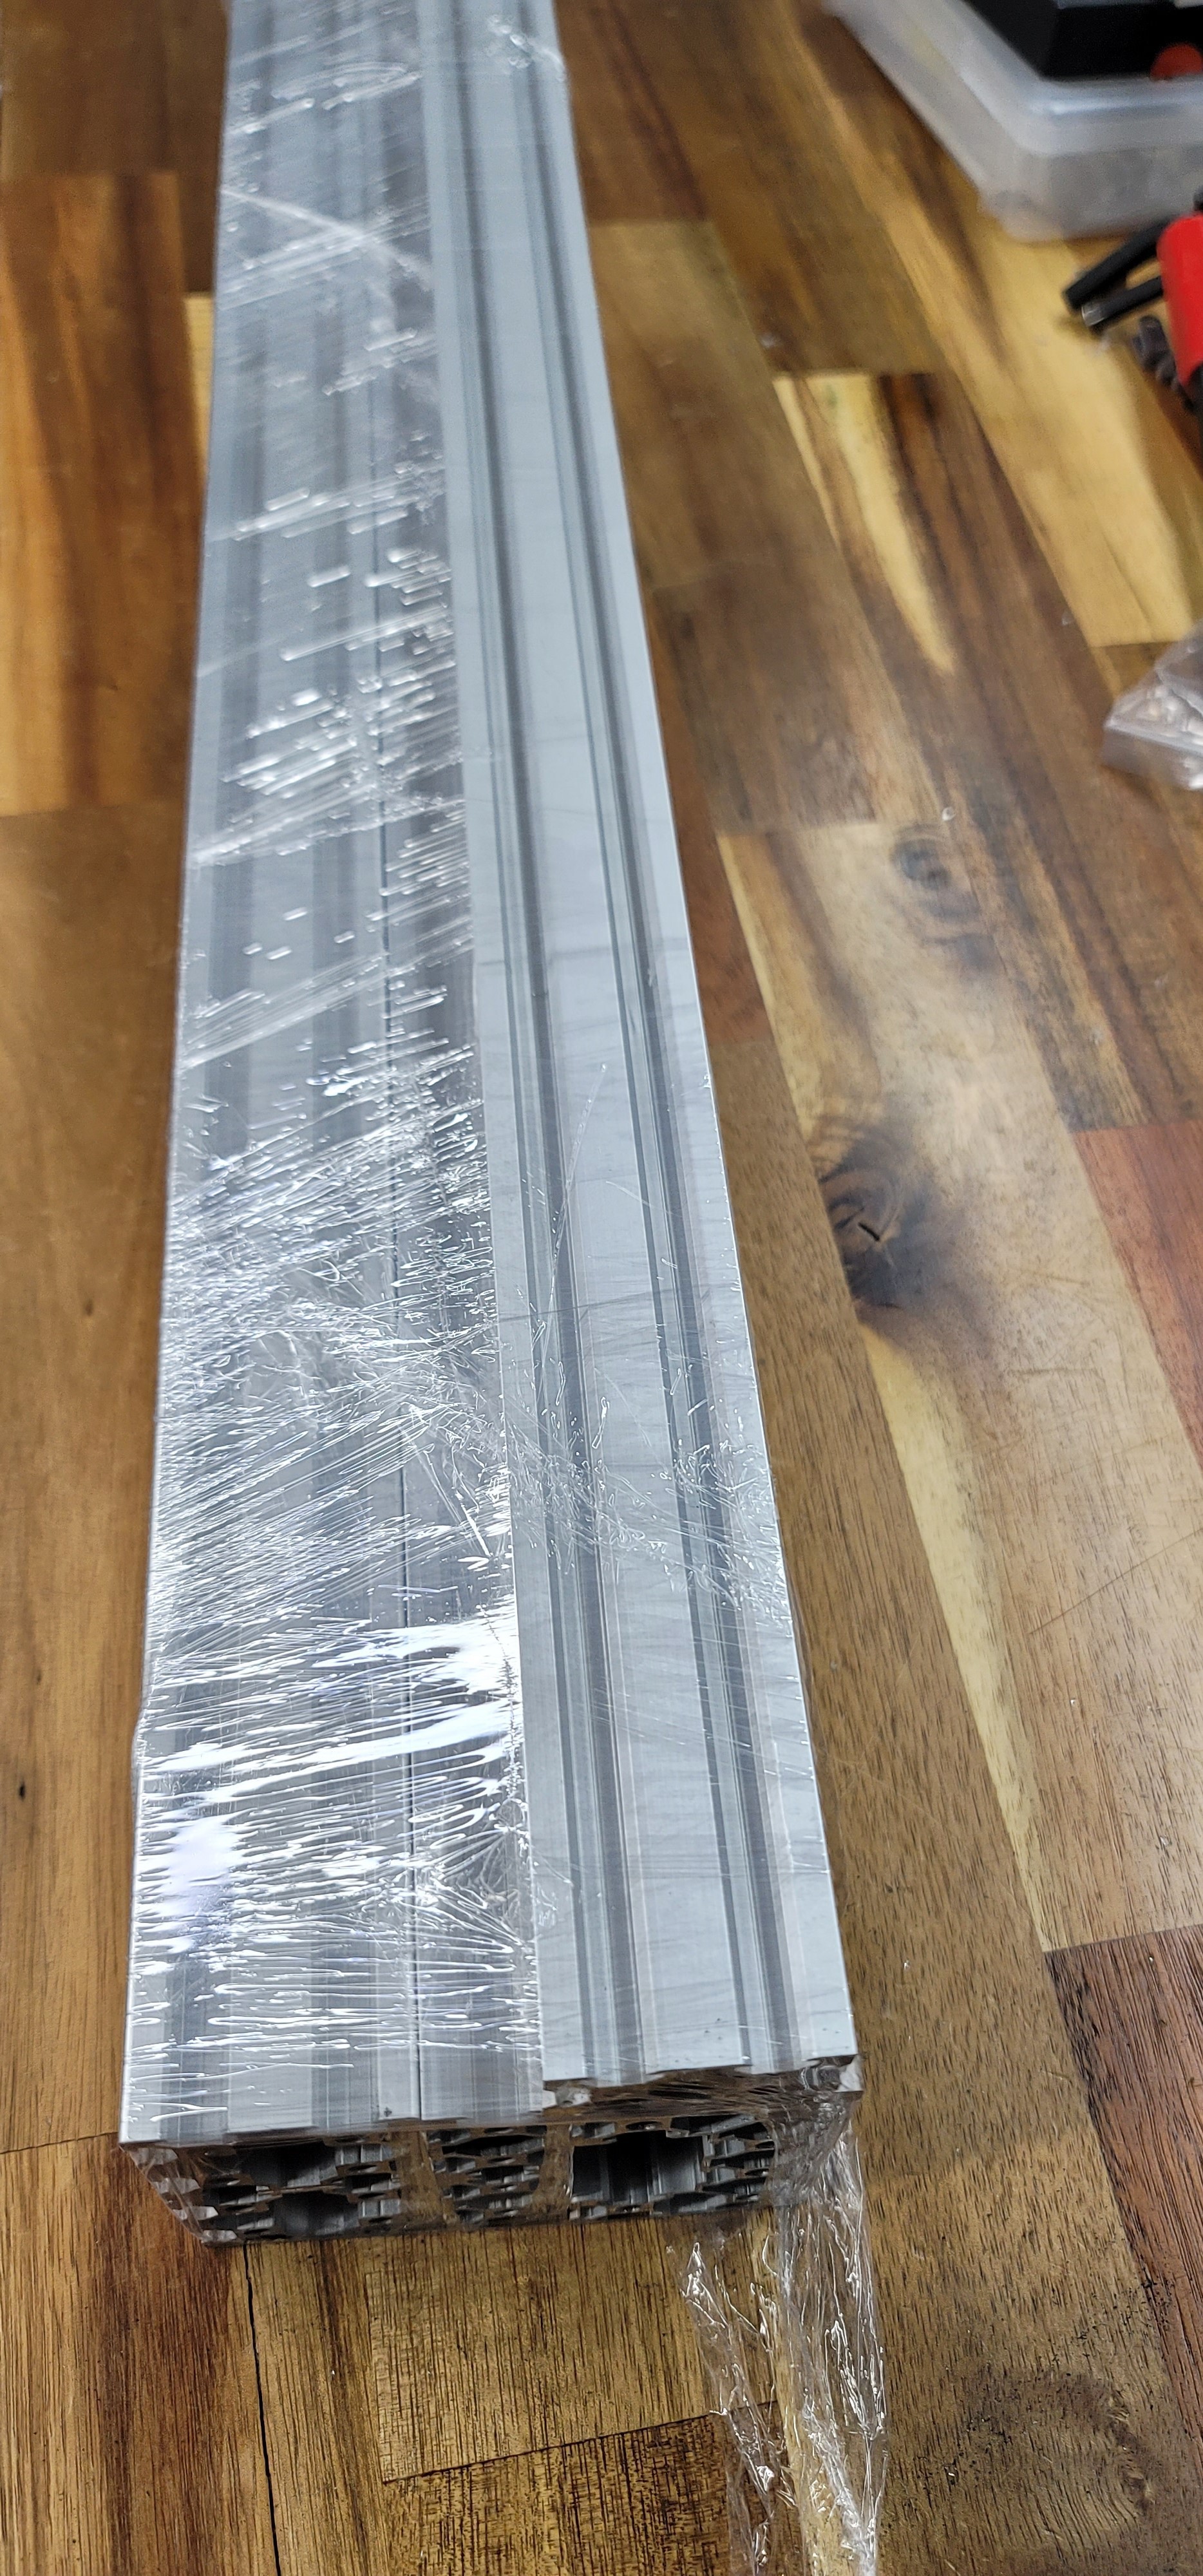
Bad thing about well packed items is that it takes FOREVER to get everything cracked open! Still ways to go after getting through that first layer:
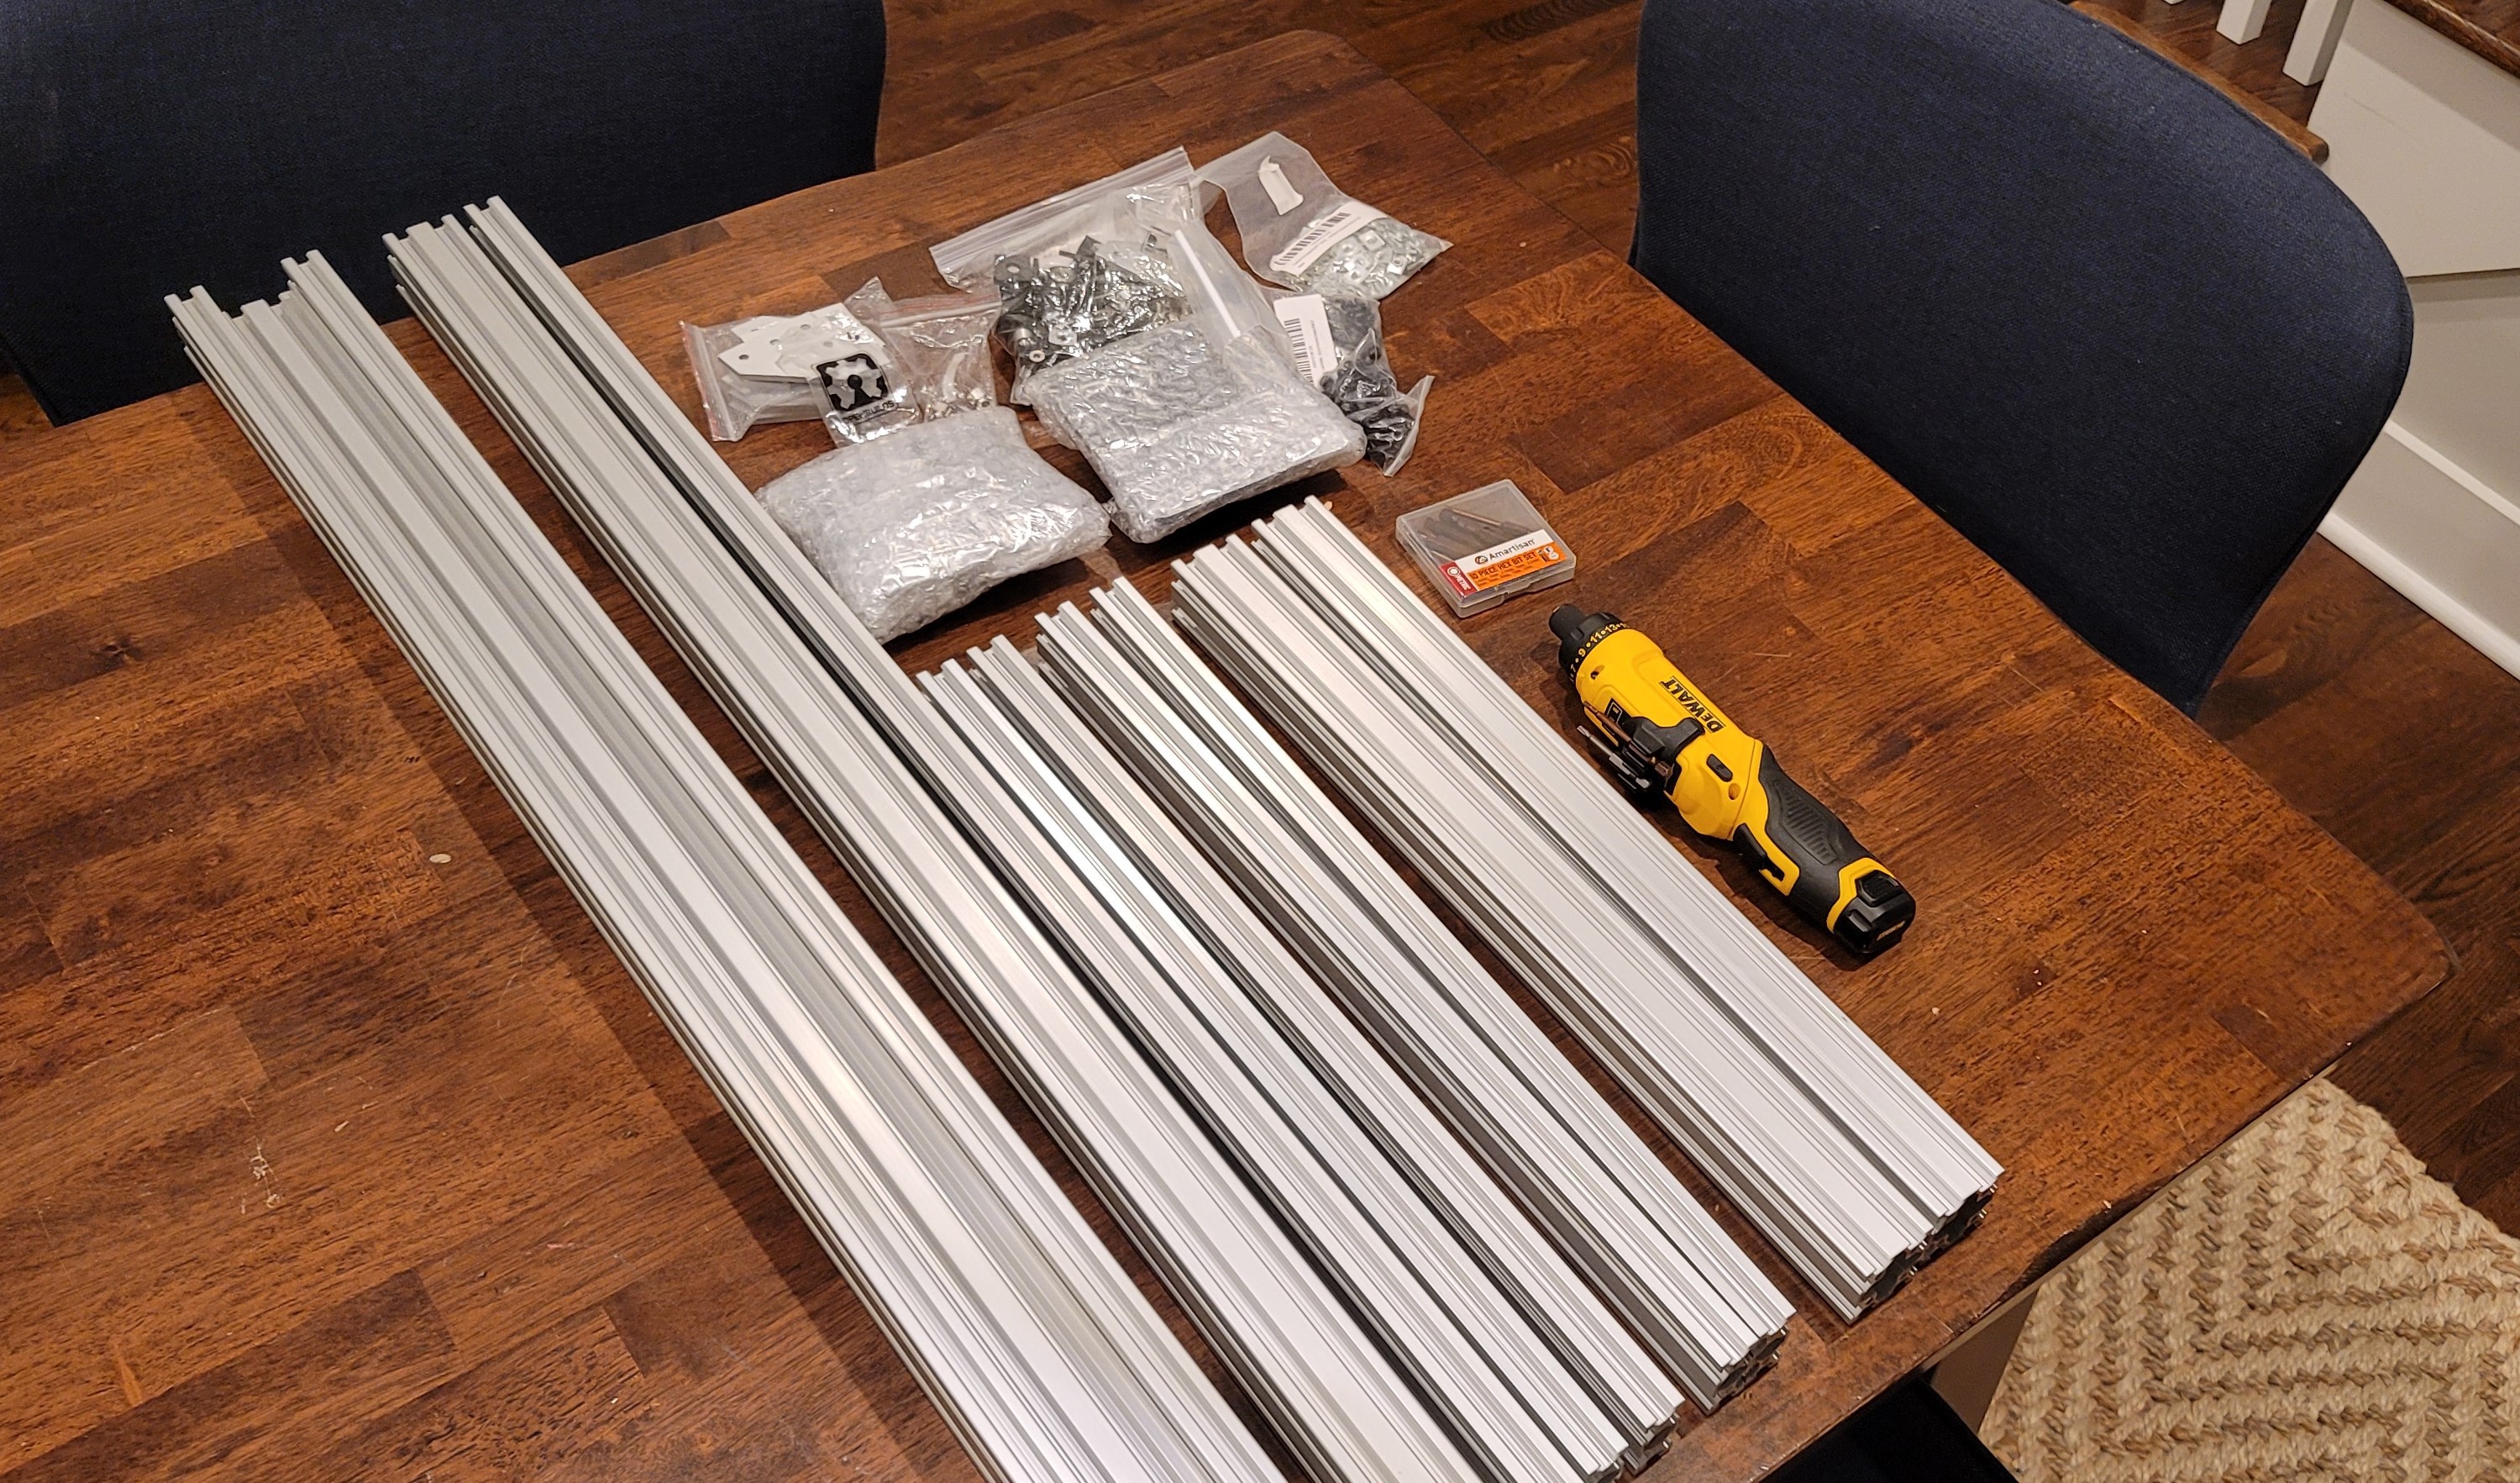
Whew. That was a chore to get those parts out. Here they are laid out and ready to start assembly:
Started with the base first and here it is assembled:
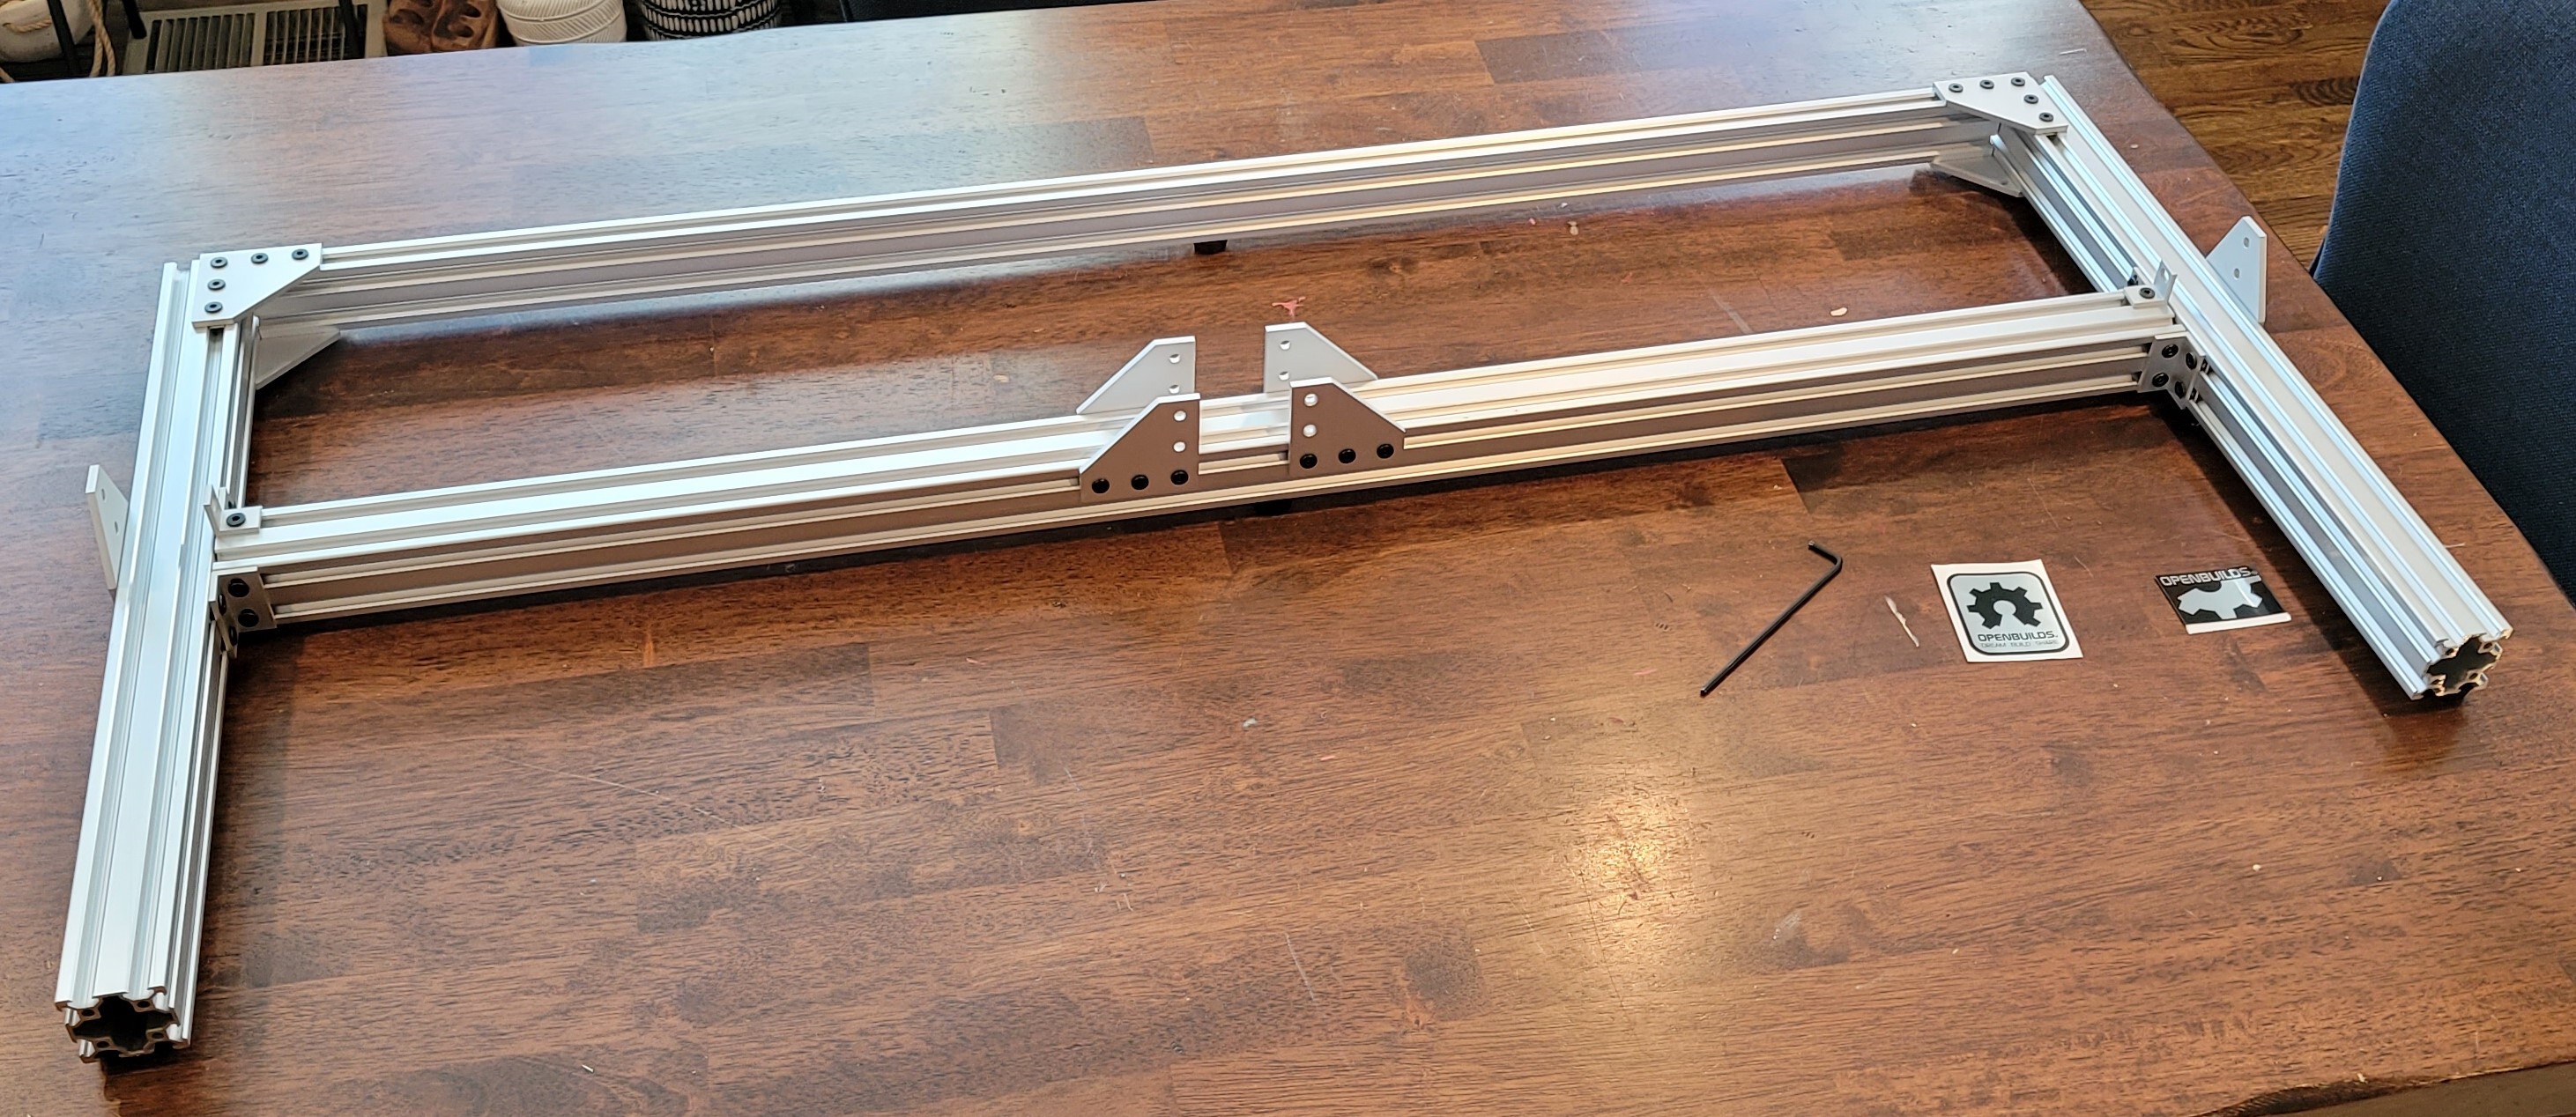
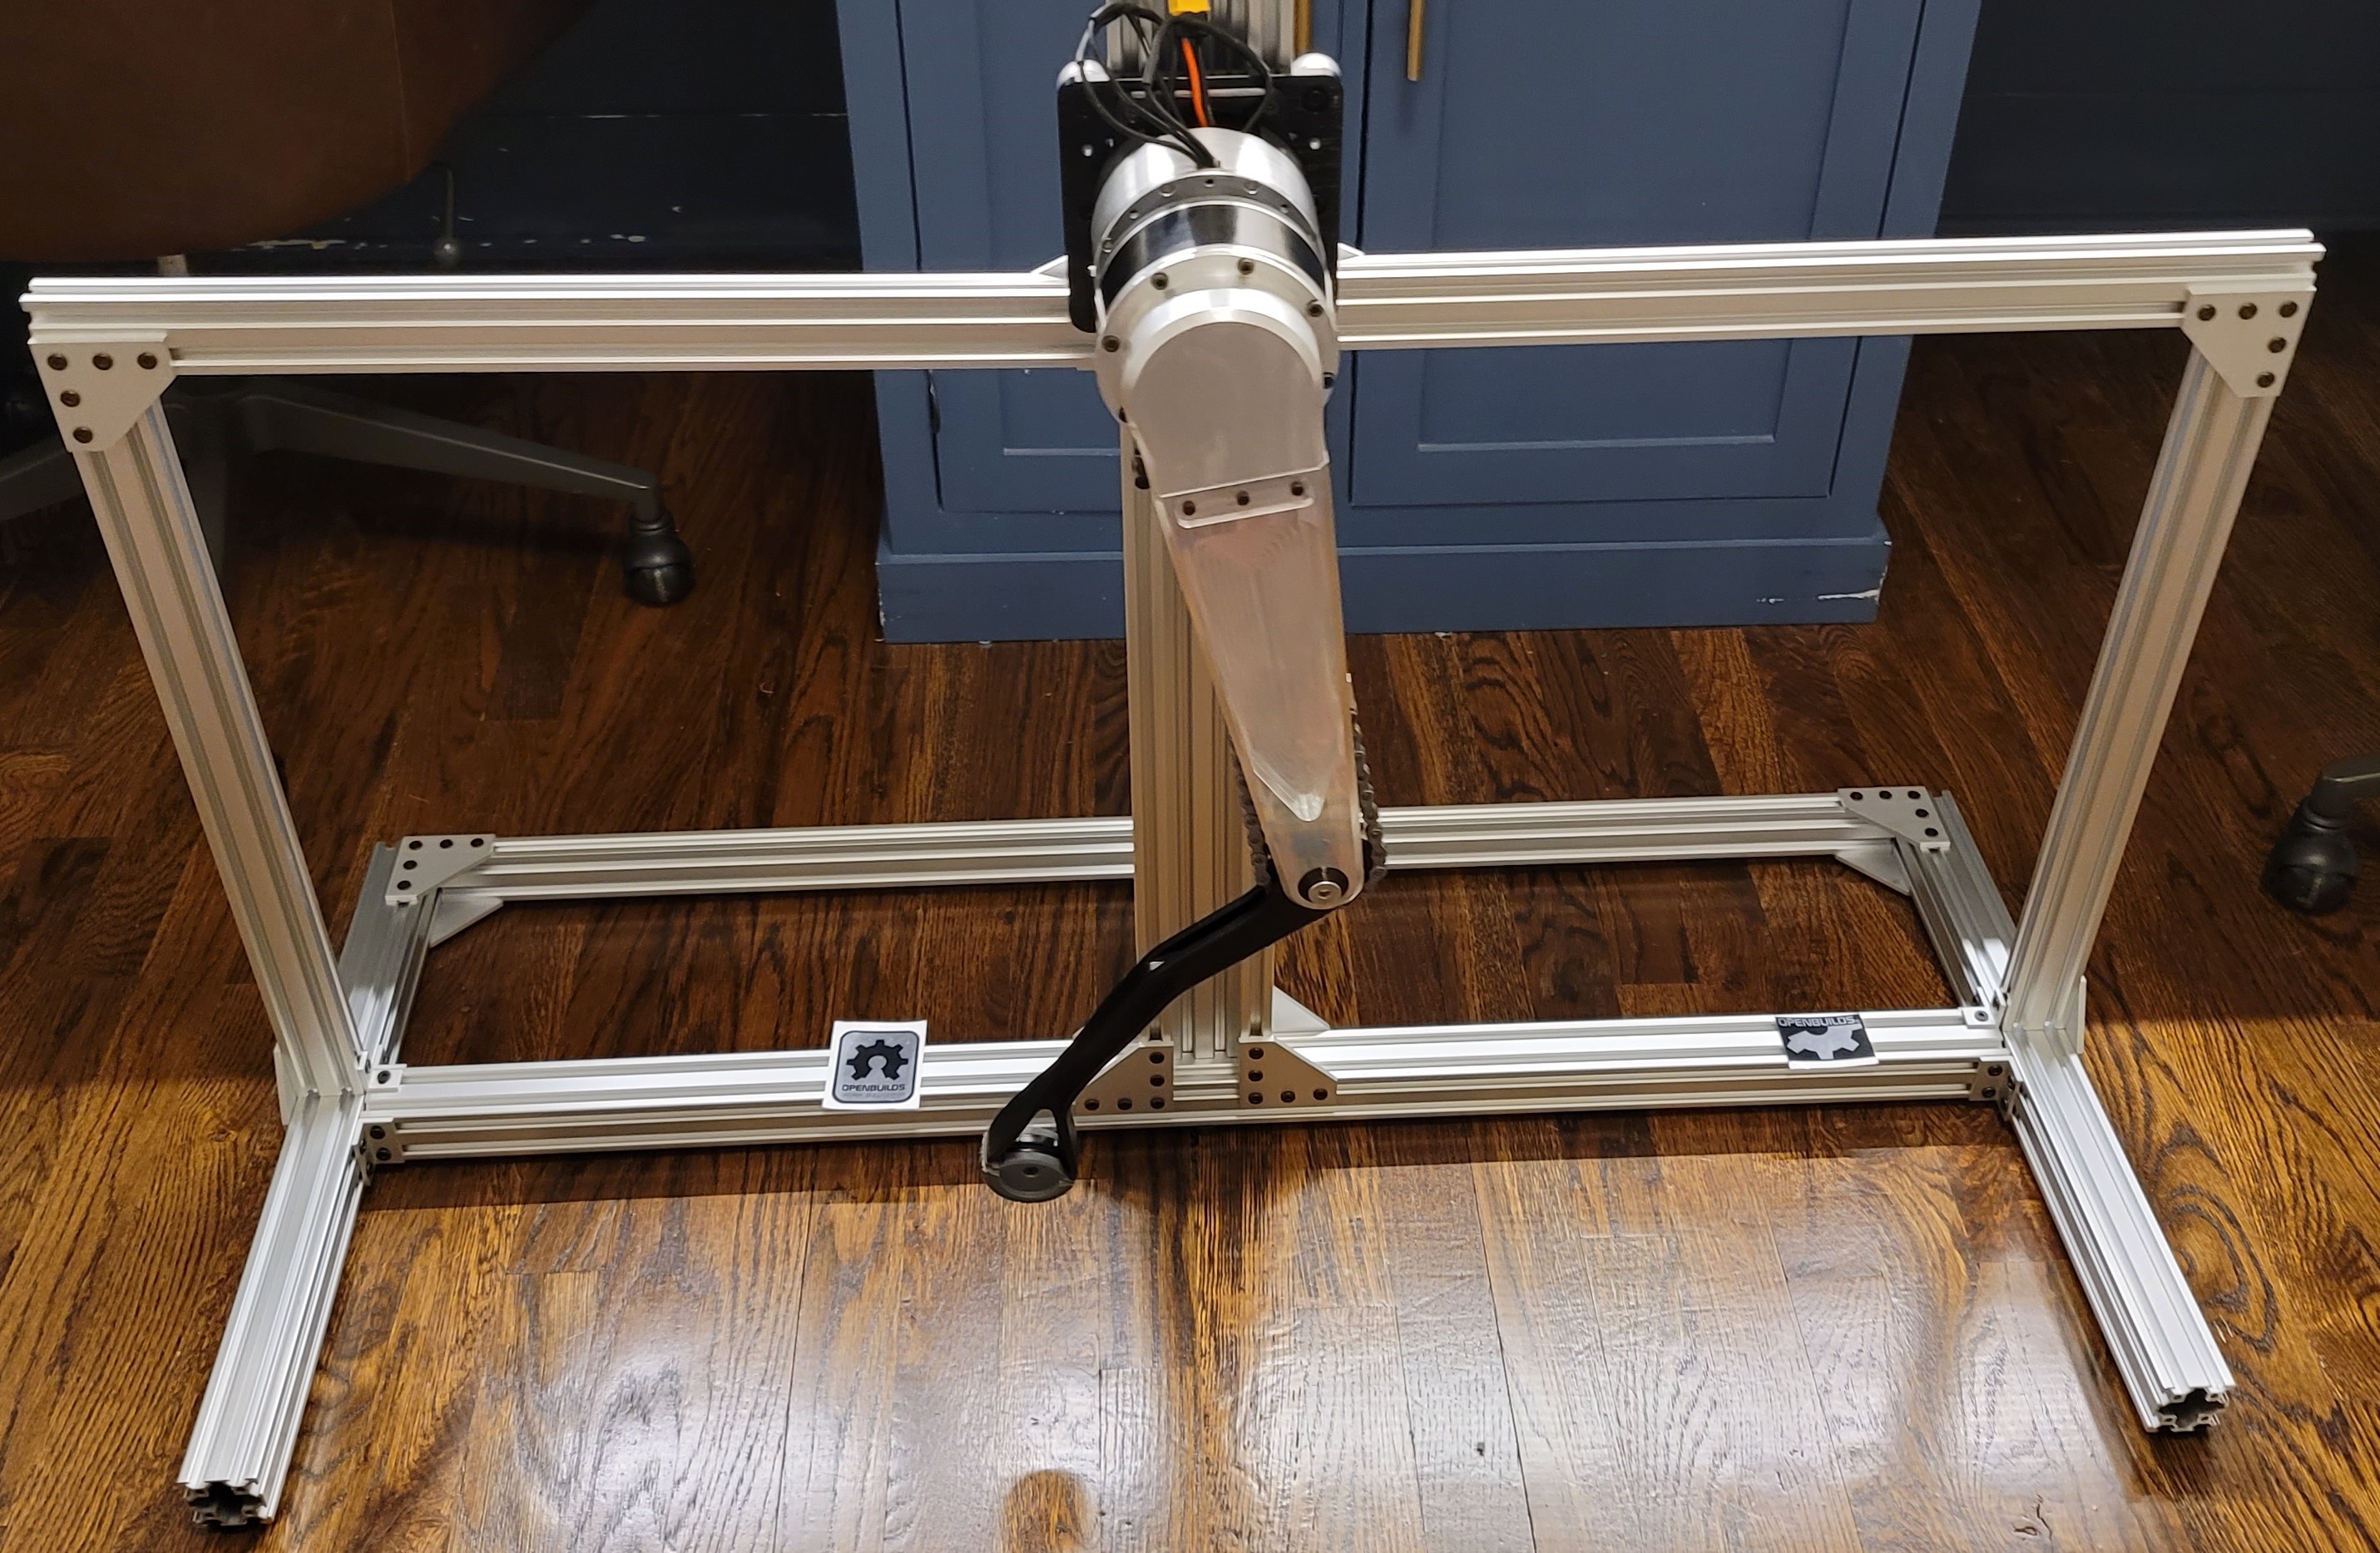
I always question my order of operations when dealing with extruded aluminum. Next time I may go with the drop in T-Nuts to avoid planning having the right amount of T-Nuts in all the correct channels before they get closed off from assembling other parts. Anyway after a few back and forths here we it all assembled with the leg on the linear track. All that is left now if to get the E-Stop switch, wiring and controller done to run some stress tests. Getting REALLY close to seeing some physical moment!
Discussions
Become a Hackaday.io Member
Create an account to leave a comment. Already have an account? Log In.