-
rewiring joysticks
03/20/2021 at 05:38 • 0 commentsOkay so I'm at a stand still on work. Got pulled into another project for a little while. I'll be back on this soon.
Started rewiring the joysticks but I'm out of clearance for the wires. Did not plan for it. So i think i need to make them just the right length so i can close up the controller case.
Then i can start working on some more Code to send the controls over WIFI. I have a basic idea of what i need to do. Shouldn't be too difficult. Sending from ESP32 to Maixduino micro python, should be fun. Thinking maybe JSON? or a simple String BYTE arrangement with bits for buttons and a couple bits for joystick values. Or if I can build a struct with all values and then convert them back on the other side....May need to have a send port and a receive port. so I can receive info back from the robot. Like power levels etc...
Stay tuned.
-
LCD stand off & battery protection
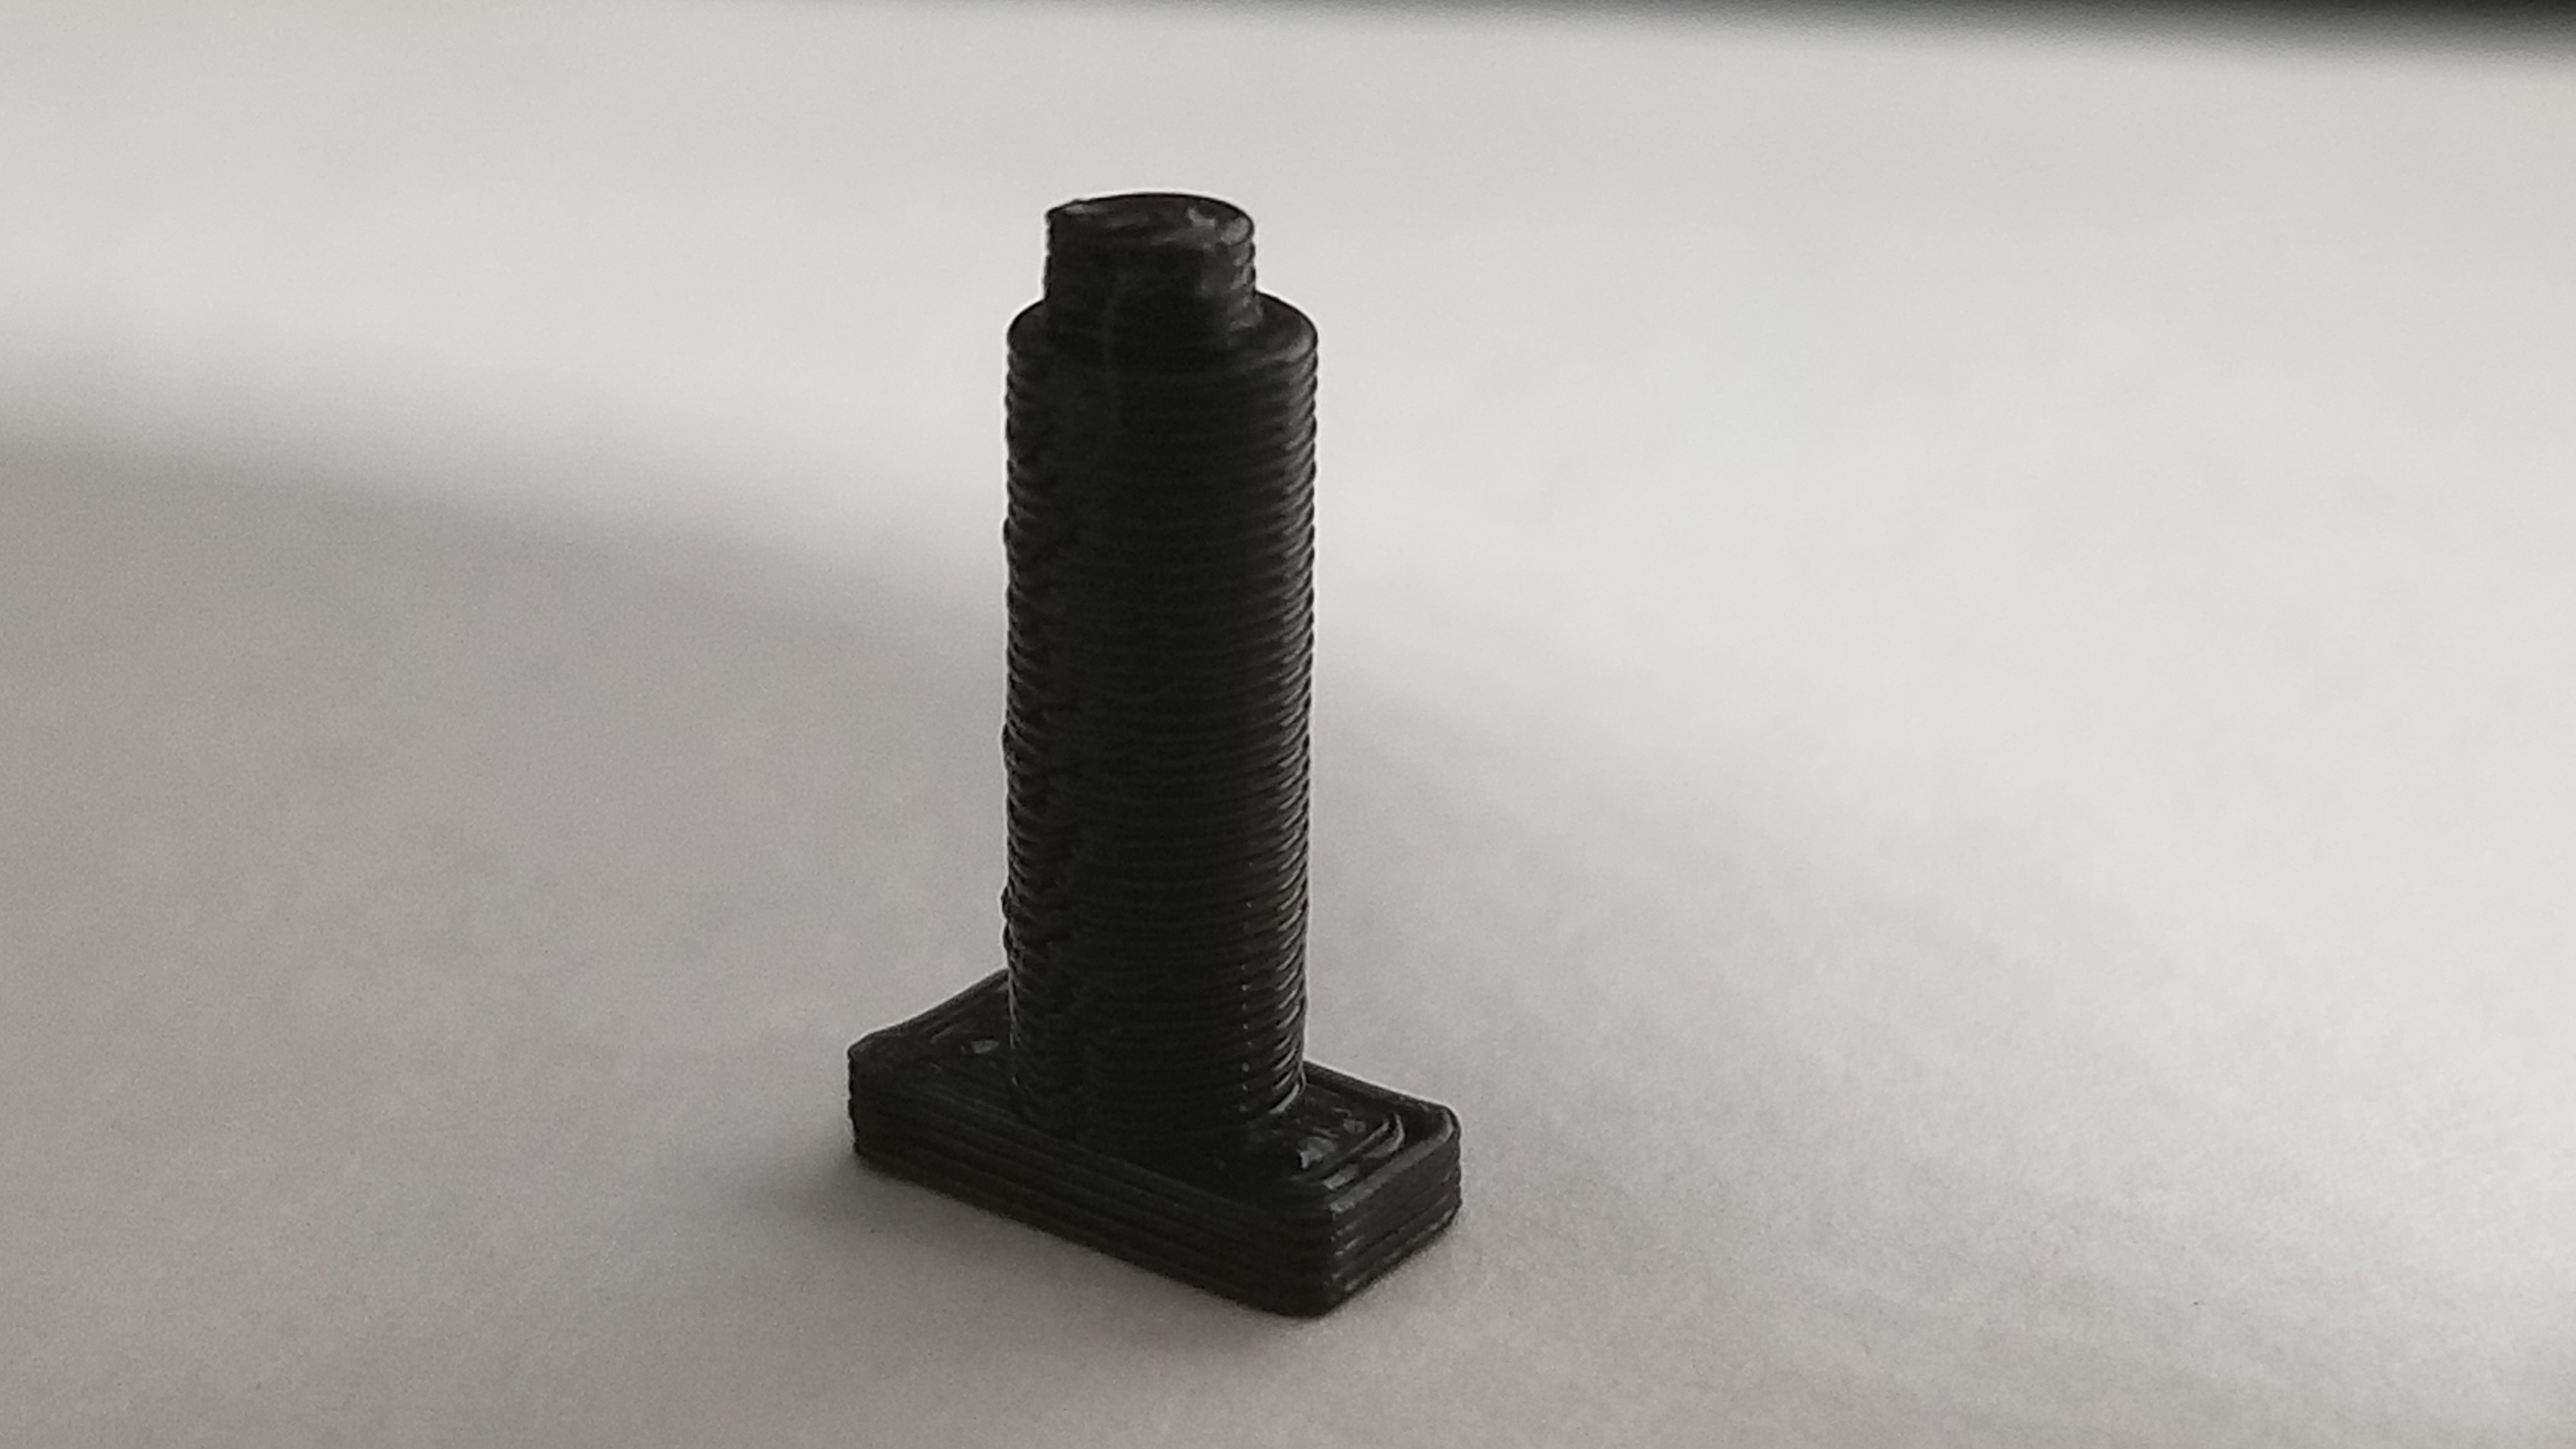
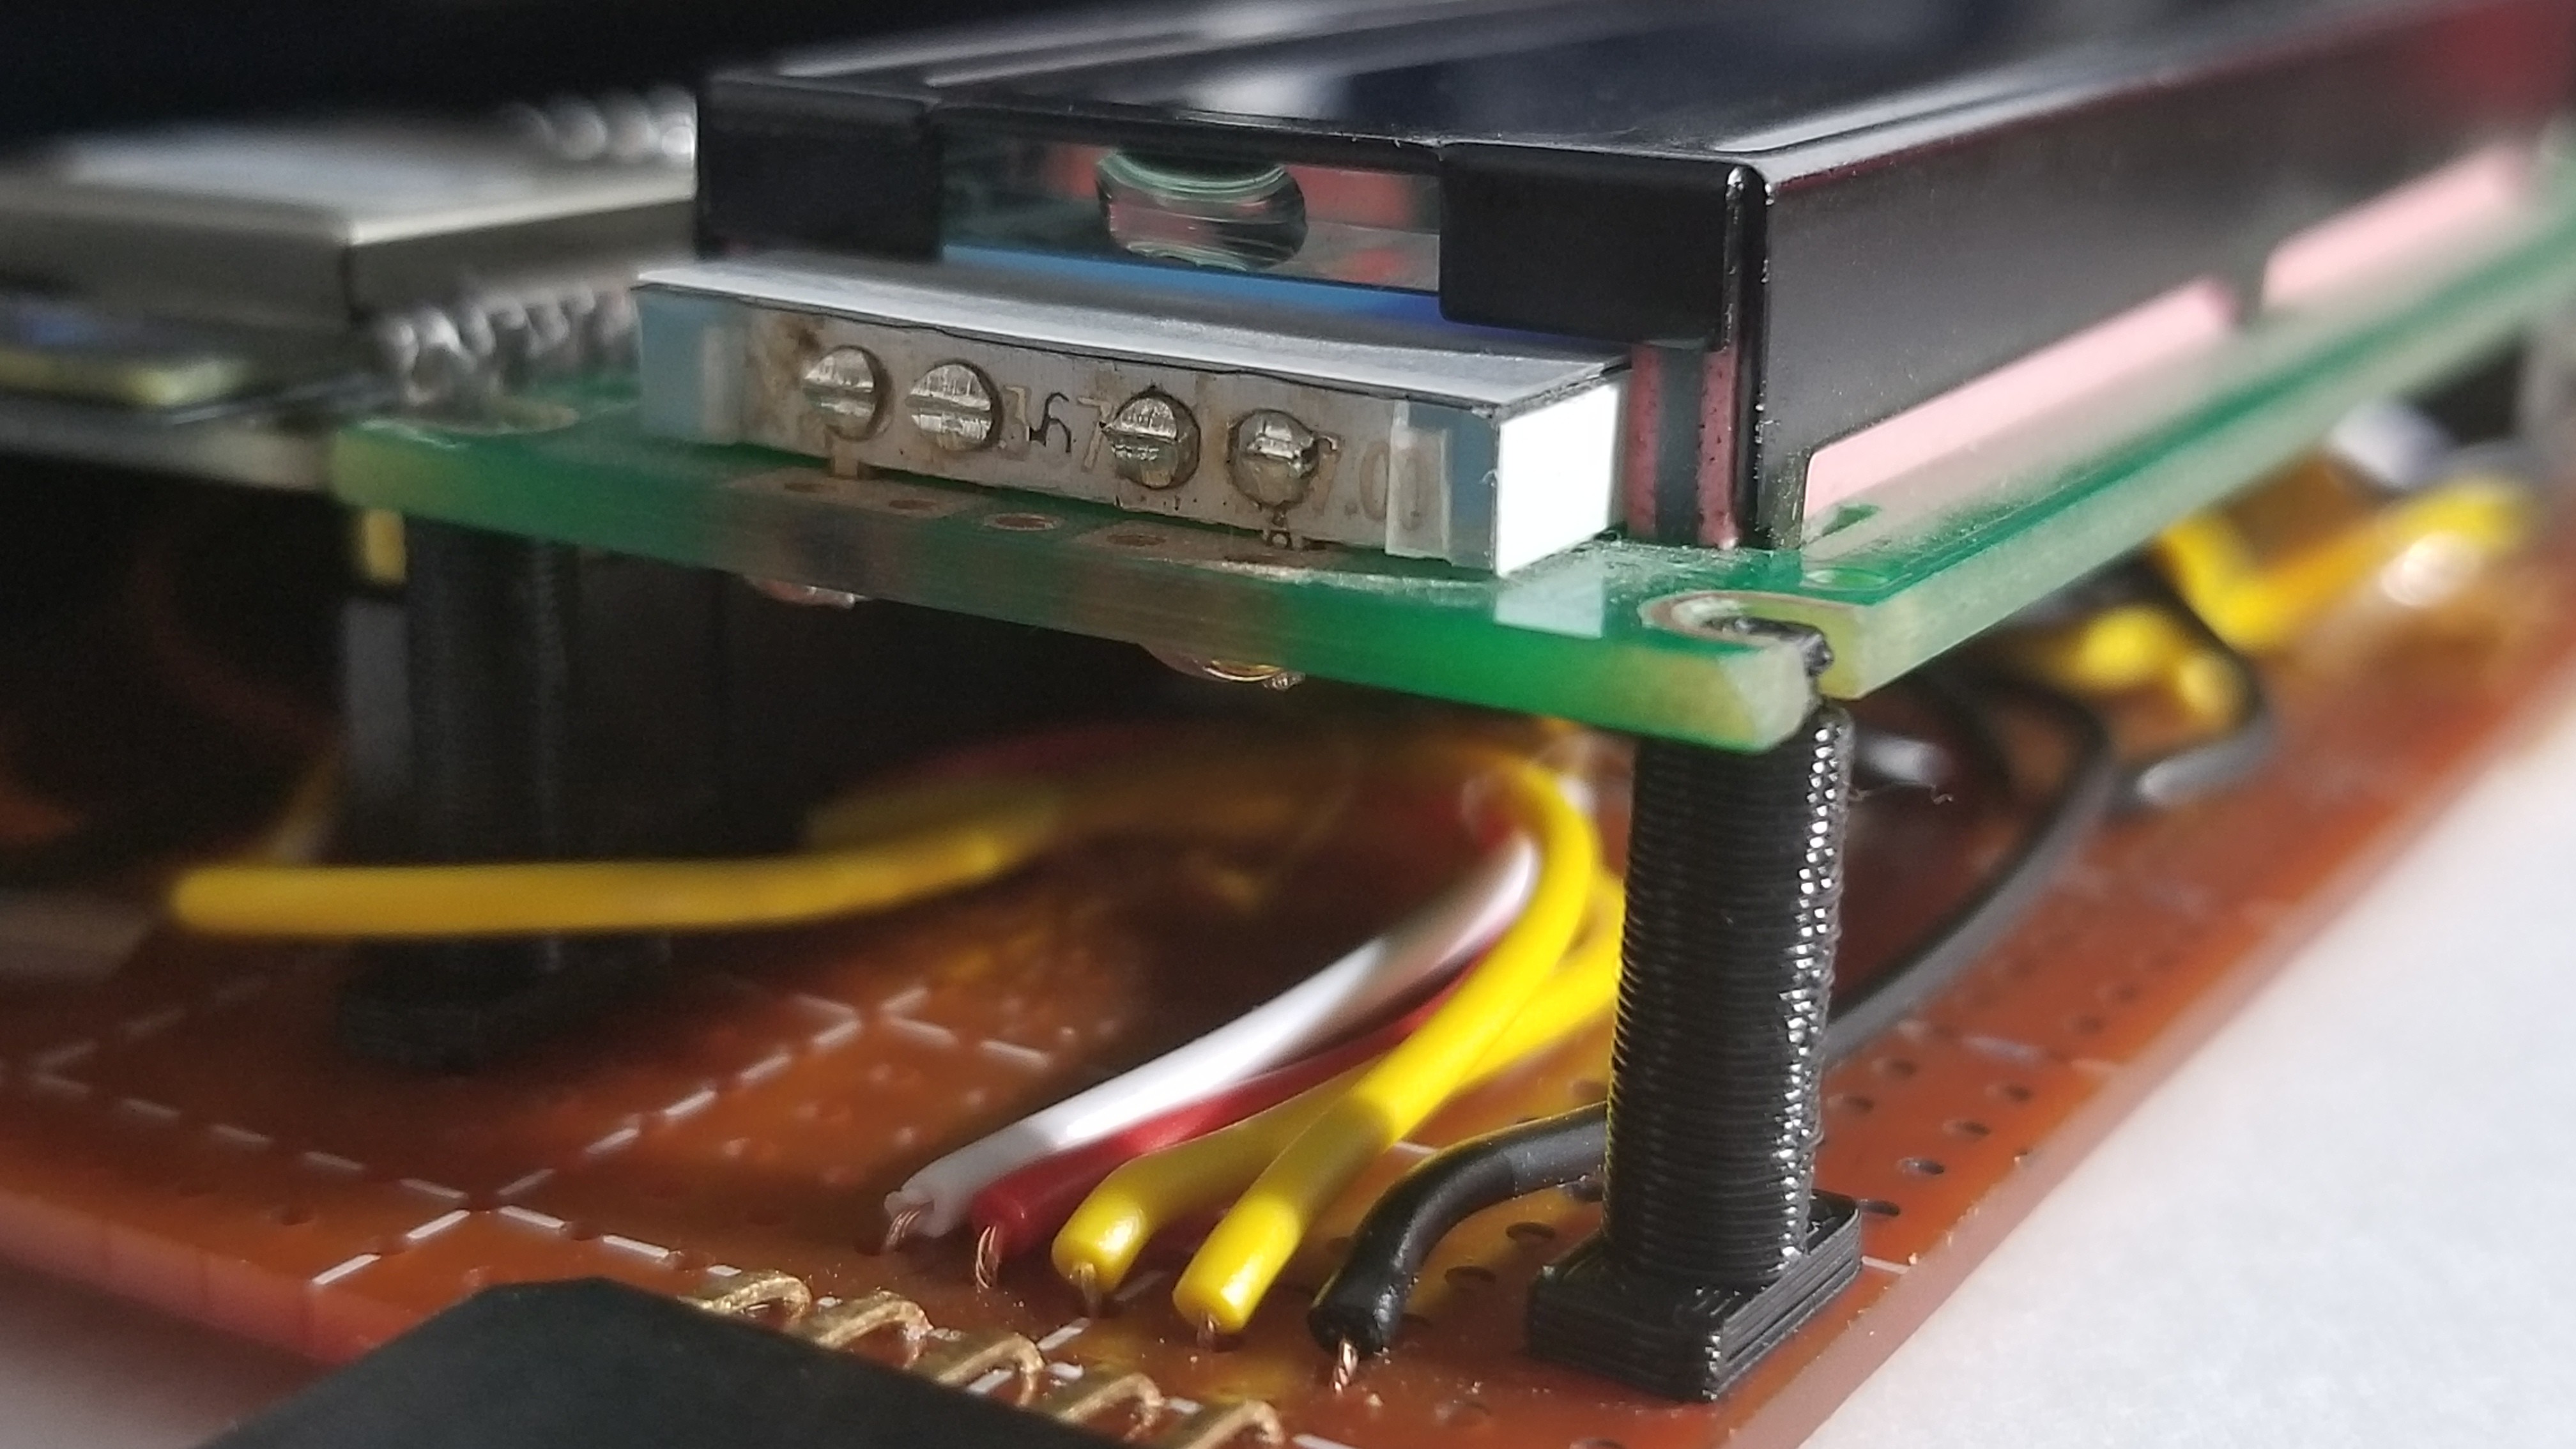
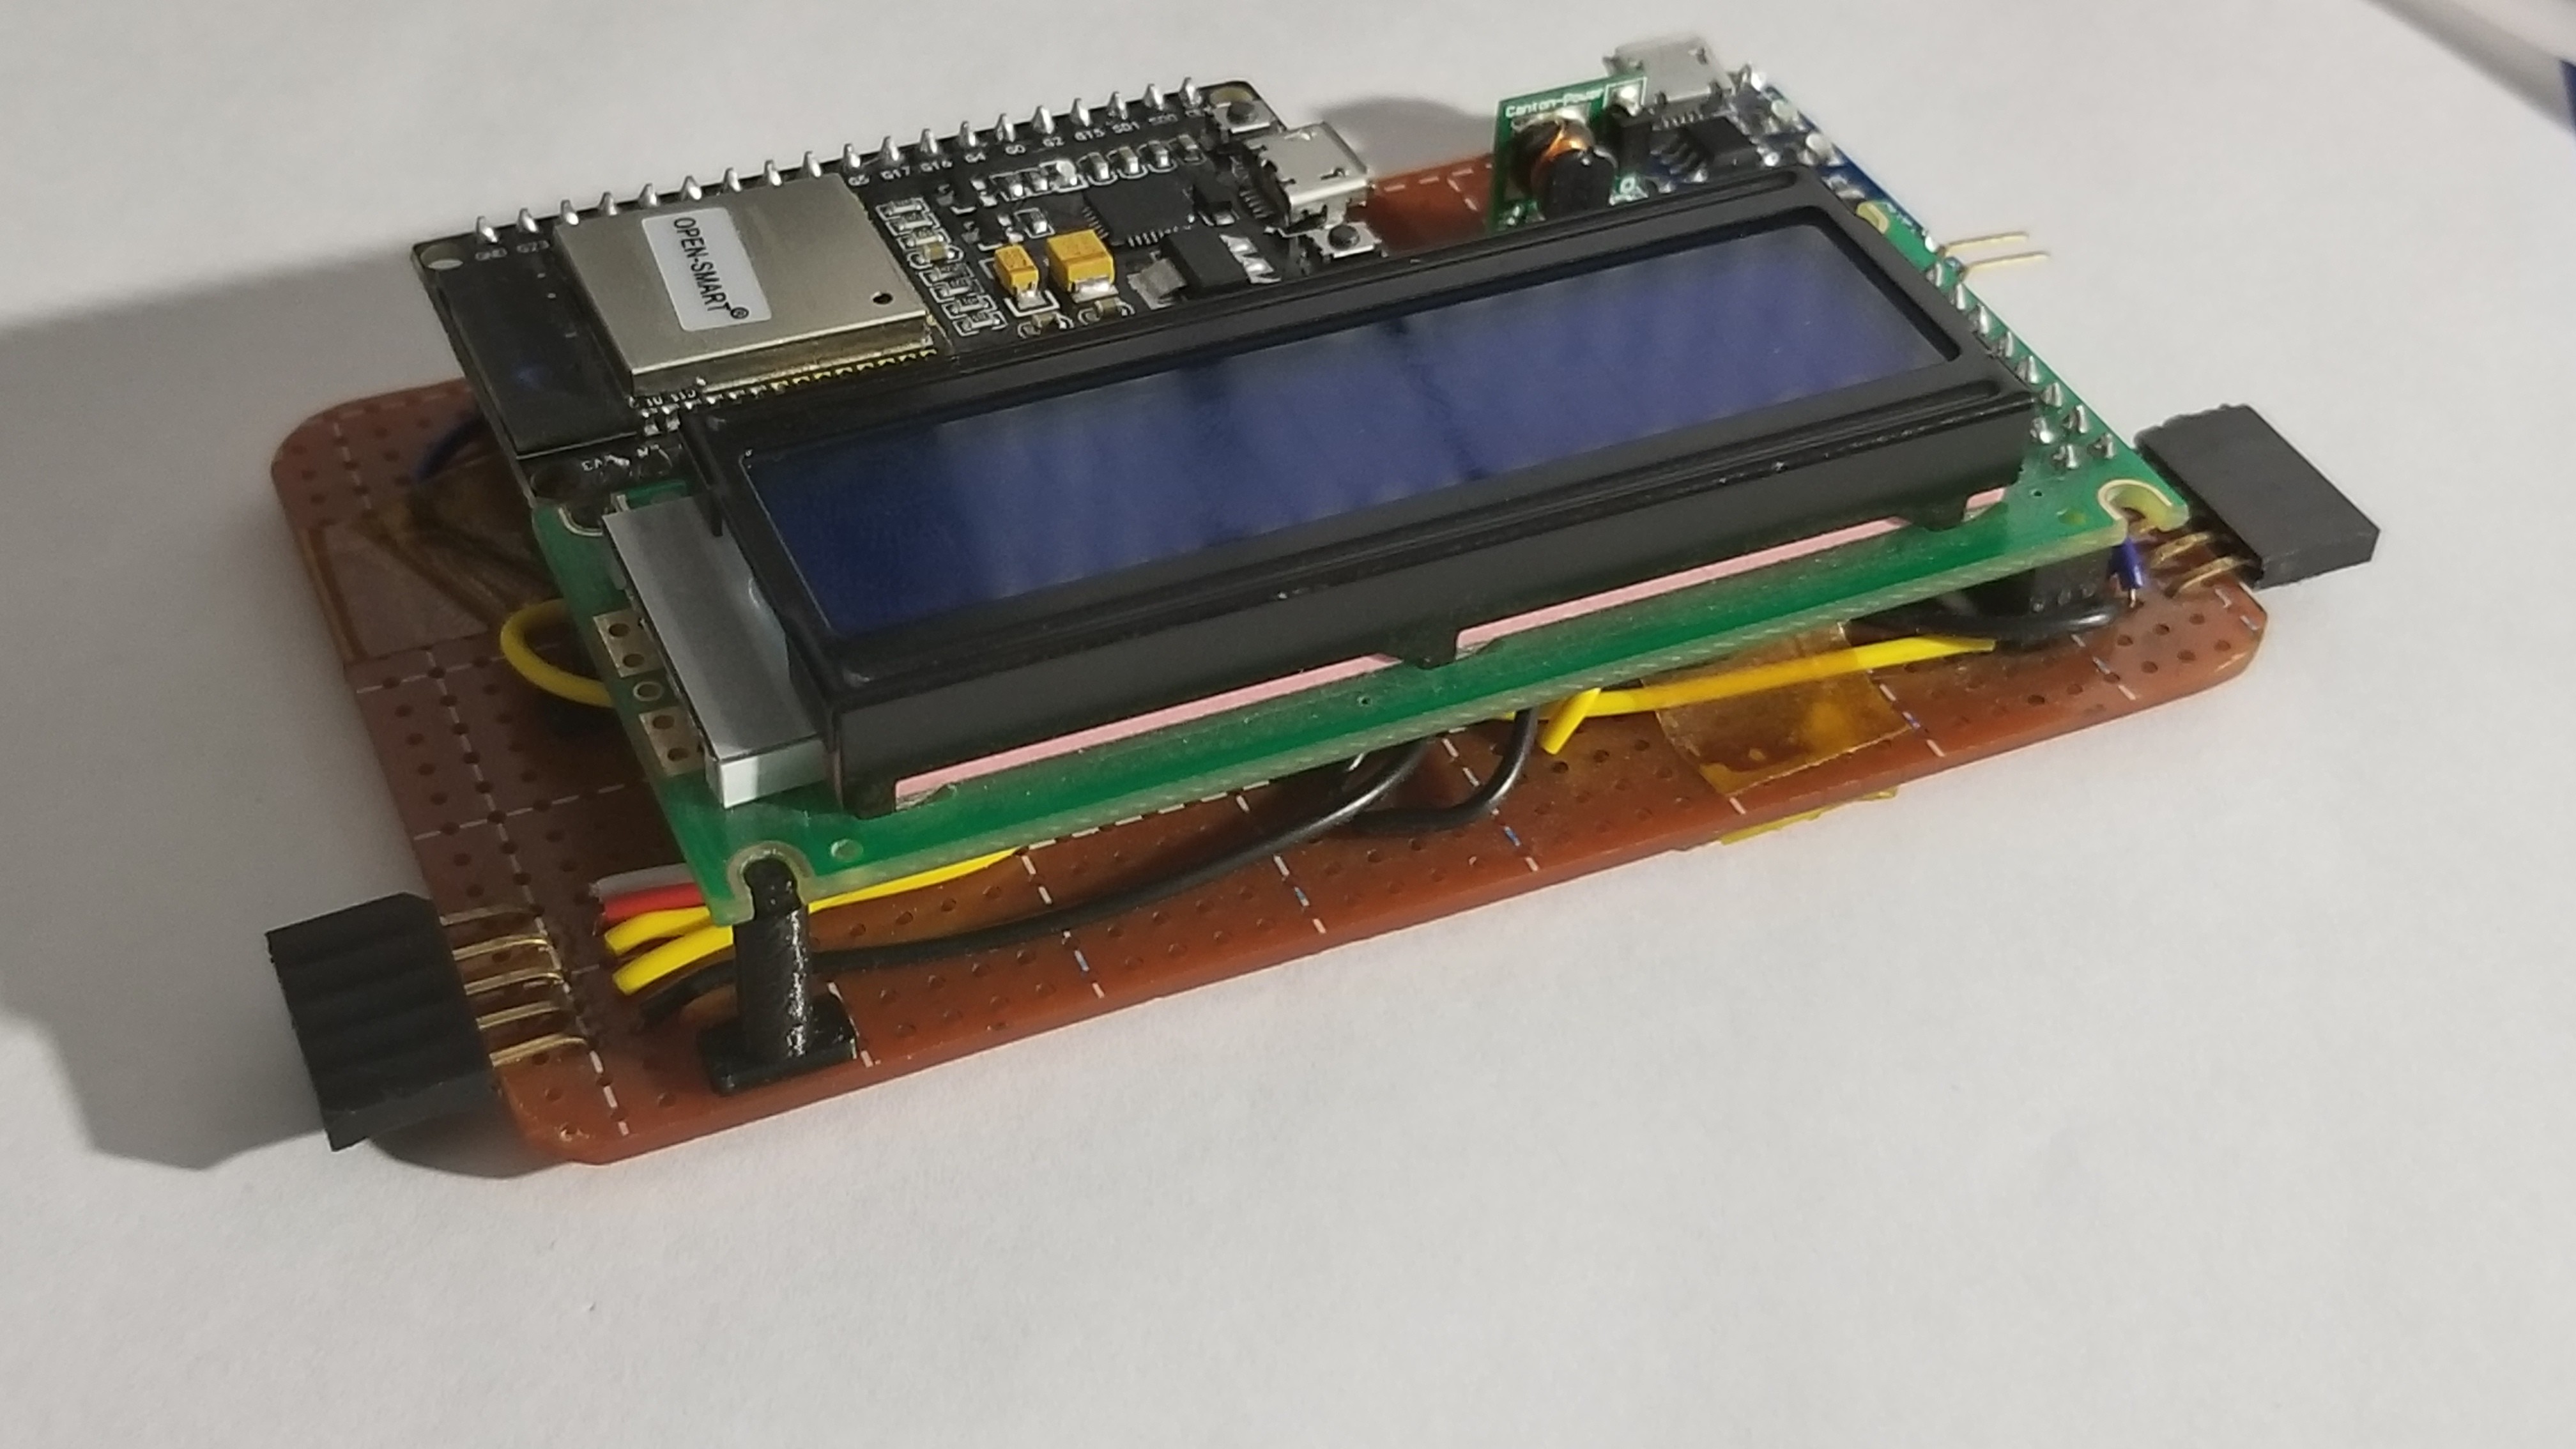
03/06/2021 at 01:15 • 0 commentsSo was planning on a metal standoff for the LCD to stay in place. Instead i printed a couple plastic standoffs to snap into place. Seems to work good. Will probably super glue them to the circuit board. Fits good
![]()
![]()
![]()
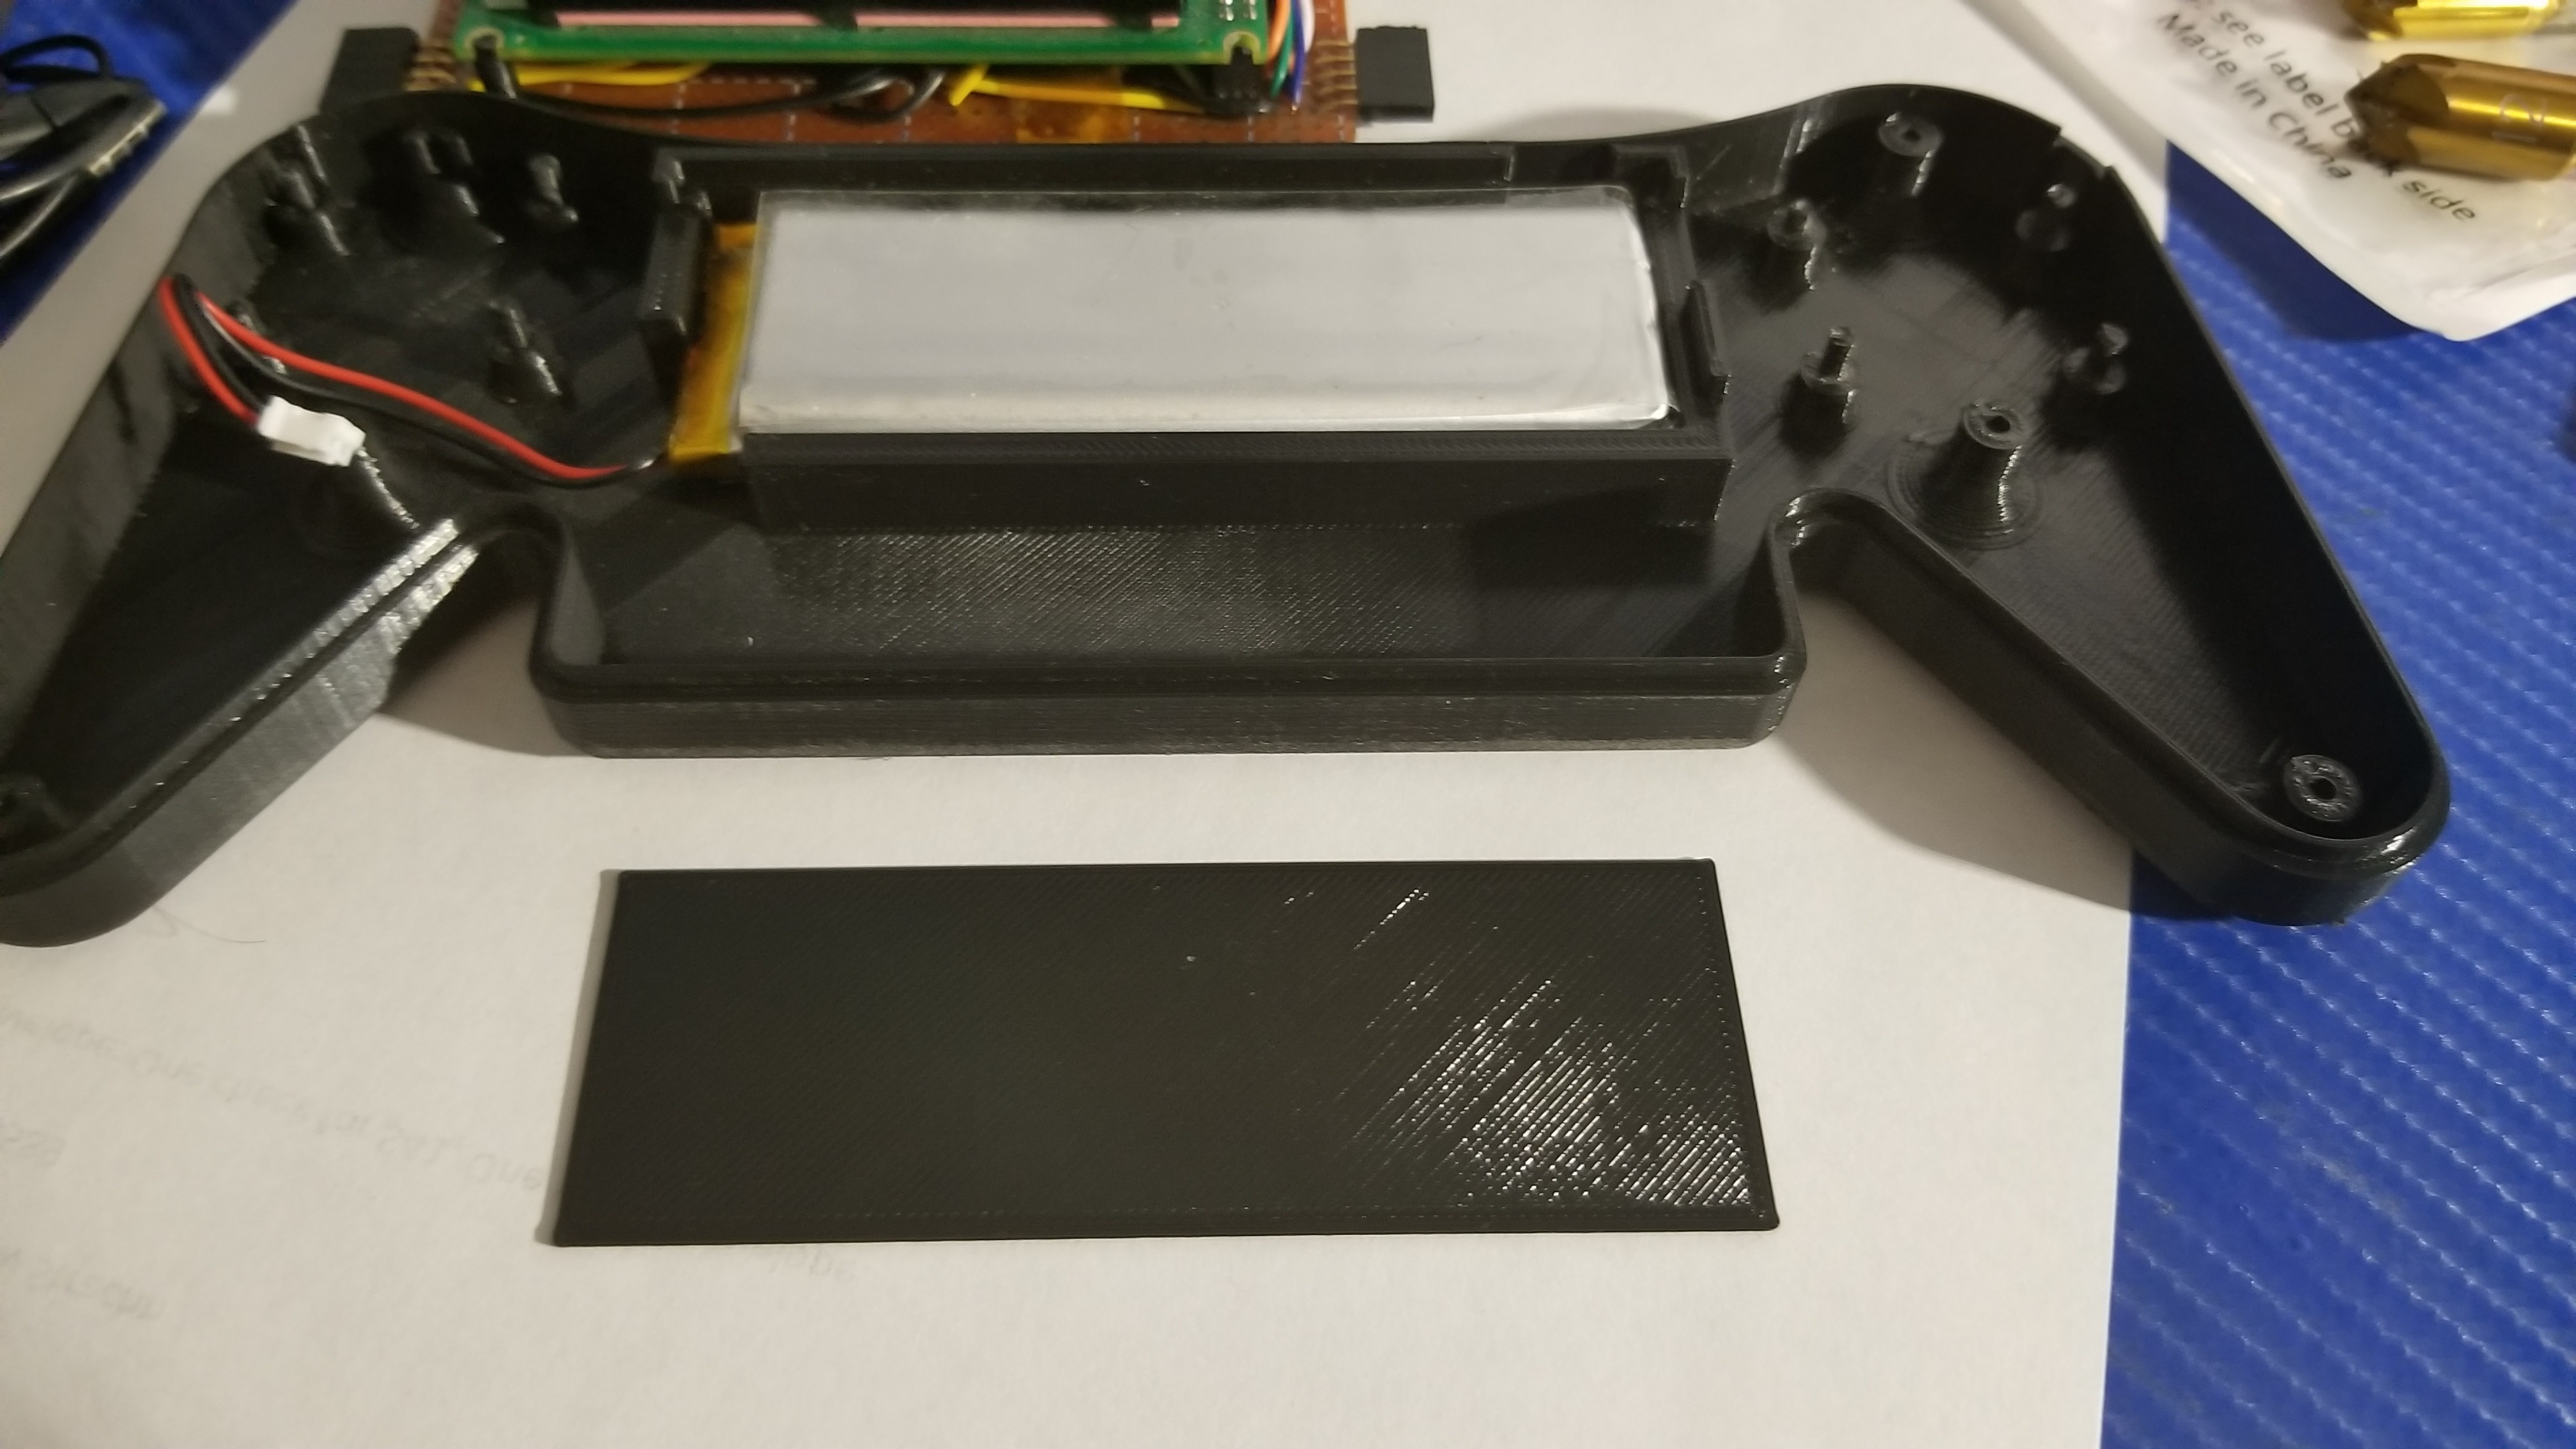
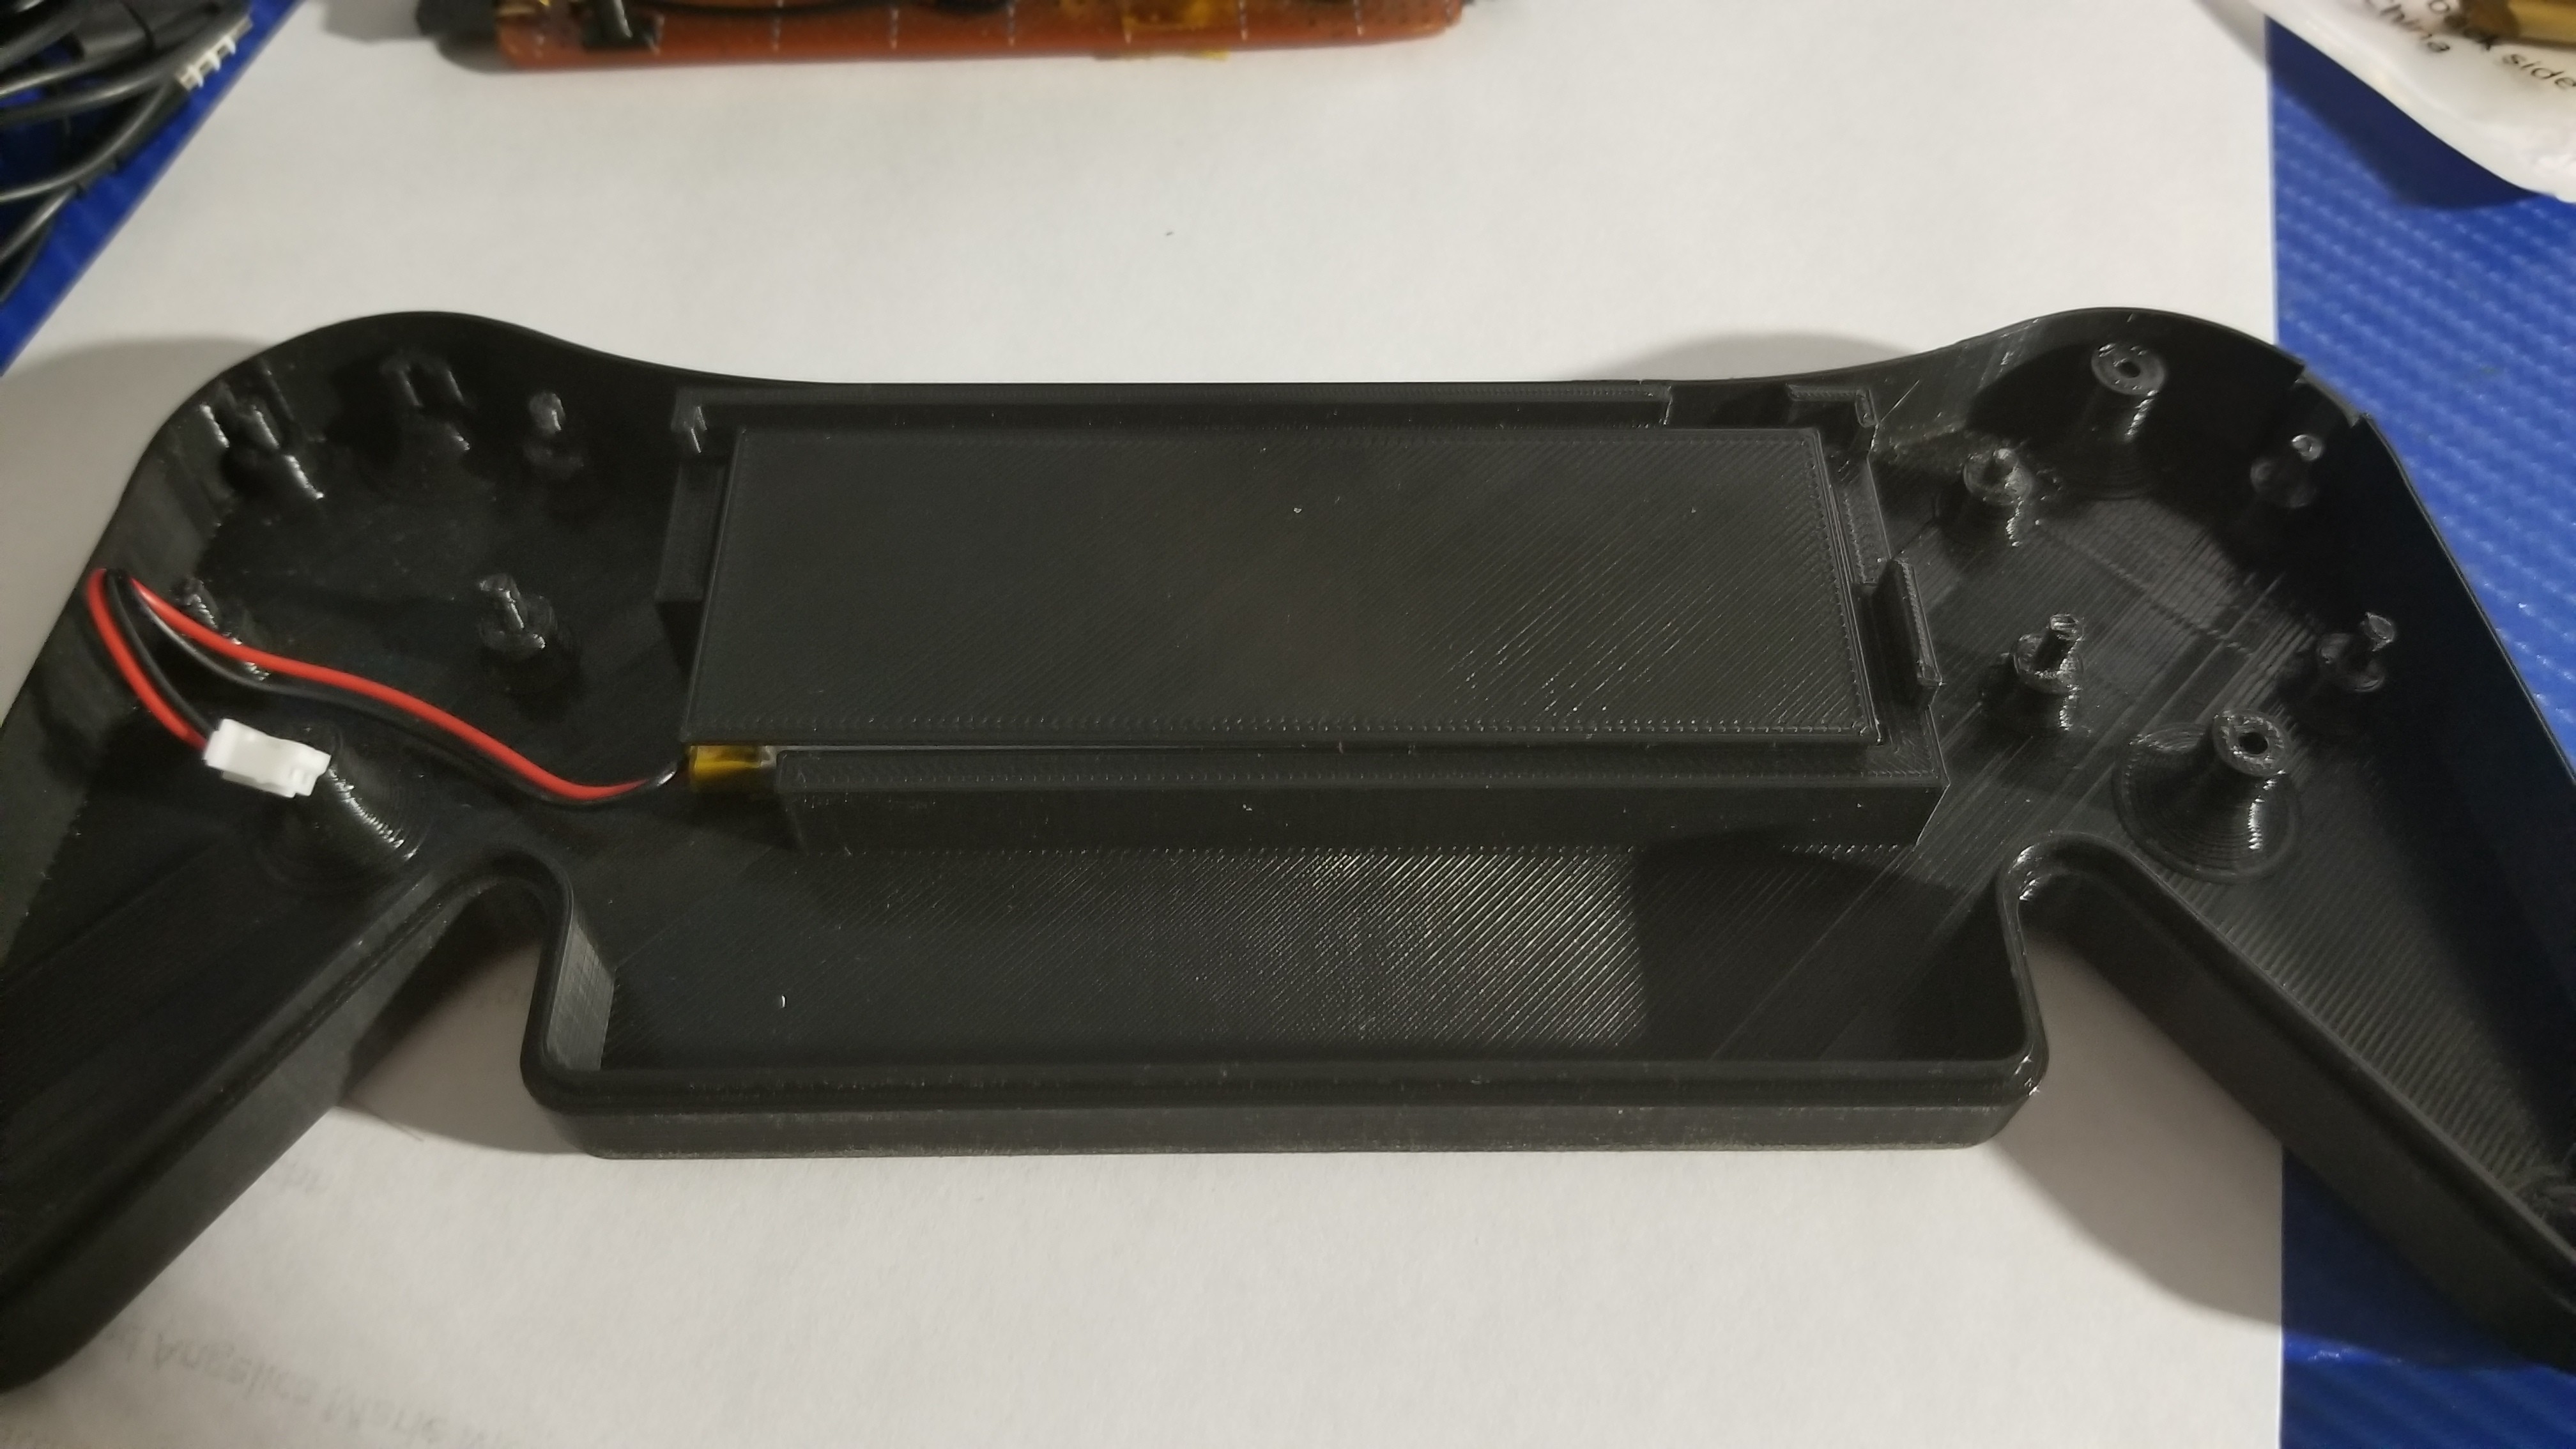
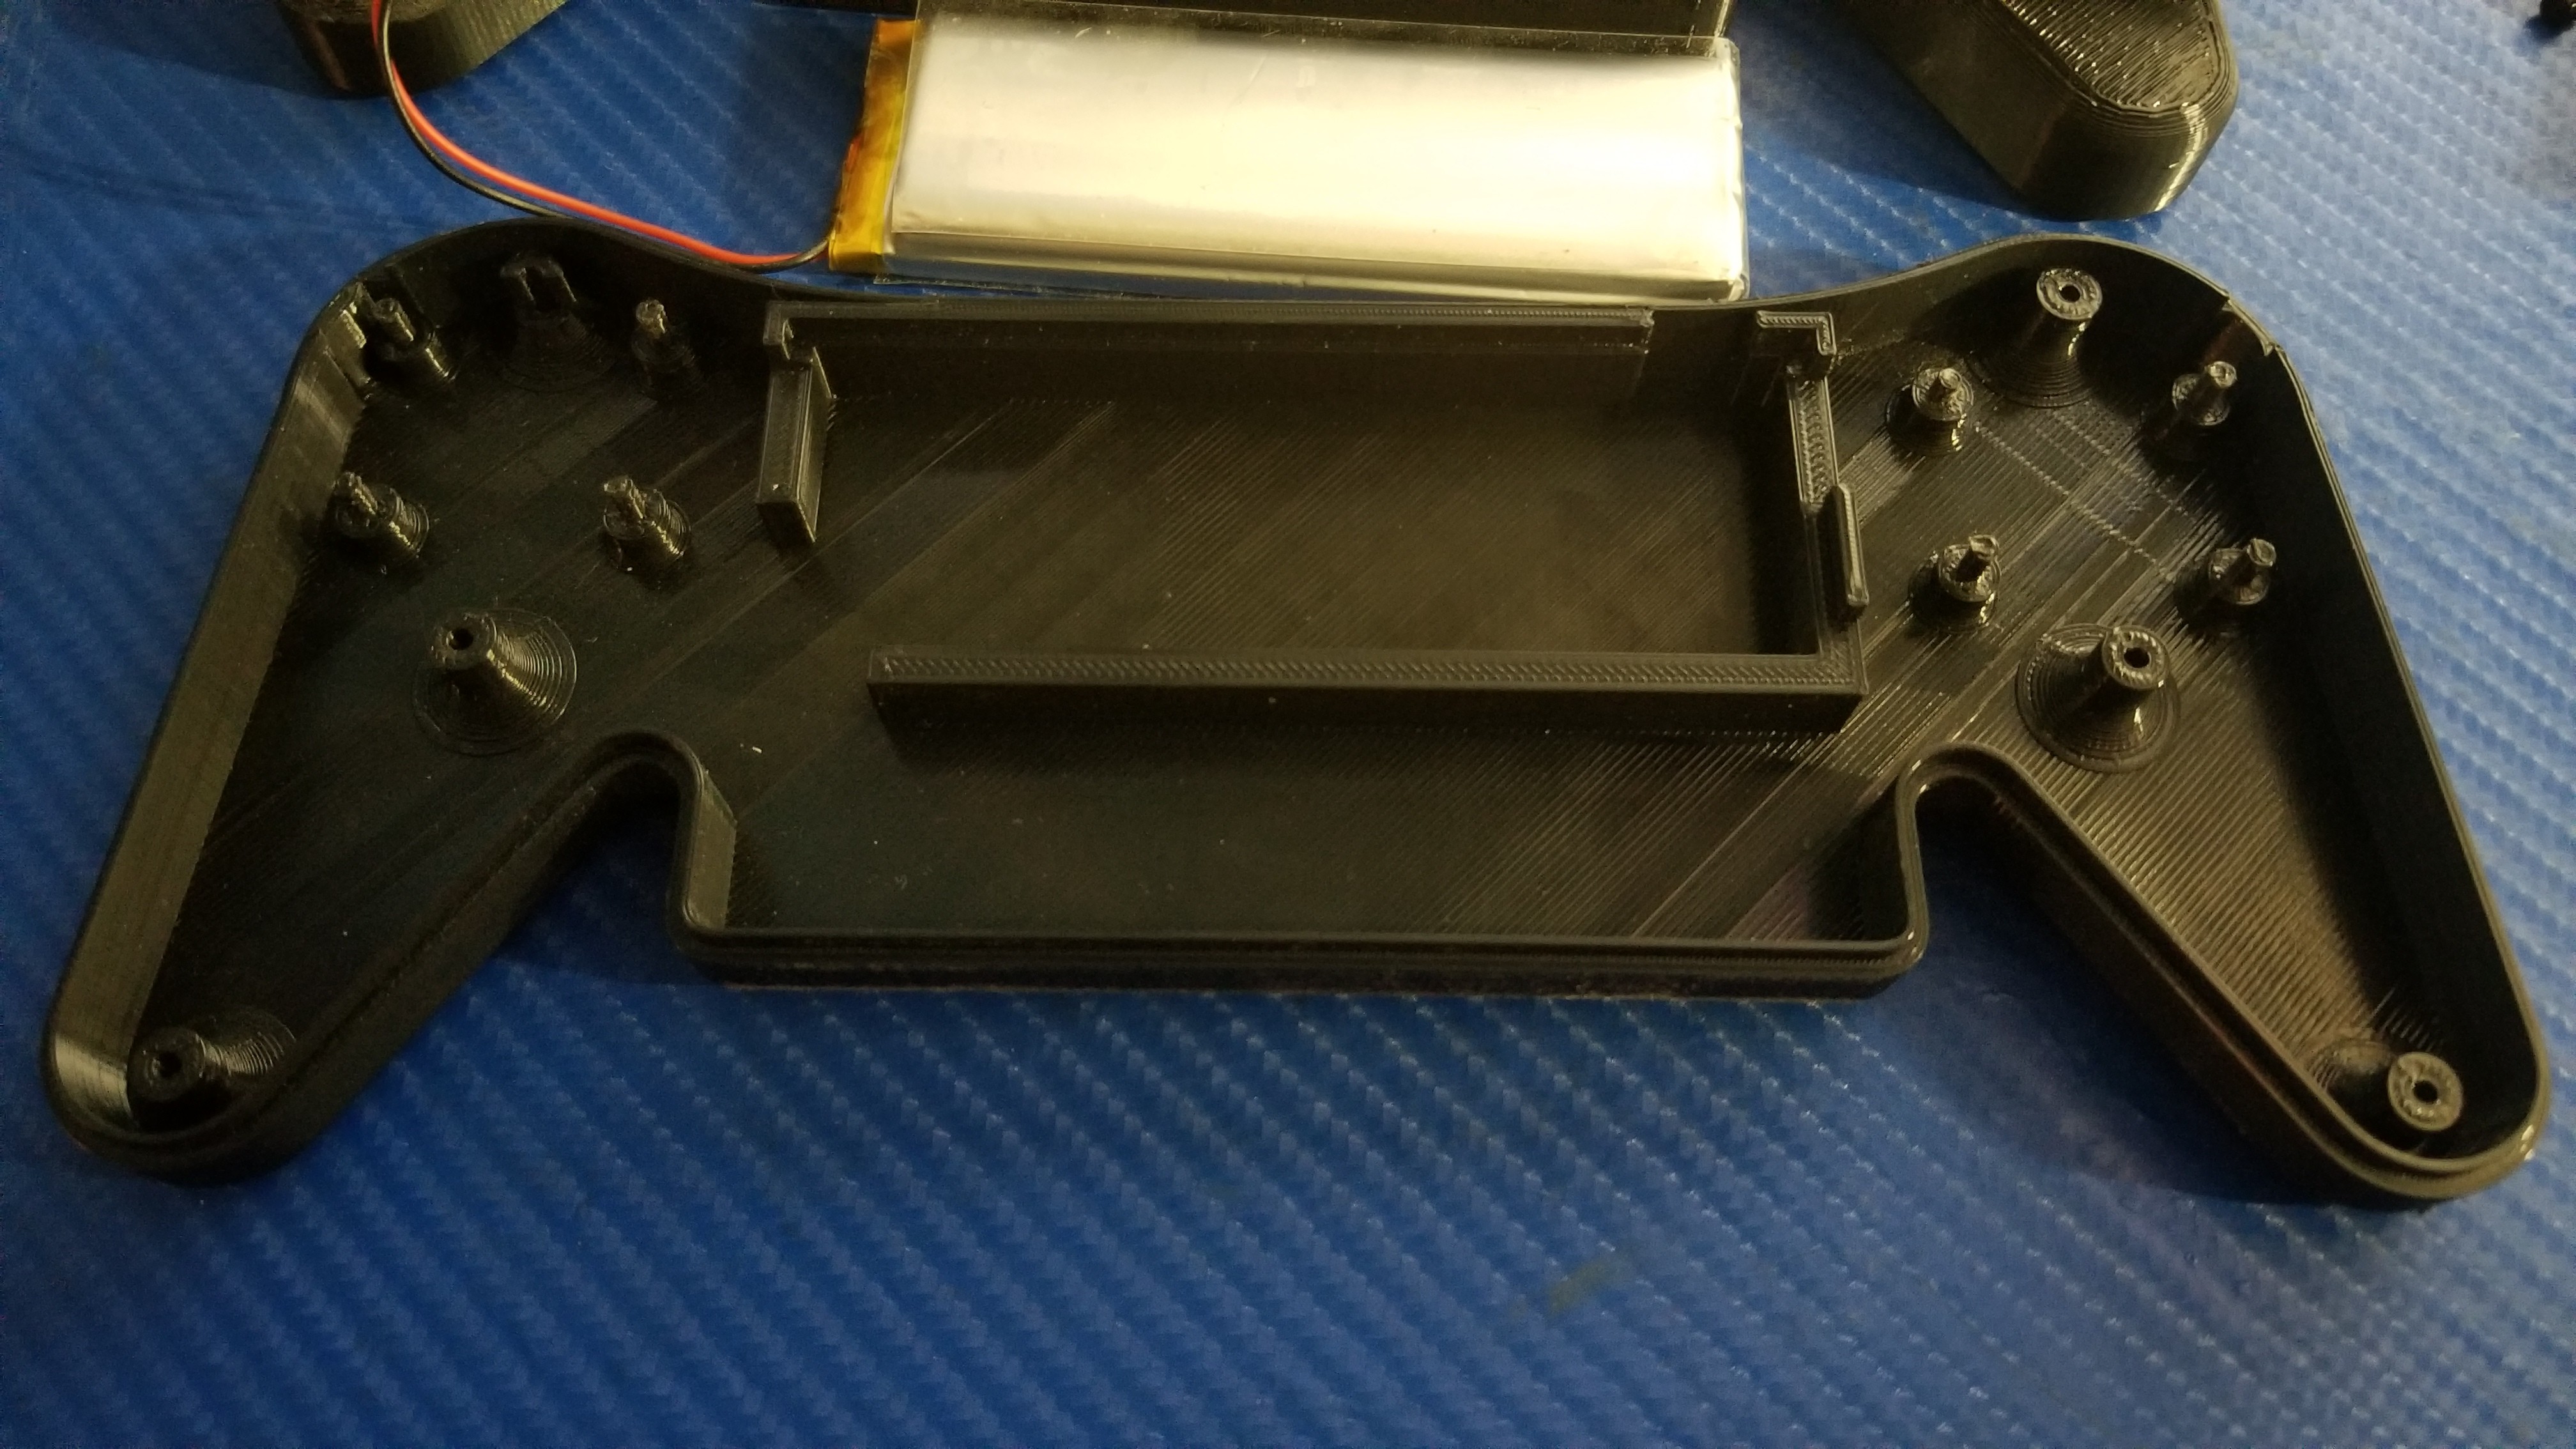
Also printed a 0.03" plastic sheet to protect battery from getting punctured by electronics. Don't want it exploding in my hand. Maybe too thick but it feels like its just right. Should of made battery door on bottom. To late now, just moving forward. :)
![]()
![]()
-
3D bottom case again
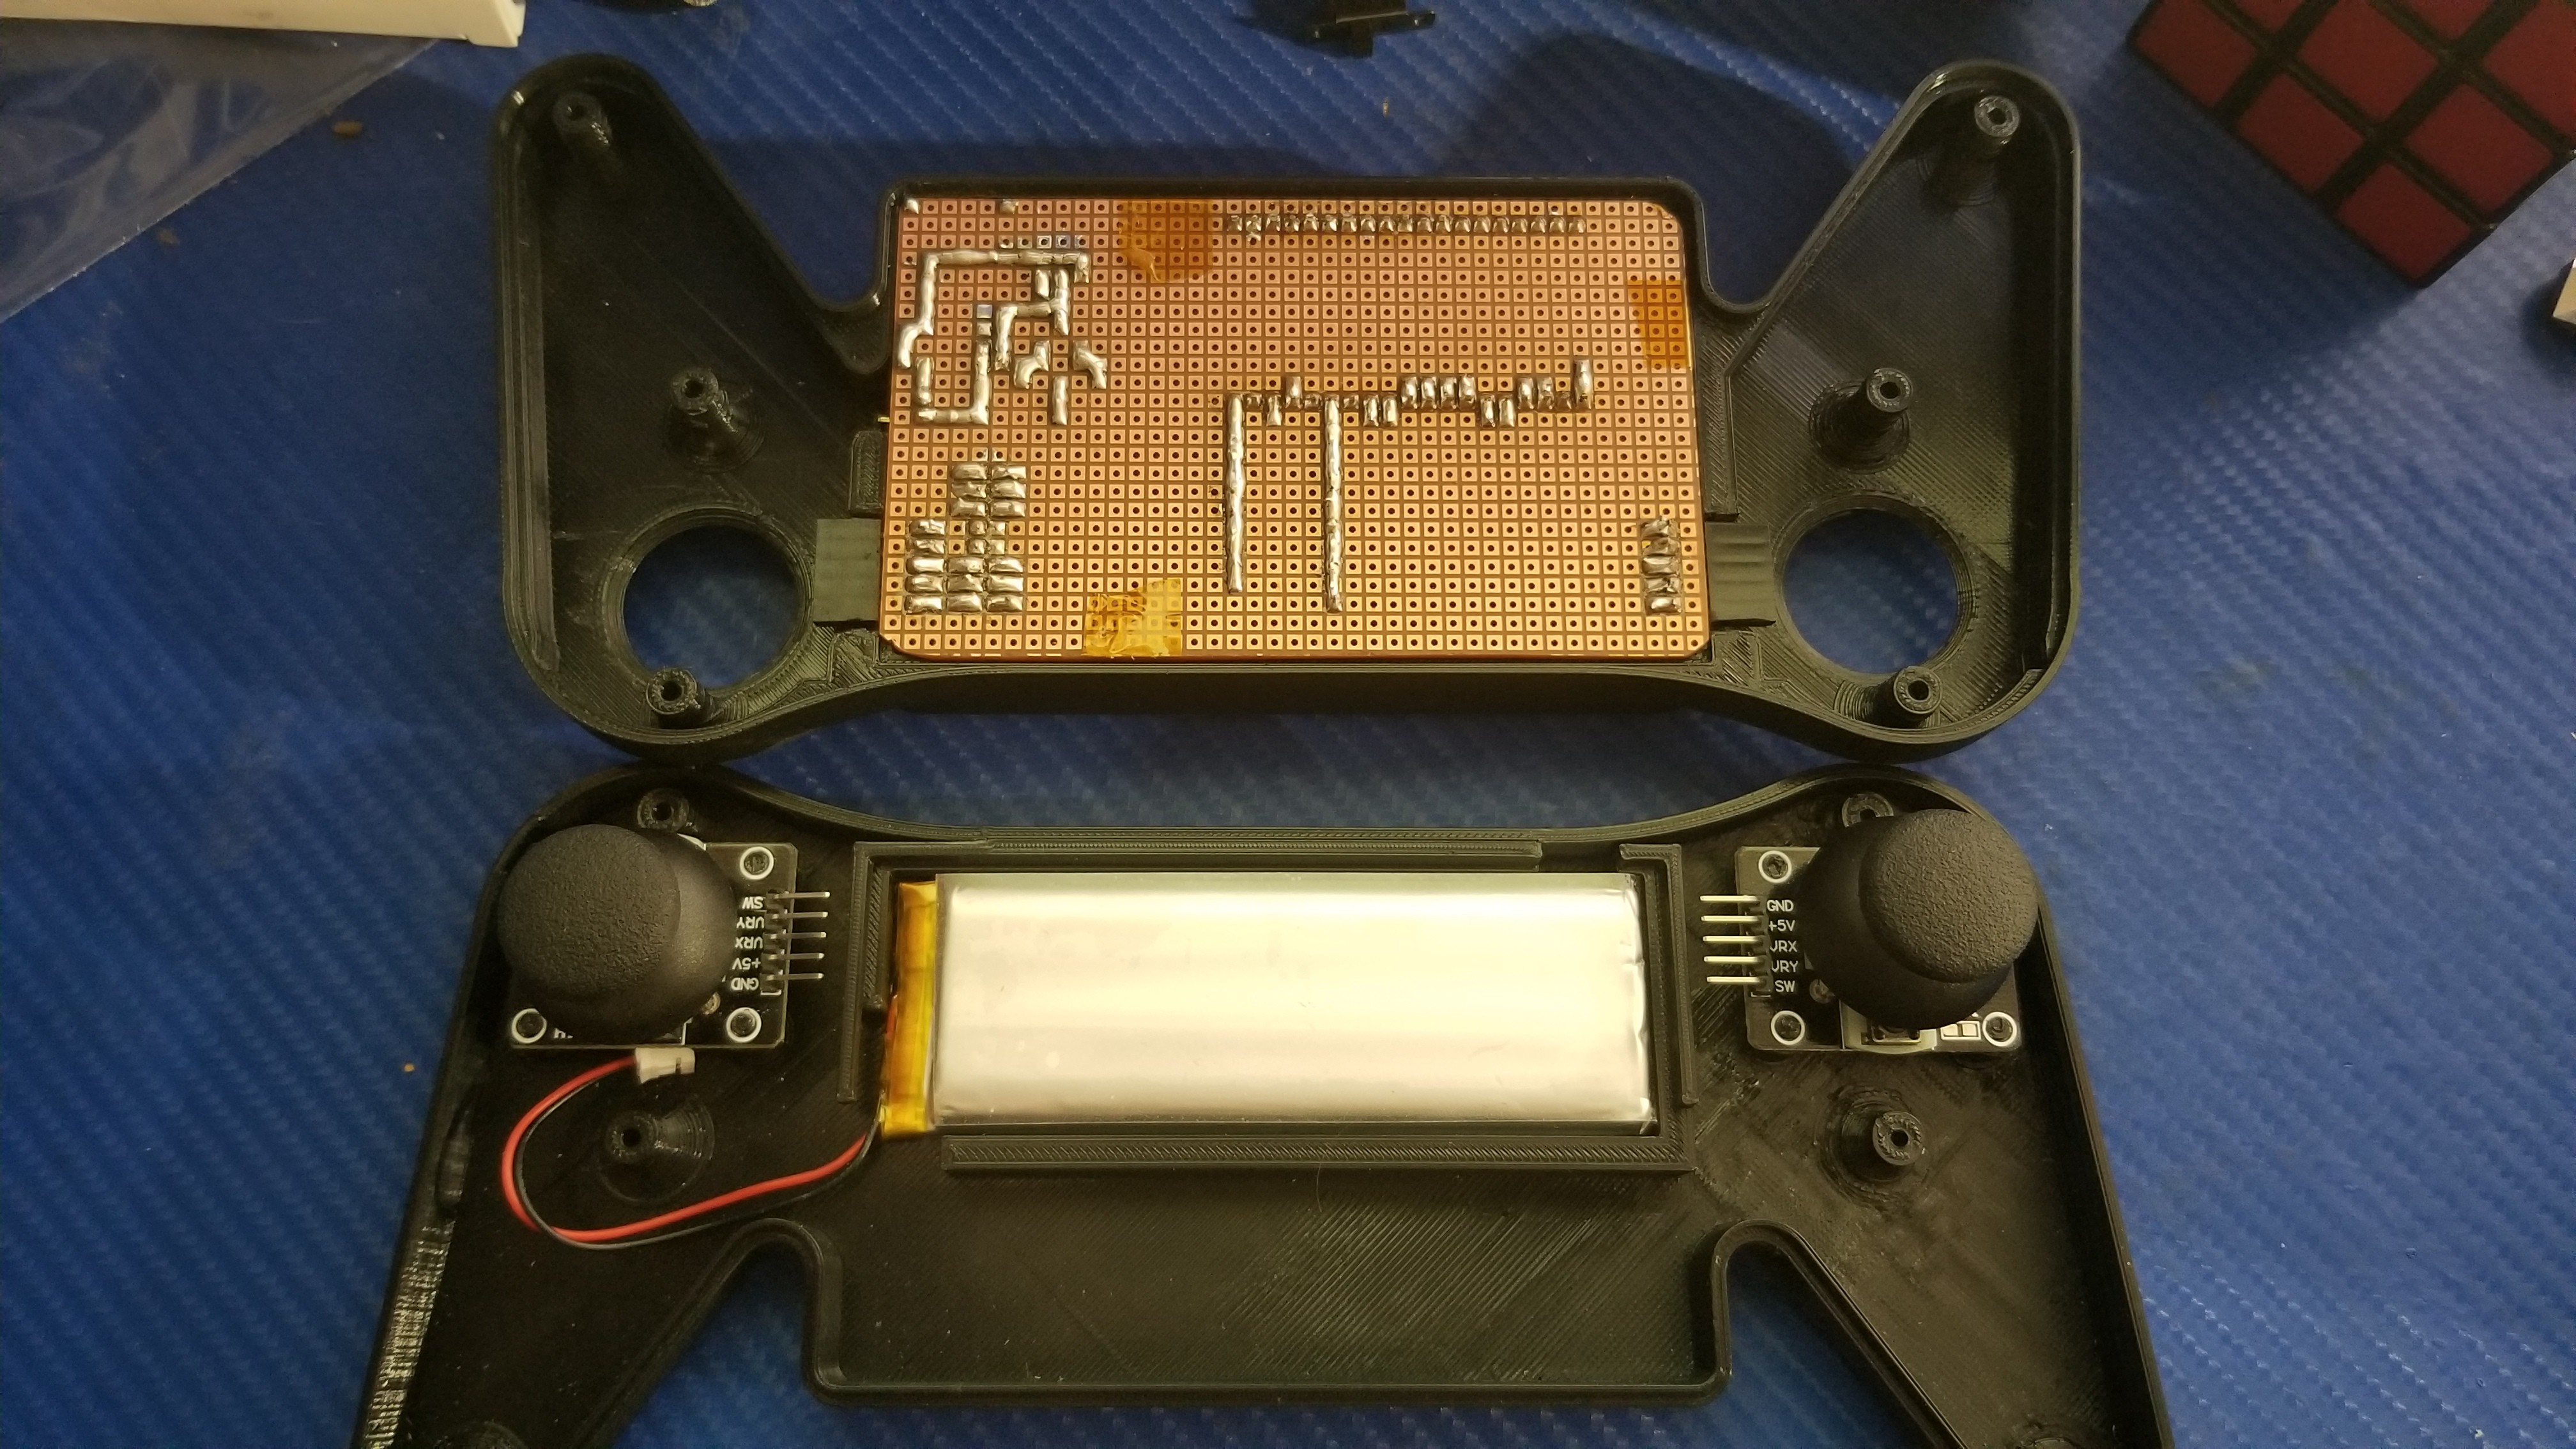
03/05/2021 at 07:25 • 0 commentsOkay after i got a great top piece printed i had to go back and redo the bottom one. Plus as i said the joysticks didn't line up so i had to do it anyways. Adjusted joystick position, grew the outside to make room for joystick board. opened up battery wire location.
Problem now is the connectors don't align with the main board. I will just remove connectors and run wires.
For now here is the updated 7 hour print of the bottom.
![]()
![]()
![]()
A lite sanding on case so far. i may primer and paint? or bondo sand and paint? but after its working. maybe run some test sands on bad pieces to see how it looks first.
-
3D Print Top of Controller
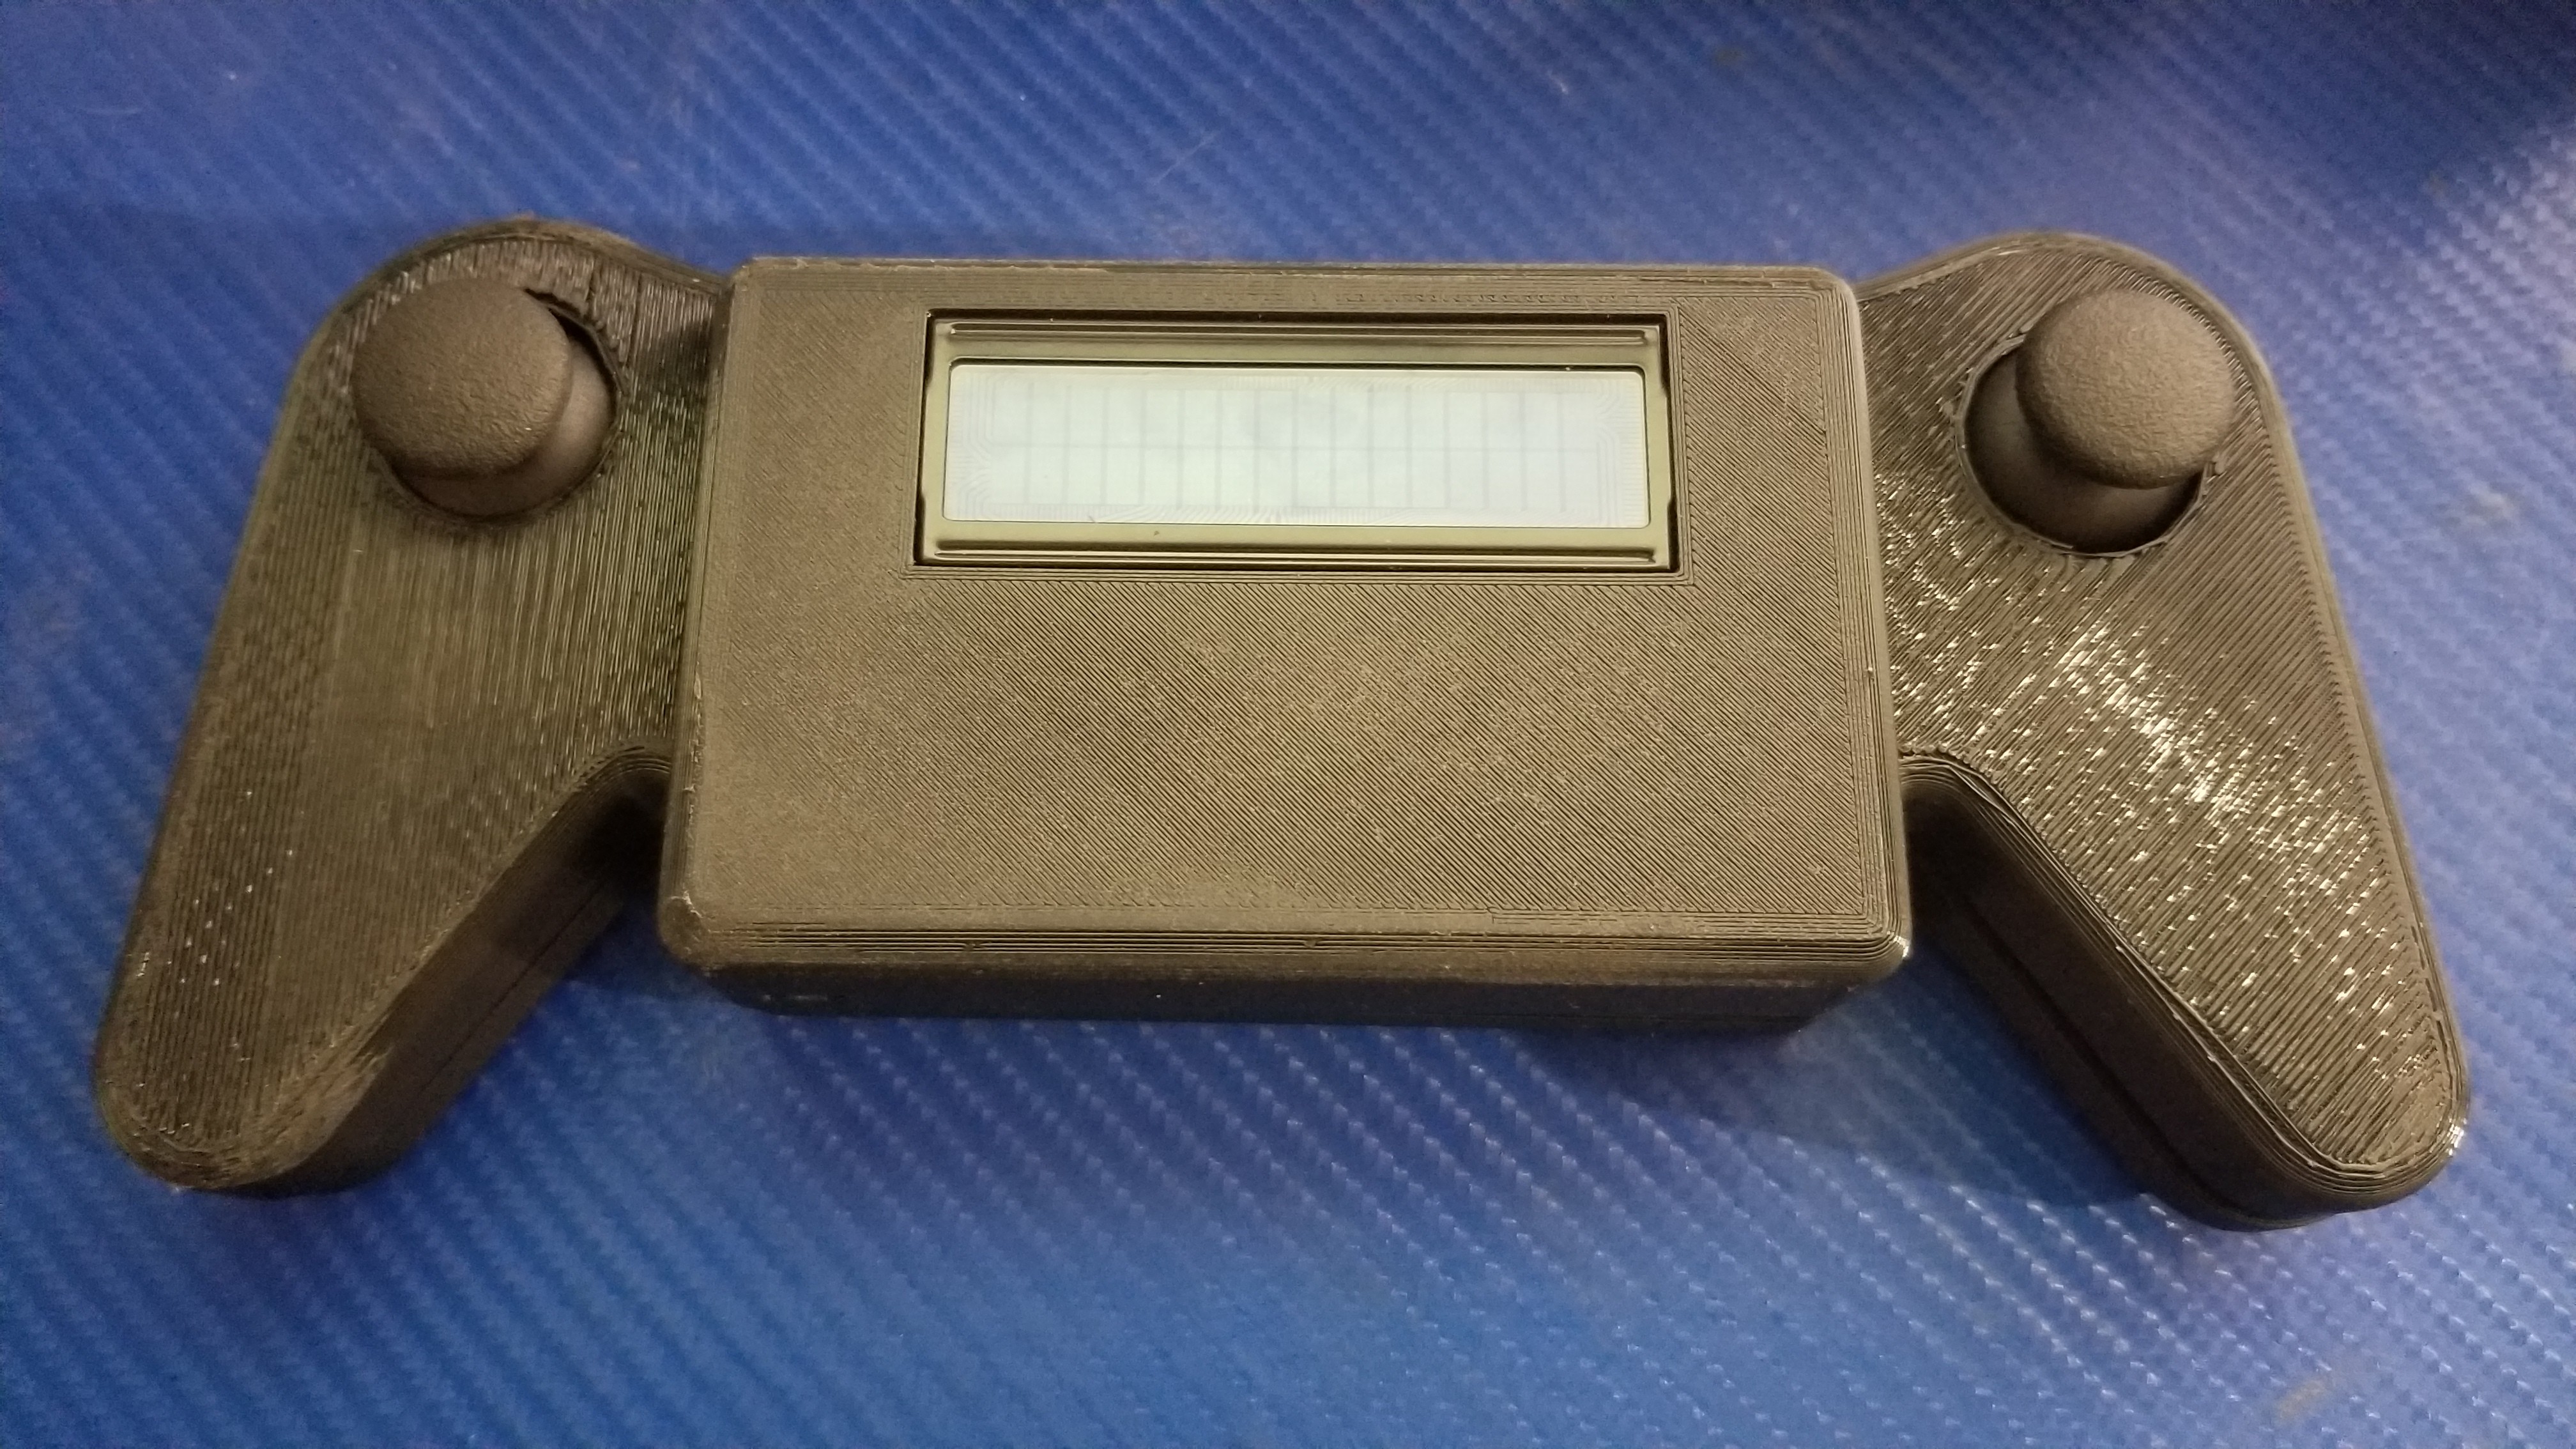
03/03/2021 at 18:14 • 0 commentsOkay top piece came out great. I added brim to print file and put a ton of hairspray down while heating. This seemed to work. It was struck on the bed of the printer really good. And no Lifting at all. Plus i re-leveled the bed before i started. so i think all of that helped.
![]() As you can see the top piece looks great. I hit it with sandpaper to take off some rough edges. I may do some more after i get it all fitting right.
As you can see the top piece looks great. I hit it with sandpaper to take off some rough edges. I may do some more after i get it all fitting right.![]()
Only issue i have is with joystick alignment. I thought i designed in the right offset for them since they are flipped on left and right. There is a slight offset from mounting holes to joystick position on that that board.
Plus since the bottom didn't print the best im going to redo that part.
Adjusted joystick positions. removed and added some material for clearance. I need them to align with top piece. don't want to print that again if i don't have too.
Only thing now i may have to run wires for the joysticks. Inst3ead of plugging them in.... Maybe ill make a wire harness so i can still easily take apart.
Sooo...almost out of filimant because of all the printing i've been doing. Ordered a new roll. should be here soon. But im kinda worried i wont have enough on the role to reprint this bottom piece. It's printing now. We shall see. would suck after 7 hours and run out of filimant.
-
First Print not bad
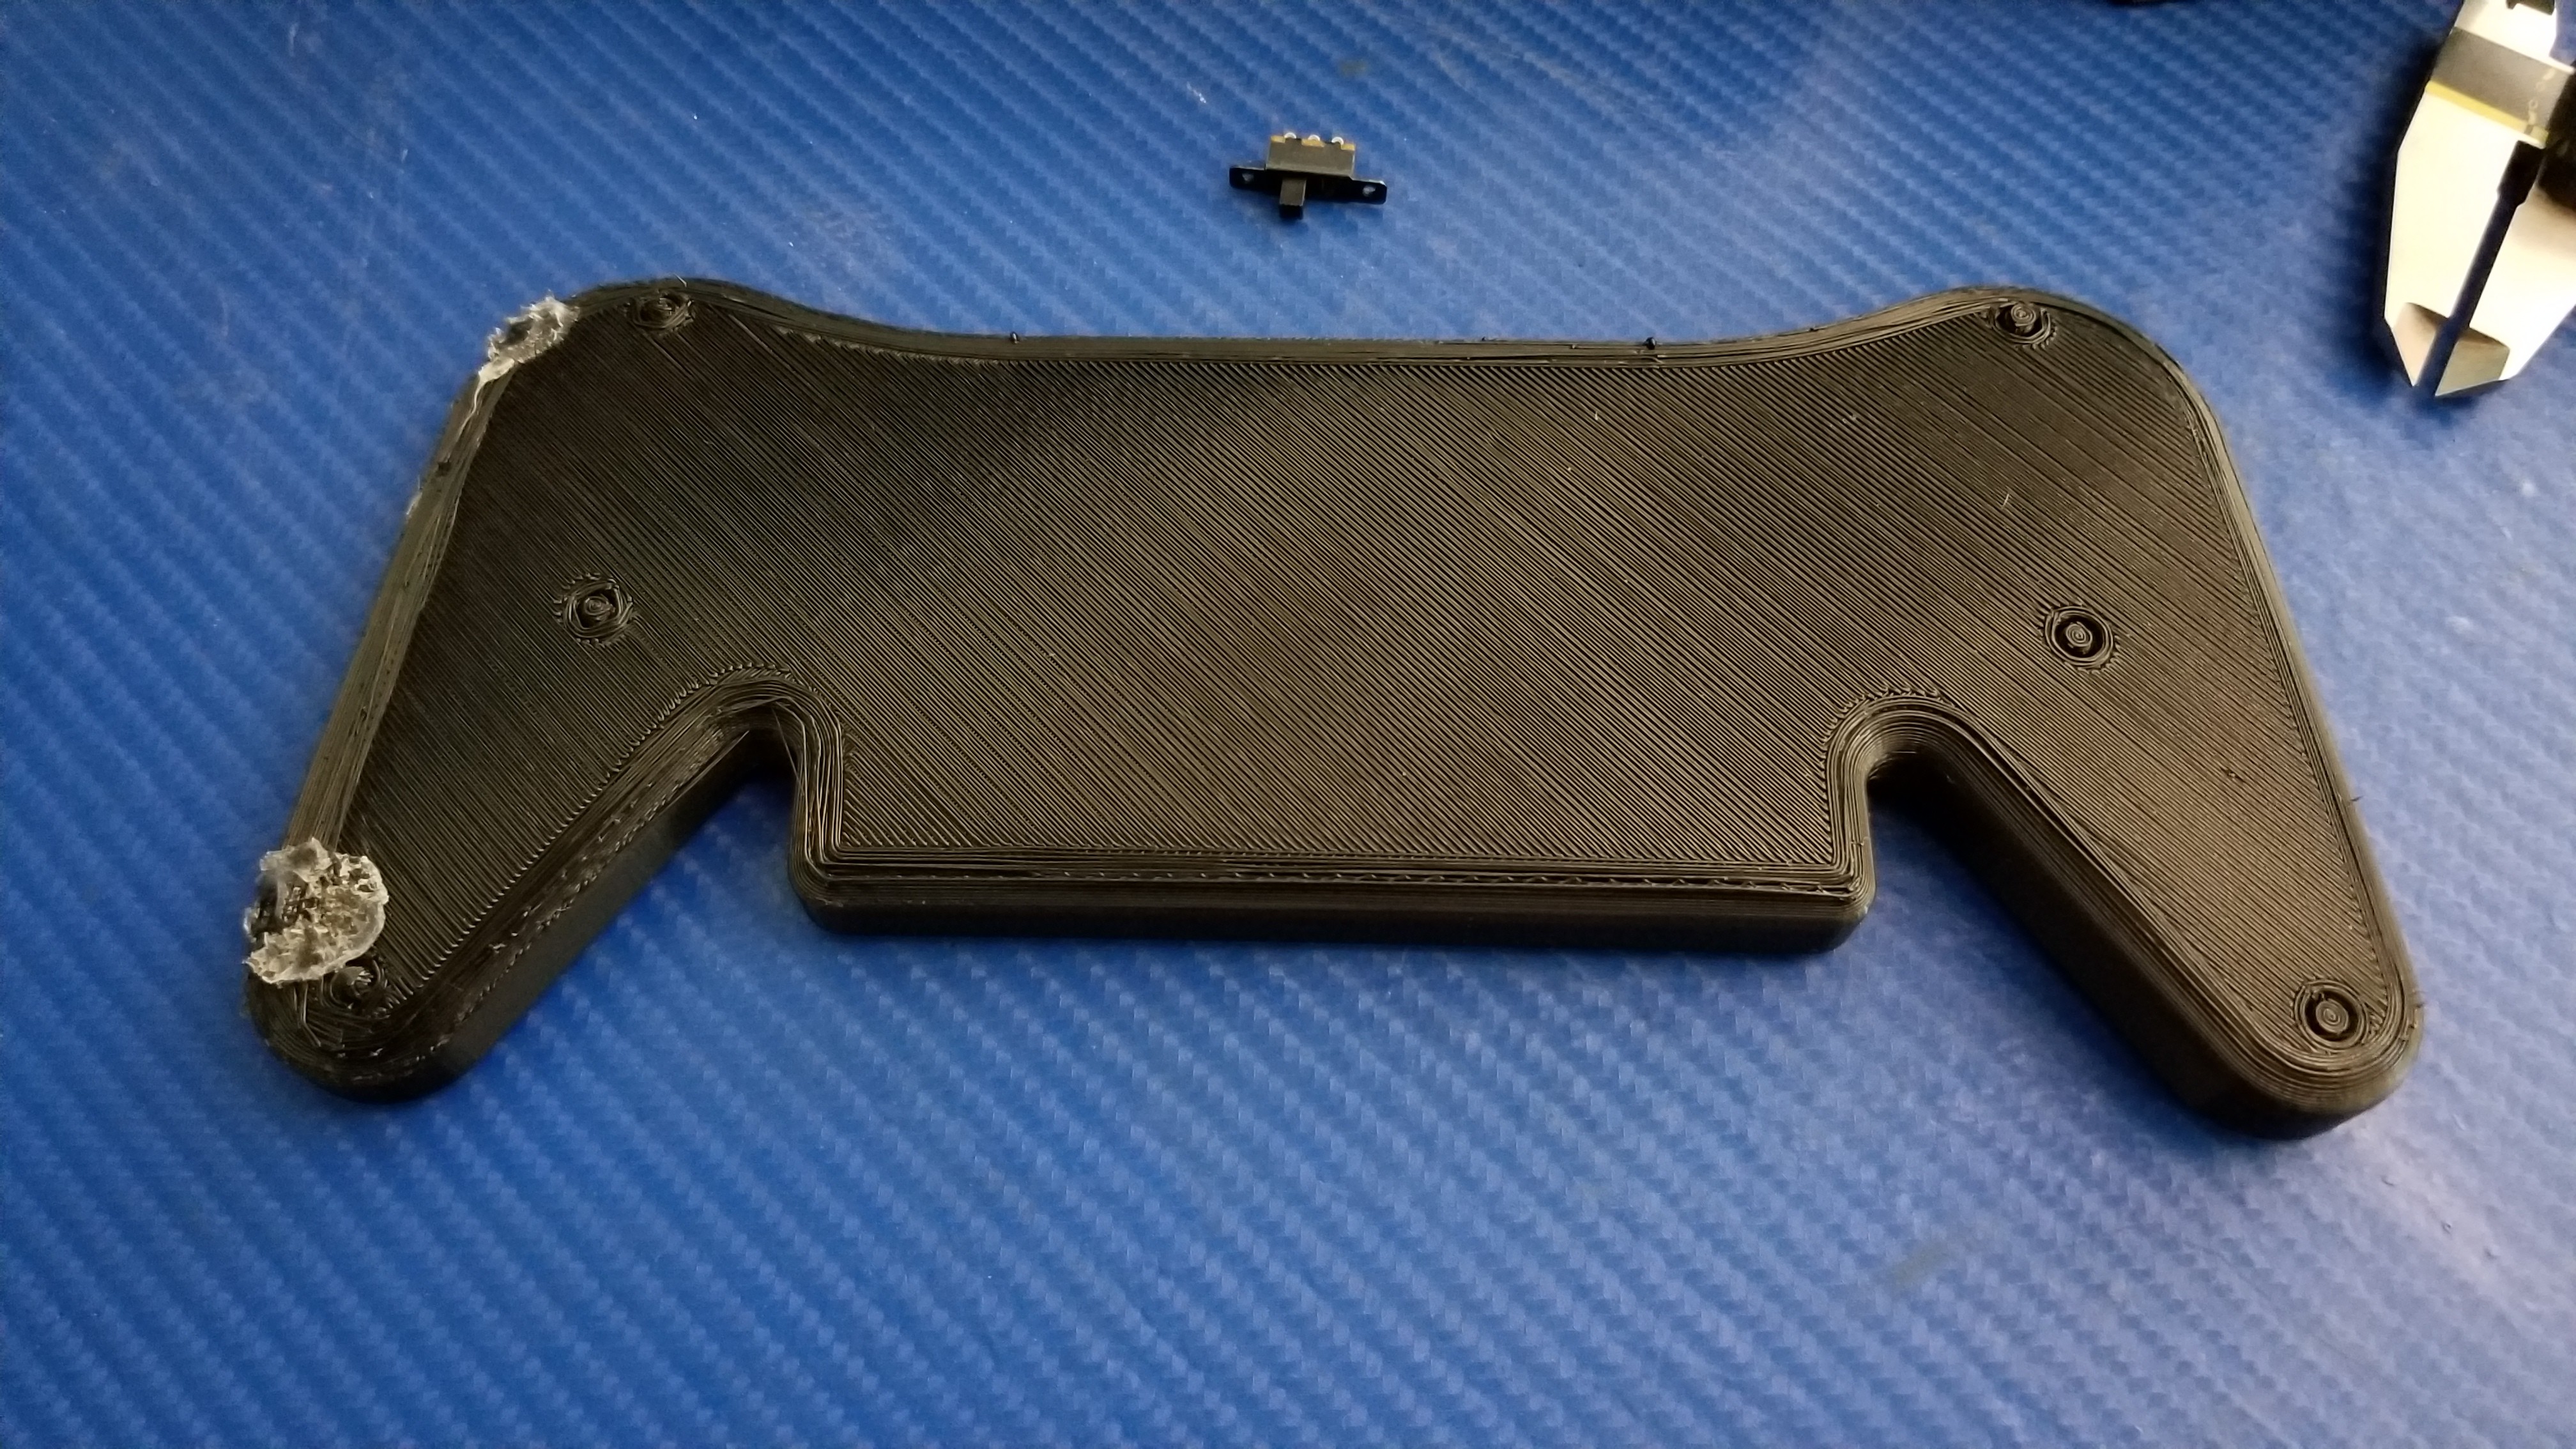
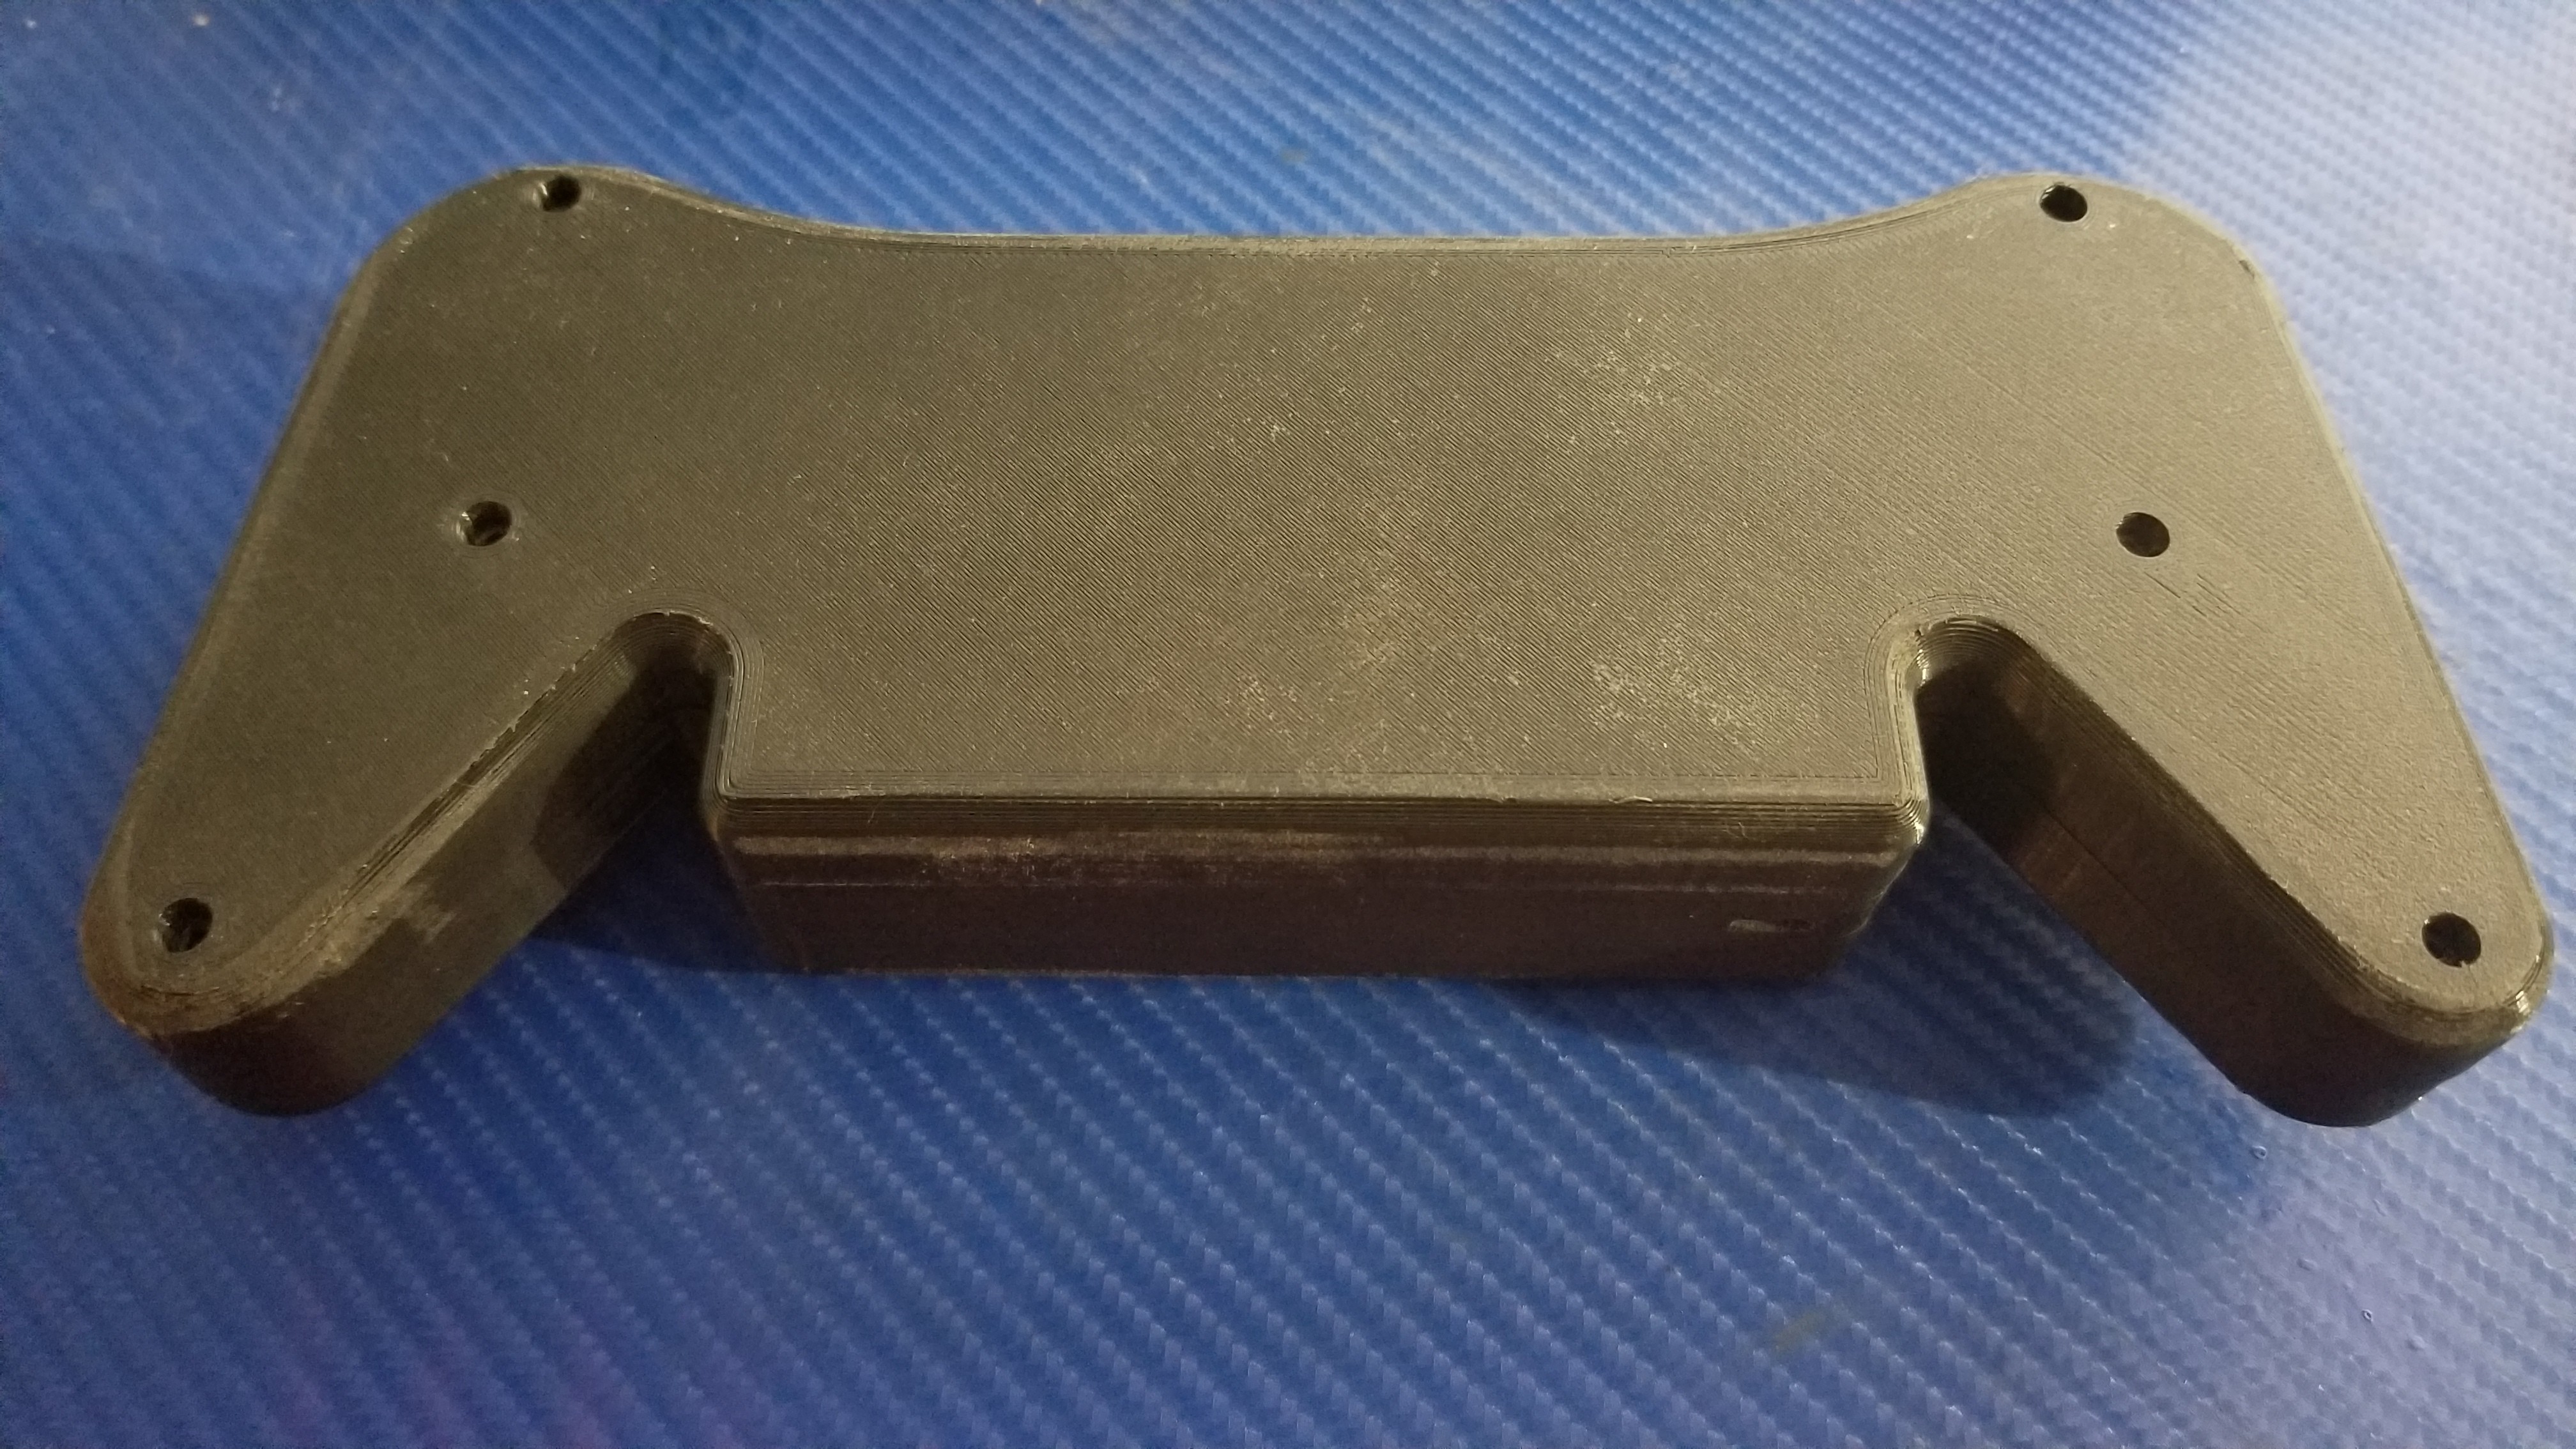
03/02/2021 at 04:49 • 0 commentsOkay so hot glue on the 3d printer bed, good idea in general. part came out better then i thought it would. i can probably still use it.
However, hot glue does not come out of part and printer bed easily. going to have to scrub hard to get off before next print.
So Here is what i have. may need some sanding or bondo to make it look pretty. but i can deal with it as is for now.
![]() You can see the right side is coming up from the bed. and the top right too. caused that area to not look clean. but its on the inside so? oh well.
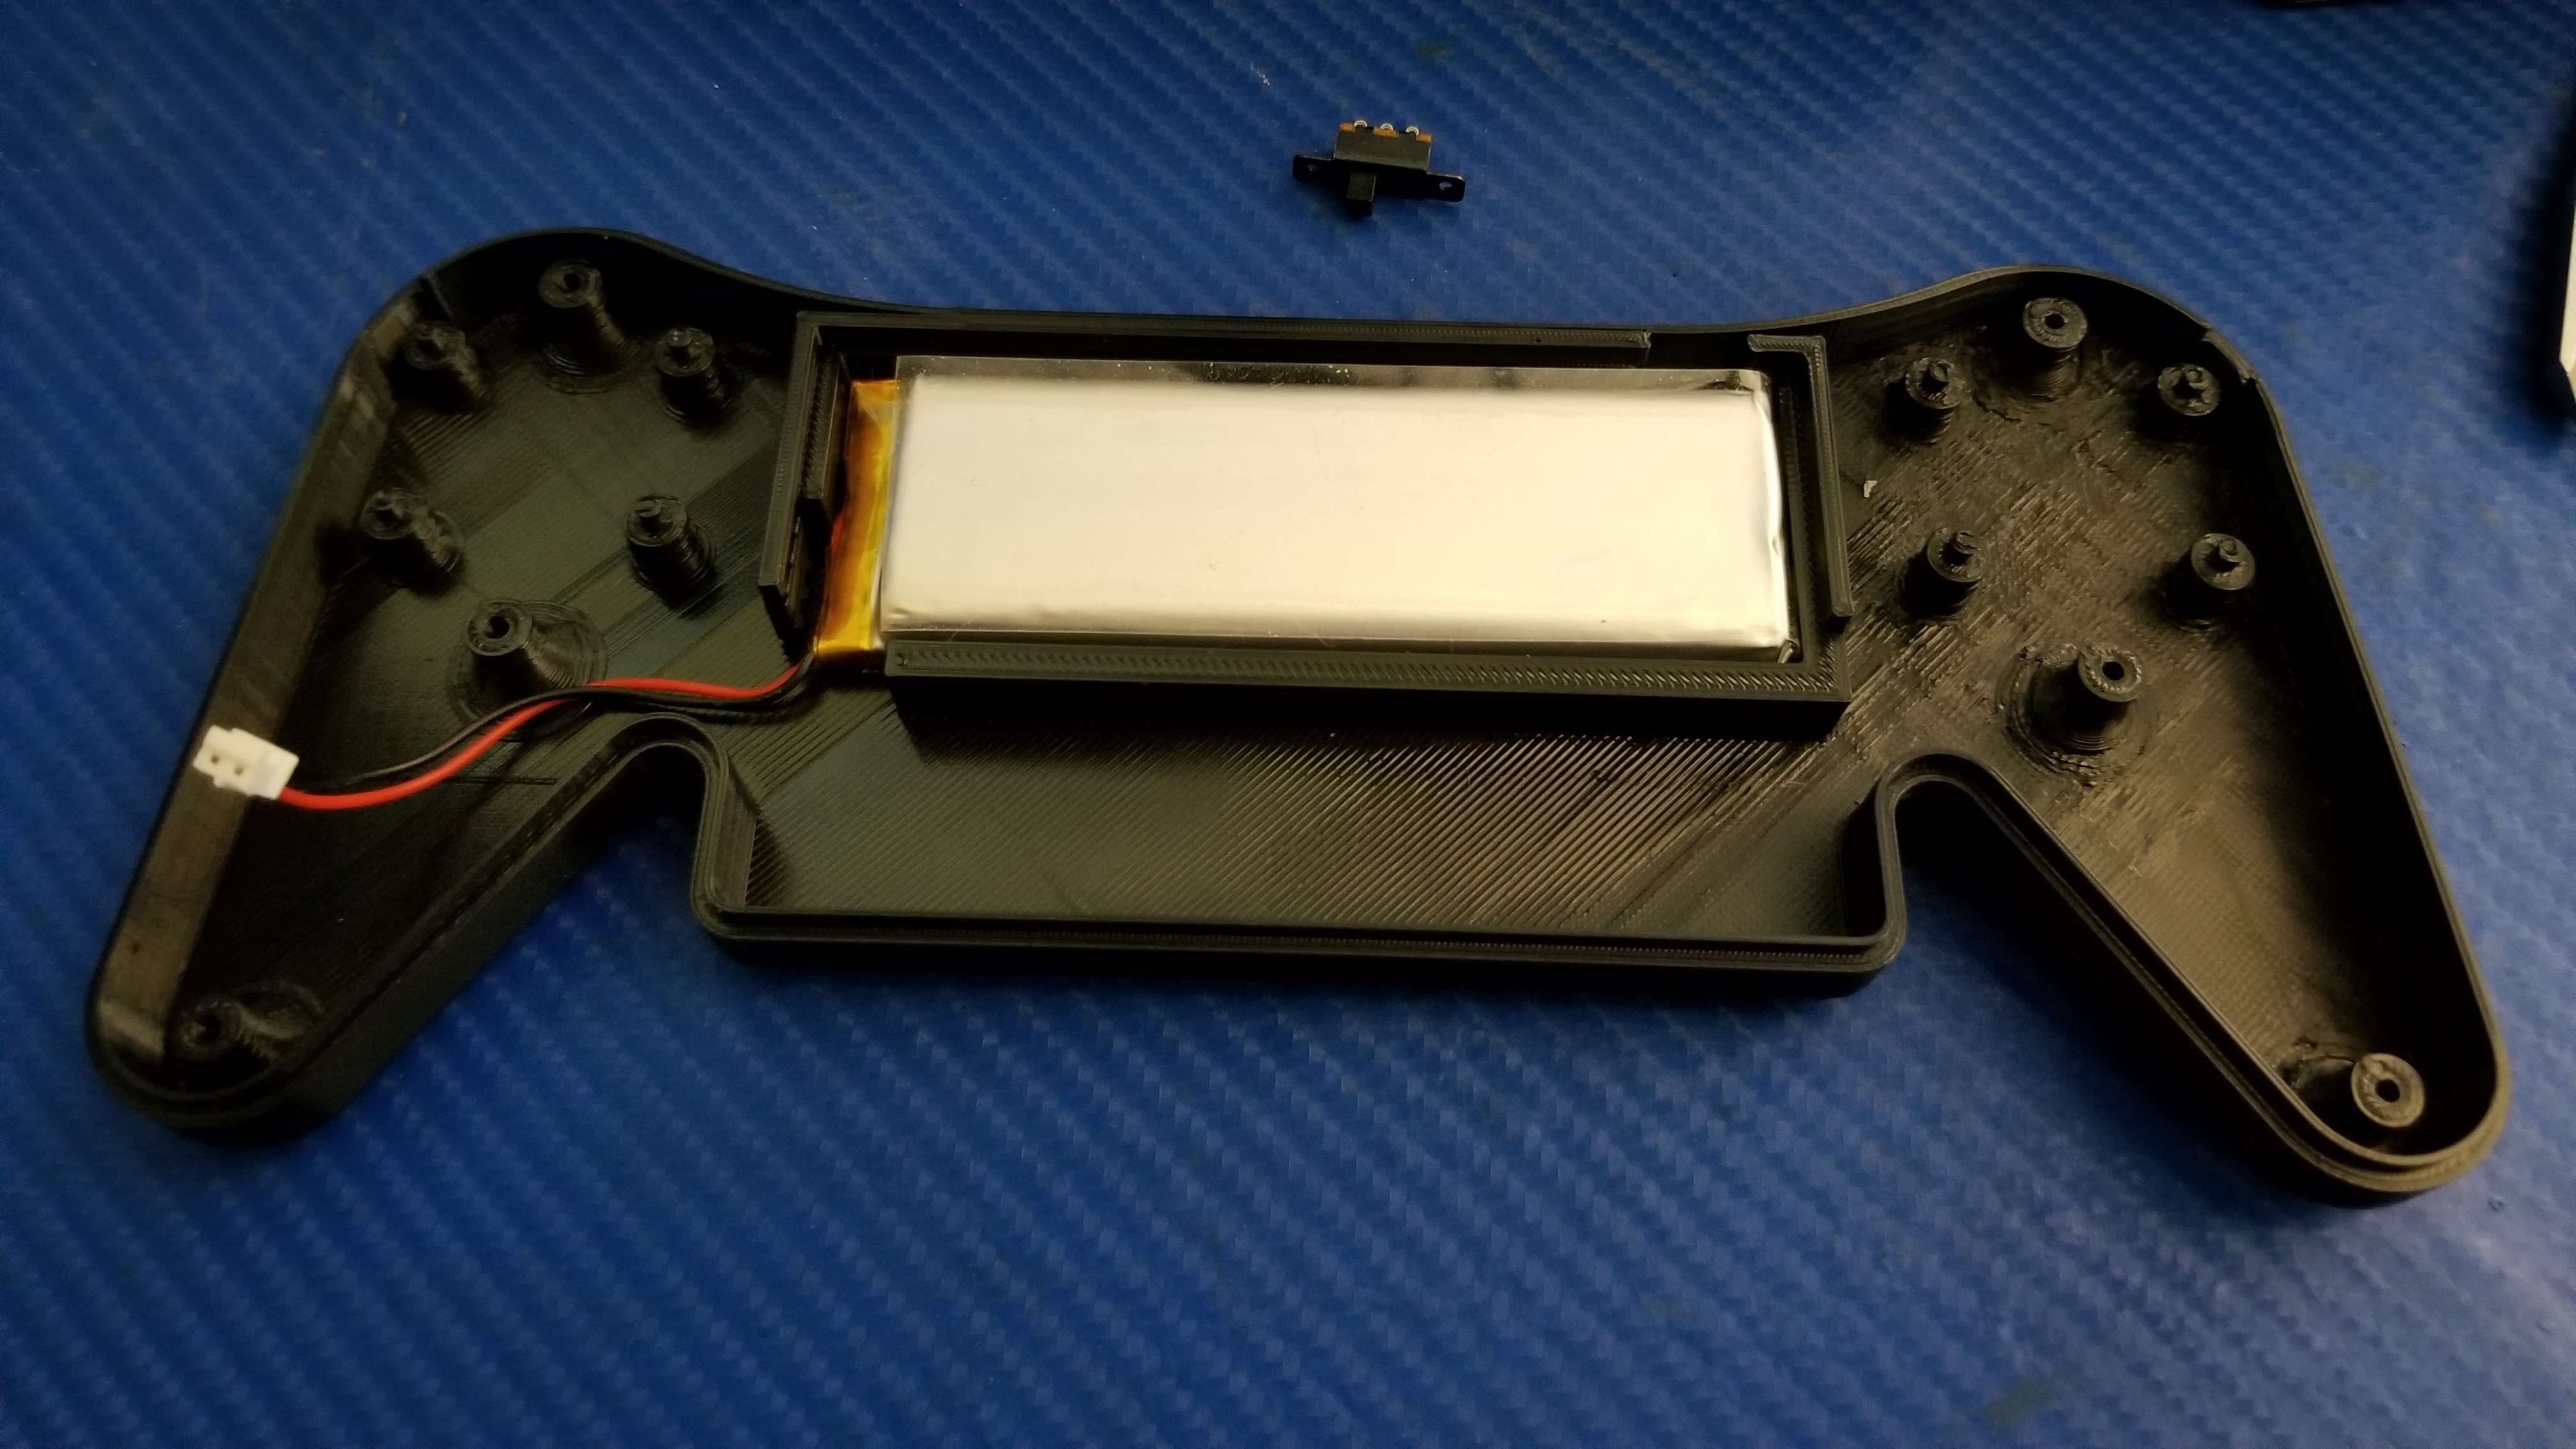
You can see the right side is coming up from the bed. and the top right too. caused that area to not look clean. but its on the inside so? oh well.![]() Battery fit perfectly in there.
Battery fit perfectly in there.![]()
You can see the hot glue is stuck on there pretty good. Sand paper should fix that i hope.
![]()
I think i can deal with the handles being bad. The top part should still align correctly since the seem is flat and looks correct.
May have to sand the circuit board on the lower right and across the top to make it fit perfect. but that's fine. I left 0.100" clearance on the board. Except for the bat charge port. i didn't plan correctly on that one. and its kind of close. sanding the inside is inevitable....
-
Controller 3D print day 1
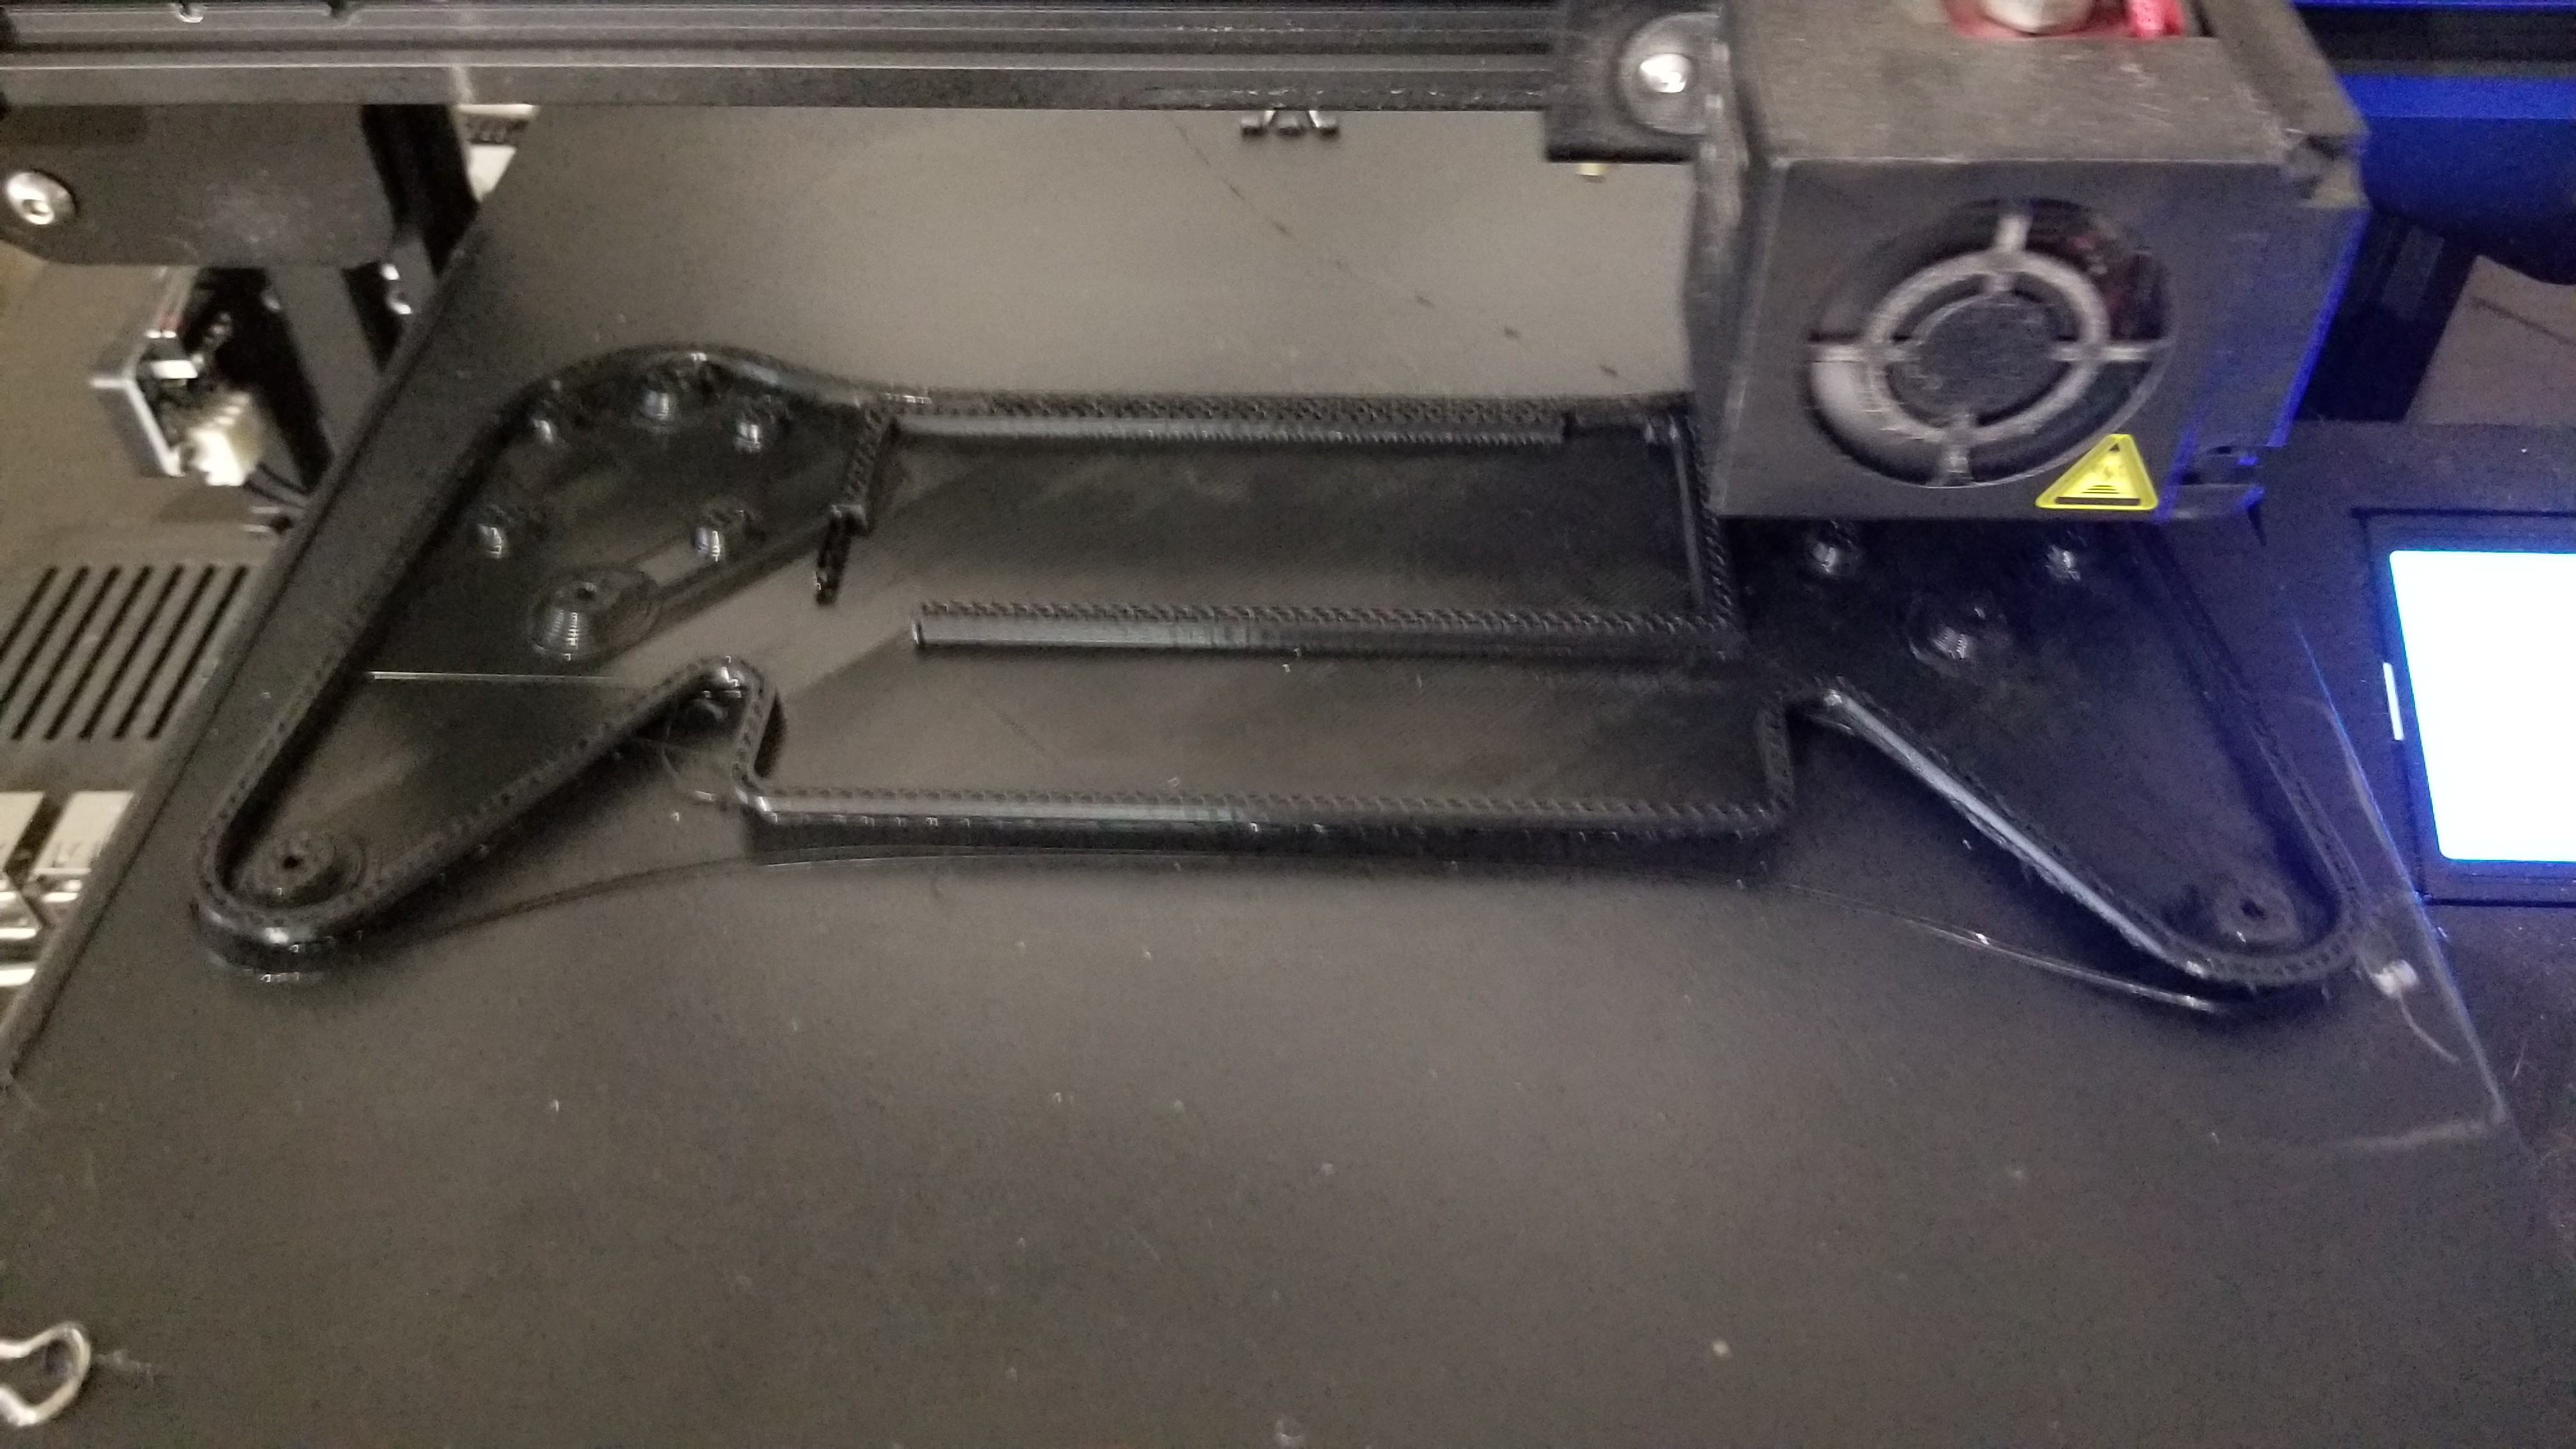
03/01/2021 at 21:23 • 0 commentsWell 3D print day one doesn't look so promising. major lifting on corners. This part is already the widest thing i've printed on the ender 3. Dont have much room for added corner support. Had to pause print and put hot glue down to hold corner in place. The handle corners aren't really important. So maybe that will give me a decent enough part to use. The print should have a level edge to align with the top part.
I may have to do some tweaks to the CAD file for the top part before i print. So i dont have this issue. Or better glueing on the plate? hairspray is just not enough for this beast of a part.
Will try to get an image once this completes in 4 hours. ugh 8 hour prints.
Need to move printer to garage so it wont disturb people running all day. but it's cold out there. probably ruin the prints.
-
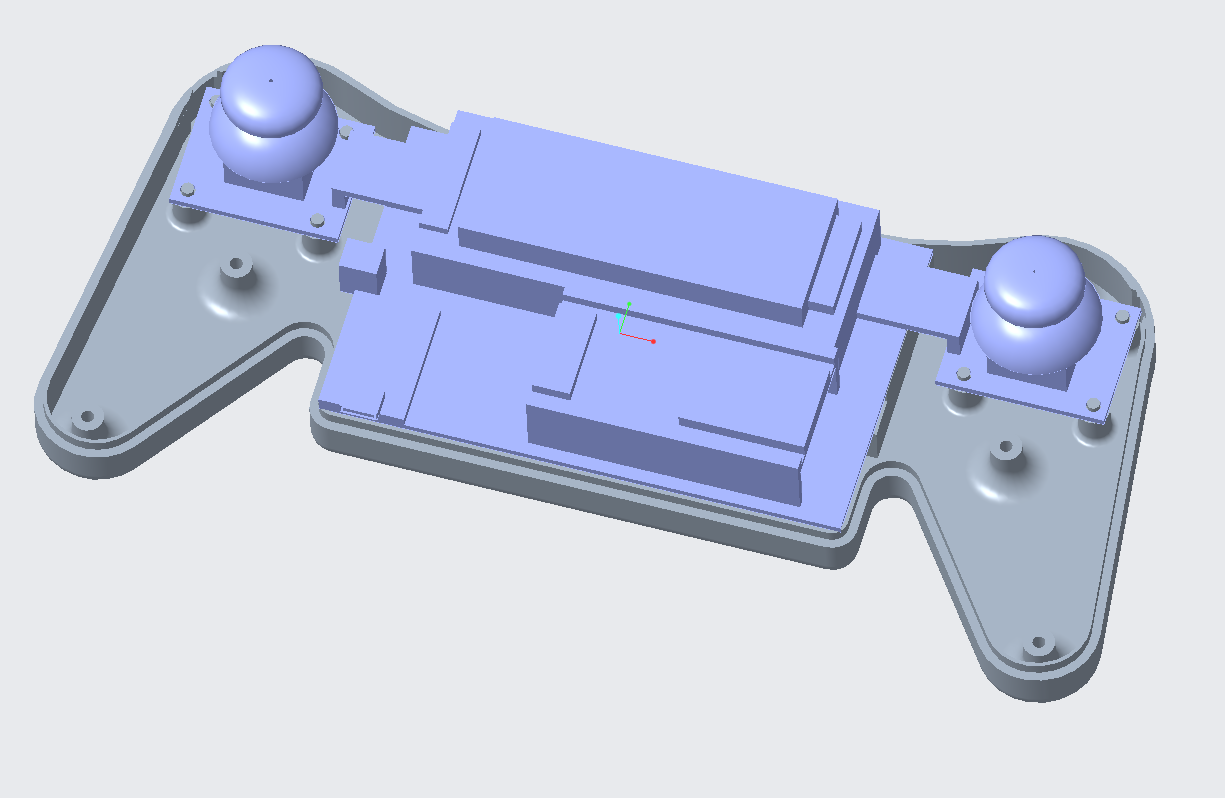
3D Case Revision 1 Design Done
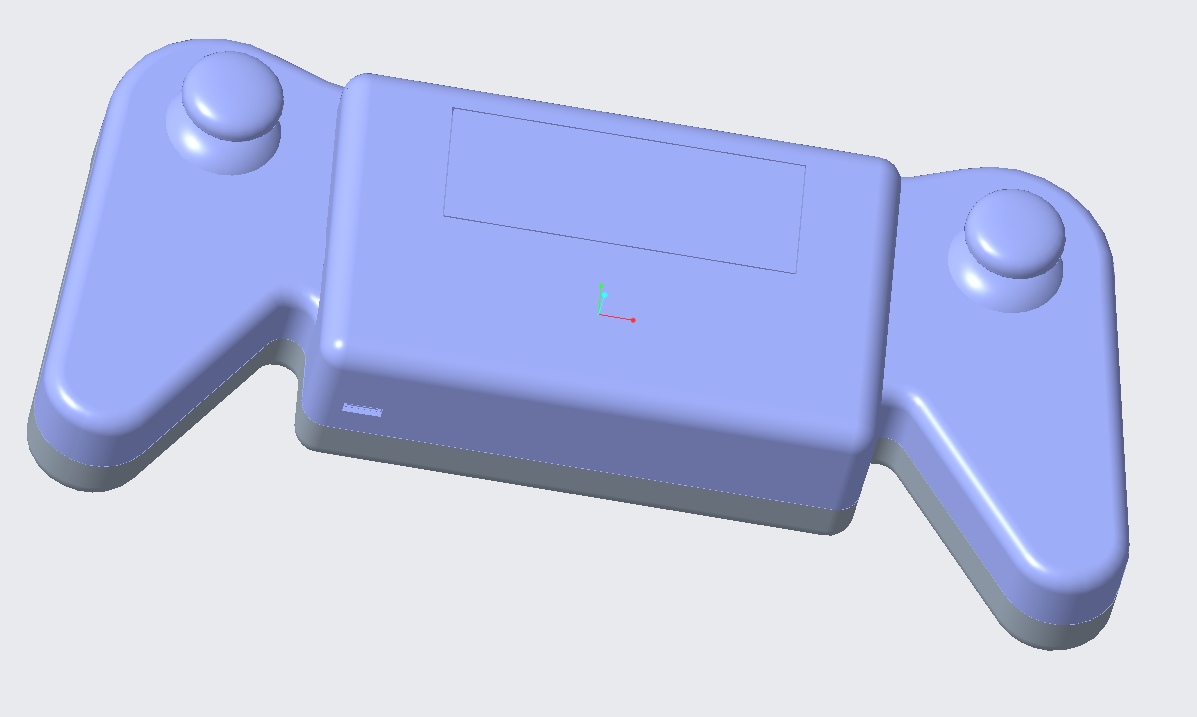
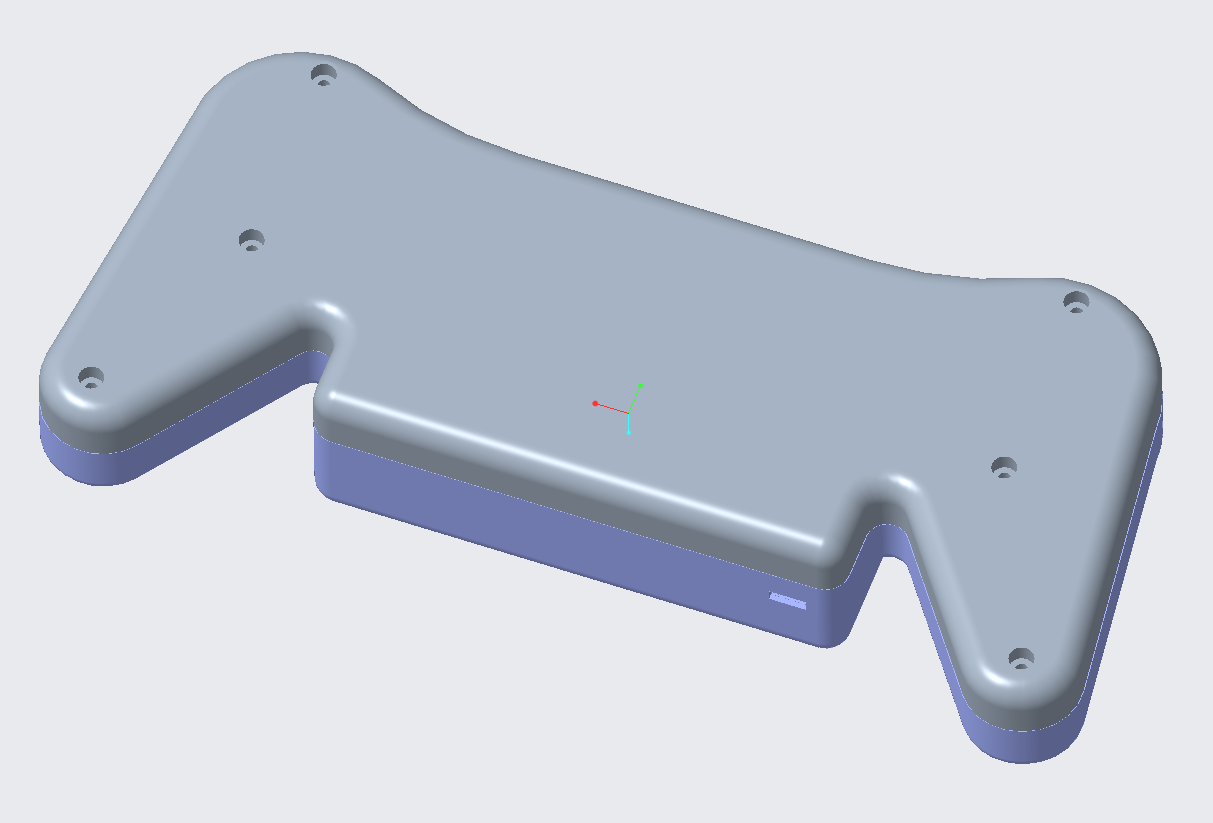
03/01/2021 at 07:16 • 0 comments3D models Revision 1 are complete. Time to spend 15 hours to see if it fits. Probably will need to print at least one more because i wanted two more buttons but dont have them ready yet.
I can always go abck and make room for them. Plus i have power switch comming monday...... Ill print bottom tomorrow and when switches come in i can measure and fix the Top. Then print top on tuesday.
![]()
![]()
![]()
in last image you can see mock up circuit board design. This wont be as good as using cad data from a circuit designer app. But close enough. I used calipers to measure twice and 3d model once. i hope. Should be close enough for the case design to fit around it. We shall see in 2 days time.
p.s. rounded the standoffs to make them stronger. i always tend to break them off if they are just round. We will see if this helps or not.
-
Battery Power Finished
02/27/2021 at 22:58 • 0 comments![]()
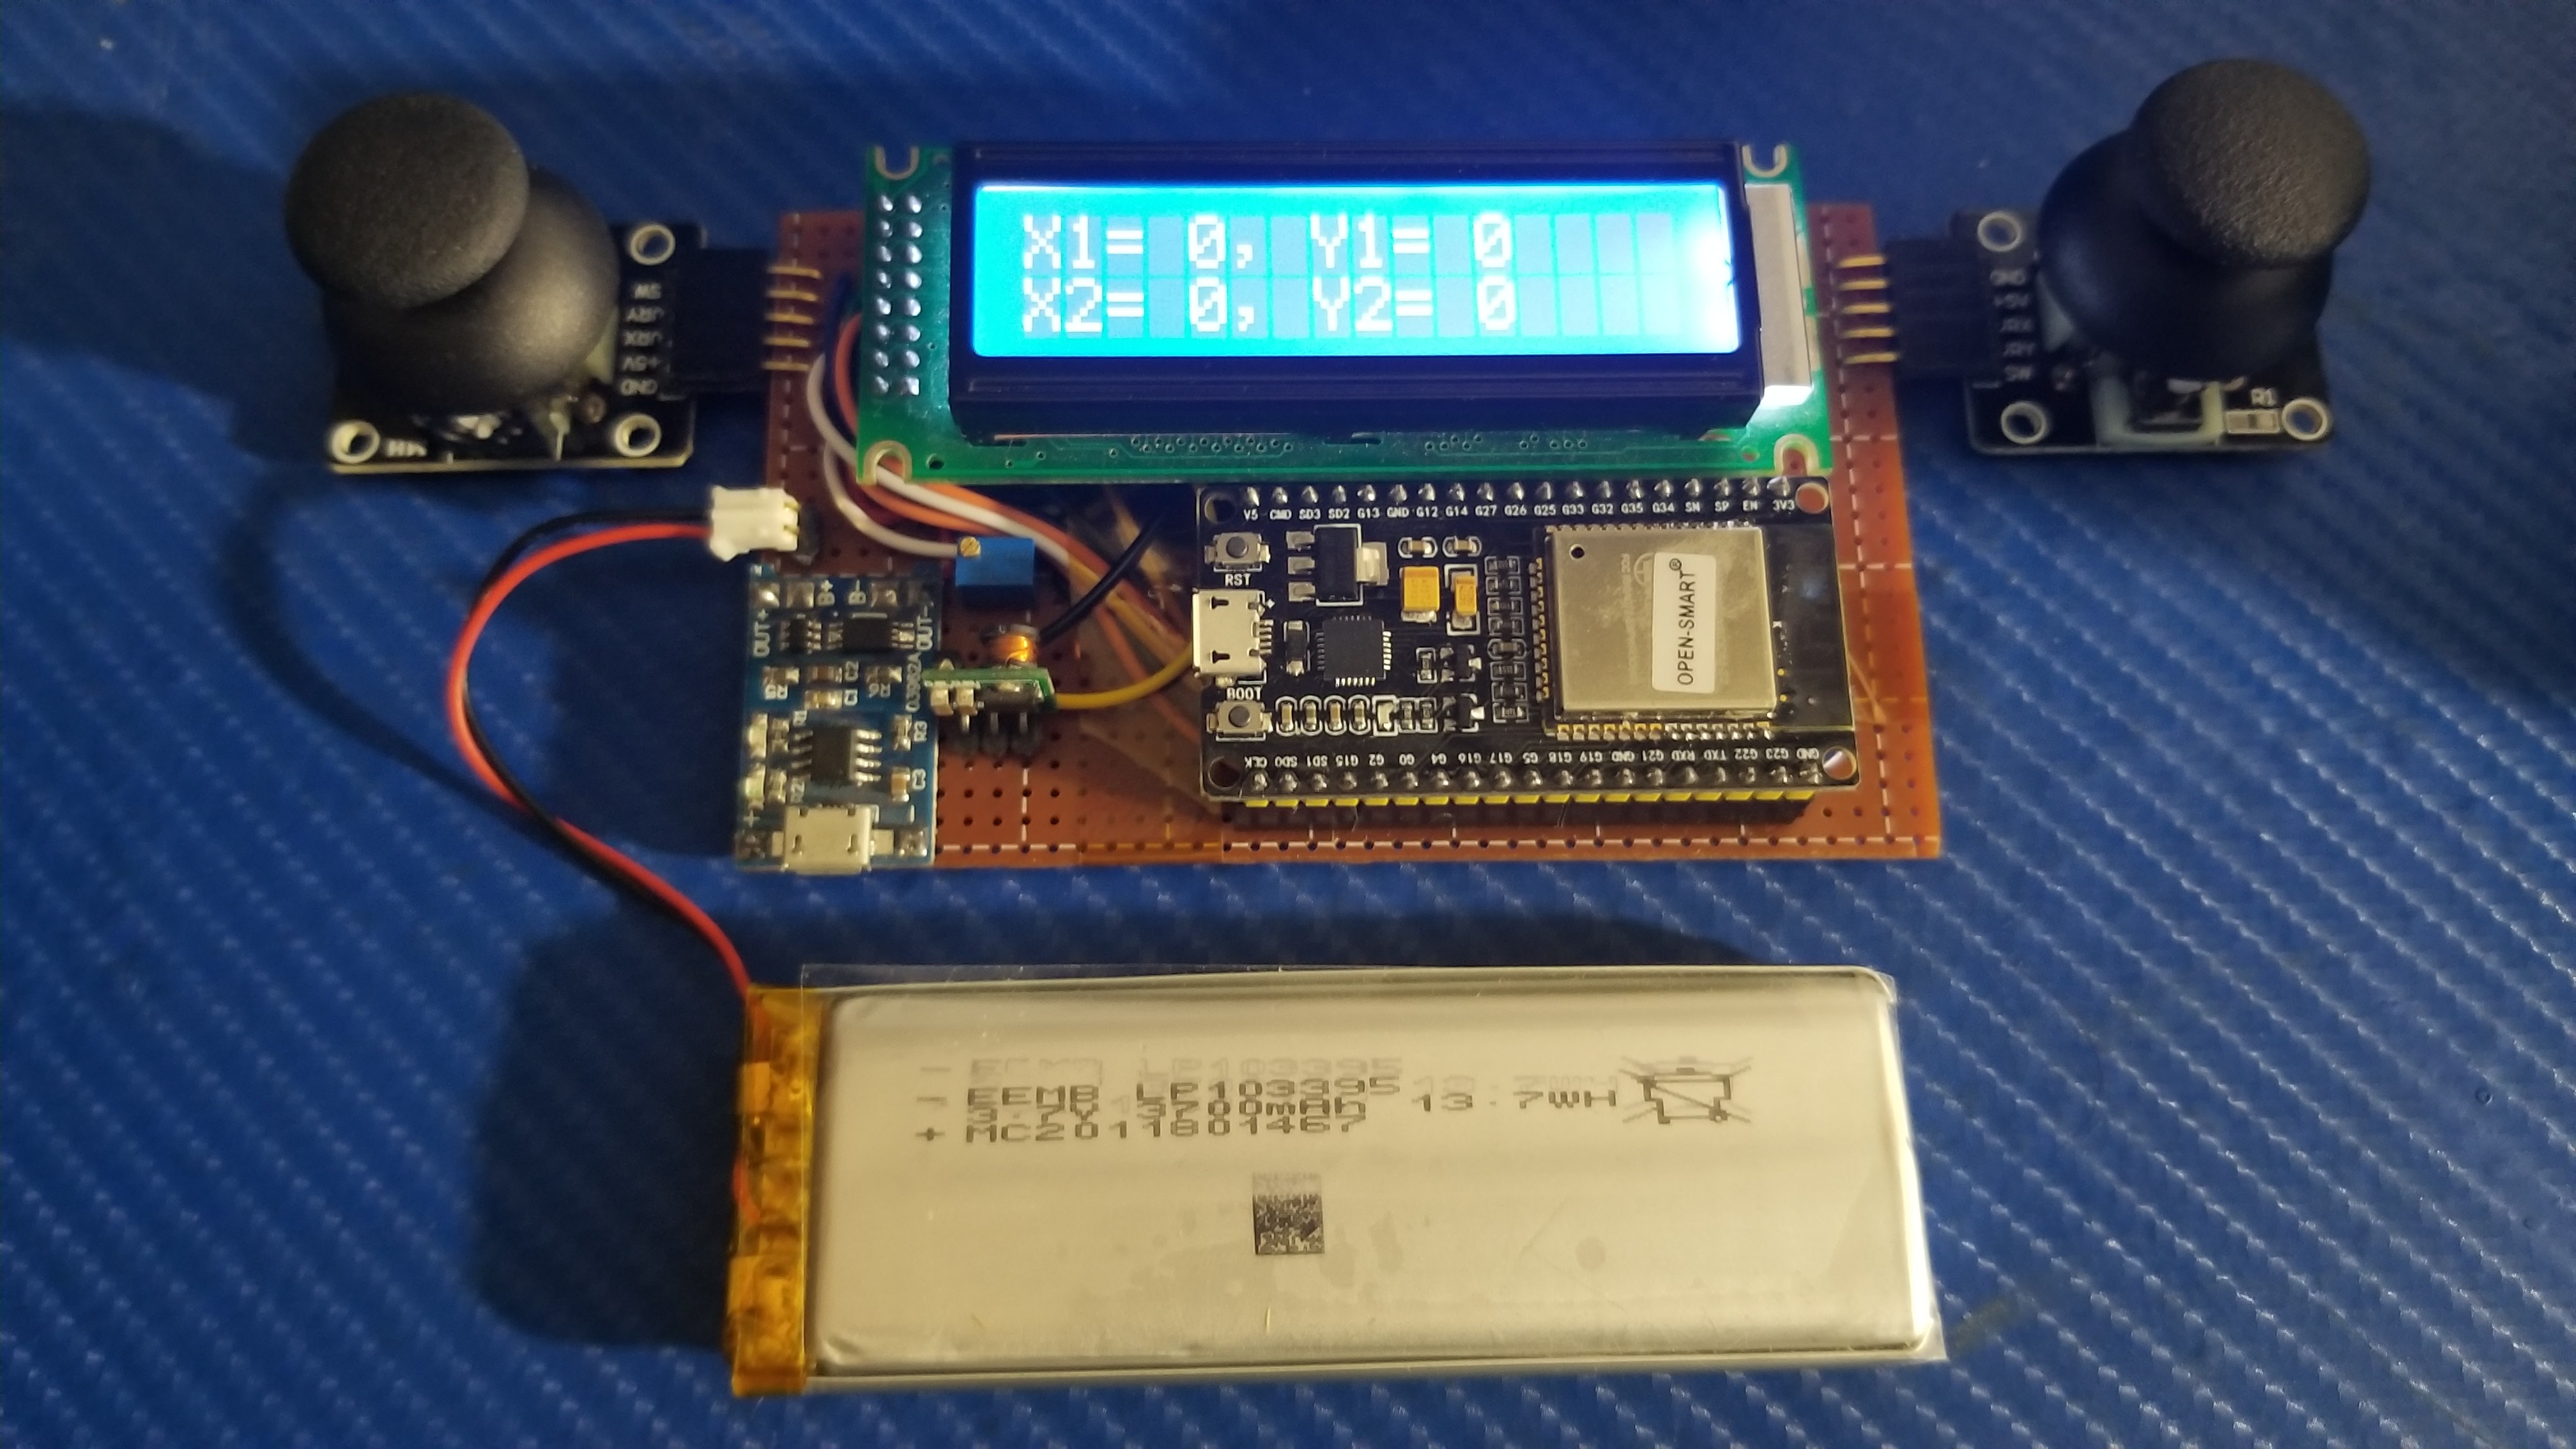
Added in the battery power management and bat to 5V supply. Went directly to the 5VIN on ESP32...tested and seems to work. We shall see once i get wifi up and going if there are any problems this way. I can always solder a usb cable to the power instead if issues come up.
Ordered some slide switches so i can have an on/off switch to bat power.
I can start working on 3D case for it next. By the time the switch is here in two days i should be ready to print the model out. Probably going to take a day or two to print both top and bottom. As long as nothing goes wrong with the fit.
Once wifi is running i can check current draw on battery to see how long this thing will run. I'm thinking alllll day. its a bit more mAH than i needed. better safe than sorry. more power!
I think i will connect the bat output to an analog in pin so i can check voltage on screen.
Also have plans for 2 more buttons for misc control. the joysticks are already wired up with 1 button each. Need to dig through my buttons and see what looks/fits nicely. I have some large 0.25" square buttons that might be a good fit.
I'll post some cad designs up when i get them done.
-
Controller wired up and Testing
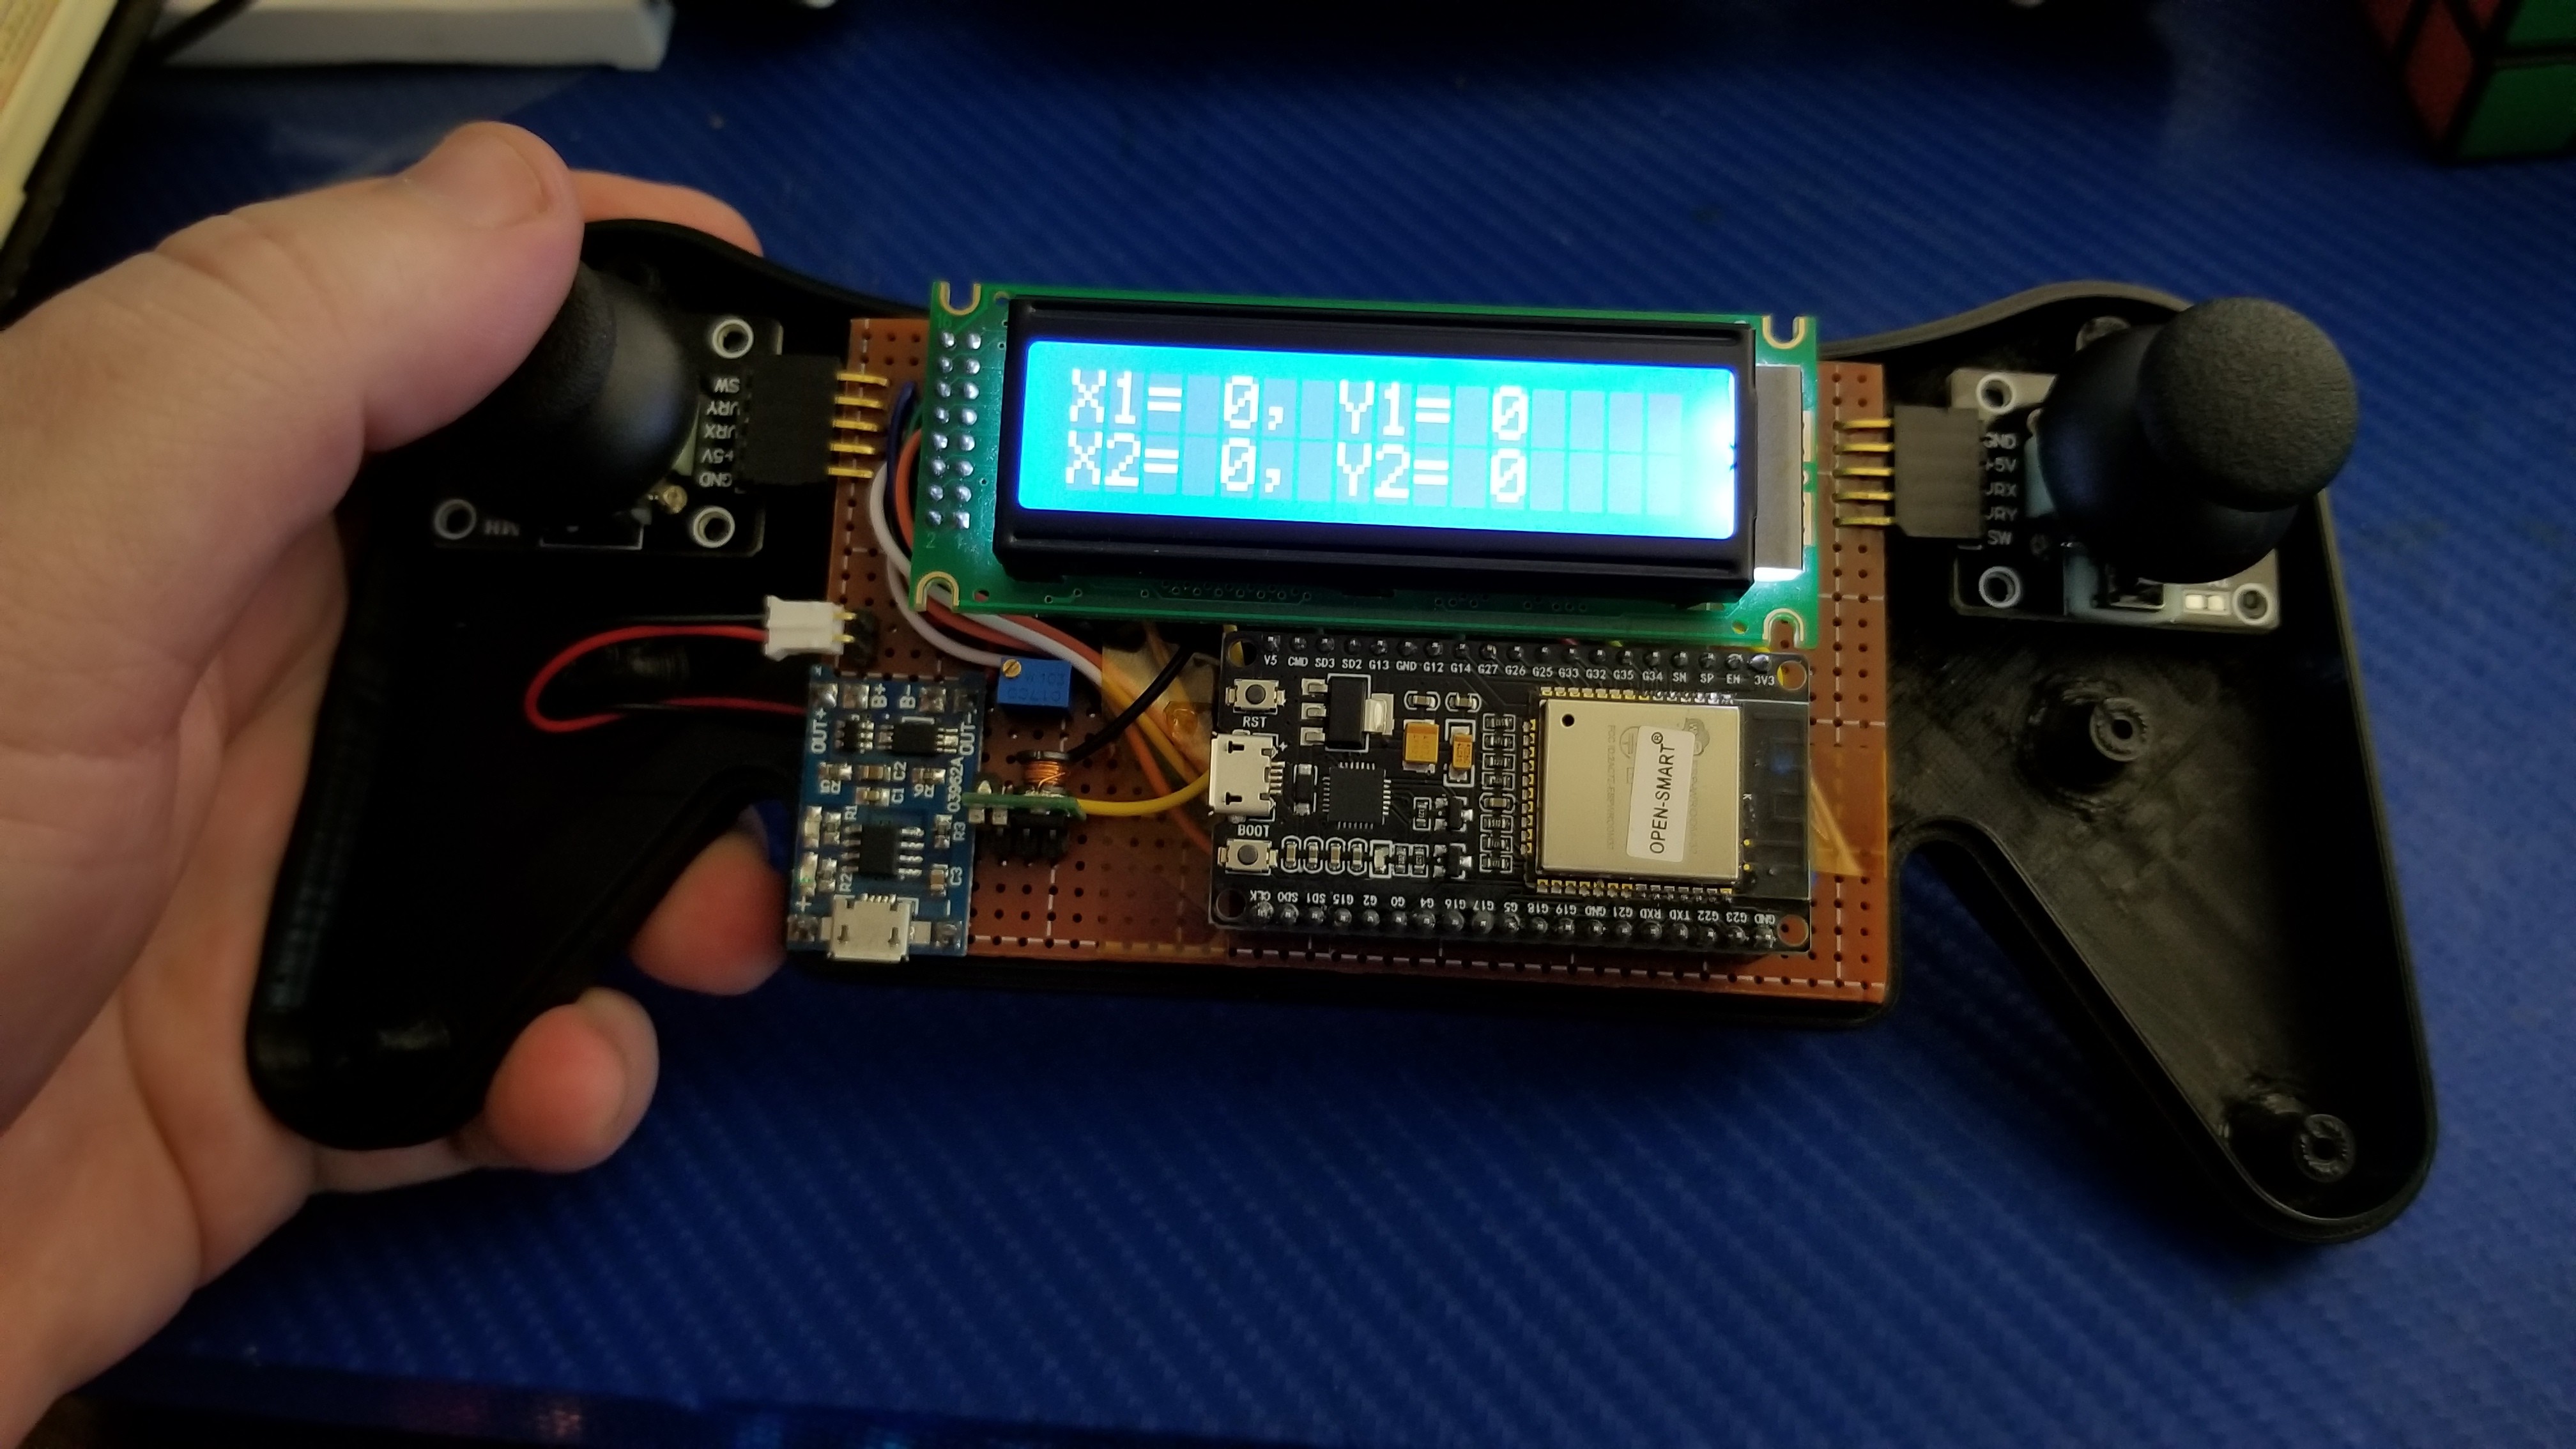
02/27/2021 at 01:08 • 0 commentsOkay controller cricuit is assembled. Needs some wifi code, battery and a 3d printed case.
 pRoFiT
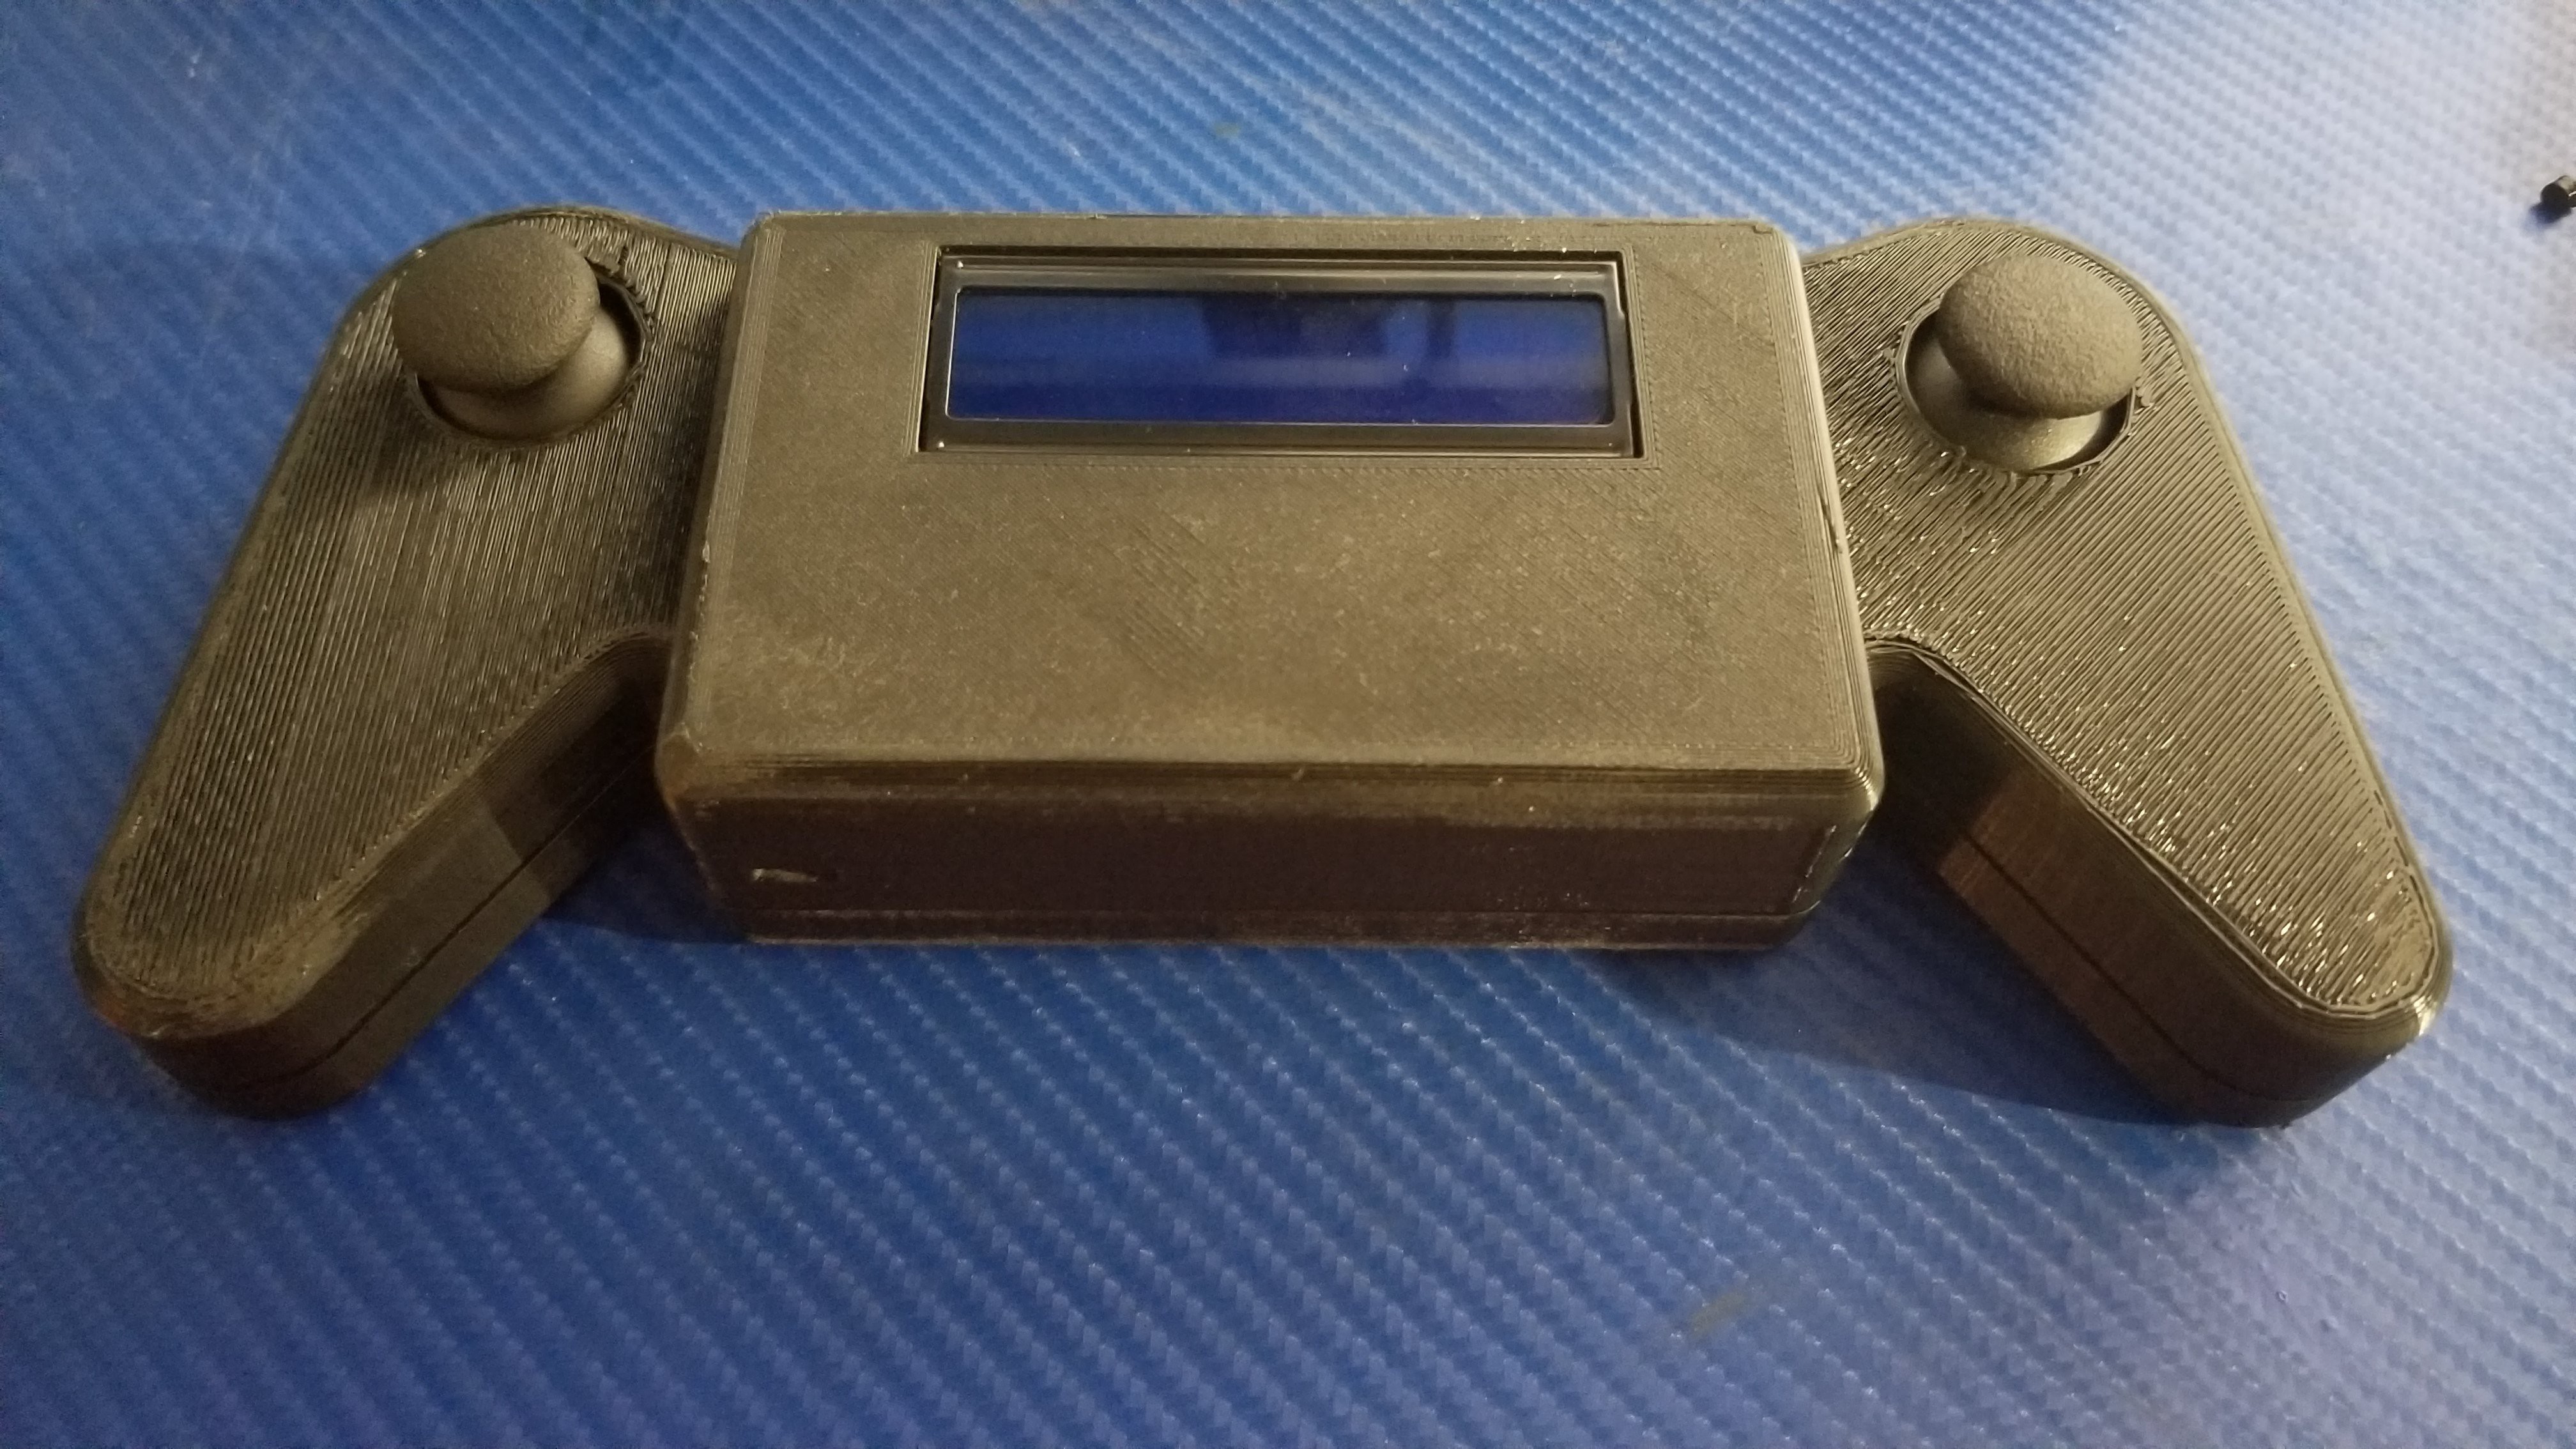
 As you can see the top piece looks great. I hit it with sandpaper to take off some rough edges. I may do some more after i get it all fitting right.
 You can see the right side is coming up from the bed. and the top right too. caused that area to not look clean. but its on the inside so? oh well.
 Battery fit perfectly in there.