 TheMixedSignal
-
13D Printing
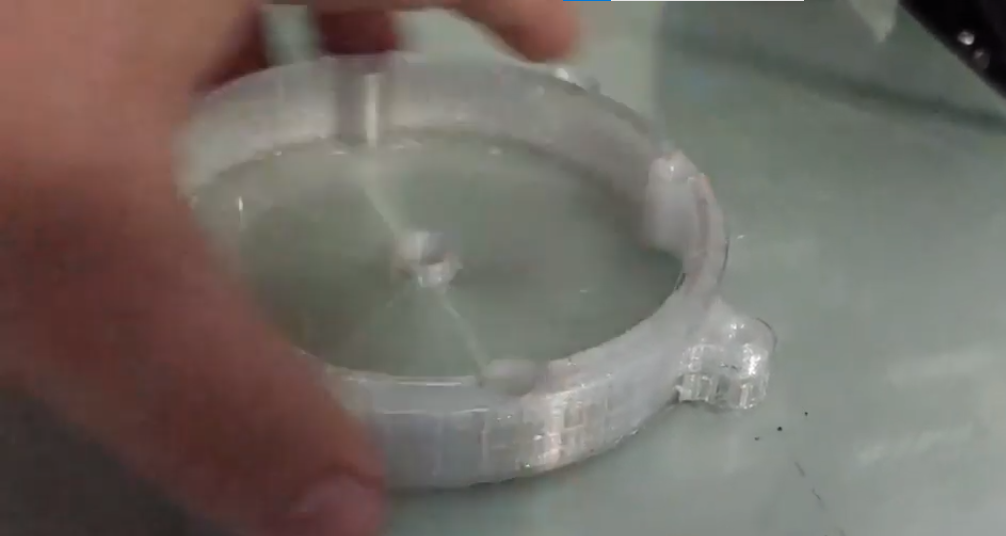
3D Print each of the components in the .zip file. These include the coil bobbin (top and bottom), Speaker "cone", and speaker "back". Be particularly careful when you pull the speaker cone off the bed! I found that pulling the glass bed plate off mine and running cold water under the part helped free it a bit.
![]()
-
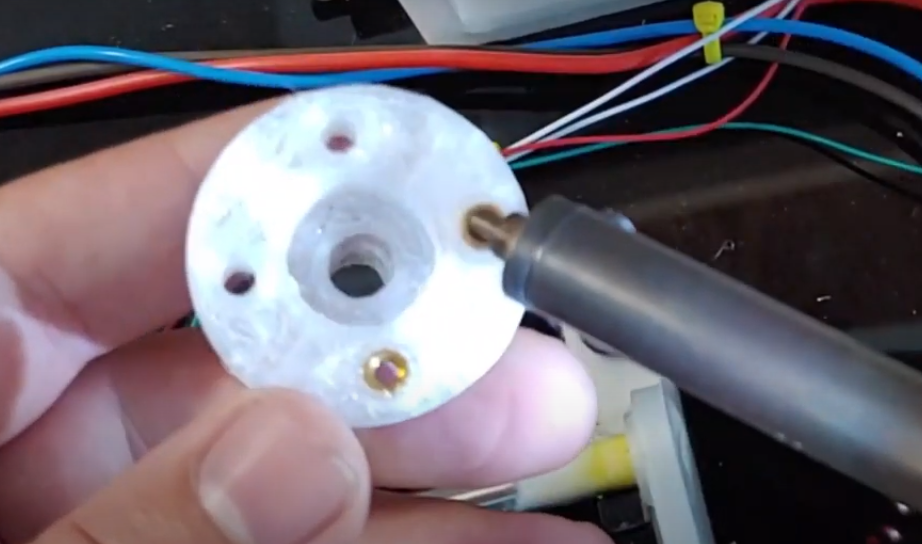
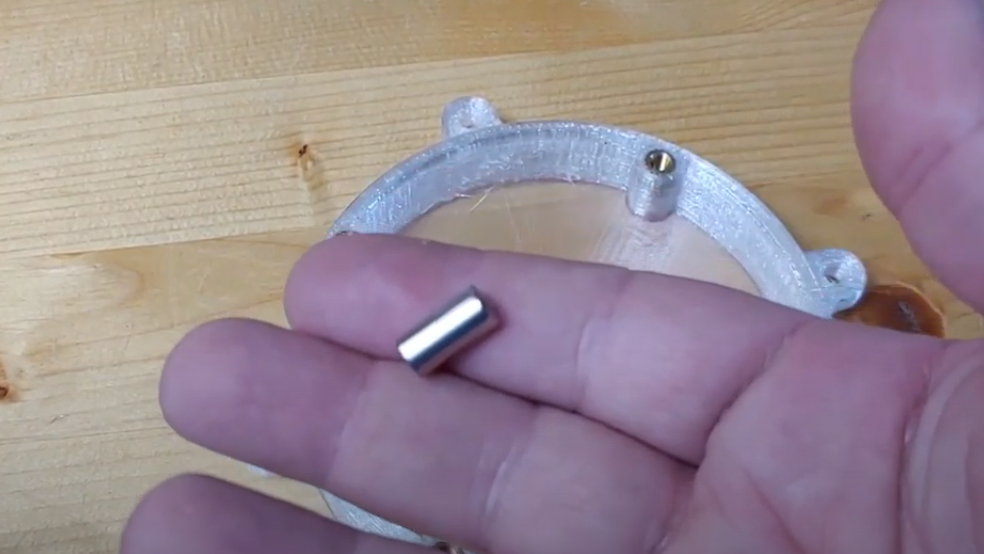
2Install Heated Inserts
Using a soldering iron, supply M3 heated inserts to the bobbin, and M4 heated inserts to the "cone"/membrane. I recommend using a vise for this step:
![]()
-
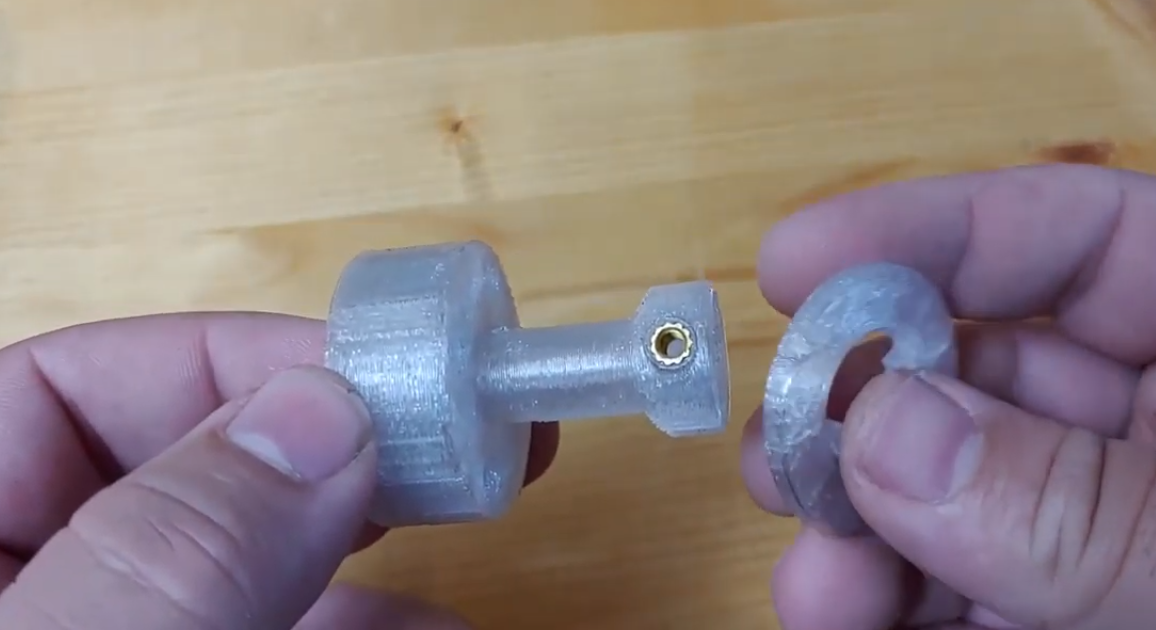
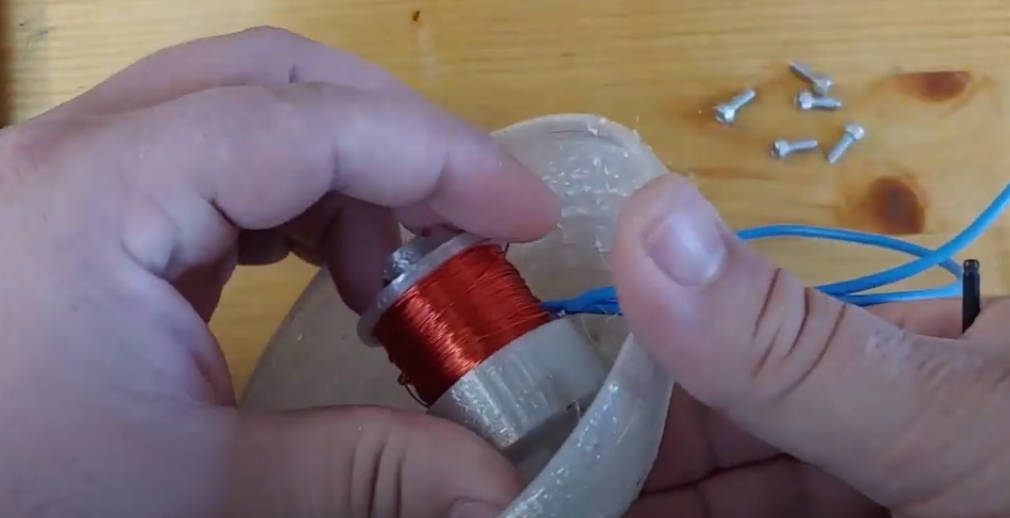
3Winding the Speaker Coil
Assemble the bobbin (should "snap" together, but recommend using some epoxy to hold it all together).
![]()
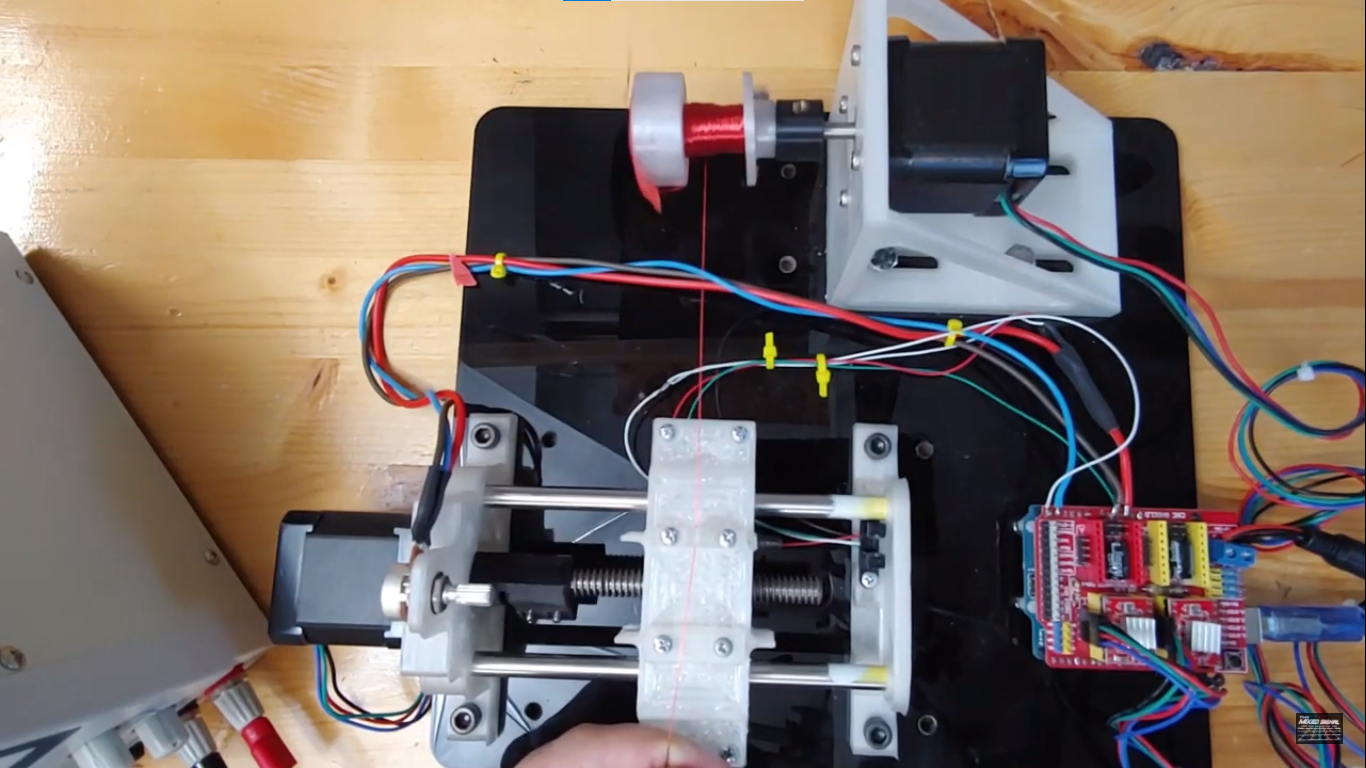
Then wind the coil (either using a dedicated winder, a hand drill, or doing it by hand). The coil bobbin is designed to fit onto a 1/4in shaft with a heat-set insert for a set screw. Total number of winds should be around 600 or so for a 16 ohm speaker. This wouldn't be fun to do by hand, but isn't as bad as trying to do a guitar pickup (5-10k turns!).
![]()
![]()
-
4Verify Impedance
Solder some leads to the ends of the speaker coil wire. Depending on the magnet wire, it may help to either burn the plastic off or to use steel wool to rub off the enamel. Then check the impedance of the wire to make sure it's roughly in the expected ballpark of 16 ohms (or however far you planned on winding).
![]()
-
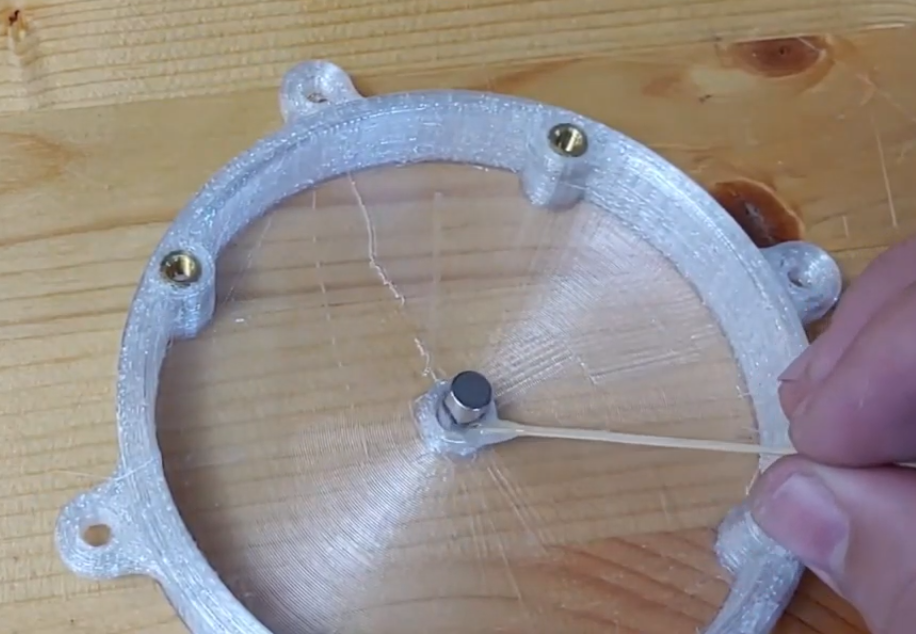
5Apply Magnet to Speaker "Cone"/Membrane
Use some glue or epoxy to hold the 1/4in x 3/4in magnet to the membrane.
Note: this worked for longer magnets, too (in an attempt to increase loudness), but I ended up needing to apply some grease to the inside of the "coil", as the magnet wasn't mounted perfectly perpendicularly, and tended to rub against the coil wall.
![]()
![]()
-
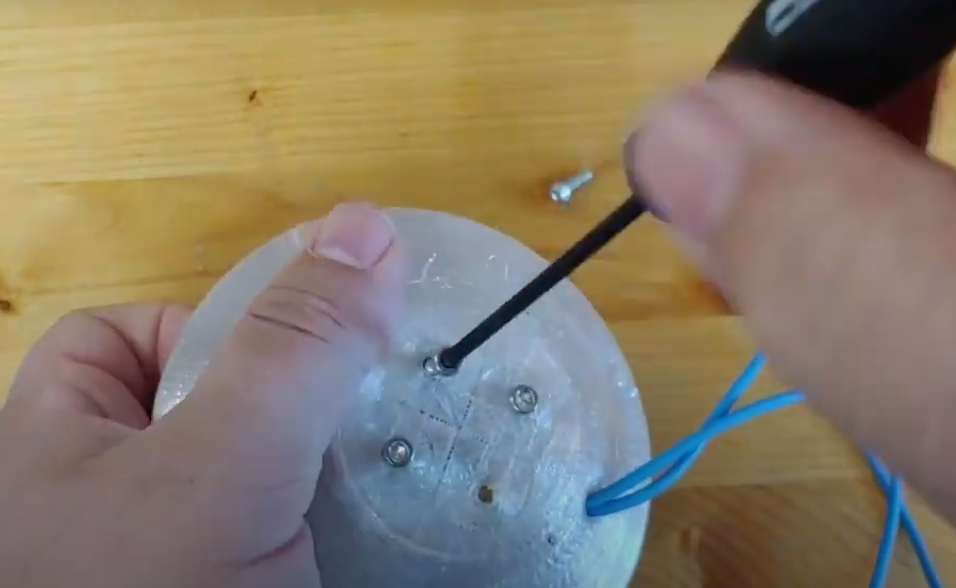
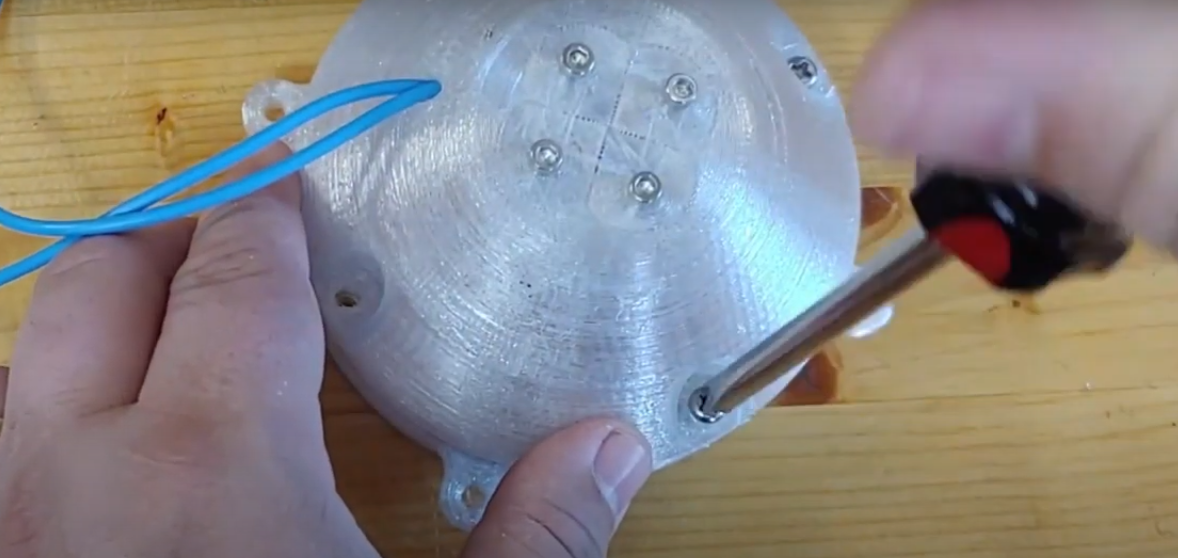
6Assemble the two "halves" of the exciter
At this point, you can attach the coil, running the leads out the hole, and screw everything together:
![]()
![]()
![]()
-
7Plug into an Amplifier Board, and Proceed to Rock Out
For initial bringup, I drove this similar to a buzzer, using a simple little surface-mounted transistor board (EzFan2 on Tindie). I picked that up with the assumption I'd be making a low power solenoid first, so I figured it might be fun to try driving this with an Arduino Sketch that played the Mario Theme to start:
https://gist.github.com/micdenny/9b2ad8a6fac1f4a7d679087194761ce0
I ended up wanting a lot more power in the end, since it's not particularly efficient, and used one channel from an audio amplifier board I got on Amazon a while back w/ a 12V Power Supply. I'd recommend using something like this if you're looking to re-create this project:https://www.amazon.com/Amplifier-DROK-PAM8620-Digital-Channel/dp/B077M526SB/
At this point, it's time to hold the exciter to a hard substrate, wall, plate, board, etc. and rock out!
Note: I found that using the steel enclosure of my power supply to be a pretty nice substrate for the exciter, because I didn't need to actually apply the screws or physically hold the thing. The magnet just kind of kept it all in place!
3D Printed Audio Exciter
This project uses a 3D Printed Speaker "Cone" and Coil Bobbin as an audio exciter


Discussions
Become a Hackaday.io Member
Create an account to leave a comment. Already have an account? Log In.