-
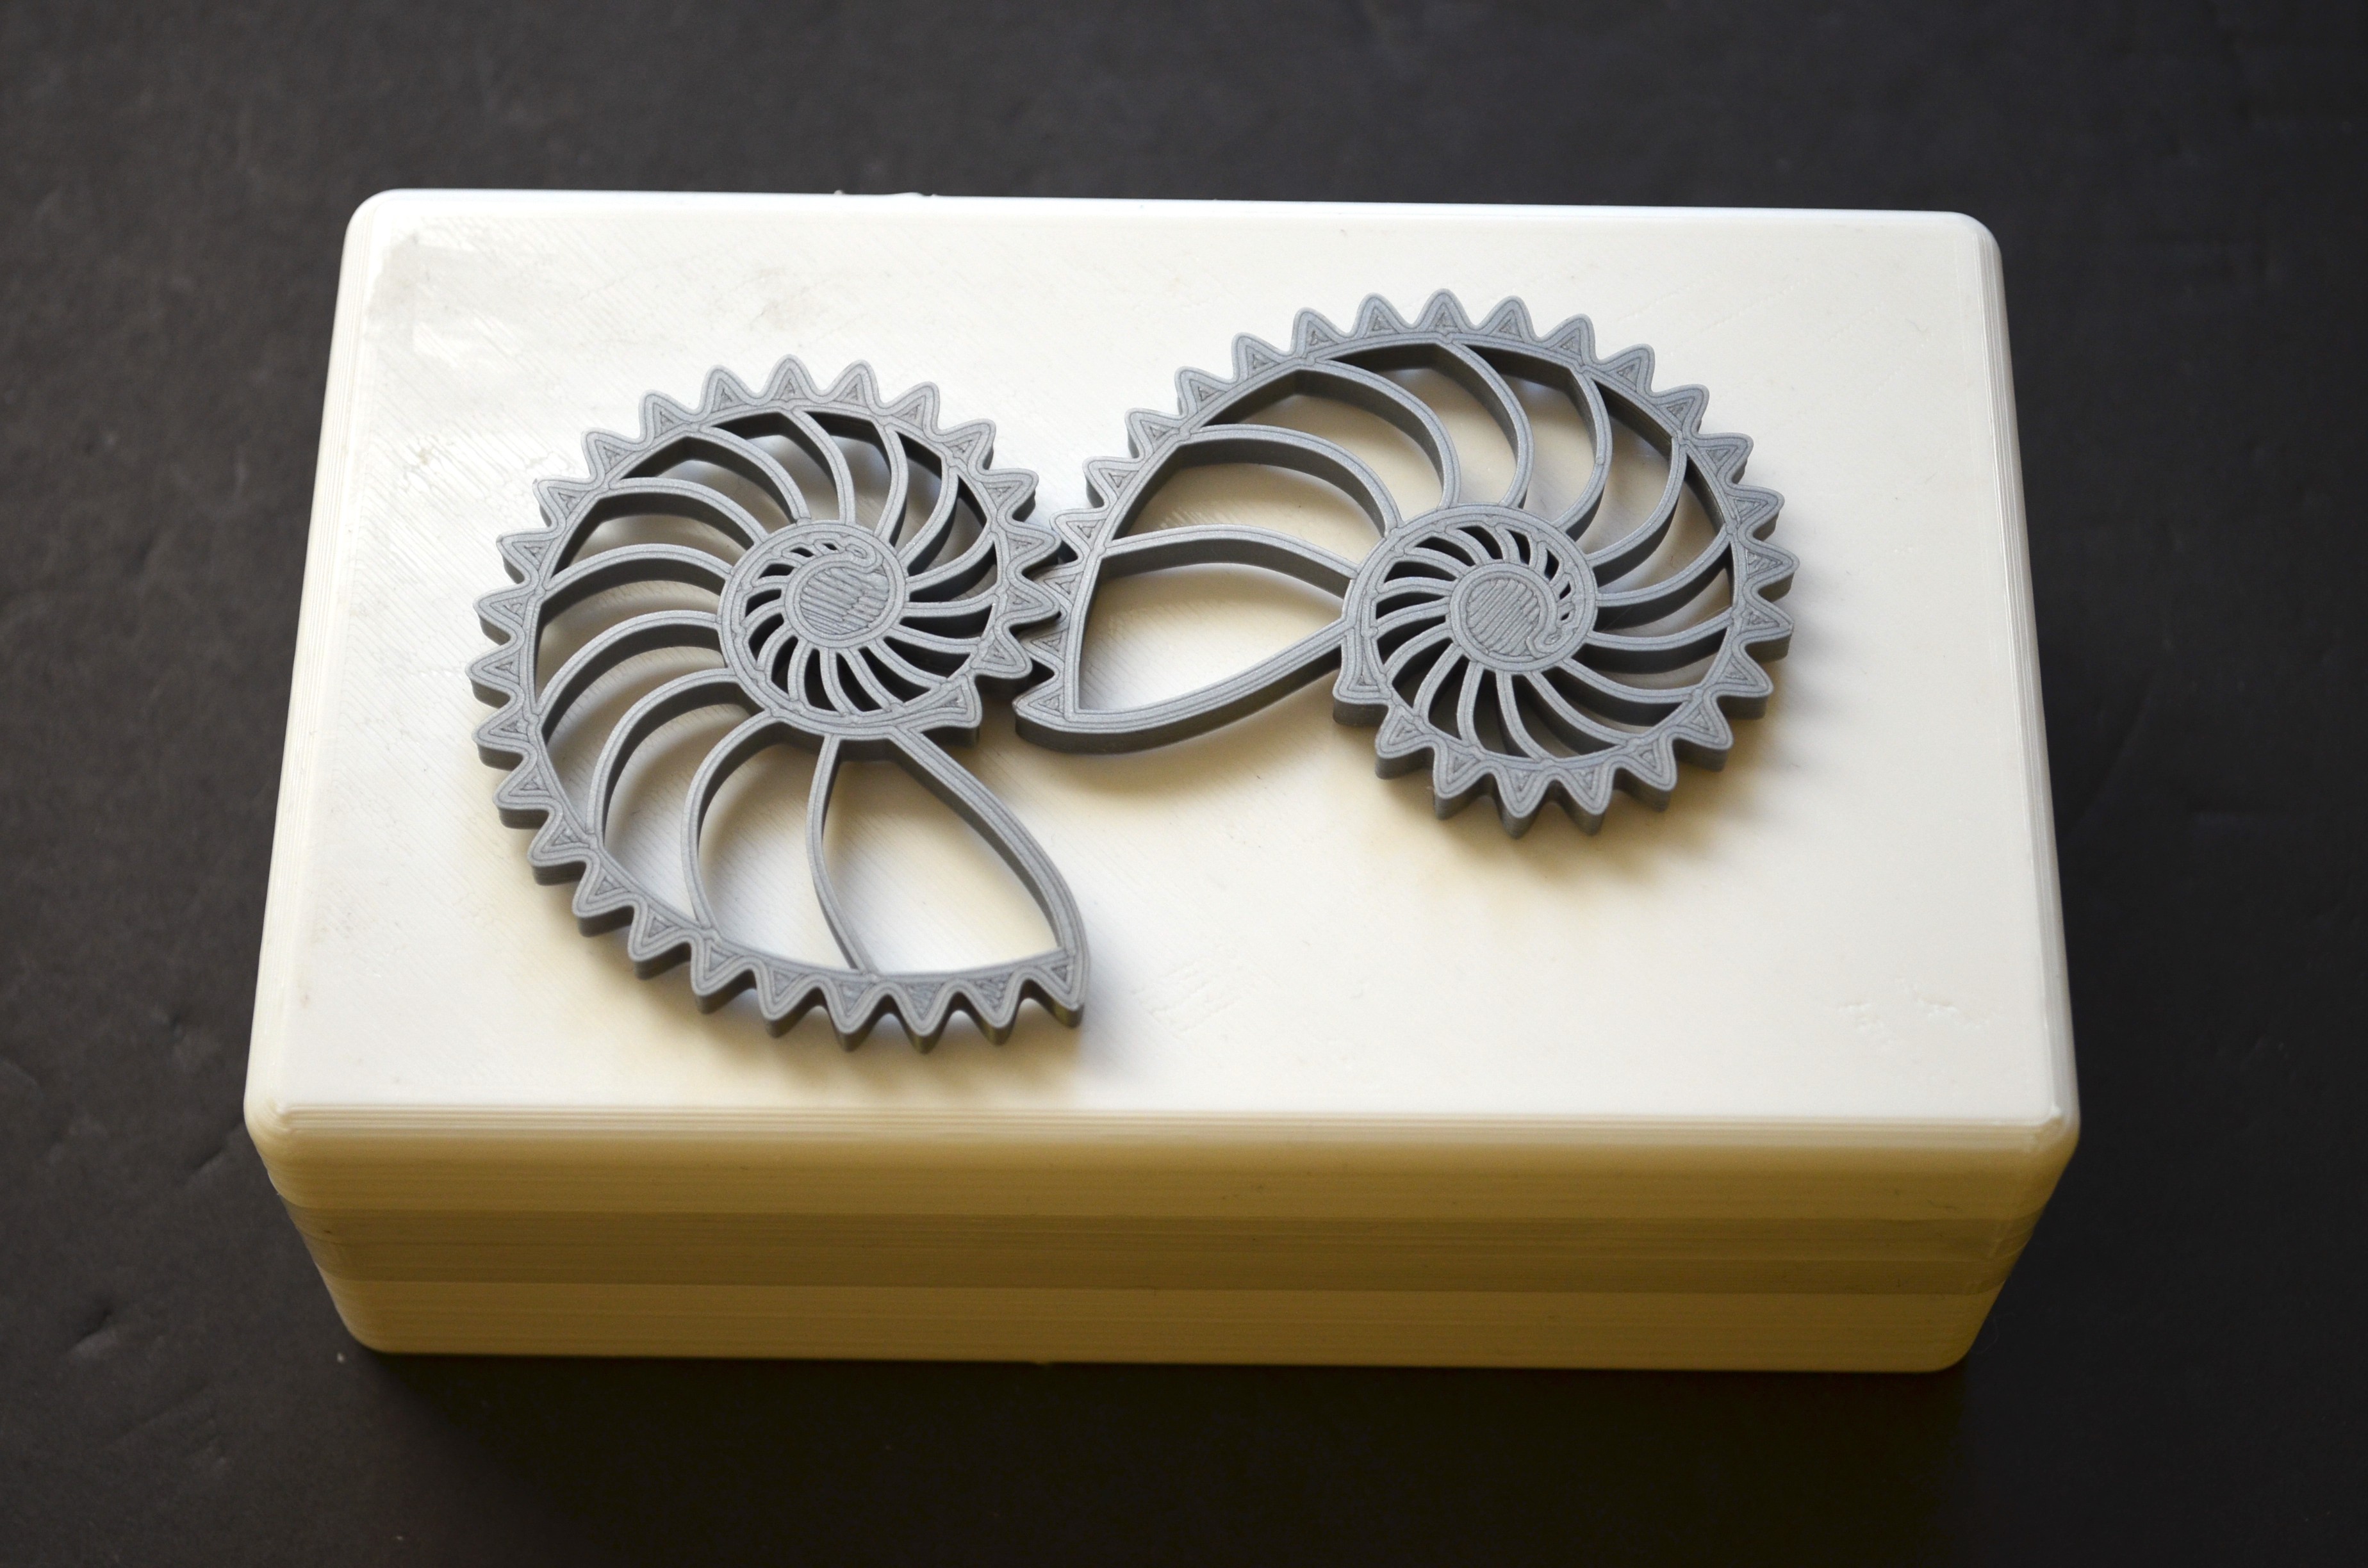
1Nautilus Twins
List of parts to be 3D printed and the required hardware components
- A 90 teeth spur gear. This would mate directly with the Nautilus gear.
- A compound gear with 30 teeth to mate with the 90 teeth gear to get the factor of 3 reduction in speed.
- A second gear in the compound gear with 45 teeth to mate with a smaller gear with 15 teeth to provide another factor of 3 reduction in speed.
- A DC motor which is powered by 4 AA batteries connected to the 15 teeth gear.
- A bracket to mount the DC motor.
- A housing that contains all the above components. It is split into 2 halves - front and rear.
All parts were printed in PLA with 0.28 mm layer height and a 0.4 mm nozzle on an Ender 3. The STL files can be found on Thingiverse.
Assembly Instructions
- Insert the two 608 bearings in the slots on the front half of the housing.
- Mount a Nautilus gear on the shaft and insert the shaft through the 608 bearing from the front.
- Mount the 90 teeth gear on the other end of this shaft.
- Install the second Nautilus gear and shaft in the same way as above.
- Mount the compound gear on the second shaft and ensure that the 30 teeth gear meshes correctly with the 90 teeth gear.
- Attach the bracket to the rear half of the housing and then the DC motor to the bracket.
- Mount the 15 teeth gear on the DC motor.
- Complete the electrical connection as shown in the wiring diagram.
- Snap together the front and rear halves of the housing while ensuring that the 15 teeth gear meshes correctly with the 45 teeth gear in the compound gear.
-
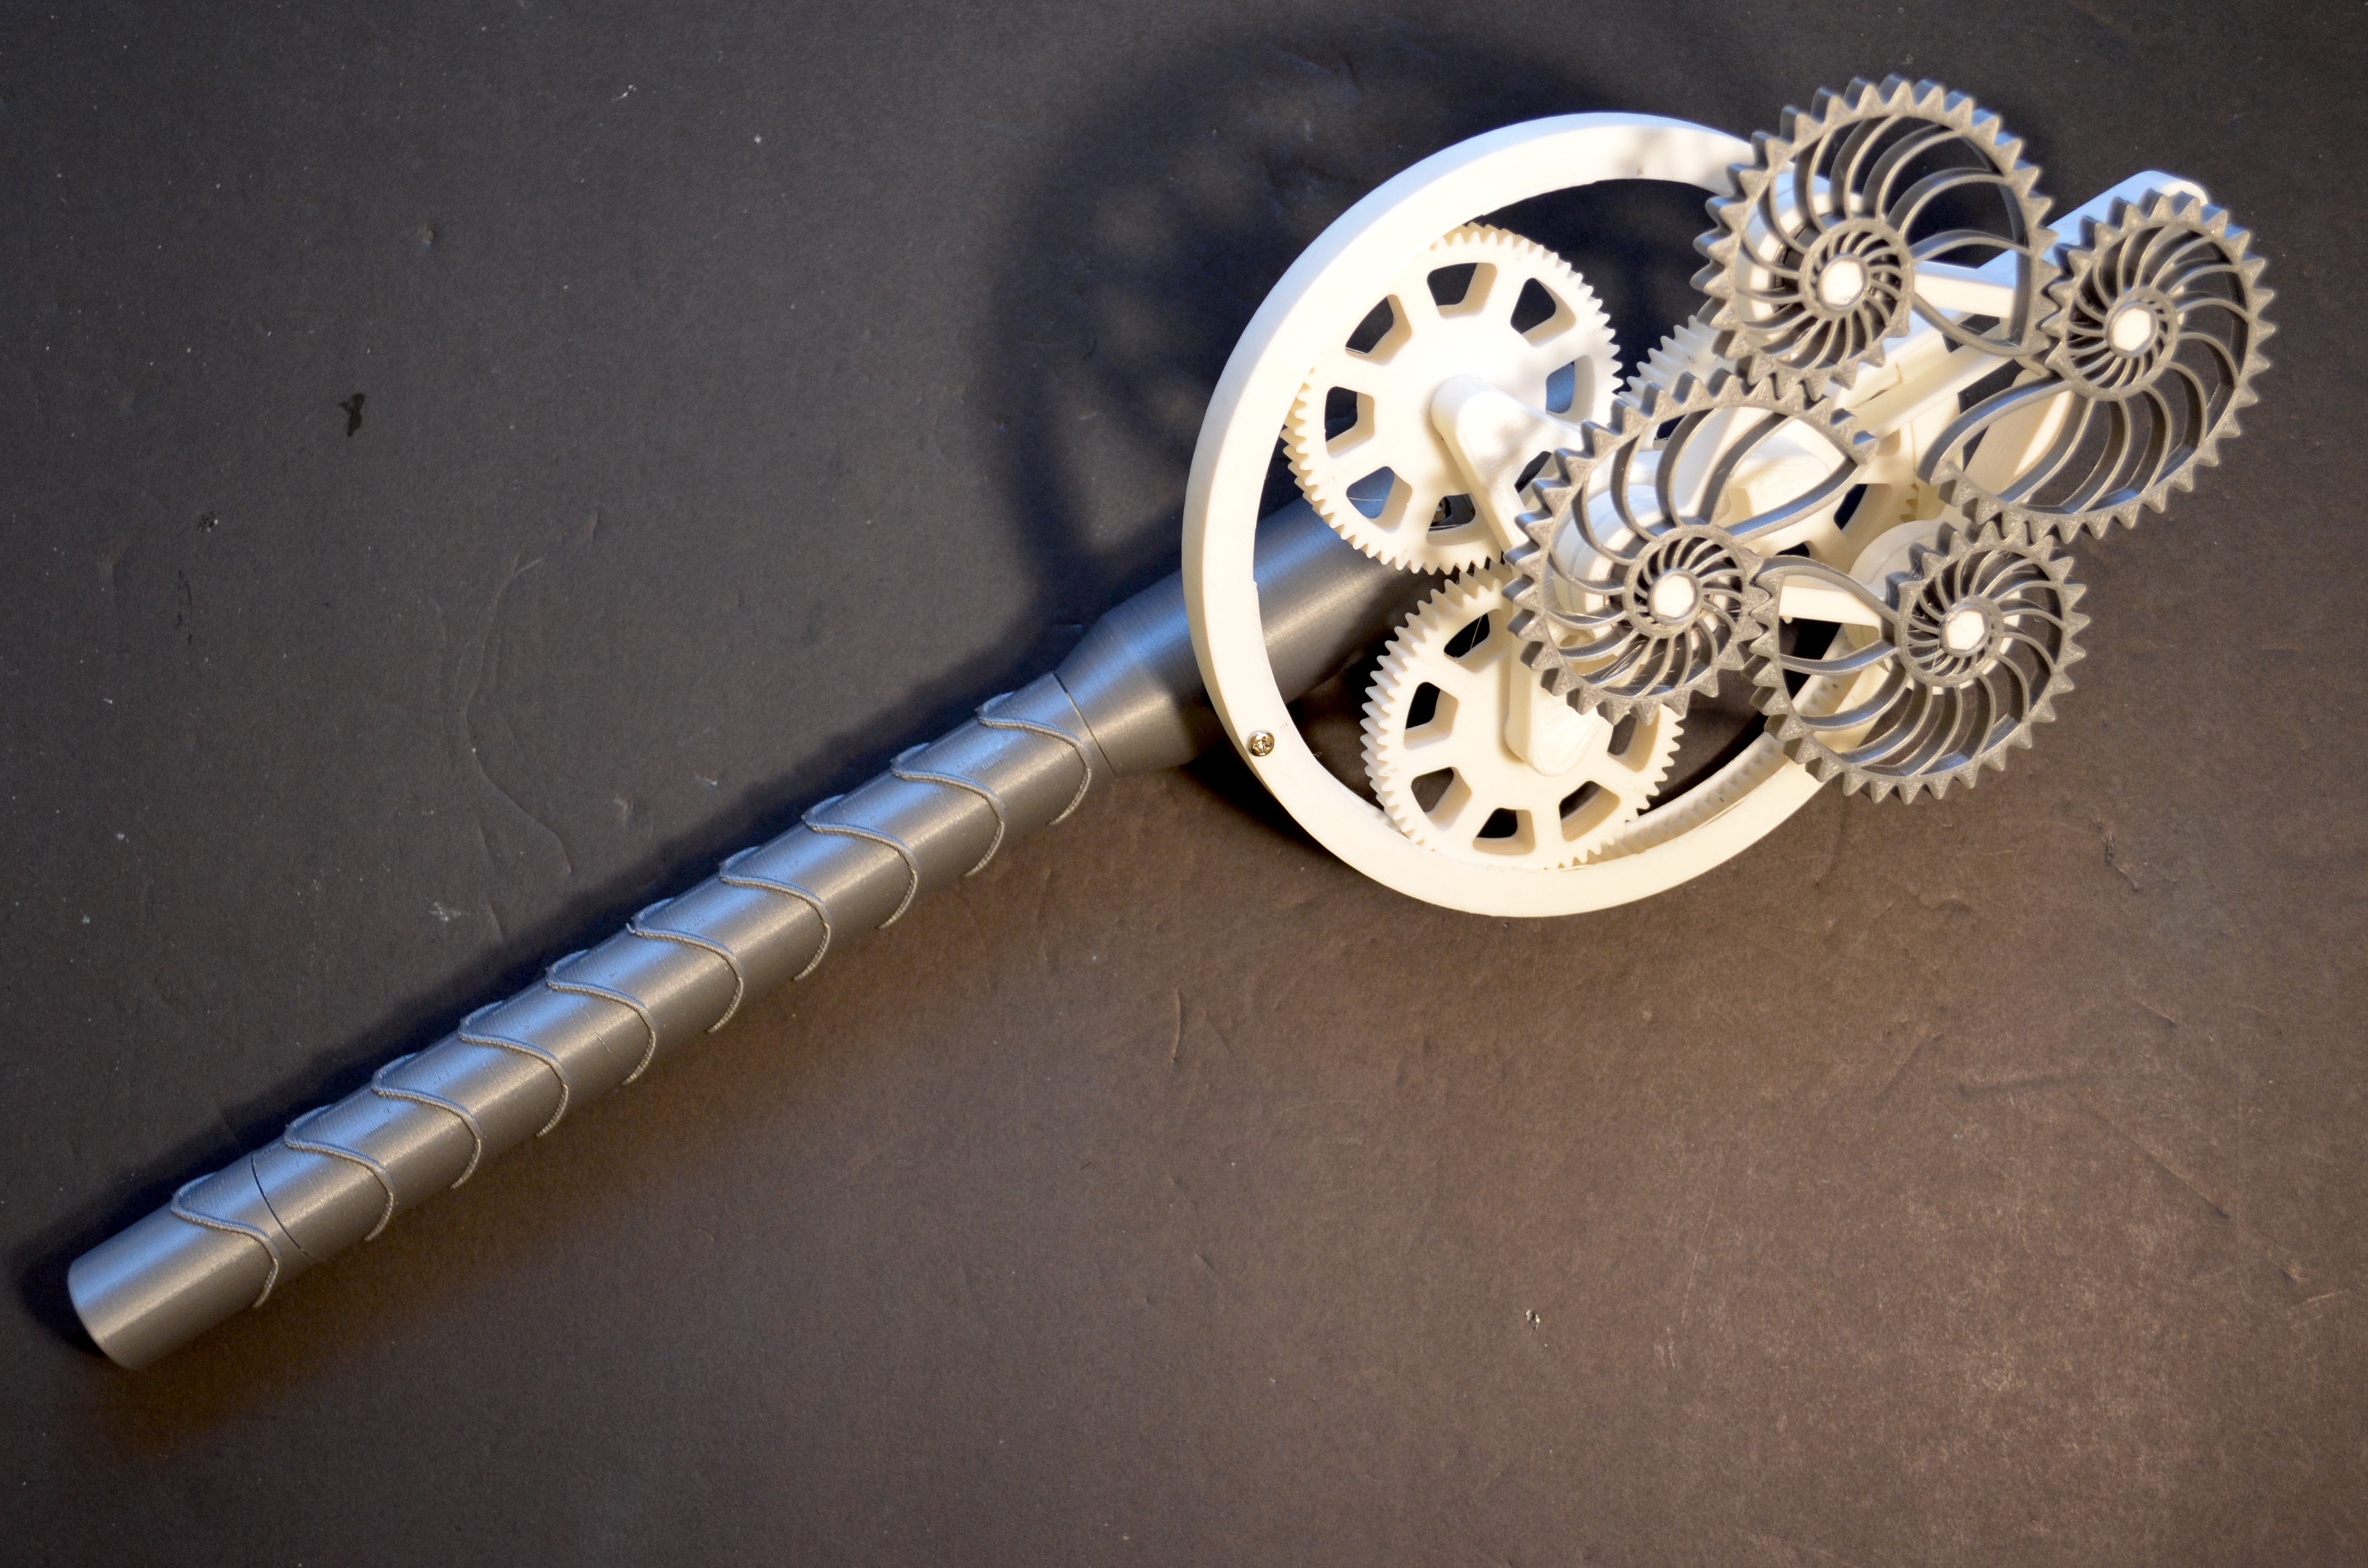
2Nautilus Windmill
List of parts to be 3D printed and the required hardware components
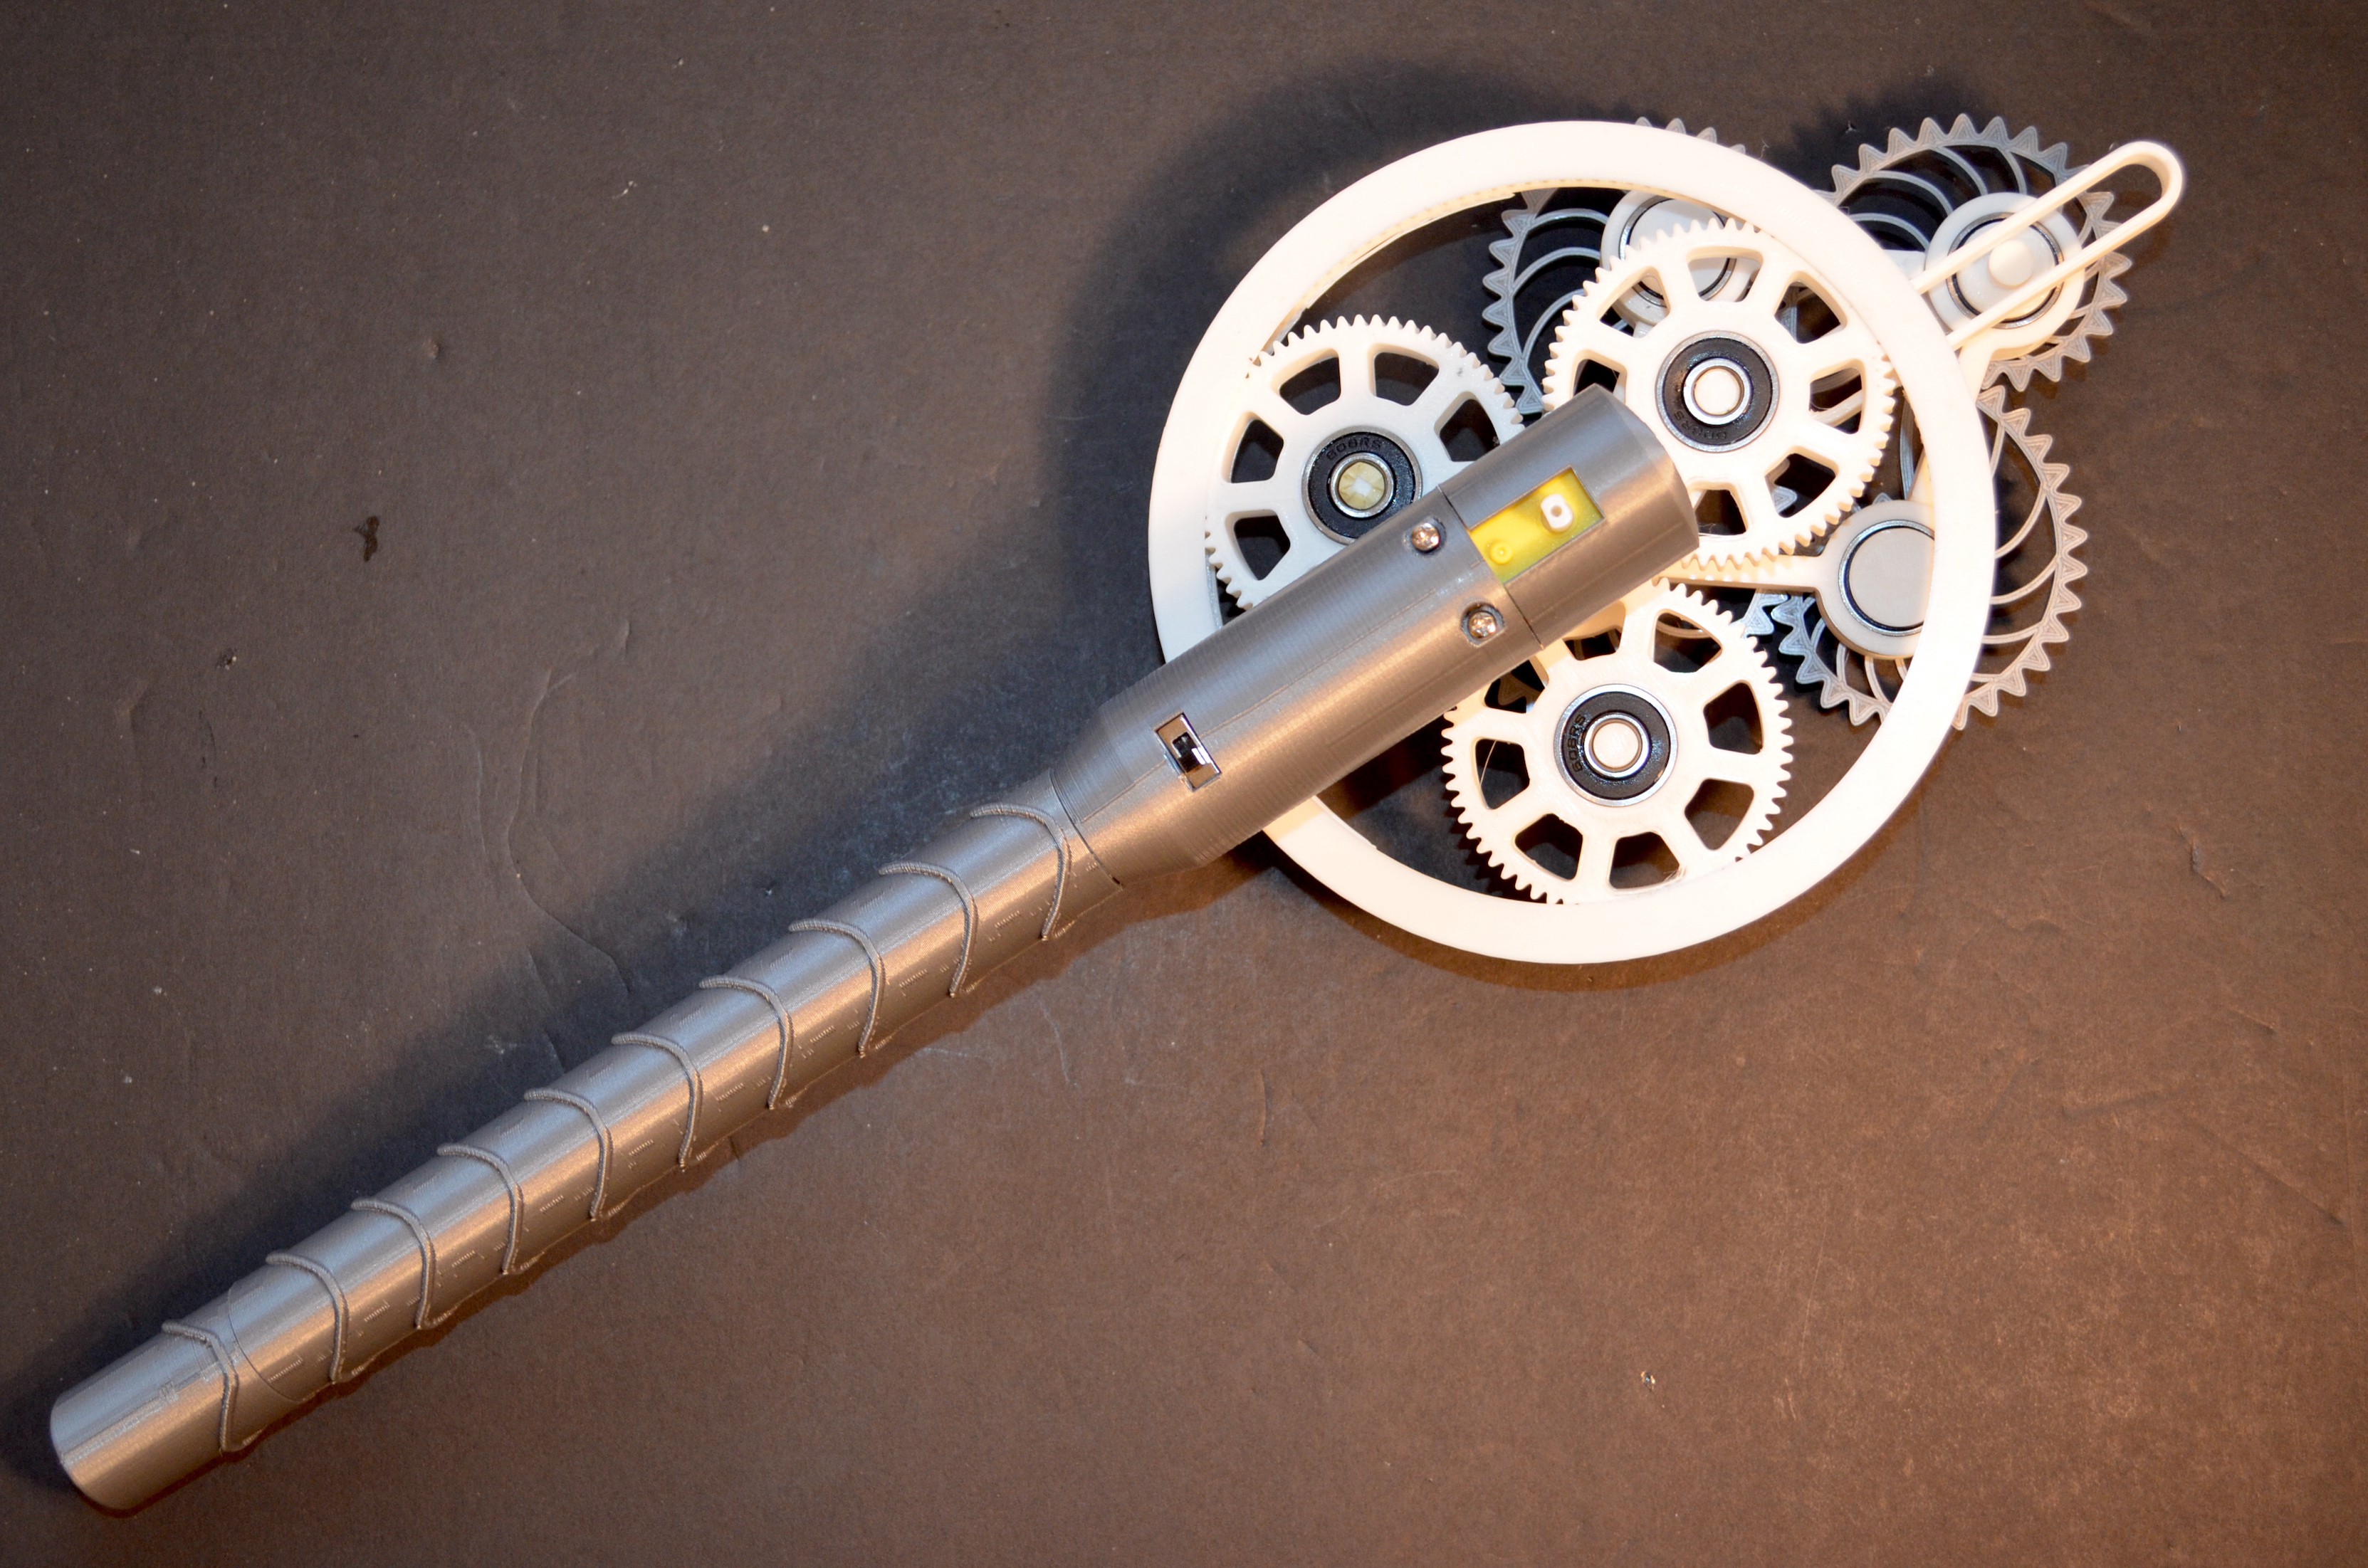
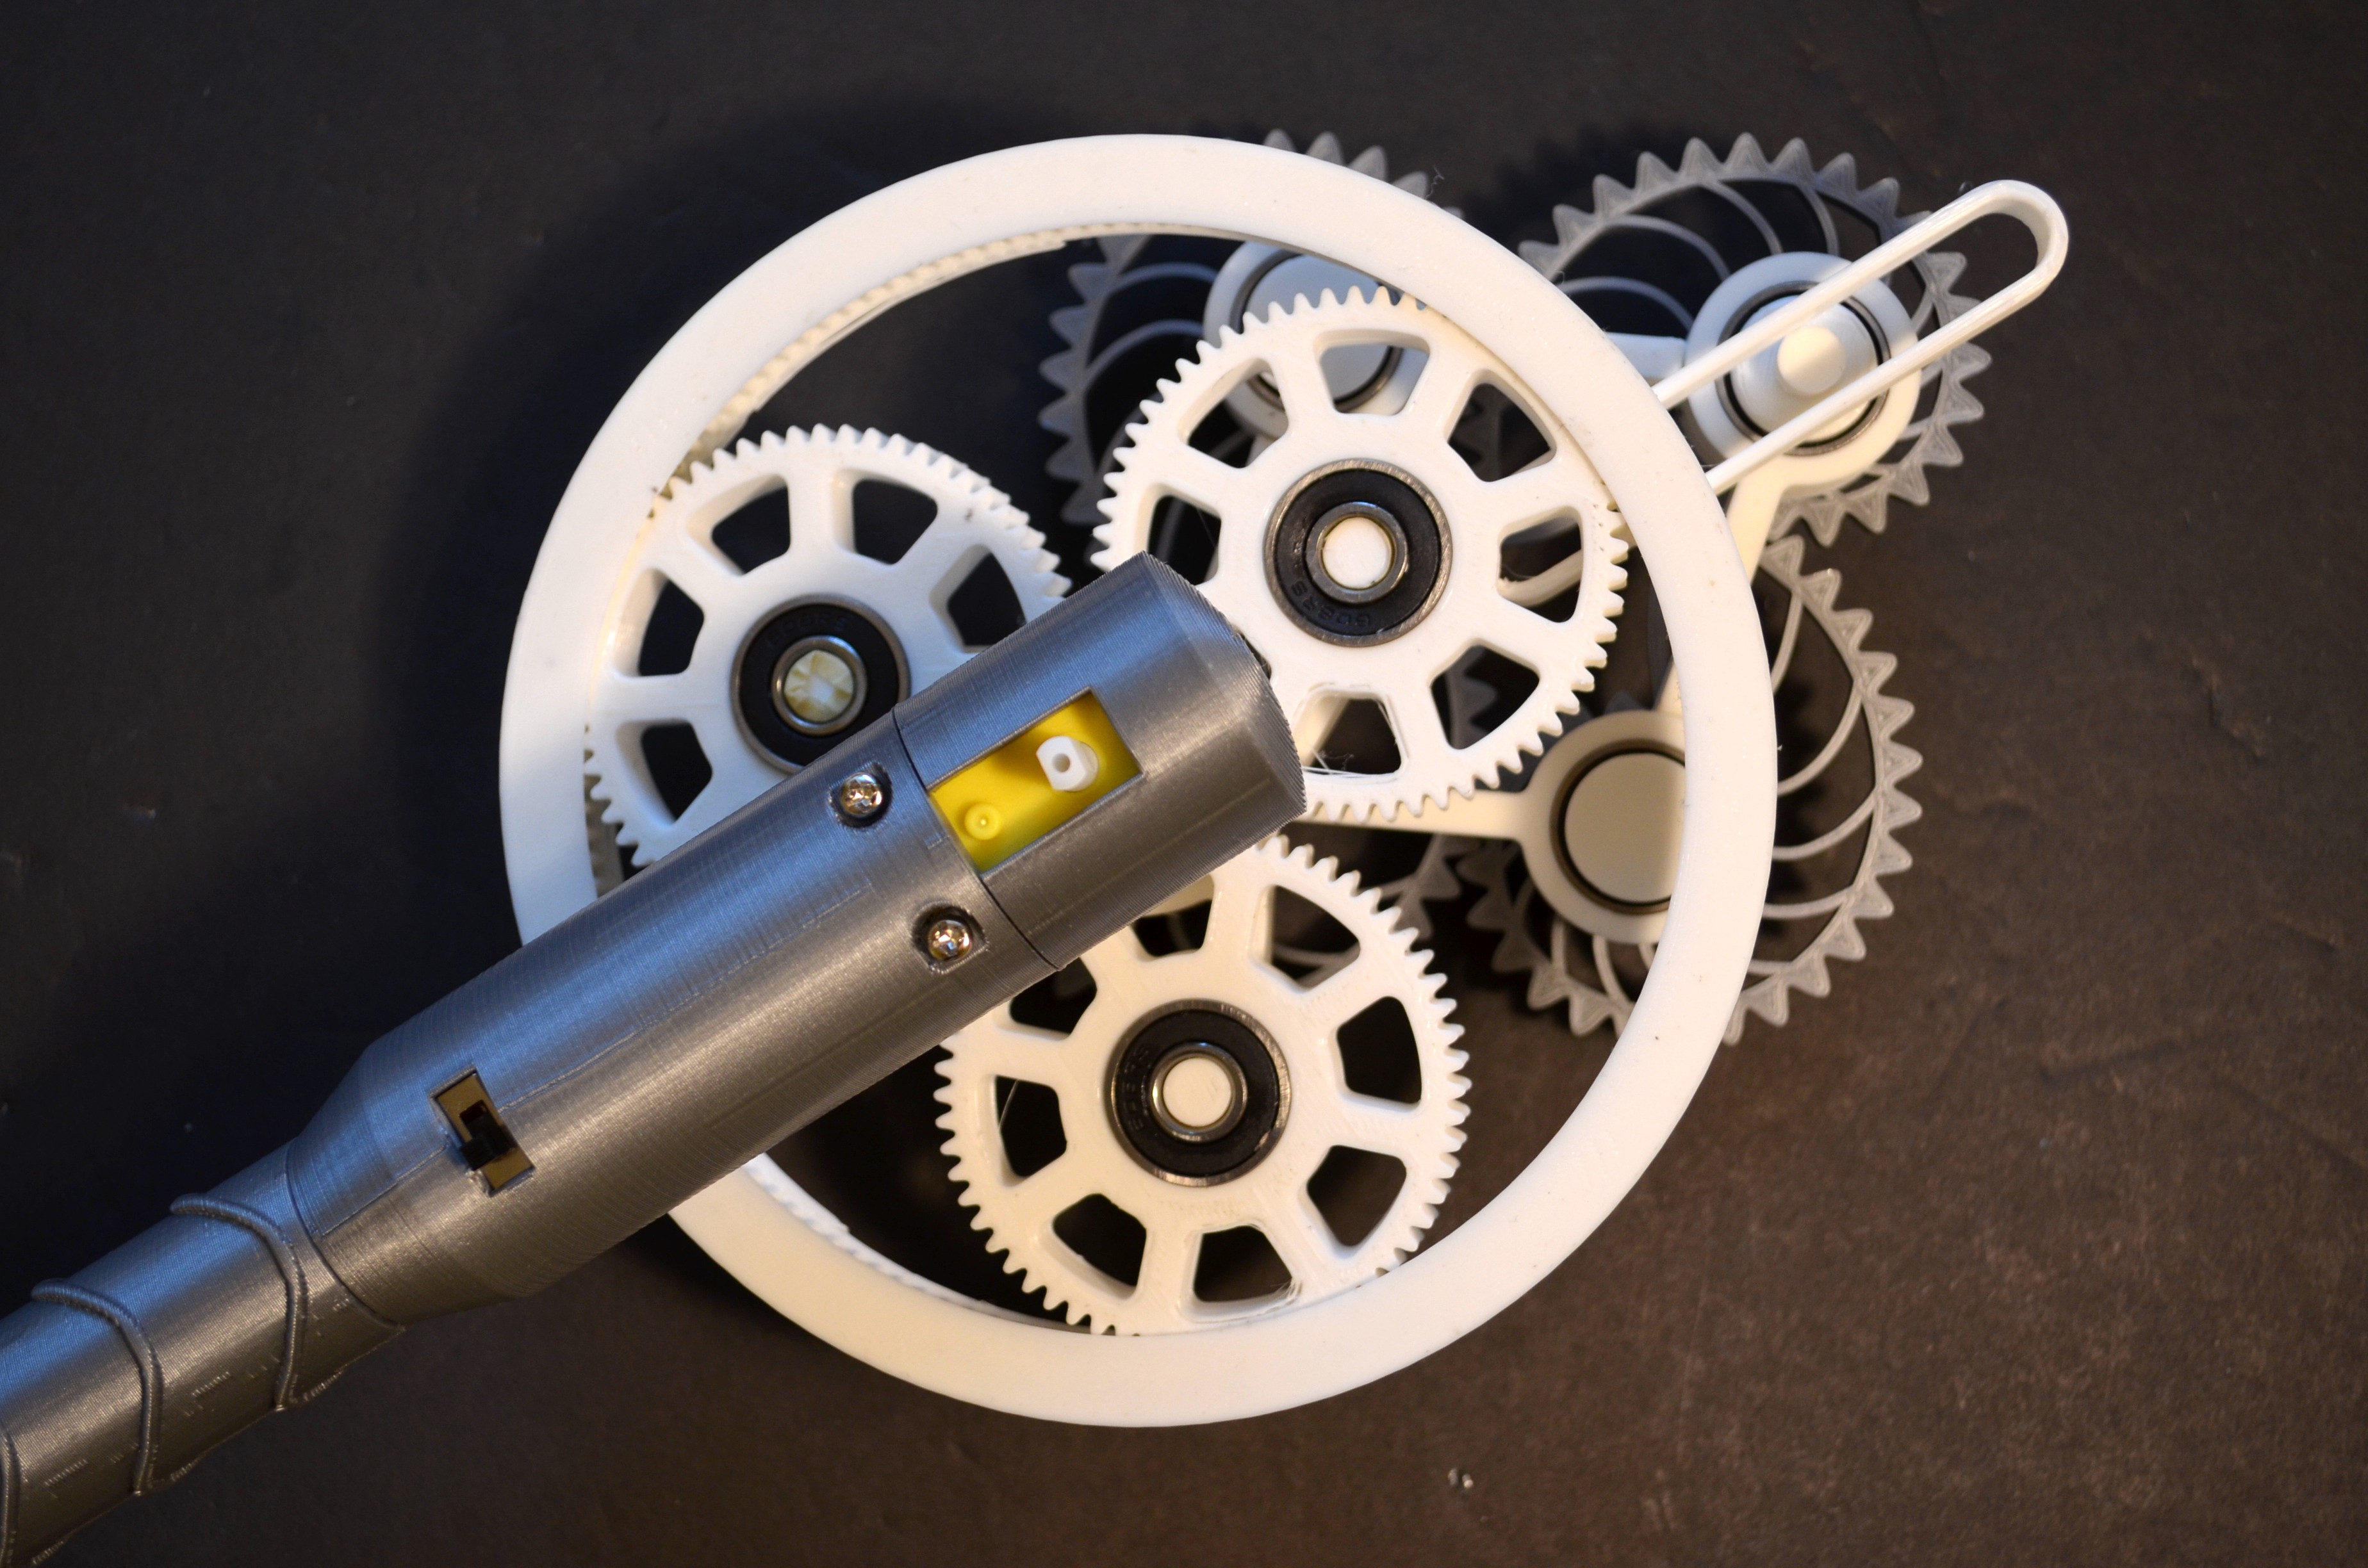
- A Handle to house the motor and batteries for actuation. This component has been reused form one my previous projects, Enchanted Thor Hammer. Refer to the list of 3D printed parts from the Thingiverse.
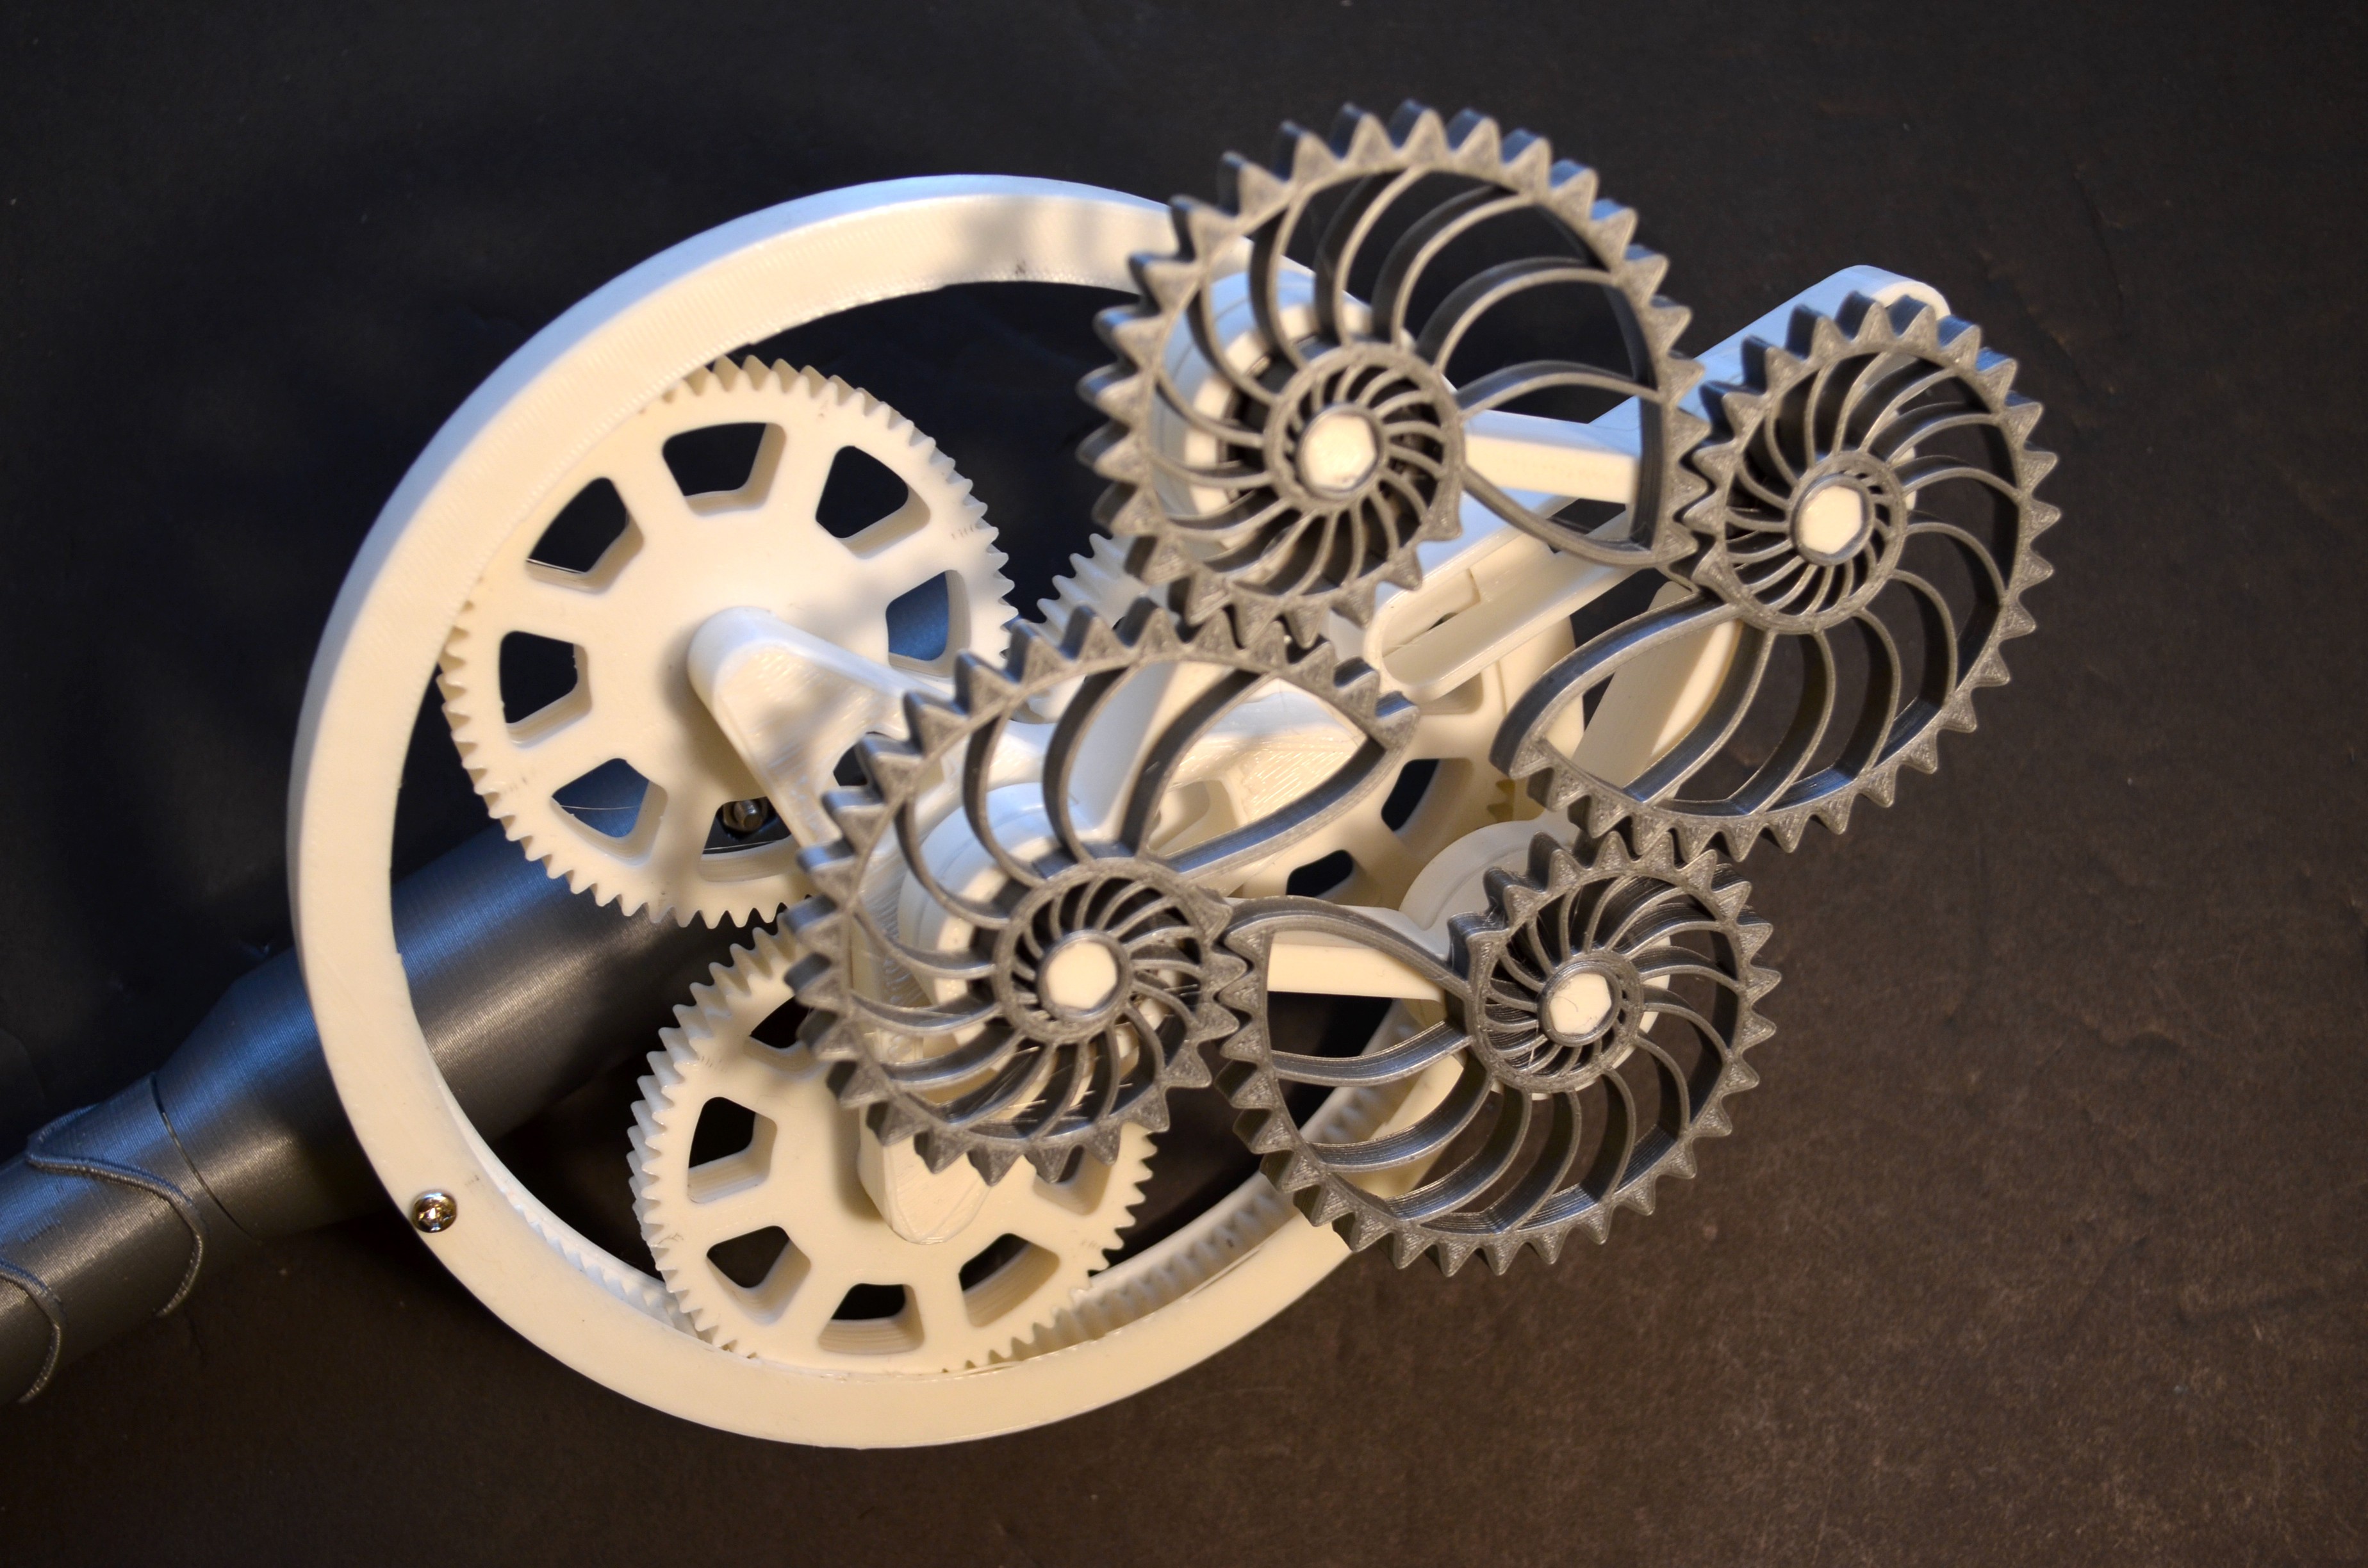
- A Mounting frame to gear down the motor RPM and increase the torque. It implements a simple planetary gear train with a 135 teeth ring gear, 3 x 60 teeth planetary gears, a 15 teeth sun gear, a planet carrier, and a few 608 bearings.
- The Nautilus Gear display. It consists of 4 Nautilus gears mounted on 4 links using a few 608 bearings.
All parts were printed in PLA with 0.28 mm layer height and a 0.4 mm nozzle on an Ender 3. The STL files can be found on Thingiverse.
Assembly Instructions
Assemble the handle
- Refer to its assembly instructions in my other project.
Assemble the mounting frame
- Equally space out the planetary gears inside the ring gear.
- Insert the sun gear in the center.
- Attach the planet carrier to the centers of the planetary gears.
- Dial in the gear train by turning the gears manually or using a power drill. Ensure that there is no binding. A little lubrication always helps.
Assemble the display
- Connect the links using 608 bearings.
- Mount the Nautilus gear on the links.
Attach the display to the mounting frame and connect the resulting assembly to the handle. Refer to the video for complete assembly walkthrough.
Front View
Front View (Closeup)
Rear View
Rear View (Closeup)
-
3Nautilus Pair
List of parts to be 3D printed and the required hardware components
- 2 Gear frame
- 2 Nautilus gears
- Pegs to attach the gears to the frame
- 608 Bearings
- Actuator
Assembly Instructions
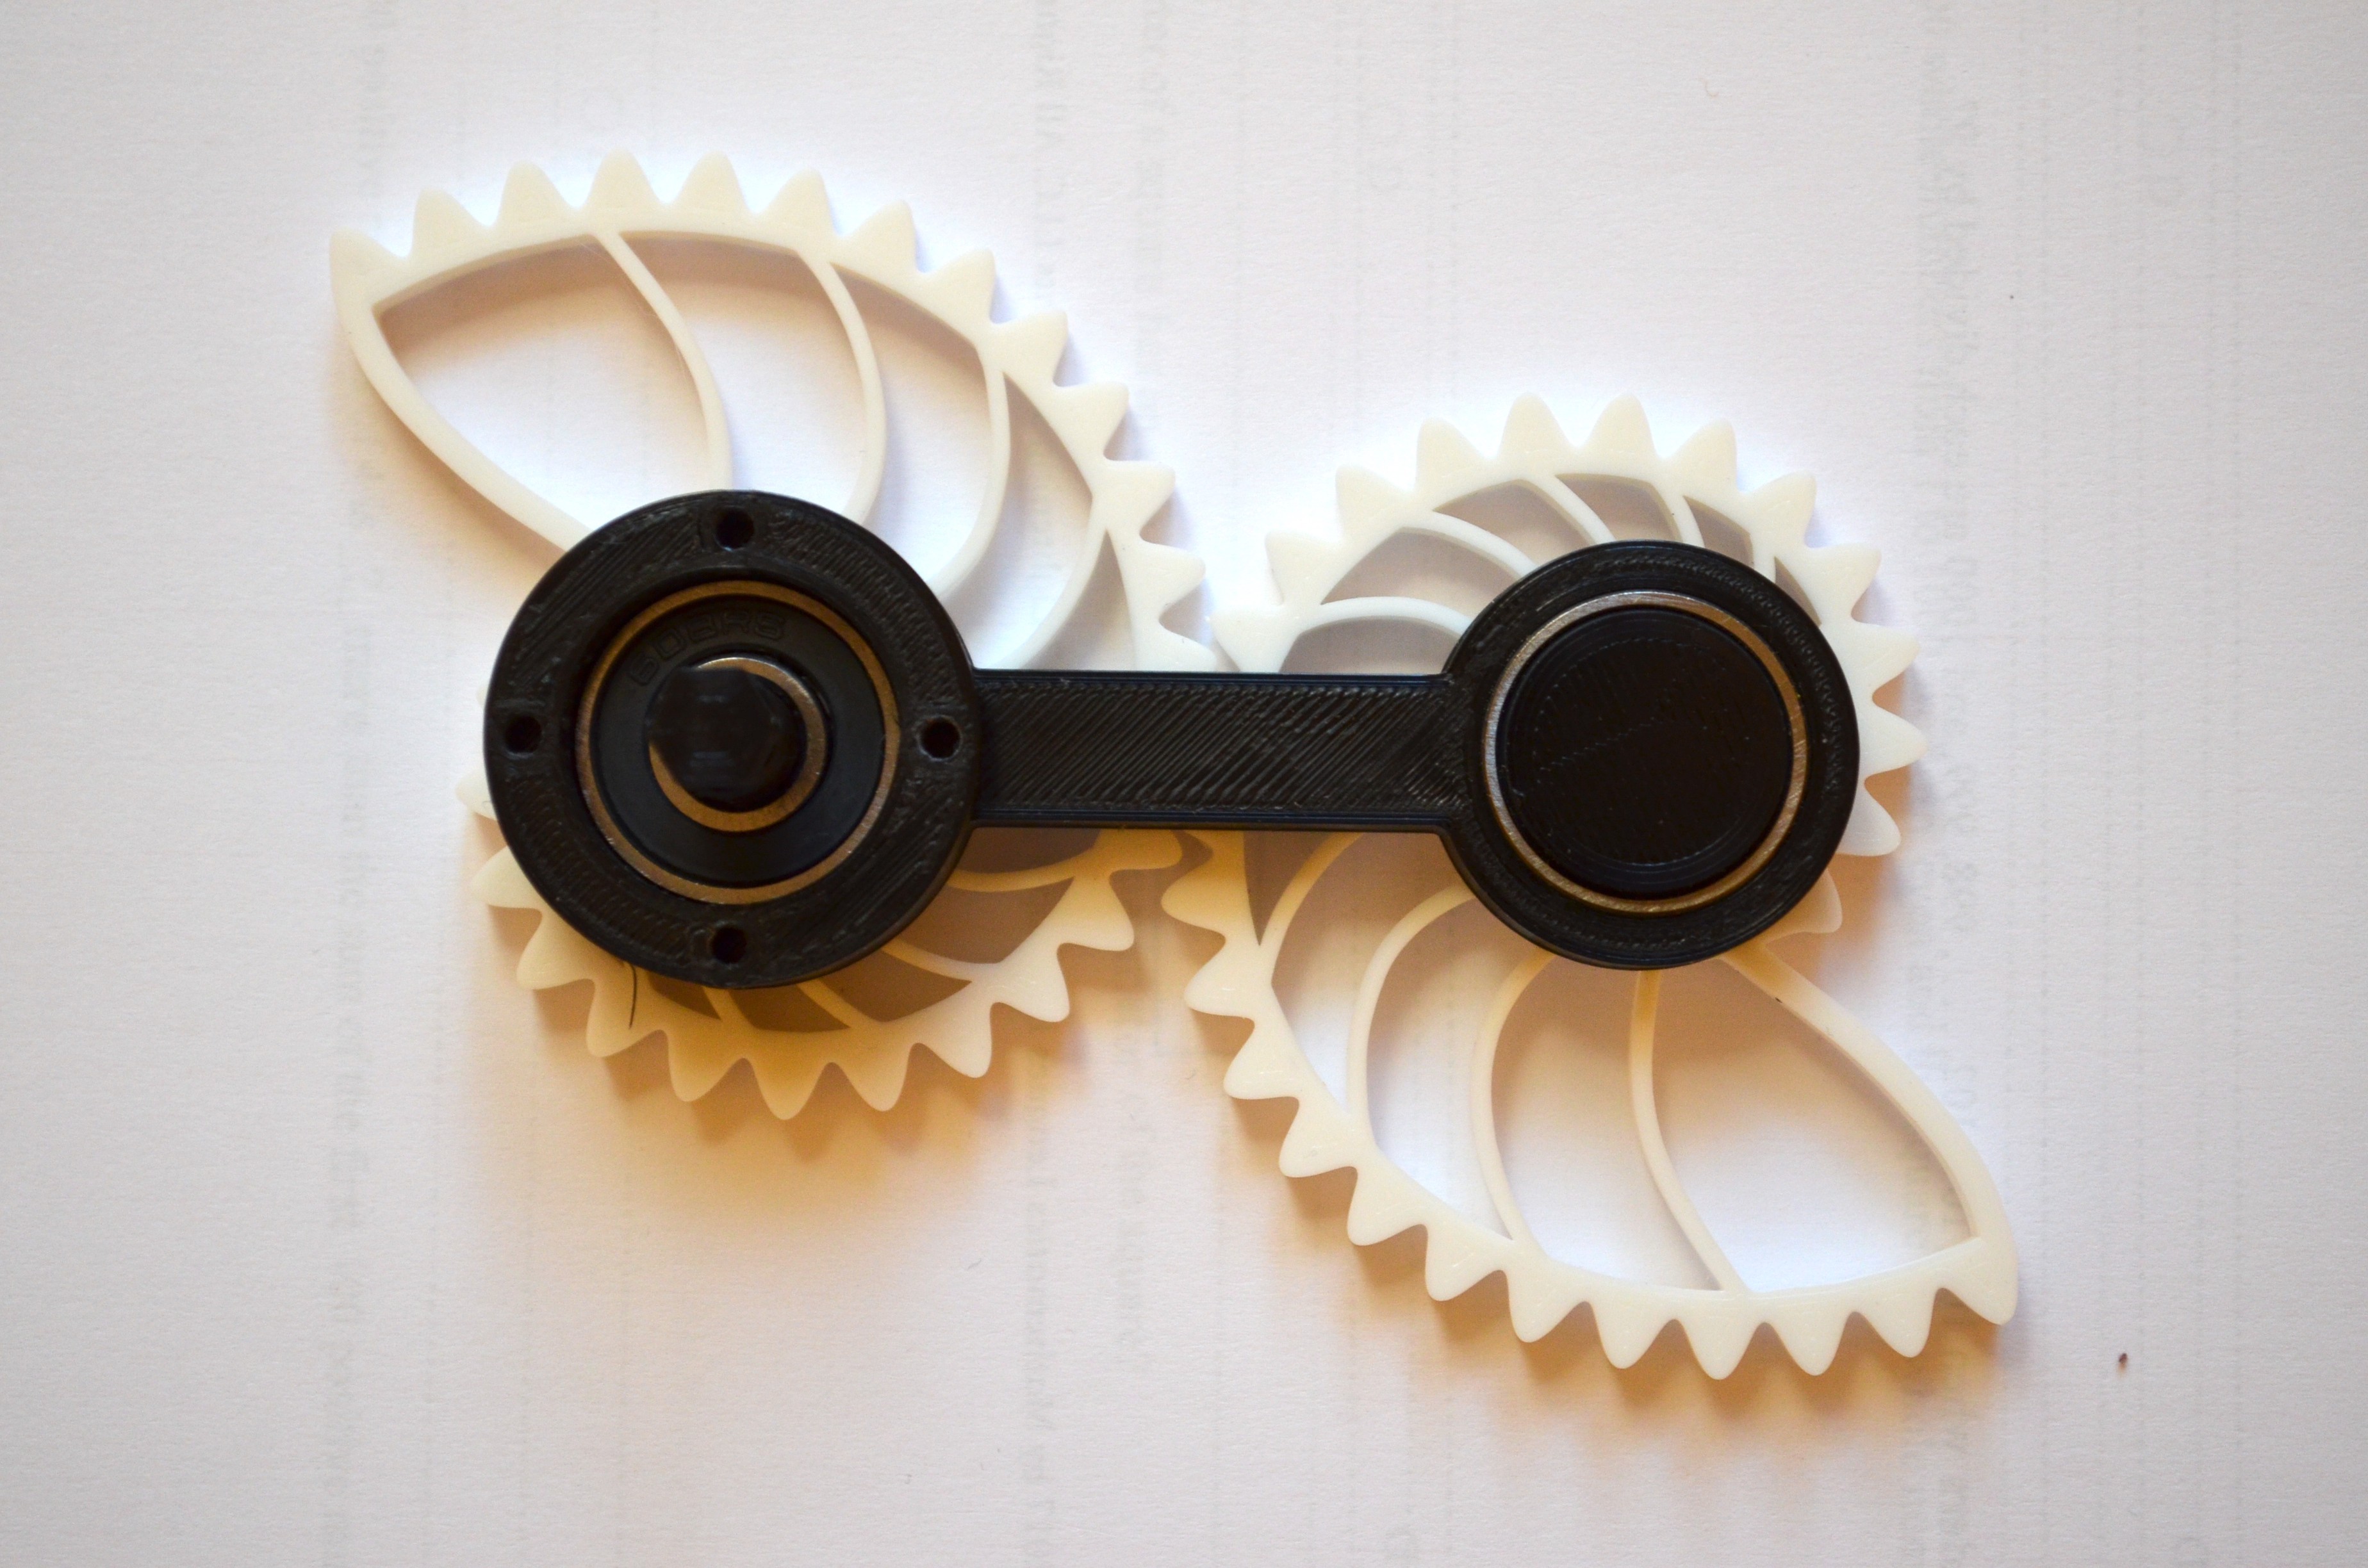
- Mount the gears on the frame. Ensure that the teeth are meshed as shown below.
- Mount the gear assembly to the actuator using the adapter.
Refer to the video for complete assembly walkthrough.
Front View
Rear View
-
4Nautilus Triad
List of parts to be 3D printed and the required hardware components
- 3 Gear frame
- 3 Nautilus gears
- Pegs to attach the gears to the frame
- 608 Bearings
- Actuator
Assembly Instructions
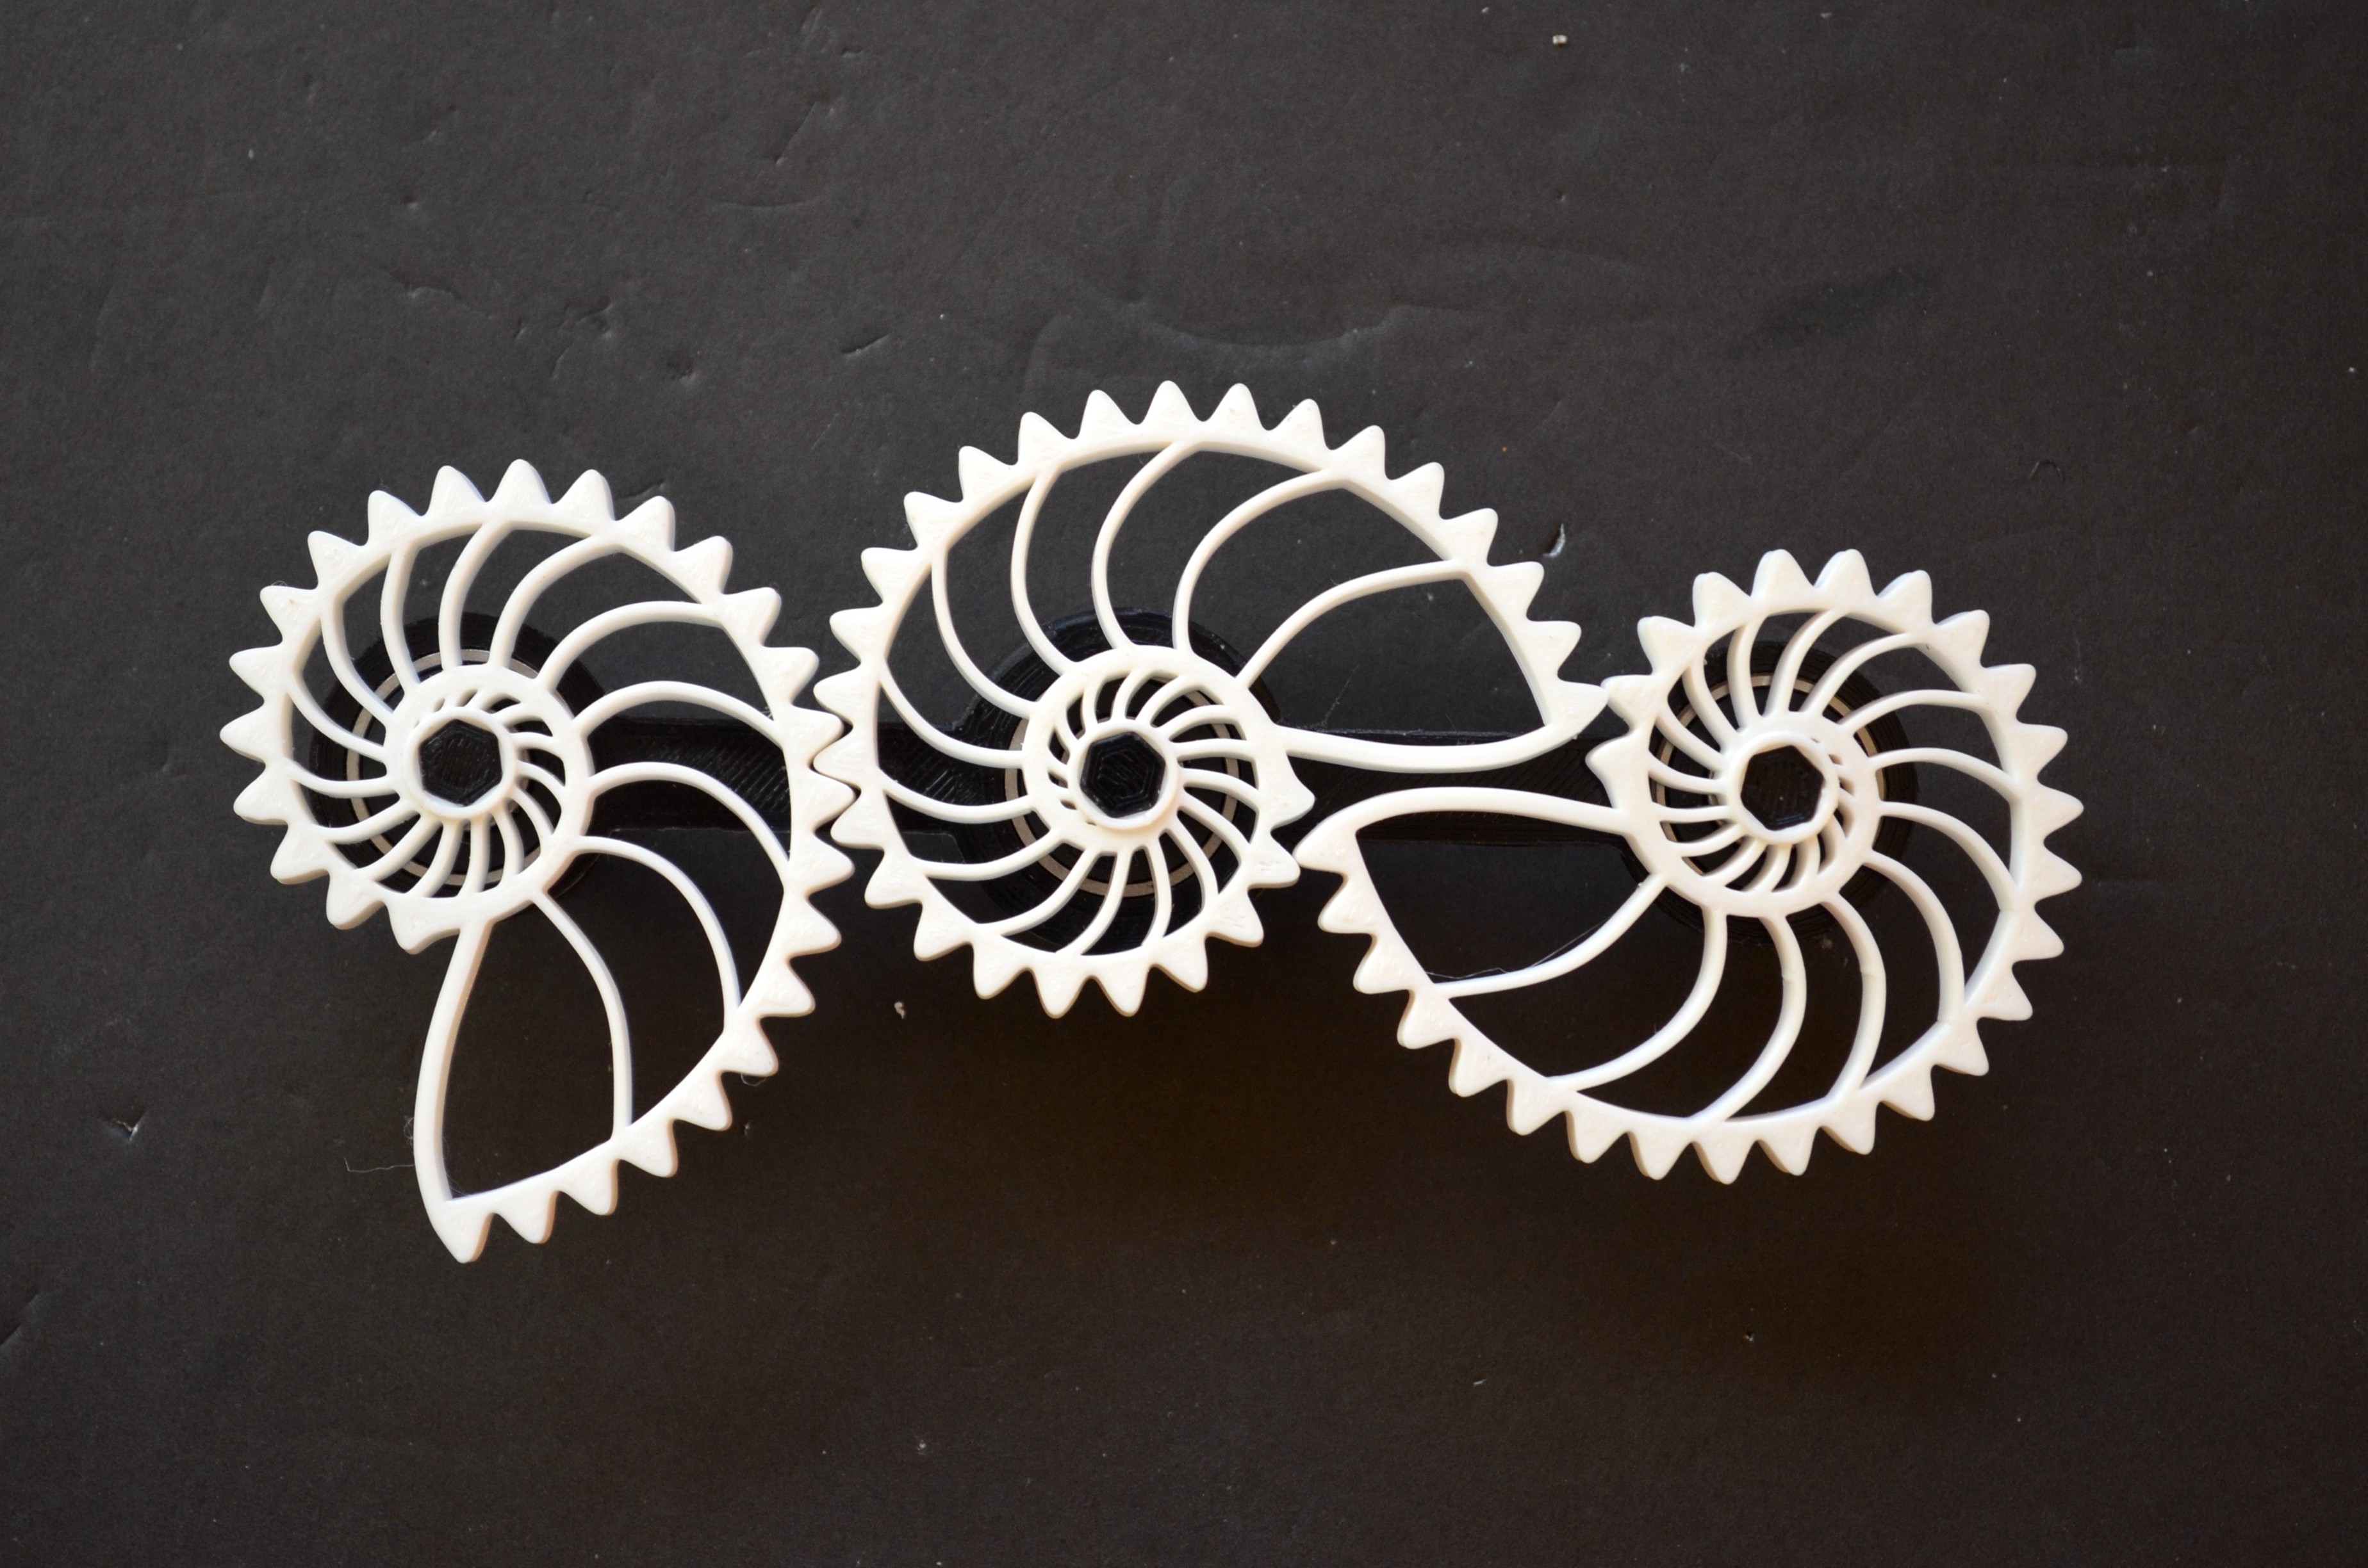
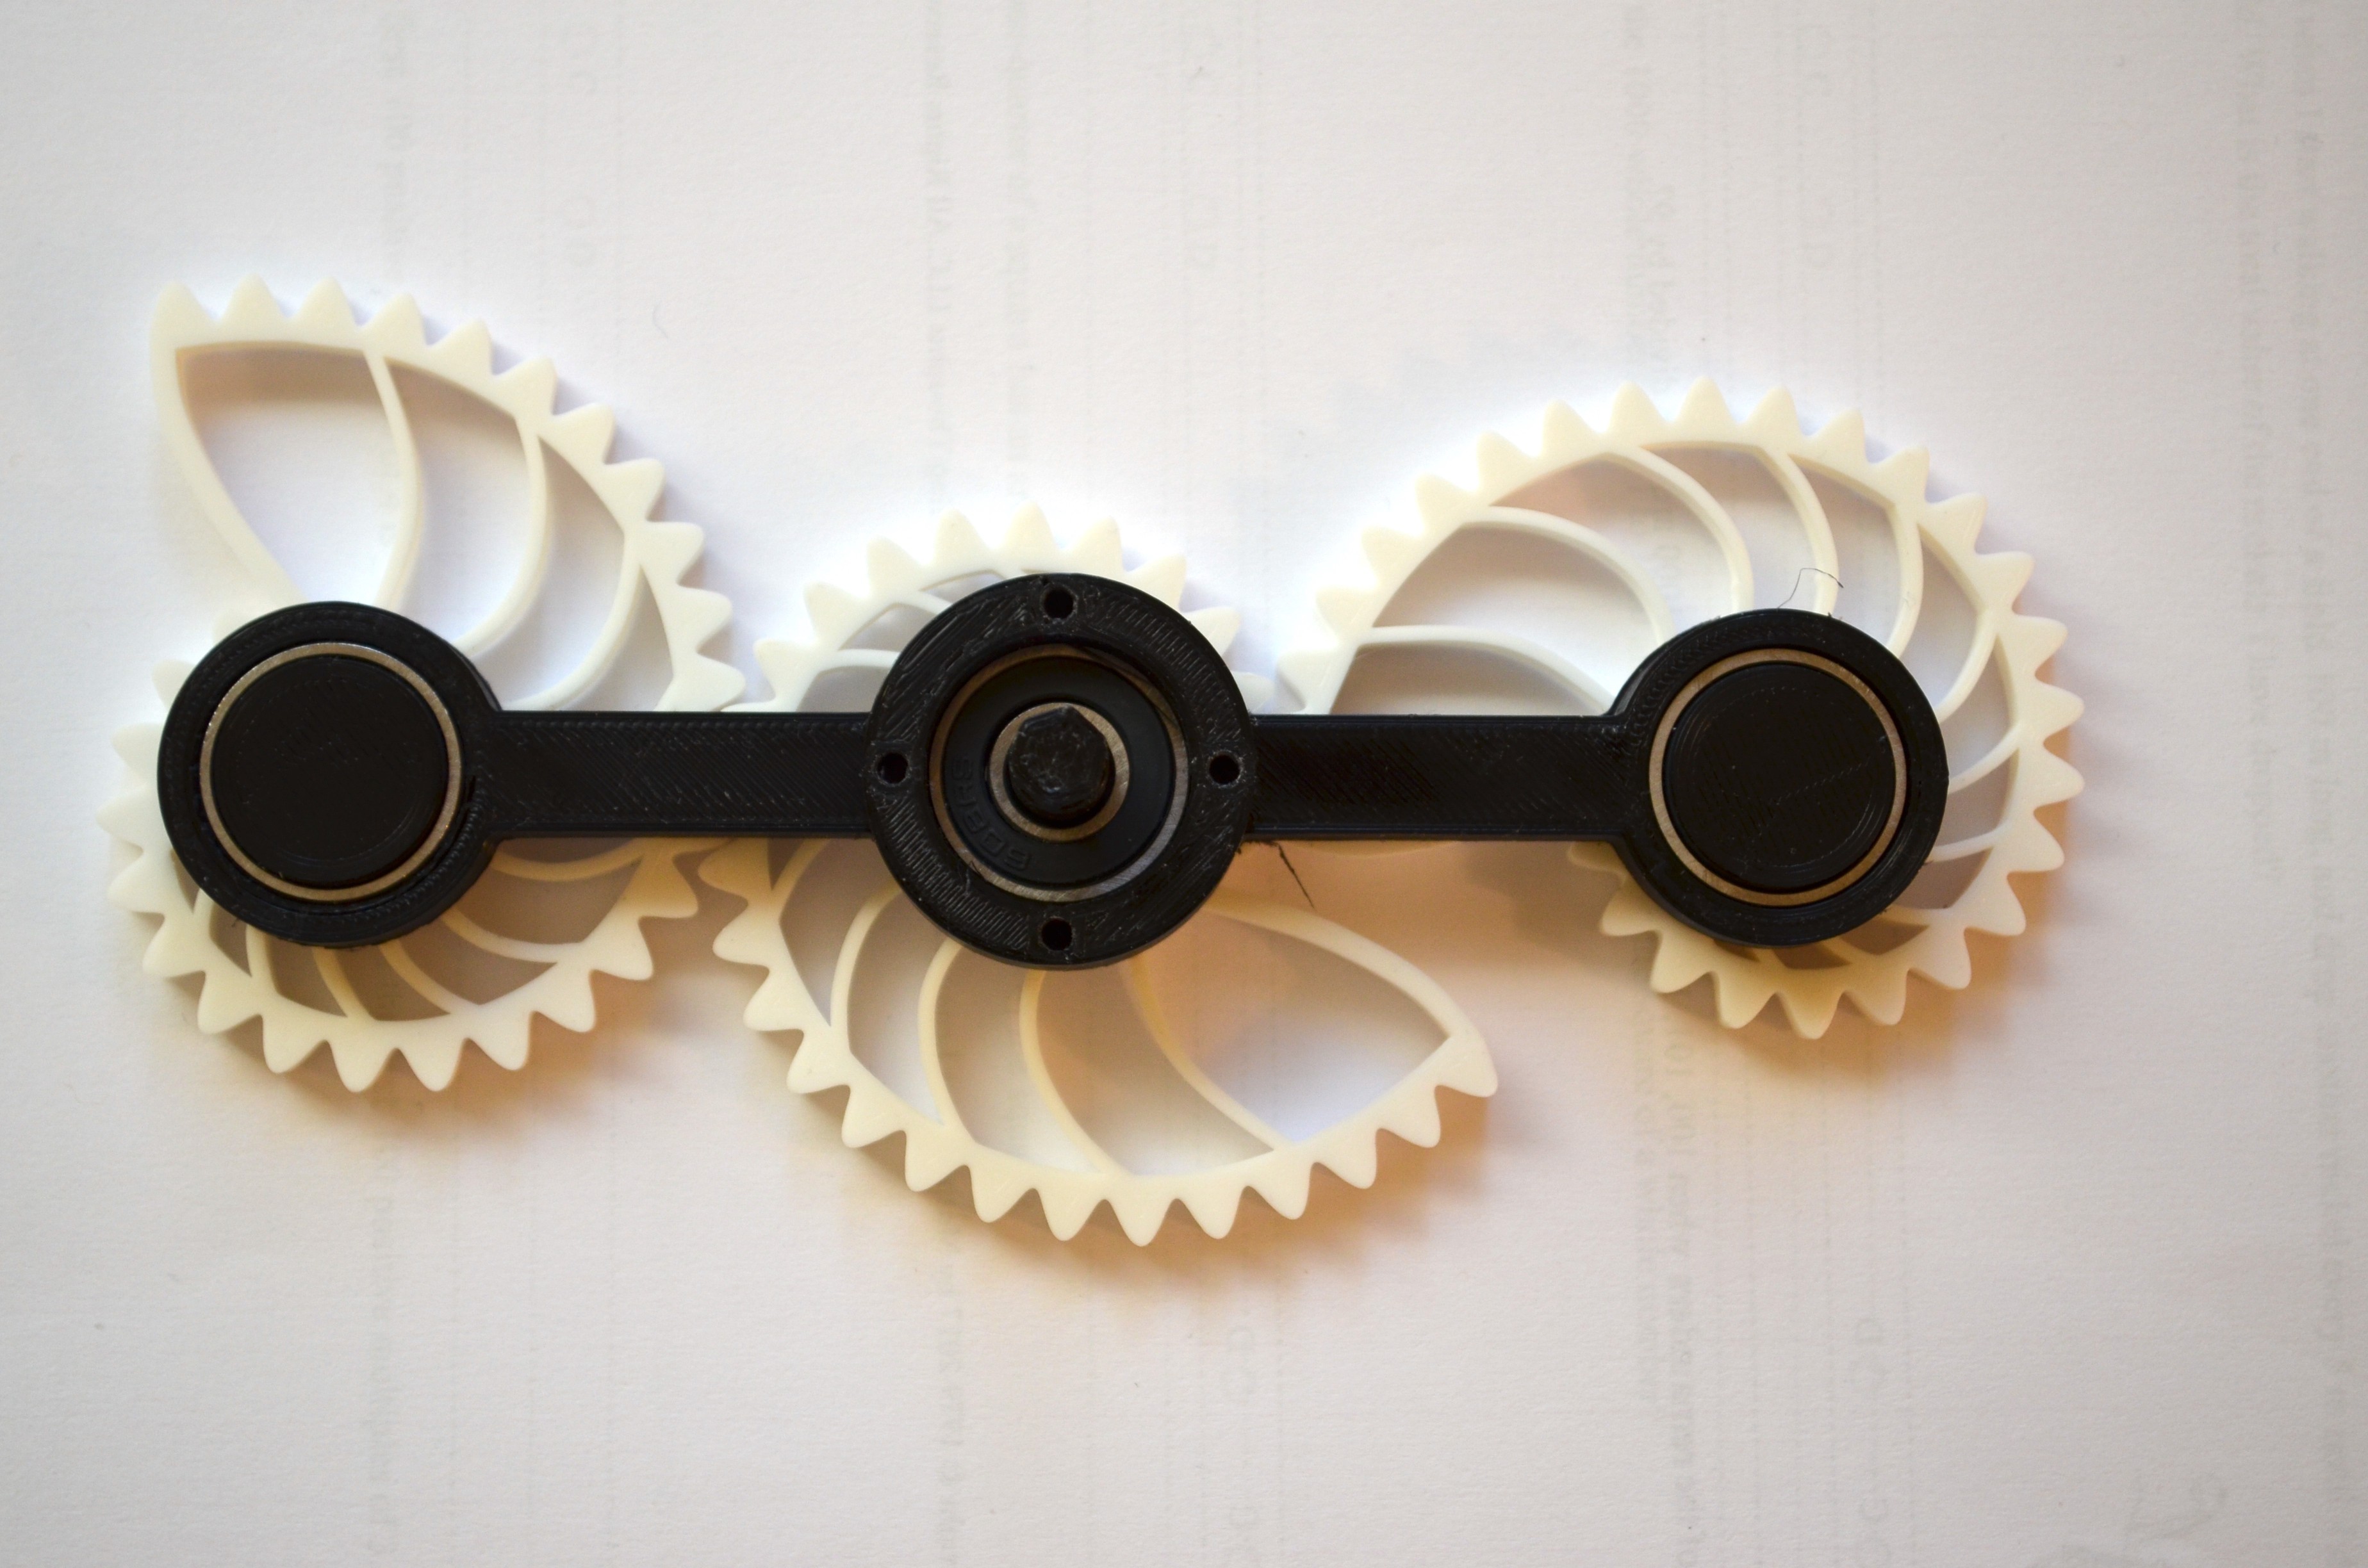
- Mount the gears on the frame. Ensure that the teeth are meshed as shown below.
- Mount the gear assembly to the actuator using the adapter.
Refer to the video for complete assembly walkthrough.
Front View
Rear View
-
5Nautilus Quad
List of parts to be 3D printed and the required hardware components
- 4 Gear frame
- 4 Nautilus gears
- Pegs to attach the gears to the frame
- 608 Bearings
- Actuator
Assembly Instructions
- Mount the gears on the frame. Ensure that the teeth are meshed as shown below.
- Mount the gear assembly to the actuator using the adapter.
Refer to the video for complete assembly walkthrough.
Front View
Rear View
-
6Nautilus Quintet
List of parts to be 3D printed and the required hardware components
- 5 Gear frame
- 5 Nautilus gears
- Pegs to attach the gears to the frame
- 608 Bearings
- Actuator
Assembly Instructions
- Mount the gears on the frame. Ensure that the teeth are meshed as shown below.
- Mount the gear assembly to the actuator using the adapter.
Refer to the video for complete assembly walkthrough.
Front View
Rear View
![]()
-
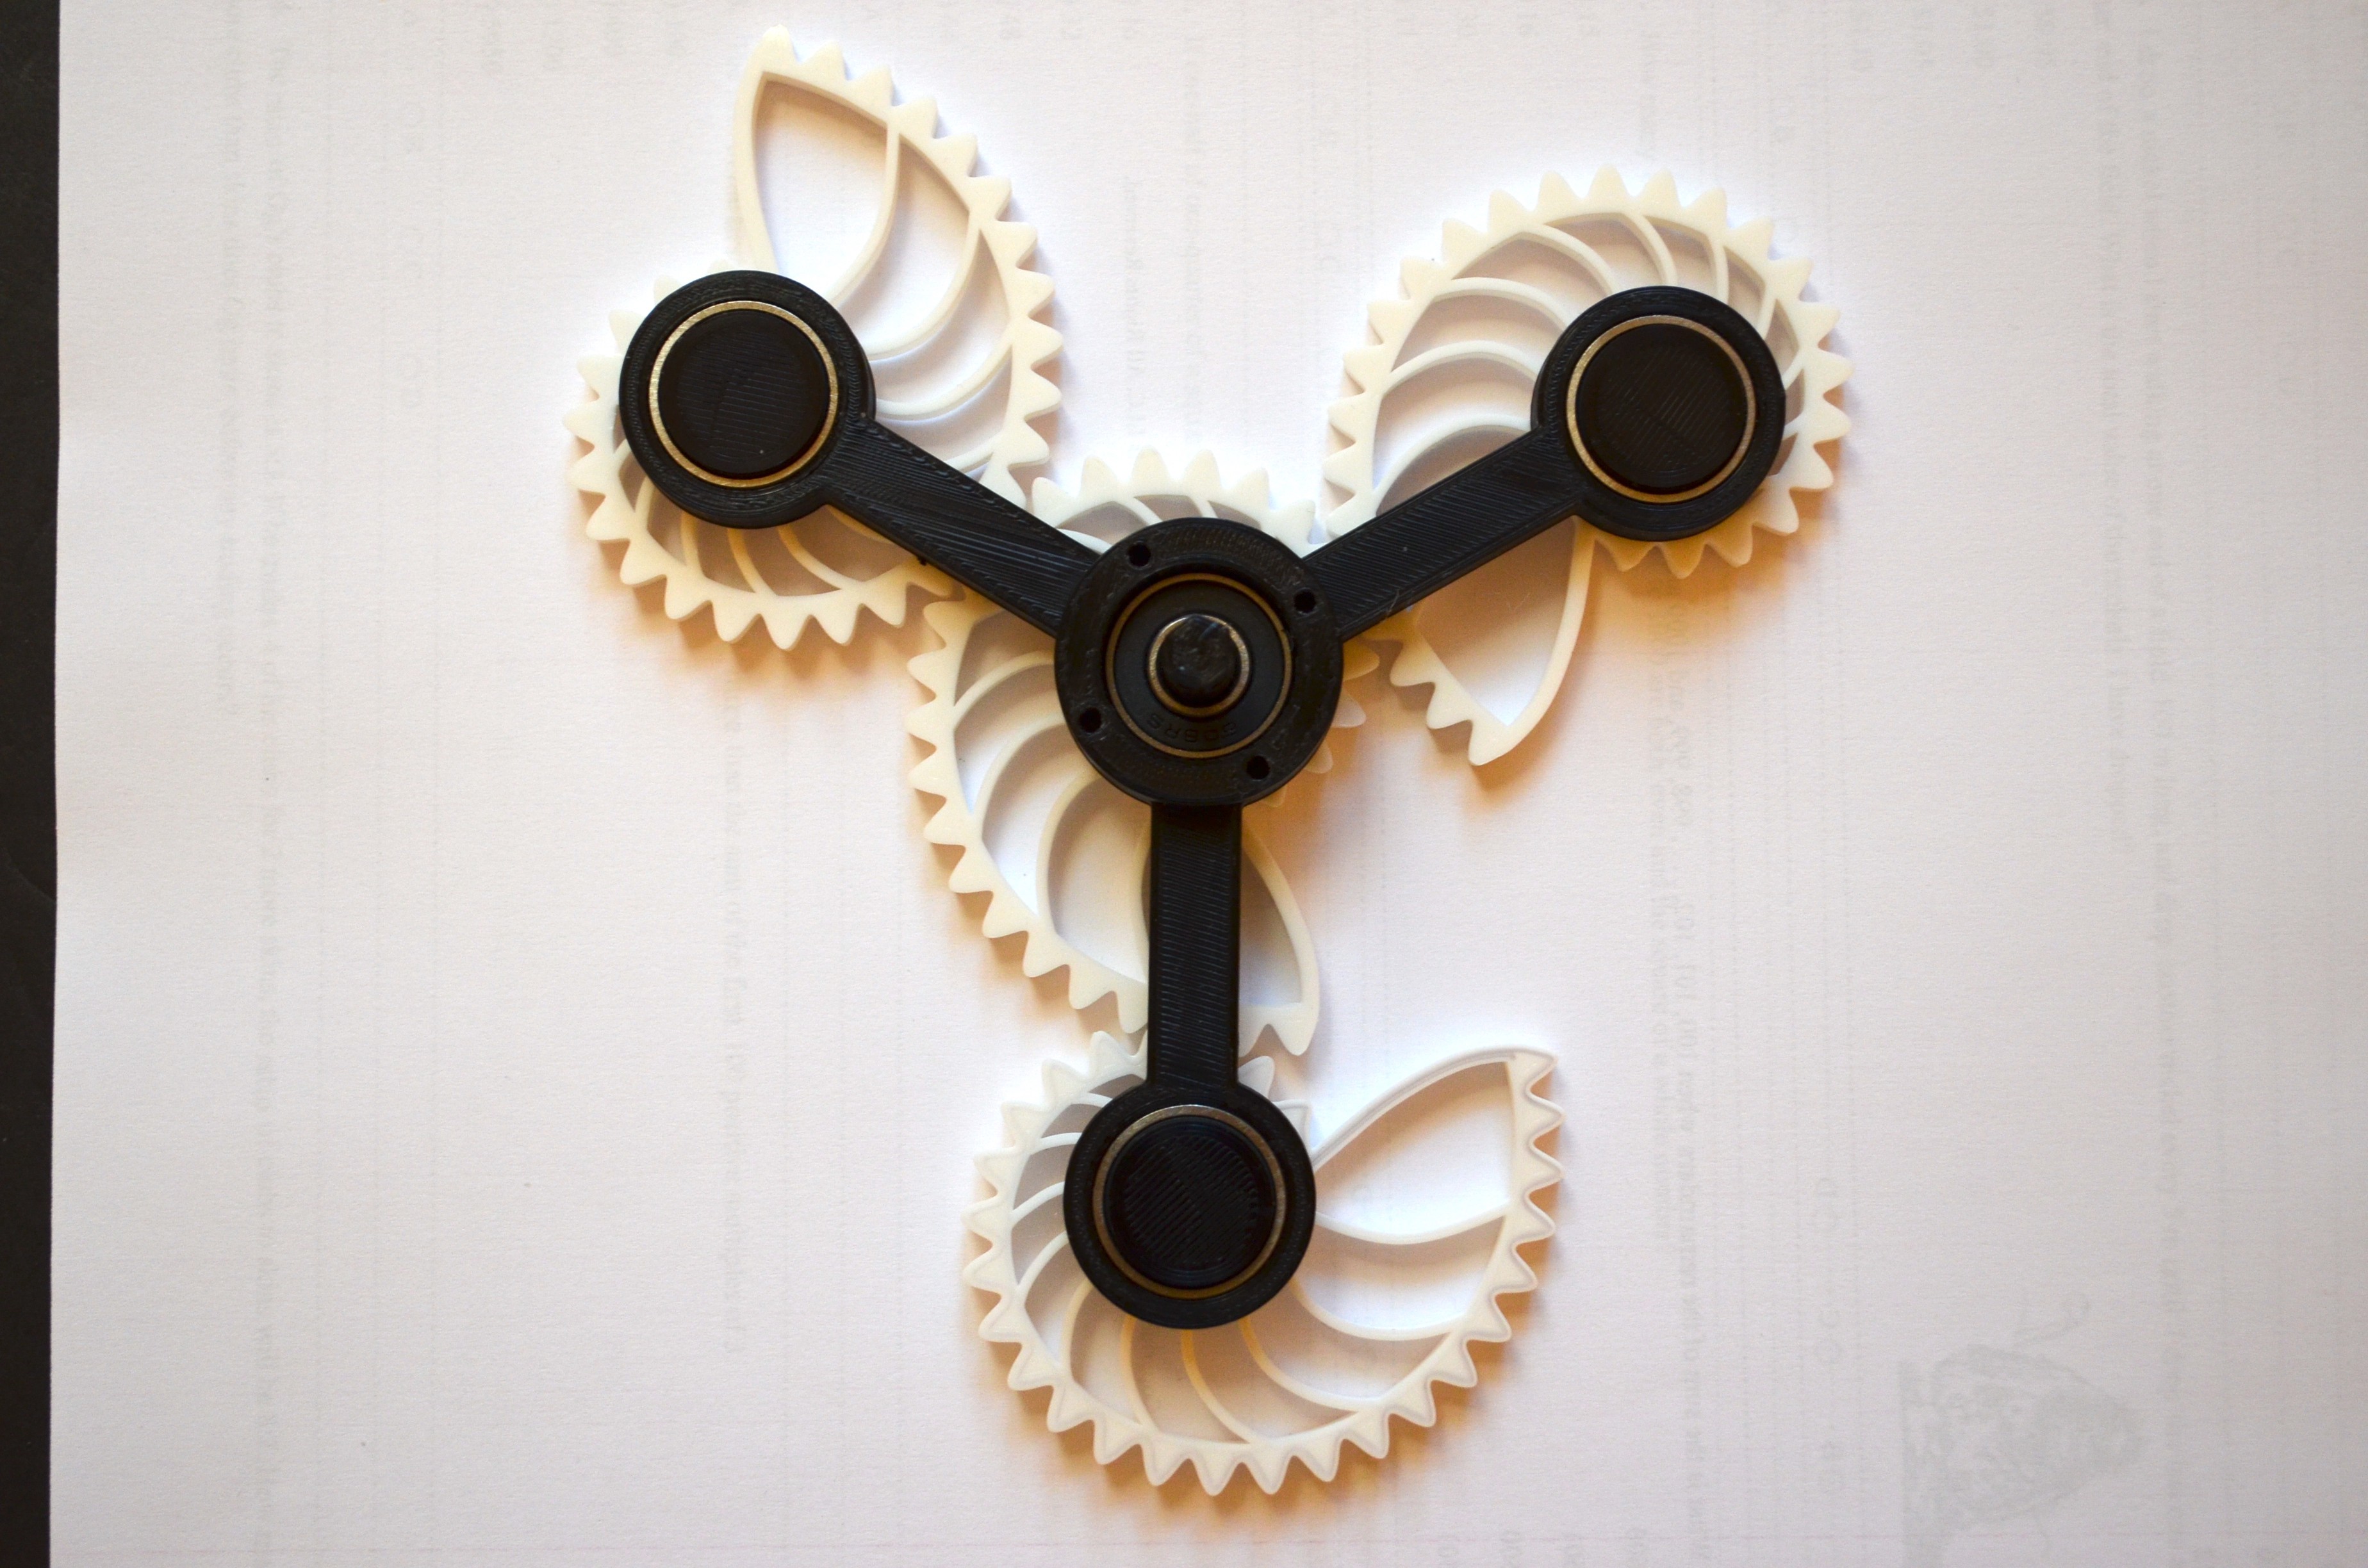
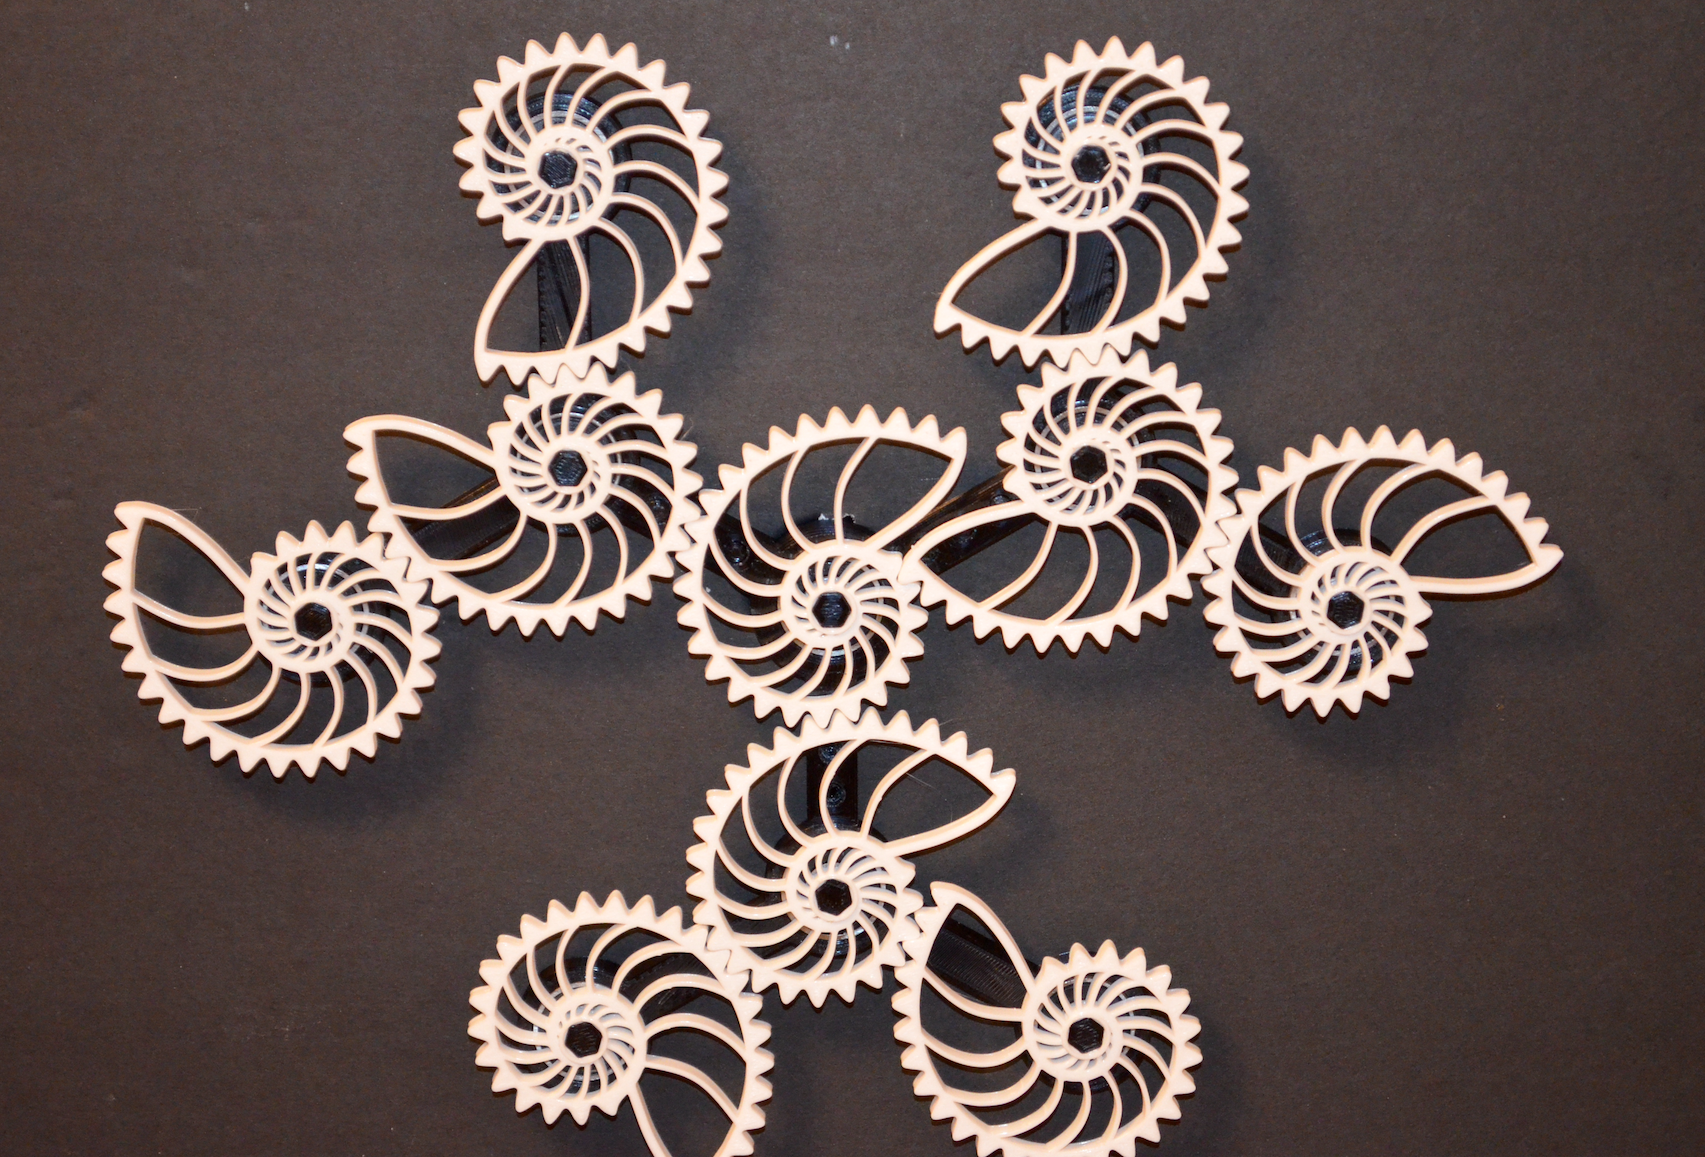
7Nautilus Snowflake
List of parts to be 3D printed and the required hardware components
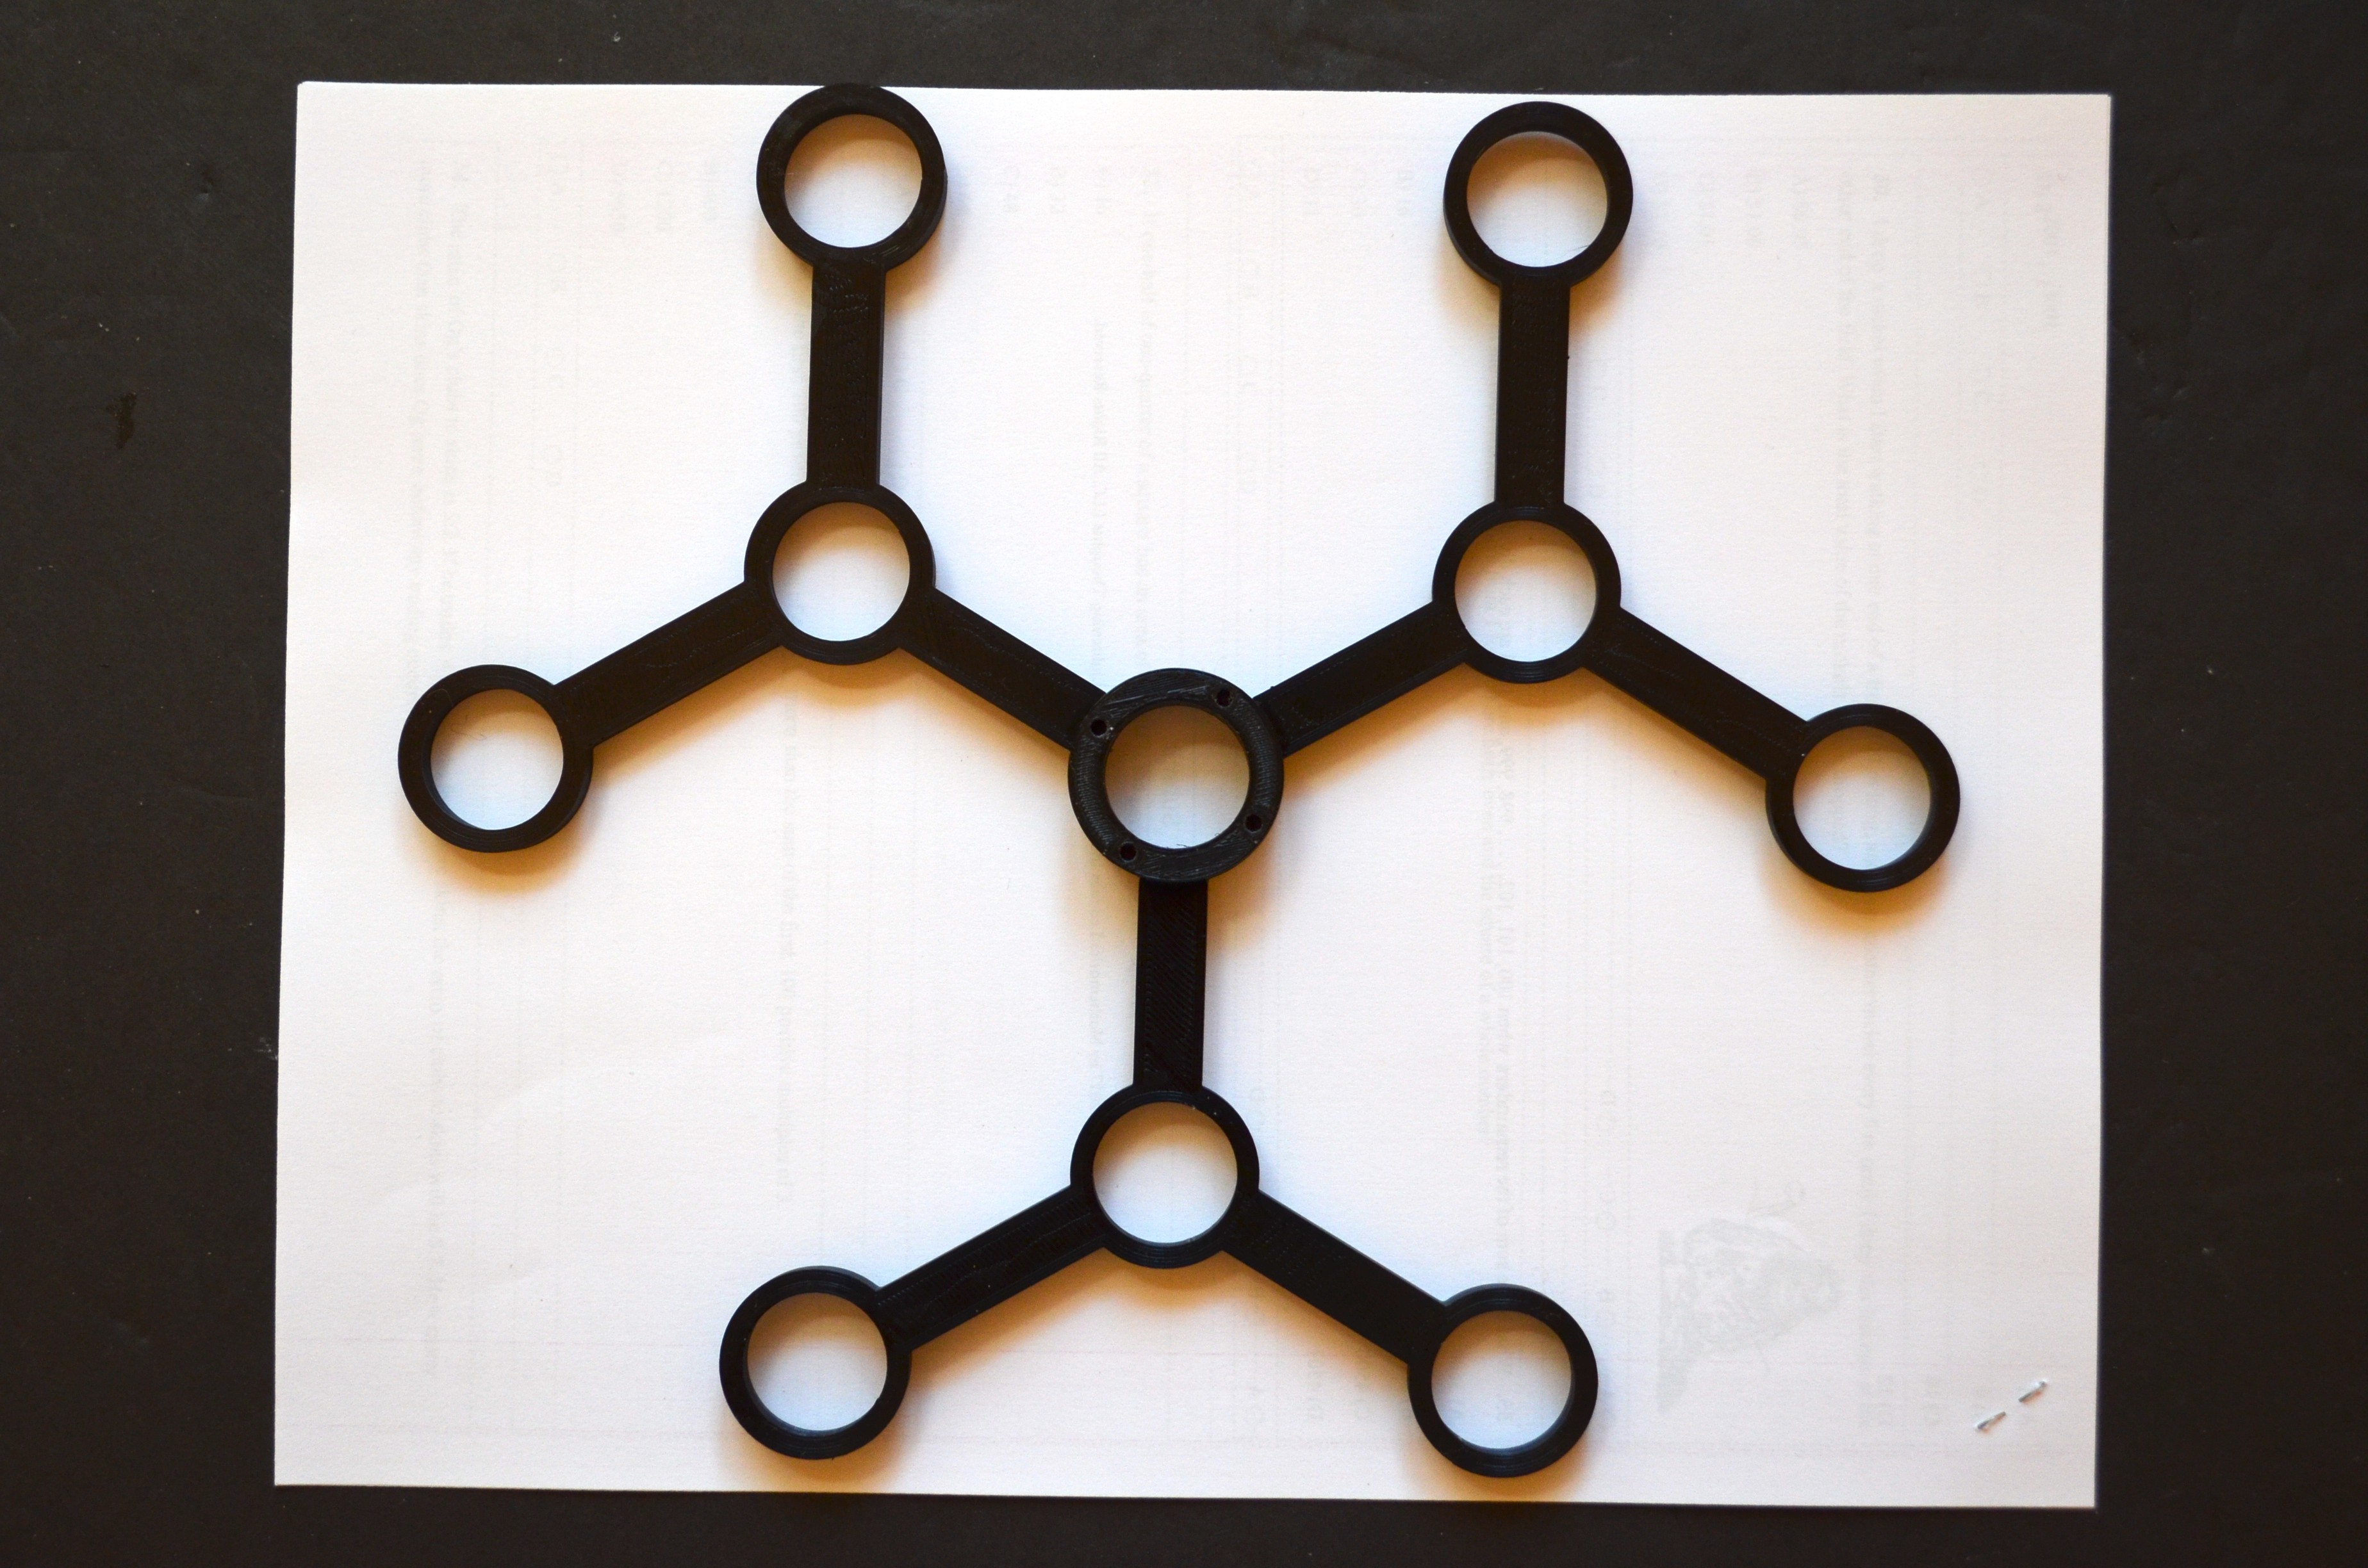
- 10 Gear frame
- 10 Nautilus gears
- Pegs to attach the gears to the frame
- 608 Bearings
- Actuator
Assembly Instructions
- Mount the gears on the frame. Ensure that the teeth are meshed as shown below.
- Mount the gear assembly to the actuator using the adapter.
Refer to the video for complete assembly walkthrough.
Front View
![]()
Frame
-
8Nautilus Bloom
List of parts to be 3D printed and the required hardware components
- 13 Gear frame
- 13 Nautilus gears
- Pegs to attach the gears to the frame
- 608 Bearings
- Actuator
Assembly Instructions
- Mount the gears on the frame. Ensure that the teeth are meshed as shown below.
- Mount the gear assembly to the actuator using the adapter.
Refer to the video for complete assembly walkthrough.
Front View
Rear View
Frame
-
9Nautilus Butterfly
List of parts to be 3D printed and the required hardware components
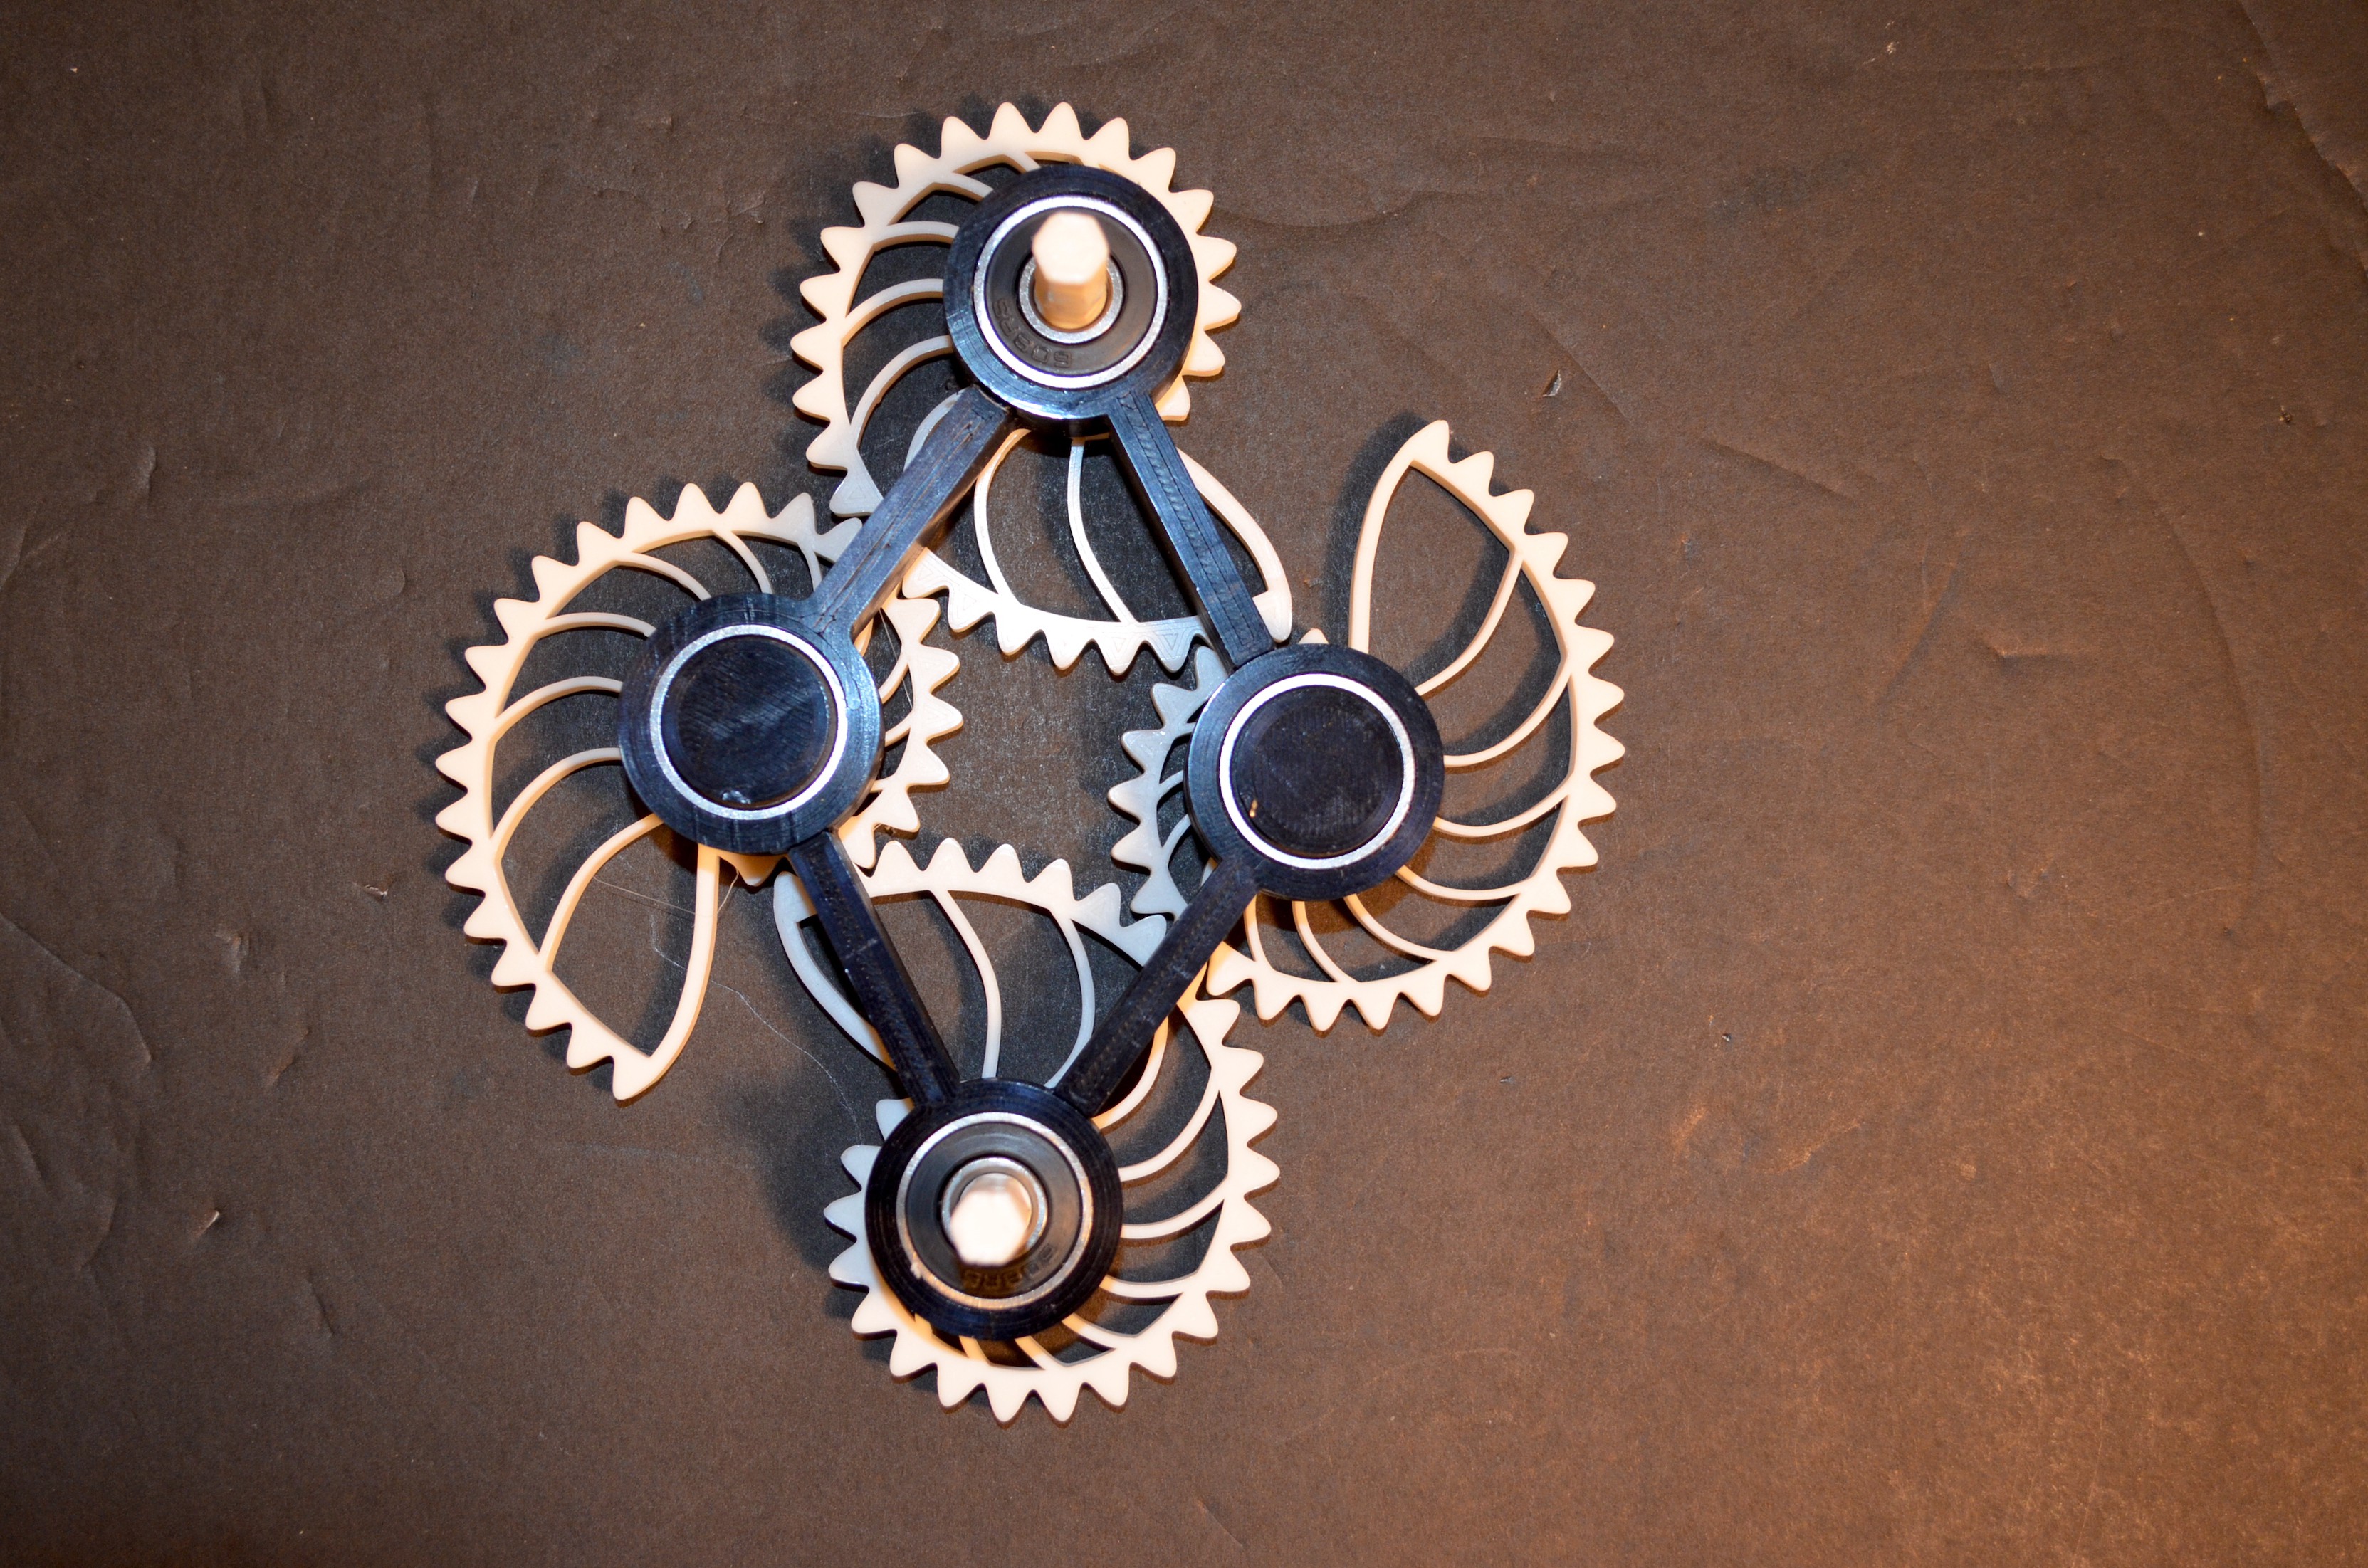
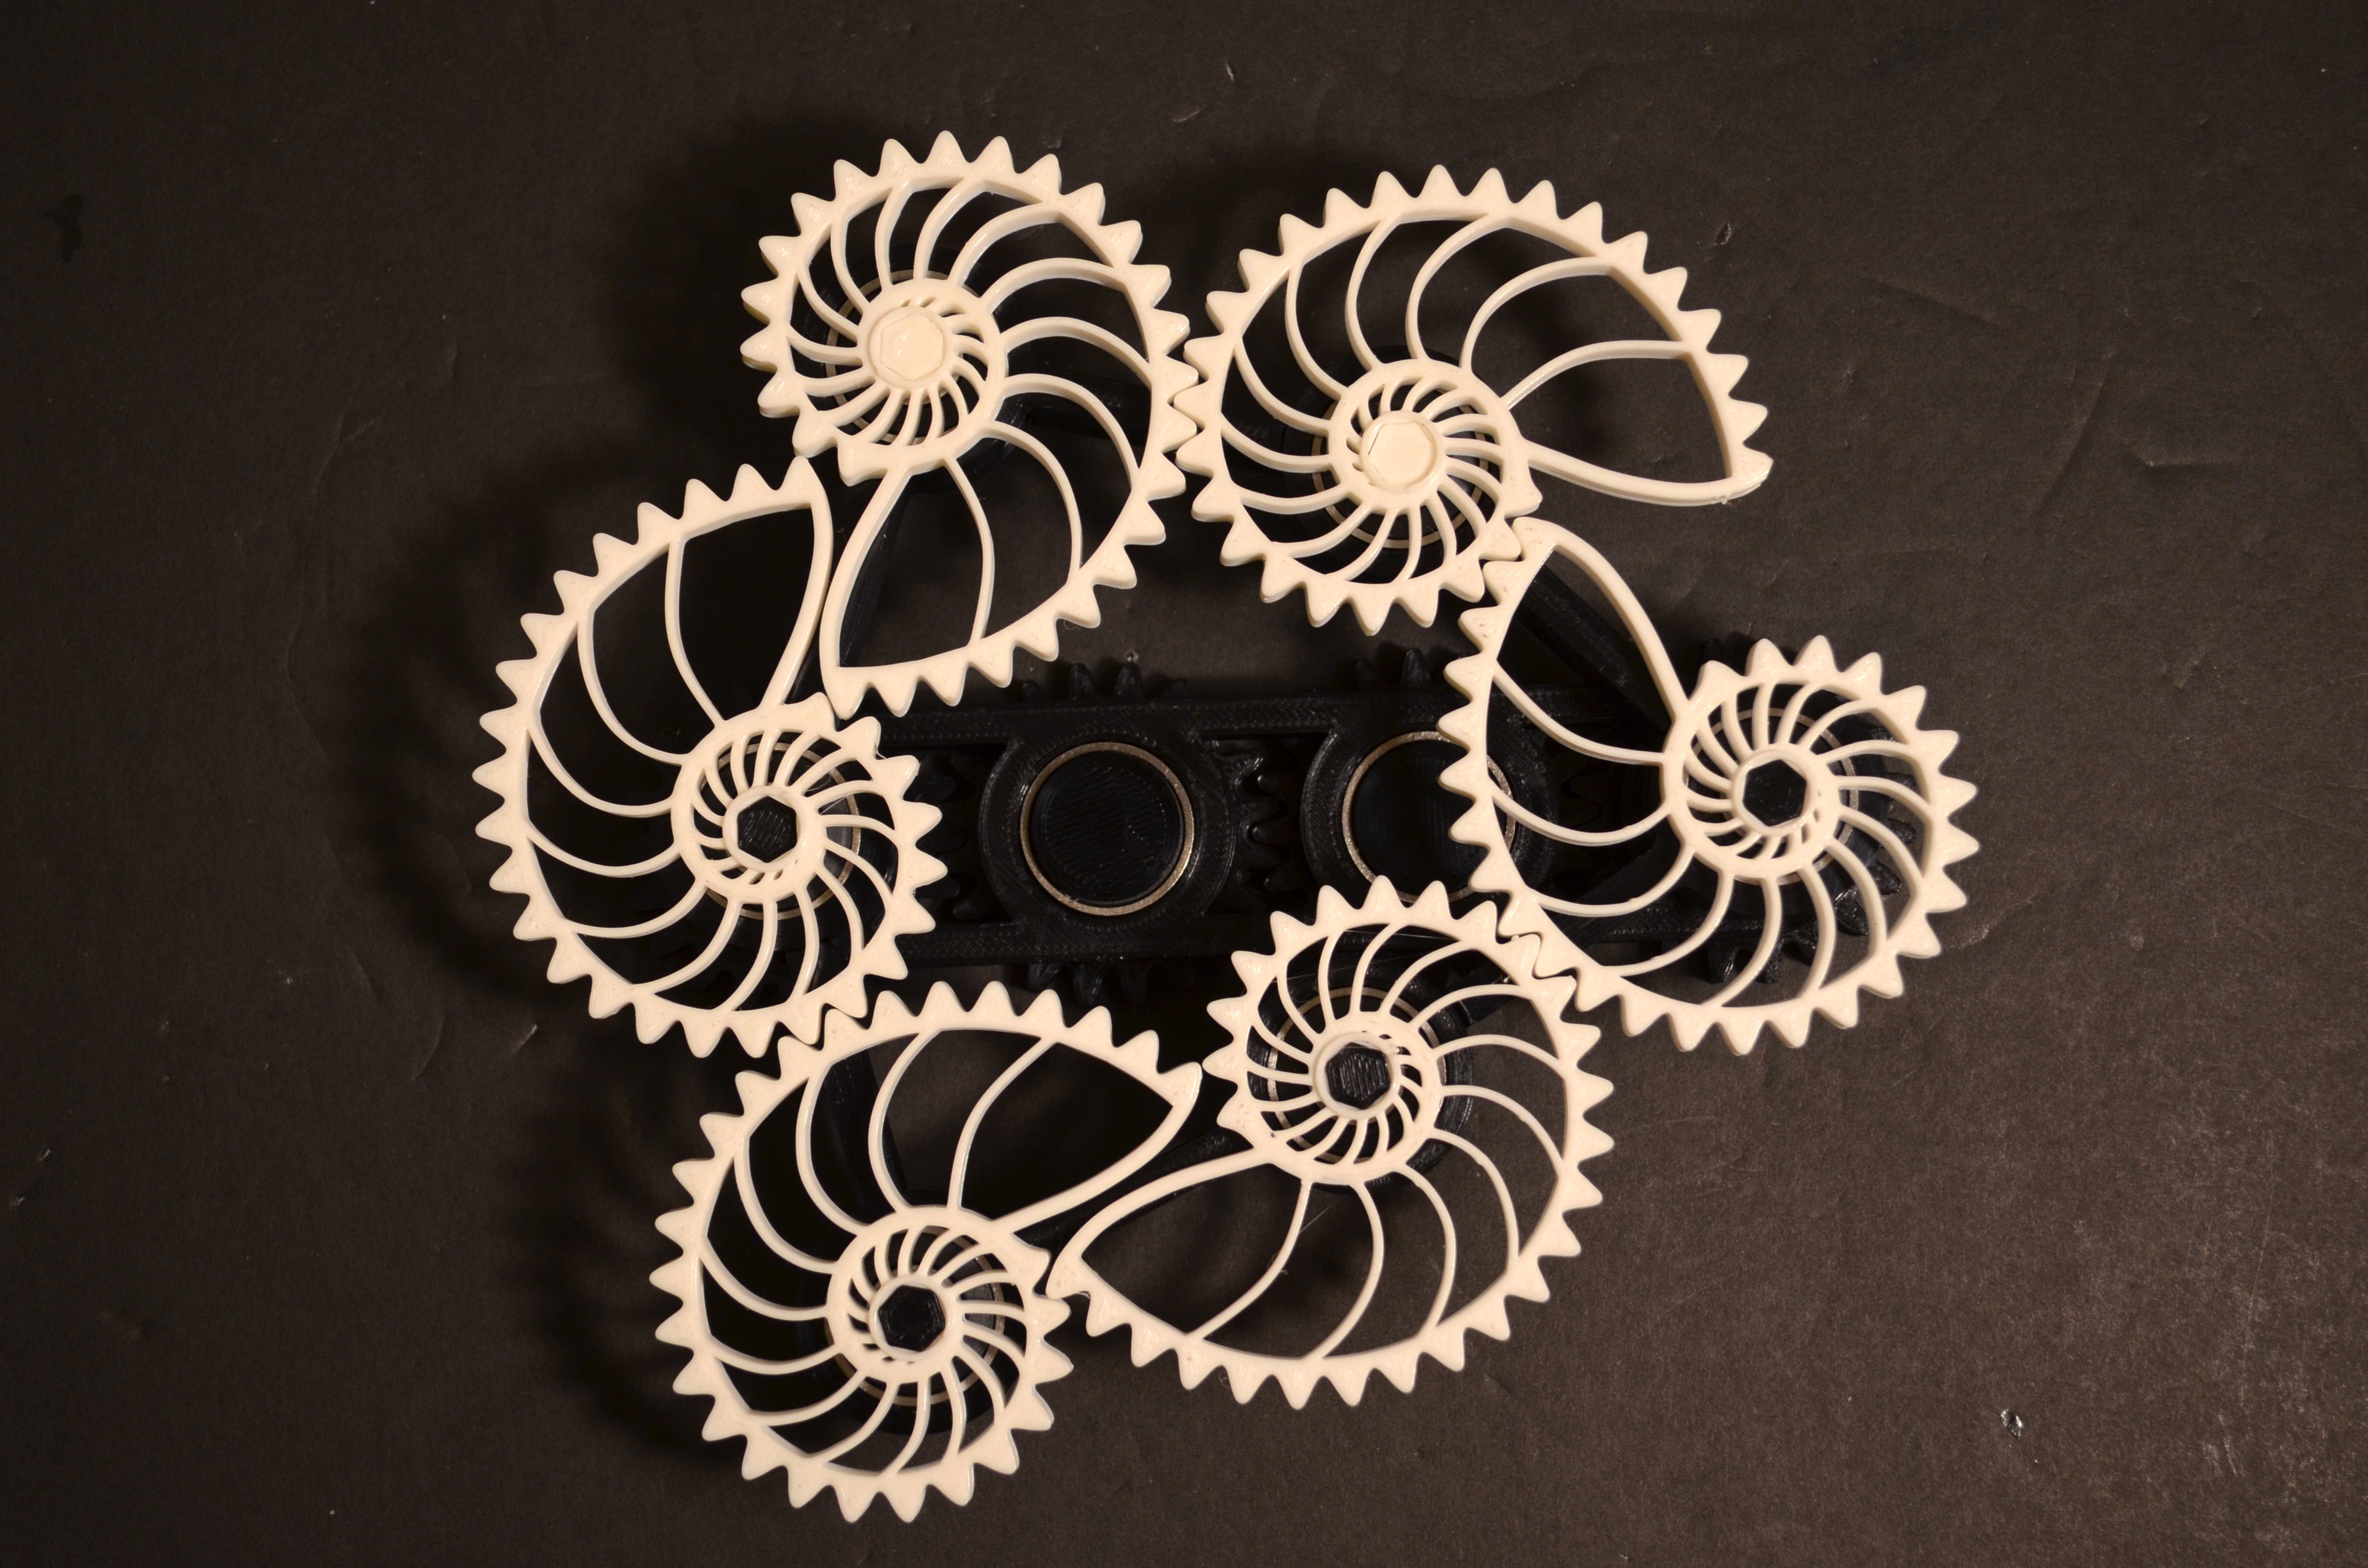
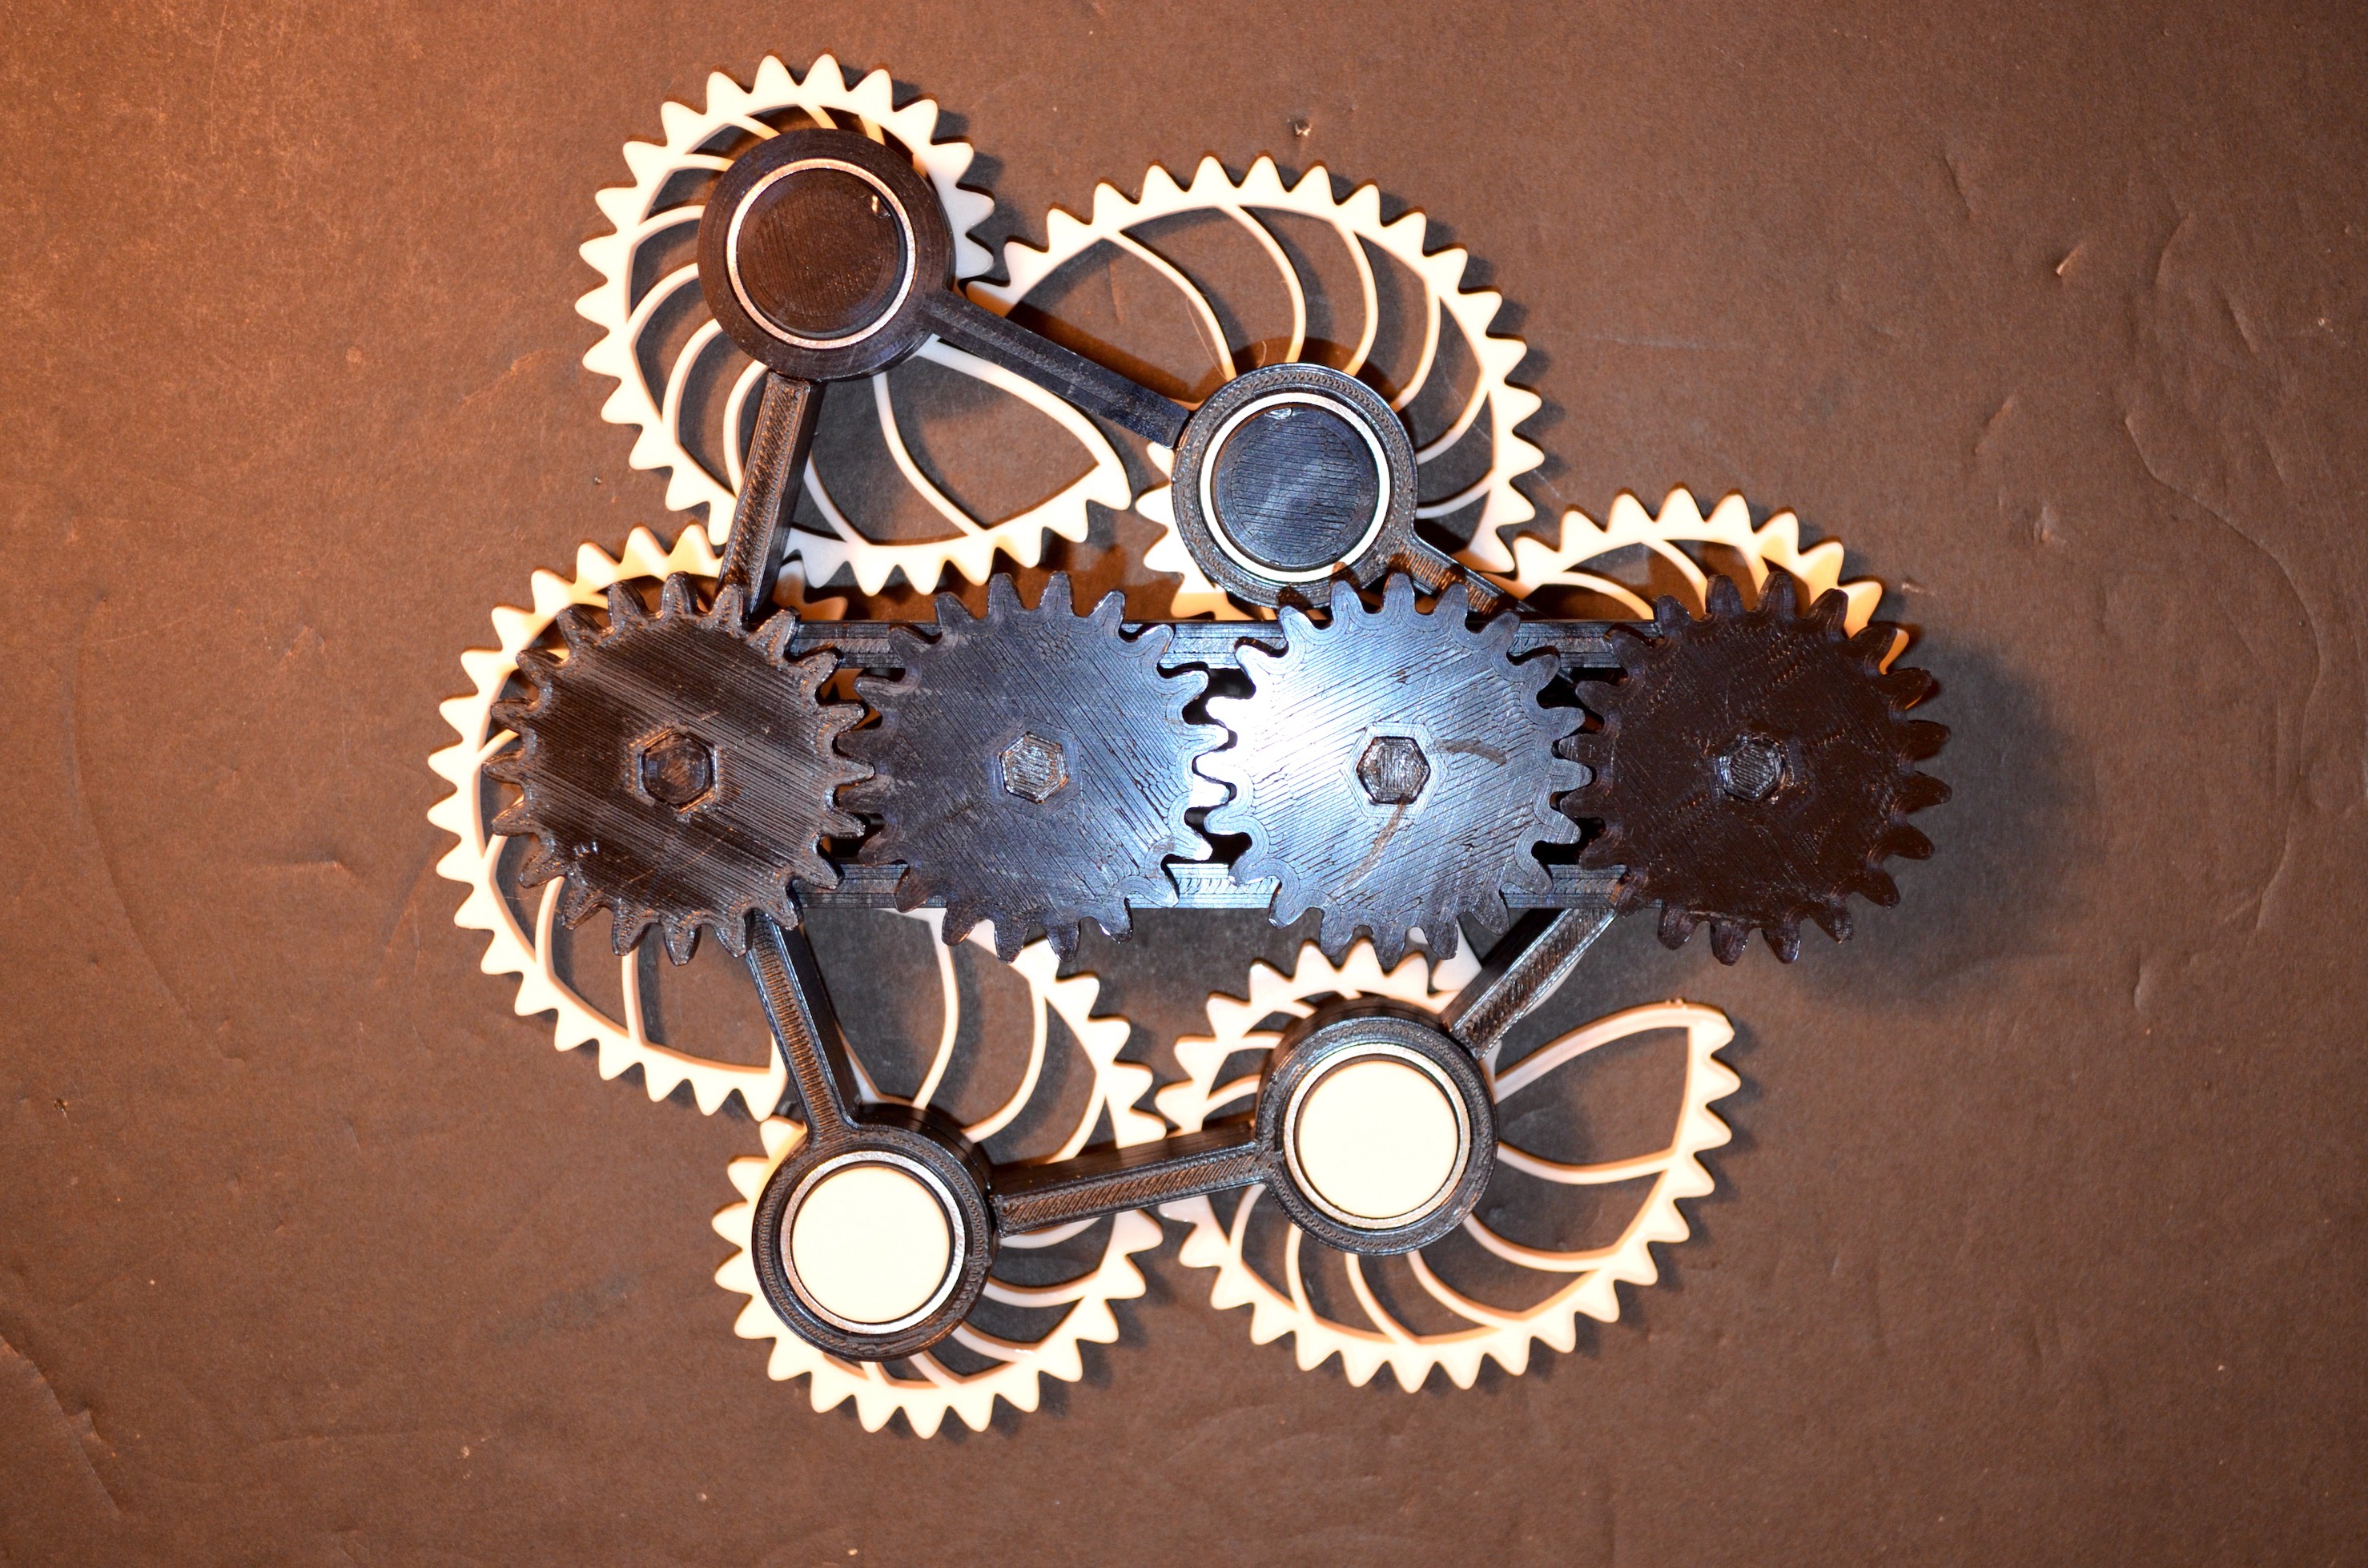
- 4 Links
- 4 Nautilus gears
- Pegs to attach the gears to the frame
- 608 Bearings
- Actuator
Assembly Instructions
- Connect the links to create the frame.
- Mount the gears on the frame. Ensure that the teeth are meshed as shown below.
- Mount the gear assembly to the actuator using the adapter.
Refer to the video for complete assembly walkthrough.
Front View
Rear View
-
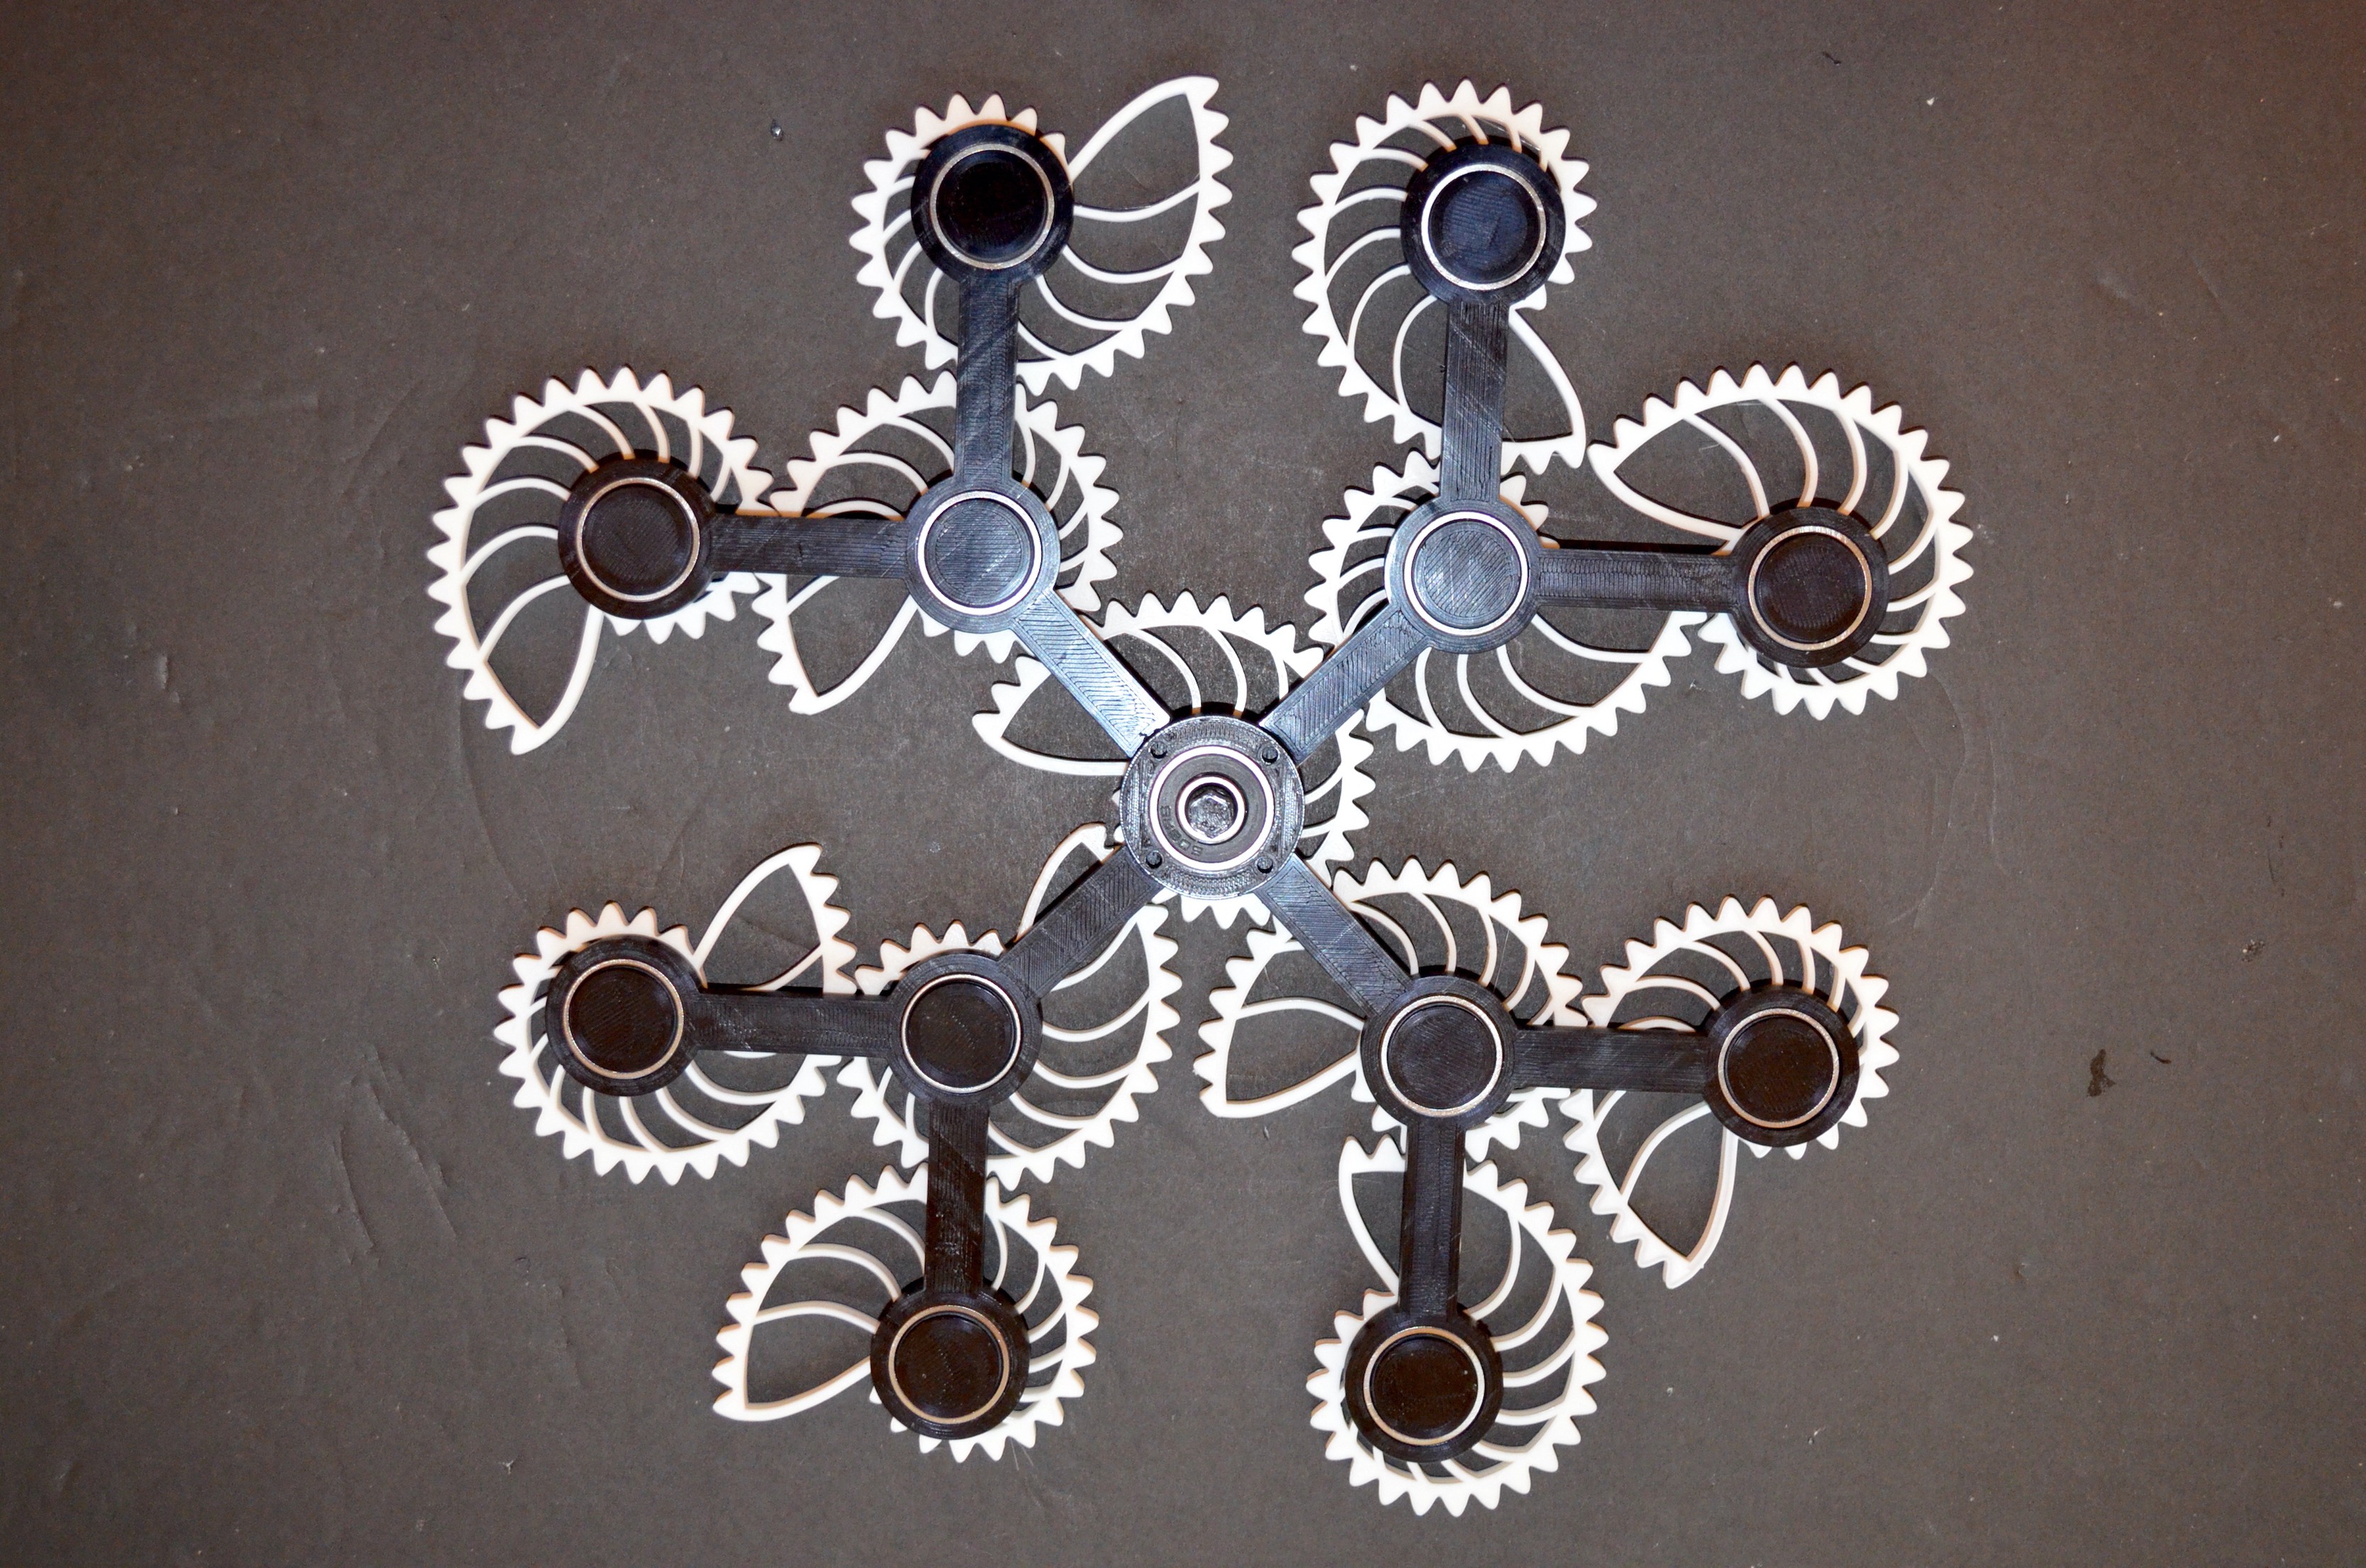
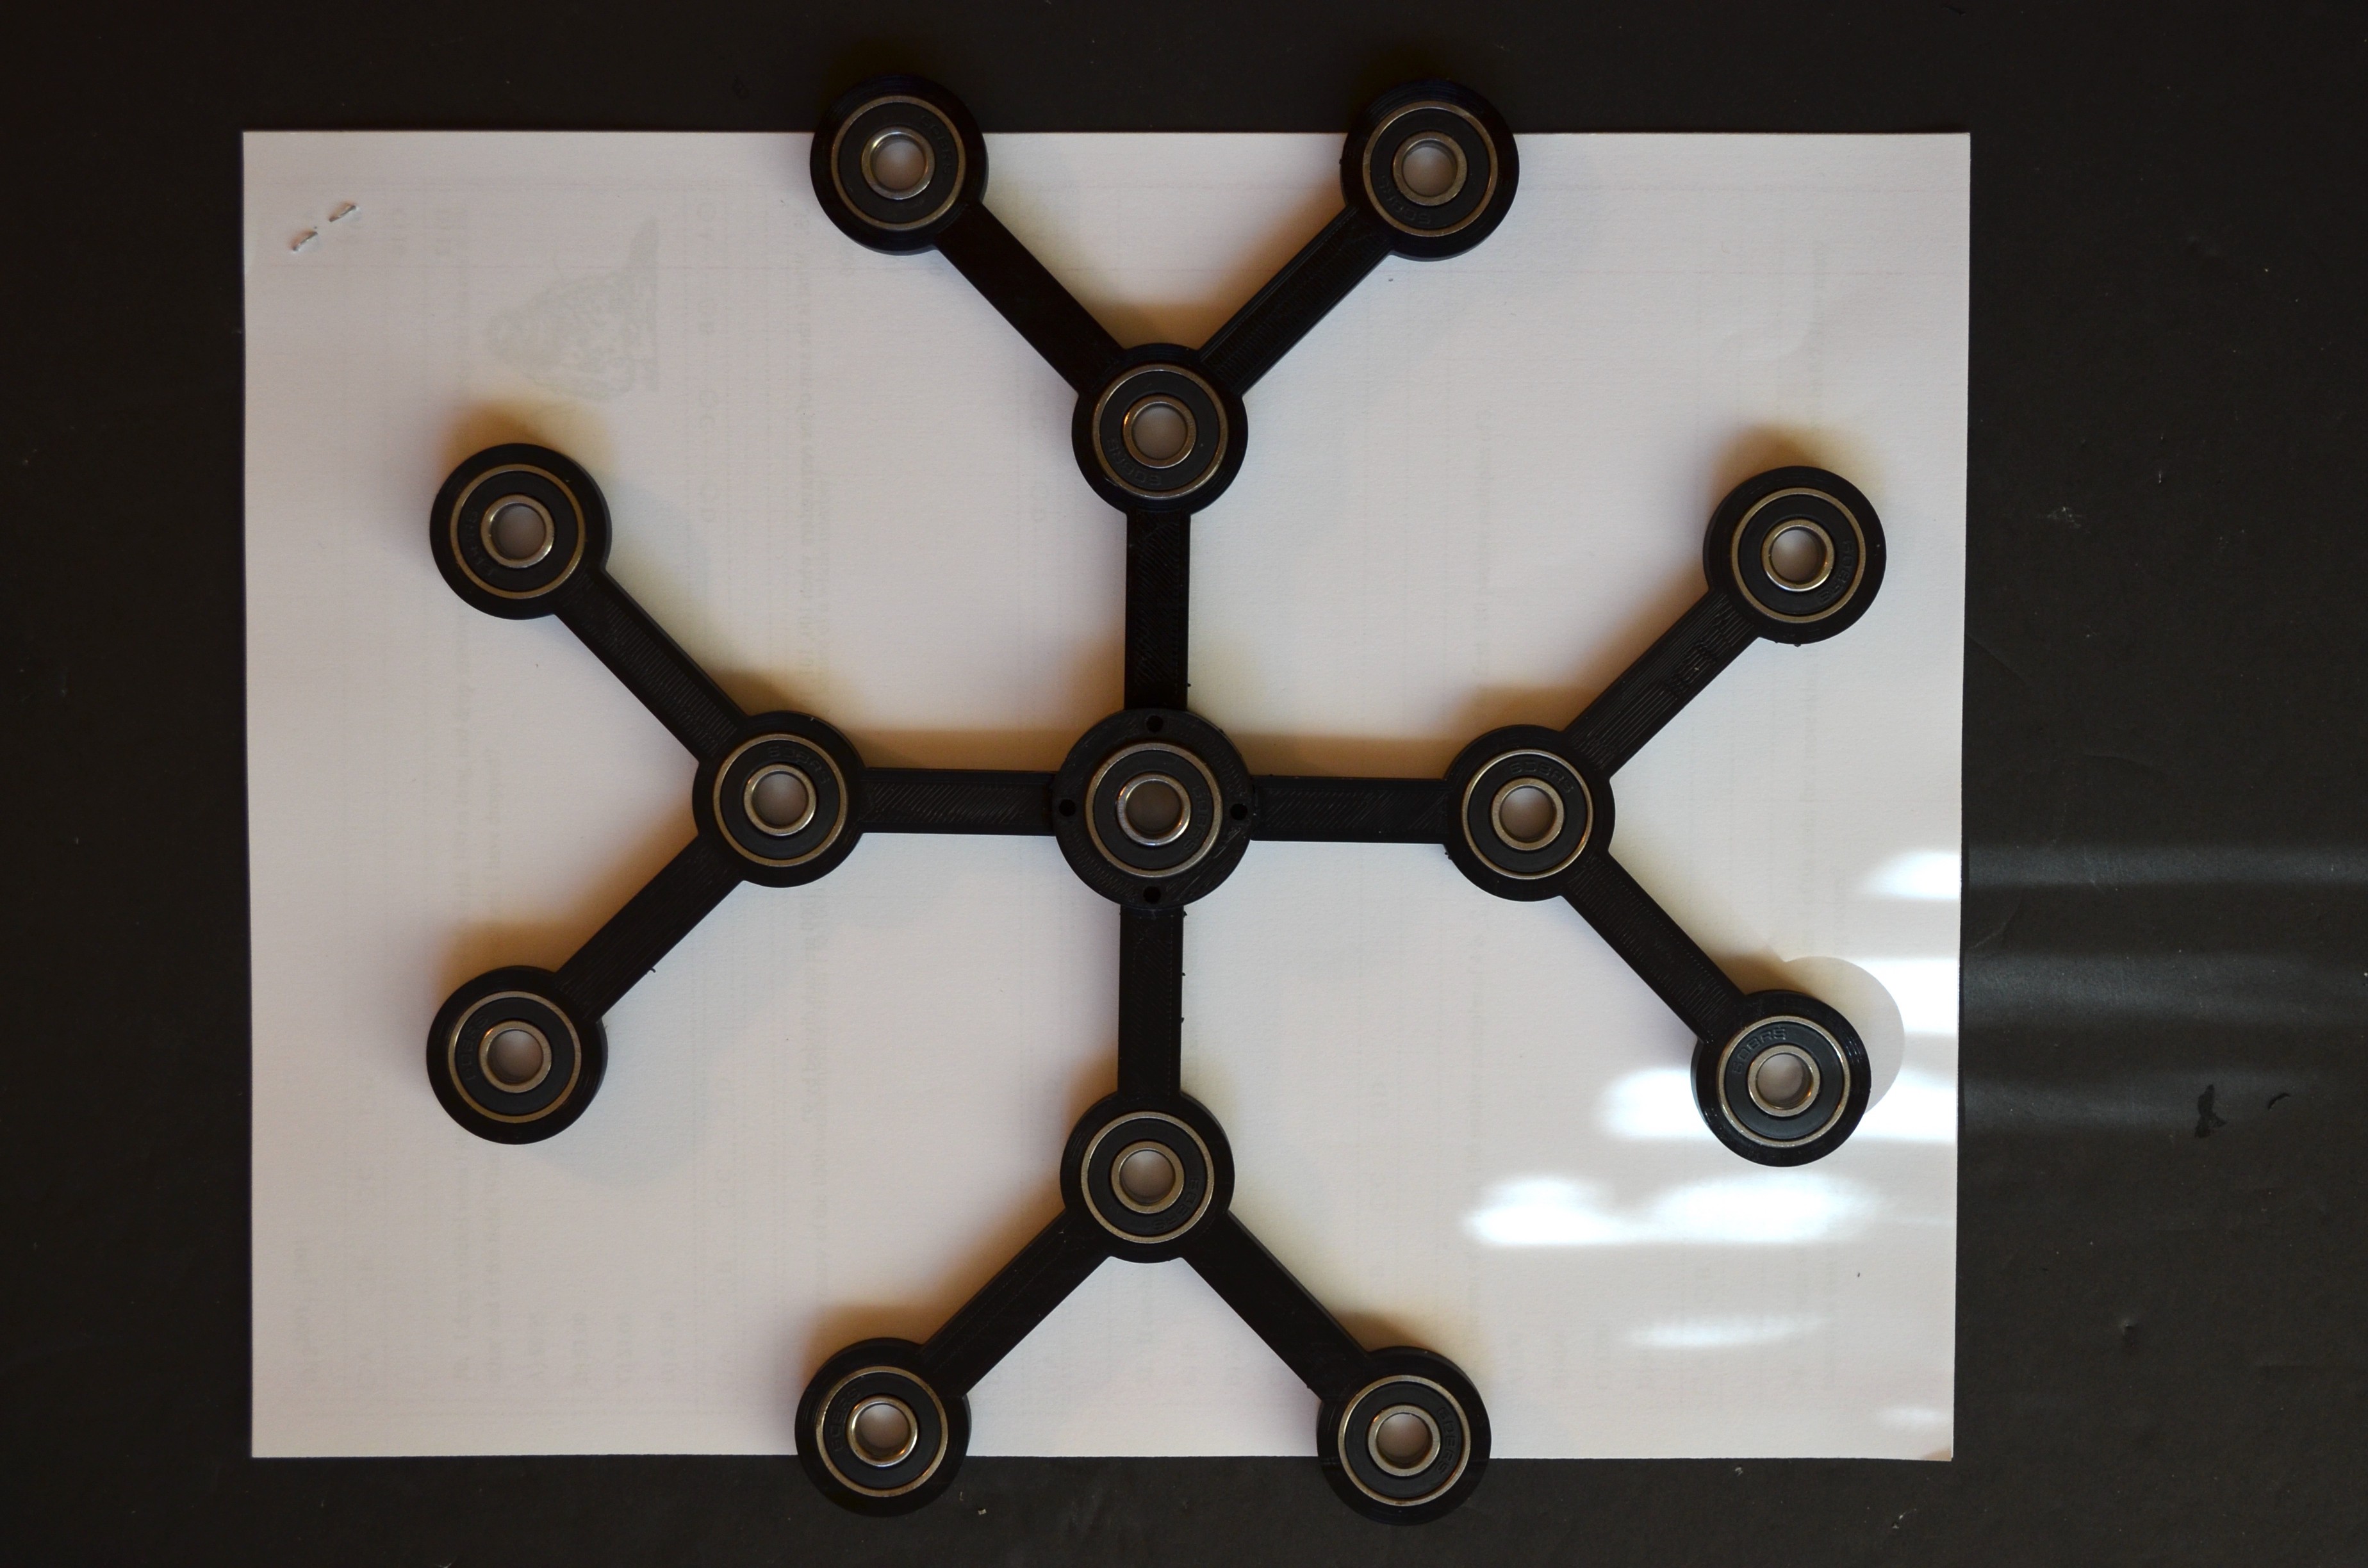
10Nautilus Star
List of parts to be 3D printed and the required hardware components
- 6 Links
- 6 Nautilus gears
- Pegs to attach the gears to the frame
- 608 Bearings
- Actuator
Assembly Instructions
- Connect the links to create the frame.
- Mount the gears on the frame. Ensure that the teeth are meshed as shown below.
- Mount the gear assembly to the actuator using the adapter.
Refer to the video for complete assembly walkthrough.
Front View
Rear View
 Vipin M






Discussions
Become a Hackaday.io Member
Create an account to leave a comment. Already have an account? Log In.
That's my question too! Who can help?
Are you sure? yes | no
Does anyone know where to find the STL files for the actuator enclosure and adapter between the frame and actuator? Thanks.
Are you sure? yes | no