-
Progress has resumed...
09/05/2021 at 09:45 • 0 commentsI hate it when real work gets in the way of my project but it has or at least it was. Things have calmed down a bit so I am able to give you an update.
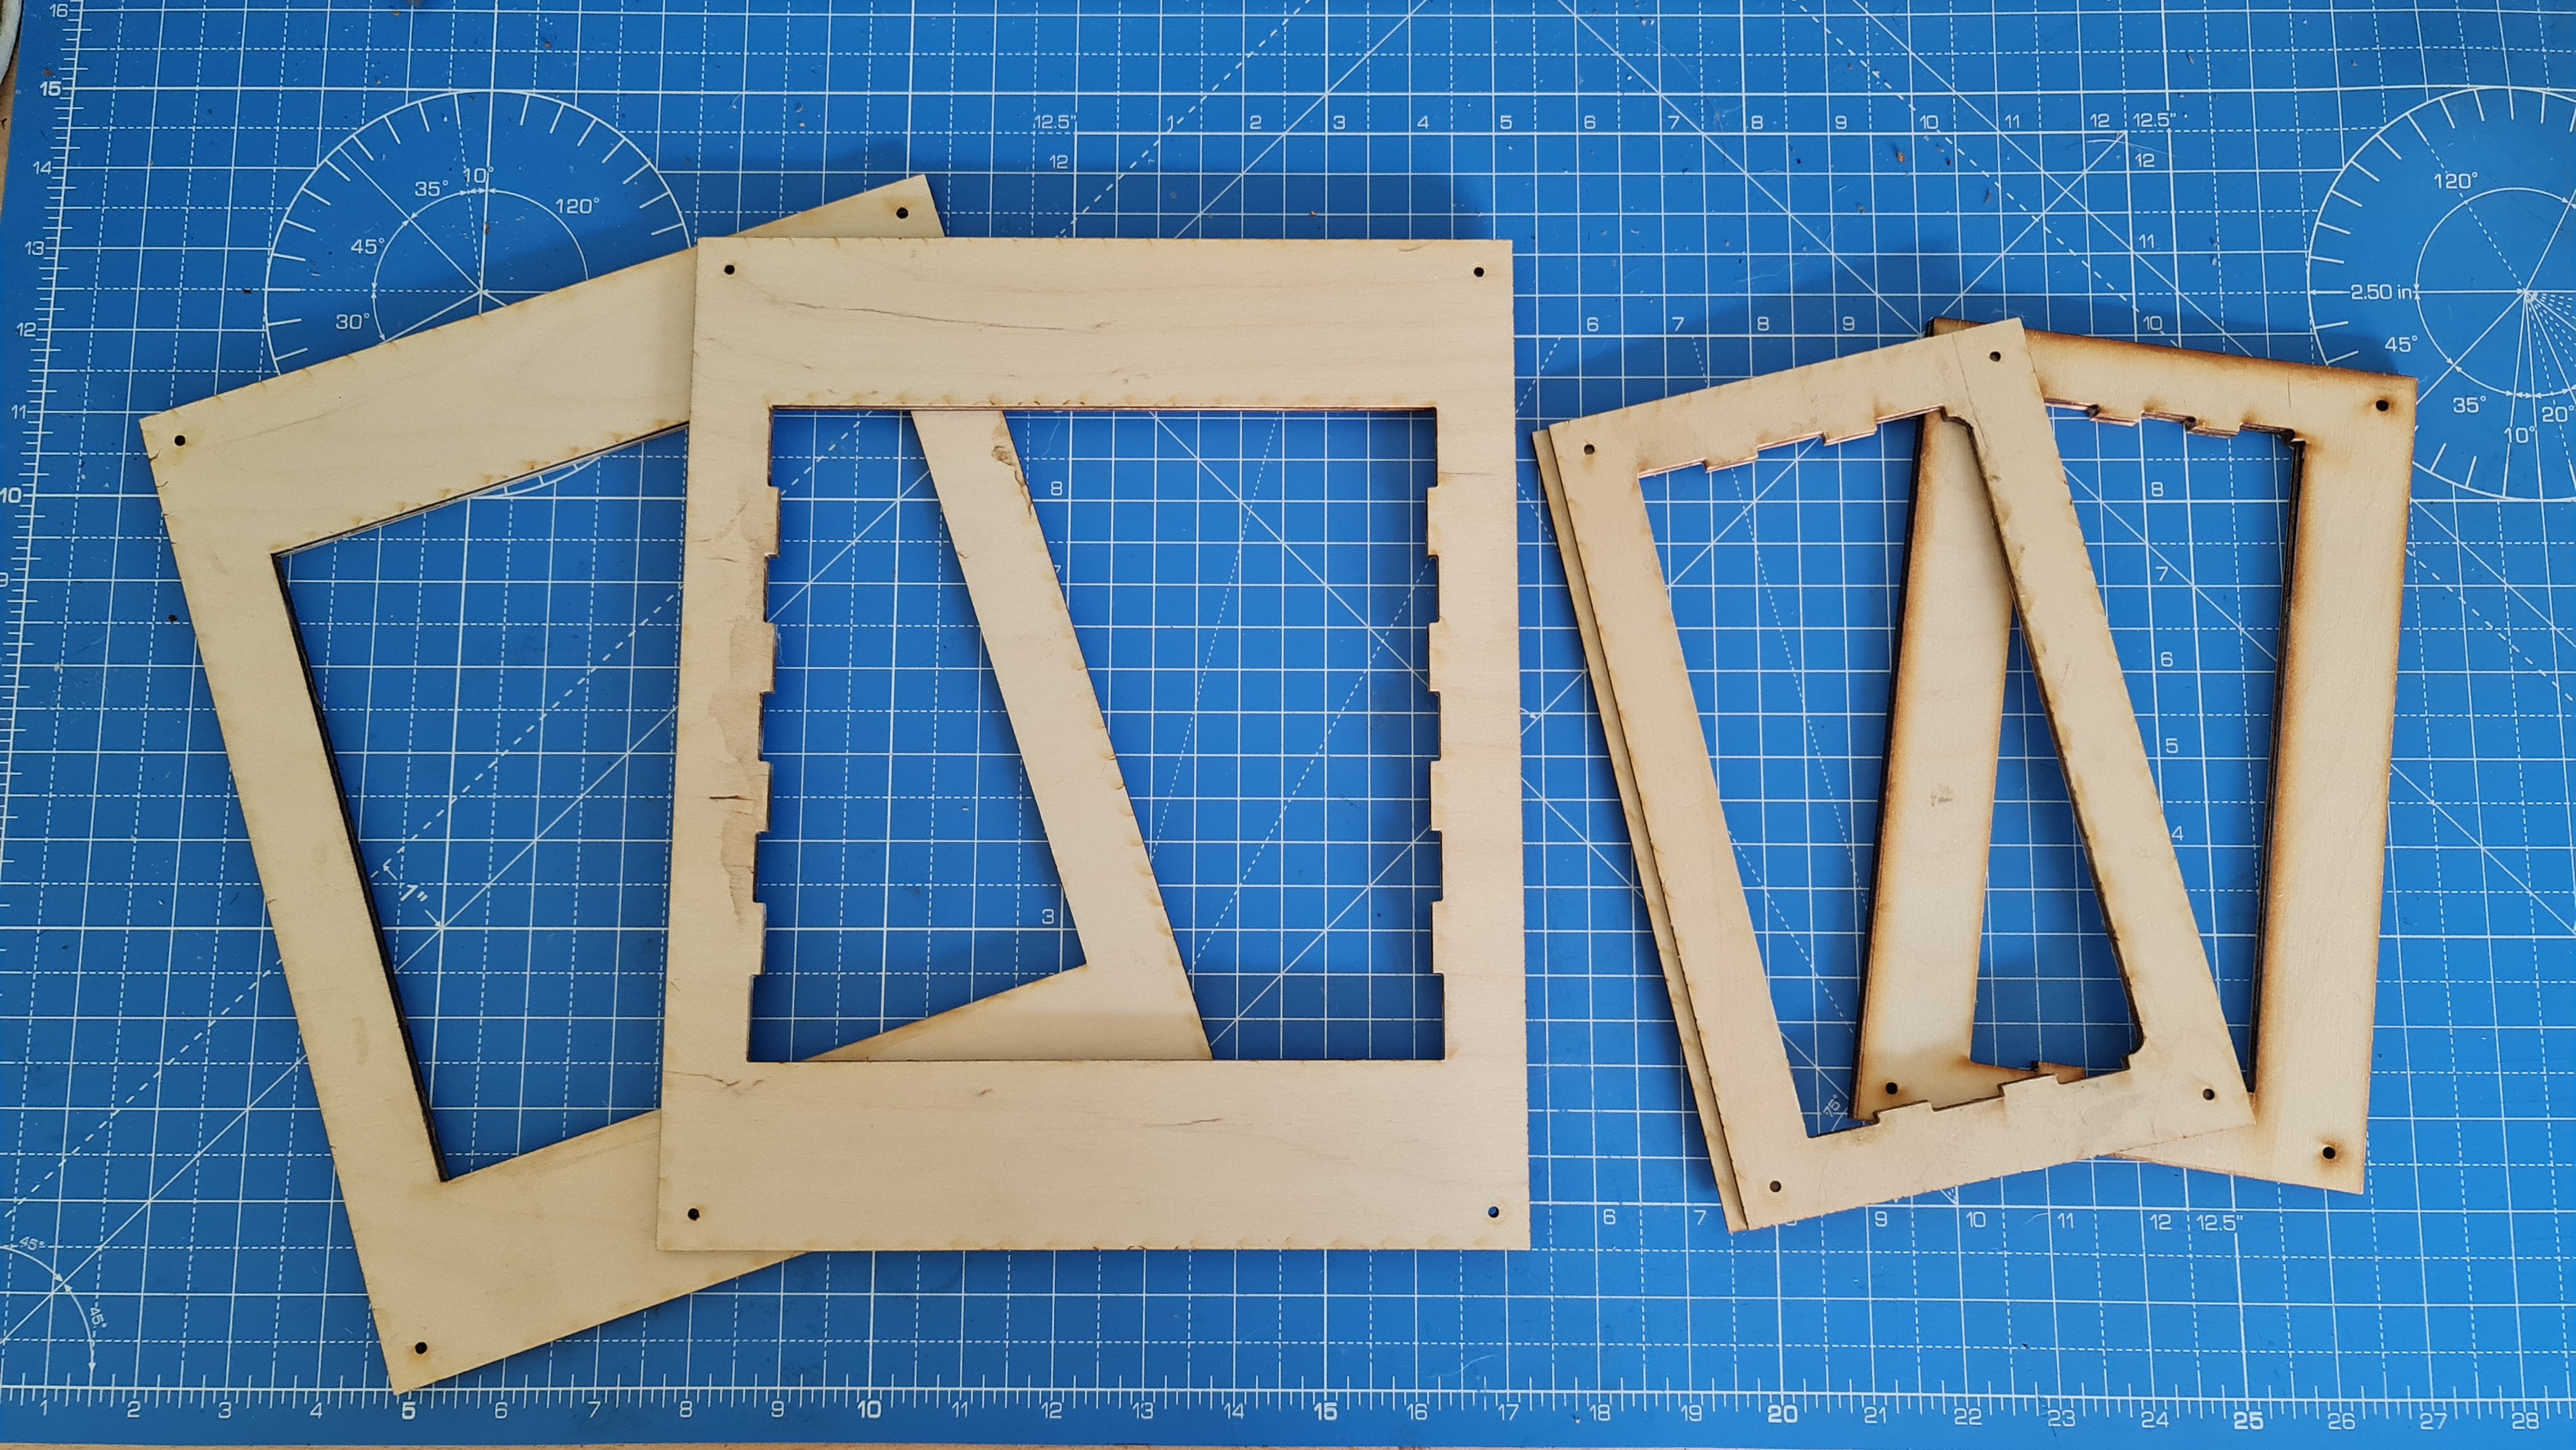
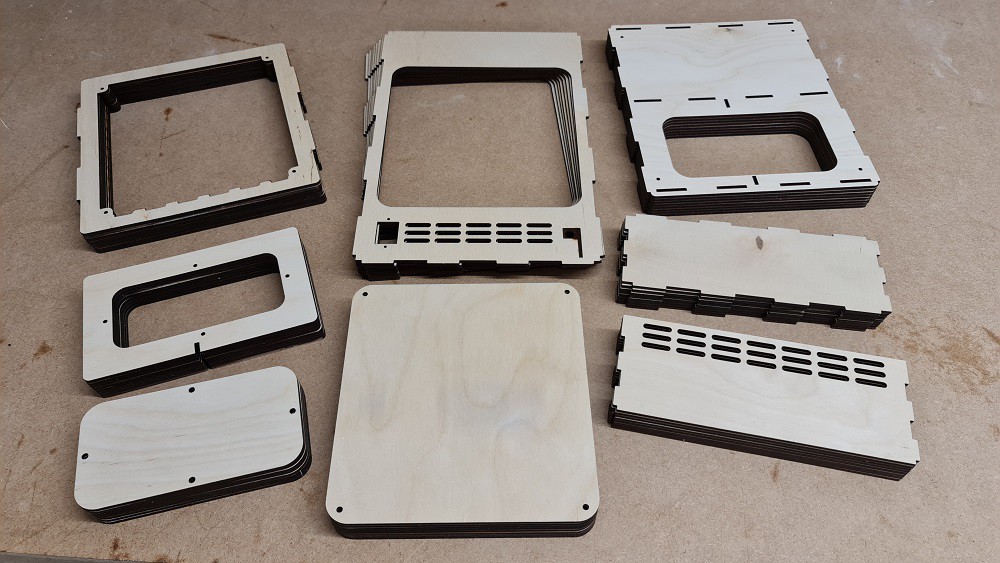
Quite a few of the component parts of the cabinet are two piece and have to be glued together before assembly.
I had a few mishaps with alignment when gluing some of the two piece components so I ended up making jigs for them, they worked great!
![]()
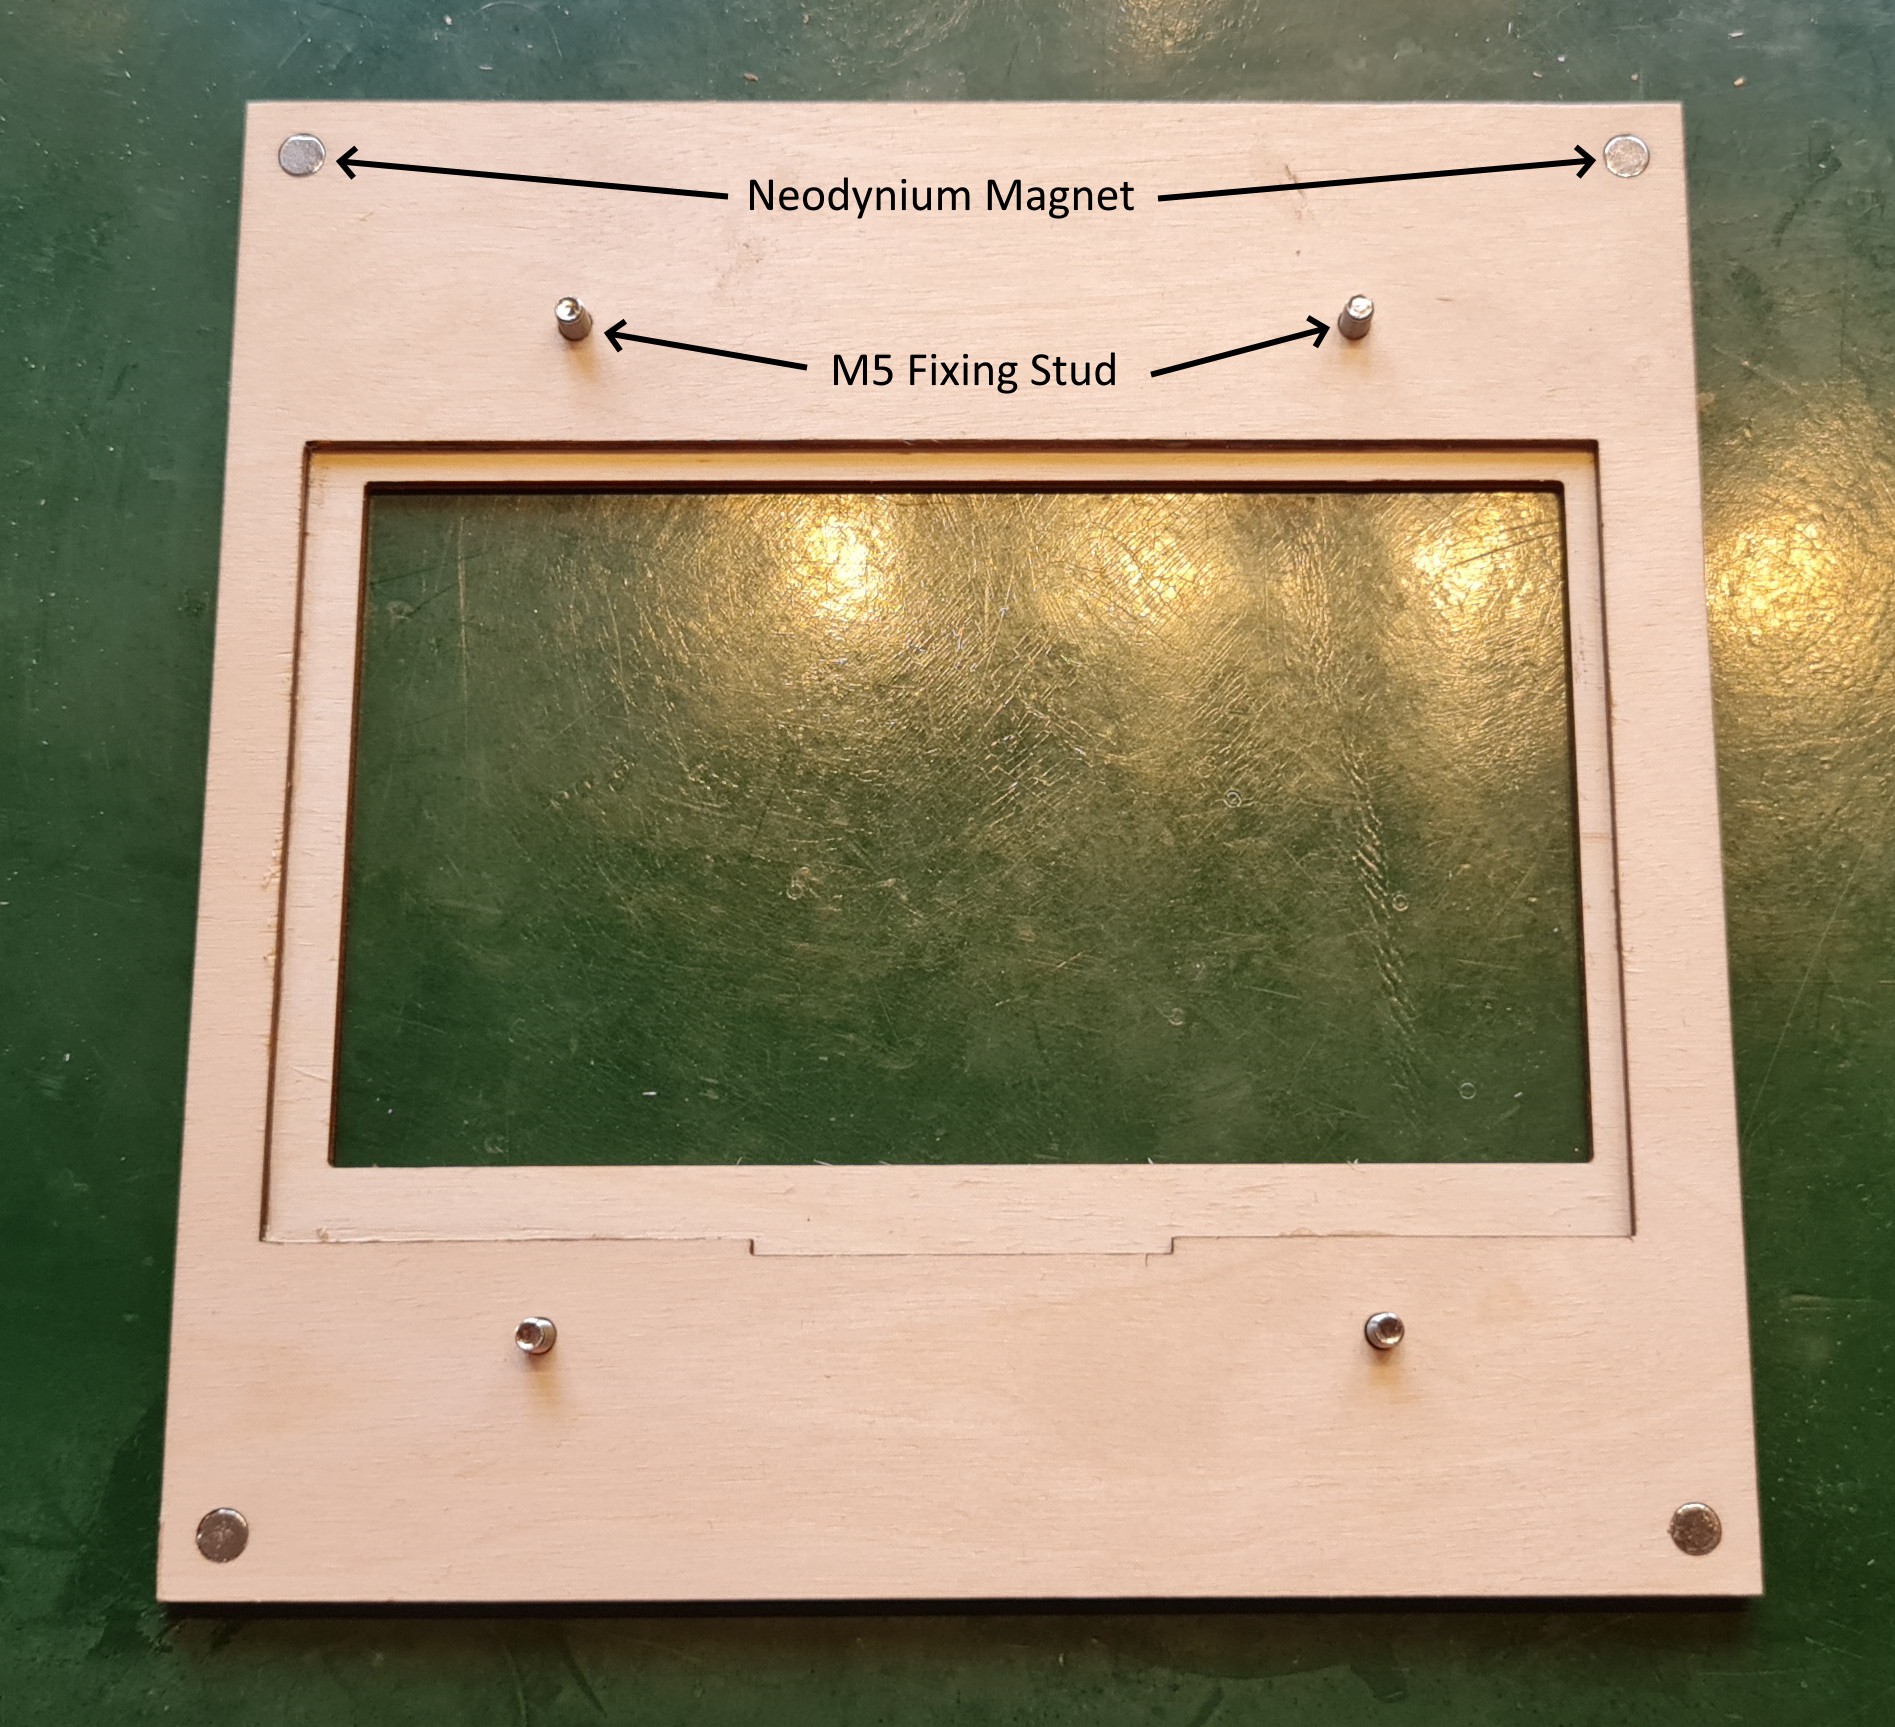
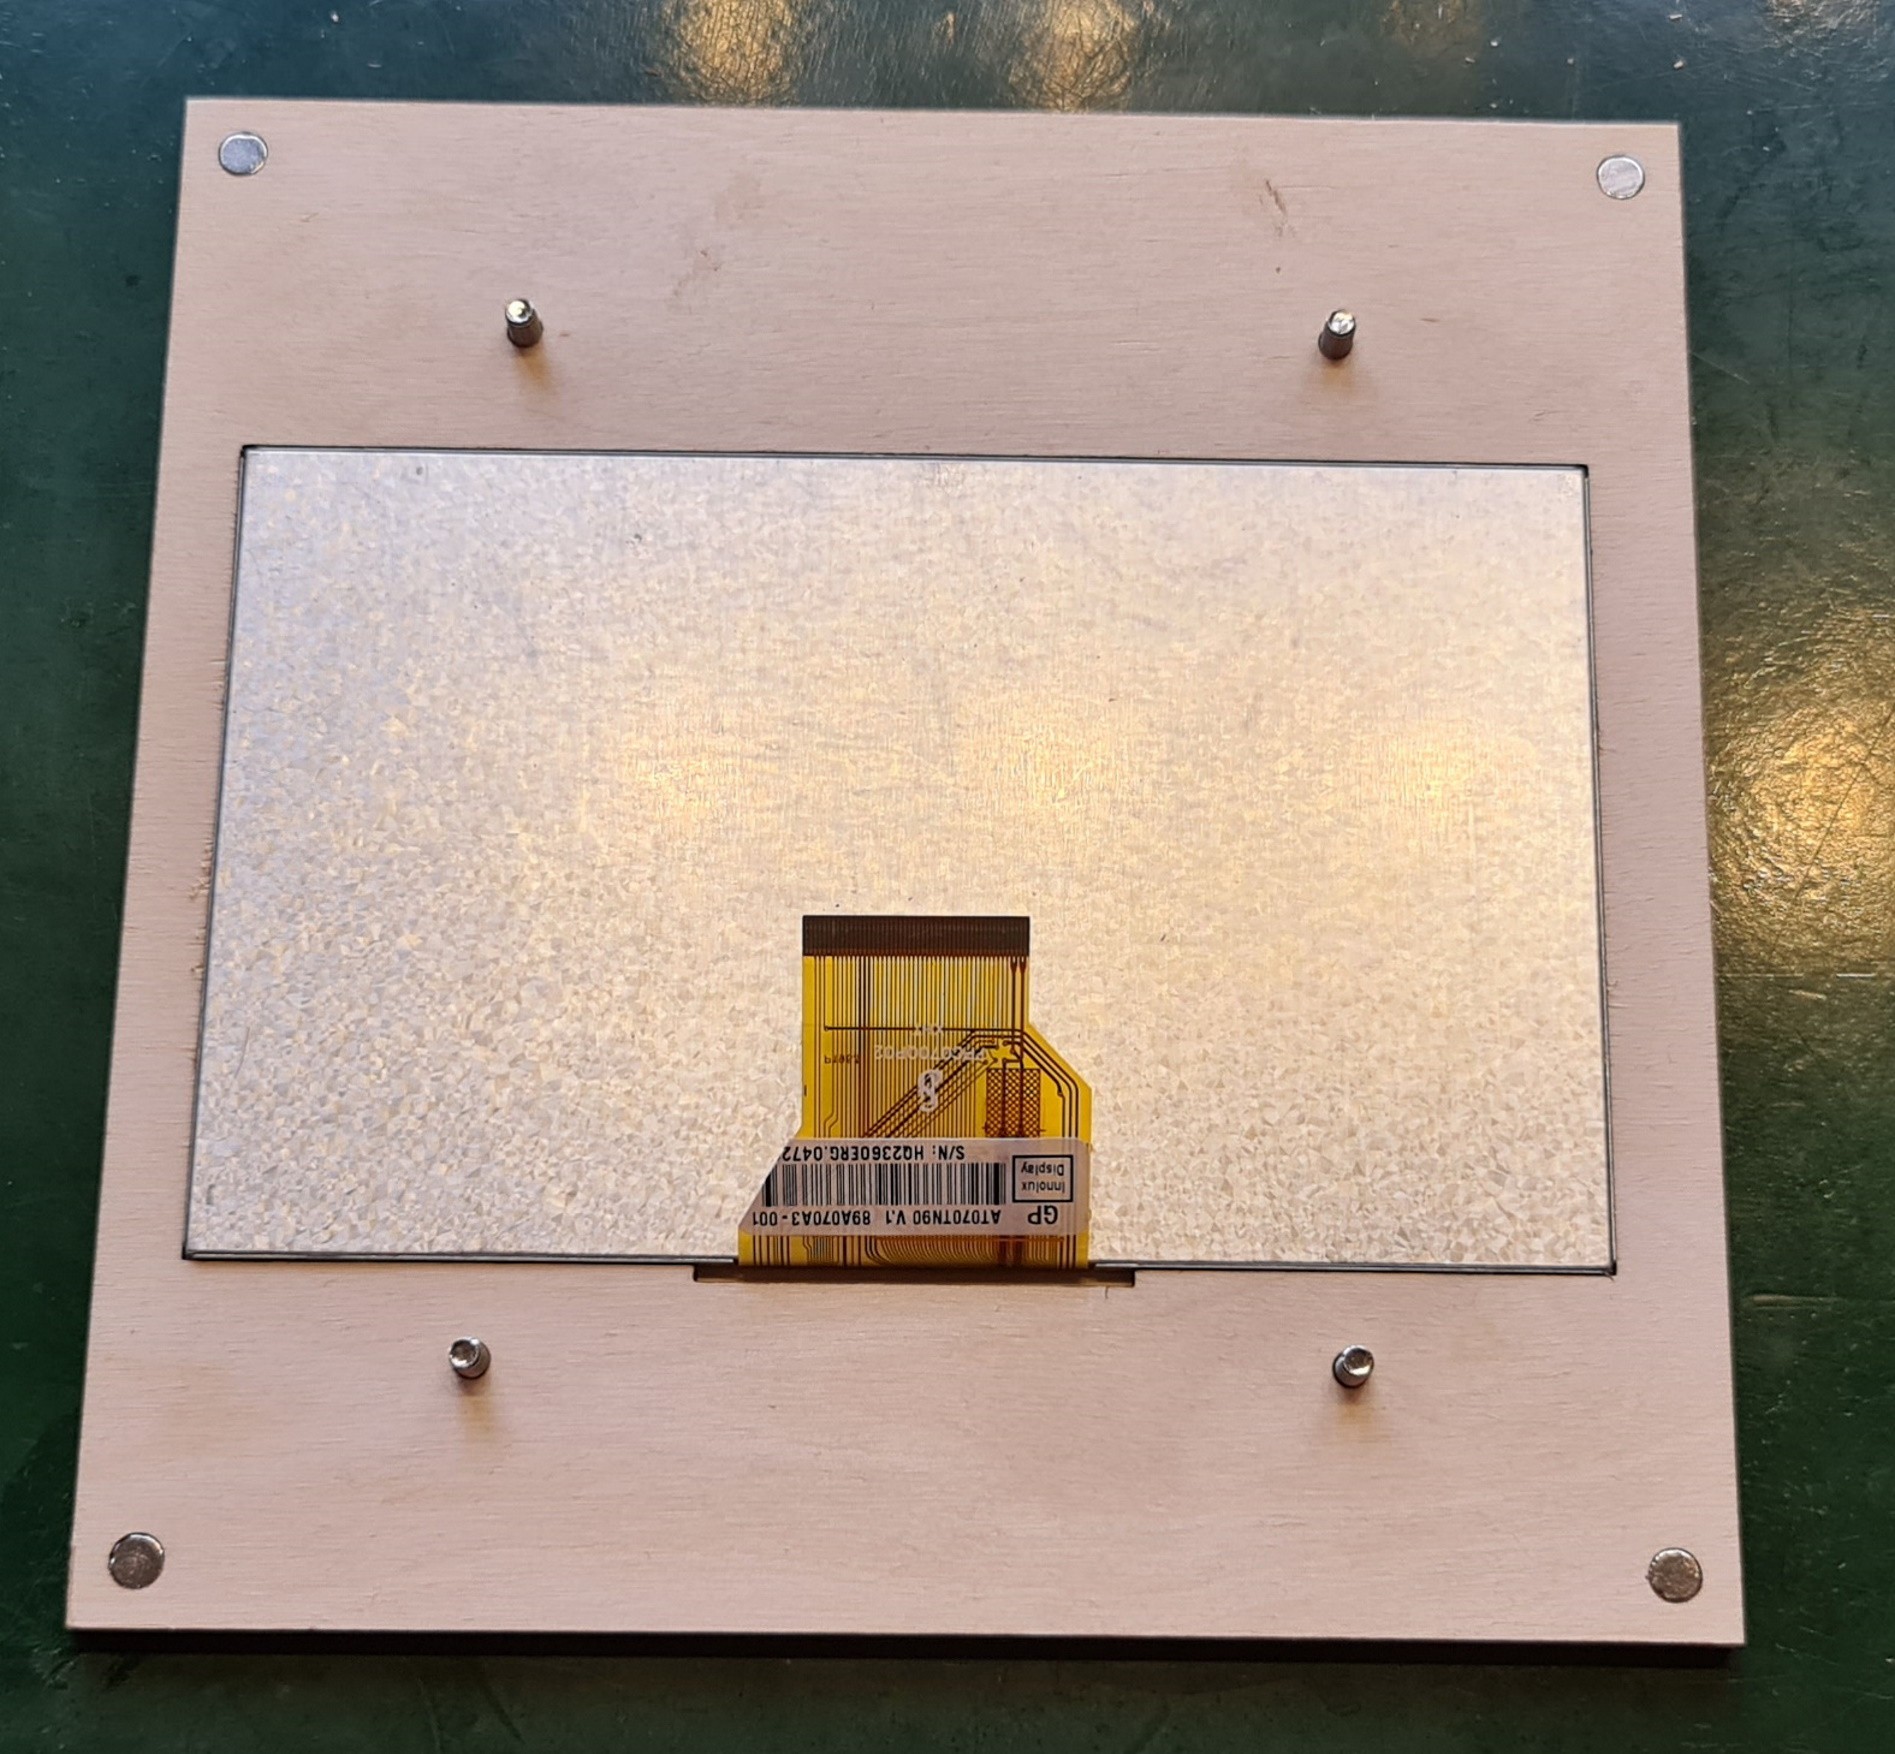
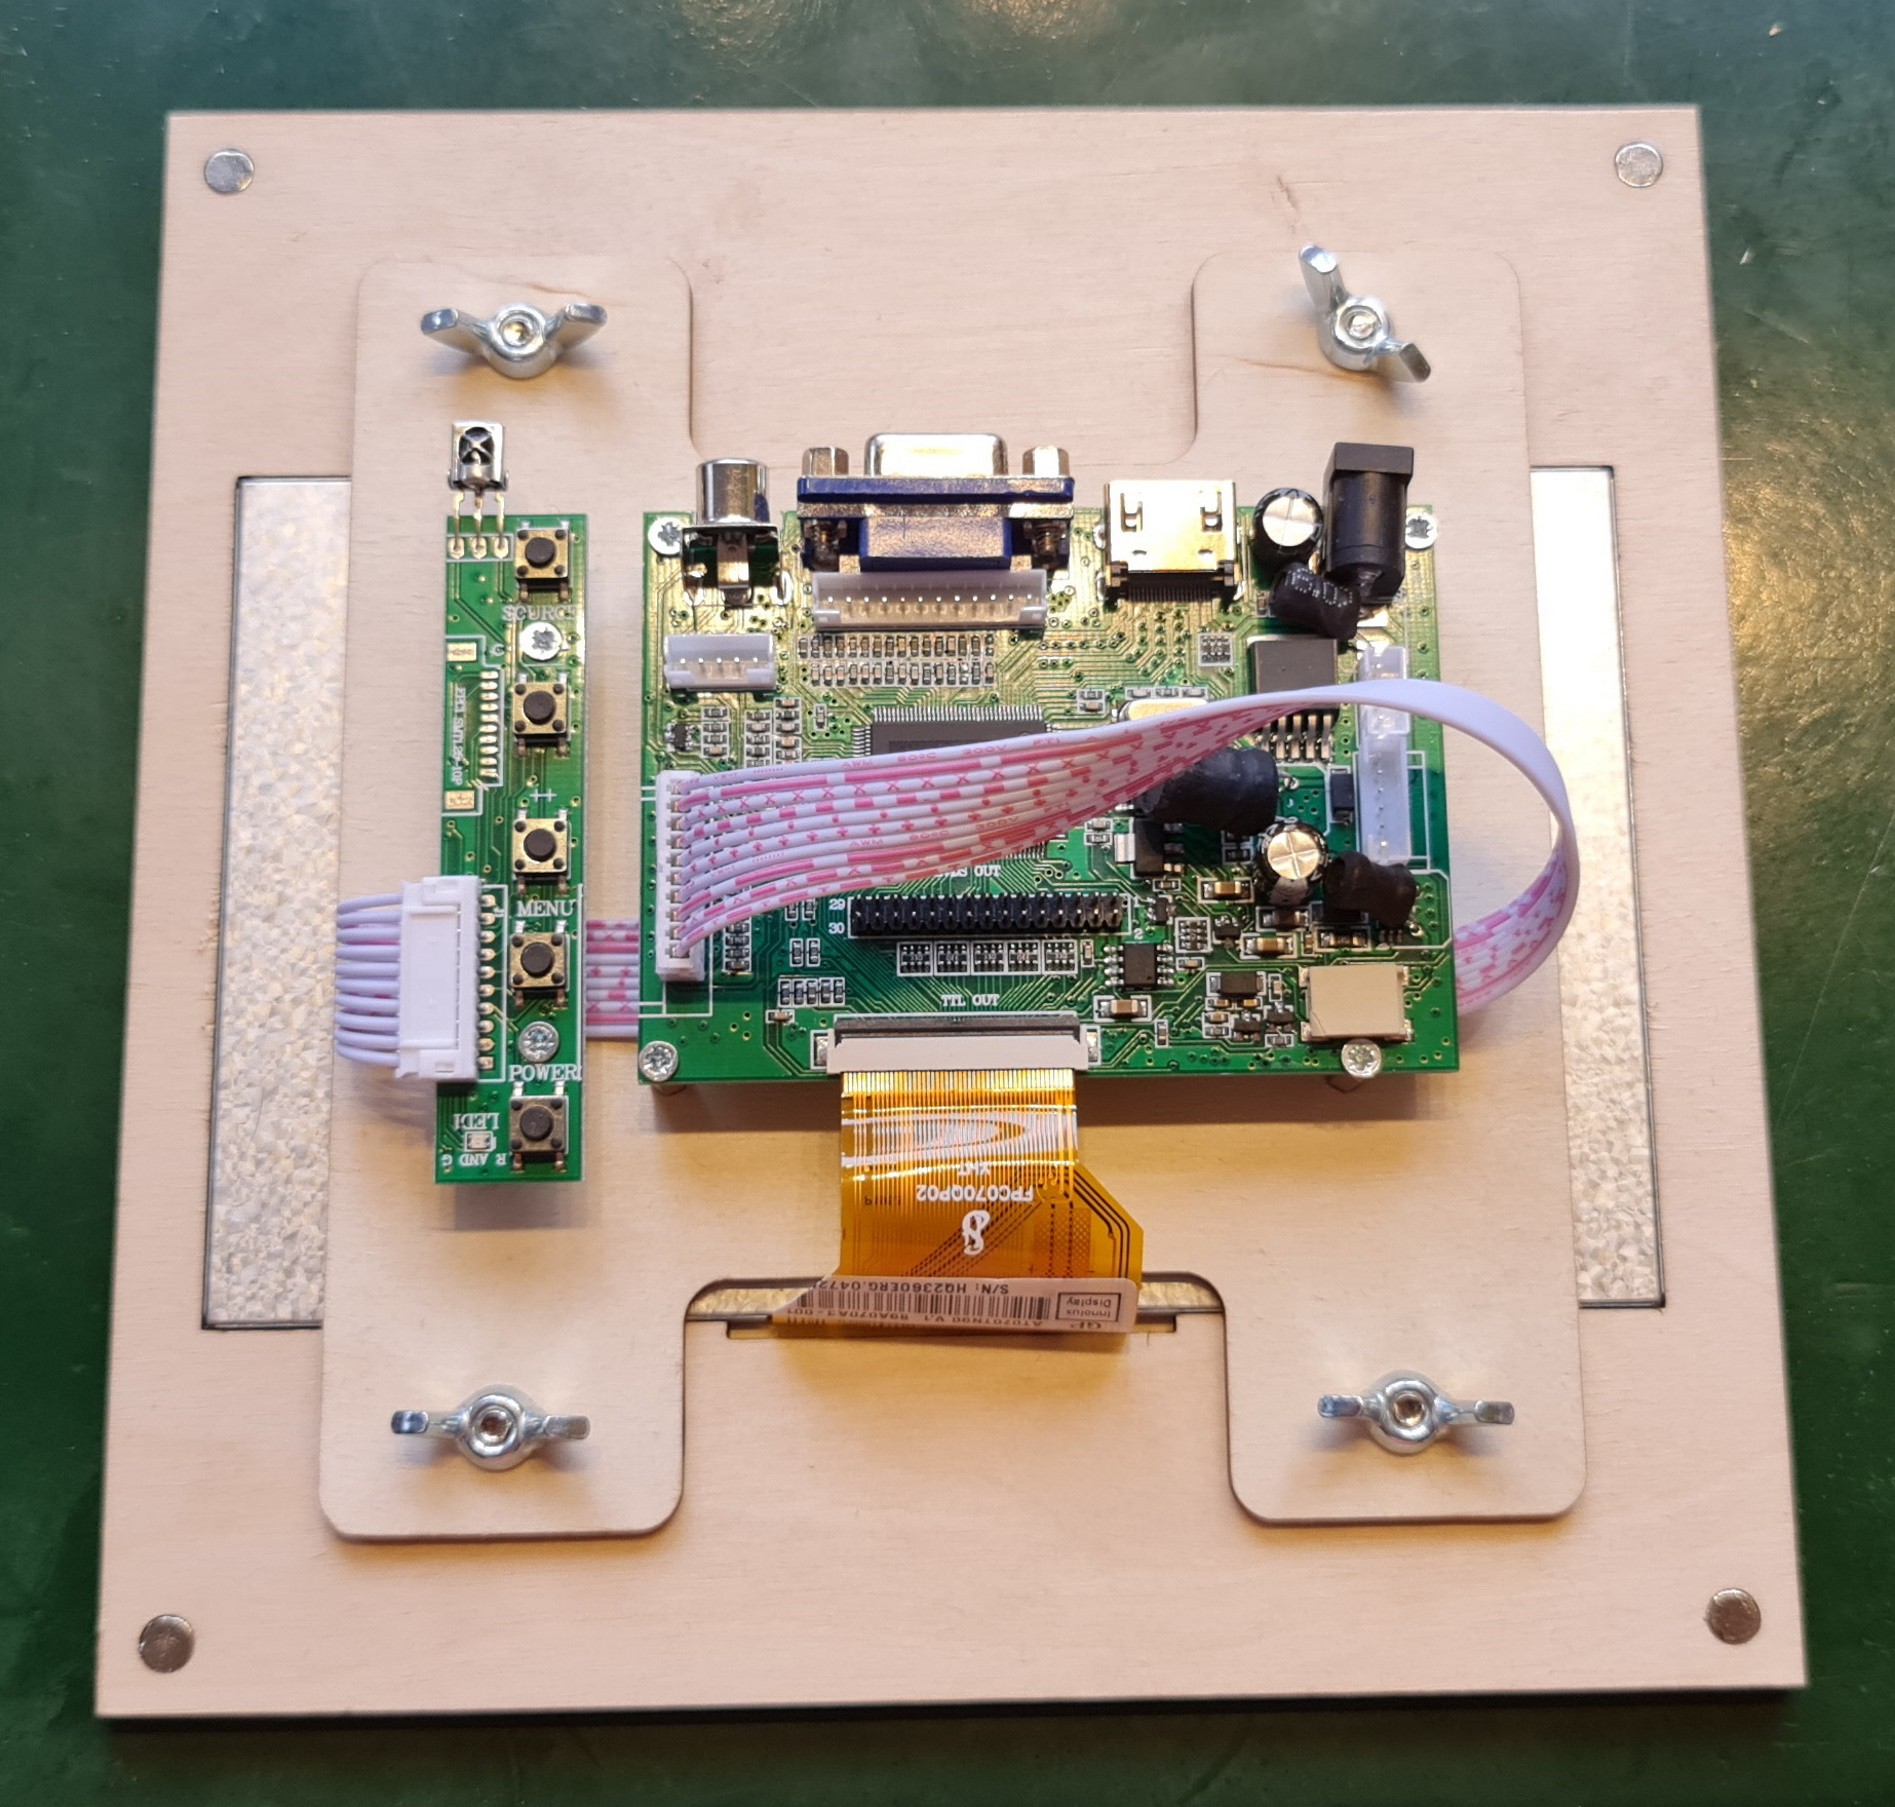
This has enabled me to get all the two piece components glued together and I've now completed all of the LCD assemblies.
![]()
![]()
![]()
-
Cabinet Graphics
06/20/2021 at 18:57 • 0 commentsI've cut out all of the parts required to start building but before I do I wanted to sort out what we are doing with the two side panels and the joystick area.
We thought it would be neat to put a vinyl print on these faces but the reality is that self adhesive vinyl needs a non porous and shiny surface to adhere to.
I've spent most of my time this week on different finishes, testing lacquer and varnish for which is best.
Well the answer is spray lacquer gives by far the best results but comes at a cost, the labour element to spray, sand, spray, sand etc.. is too high.
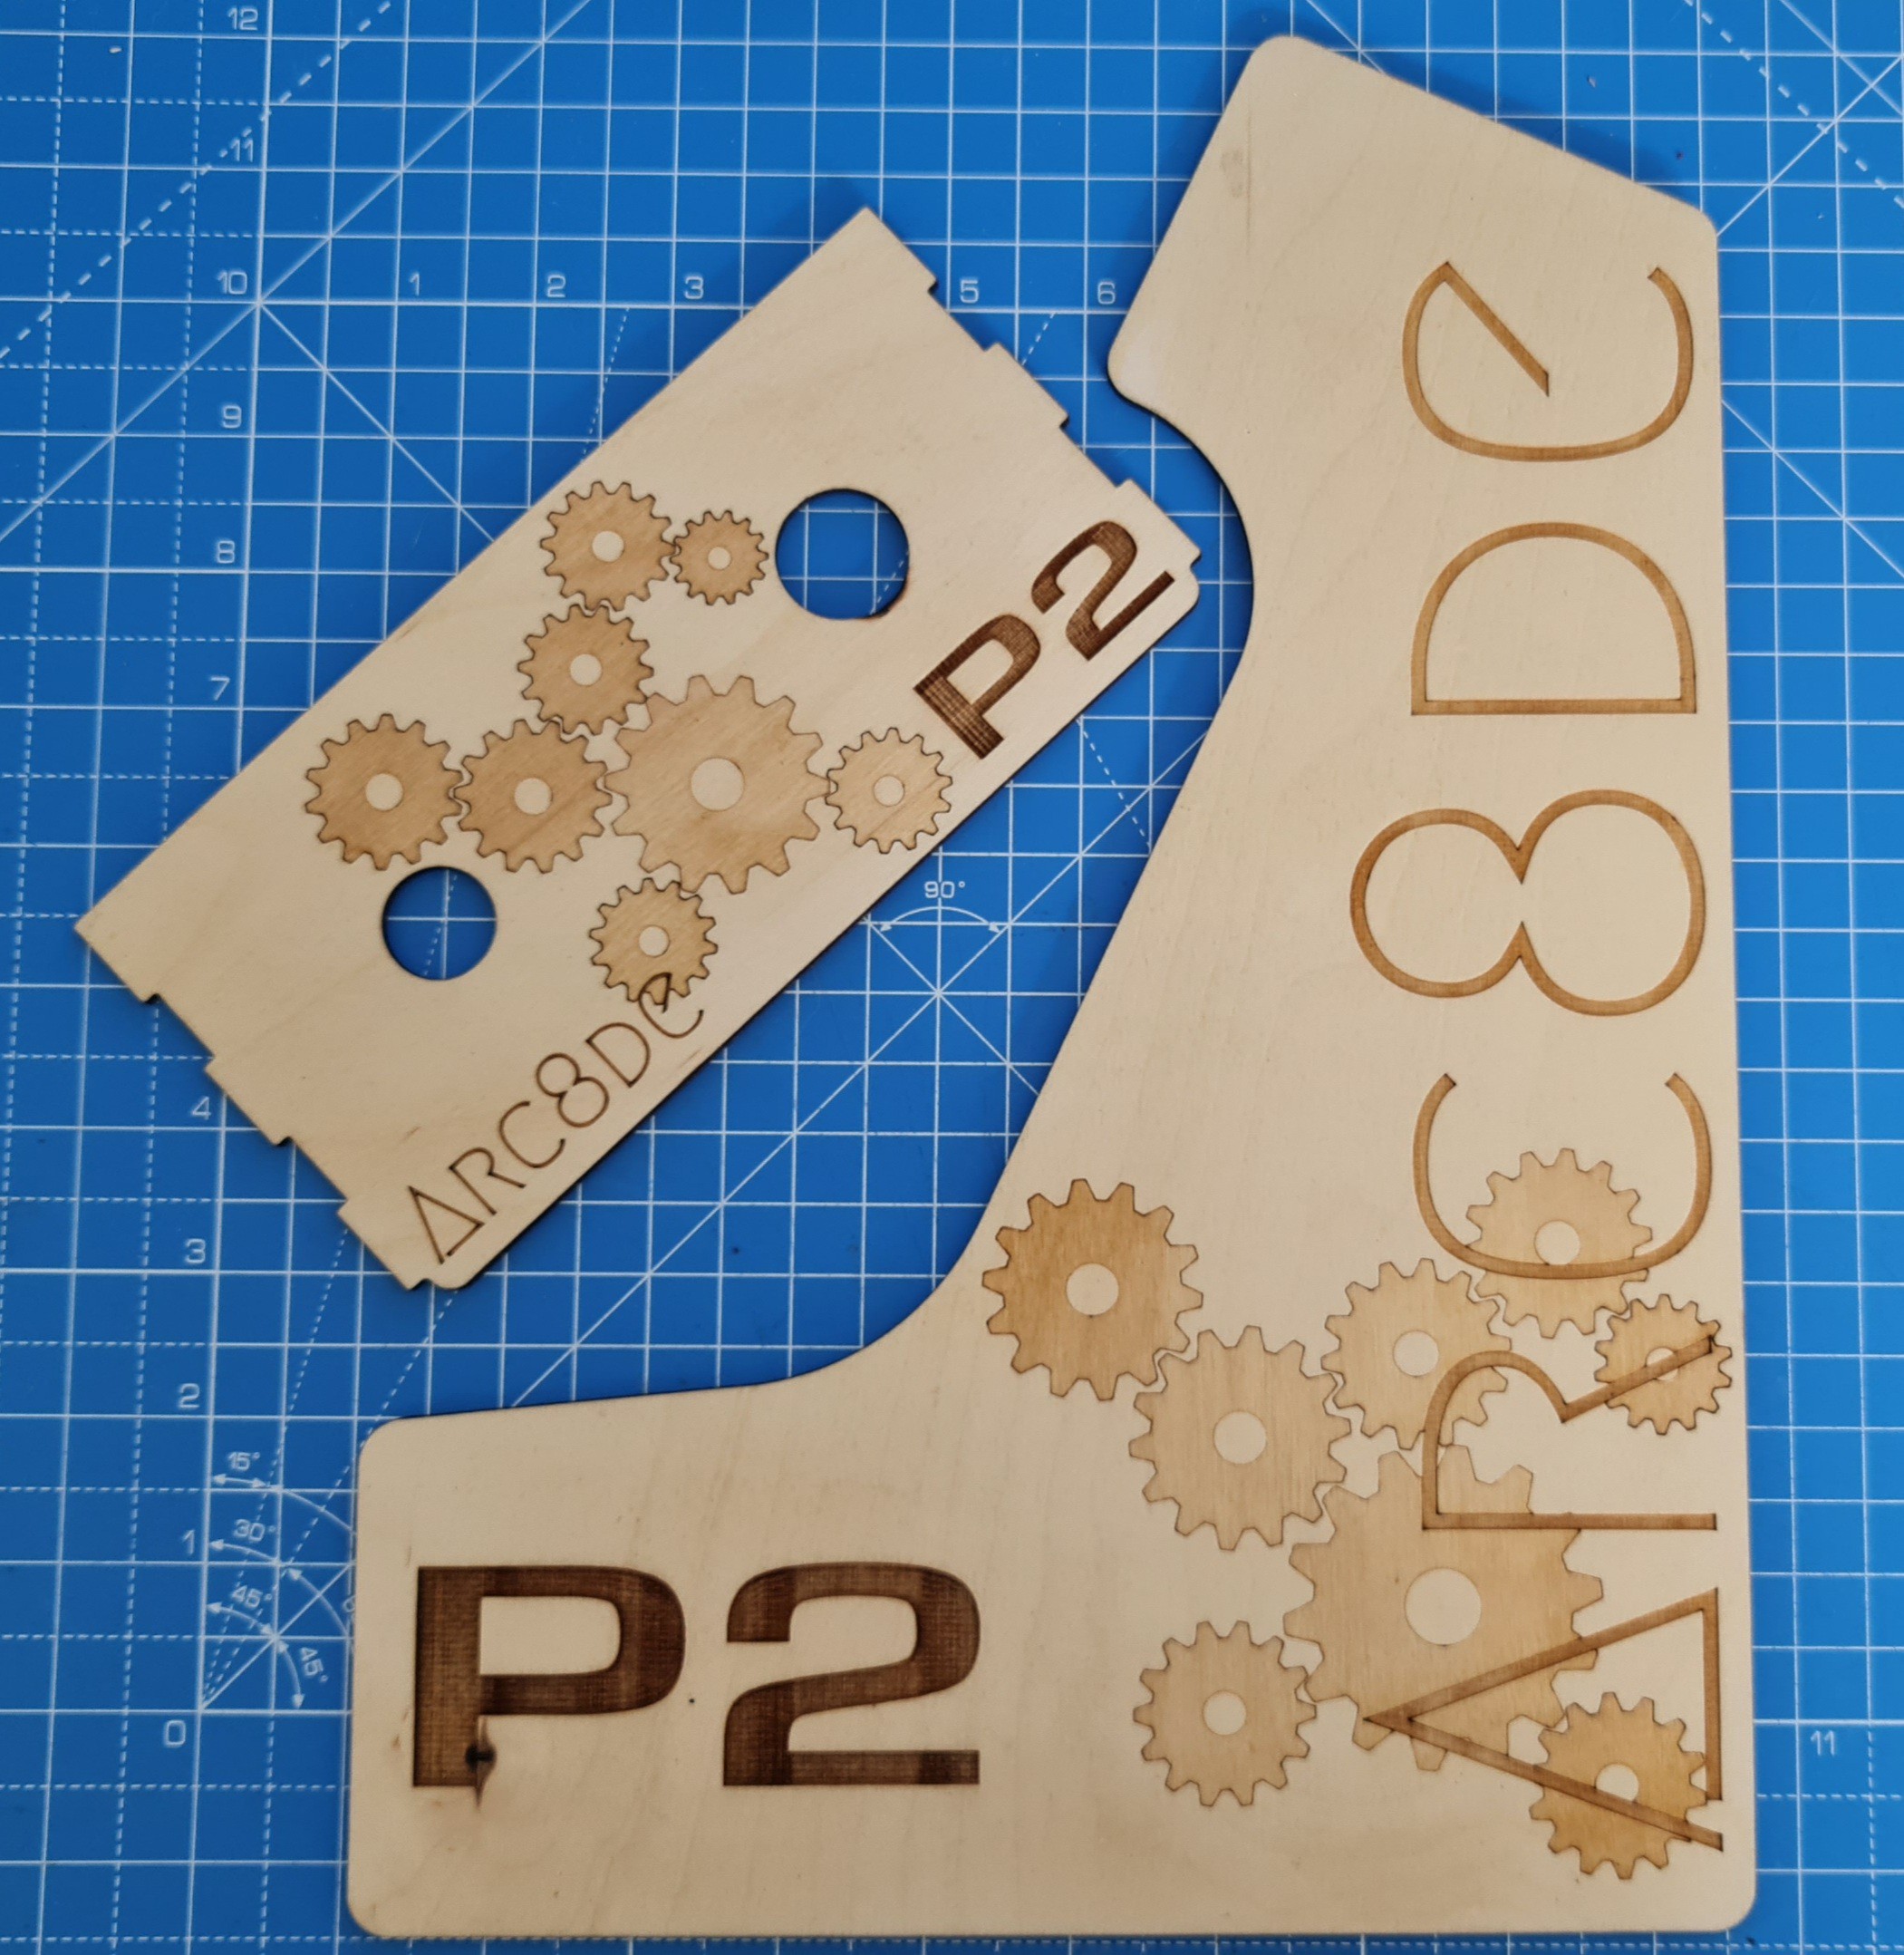
That made me rethink the whole vinyl print idea and instead I have redrawn the graphics in CAD and engraved them onto the side panel and joystick area.![]()
-
A little more progress, the cutting of the individual parts continues..
06/12/2021 at 11:26 • 0 commentsIt's been a very busy week but managed to get some more time on the laser.
Much better now I've added a chiller unit so I can cut for longer periods![;) ;)]()
![]()
-
The Artwork
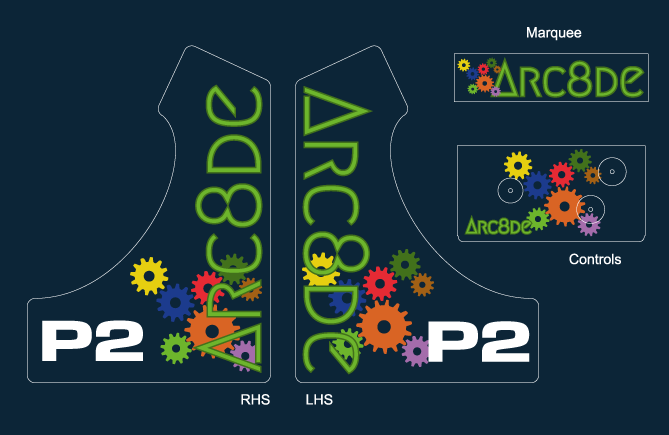
06/07/2021 at 21:10 • 0 commentsA friend of the team (Andy Spencer) has kindly designed some artwork for the cabinets, it is envisaged that we will get these printed onto vinyl to attach as required.
![]()
-
The cabinet
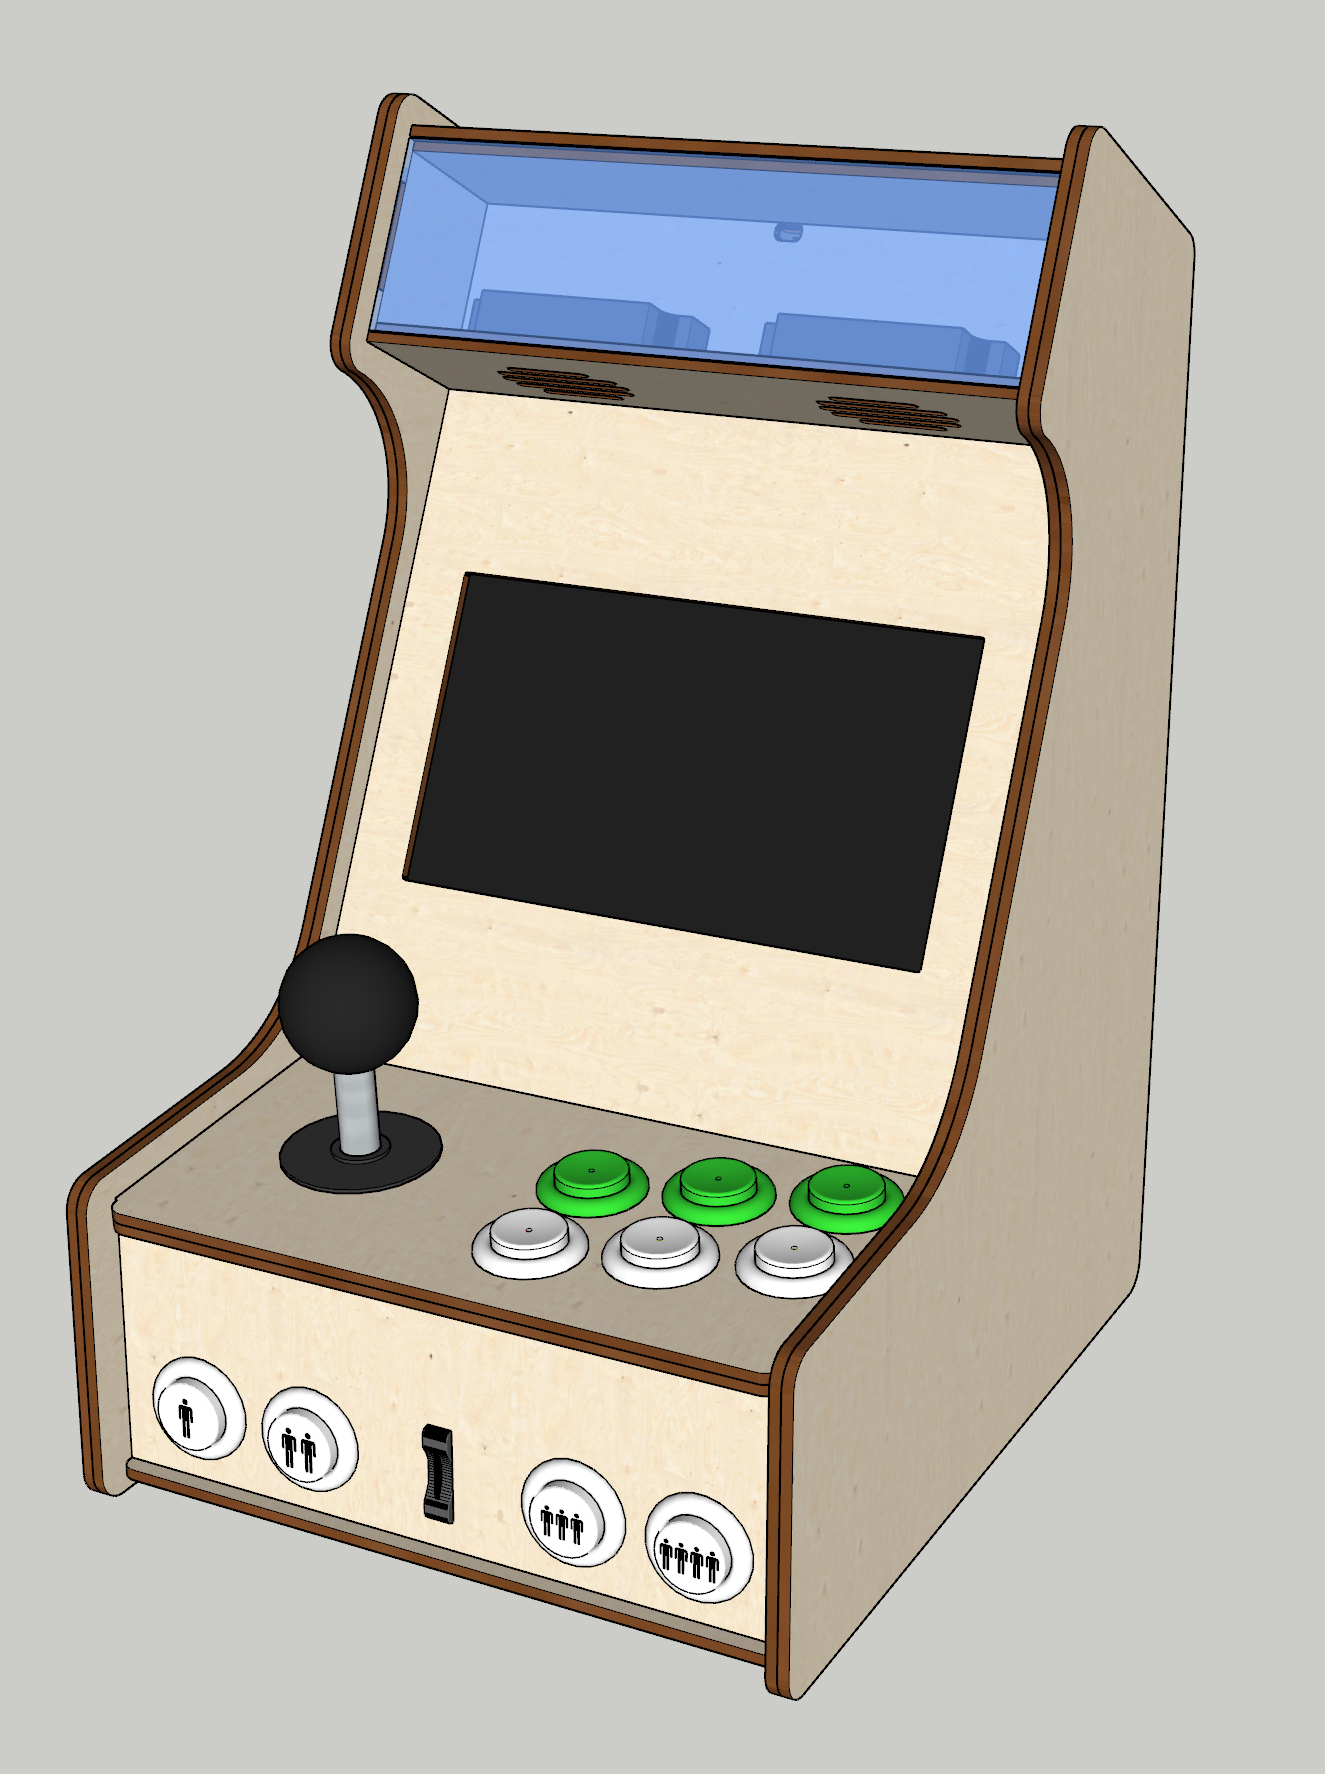
06/06/2021 at 19:50 • 0 commentsThe arcade cabinet design is based off this project by TobiasPi https://instructables.com/Mini-Pi-Powered-Arcade-Machine/
I will be releasing the full design plans for both styles of cabinet under the same terms as the original project (CC BY-SA 3.0 license).
creativecommons.org/licenses/by-sa/3.0/
If you have access to a laser cutter and some 3mm birch plywood then you will be good to go.
-
Update June 2021
06/06/2021 at 19:47 • 0 commentsBeen a while since I updated here and a lot has happened.
I've had lots of suggestions on the design so I've made a few changes....
- Six fire/action buttons instead of four
- Four control buttons
- Micro SD slot
- Removeable and rotatable LCD screen (Portrait or Landscape)
- Rubber feet
- Relocate speakers
- Volume control
- Options for MCU or RasPi as main controller
Propeller P2 Retro Games Project
An Intel 8080 emulator running on Parallax Propeller P2 hardware designed to emulate retro arcade hardware
