_________________________________
Challenges:
_________________________________
DC motor position control is more complicated than stepper motor control requiring a closed feedback loop and PID parameter tuning to provide a fast but yet well damped motor movement. For this PID tuning purpose, I've wrote a Python program to allow visualization of the motor step response when PID parameters are changed.
_________________________________
Hardware:
_________________________________
I started with Attiny as the microprocessor as the PID controller. It was a pain to use as changing PID values meant reprogramming the Attiny chip.
I moved on to using Arduino Nano as it was much easier to investigate the PID step response and change the PID value with just a USB cable.
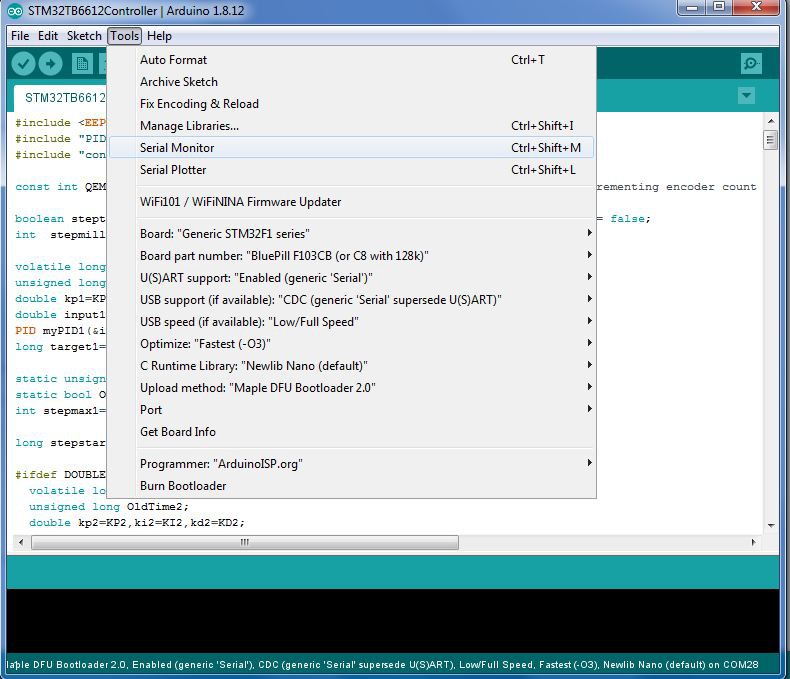
However, I found that the minimum sampling time for Arduino nano is about 200us. This is fine when I used a DC motor with just a 44CPR quadrature encoder. When I switched to an optical encoder with 448 CPR, I had to switch to STM32 blue pill to bring the sampling time down to 50us. STM32 has a much faster 80MHz processor and a better 16bit PWM compared to Arduino Nano's 8bit PWM.
For the motor driver, I use TB6612FNG. It's efficiency is much higher than L298N. It runs cool without any need for heat sink whereas L298N need a large heat sink.
_________________________________
PID Controller Software:
_________________________________
This Arduino code started it's life based on Misan's github's code (https://github.com/misan/dcservo). I've added features I needed to build my CNC machine which uses Arduino Nano as the controller (https://www.thingiverse.com/thing:4544582) and DC motor servo extruder using STM32 blue pill as the controller (https://www.thingiverse.com/thing:4562946).
Features added are:
- Motor driver changed to TB6612
- Added support for STM32 blue pill board
- Added a step response output printout for PID parameter tuning
- Added dual motor control
- Added LED output as an indicator when PID output is at maximum
- Motor stuck detection (PID max output over a defined period and not moving much)
- Motor stuck output alarm to send kill signal to terminate CNC job or 3D print job. This can happen when the 3D print nozzle is stuck or when the milling bit is stuck in the workpiece
- Motor runaway detection (PID max output over a defined period and moving much more than the setpoint)
- Modified Brett Beauregard Arduino PID library:
-reduce sampling time from millisecond to microseconds
-average differential term over 2 samples to smooth out motor response
-added maximum output for definable sample period at setpoint change to for motor to overcome intitial inertia.
_________________________________
PID Visualization and Tuning Software:
_________________________________
The PID visualization and tuning Software is written in Python. I use it to change the PID values and see how the DC motor would response to a step response.
The software uses the USB COM port to send command to the Arduino Nano or STM32 board and read the motor step response from the controller memory.
Once an acceptable PID value is found, this value can be saved permanently to Arduino Nano or STM32 board using the save button.
 JP Gleyzes
 hIOTron
 Vipin M