-
1PCB Order & Assembly
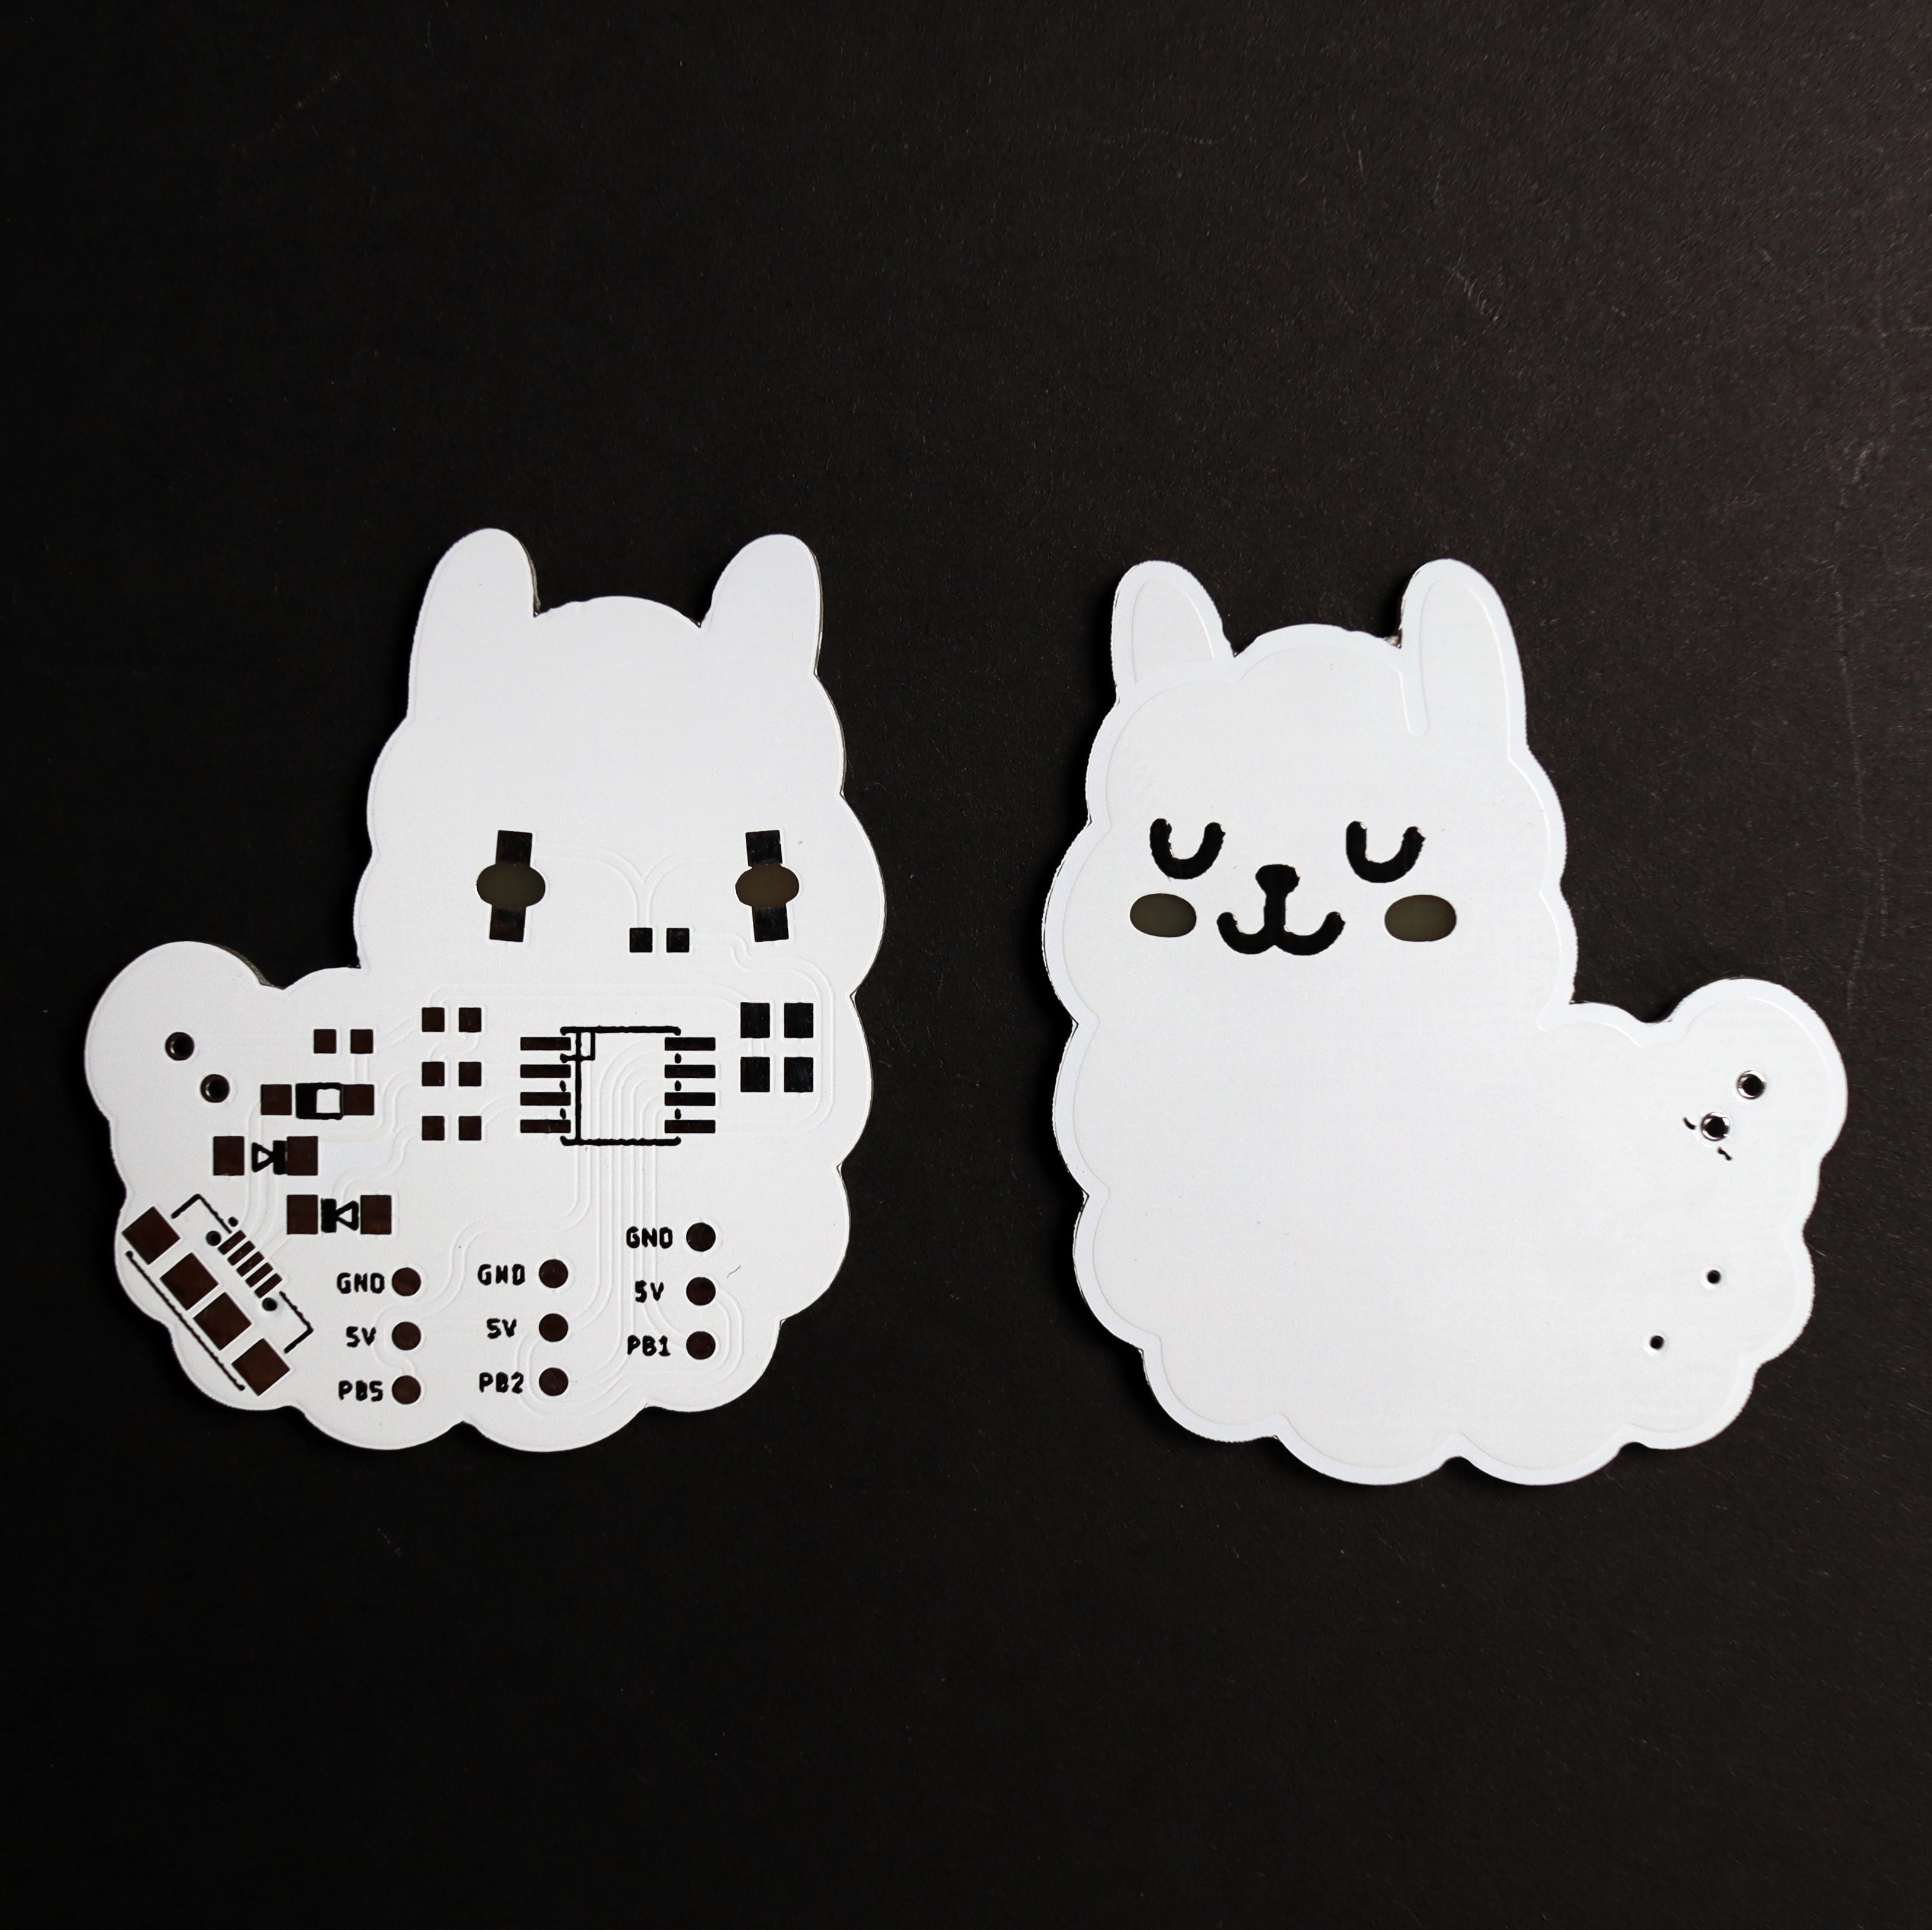
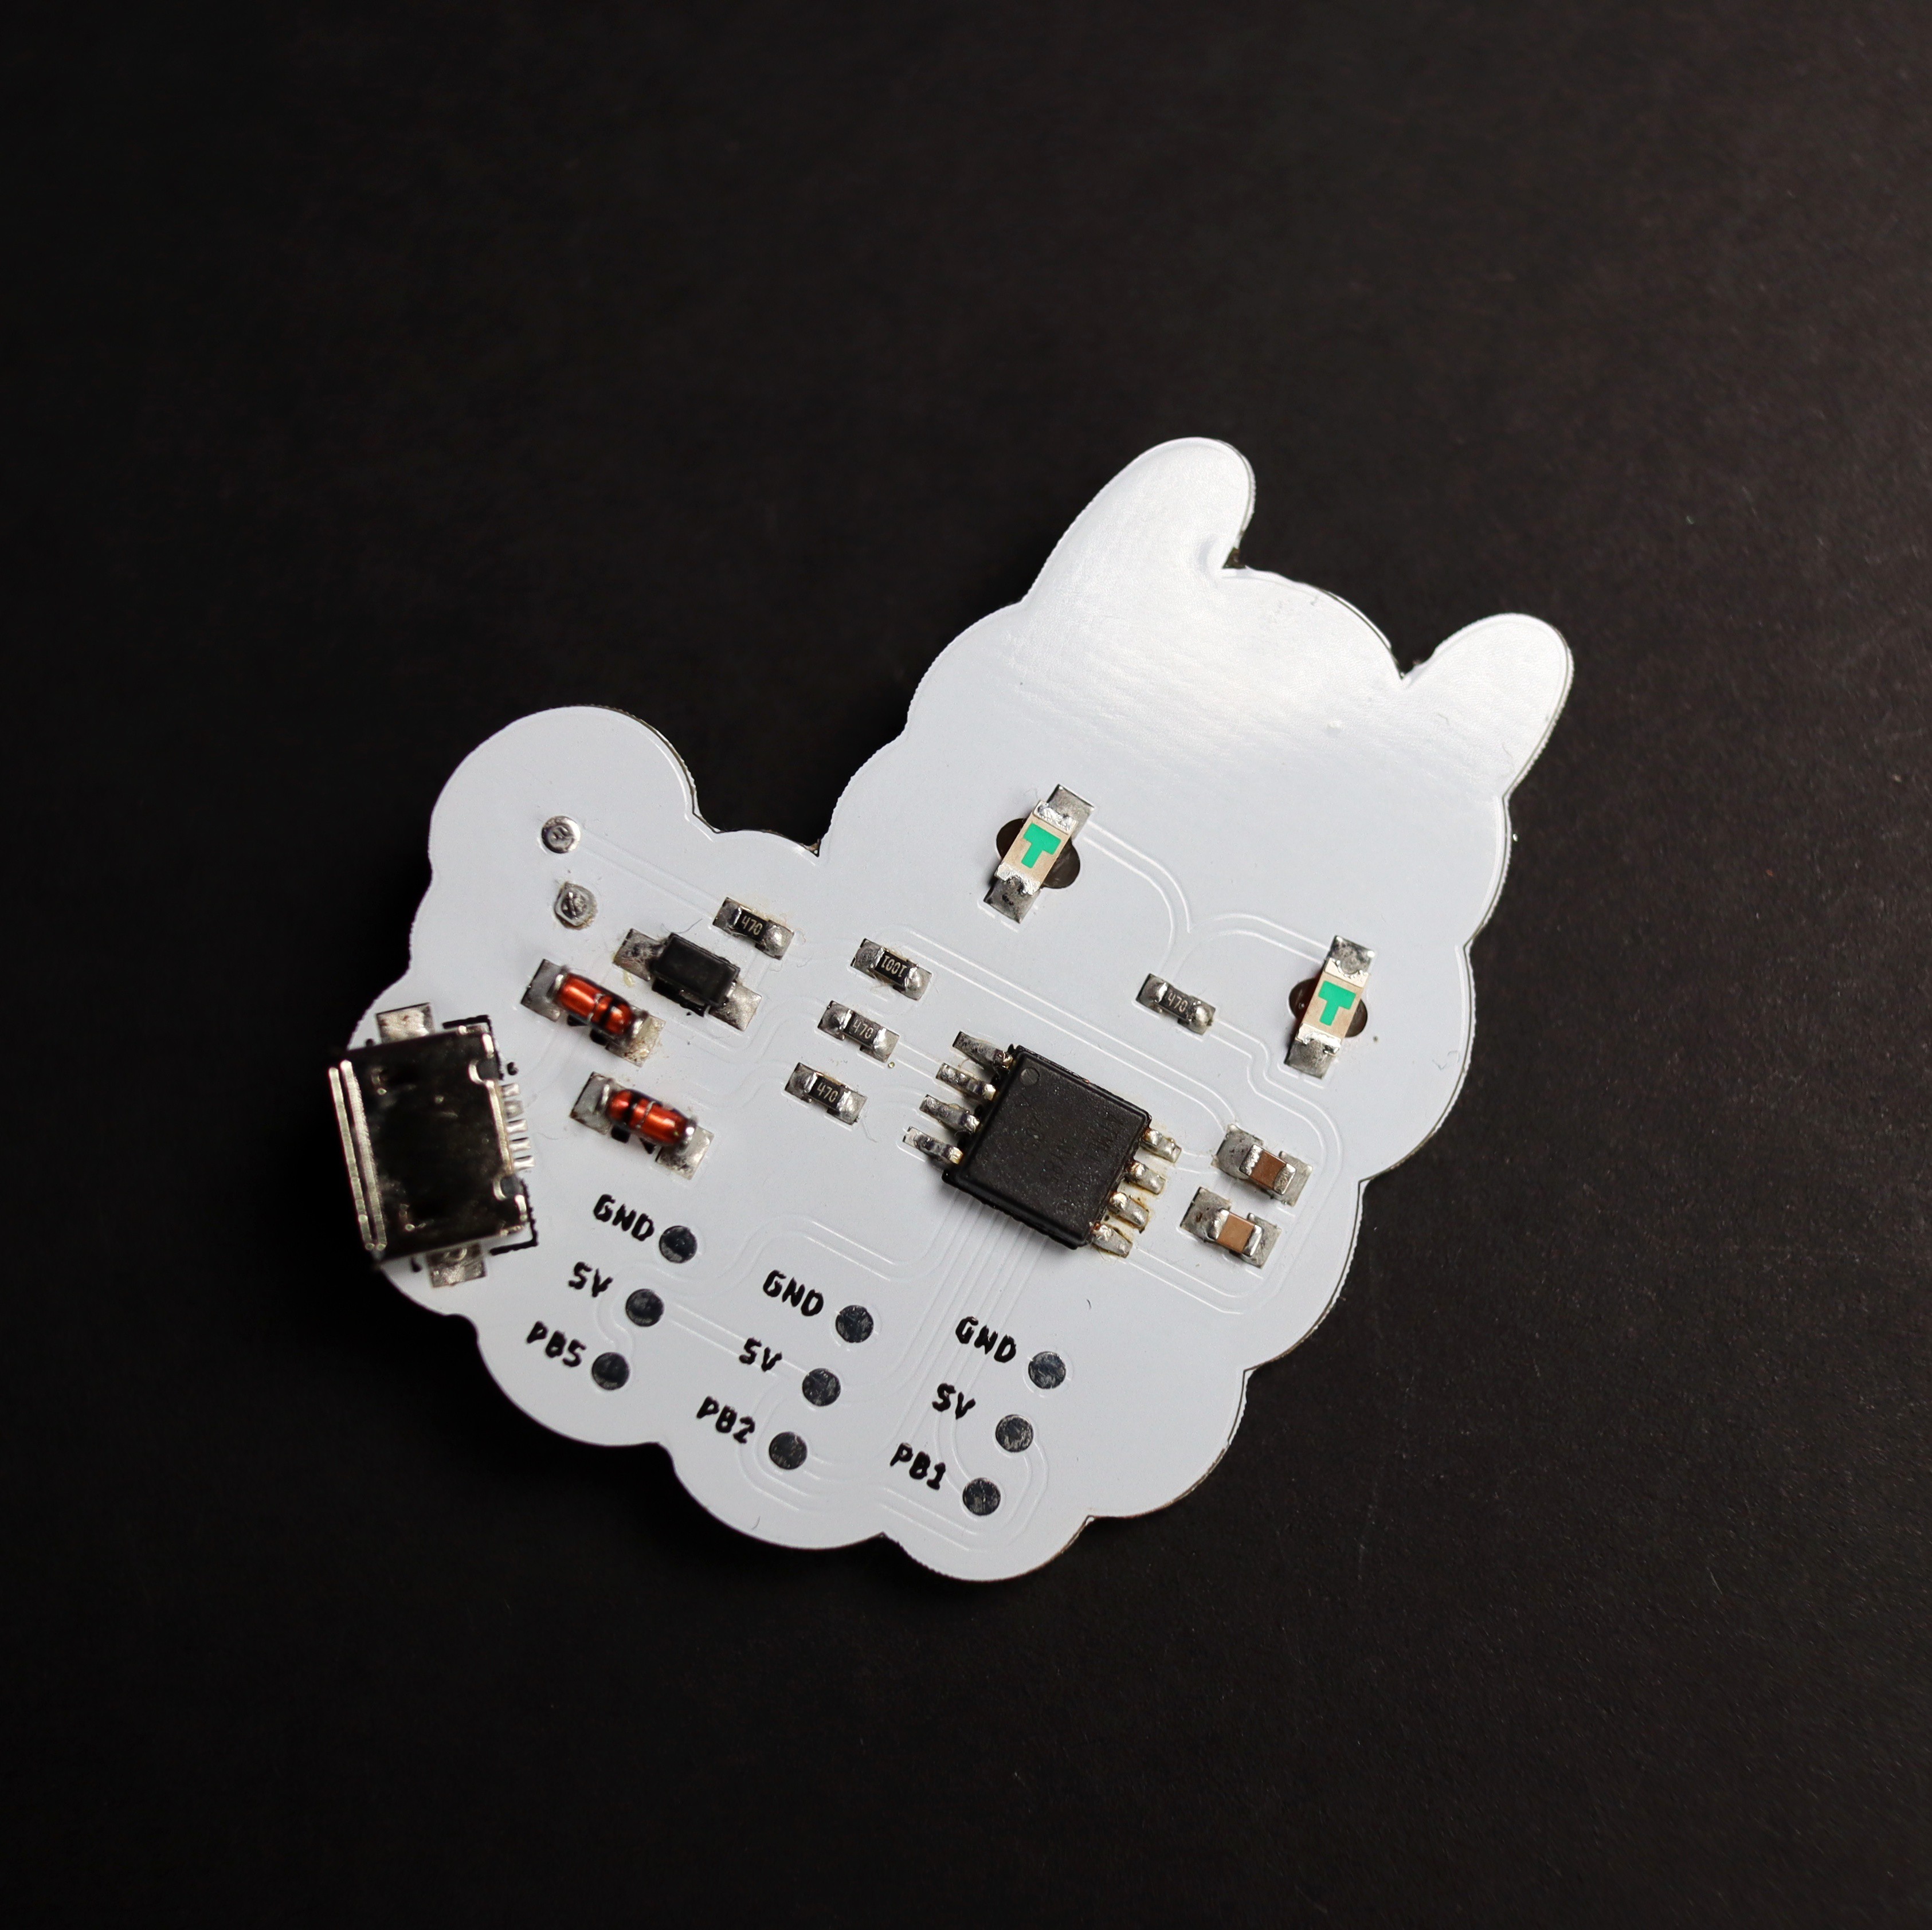
I designed the PCB in Eagle CAD using Gordon Williams' SVG to Eagle CAD converter and I ordered the PCBs from JLCPCB and assembled them myself.
![]()
![]()
-
2Programming
First, you'll need to burn the micronucleus bootloader onto the ATtiny85 chip.
I didn't add the ISP programming pins on the PCB so the ATtiny85 has to be programmed before begin soldered on the PCB using a socket like this one.
I did this using the following command:
sudo avrdude t85_default.hex -c usbasp-clone -p t85 -u -U flash:w:/path_to_micronucleus/firmware/releases/t85_default.hex -U lfuse:w:0xe1:m -U efuse:w:0xfe:m -U hfuse:w:0xdd:m
You'll need to change the programmer type and the path to the micronucleus folder.
After this, go to the Arduino IDE Boards Manager and install the Digistump AVR Boards:
https://raw.githubusercontent.com/ArminJo/DigistumpArduino/master/package_digistump_index.json
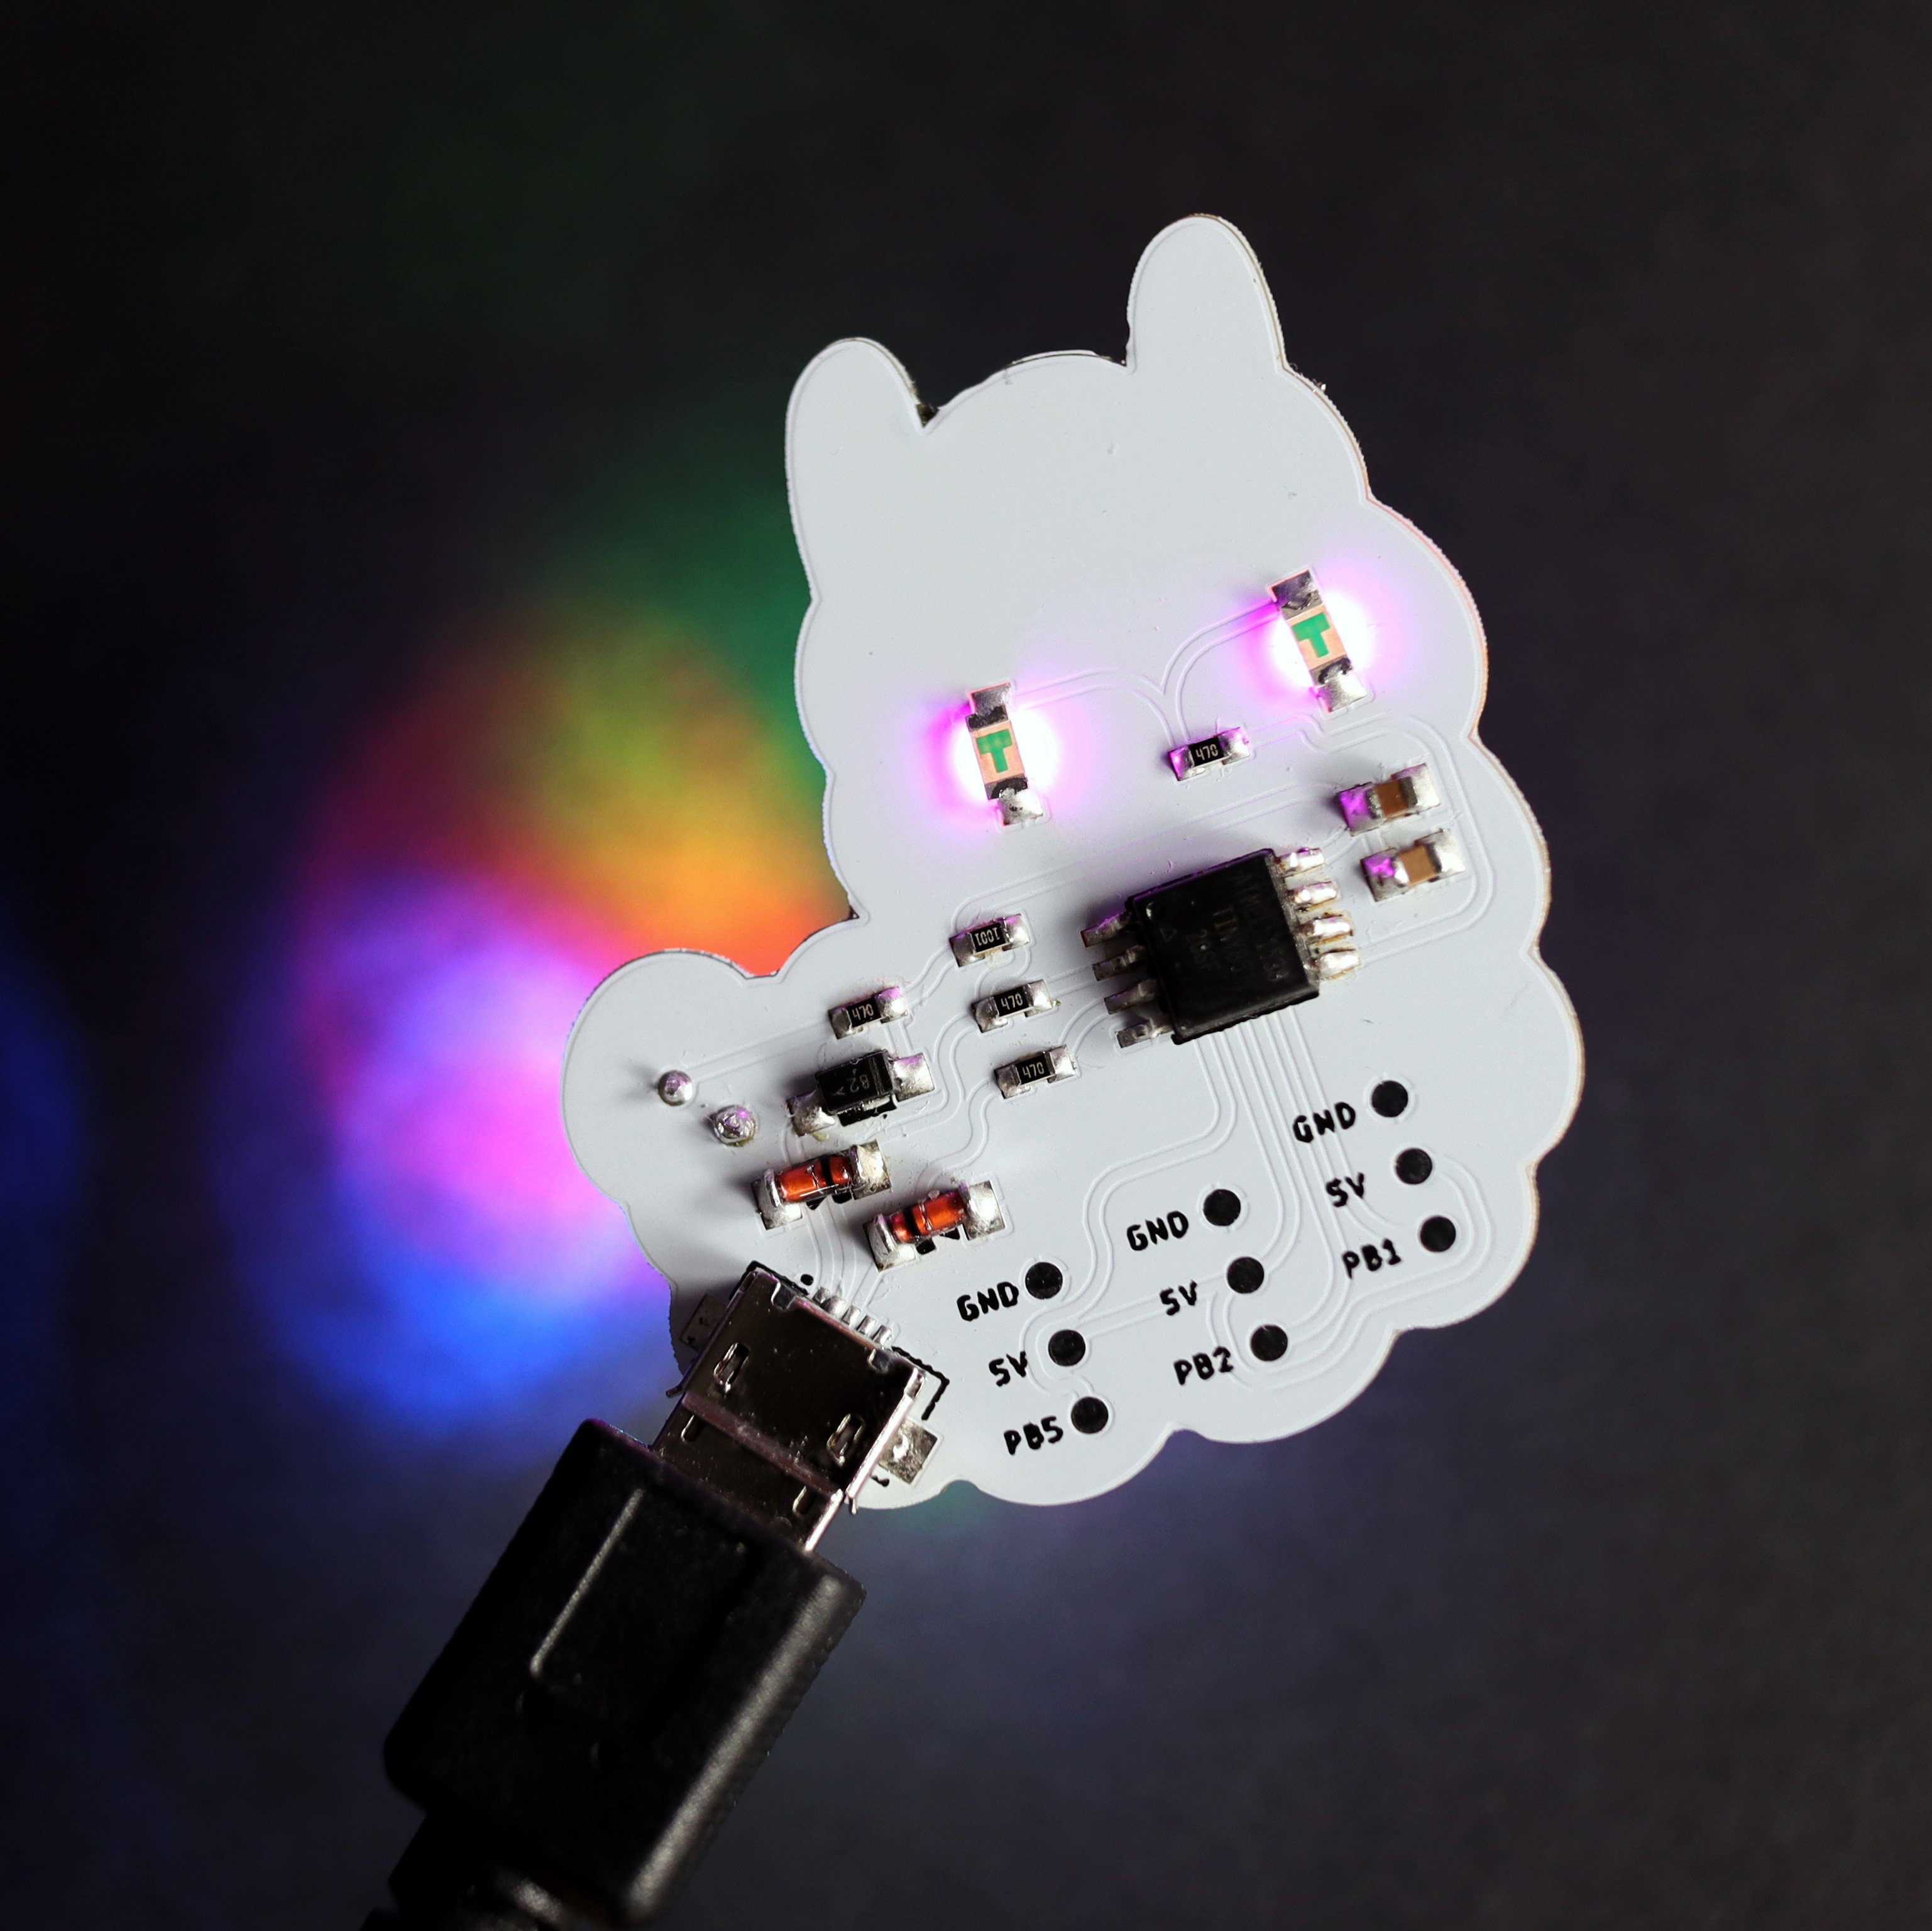
And now your board is ready to be programmed directly through USB:
![]()
Alpaca ATtiny85 Dev Board
A cute PCB alpaca with a rainbow tail and glowing cheeks.
 Alexandra Covor


Discussions
Become a Hackaday.io Member
Create an account to leave a comment. Already have an account? Log In.