Step 1
This CNC is based on GRBL0.9 Firmware and CNC V3 shield GRBL is Hacked for Z-axis Servo.
CNC Shield & GRBL combinly works very preciselyIt is loaded with very useful functions like Hard limit, Soft limit, Homing, etc
This is about how to make
GRBL+CNCV3 shield+Arduino based CNC machine
This guide include all necessary instruction required
like How to assemble CNC machine
How to Load GRBL to arduino
Inkscape extension installation
GRBL Configuration & G-code streaming
It is loaded with very useful functions like Hard limit, Soft limit, Homing, i will guide you in detail how to Make GRBL Based mini CNC machine at home
Before we proceed further I would like to tell you about https://jlcpcb.com/IAT
JLCPCB are the leader in PCBC manufacturing they have a world class PCB production line, that ensure the fast and Quality PCB production in really very affordable rates. if you have any PCB need please try https://jlcpcb.com/IAT
Step 1: Watch Video to Know How to Make
Watch this video it will clear you how to make and operate CNC machine
Step 2: Material Required
This are the list of some use full material required
- Arduino UNO--------------------------------------QTY- 1
- CNC V3 Shield------------------------------------QTY-1
- servo motor----------------------------------------QTY-1
- A4988 Stepper driver shield--------------------QTY-2
- Old scrap DVD Drives---------------------------QTY-2
- Some push buttons as limit S/W---------------QTY-2
- A acrylic sheet for base
- Pen holder (slavege from DVD Drive)
- Some wires
- Hardware like nut bots etc.
Step 3: Software Required
1. Arduino IDE
GRBL LIBRARY :- Click here to download
--------------------------------------------------------------------------------------
2. INKSCAPE
SERVO CONTROL EXTENSION :-Click here to download
---------------------------------------------------------------------------------------------
3. UNIVERSAL G-CODE SENDER : - Click here to download
----------------------------------------------------------------------------------------------
Add TipAsk QuestionCommentDownload
Step 4: Machine Assembley
- Place X-axis Horizontally on the bolt mounted on acrylic sheet
- Four bolt mounted on a metal sheet to fit Y-axis on it
- Now place the Pen up down holder on y axis whit the help of A bolt through the center
- Now place Y-axis on metal sheet and place it vertically on X-axis
- Now fit servo motor so that it will move z-axis which is our pen up and down
- Now mount CNC shield on Ardunino
- Do wiring A shown in wiring circuit as in Next step
For better understand please watch Video & pic attached here
Step 5: Wiring Diagram
Do wiring as shown here in image
Limit switch are optional
You can use them by changing the GRBL setting as below
$21=0 (hard limits, bool)
to
$21=1 (hard limits, bool)
Add TipAsk QuestionCommentDownload
Step 6: GRBL Loading to Arduino
Link to download GRBL Setup
http://www.mediafire.com/file/c36xny4qw9b7s5k/MI_G...
Download the library file unzip it
and load to arduino
Now go to File>Example>grbl upload compile and upload code to arduino
Note:- delete any previously loaded GRBL library
Step 7: G-CODE Setup in Inkscape
Again we are using here INKSCAPE software to make G-code
As we are using GRBL & CNC Shield for this machine s
o it will not support a servo motor as a Z-Axis
so here some hack by doing so we can able to manage Servo works on Z-axis
you need to add MI Extension here to get it work with Z-axis Servo
Download link http://www.mediafire.com/file/nl4w871suk192x2/MI_...
after download add this files to the
inkscape directory>Share>Extension folder
Now open inkscape set page size 40 x 40mm
draw what you want to plot
select image go to convert to path
then go to extension click on MI GRBL Z-AXIS SERVO CONTORL
Servo up = M3
Servo down...
Read more » sandy
sandy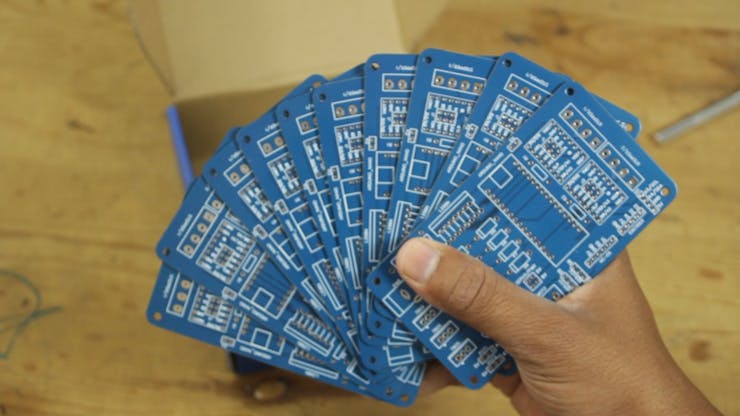


 Kert
Kert
 Michael O'Brien
 enrique
 charliex