-
1Gather the Components
You'll need thread sealant tape for installing the new gauge. As a maker/hacker, it's likely you already have some but it's good to double-check before taking your filter apart.
You'll also need a new pressure gauge. The pressure gauge you need is one that is back-mounted 1/4-inch threaded fitting. Often you can even find these as marketed for using in pool filters.
I used the one from the link below:
https://smile.amazon.com/gp/product/B000P3ZNTK/ref=ppx_yo_dt_b_asin_title_o00_s01?ie=UTF8&psc=1
This is a Poolmaster 36672 Pressure Gauge.
![Example of a Pressure Gauge Example of a Pressure Gauge]()
This is an example of a new pressure gauge that will work. -
2Remove Housing Assembly from Filter
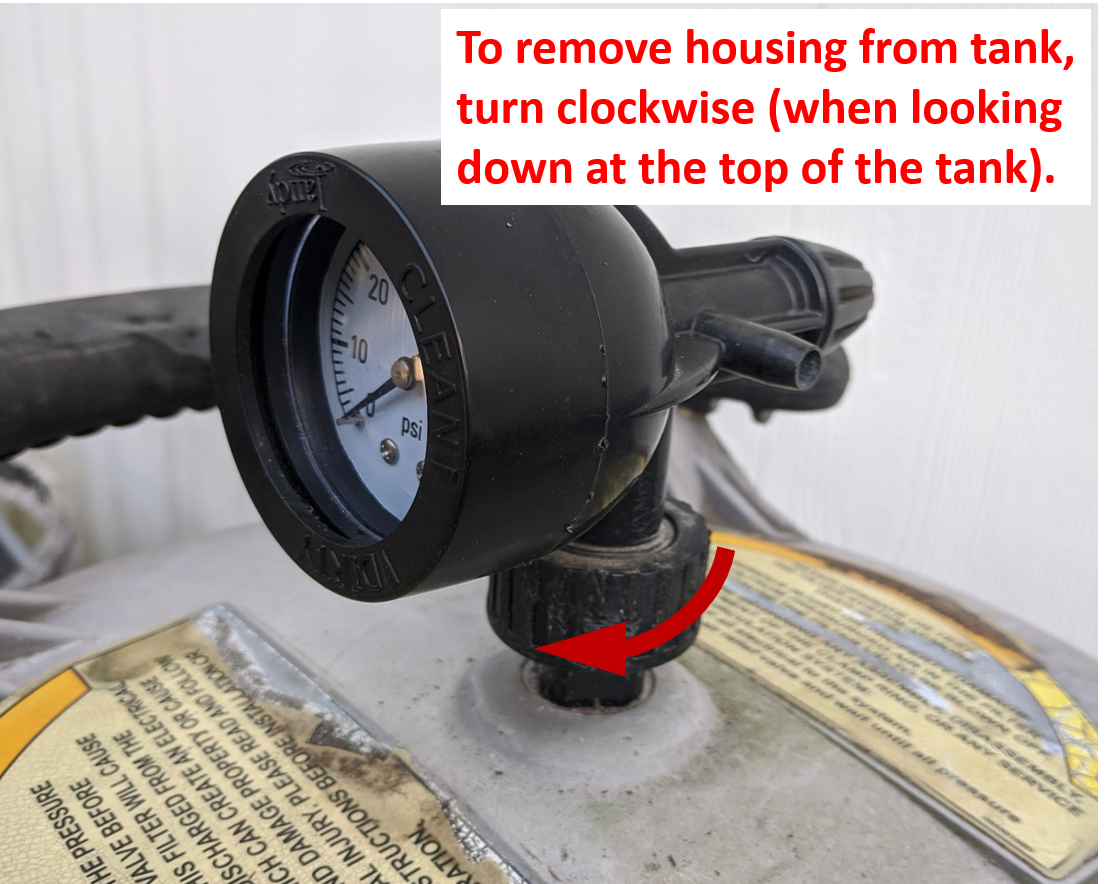
This step contains the first important item/trick you need to know. To remove the pressure gauge housing from the tank adaptor you need to unscrew the connector. However, the connector may turn in the opposite convention than you would think. It is not screwed down to the top of the tank but rather screwed up to the housing (you'll see once you get it apart). Here's the important part, turn the connector clockwise when looking down at the top of the filter. A strap wrench or channel locks will work well. You'll have to hold the housing to keep it from rotating.
![Removal of Housing Removal of Housing]()
Be sure to turn the connector in the proper direction in order to remove the housing from the filter. -
3Remove Front Bezel
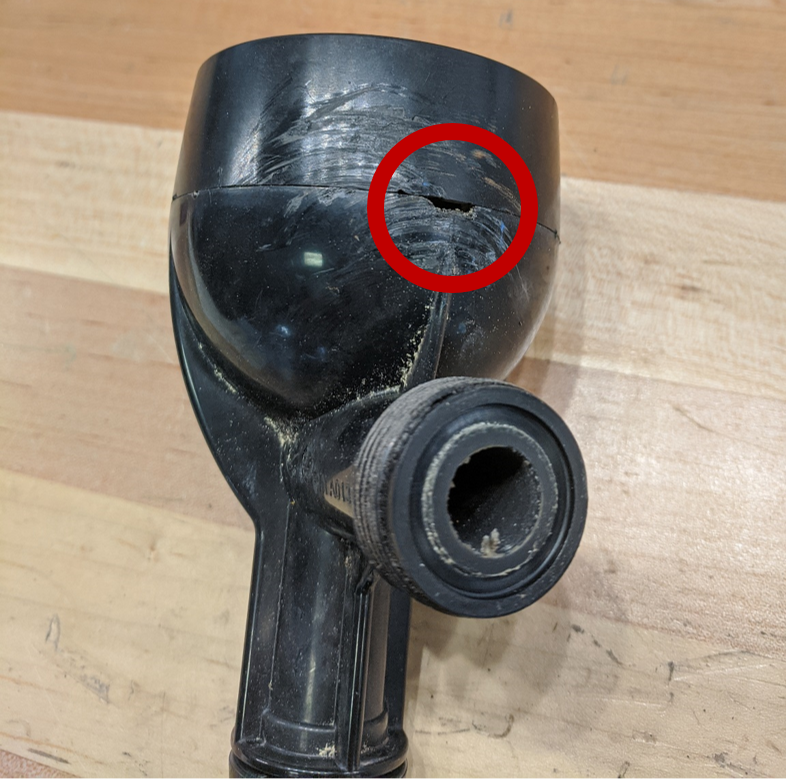
This is the second important item/trick you need to know. It's also the reason we removed the housing from the filter. The pry slot to remove the front bezel is on the bottom of the housing. It's very difficult to reach while the housing is attached to the filter. Once removed, however, it's easy to access.
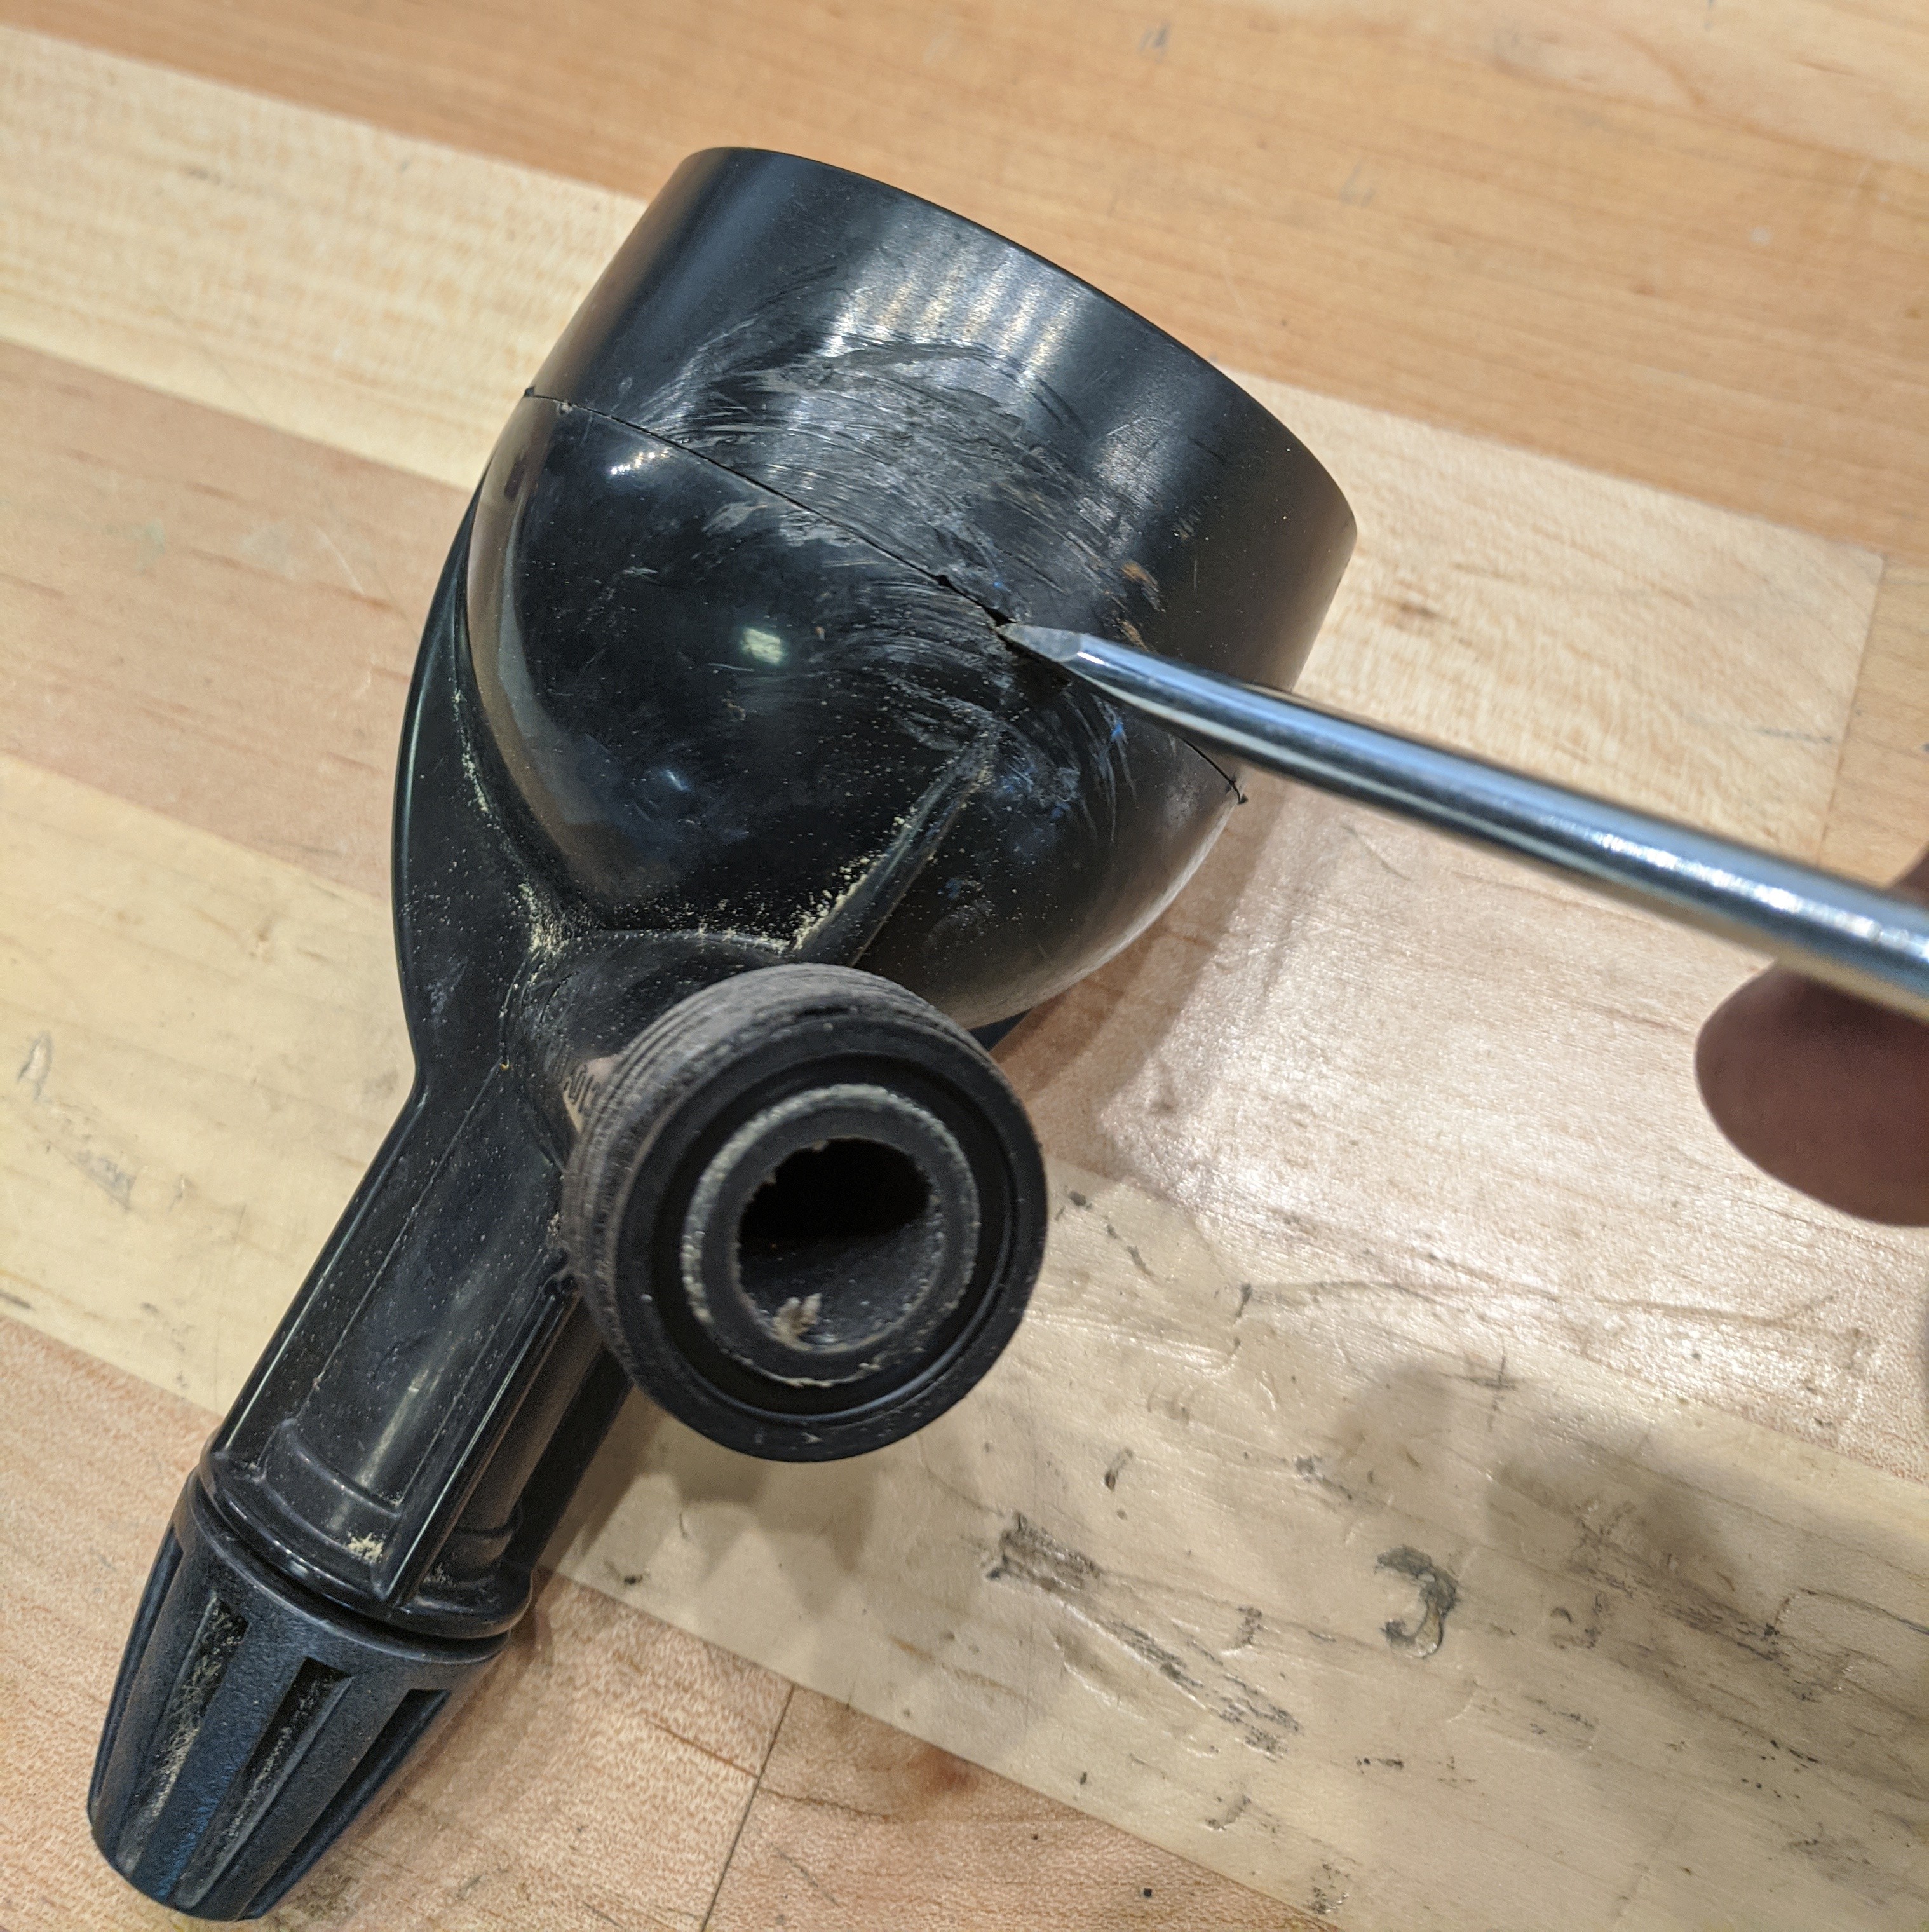
Use a flat tip screw driver or a similar device to pry the front bezel off. Start at the pry slot. Once you pop it at the pry slot, it should give you enough access to pry at other locations if needed.
![Pry Slot Location Pry Slot Location]()
A small slot at the bottom of the housing allows you to pry the bezel off. ![Prying Bezel Off Prying Bezel Off]()
Use a flat tip screw driver to pry the bezel off. ![Front Bezel Removed Front Bezel Removed]()
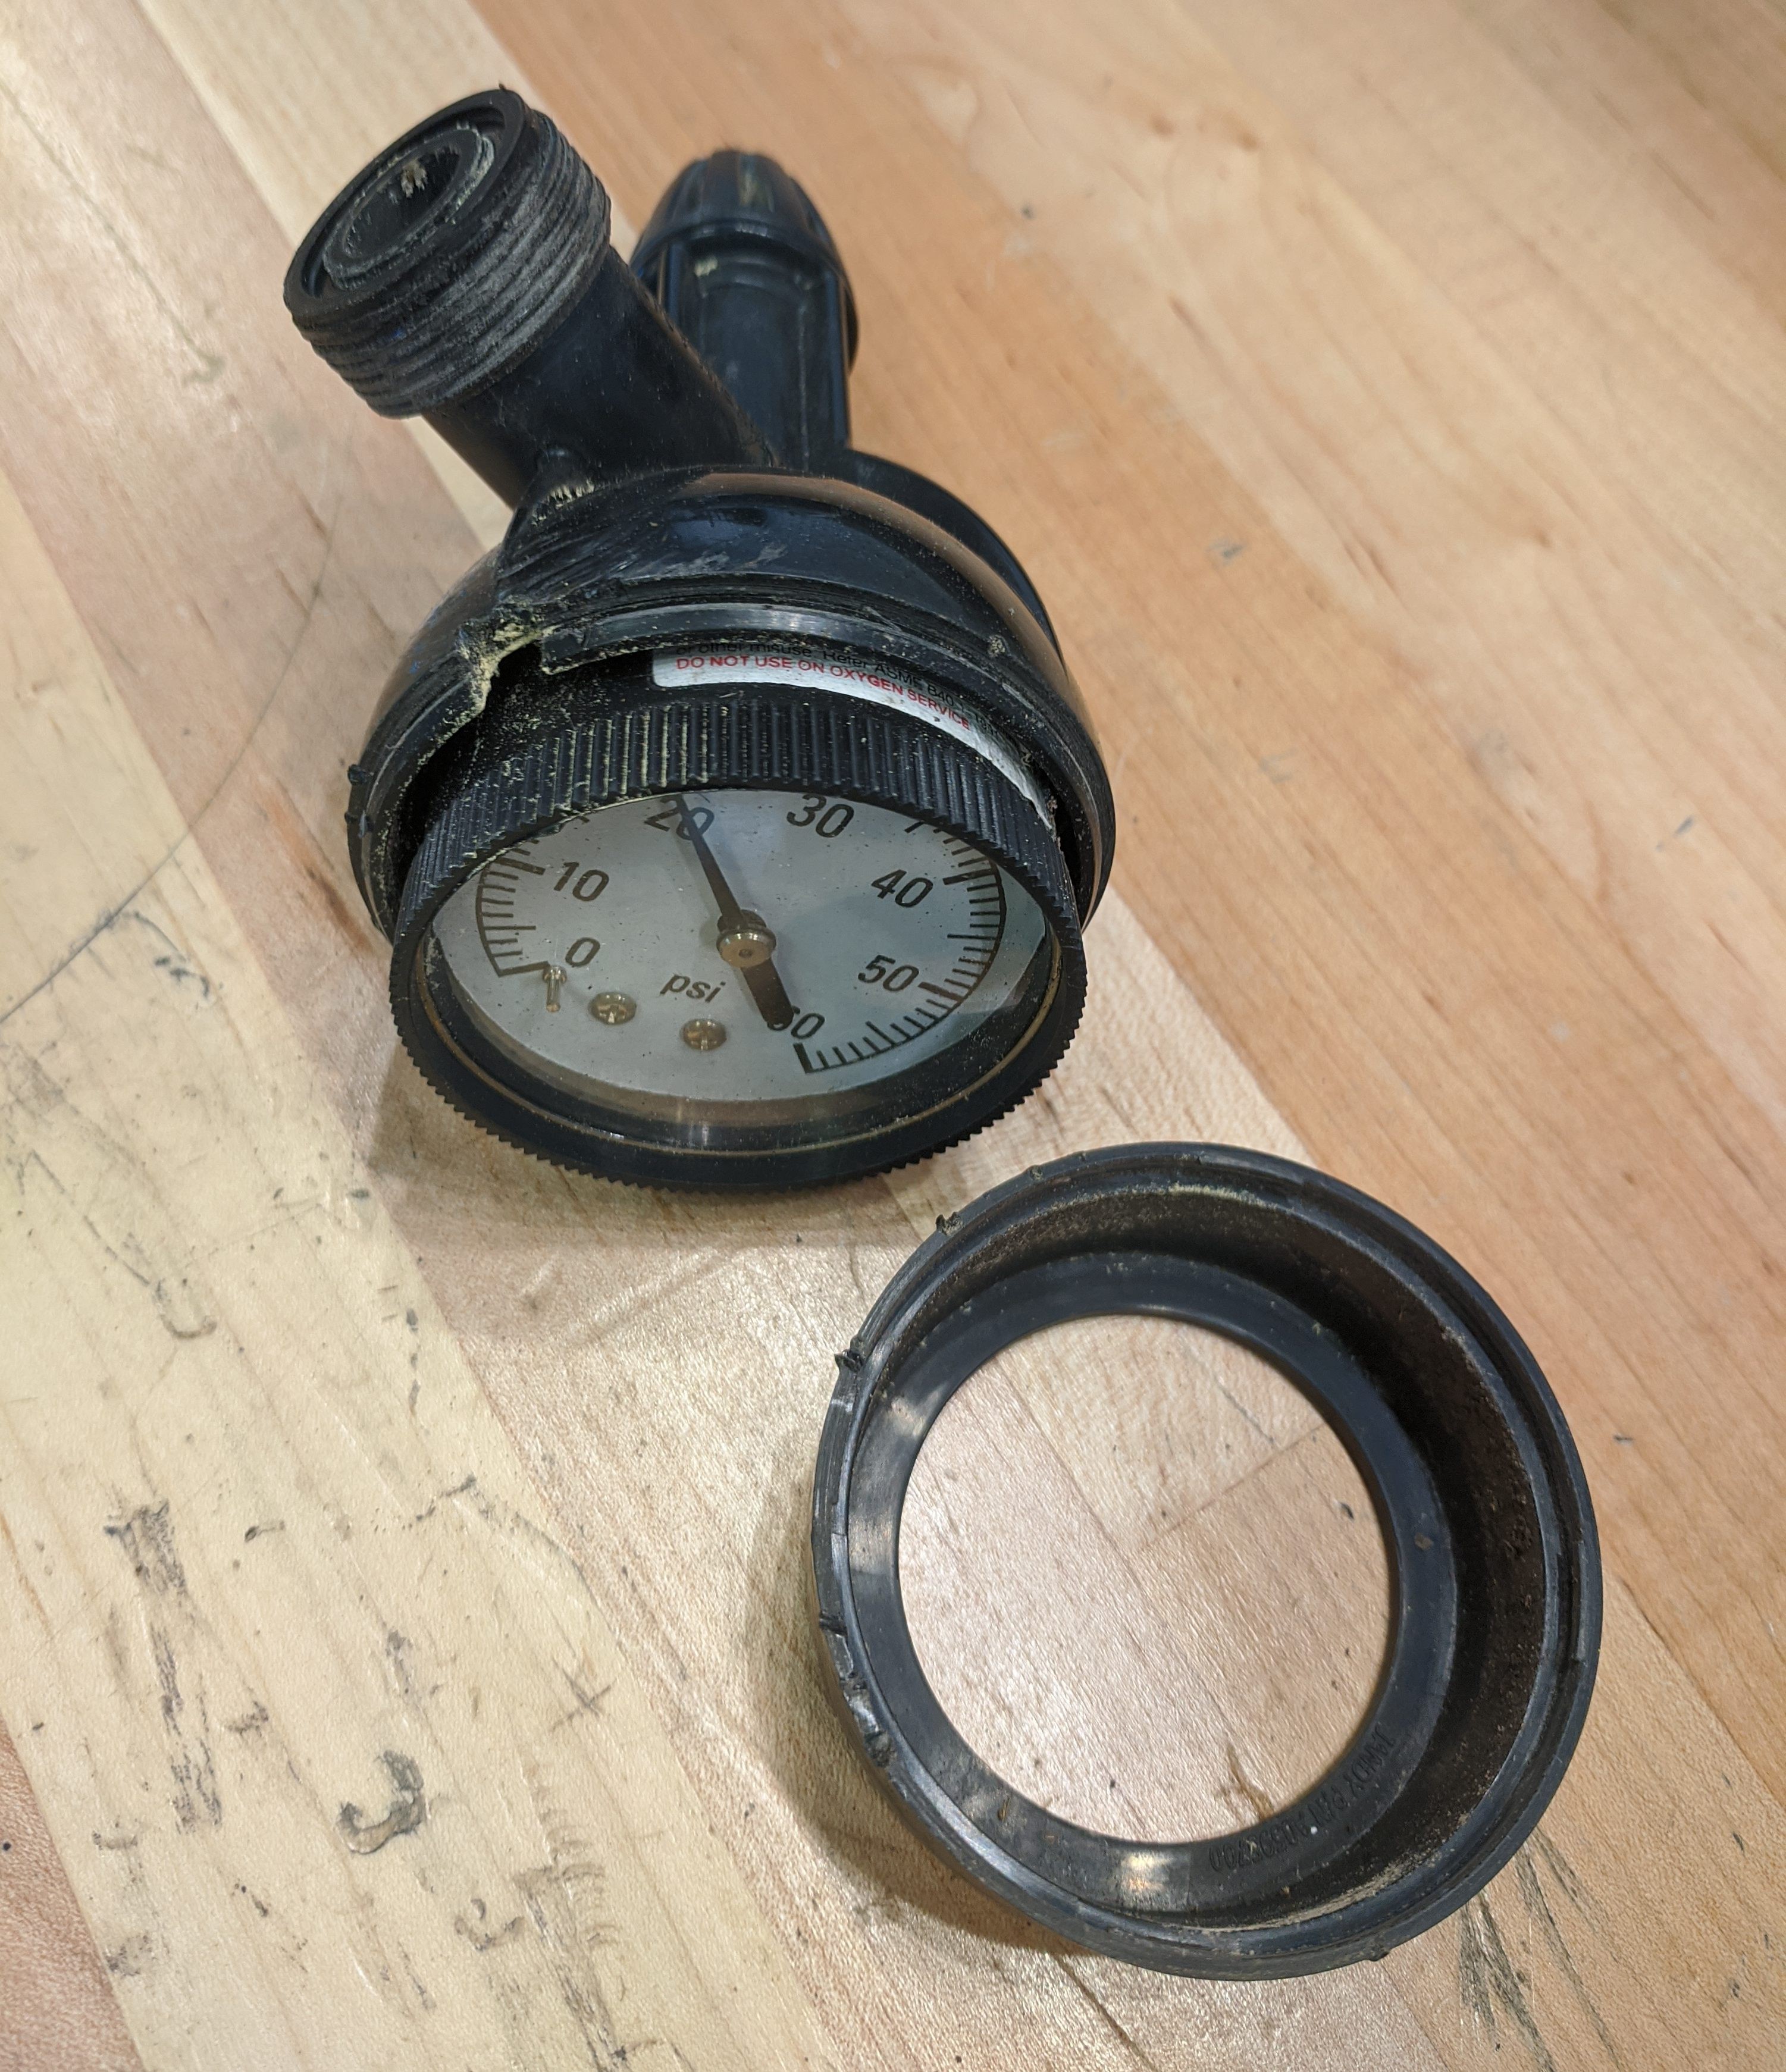
The housing with the front bezel removed. -
4Remove the Pressure Gauge
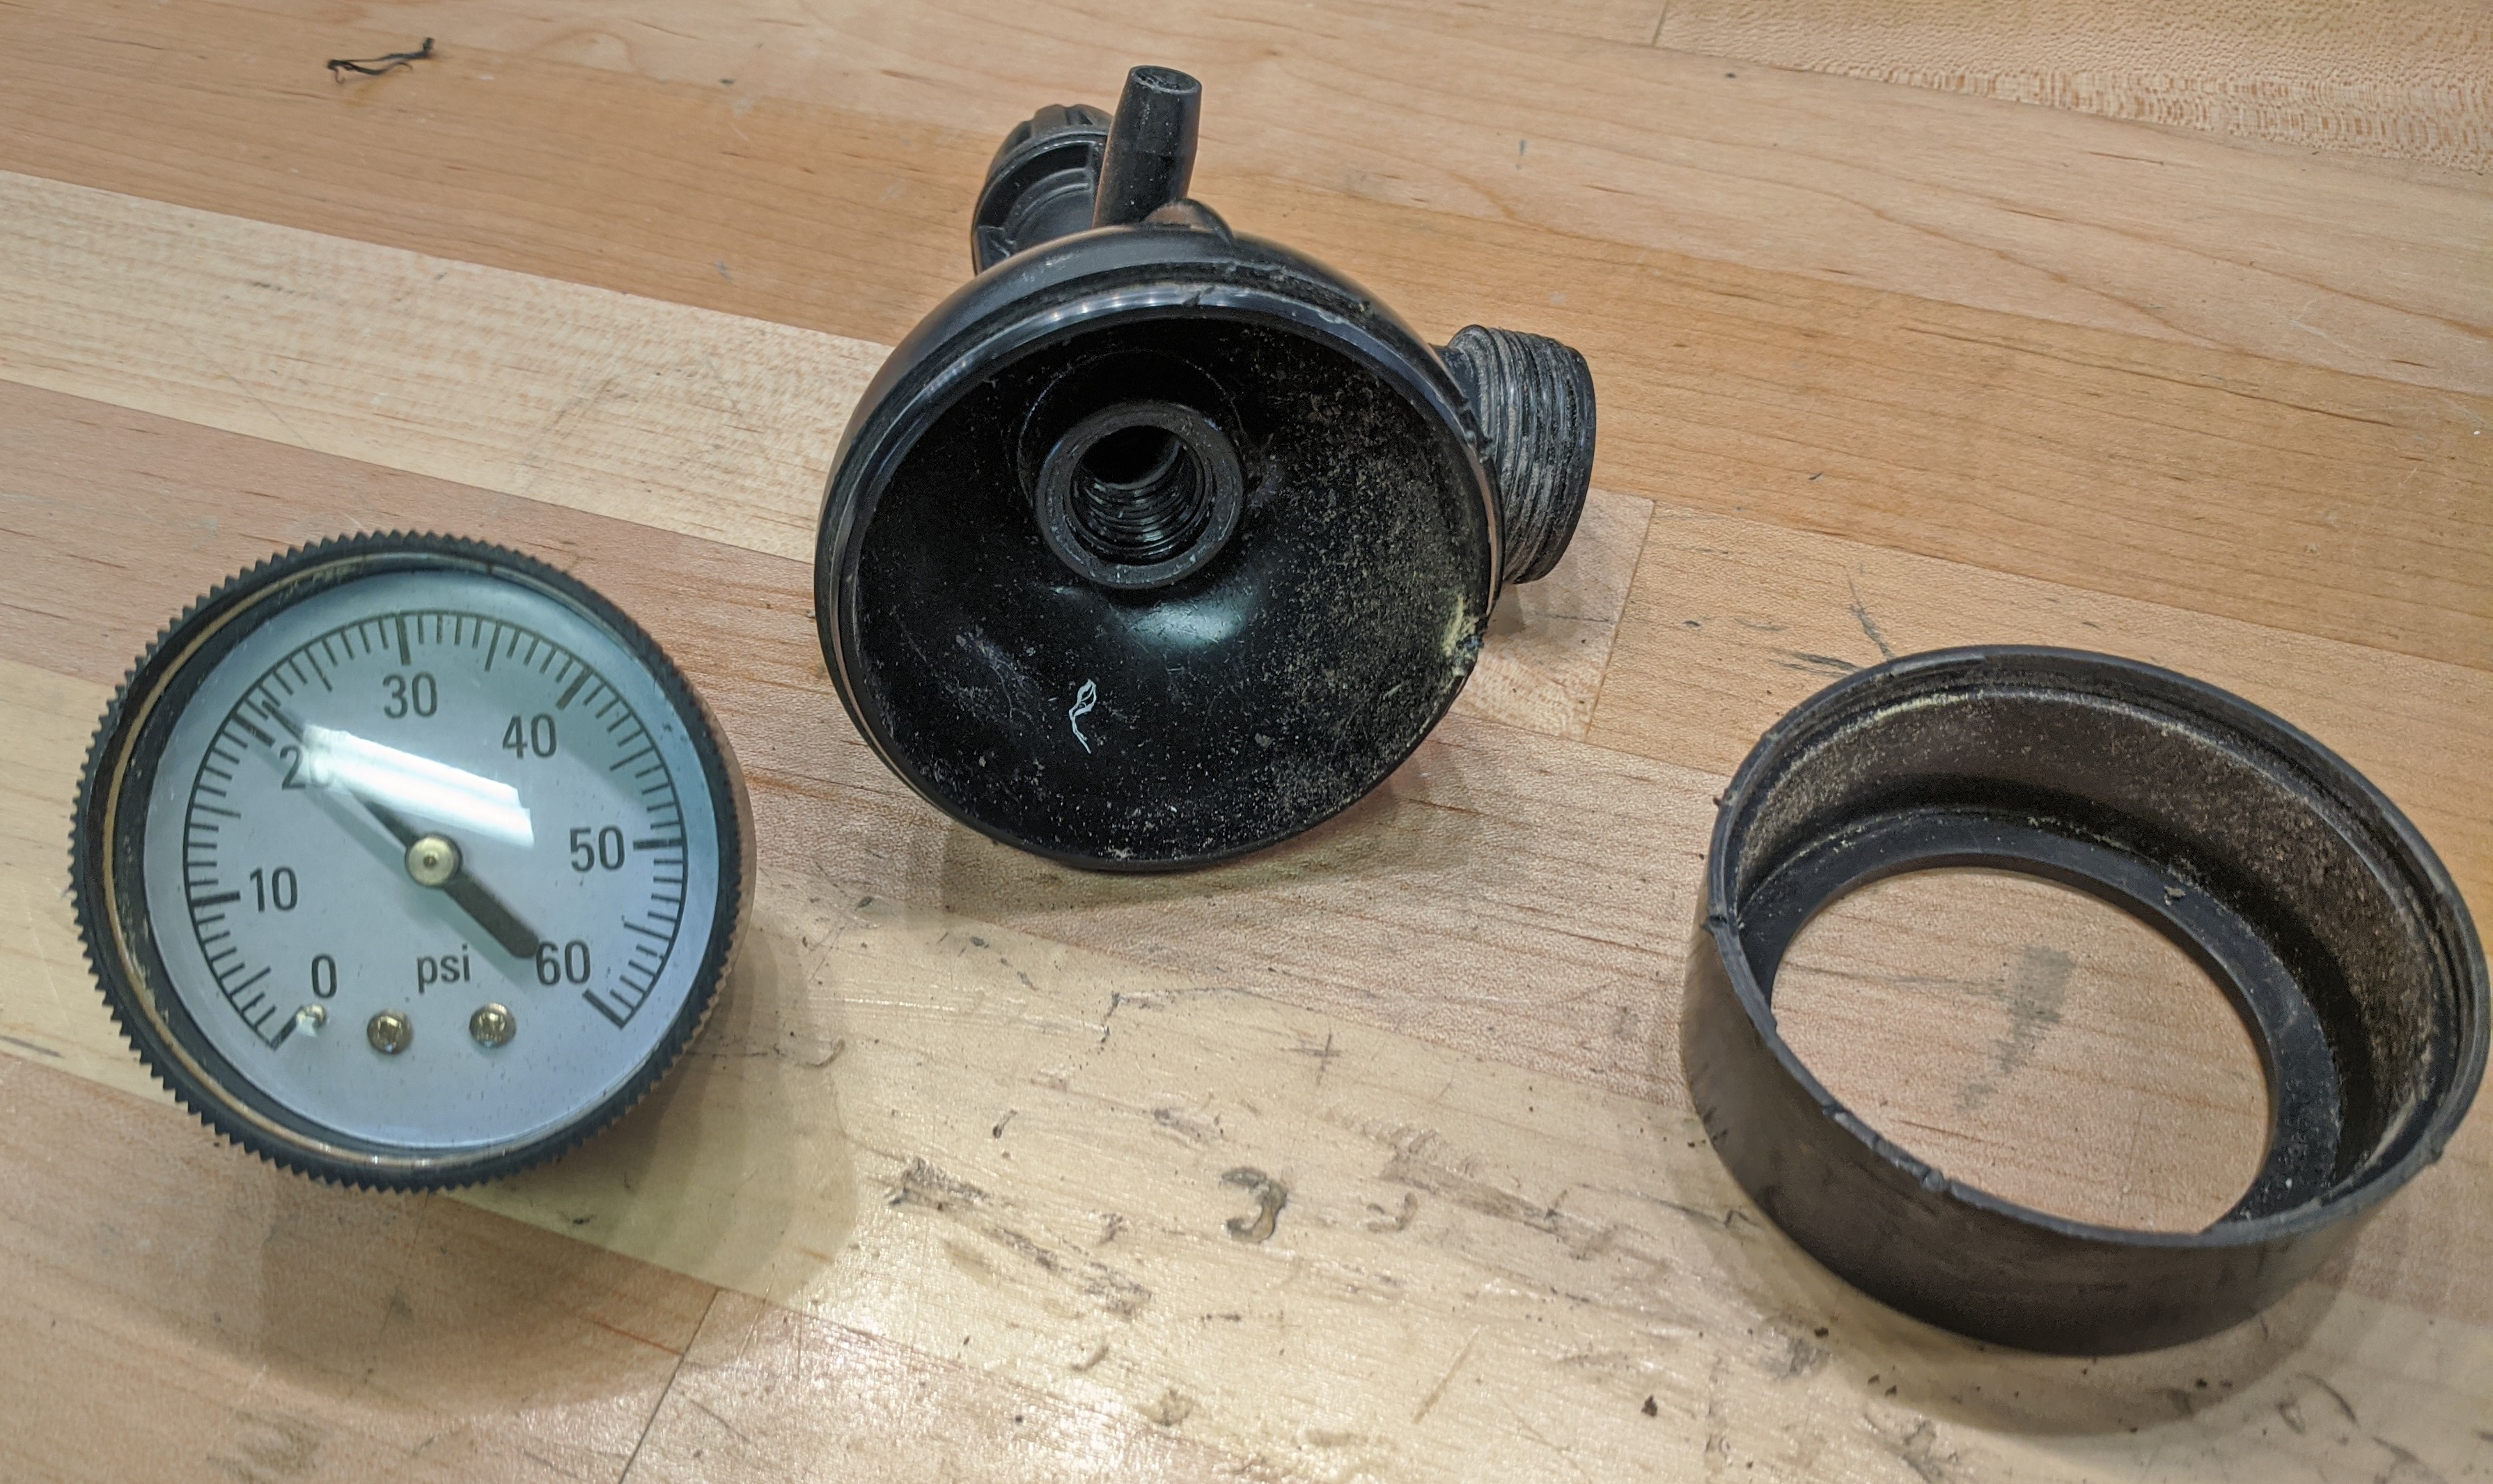
The pressure gauge unscrews from the housing. It unscrews in the manner you'd expect, counter-clockwise when looking at the face of the gauge. You should be able to unscrew it by hand.
![Pressure Gauge Removed Pressure Gauge Removed]()
The pressure gauge unscrews from the housing. -
5Install the New Pressure Gauge
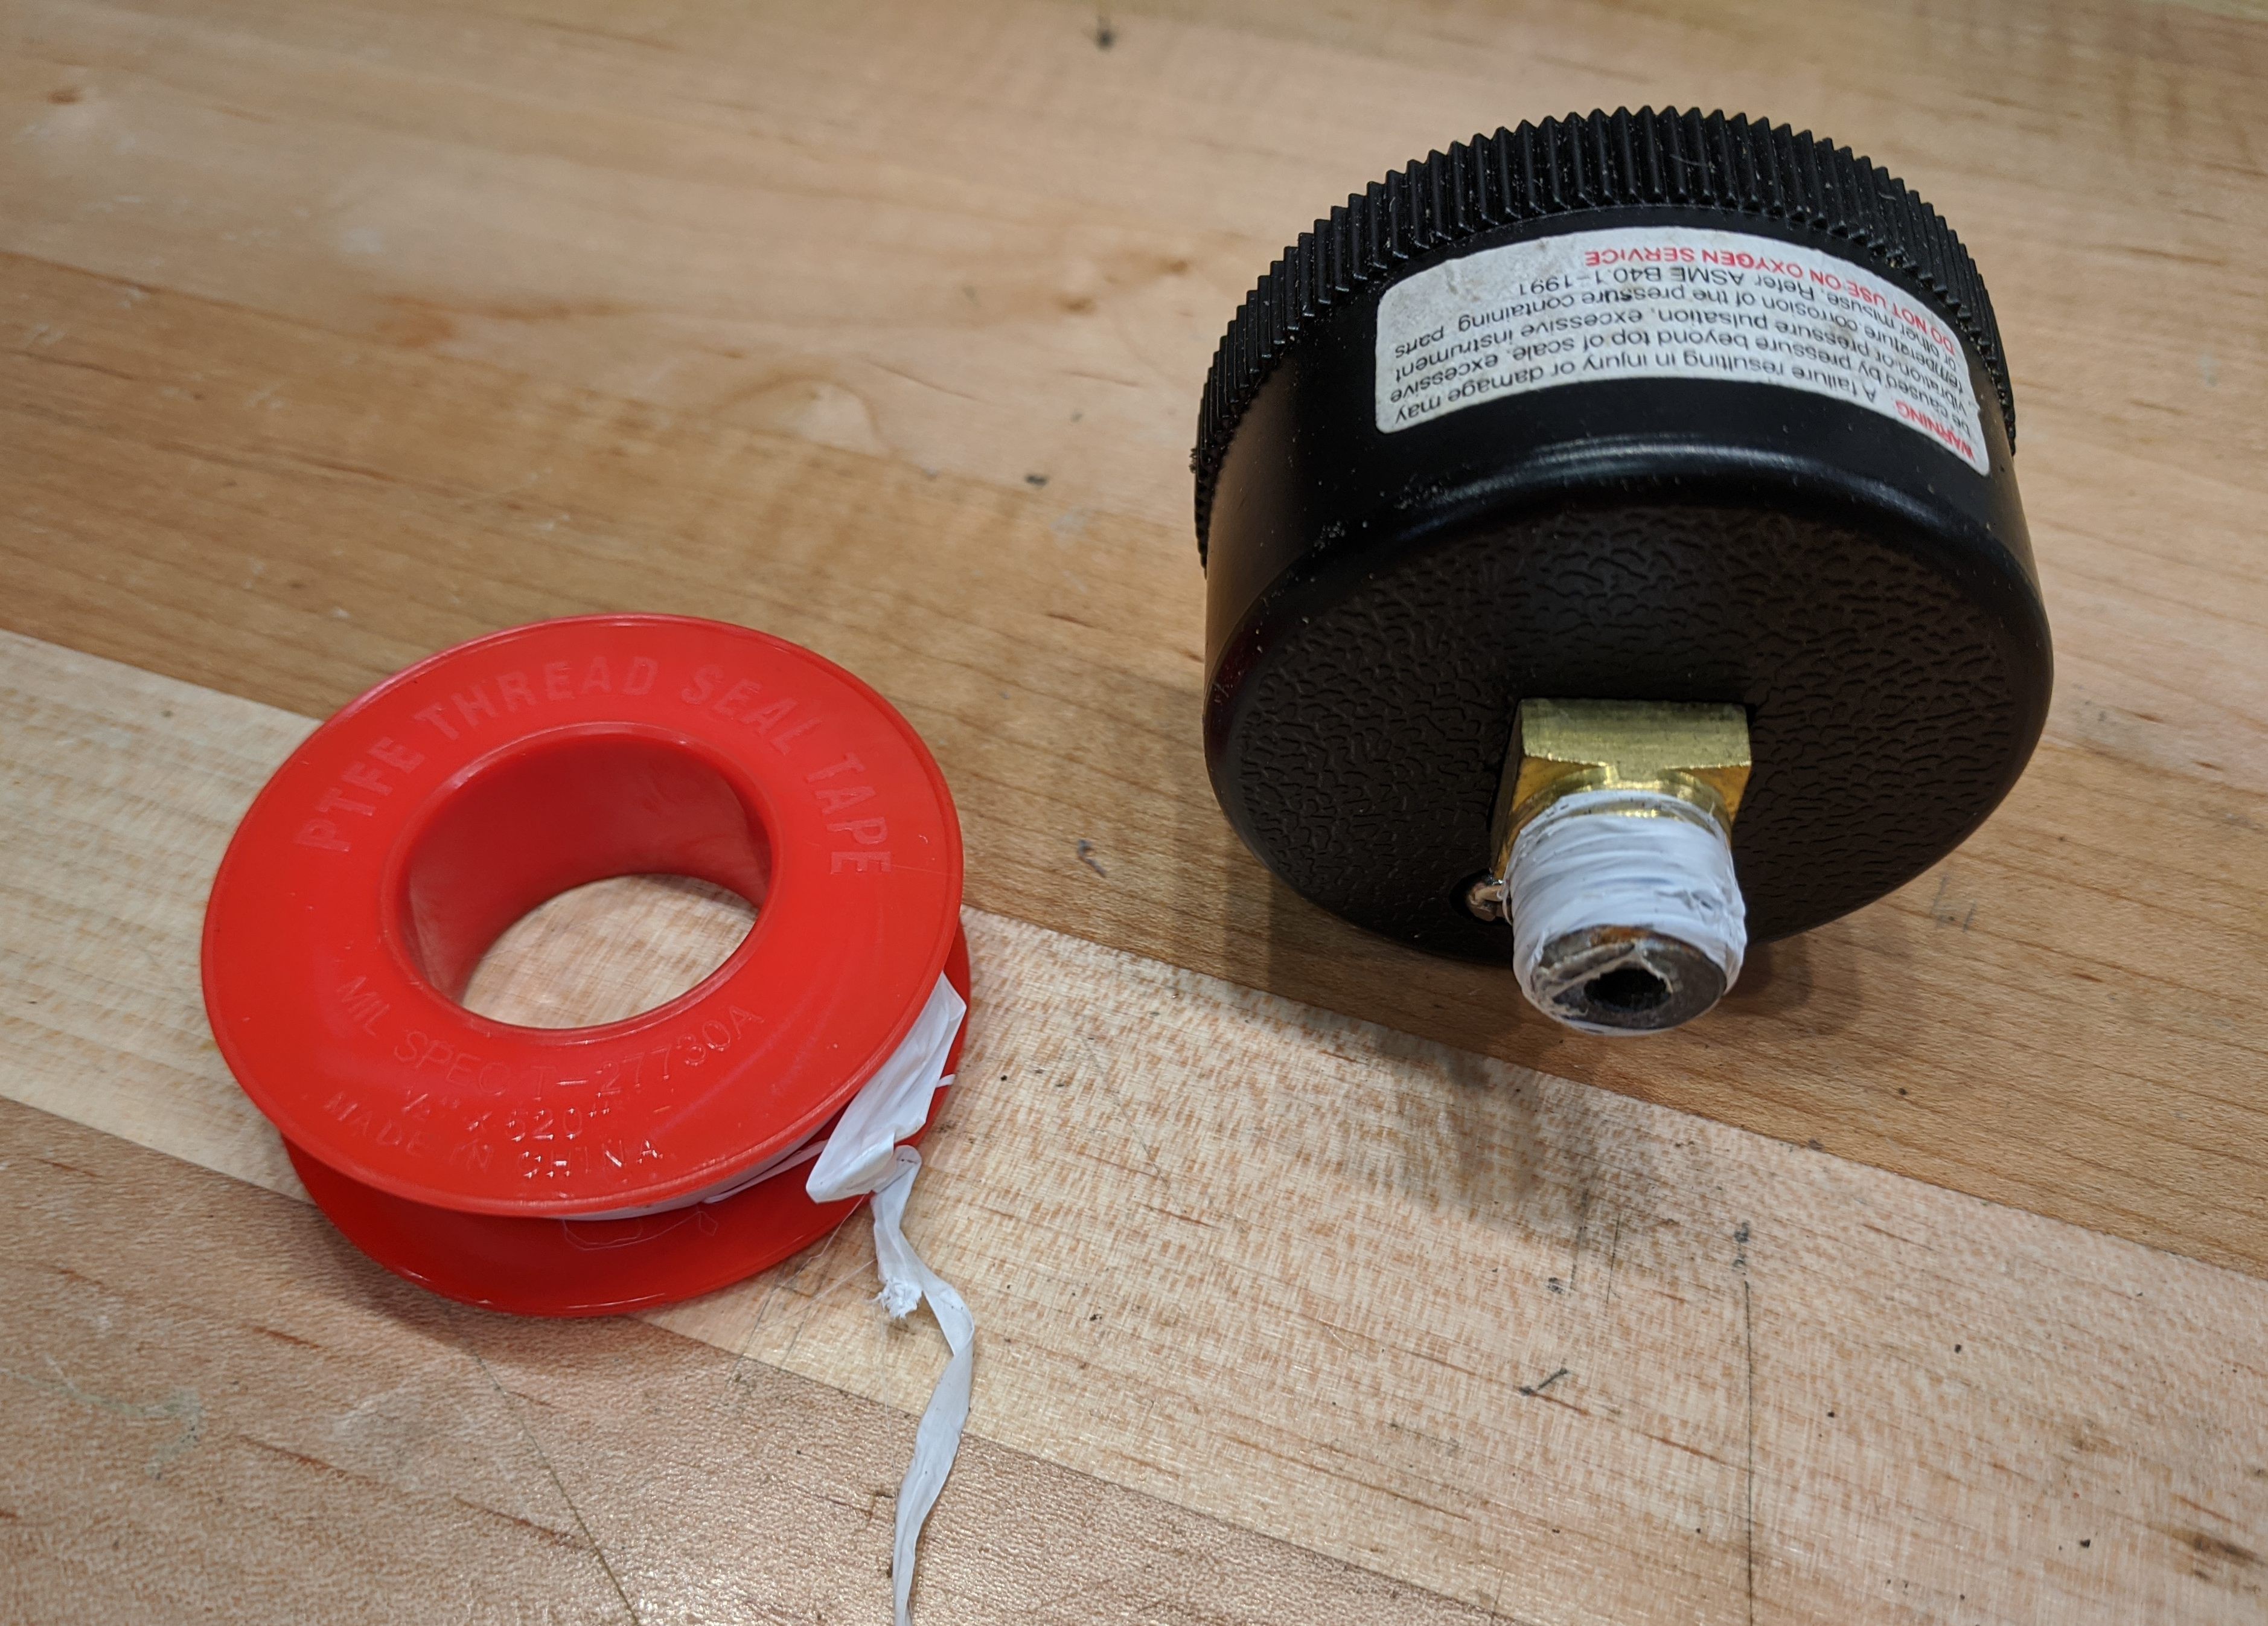
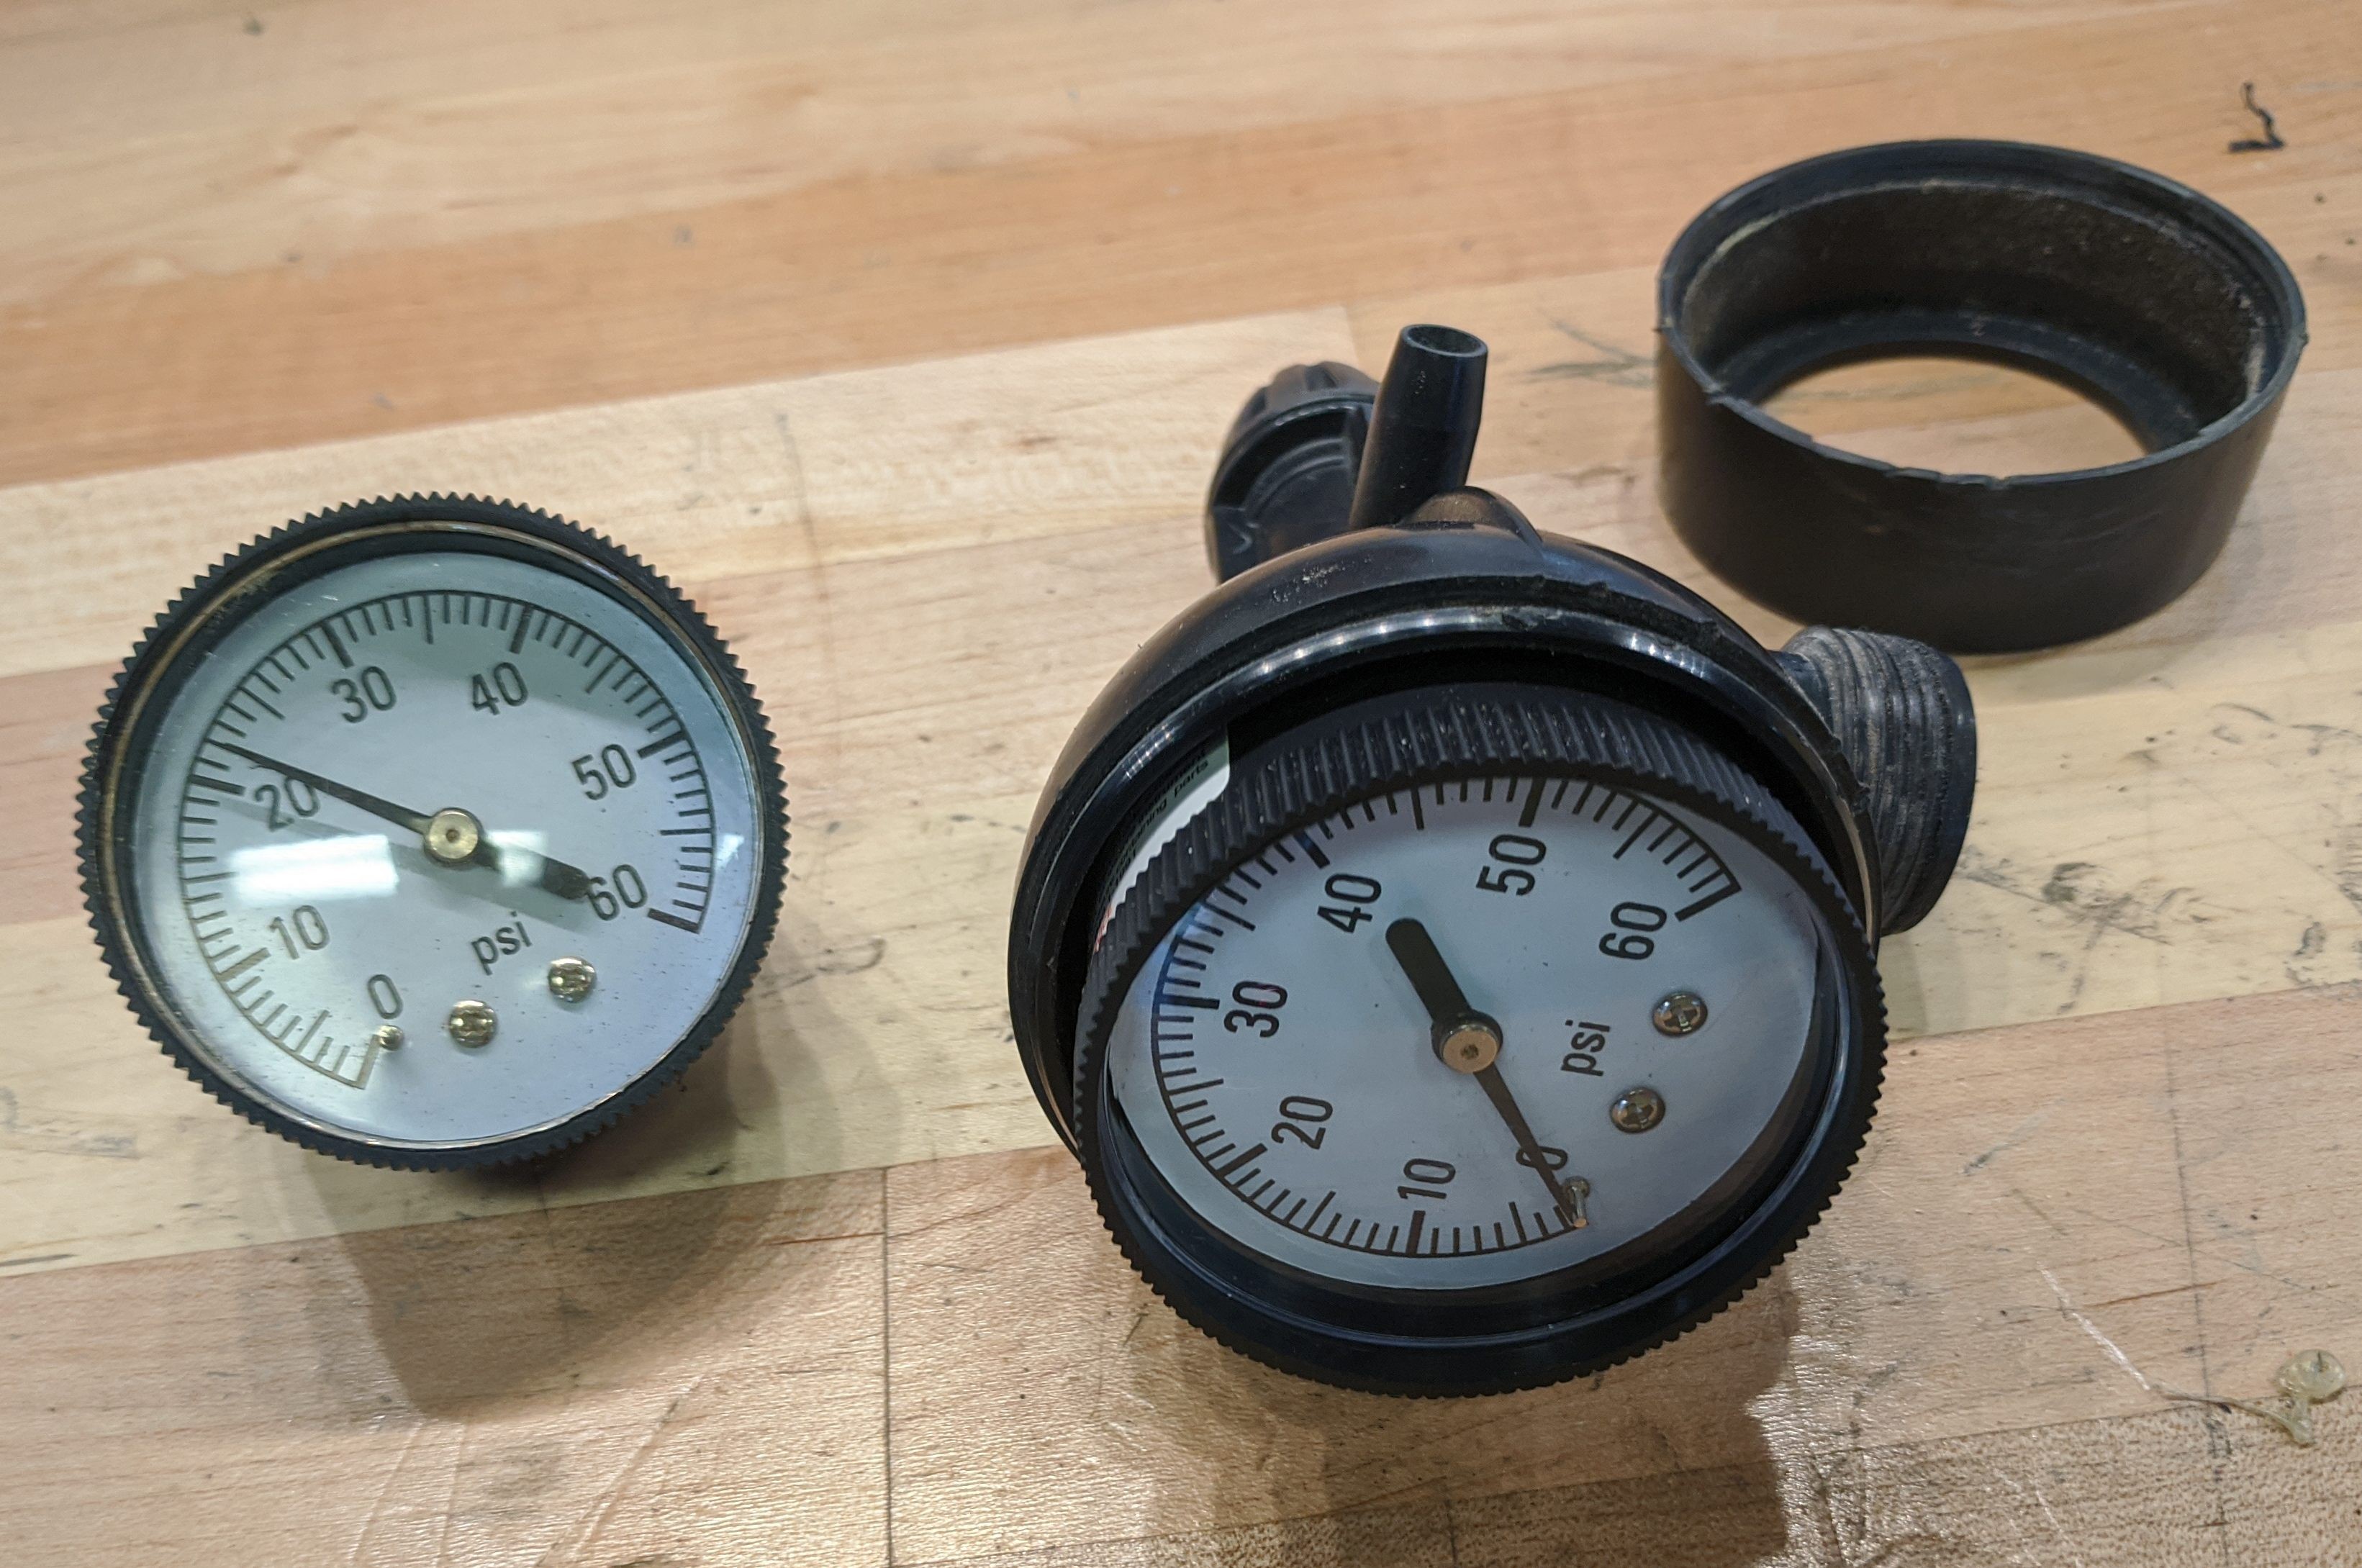
Wrap some pipe thread sealant around the threads of the new pressure gauge. You can then screw it into the housing.
![Sealing Threads Sealing Threads]()
Pipe thread sealant ensures there are no leaks. ![New Gauge Installed New Gauge Installed]()
The new pressure gauge is installed into the housing. -
6Reinstall The Housing
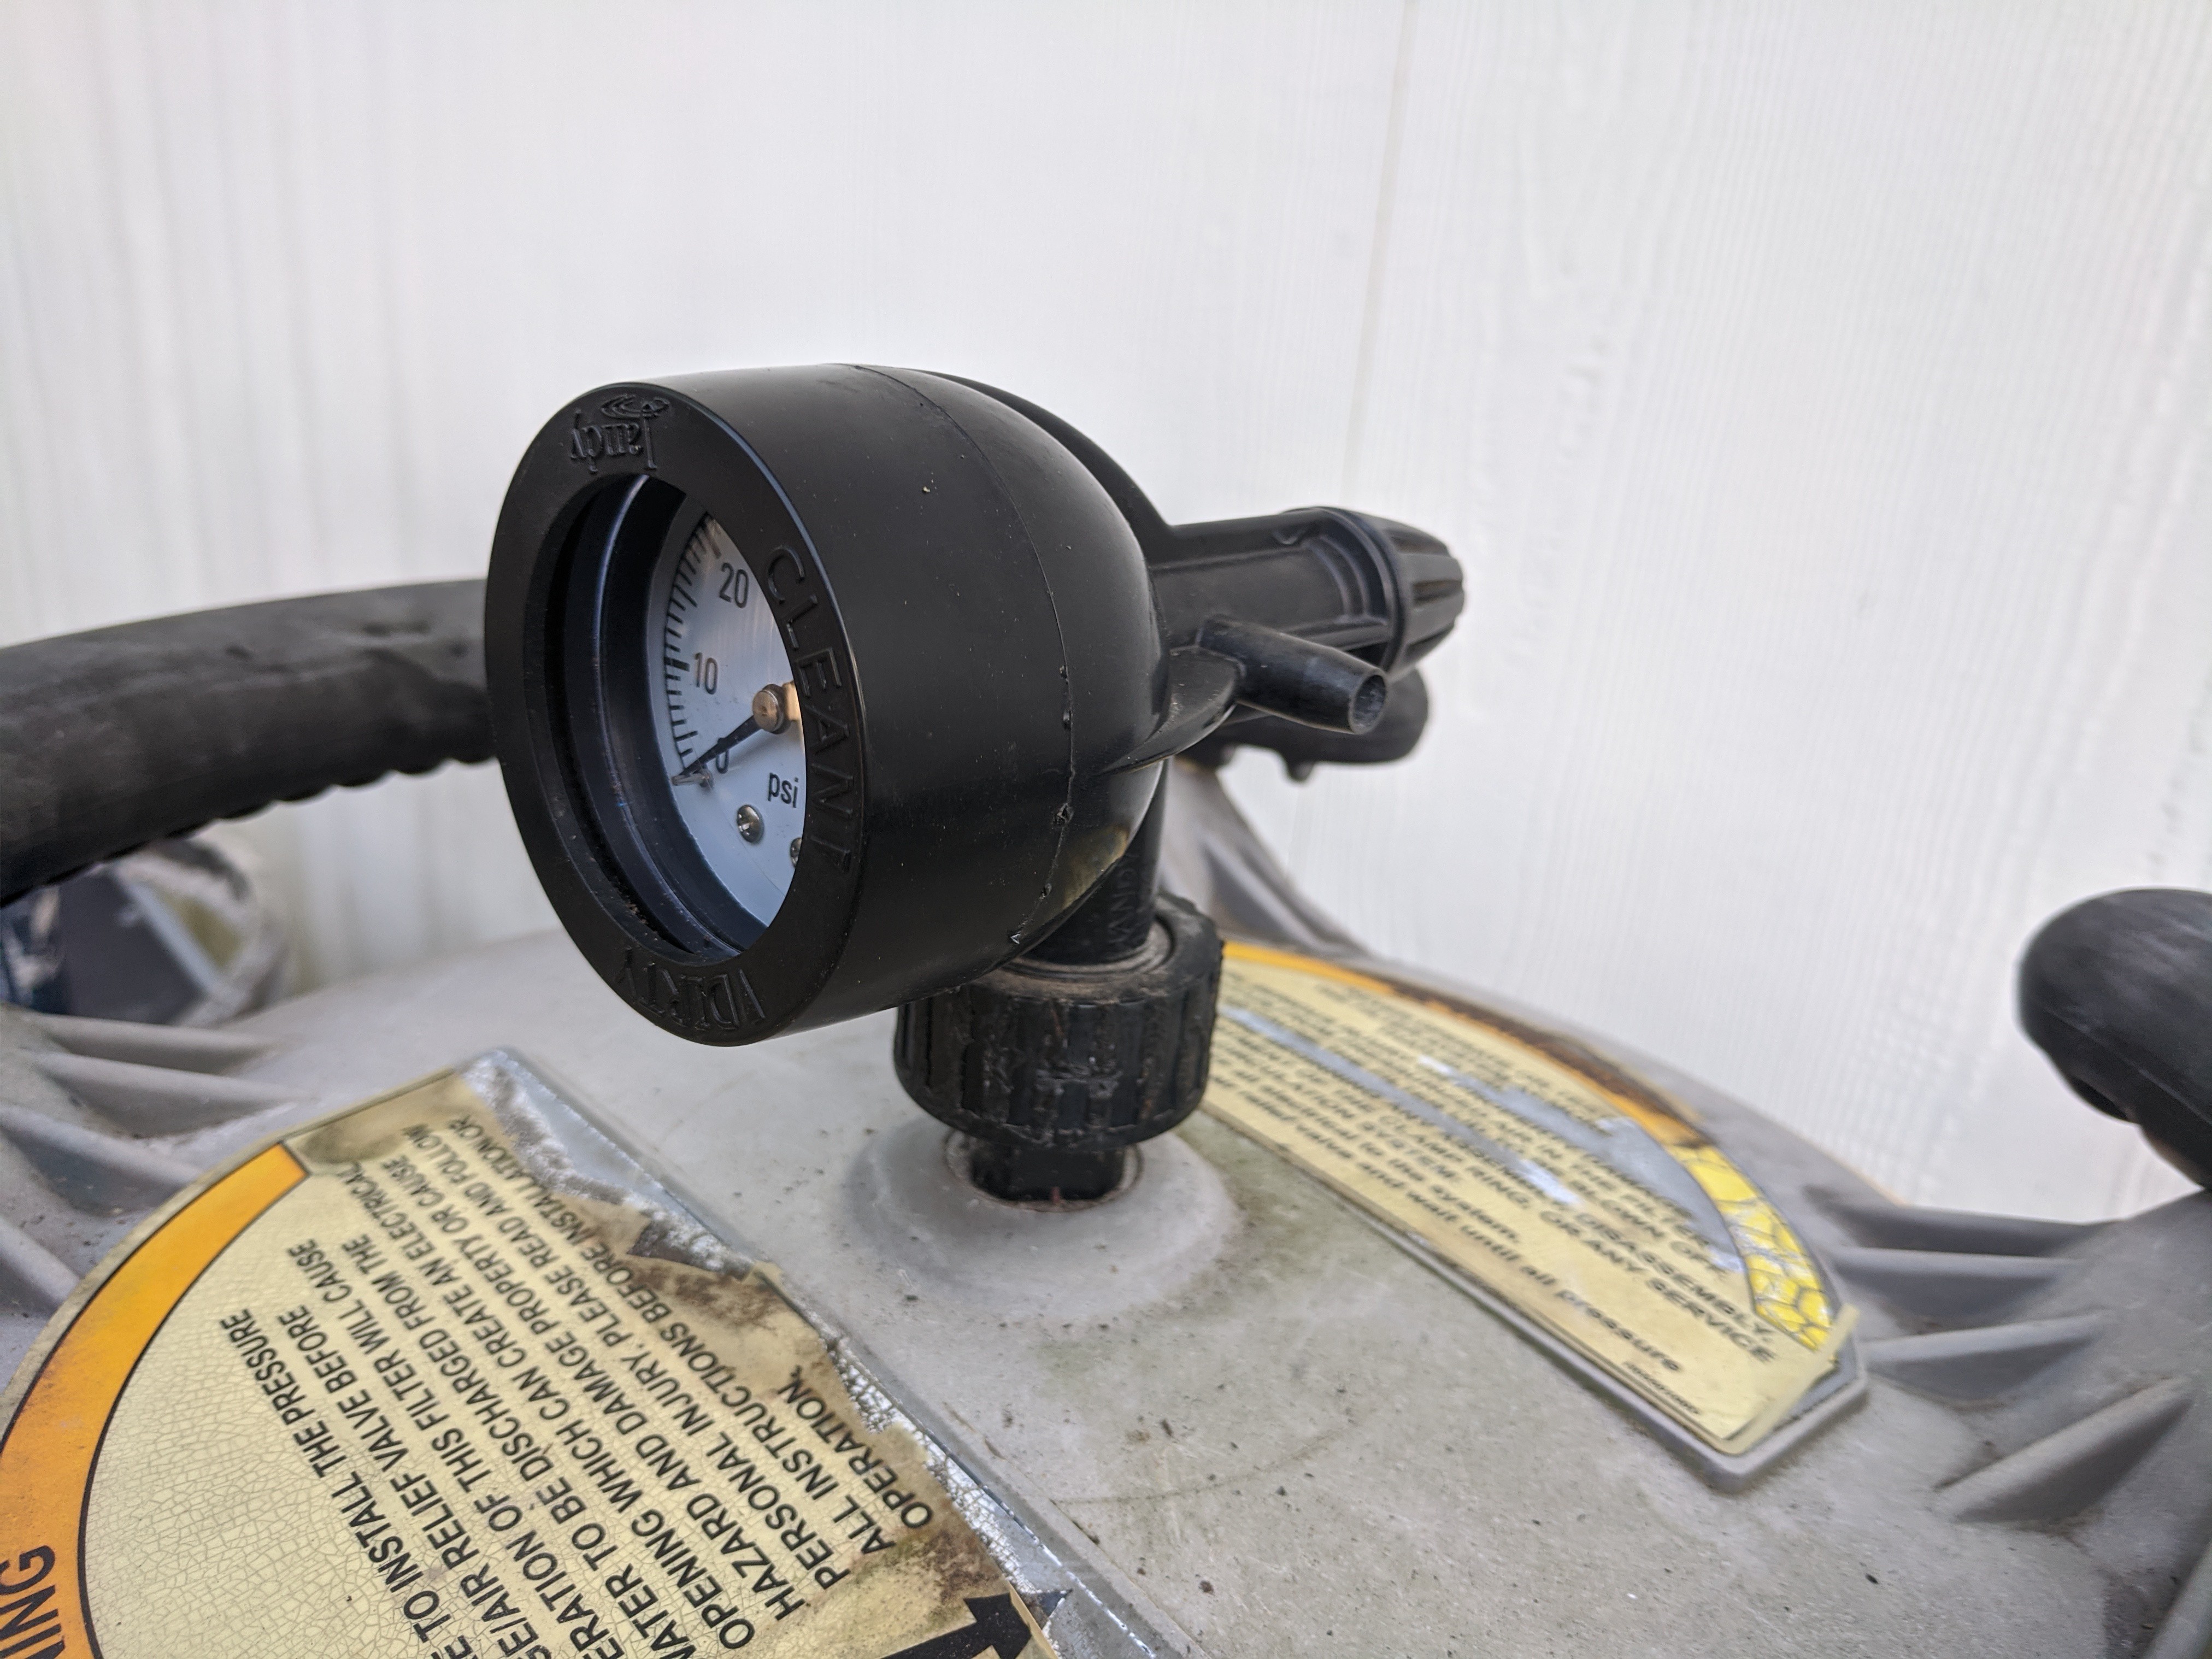
Snap the front bezel back on then you can reinstall the housing on the tank.
![Reinstalled Housing Reinstalled Housing]()
The housing is reinstalled on the filter.
Cheap Pressure Gauge Replacement for Jandy Filter
Jandy tries to sell you a 65 dollar replacement pressure gauge. Learn how to replace yours for less than 20 dollars.
 Lance
Lance
Discussions
Become a Hackaday.io Member
Create an account to leave a comment. Already have an account? Log In.