-
The Automated Board-01
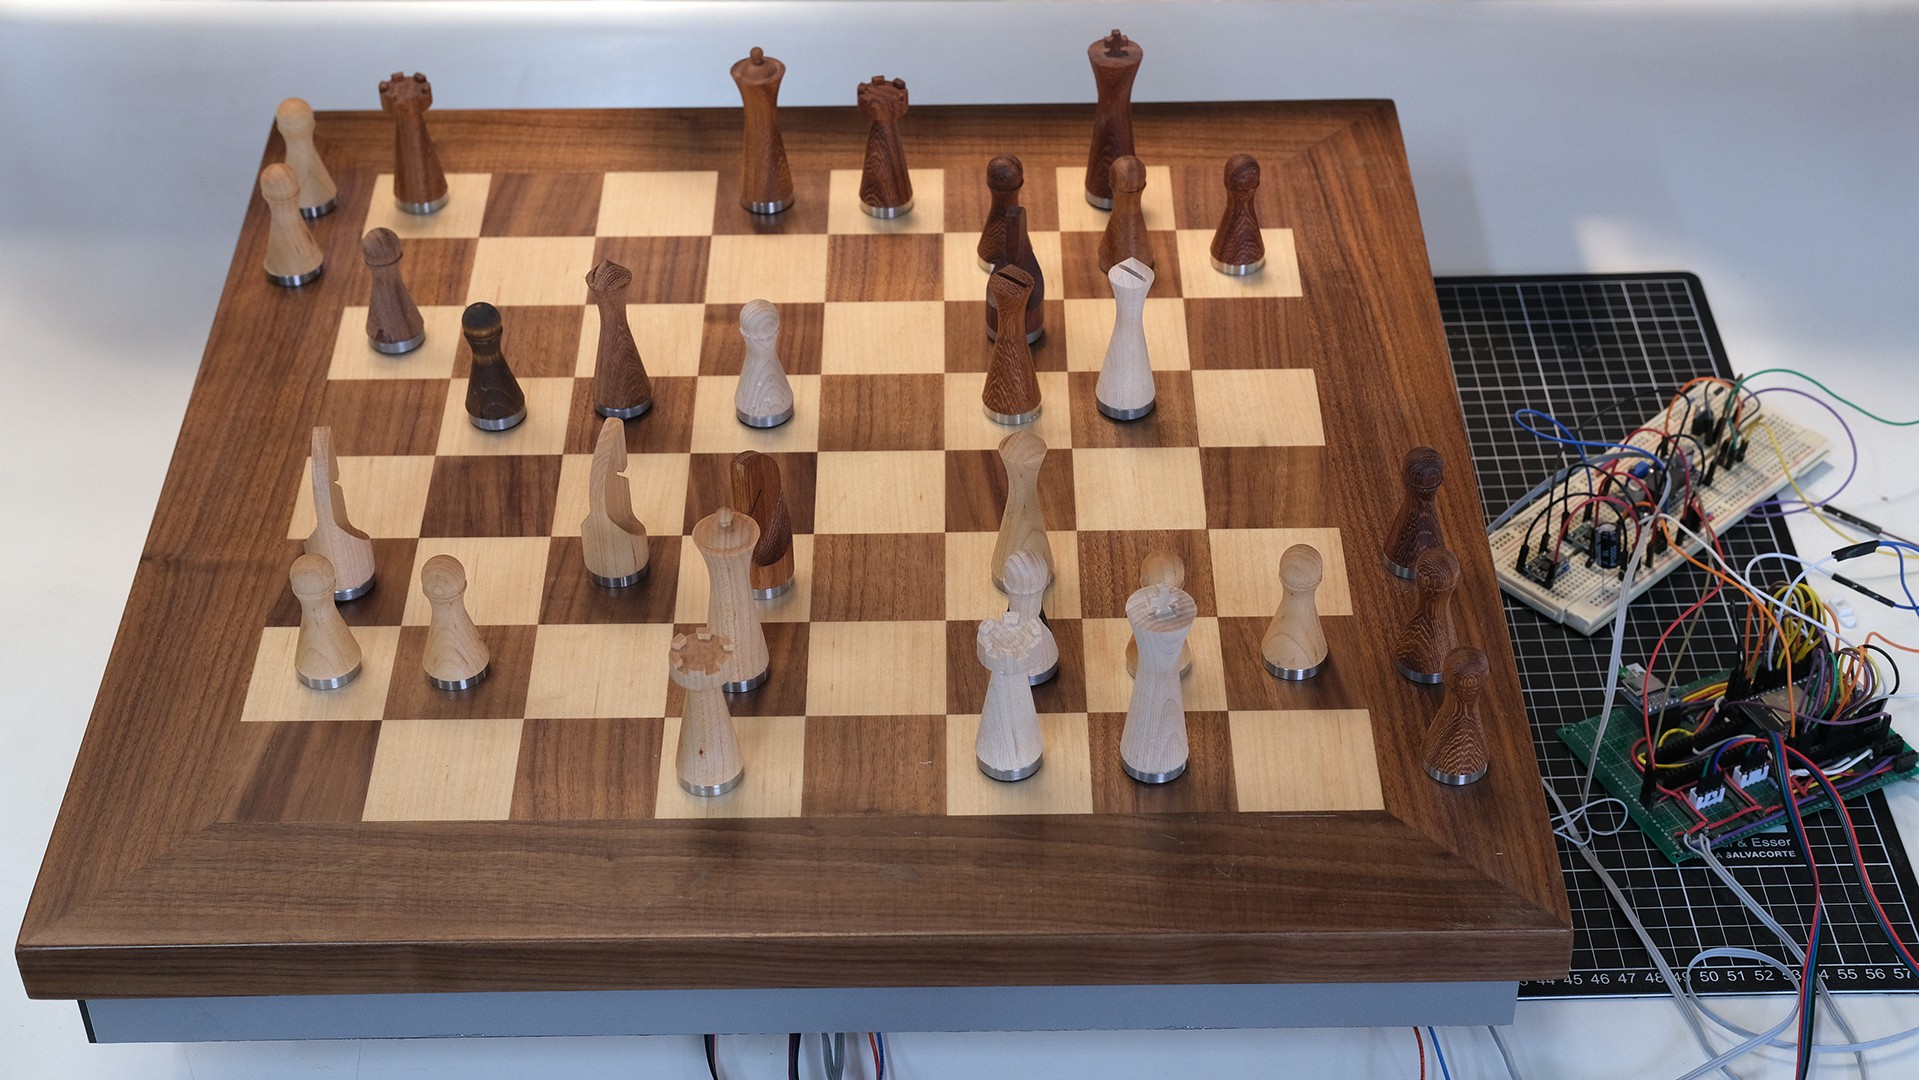
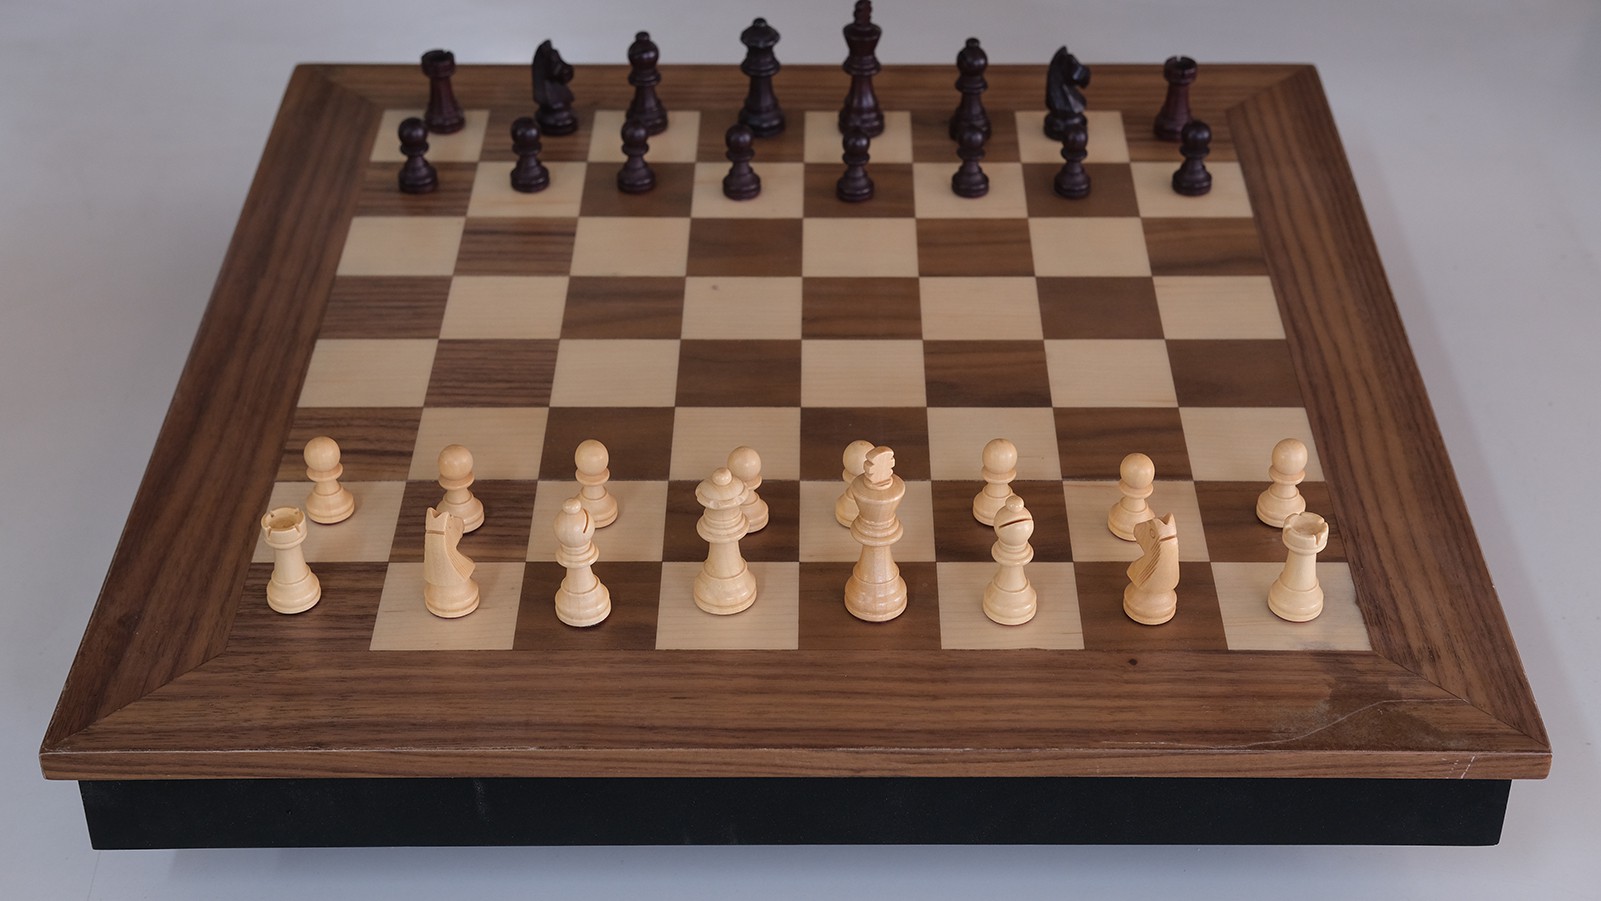
05/29/2021 at 20:29 • 1 commentHi there! I believe naming “automatic chessboard” is not so appealing so I decided to name it: Phantom. Even less appealing is to keep Phantom just to myself, so I decided to launch a Kickstarter campaign as recommended by some of you!
![]()
During the last months, I have been sharing the development process and improvements made to the board week by week and got to the conclusion to close the first version to decide the following steps to improve it.
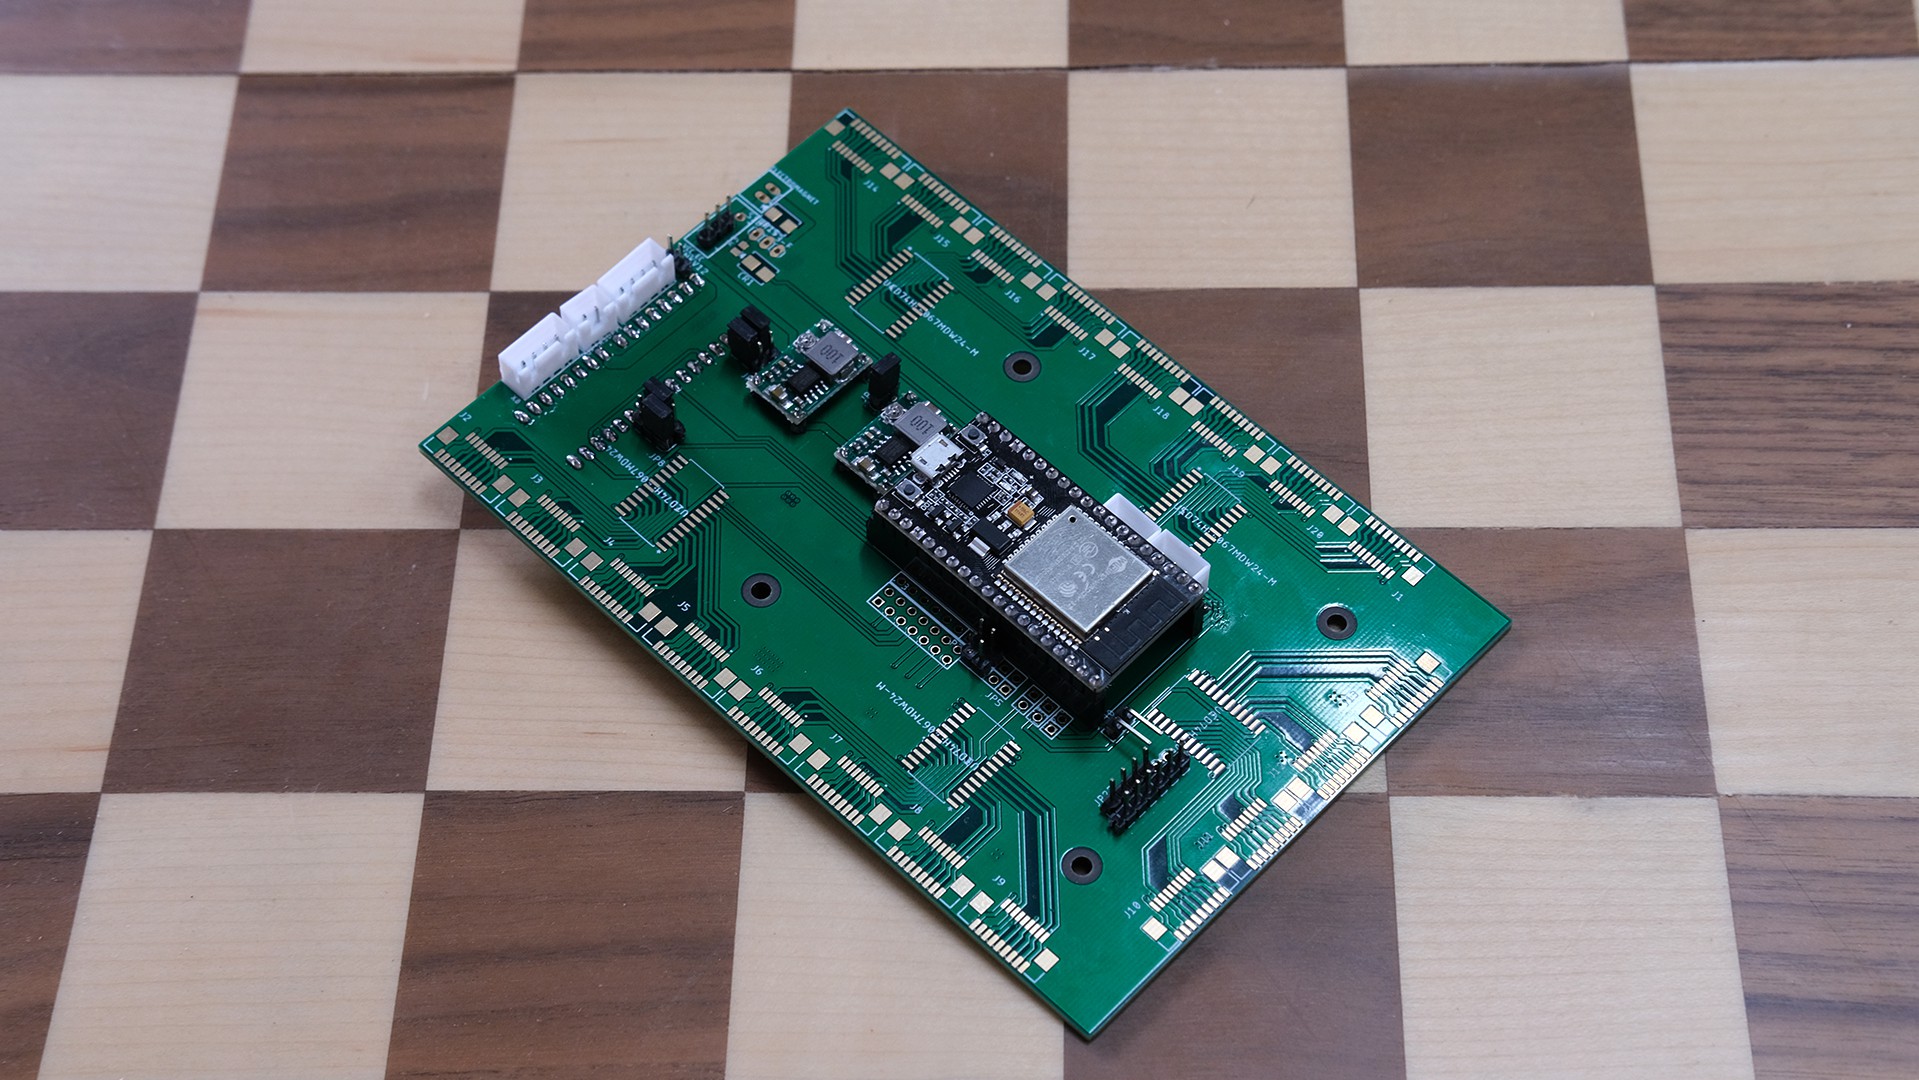
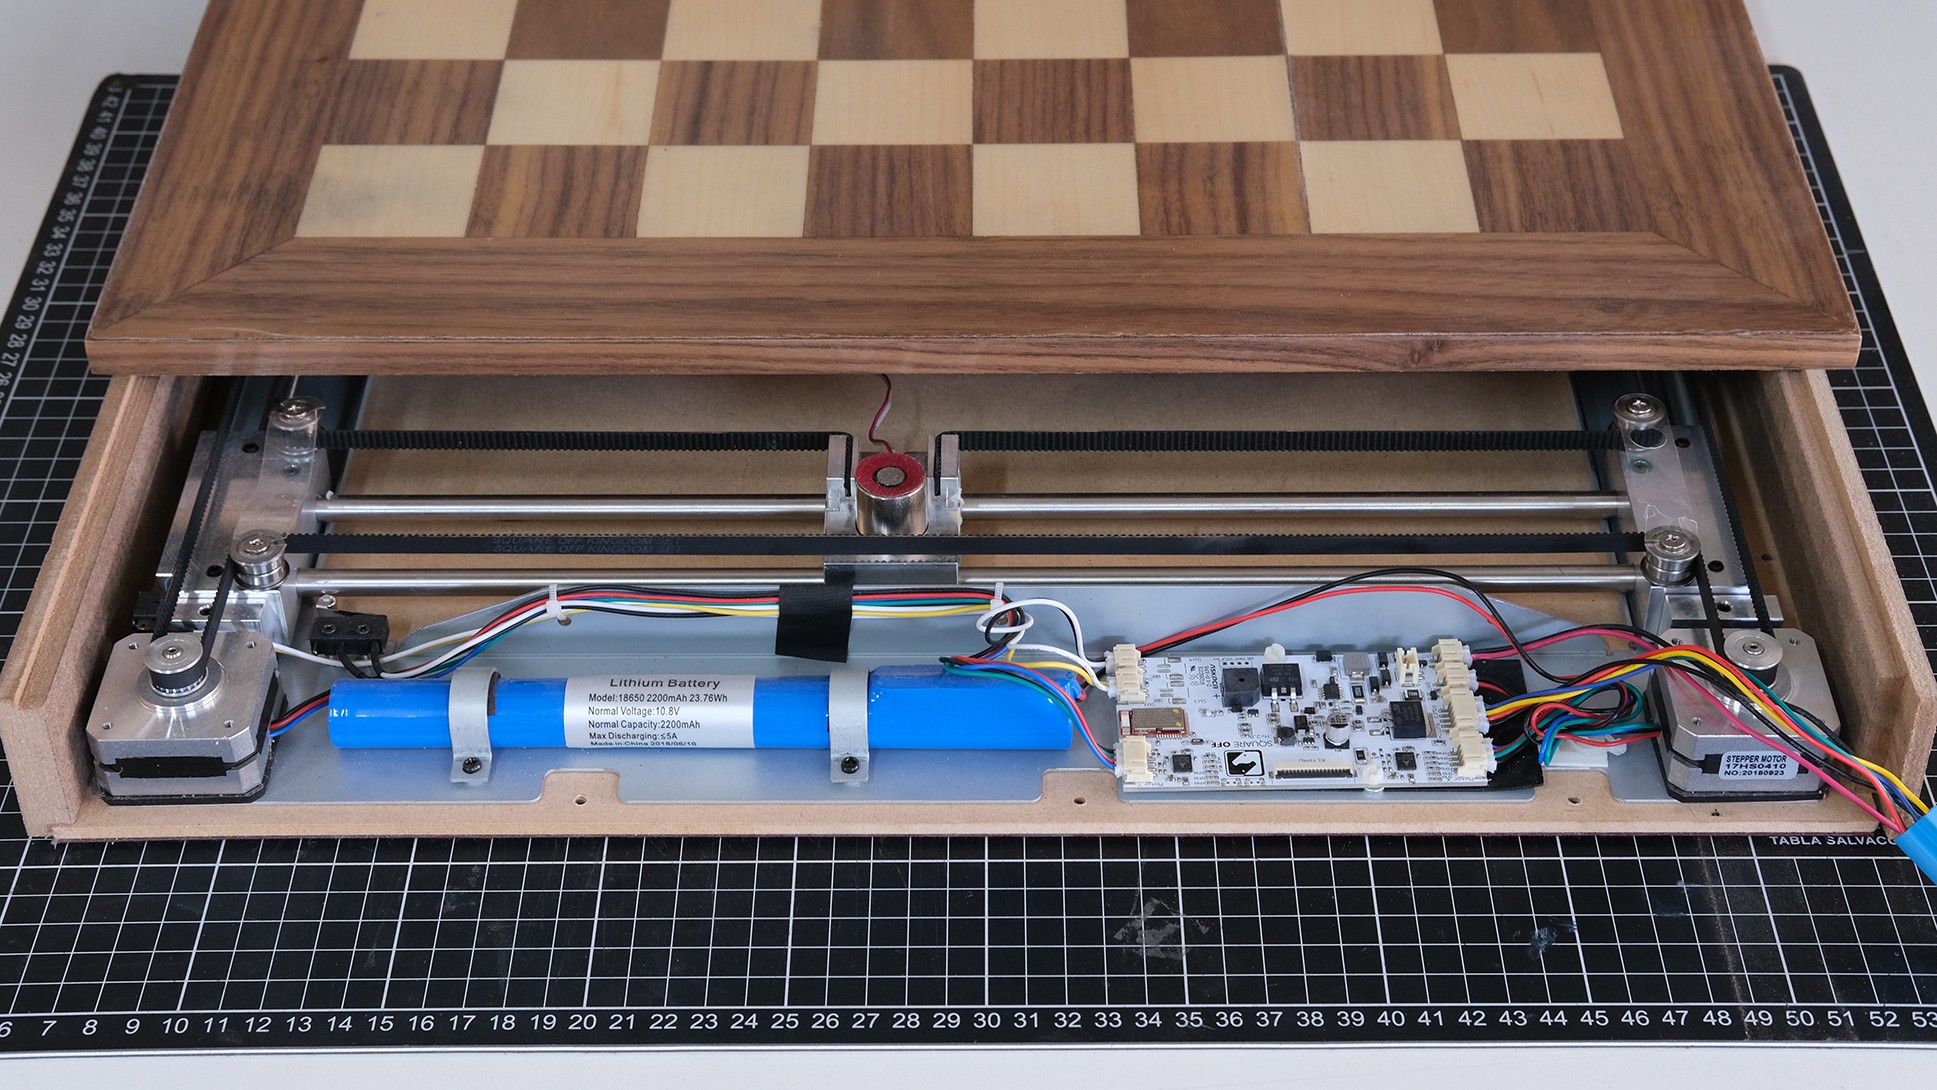
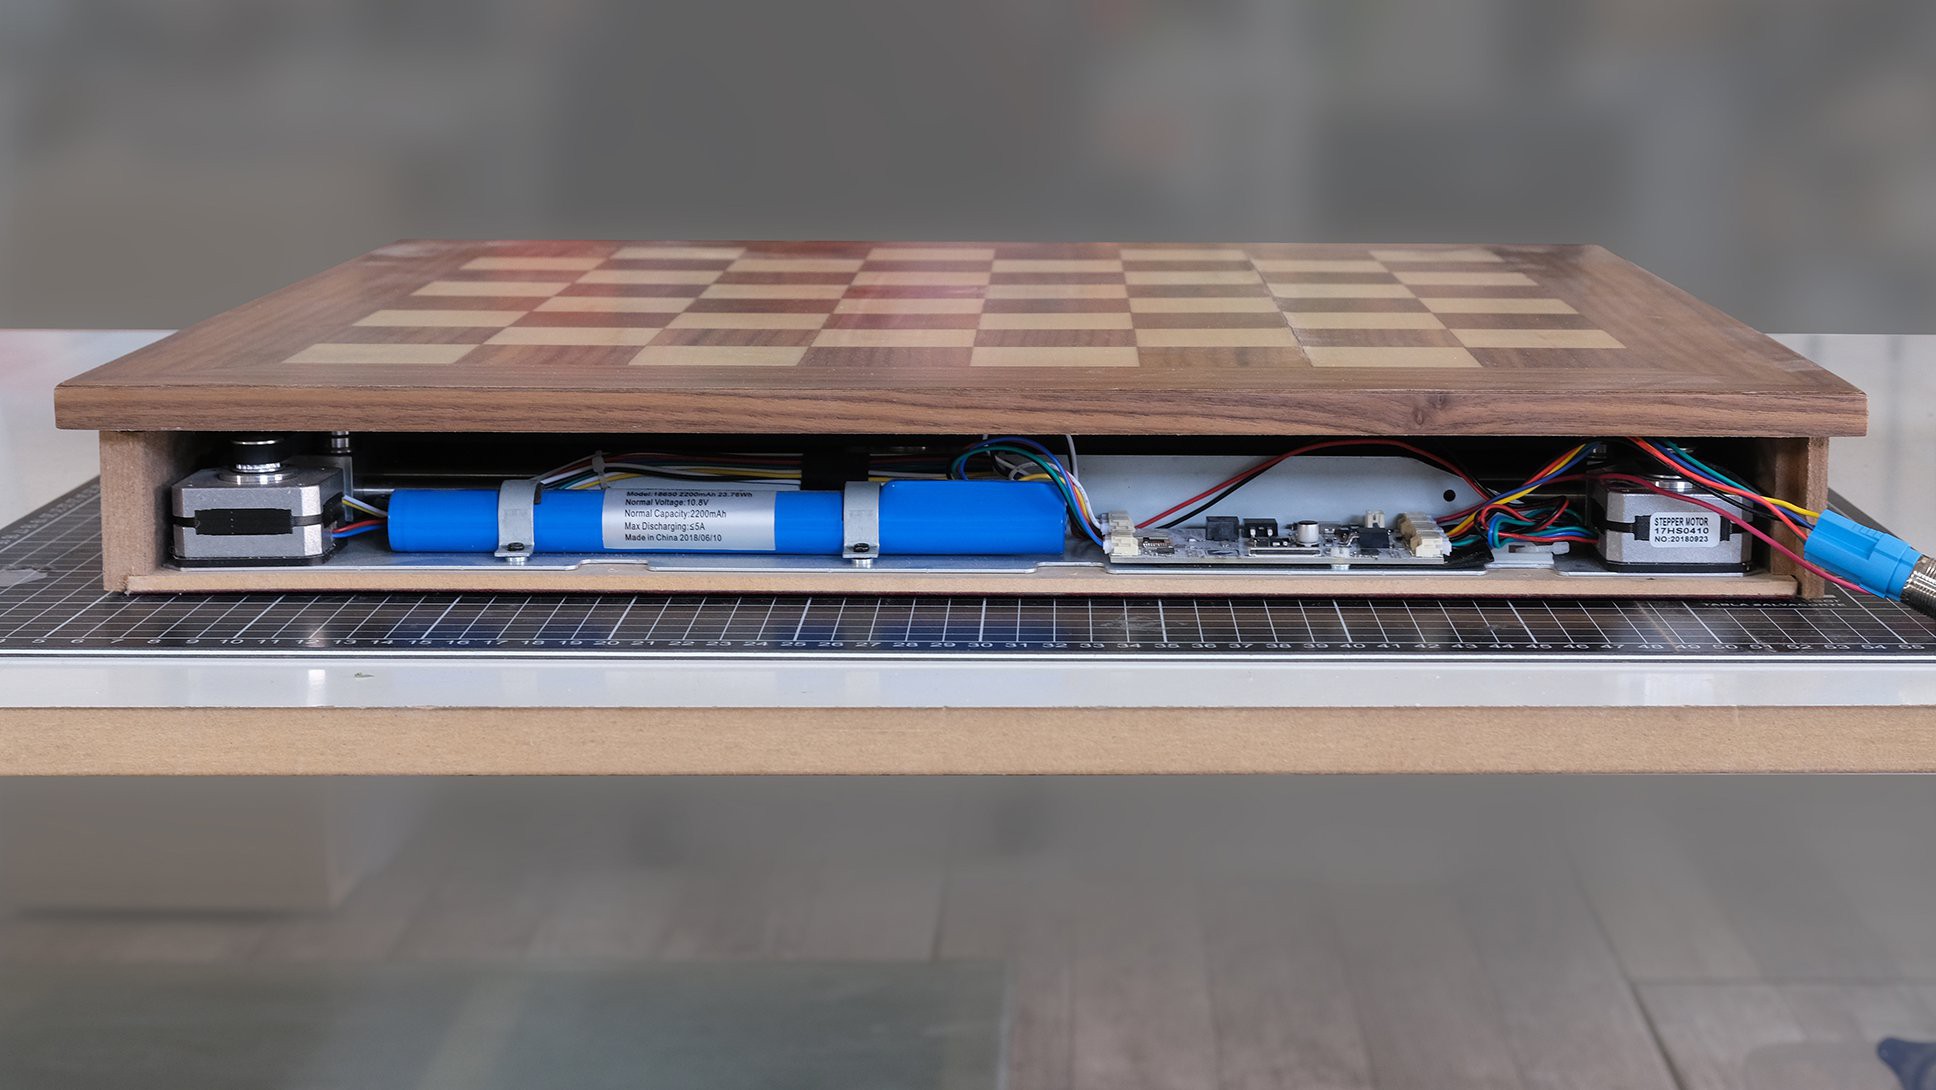
The next step is to be sure all systems are working perfectly fine together before starting important changes. The hardware of the first prototype is conformed by the Scara mechanism, hall effect sensors array, mecha-magnet and 3 microcontrollers running all the features.
I’ll share with you all the files up to this version so you can build your own Phantom Chess, in the files section you will find everything you need: the assembly and 3D model files for each system
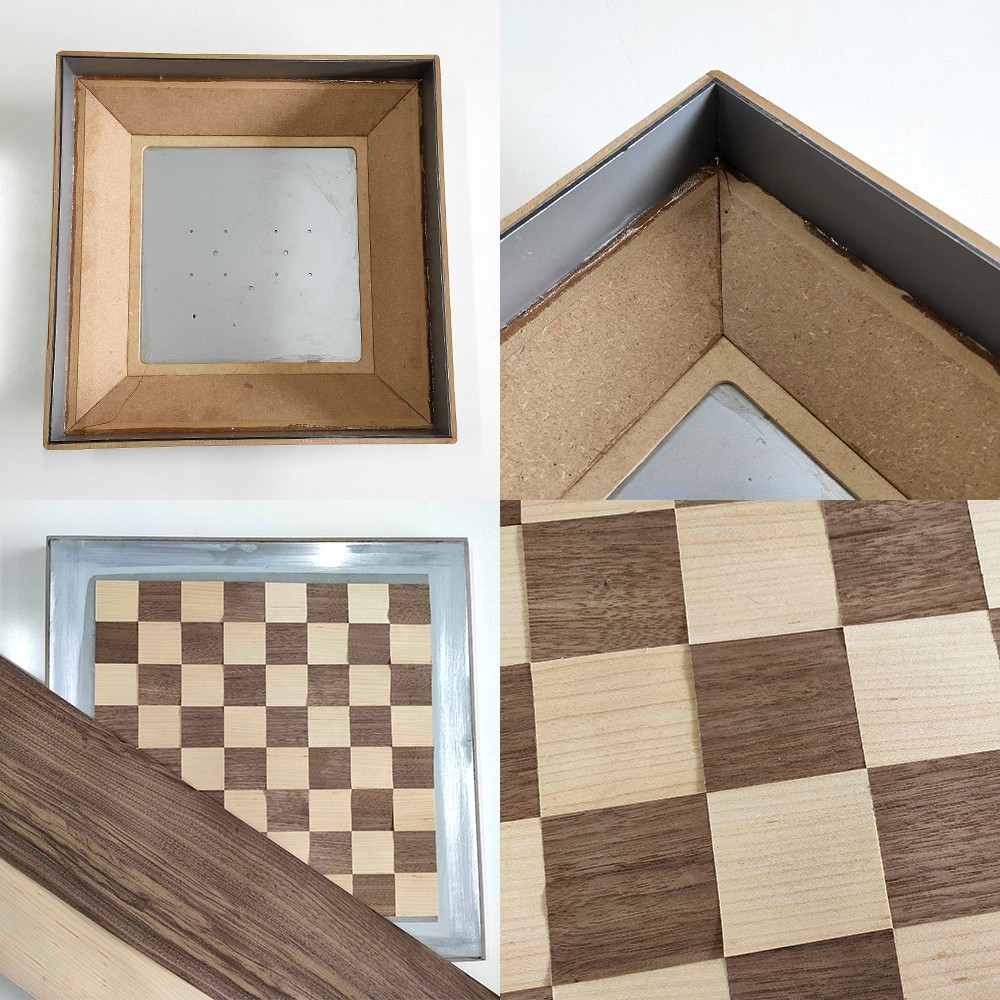
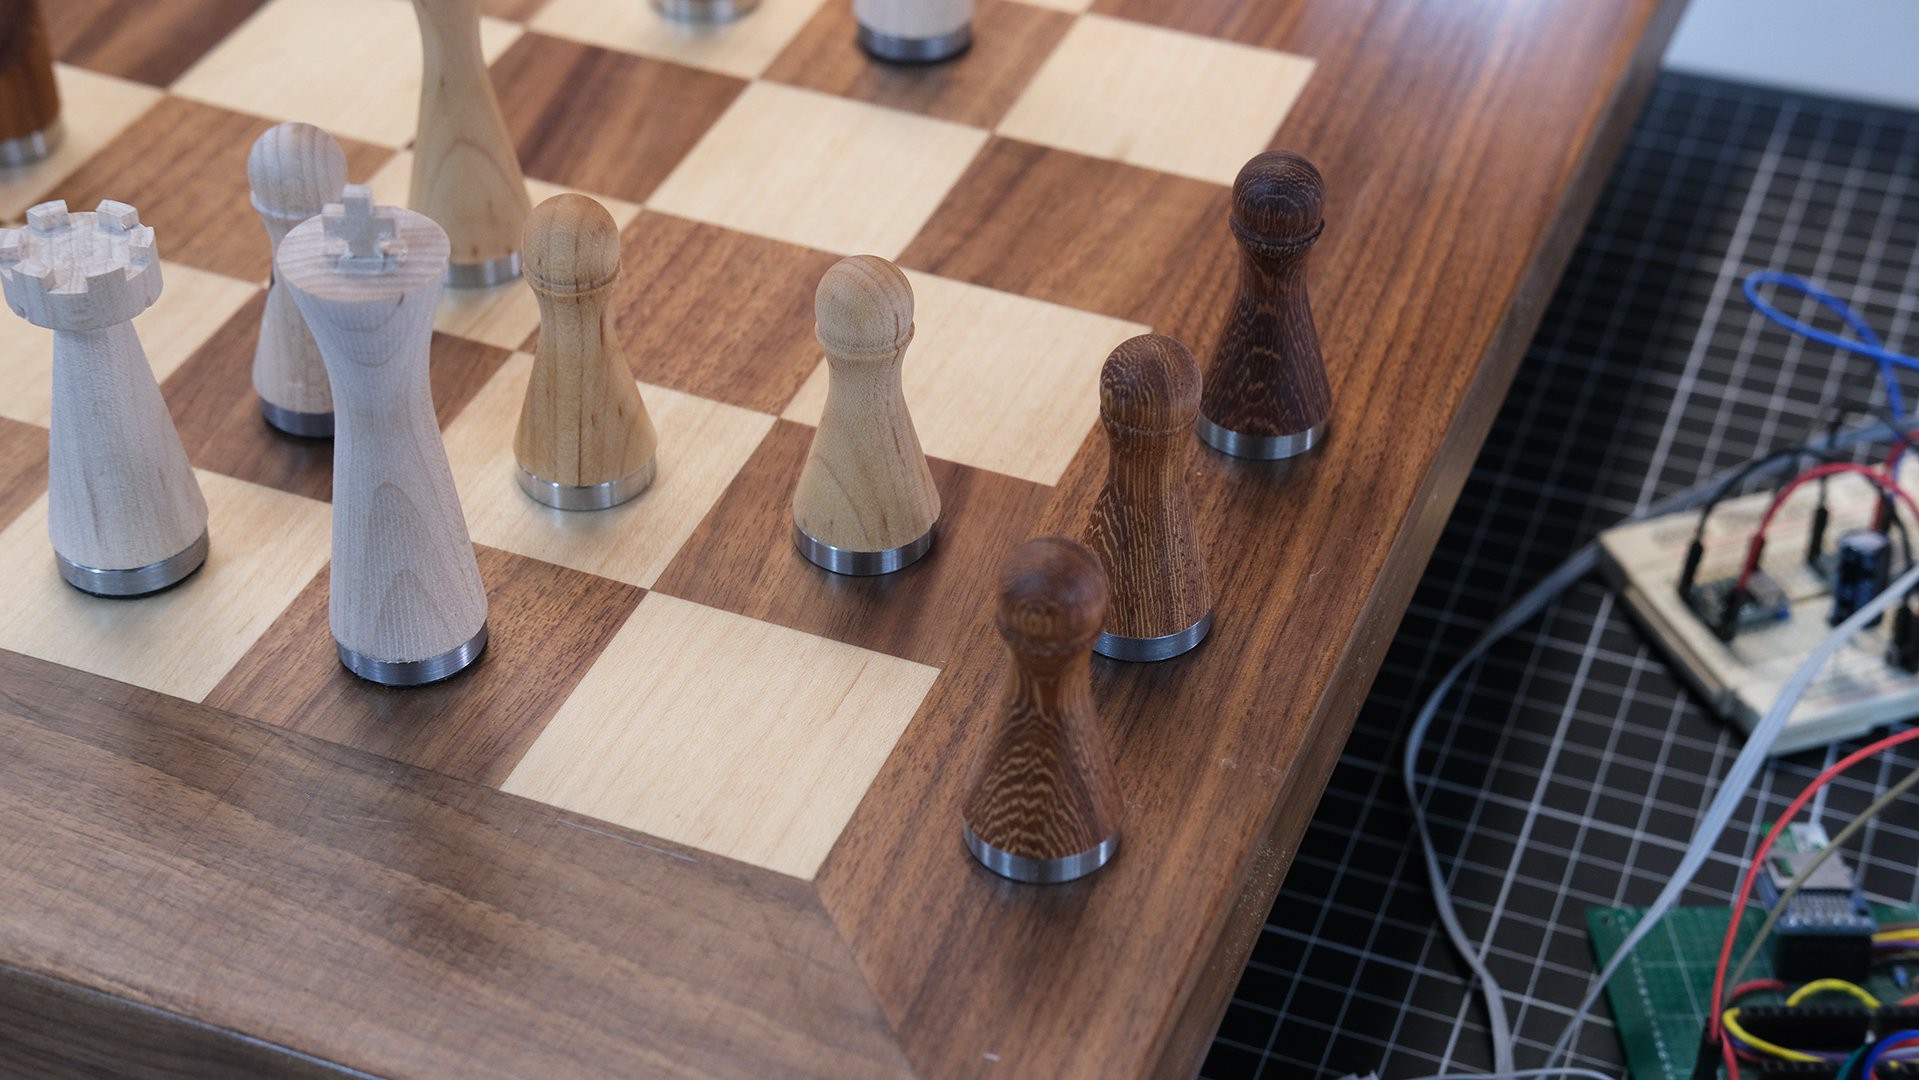
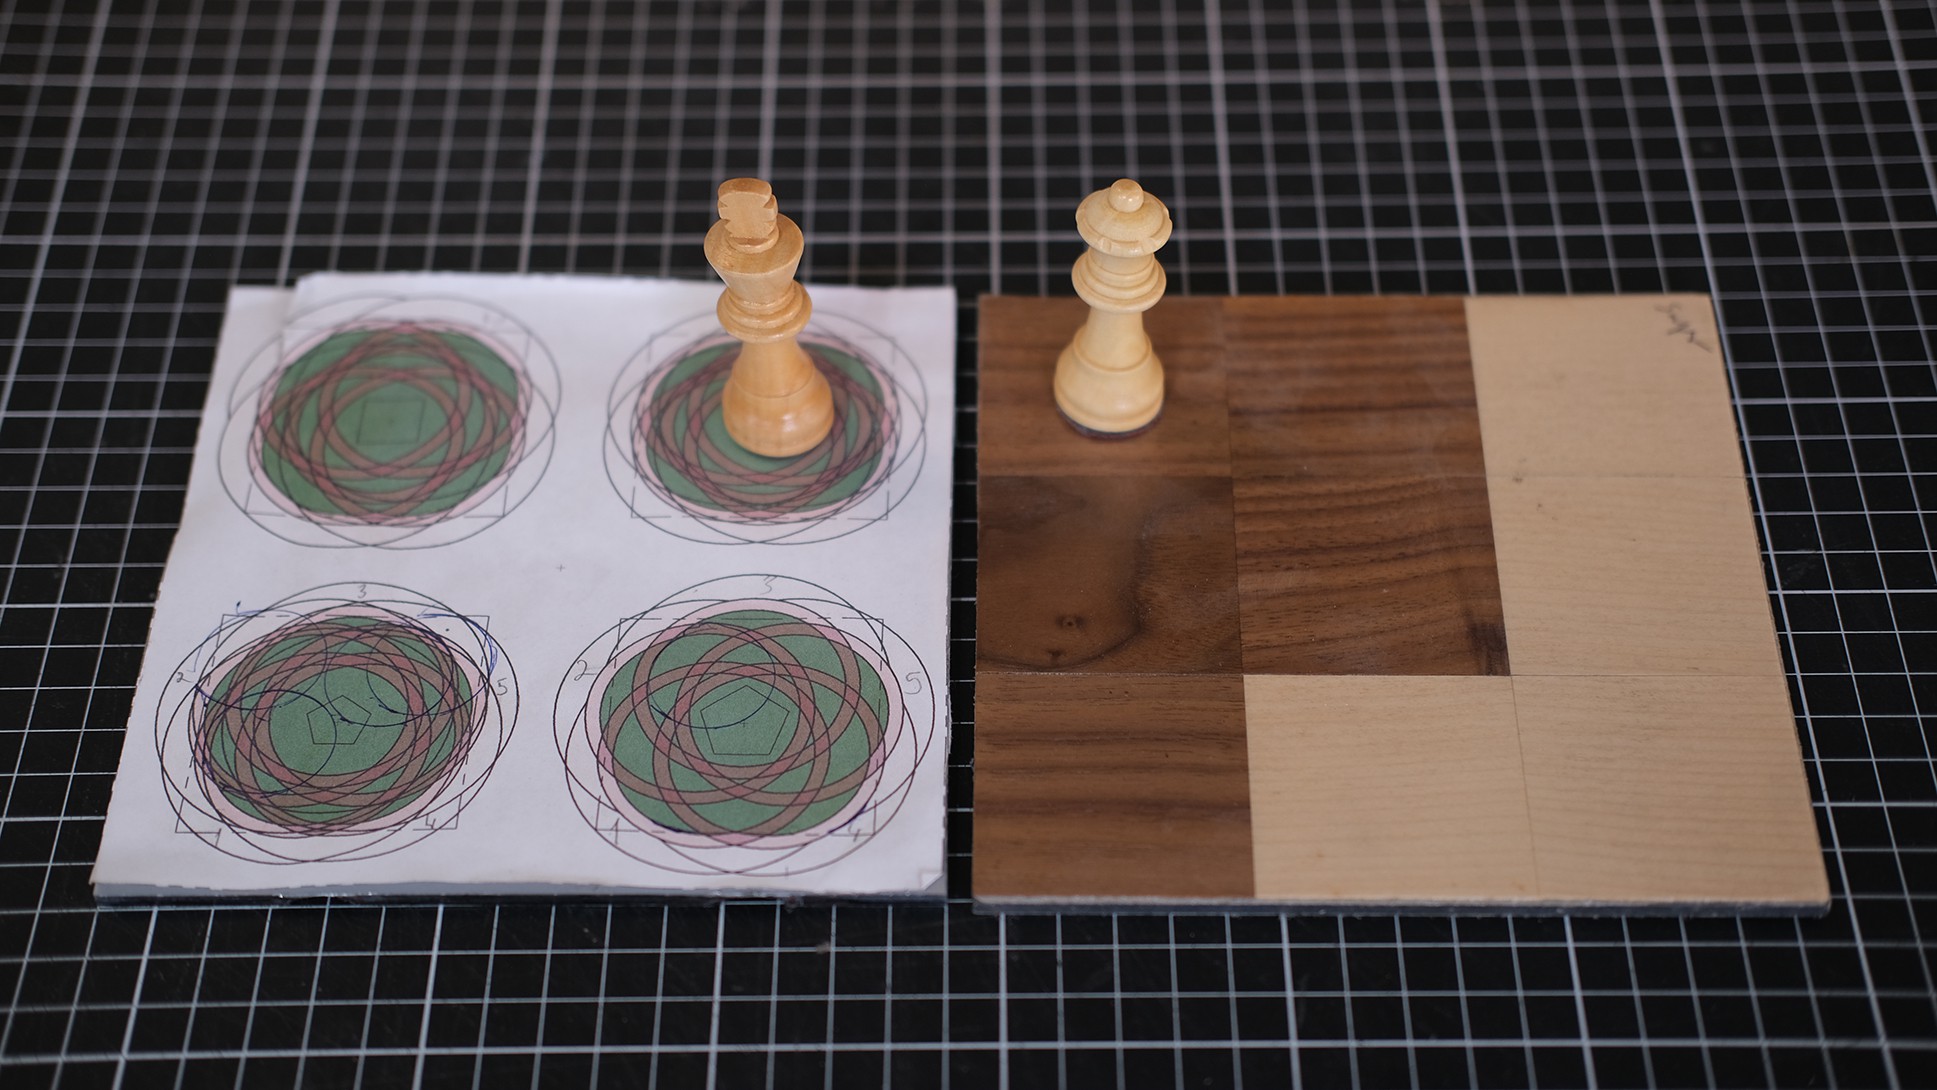
-The case is constructed by an aluminium composite sheet with wood veneer for the board surface, and aluminium exterior frame to add support, MDF interior to hold the electronics and an aluminium composite sheet as the bottom plate.
![]()
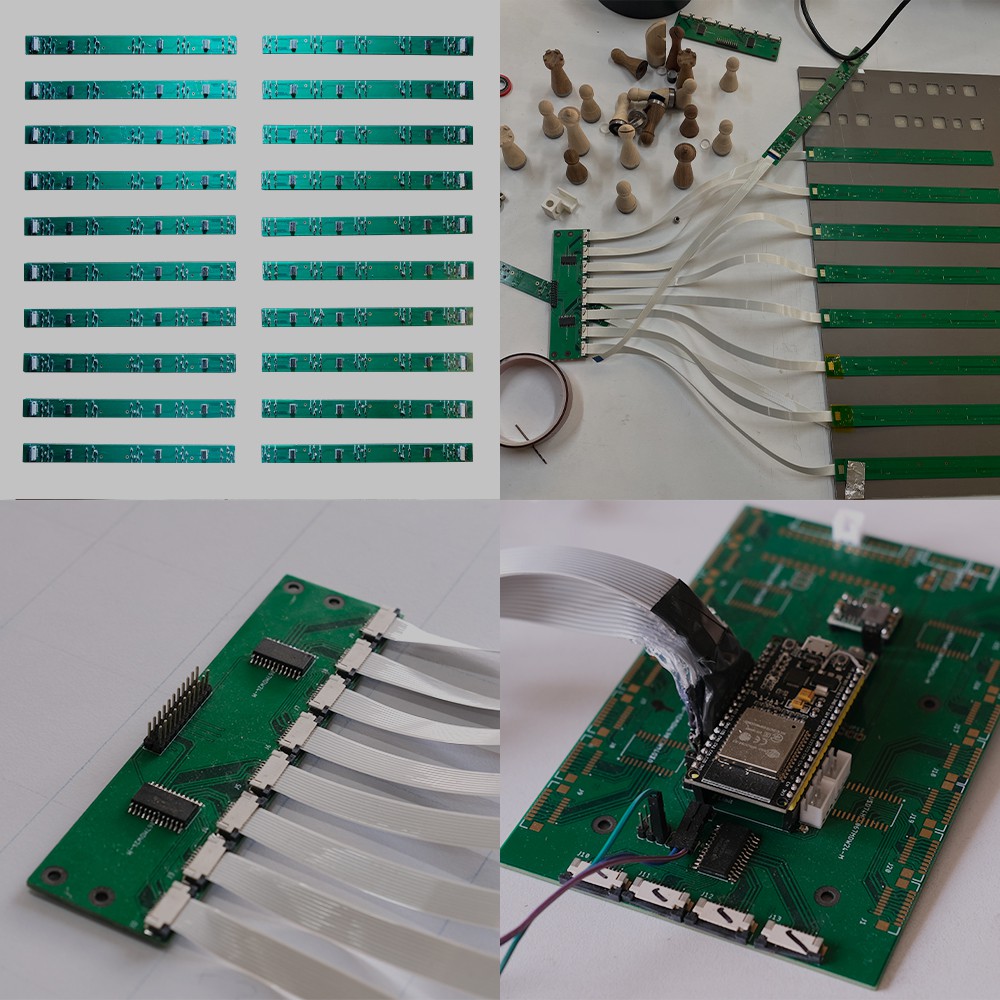
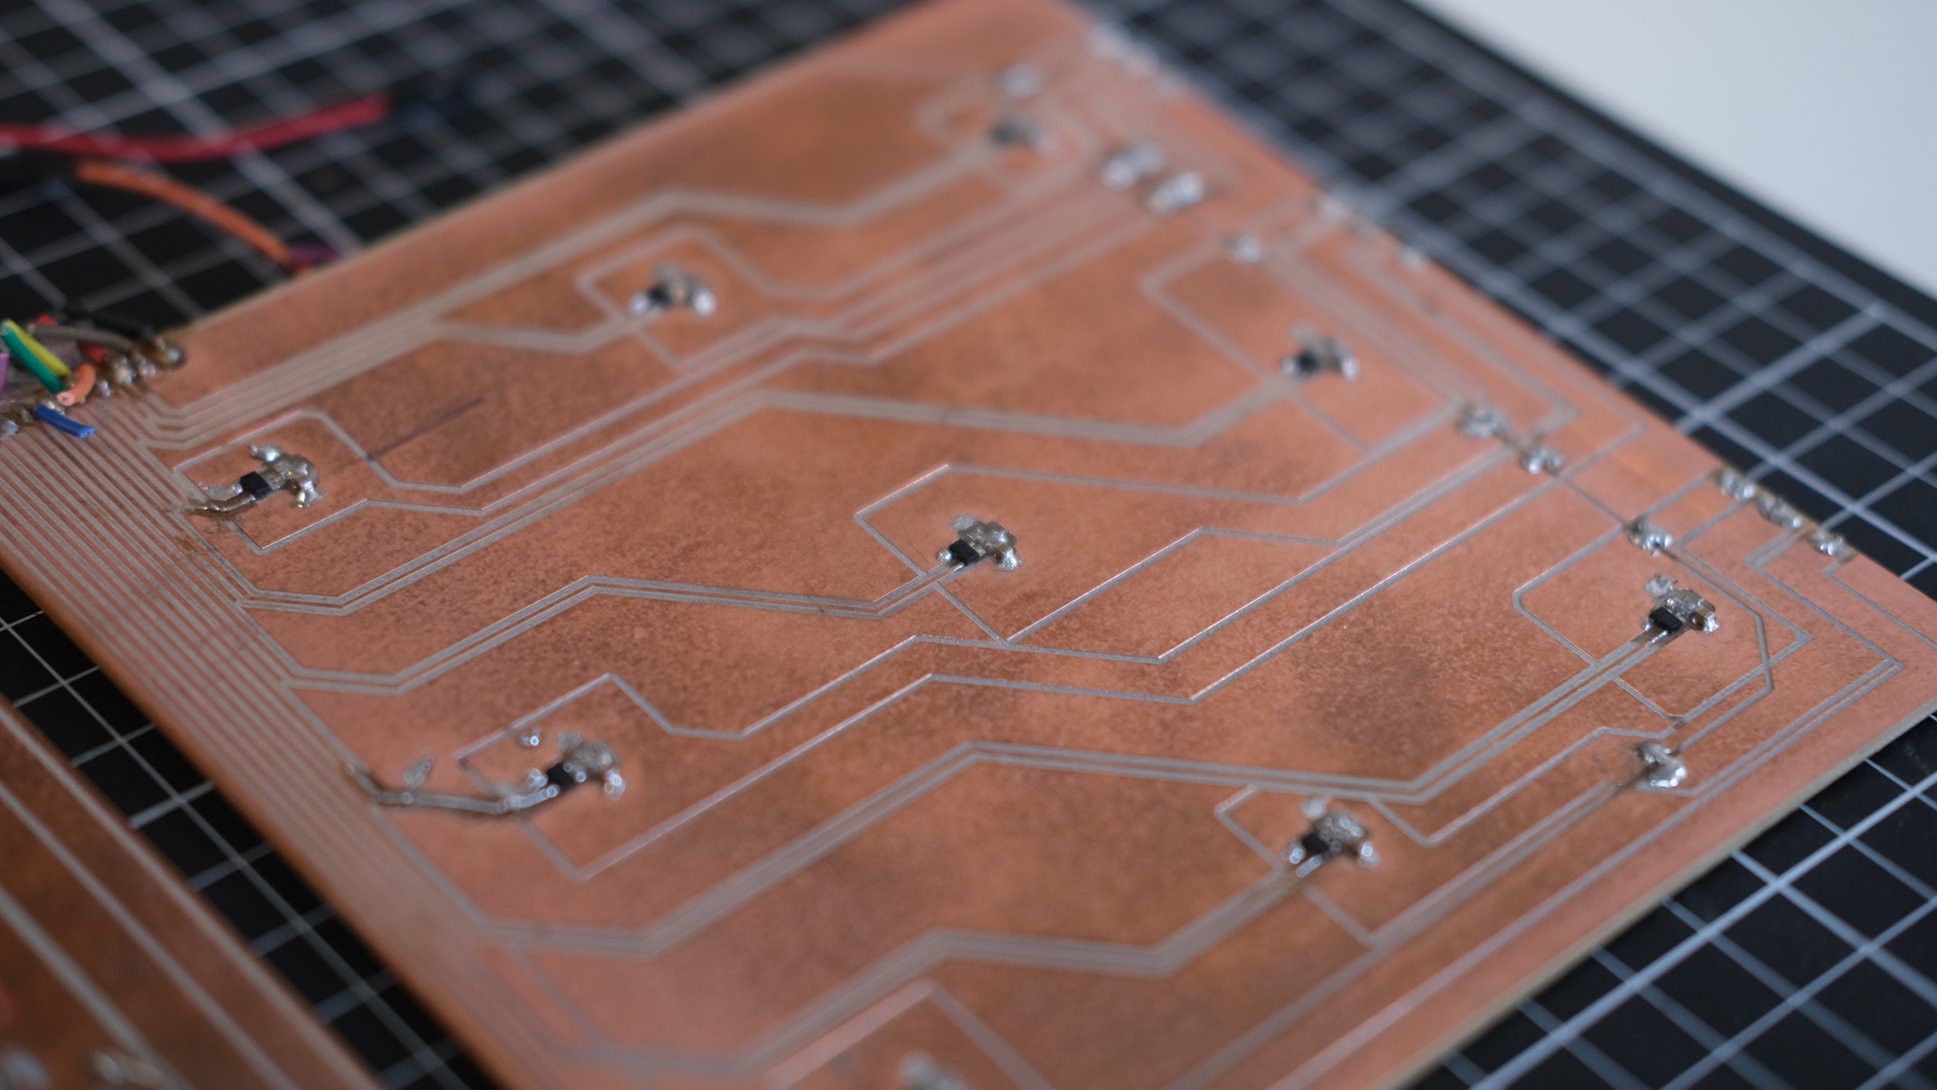
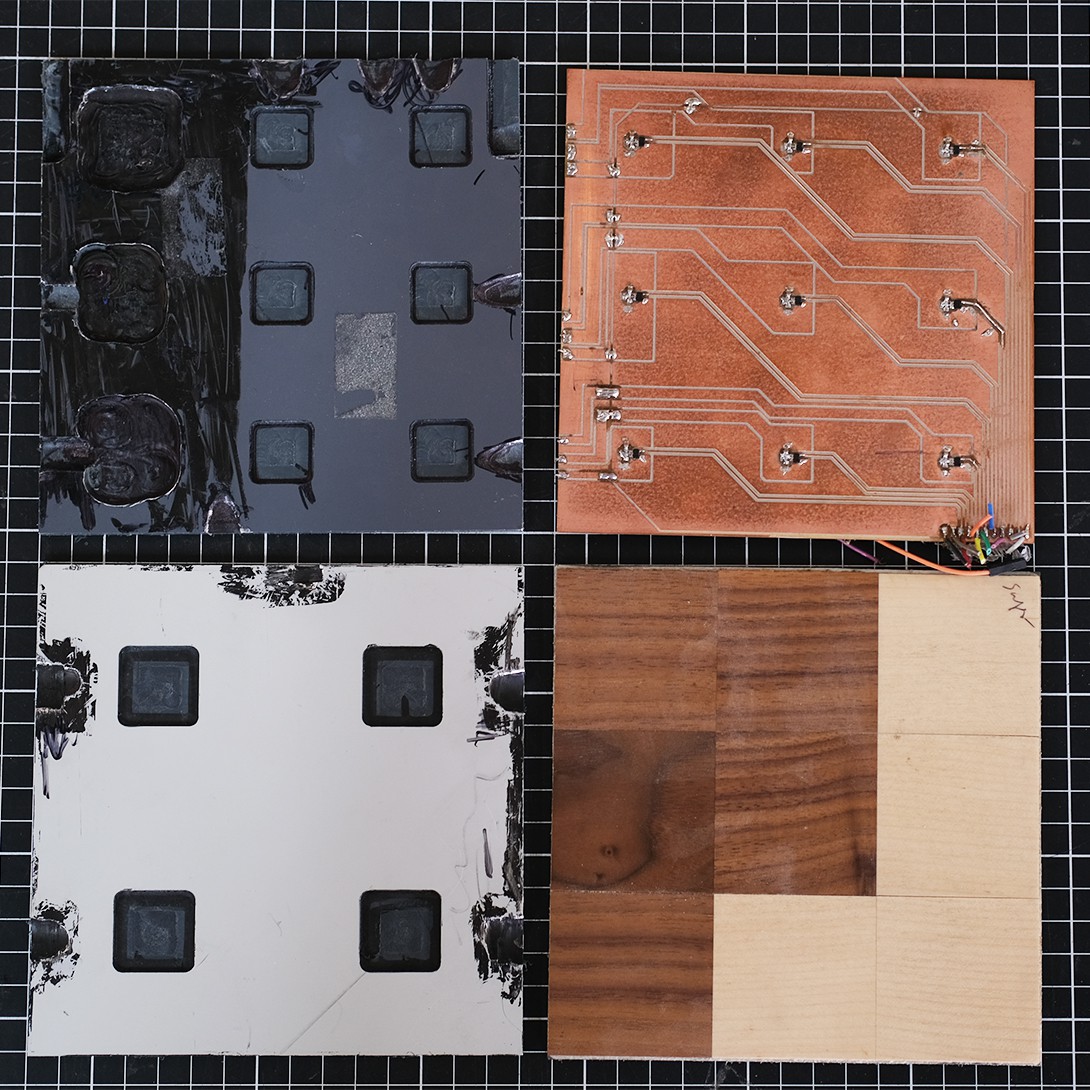
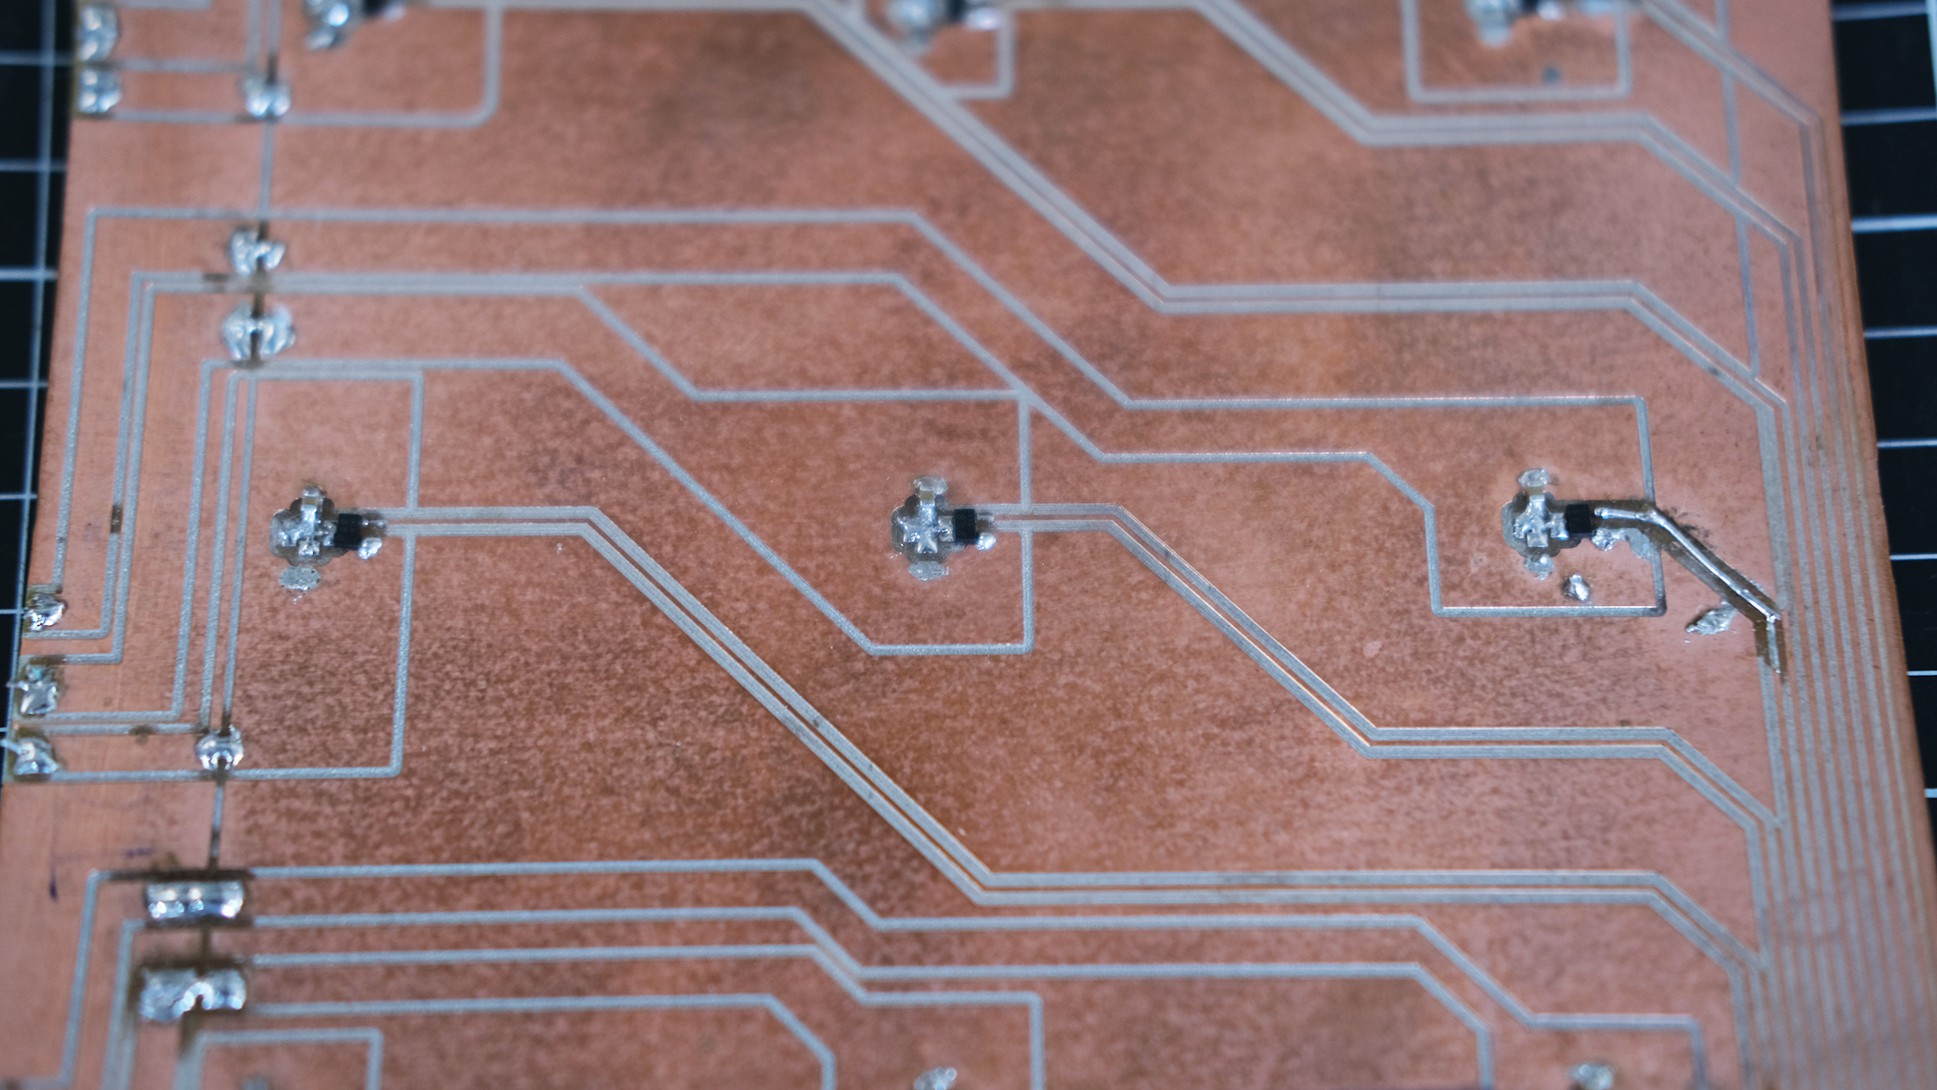
-Under the wood veneer + composite surface the sensor array it’s placed to detect the position of each piece and it is composed of five hundred SS39E hall-effect sensors interconnected with an HC4067 multiplexor.
![]()
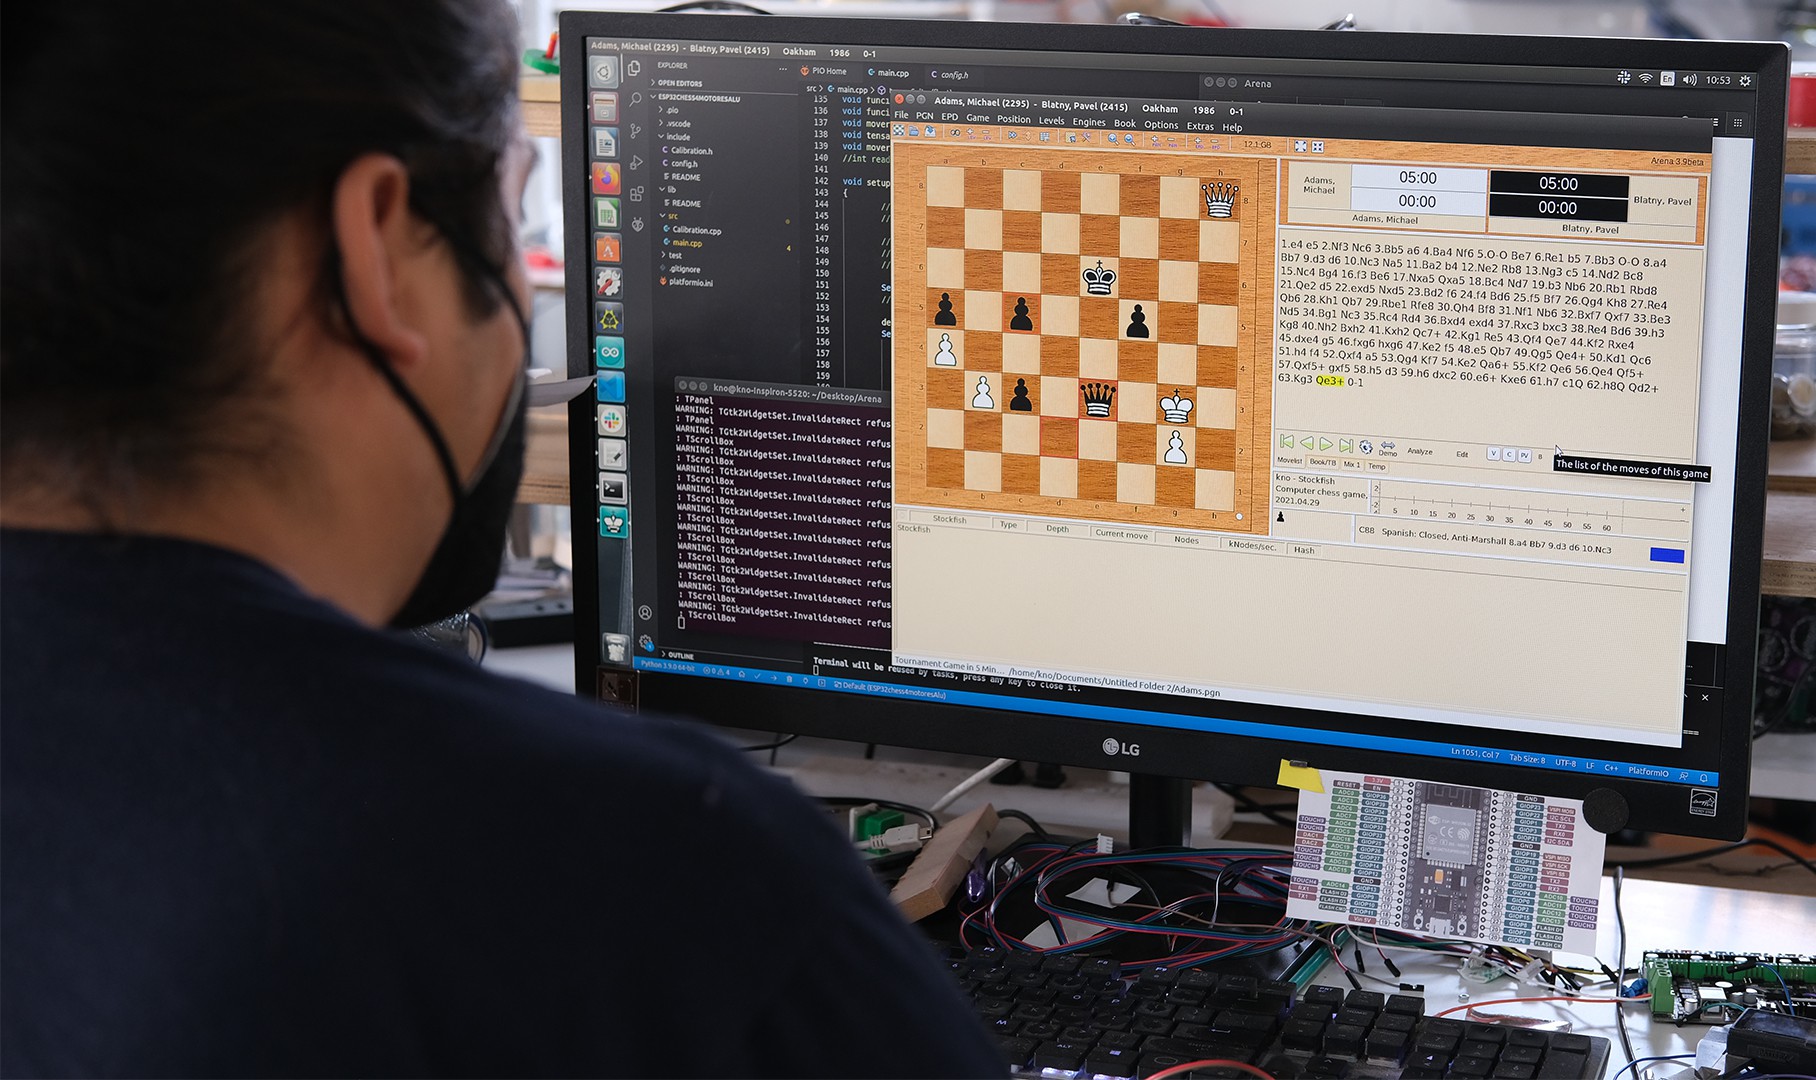
Tavo developed a three stage software that controls all the features:
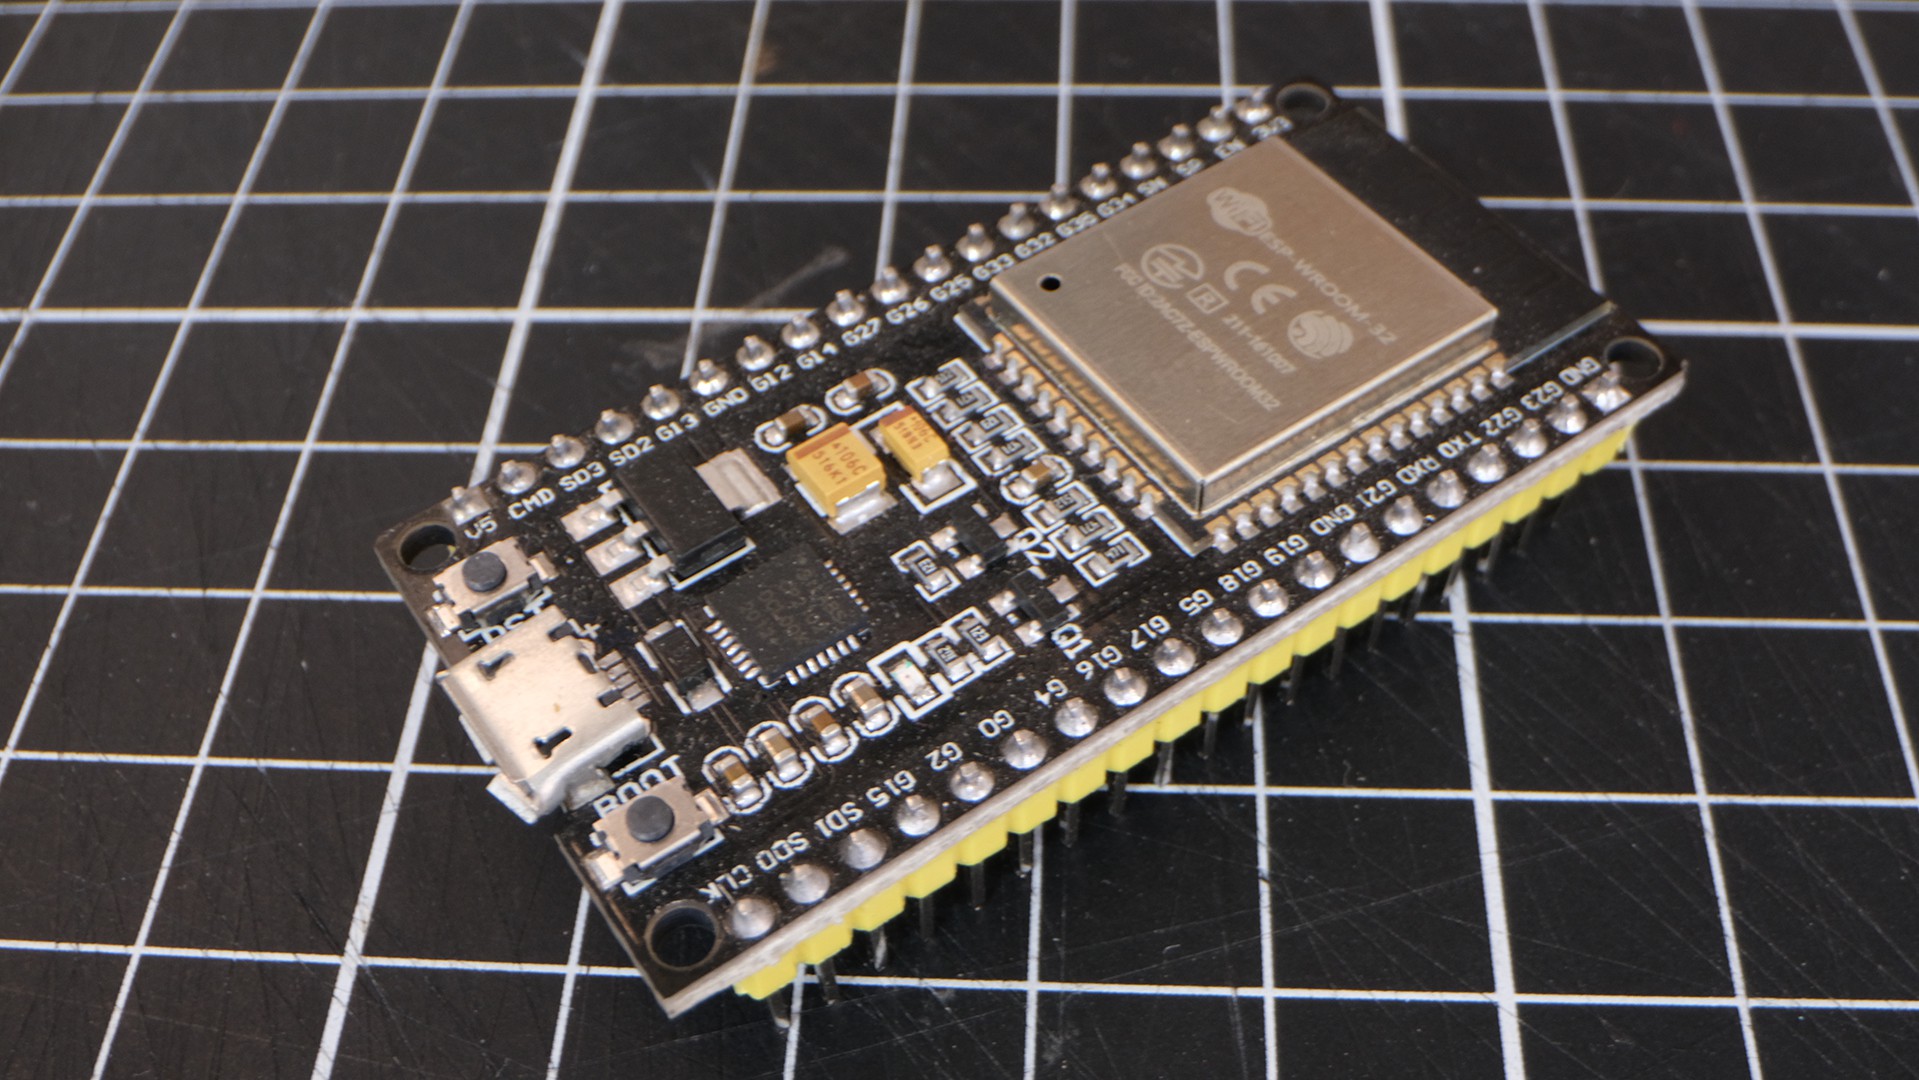
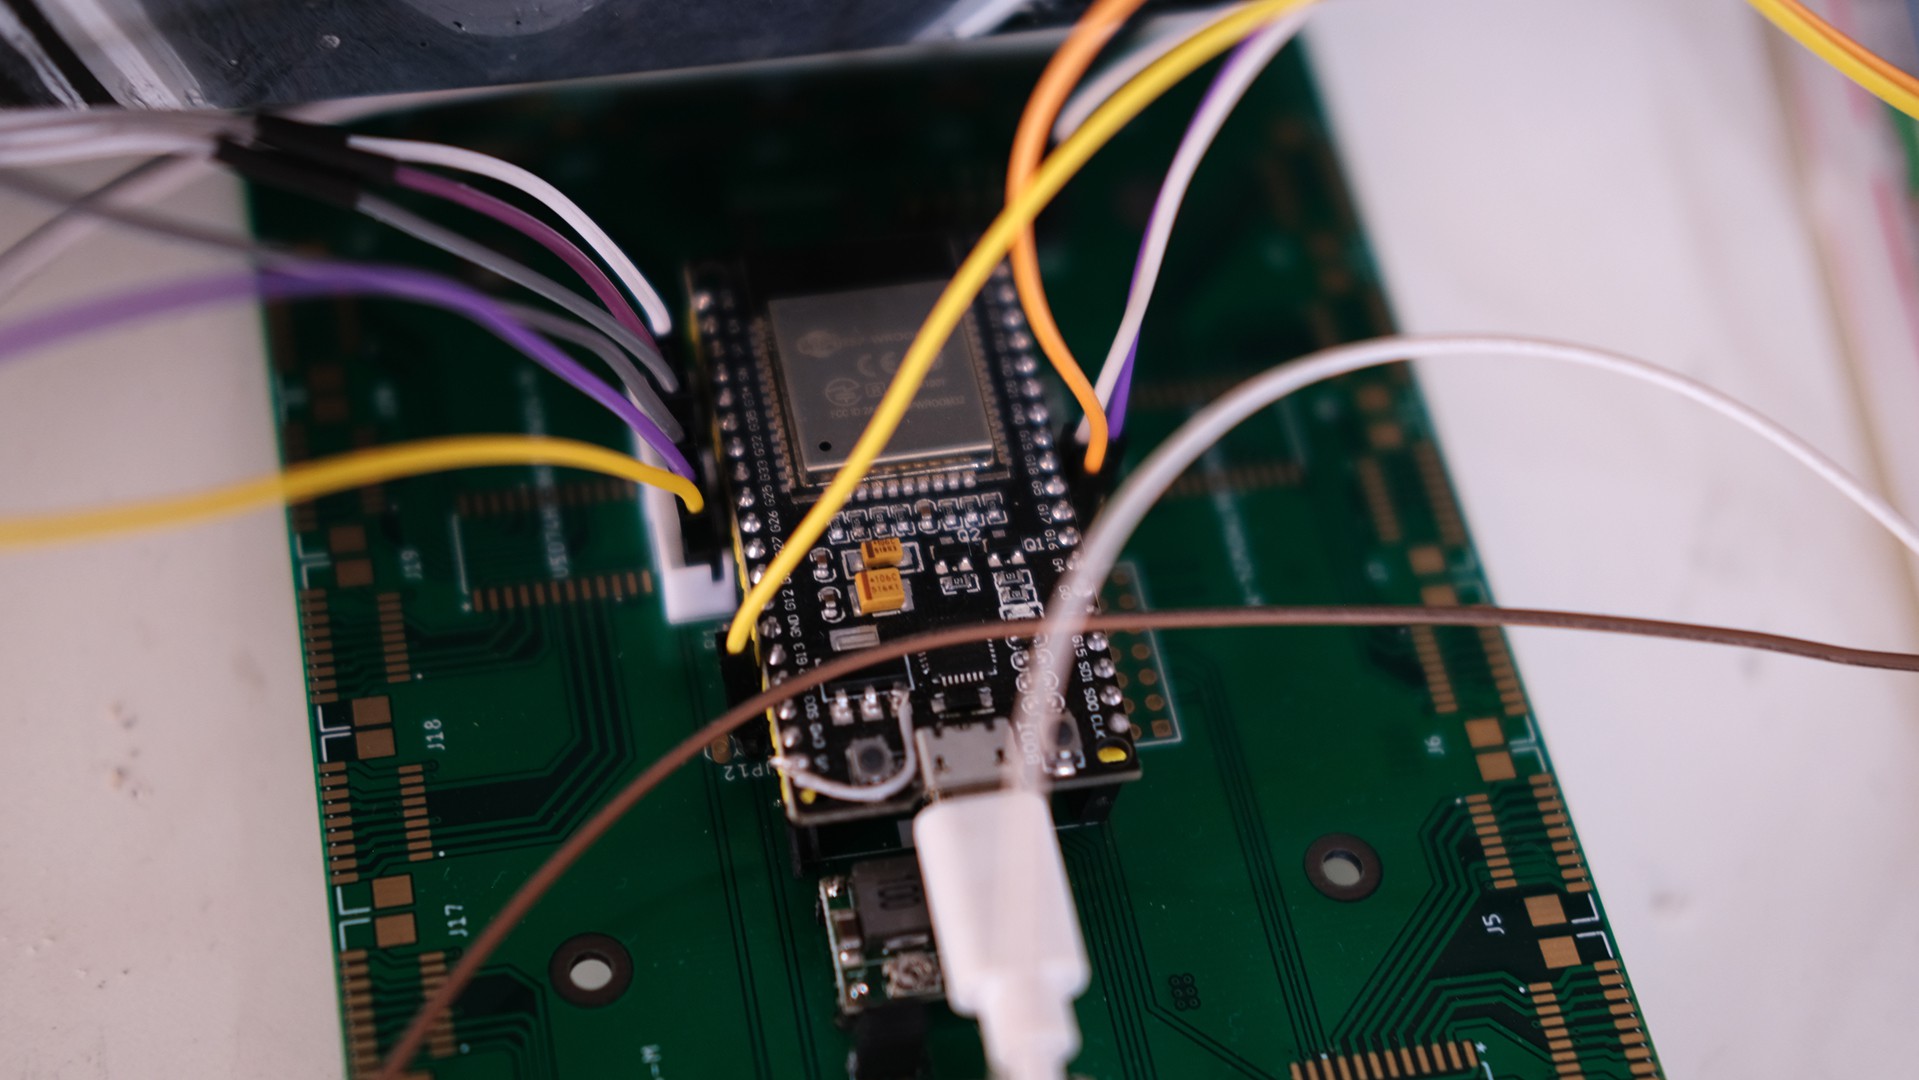
- The main program is embedded into an ESP32 microcontroller. This software controls the motors and runs the calibration system to spatially the mecha-magnet.
- The second program read each hall-effect sensor to detect the pieces positions. I’m leaving you the code that controls the mecha-magnet here. Through an encoder, it detects the up and down positions and uses this data to control the motors that elevate the magnet with PID control. All this software is embedded into an Arduino Nano
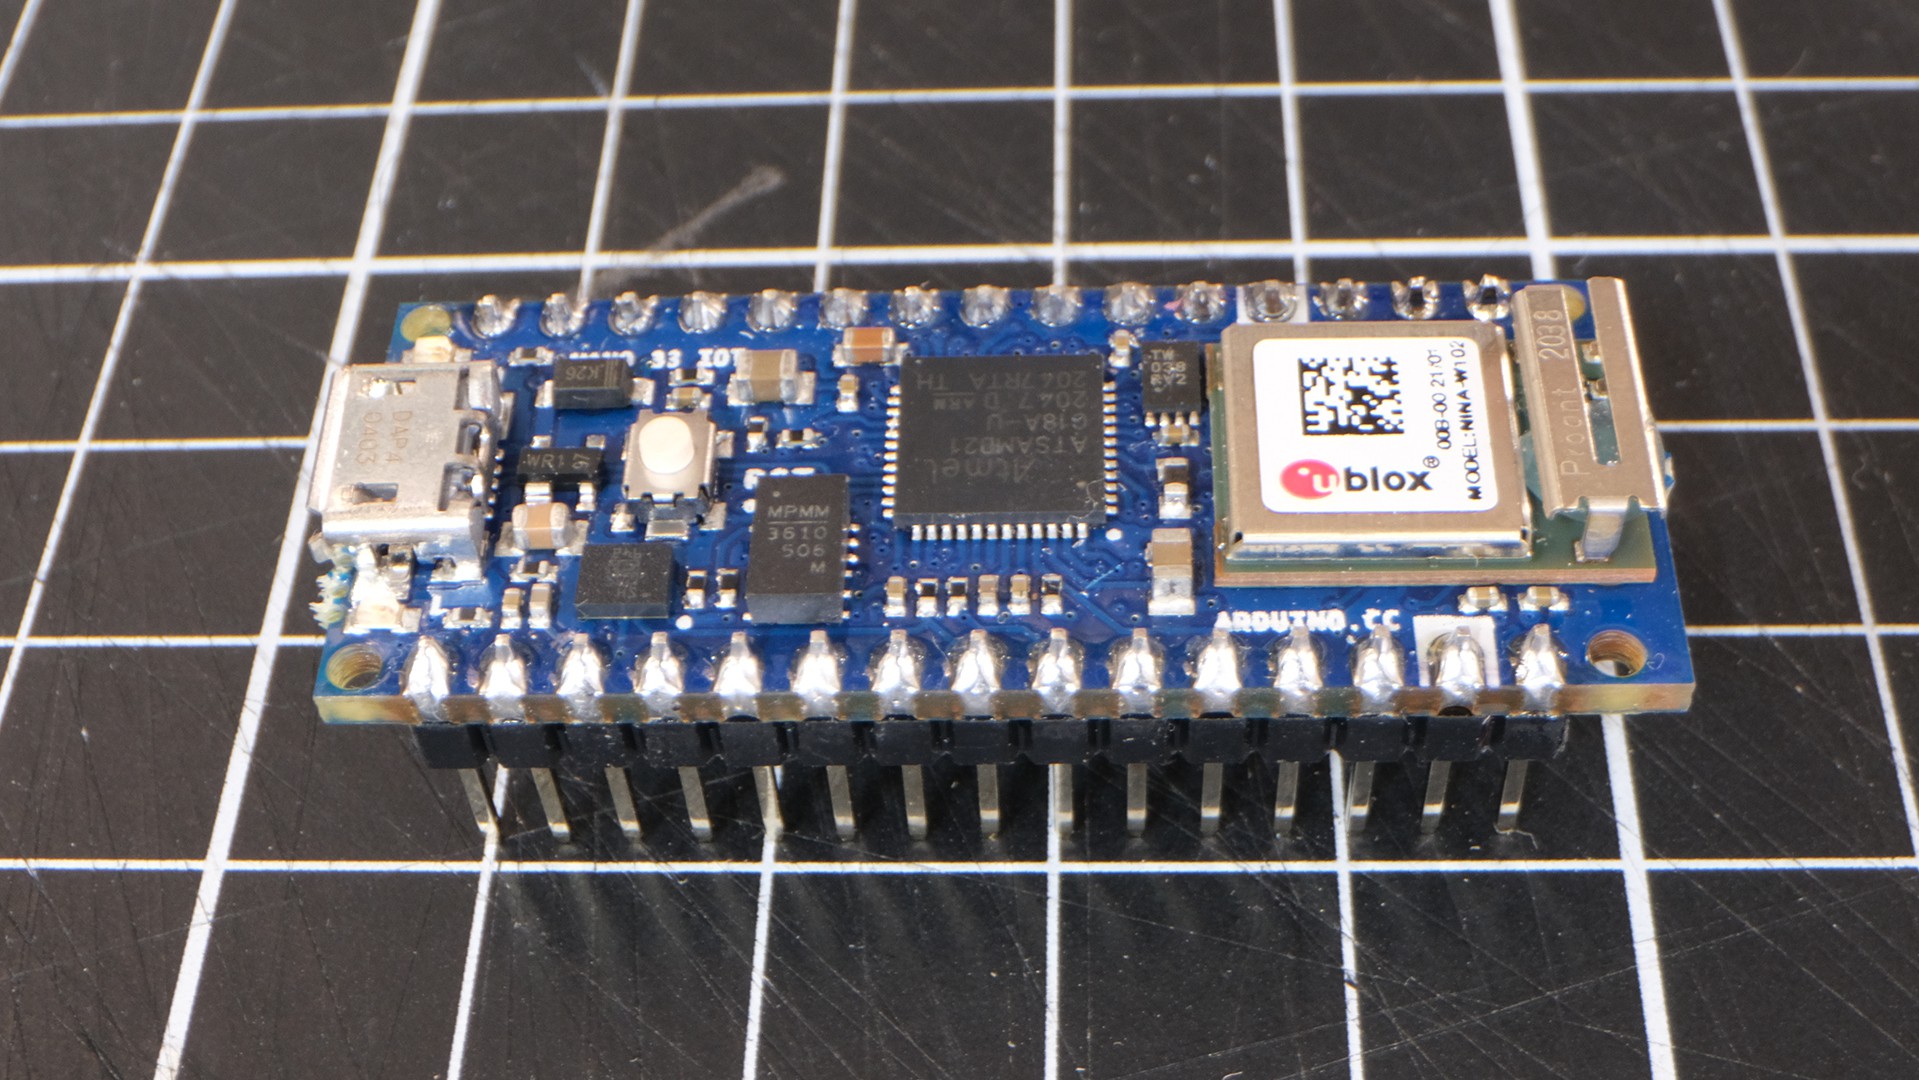
- The third program focuses on connectivity. Through an Arduino Nano 33 IoT we communicate with the Lichess server to send commands as: start game, select adversary, game info and piece movements.
-Each time you move a piece on the physical board , the Nano 33 IoT sends this information to the Lichess server to be reflected in the digital game; it works the same way each time the opponent makes a move on the Lichess game, the move is sent to the board through the same connection.
-The three microcontroller system is interconnected through an i2c protocol. The ESP32 is the master that controls the Arduino Nano and the Nano 33 IoT.
![]()
Files, schematics and further instructions are in our Github repository. Take a look at them and let me know your comments for improvements or questions to start building your own e-board! https://github.com/carlosPendass/CAD-Mechanics
![]()
![]()
I’ll leave our discord server if you need further information from me and to chat about chess: https://bit.ly/3emyBWy
And my YouTube channel in which I upload progress and test videos: https://bit.ly/3w32wcf
Now I’m also on instagram! https://www.instagram.com/phantom_chess/
-
Modern & Staunton Style
05/20/2021 at 17:43 • 0 commentsAs I said in a previous post, I wanted to redesign every piece to meet my expectations of a quality chess set. It is not only about aesthetics but adding technical specs to the pieces is necessary so they can work perfectly in conjunction with the magnet arm.
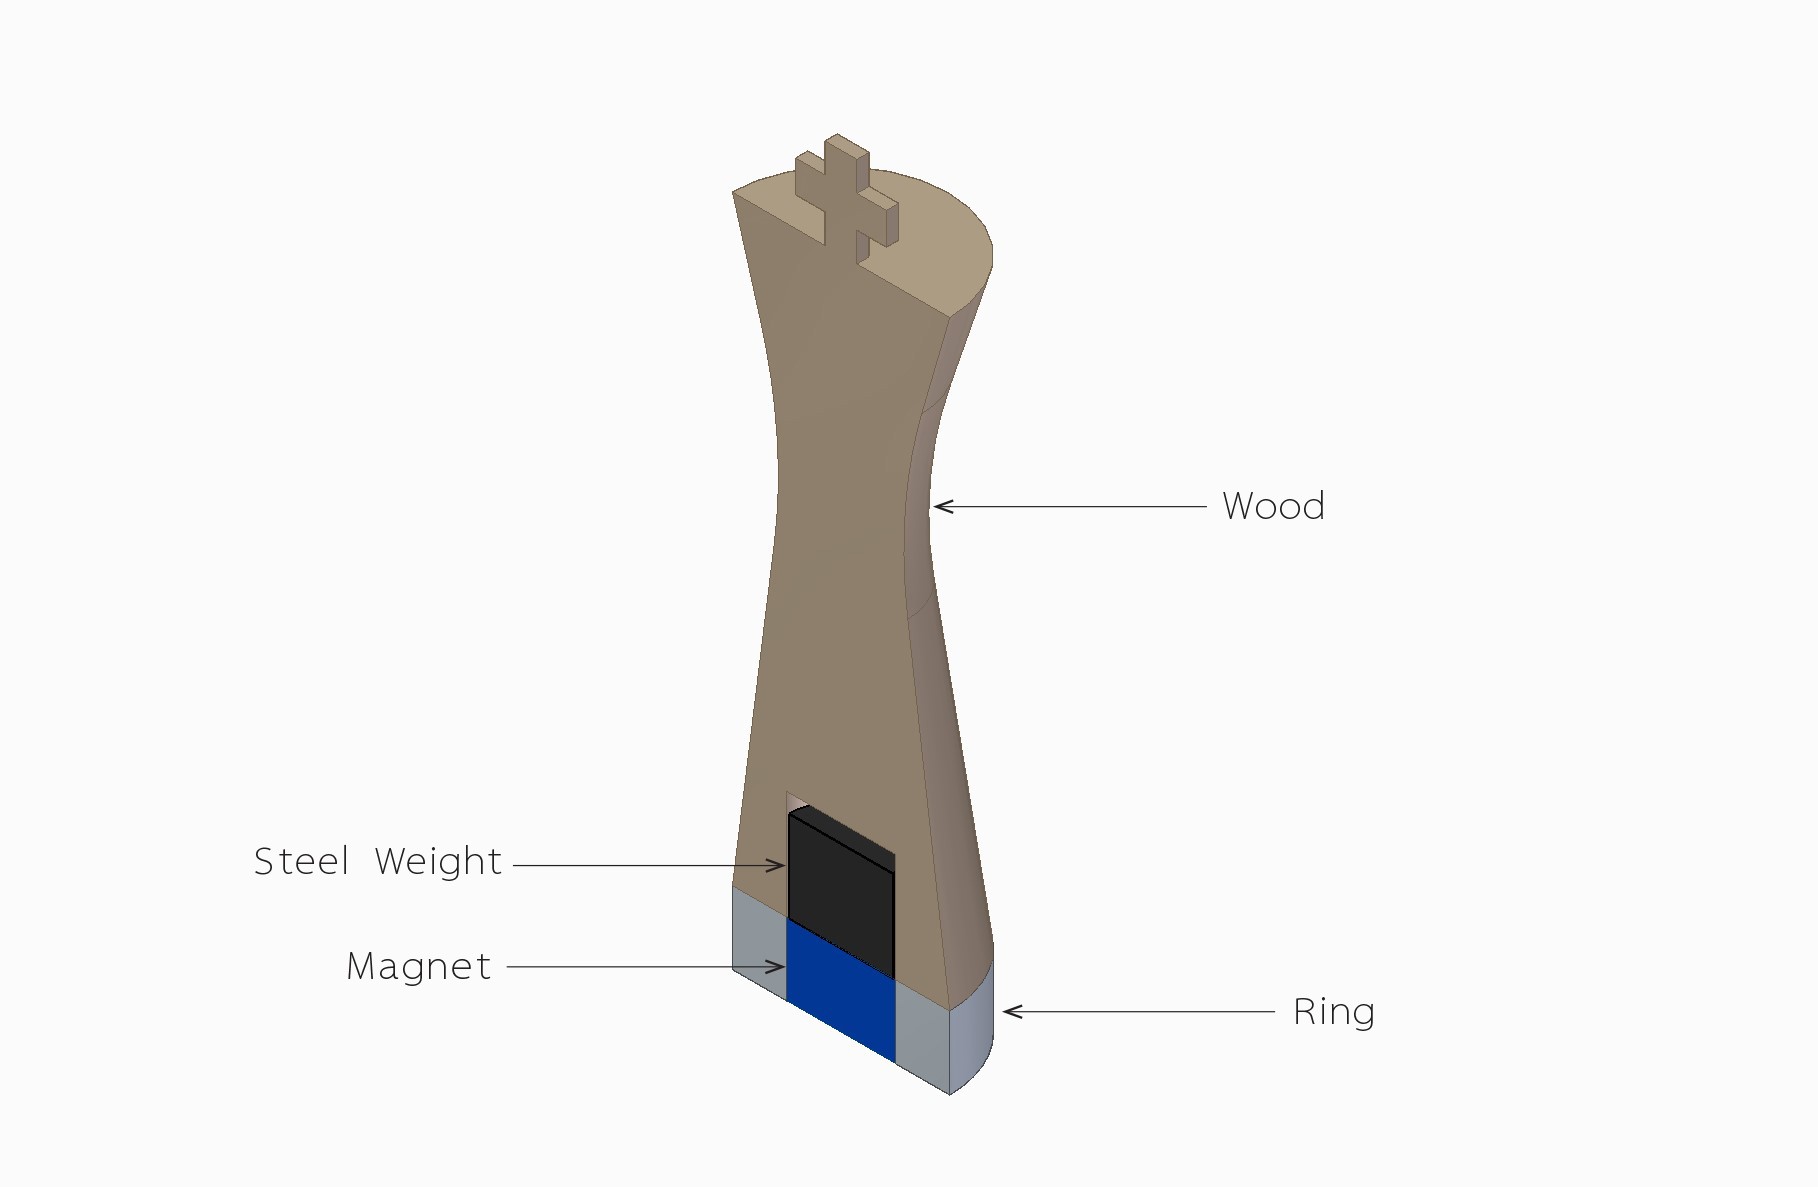
Once the components for each piece were decided (wood, magnet, ring), I took the liberty of designing a second version for the chess set.
![]()
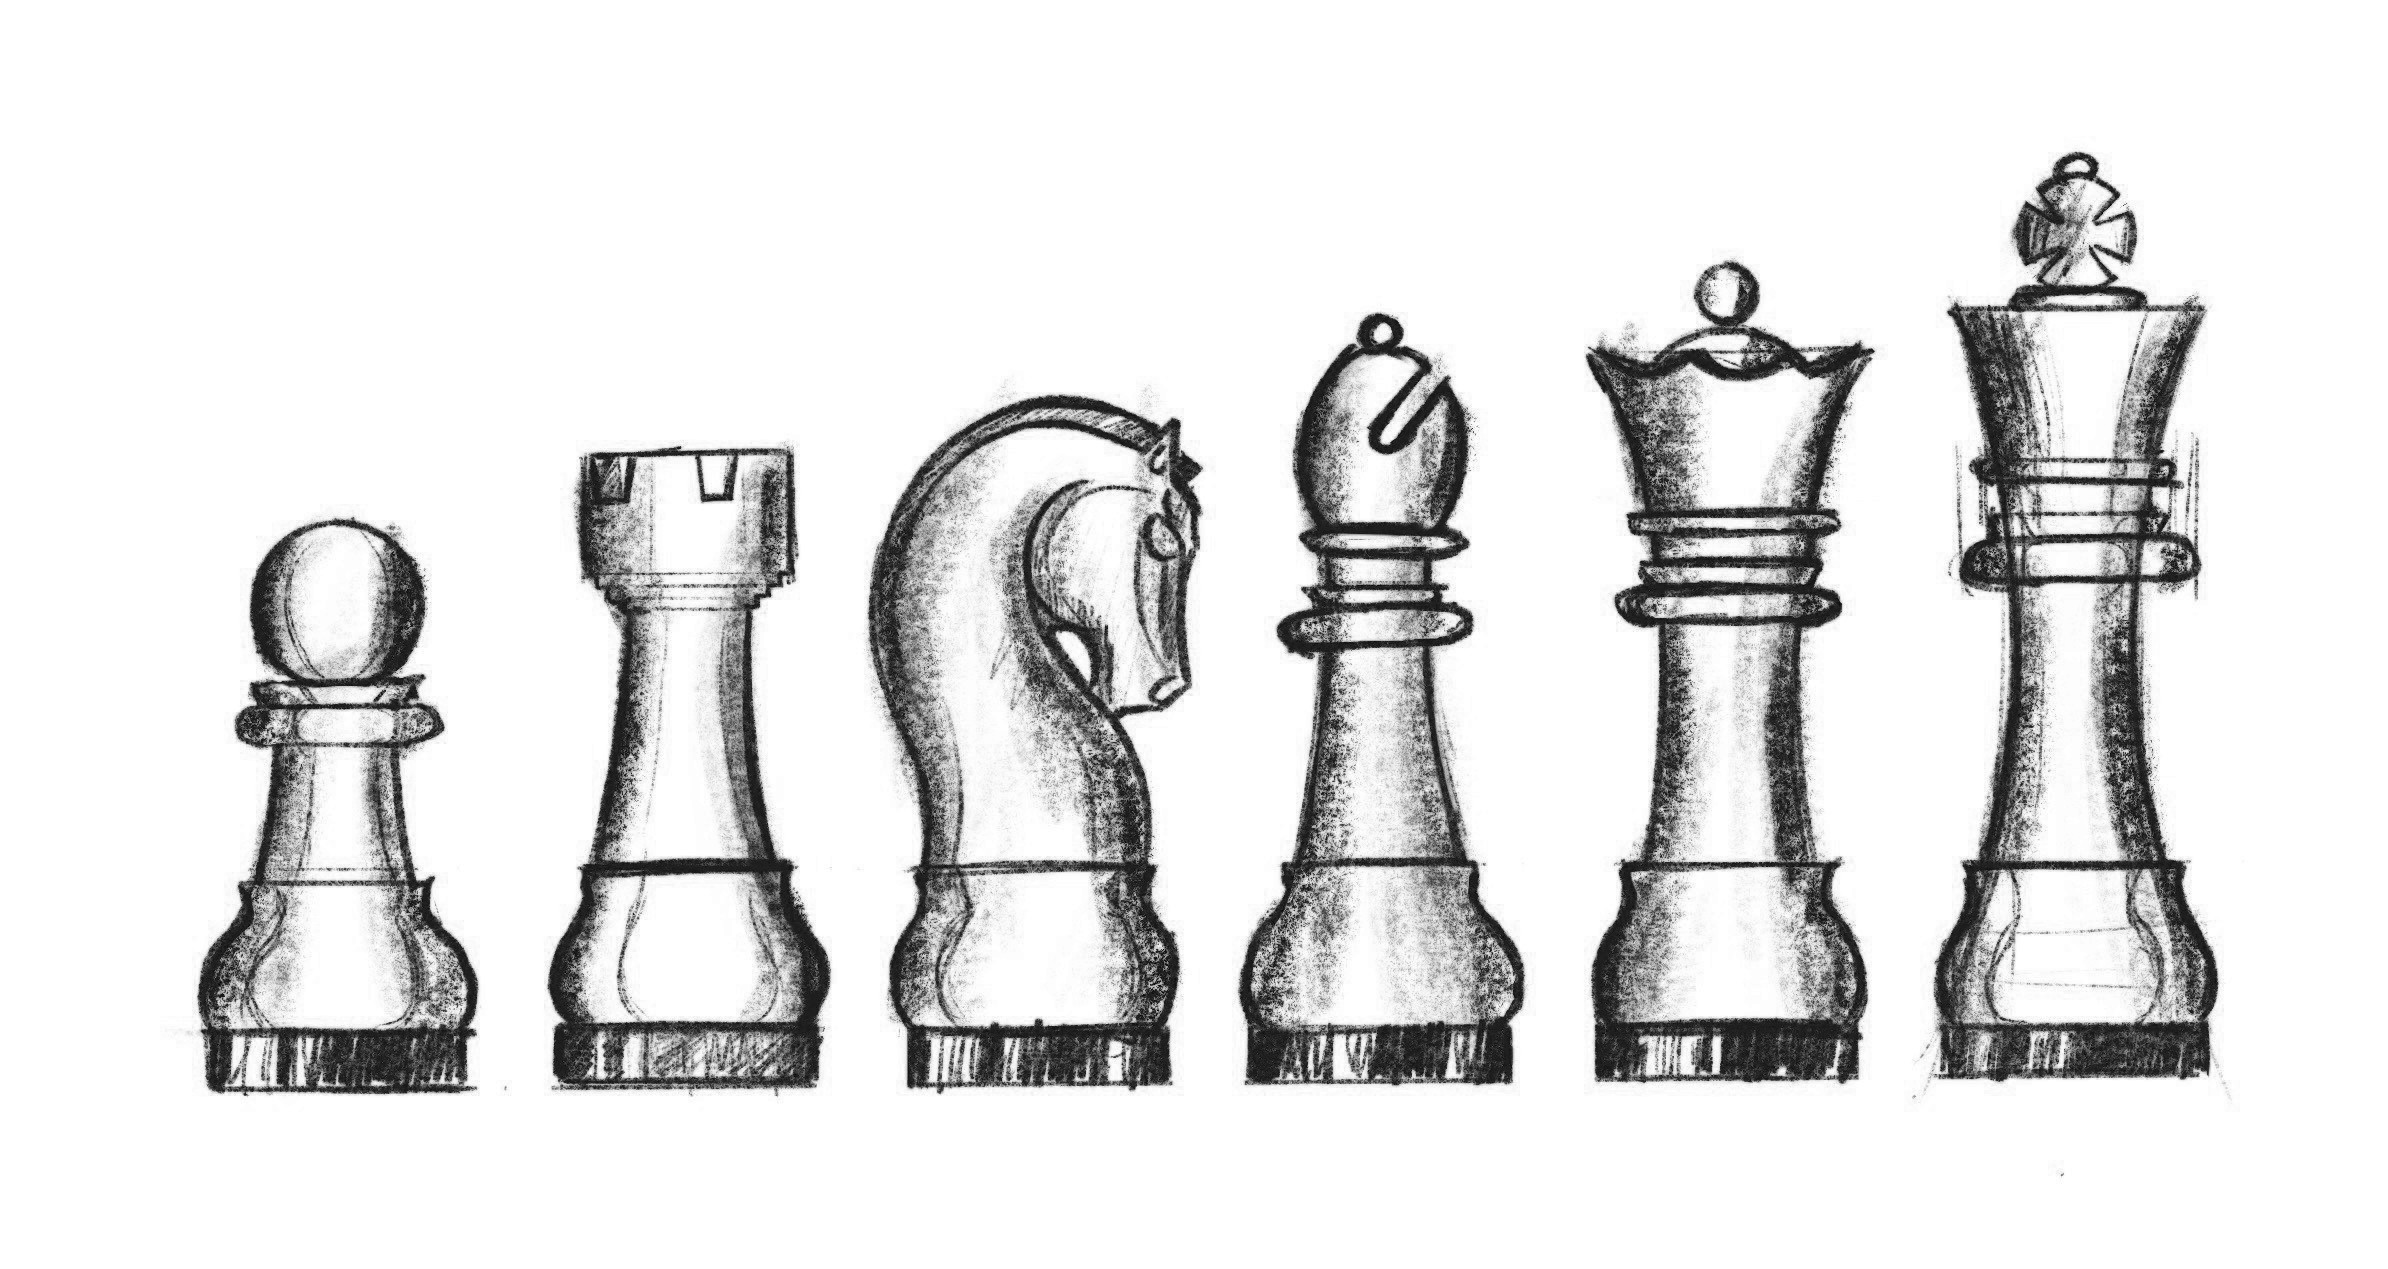
You already saw the pieces with the modern style, but I think that a good old Staunton style won’t do any harm ;)
There are two main principles that the shape of the pieces should follow:
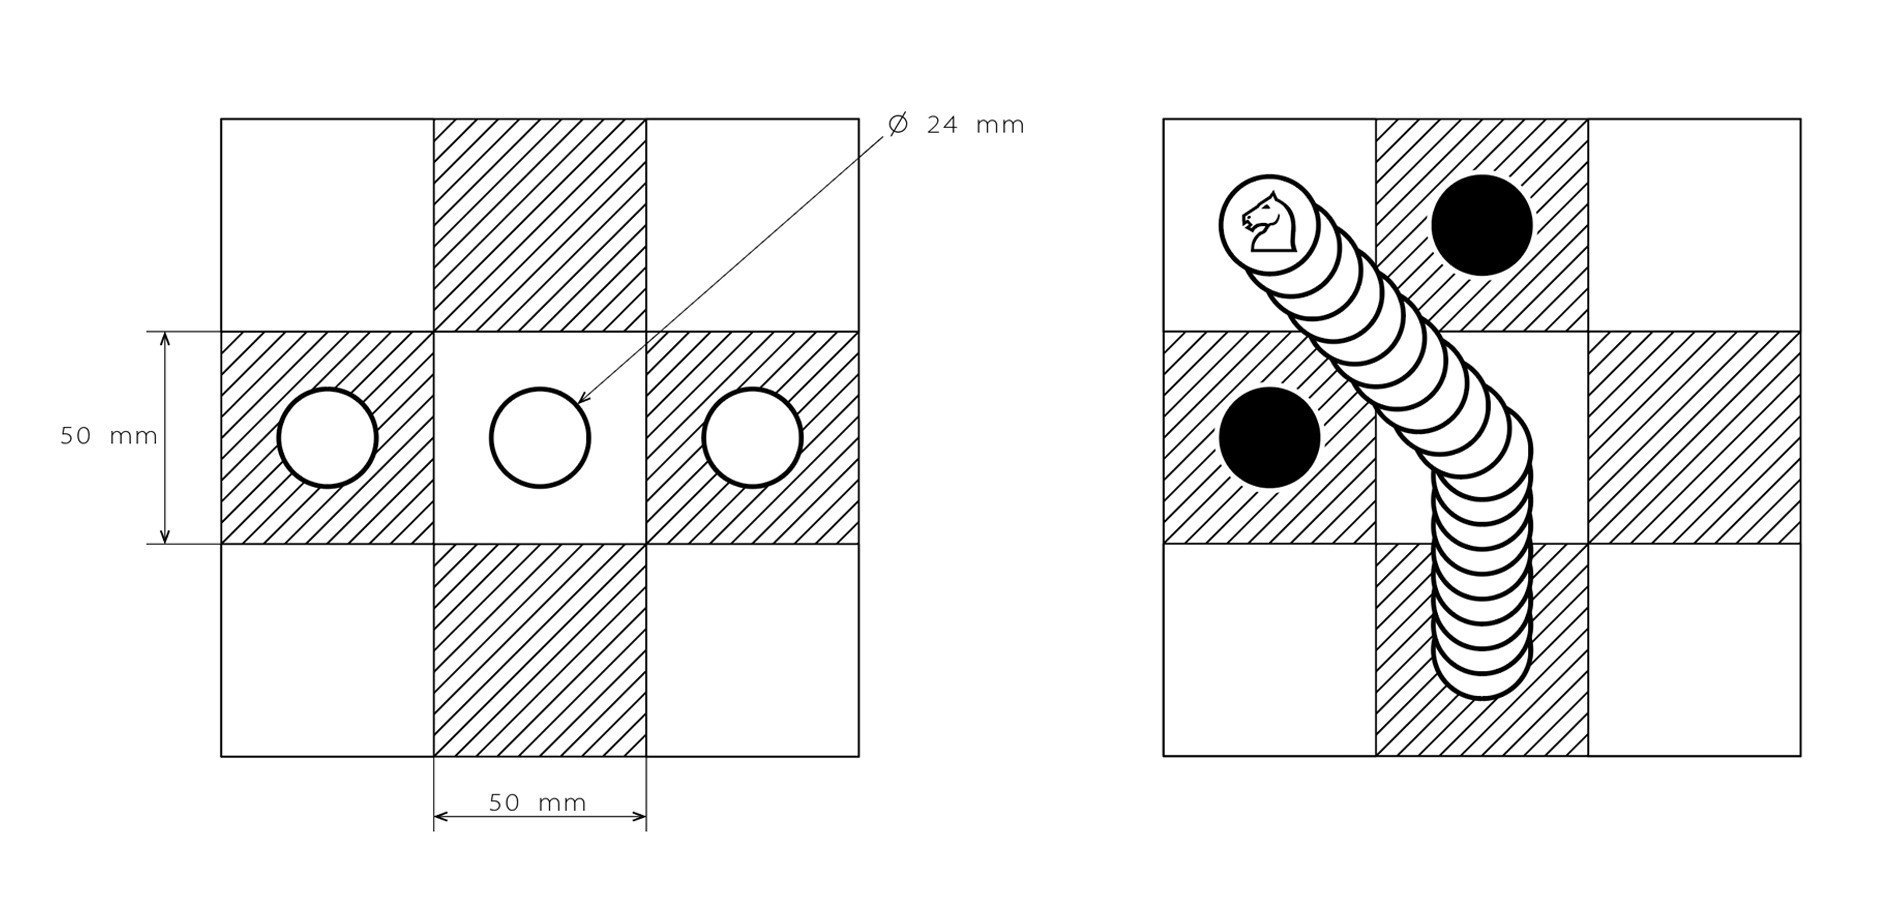
The first one is that the diameter of the base should be less than half the length of each square for all the pieces.
![]()
This prevents collisions between the pieces when they move between each other.
![]()
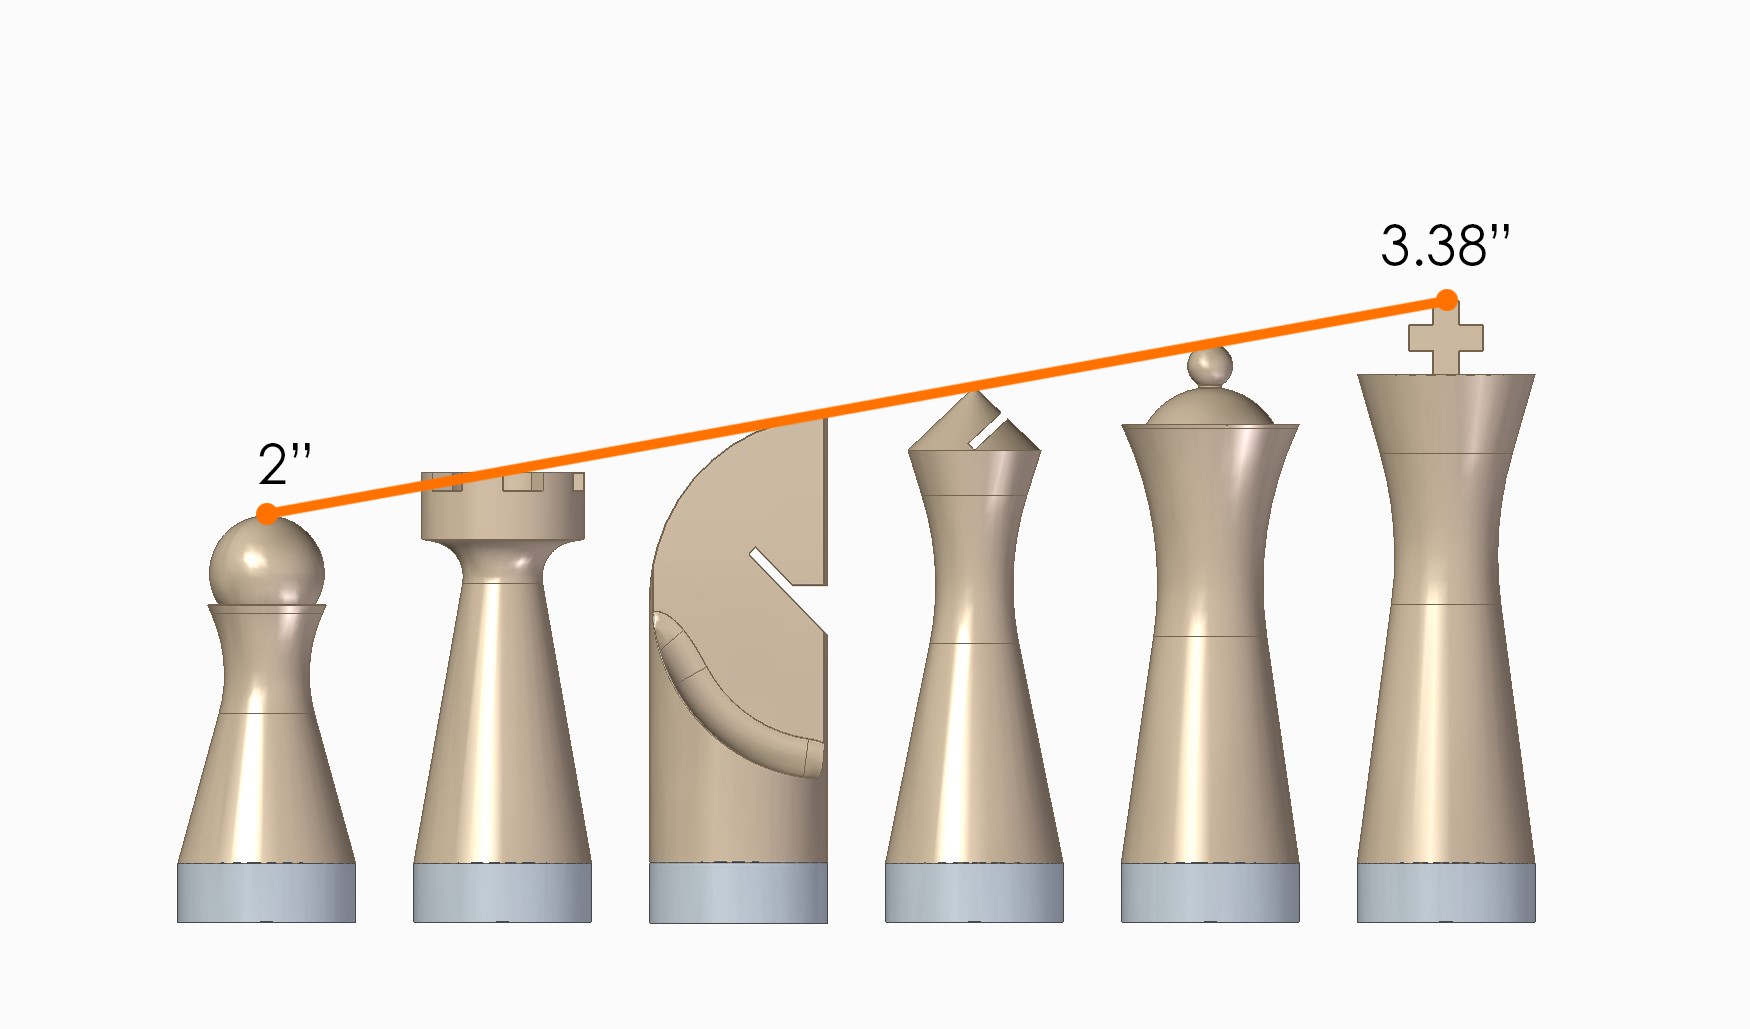
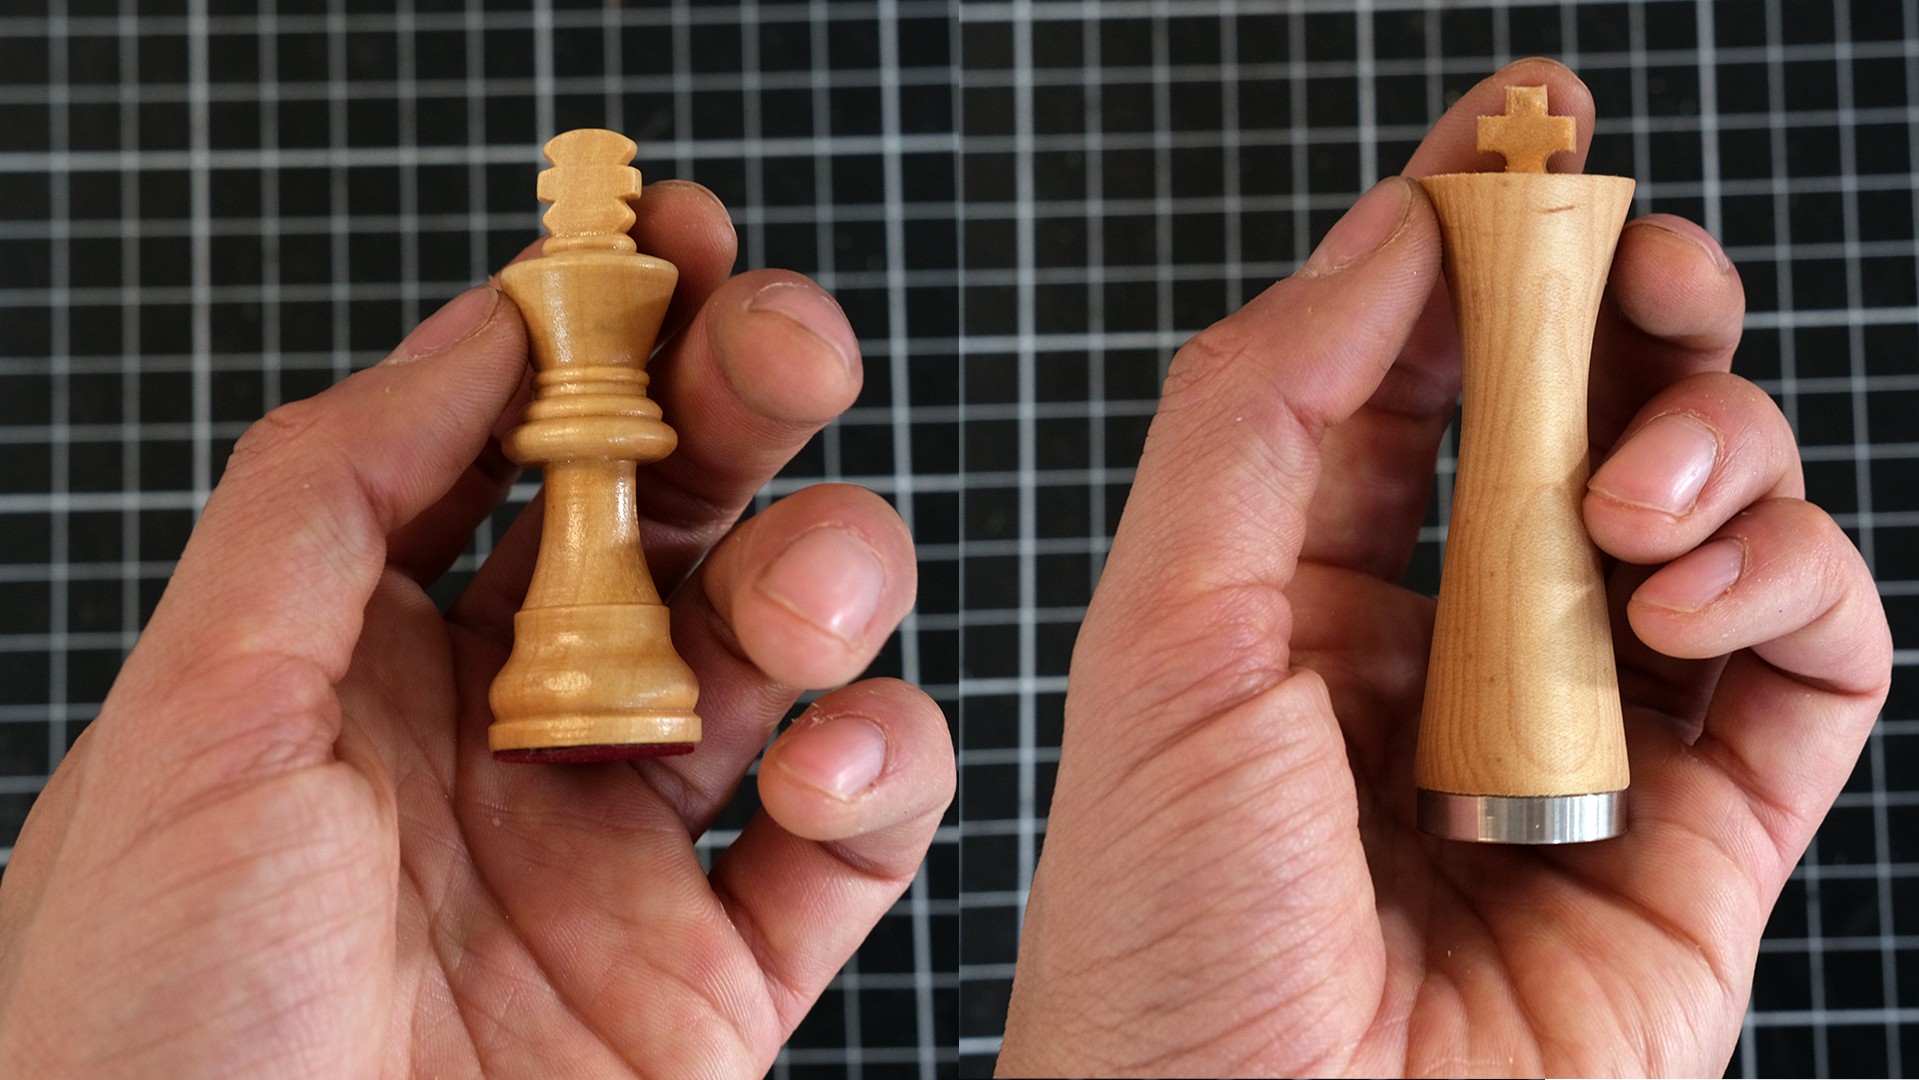
The second one is related to height. The King’s height is 3,38”, which is the minimum established by the US Chess Federation, and the Pawn is 2”.
![]()
Then, if you arrange the pieces by the traditional height order and trace a line from the top of the King to the top of the Pawn, the top of every piece between King and Pawn touches this line. I applied this concept to both modern and Staunton versions.
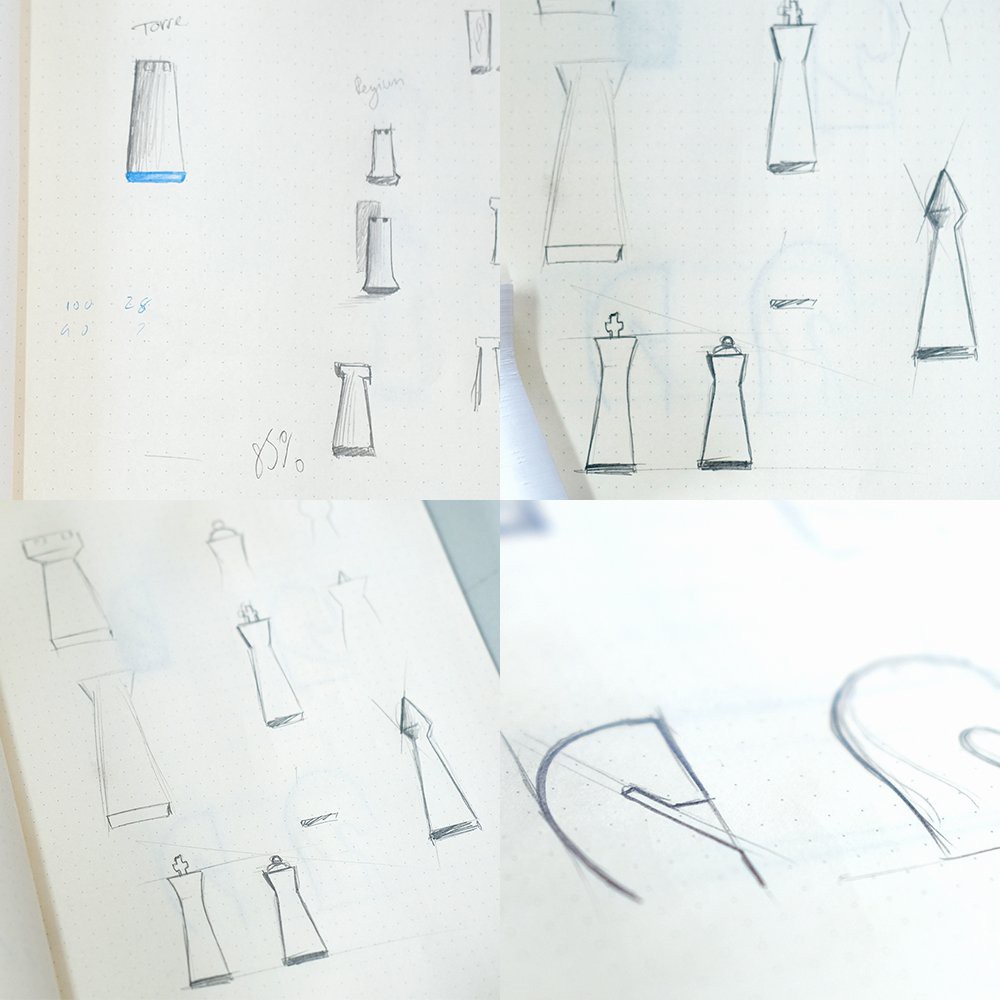
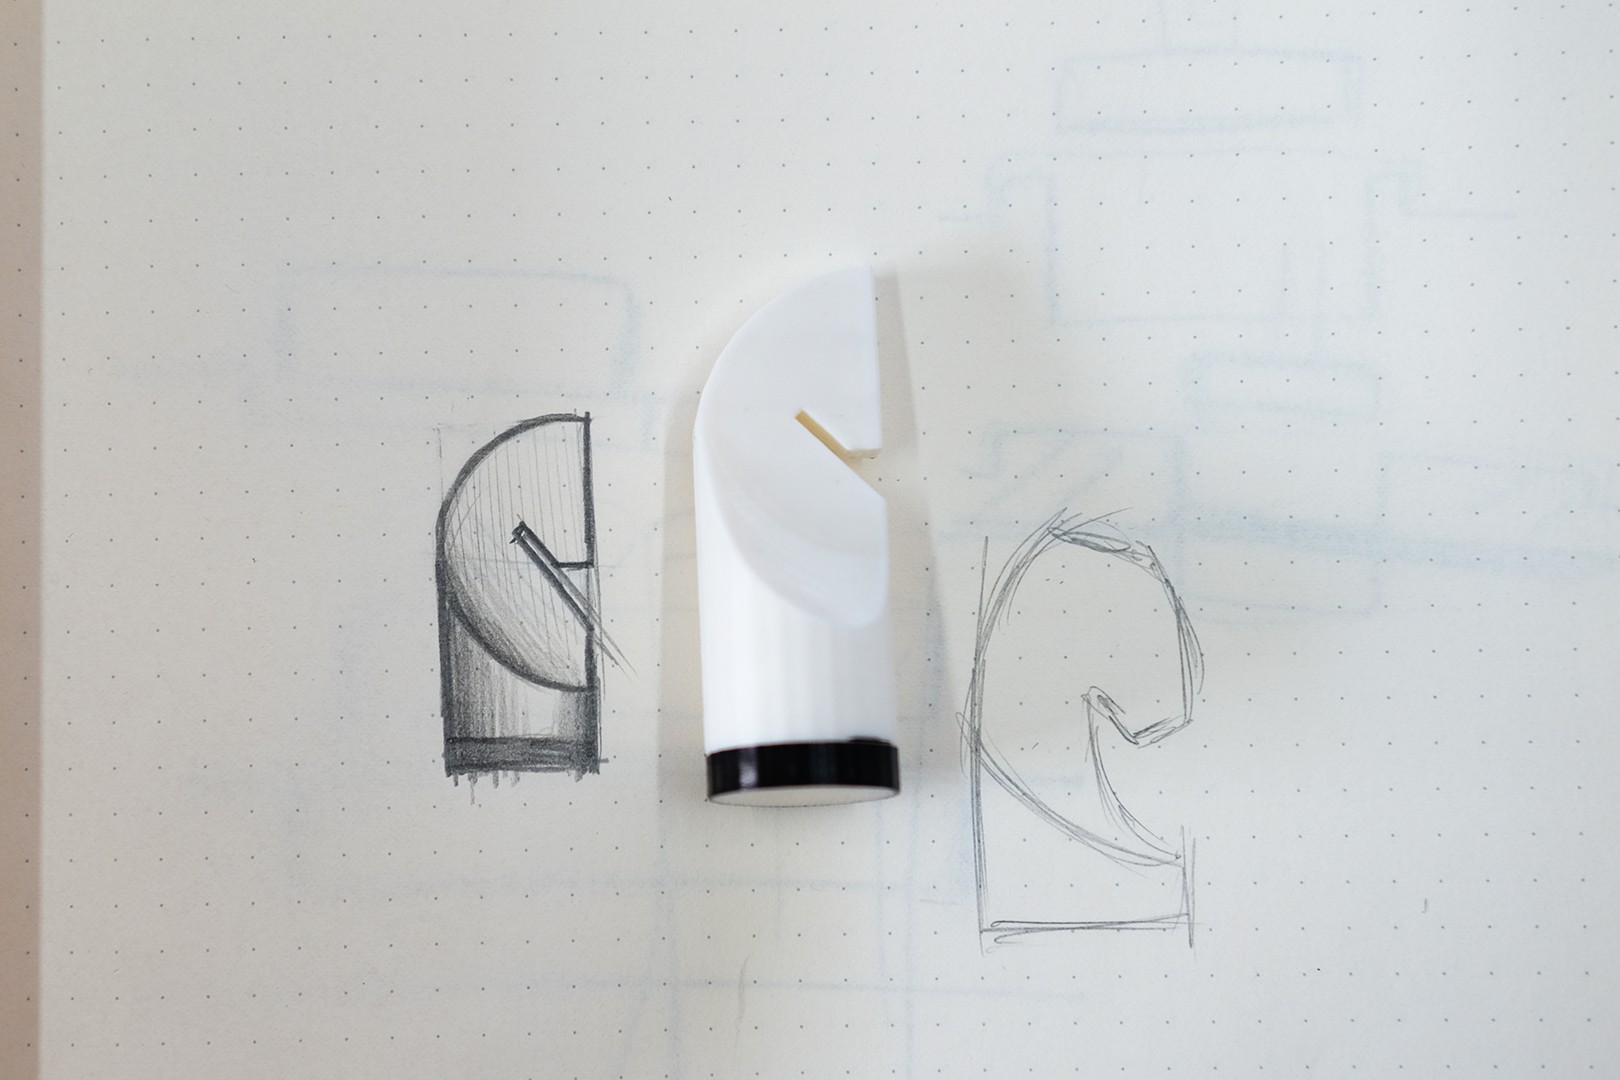
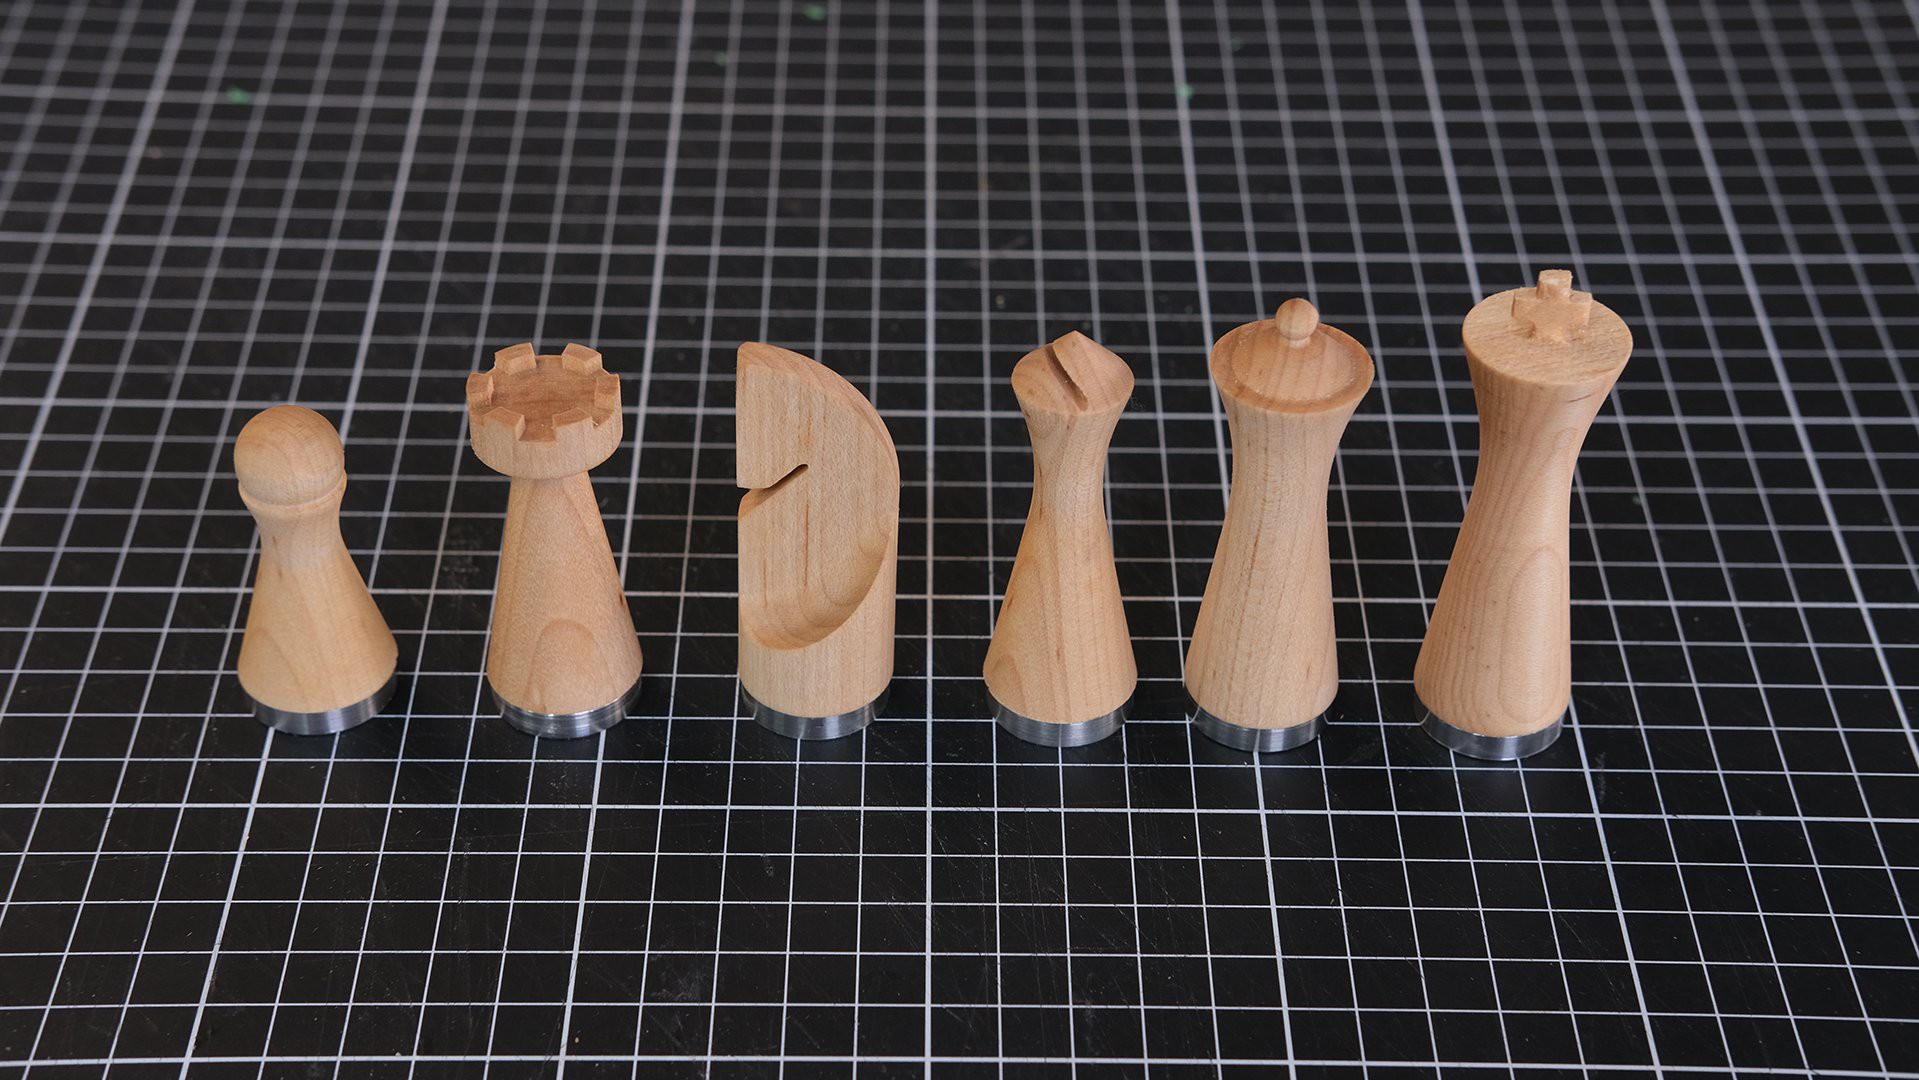
When I started working on the design of the pieces, my first approach was with the modern style. This set is shaped geometrically but also is easily recognizable. My approach with this design is to take the timeless essence of chess into a contemporary look by using simple geometric subtractions from a simple cylinder.
![]()
The modern set was effortless to model in CAD, contrary to the Staunton one, which has a lot more detail to distinguish itself from the modern set. The horse, for example, has a more organic shape.
![]()
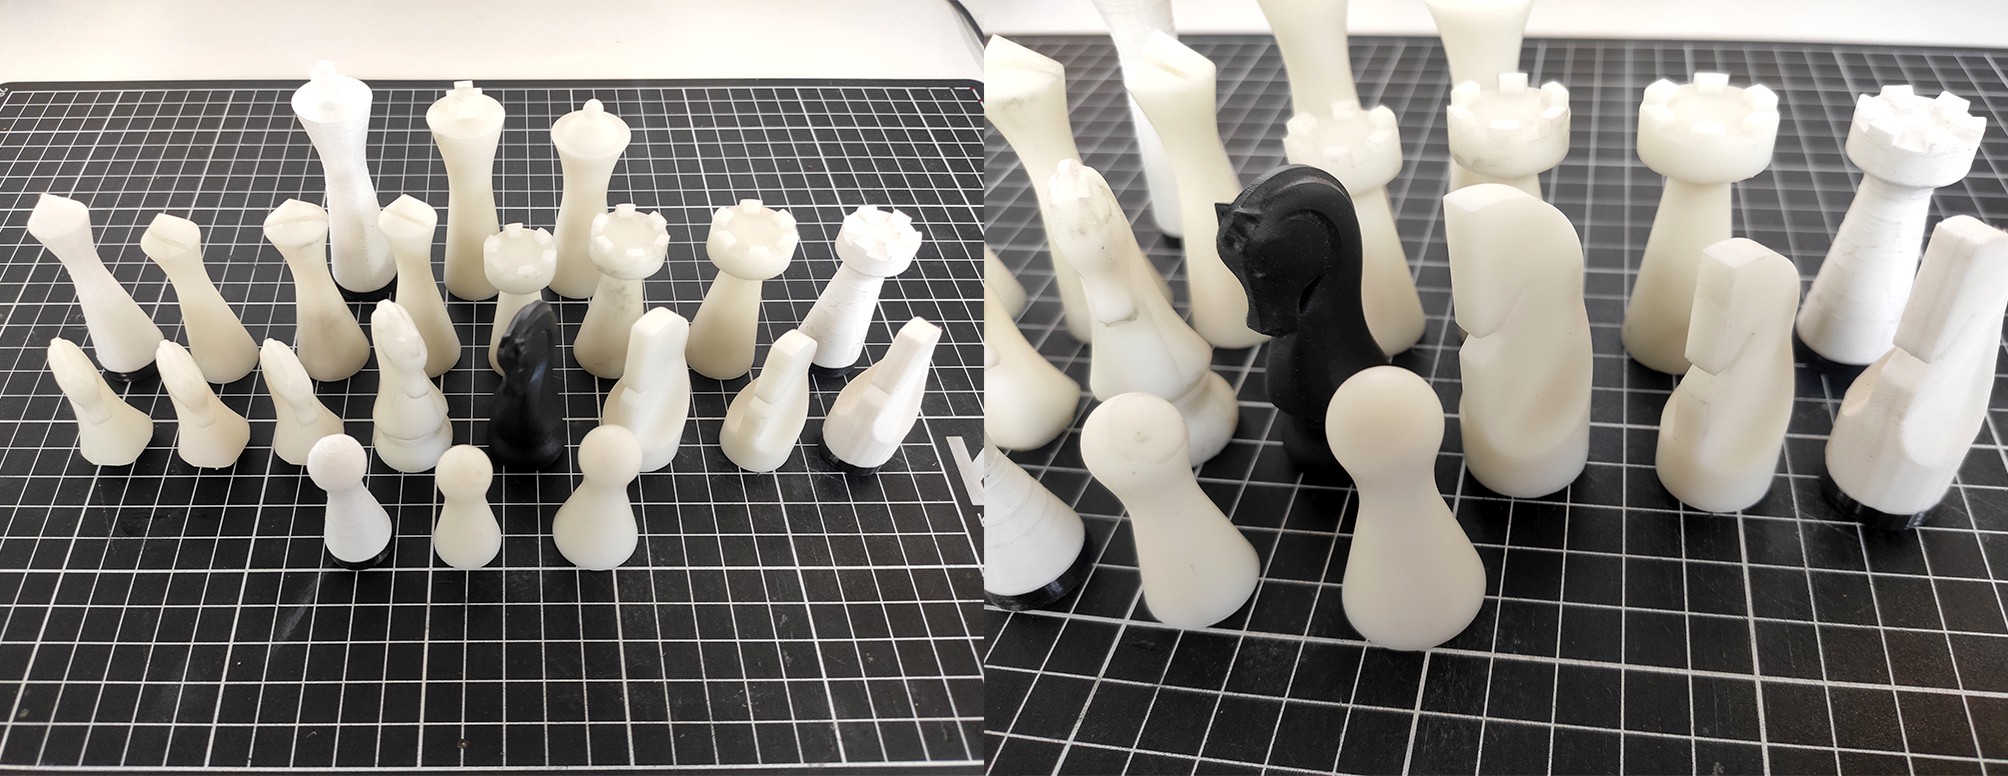
Once the right proportion for each piece is defined, I started working on the 3D models to print prototypes. I prefer this method for shapes and volumes because they come out fast and with enough detail to make decisions.
![]()
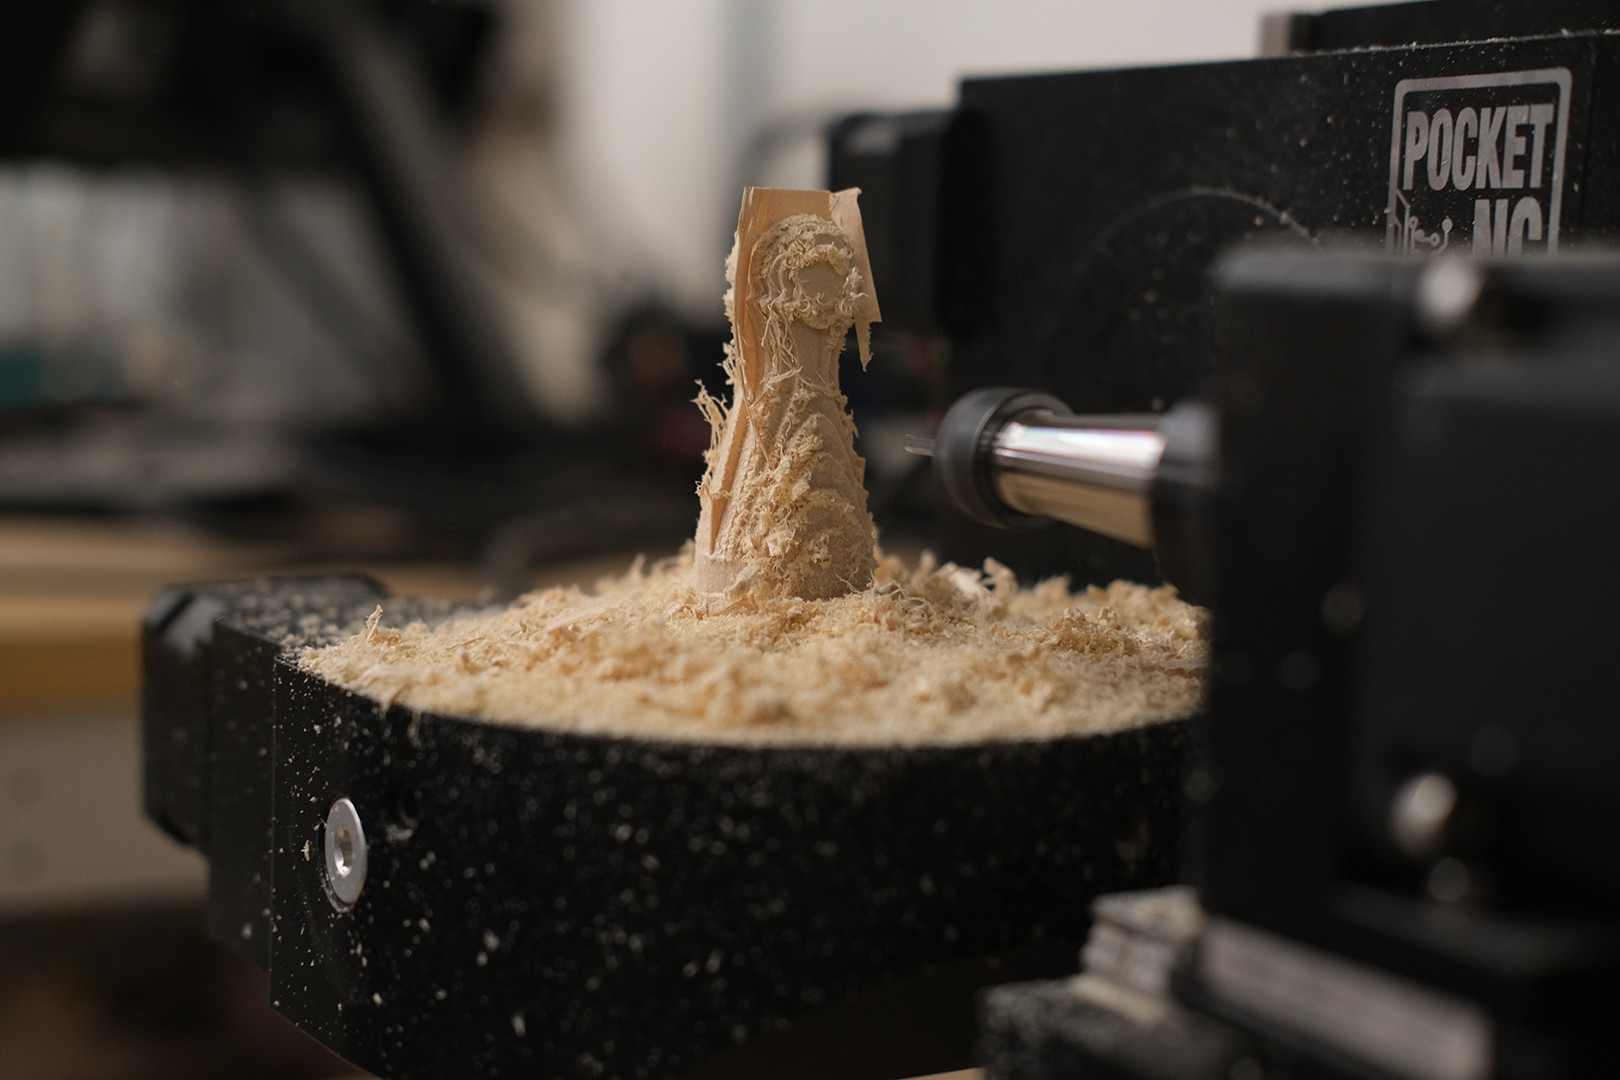
Once I was happy with every piece, I started working in the CNC program. The first step is to test the CNC prototypes using a soft material; I usually use polystyrene foam.
When all the programs run well on the soft material, I started the machining in wood. For the white pieces, I used maple wood and machiche wood for the black ones.
After the pieces were machined, I gave them a finish by sanding them to get a smooth surface, and then I applied Rubio Invisible for the white pieces and Rubio Pure for the black ones. These finishes are mono coats, so they are effortless to apply.
I can’t decide which design is my favourite and the work put into each set was definitely worth it. Which one do you prefer?
![]()
I’ll leave our discord server if you would like to chat about this project or leave any suggestions: https://bit.ly/3emyBWy
And my YouTube channel in which I upload progress and test videos: https://bit.ly/3w32wcf
-
The Bottom Cap
05/15/2021 at 16:39 • 0 commentsThere should be a smooth interaction between the board’s surface and the pieces. To get around this, we are looking at different materials to cover the bottom part of each piece. The aspects I want to solve are:
- Avoiding the natural veneer from wearing out because the repetitive movements the pieces will perform over the board.
- Avoiding leaving stains over the surface caused by the bottom cap, so it must be made out of a durable material
- The friction between the pieces and the surface must be minimal to achieve a seamless motion
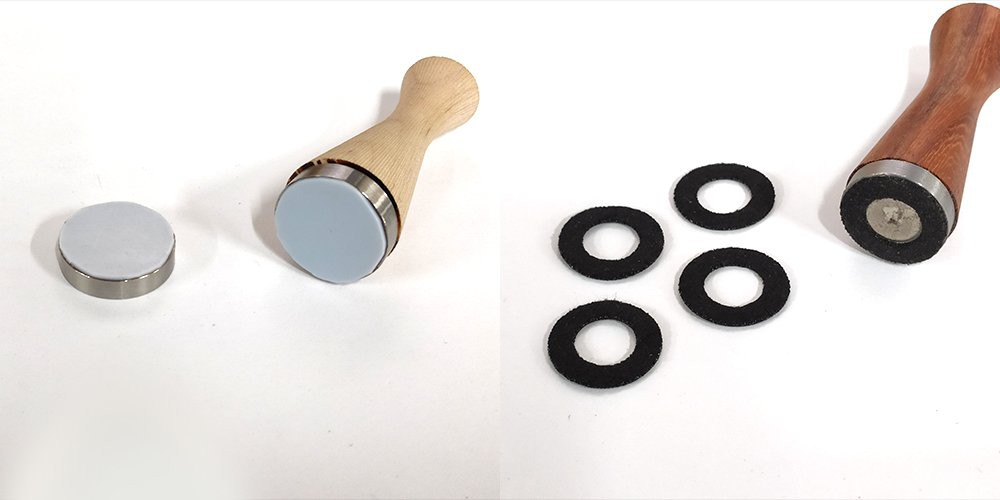
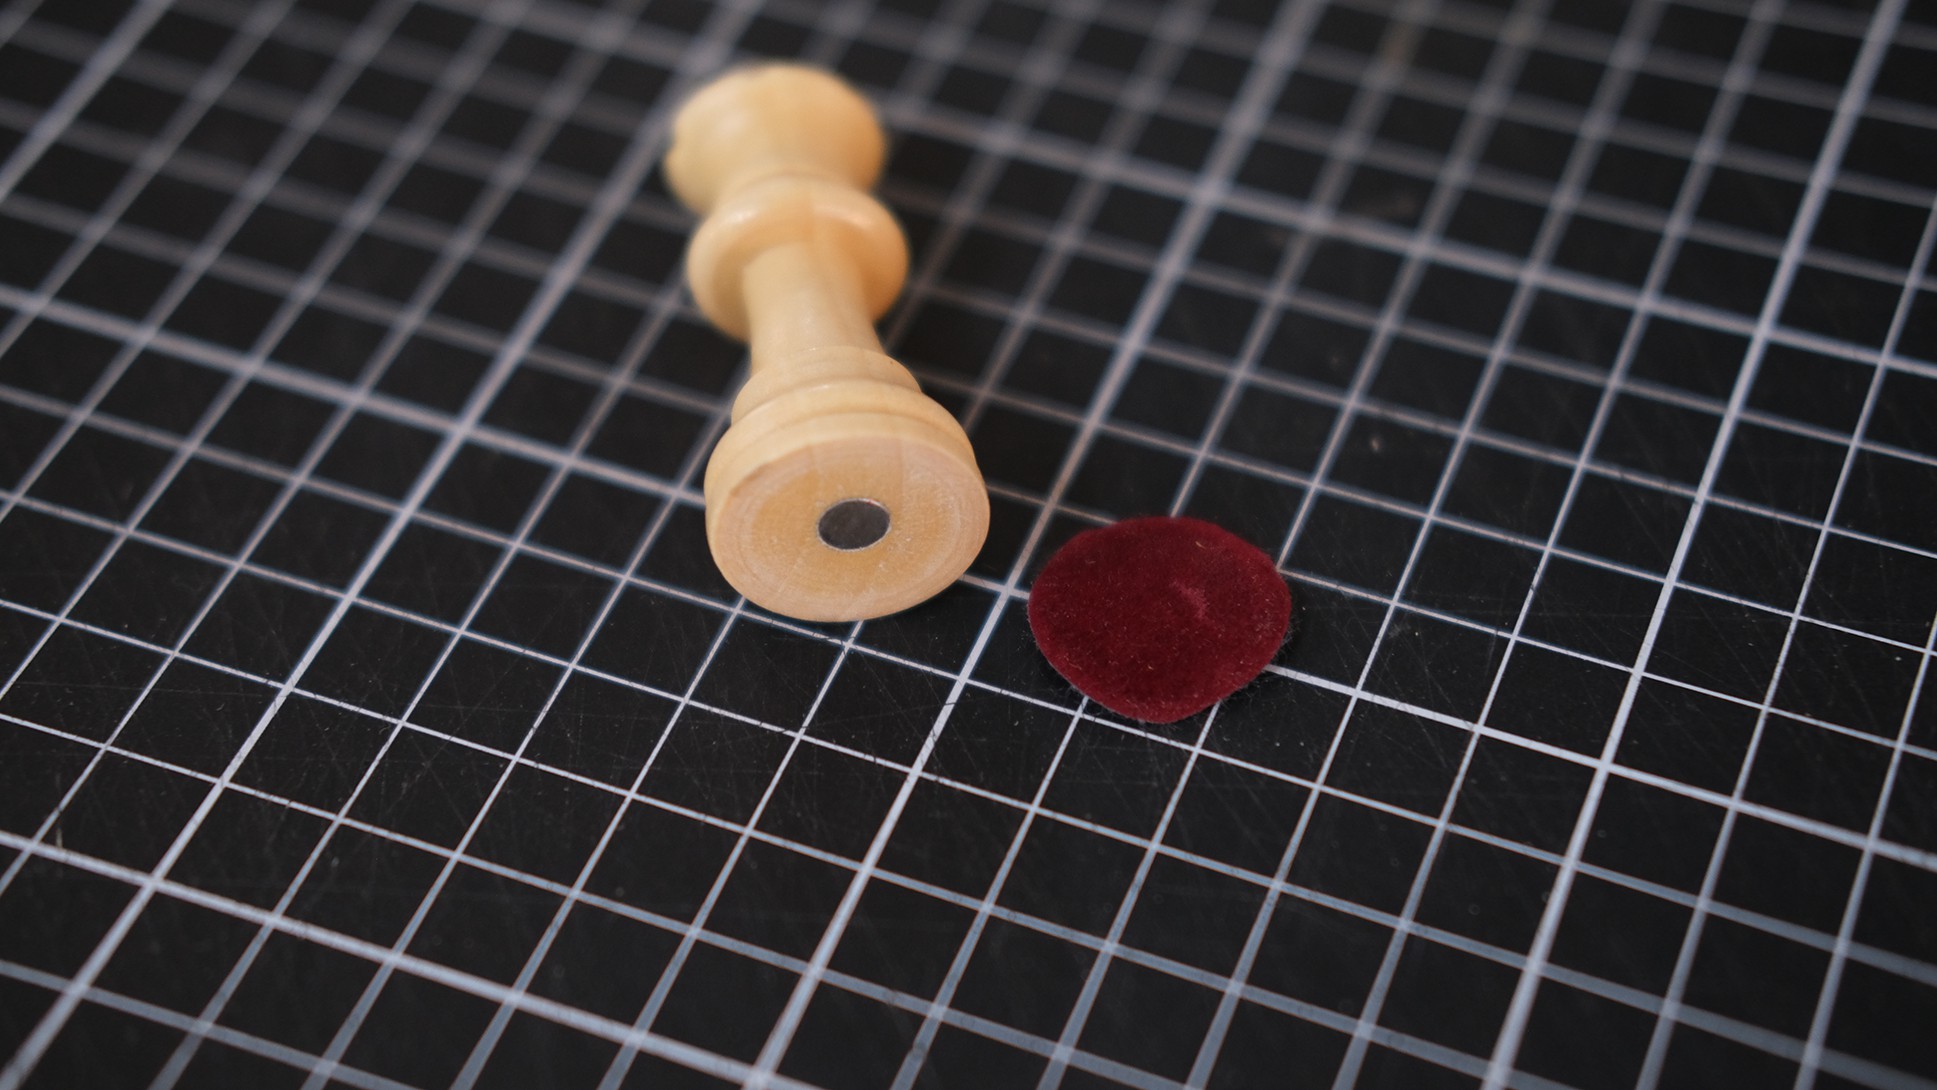
- The bottom cap should be very thin (around 0.5mm) to have the minimal distance possible between the magnet from the piece and the magnet on the arm
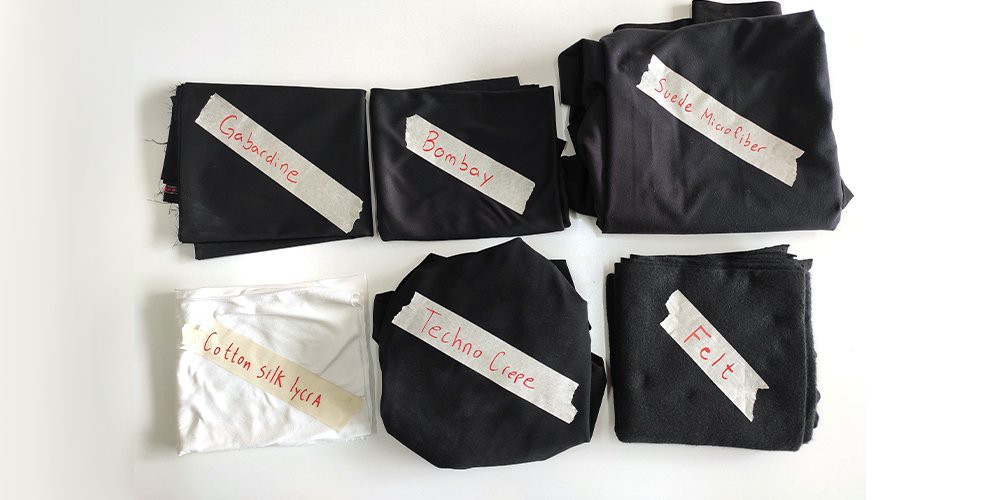
After searching for similar problems and how friction, heating, wearing, etc. were solved...right away I knew the materials to test would be: HPTFE, PTFE (Teflon), felt, silk and the looped female side used on velcro.
![]()
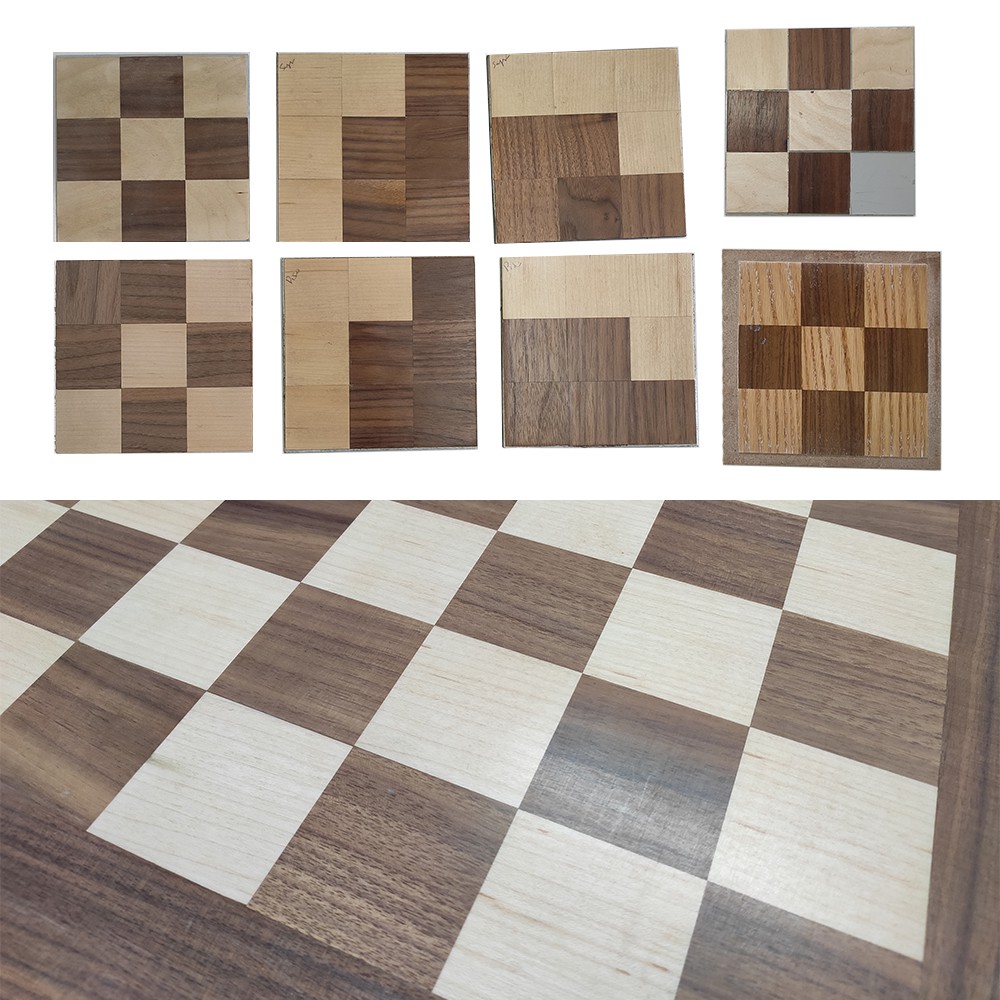
On the board’s side, the veneer surface is covered with Epoxy varnish, because it’s the most resistant treatment I could find to protect the wood without losing its natural qualities.
![]()
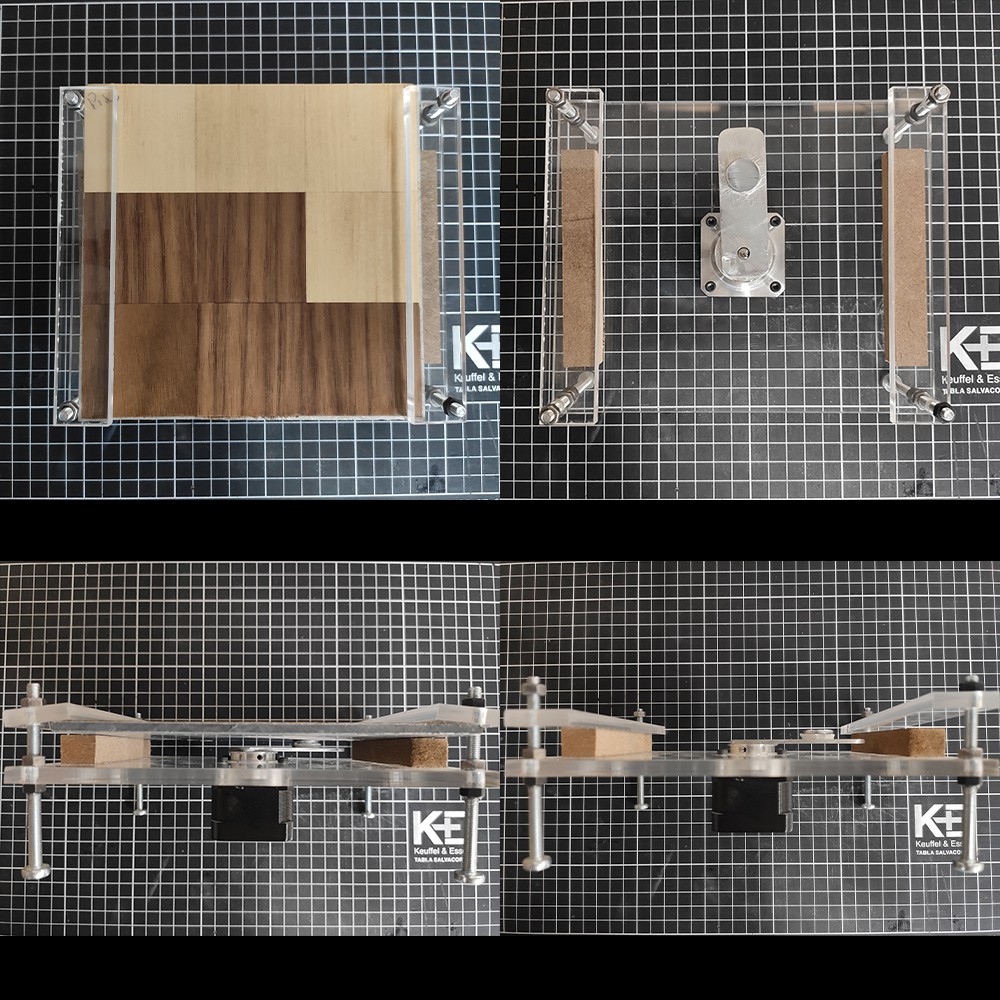
Tavo helped me to build a small jig to test all these materials. It consists of a magnet arm directly connected to a stepper motor that drags a piece over a small veneered board (15cm x 15cm).
![]()
The jig drags the piece 5cm per movement and it reaches over 85,000 movements per day. We did the maths and this way we can emulate 4 years of use in only 3 days!!!
![]()
We are still not sure about which material should be the selected one, all of them presented different issues regarding wearing and aging so we are still looking for new ones to test.
![]()
Some of you recommended some materials in the comments, we already ordered samples of them and I’ll let you know how they work. Any other materials you think we can test?
I’ll leave our discord server if you would like to chat about this project: https://bit.ly/3emyBWy
And my YouTube channel in which I upload progress and test videos: https://bit.ly/3w32wcf
-
Electromagnet vs Mecha-Magnet
05/07/2021 at 02:41 • 0 commentsOne of the essential elements to achieving the motion of the pieces is the magnet arm. Initially, we started by following SO steps using an electromagnet to hold the pieces.
After some testing, I learned that it is mandatory to have the magnet the closest possible to the surface at all times as the magnetic field strength decreases when the distance from the source increases.
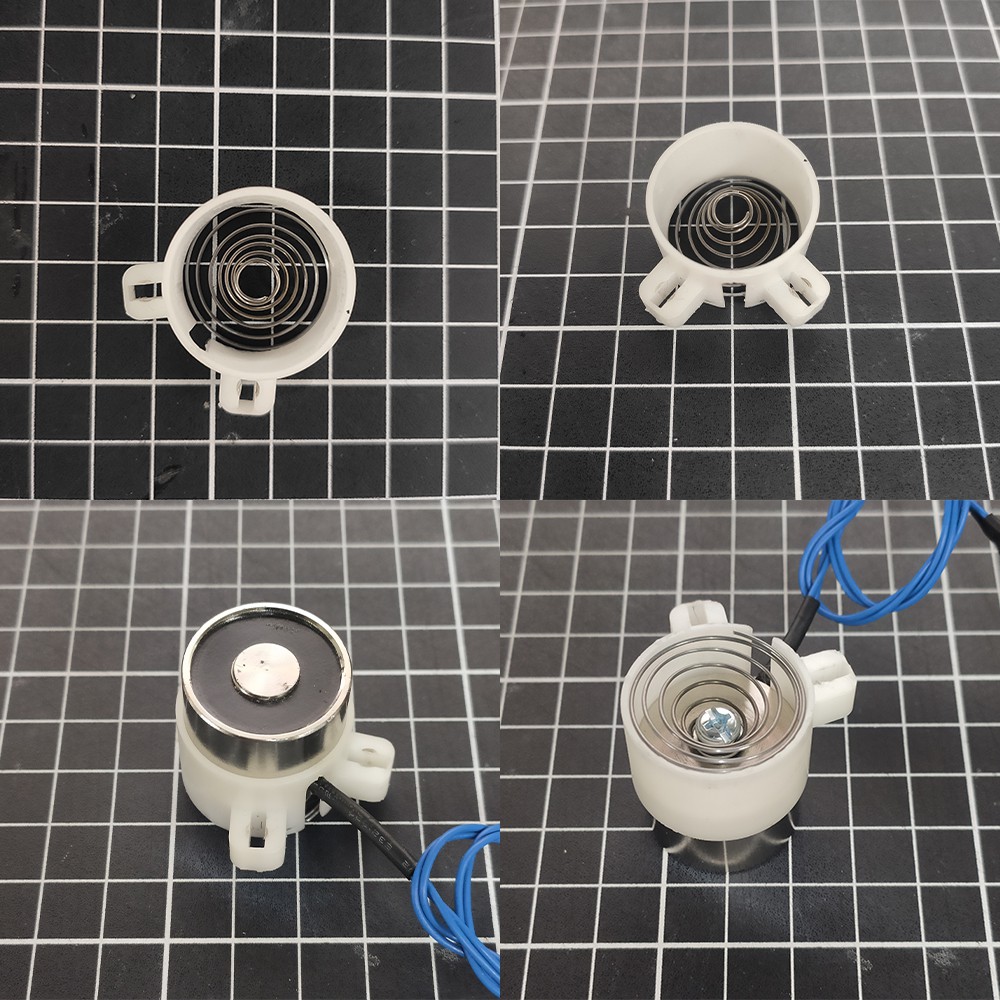
I designed a super simple mechanism that ensures the electromagnet is always the closest to the surface. It is composed of a plastic case that holds a spring below the electromagnet. A straightforward solution is yet useful.
![]()
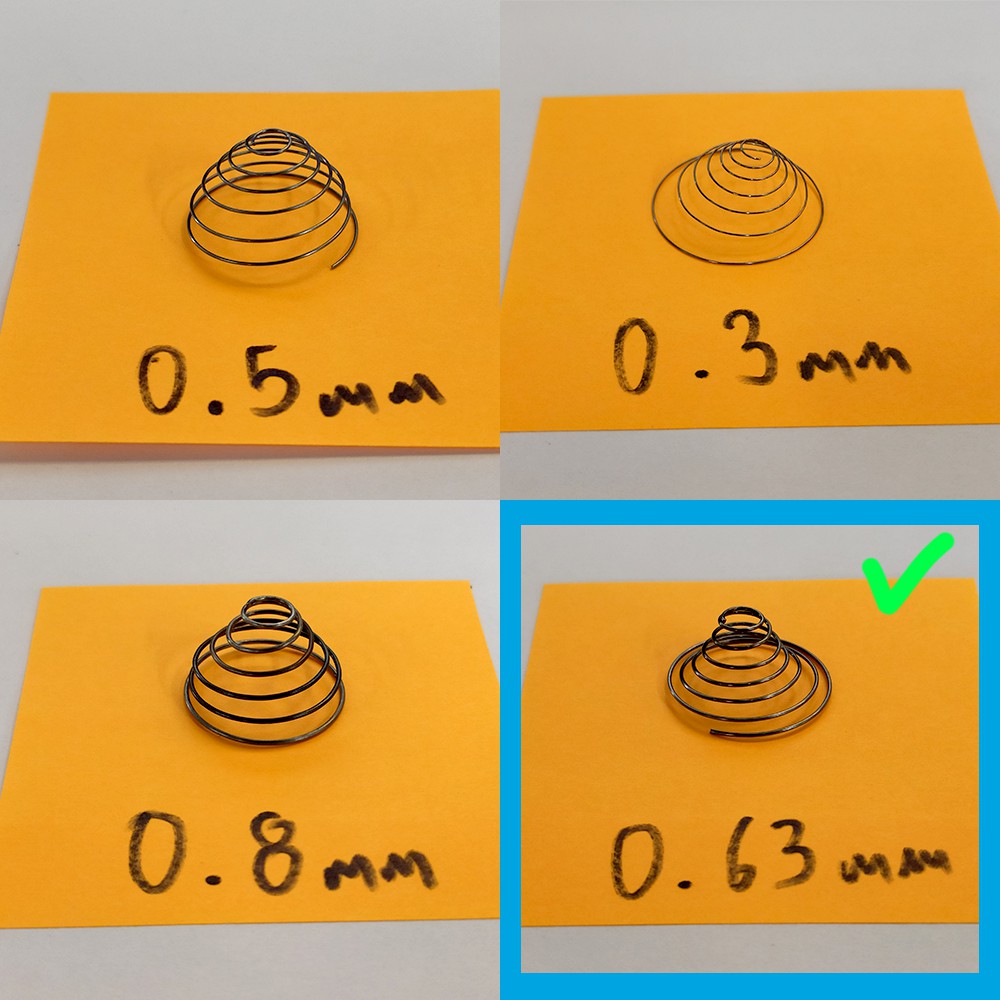
The not so simple thing to solve about this solution is to find the right spring to do the job. We want a Finite Element Analysis to decide the characteristics of the springs to be tested.
![]()
![]()
![]()
After prototype production, we ran some tests to select the final design. This conical spring is the chosen one!
![]()
![]()
You may remember my guess about the SO pieces being small and light to help the electromagnet move them around. I assumed that the lighter the pieces, the less strength is required from the electromagnet to move a piece. It turns out I was right :):
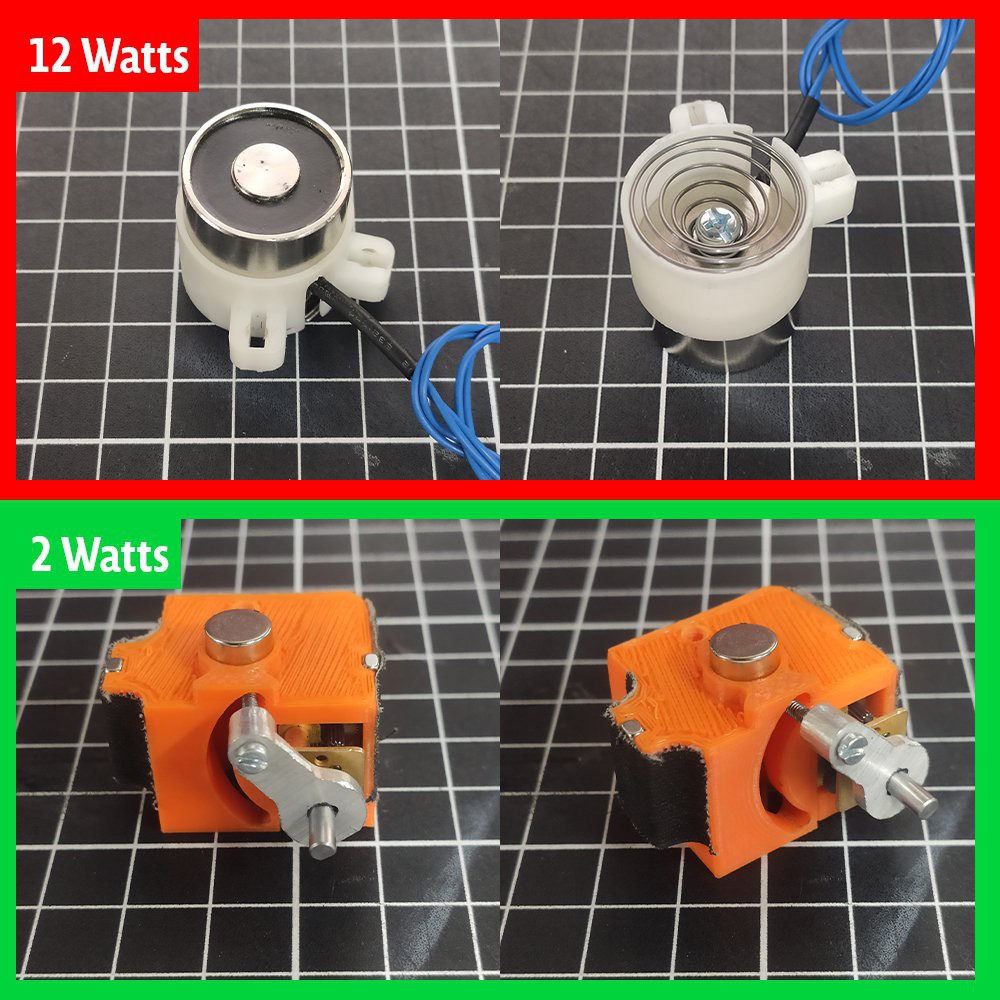
With the new design of the pieces, bigger and heavier, we shall increase the electromagnet strength to move them. This will increment the board’s current consumption making us think that maybe the electromagnet is not the best approach since we want to add a battery in the future, so a high current consumption is not the best path.
While looking at other ways to control the strength of the magnetic field on the board, we started to explore the option of having a mechanized neodymium magnet.
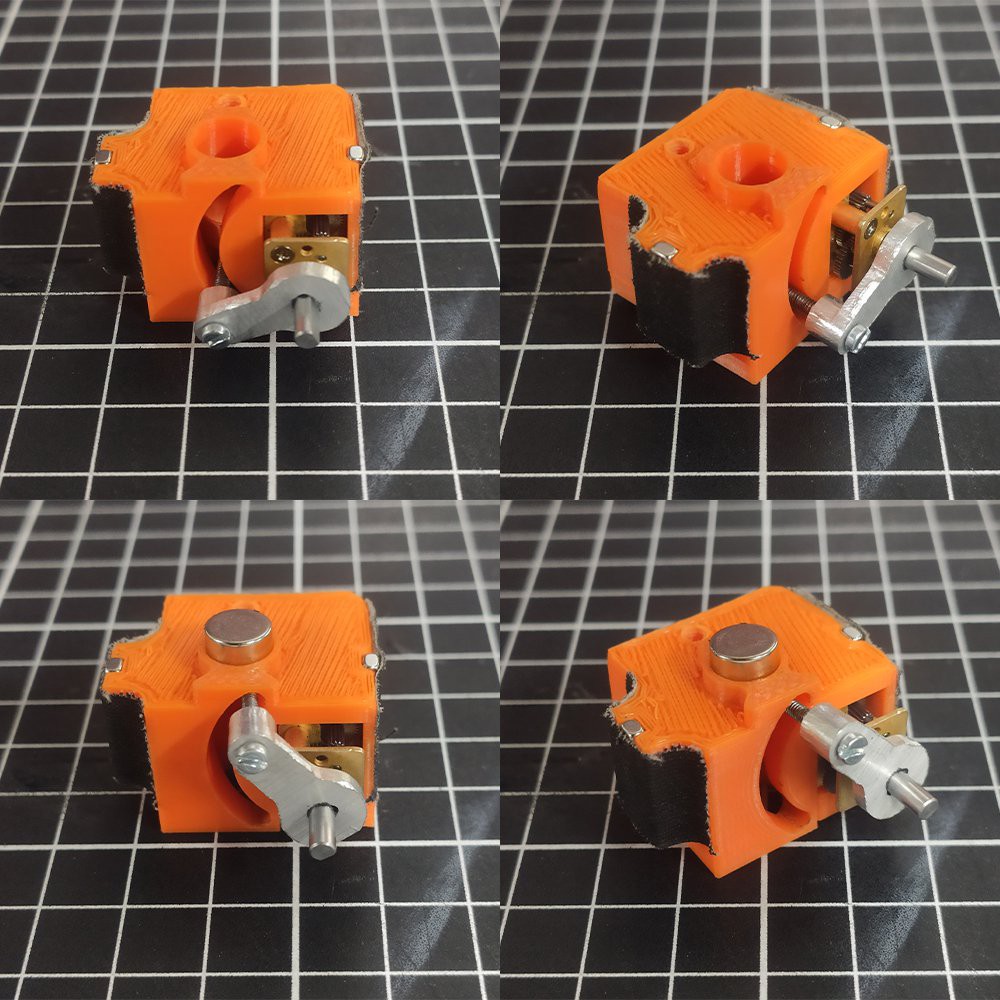
The idea is that instead of using an electromagnet, we control the strength of the neodymium magnetic field by moving it farther or closer from the surface. The mechanism is designed to be mounted on the magnet arm, like a mechanical elevator for the NM.
This mechanism is powered by a DC motor whose current consumption is lower compared with the electromagnet.
![]()
![]()
To ensure that the magnet reaches the upper surface every time a piece is moved, we used an encoder to help us know the magnet’s upper and downer position since the first time it’s turned on. This data is used each time the motor moves the magnet through a PID control. I add the code of this mechanism to the file; you can take a look at it.
Each time the board shall move a piece, the magnet arm goes to the piece’s location with the magnet at its lowest position; when it arrives, it gets the magnet up to the highest position to hold the piece, make a move, and when it ends, it takes the magnet down again to leave the piece and make the next move.
A cool side effect of this change is how smooth the pieces move. It is complicated to change the core diameter in an electromagnet so the pieces cannot align correctly. With the NM, we have full control of the core dimension; thus, every piece’s motion is seamless.
![]()
Adding an extra mechanism to the board could bring more complications, so we are currently testing to find the least complicated and most feasible one.
I made a YouTube channel in which I’ll be uploading videos about the progress, tests and improvements: https://www.youtube.com/channel/UCY3-zIxVveSF4OABvc1UgYw
I’ll keep you updated on our progress! Join our discord server if you would like to chat about this or chess overall: https://bit.ly/3emyBWy
-
Connectivity
04/29/2021 at 17:10 • 0 commentsI’m not the biggest fan of chess apps, but let’s face it: they are the only alternative to play in the distance with friends and basically anyone in the world. For our board, I want the connectivity of the apps plus the nice feel of playing with real pieces.
Tavo has been working on an open software to connect the board to Lichess server. We also wanted to include chess.com server but it’s closed. I’ll try to contact them hoping to add their app to the board. Who knows It might be worth the shot! ;)
To connect our board to Lichess we started using an ESP32 but we have problems with the TLS and the HTTPS library.
![]()
![]()
![]()
After knocking our heads against the wall around this issue Tavo found this amazing development in Aruduino’s project hub:
- https://create.arduino.cc/projecthub/kzra/lichess-link-cbdbab
It uses an Arduino One Wifi so we moved to a compatible module to use his open-source project as a base, the Arduino Nano 33 IoT. This will kill two birds with one stone by also helping us on having an open platform
![]()
![]()
![]()
We already played our first games through Lichess server! But, there’s still a pain in the butt, the process to connect to any Wifi network, fortunately, Tavo is as hooked as I am and found a great tool to make the process easier.
So now we are working on implementing a captive portal feature to make everything work seamless. This is all the progress at the moment, I’ll let you know our final implementation very soon!
Feel free to join our discord server and get to chat about this project and chess in general: https://discord.gg/3aCpVynH
-
The Mechanism
04/27/2021 at 22:40 • 0 commentsHaving an XY mechanism like SO, solved in a practical and fast way the movement of the pieces around the board. The problem is that you need to add space around the playable surface for the motors. I want a mechanism with no extra frame, but just enough for the captured pieces.
![]()
![]()
I worked on a project before that used a SCARA mechanism. Based on this I designed a mechanism that allows the electromagnet to reach all zones of the board no matter its size and shape. This helped me reduce the size of the frame, the bad news, my board is too high!
![]()
![]()
While looking for ways of reducing board height, I came across a project called ZarPlotter. It works by using CDPR, a cable-driven mechanism that moves the end effector (in our case an electromagnet) by pulling cables from the 4 corners of the frame with stepper motors.
In terms of space, it seems like a good way to explore! I’ll work on a new prototype with this mechanism and let you know the results.
Any suggestions on other mechanisms to explore are more than welcome, you guys have been very supportive!
Remember that we can chat on my discord server about chess, mechanism or any topic related to this project: https://discord.gg/5Am7CDzwUf
-
The Chess Pieces
04/24/2021 at 00:05 • 0 commentsThe weakest point of the current board are the pieces. They are too light and small (I’m guessing this is to make them easy to move by the mechanism)
![]()
I will produce new bigger and heavier pieces and, since we’ll do them from scratch, why not have our own custom design? ;)
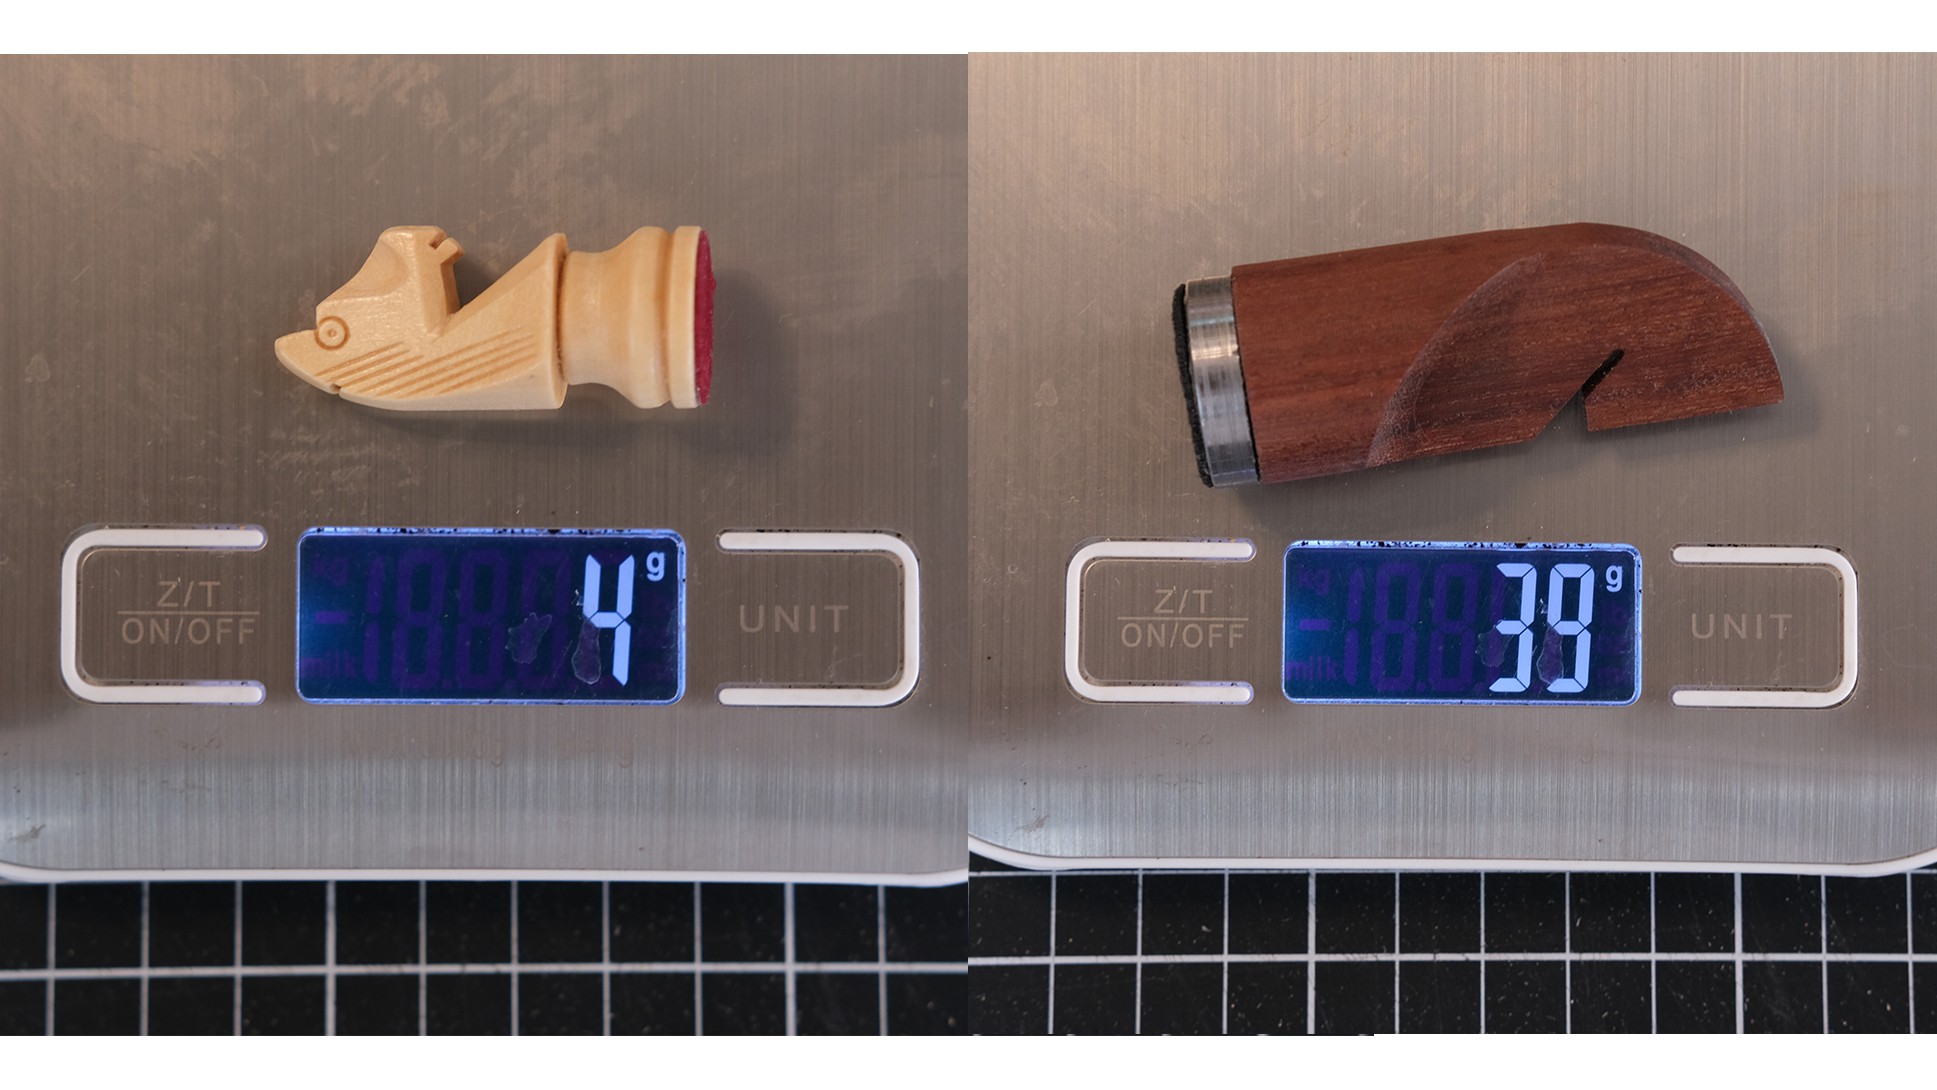
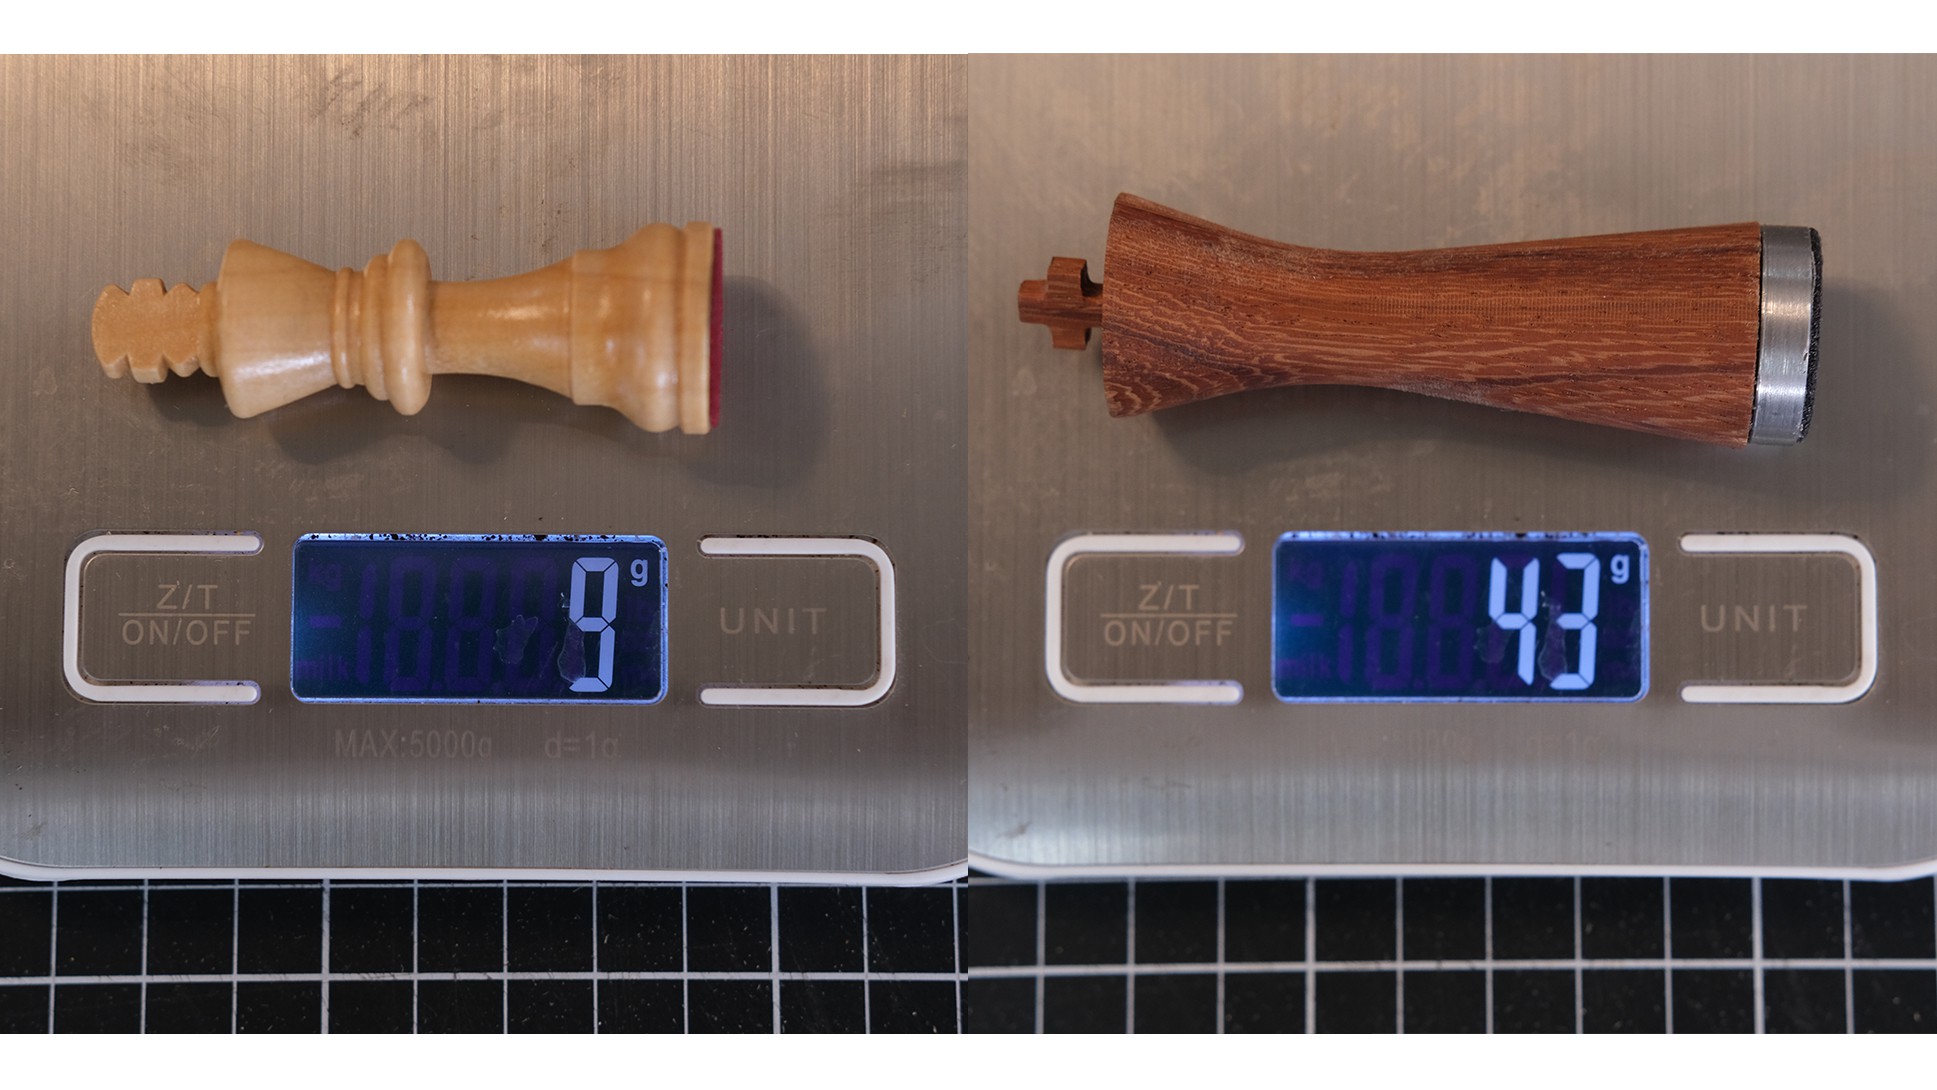
The first design is made out of wood with a magnet inside and an aluminum ring. I like the shape and looks but the pieces are still too light.
![]()
![]()
This lightness causes the piece to wobble when moved around by the electromagnet when passing close to a resting piece.
We added cold rolled steel to add more weight to the pieces.
![]()
![]()
![]()
![]()
![]()
![]()
I’m very pleased with the current design but having the mechanism and the electromagnet to move the pieces correctly will not be easy. We’ll have to find the correct electromagnet to move the weight of the pieces smoothly or look for other options Let me know what you think!
You can join our Discord server to chat! The link: https://discord.gg/5Am7CDzwUf
-
The Sensor Array
04/21/2021 at 18:37 • 0 commentsWe have kept going with this project. The problem we have right now is to find a way to have wood veneer on the surface (this requires a rigid board) and, at the same time, being able to detect the pieces and their location.
![]()
![]()
The first idea is to have hall effect sensors placed under the board and magnets inside the pieces to have the sensing system working without needing to push buttons.
The one thing it worries me is that using hall sensors will need to use a very thin interface between the sensors (under the board) and the magnets (inside the pieces)
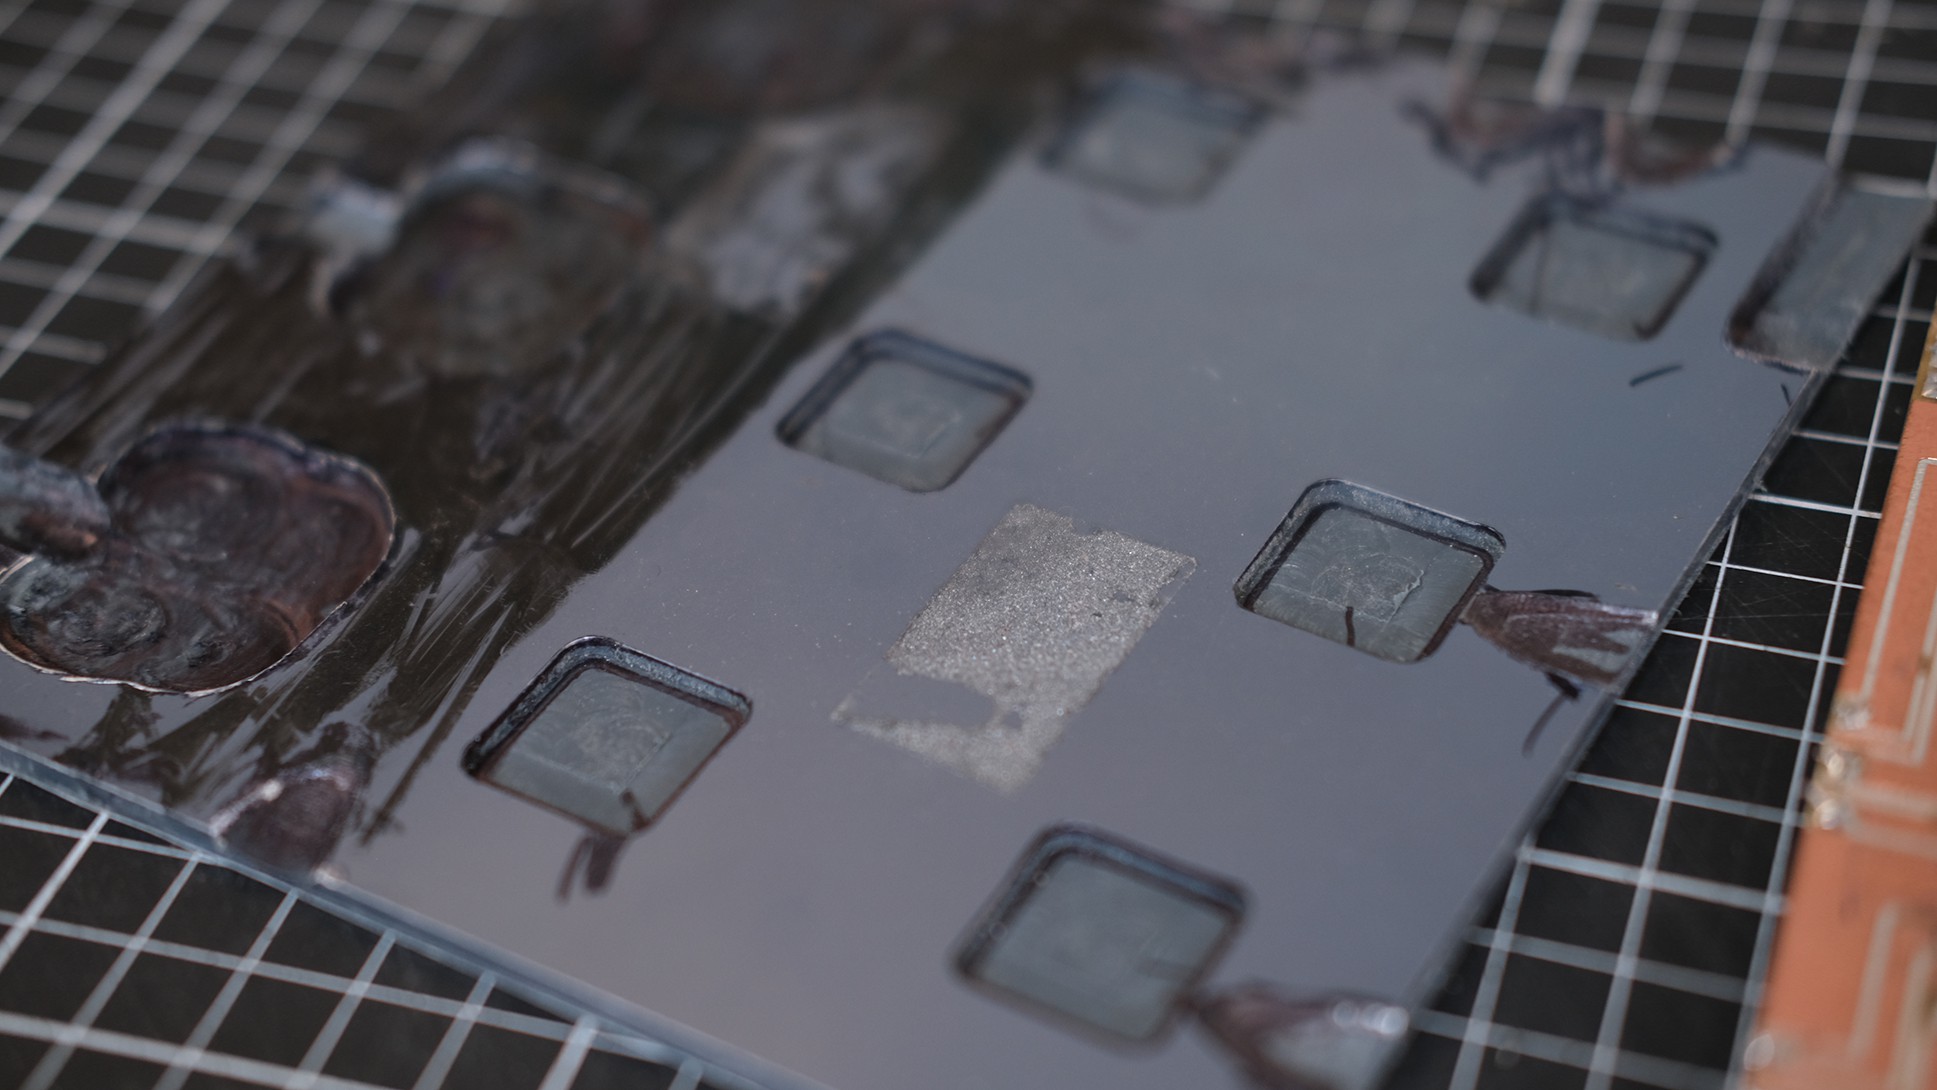
The current board is made out of an aluminium composite panel which is very rigid and lightweight. We machined the bottom side of the panel to allow the sensors to be placed closer to the magnets while the top side has wood veneer.
![]()
![]()
![]()
![]()
This is a good way to have natural wood veneer on the board, but we are sure there is still plenty of room for improvements.
Any thoughts?
You can join our discord server to chat about chess and stuff: https://discord.gg/5Am7CDzwUf
-
Introduction
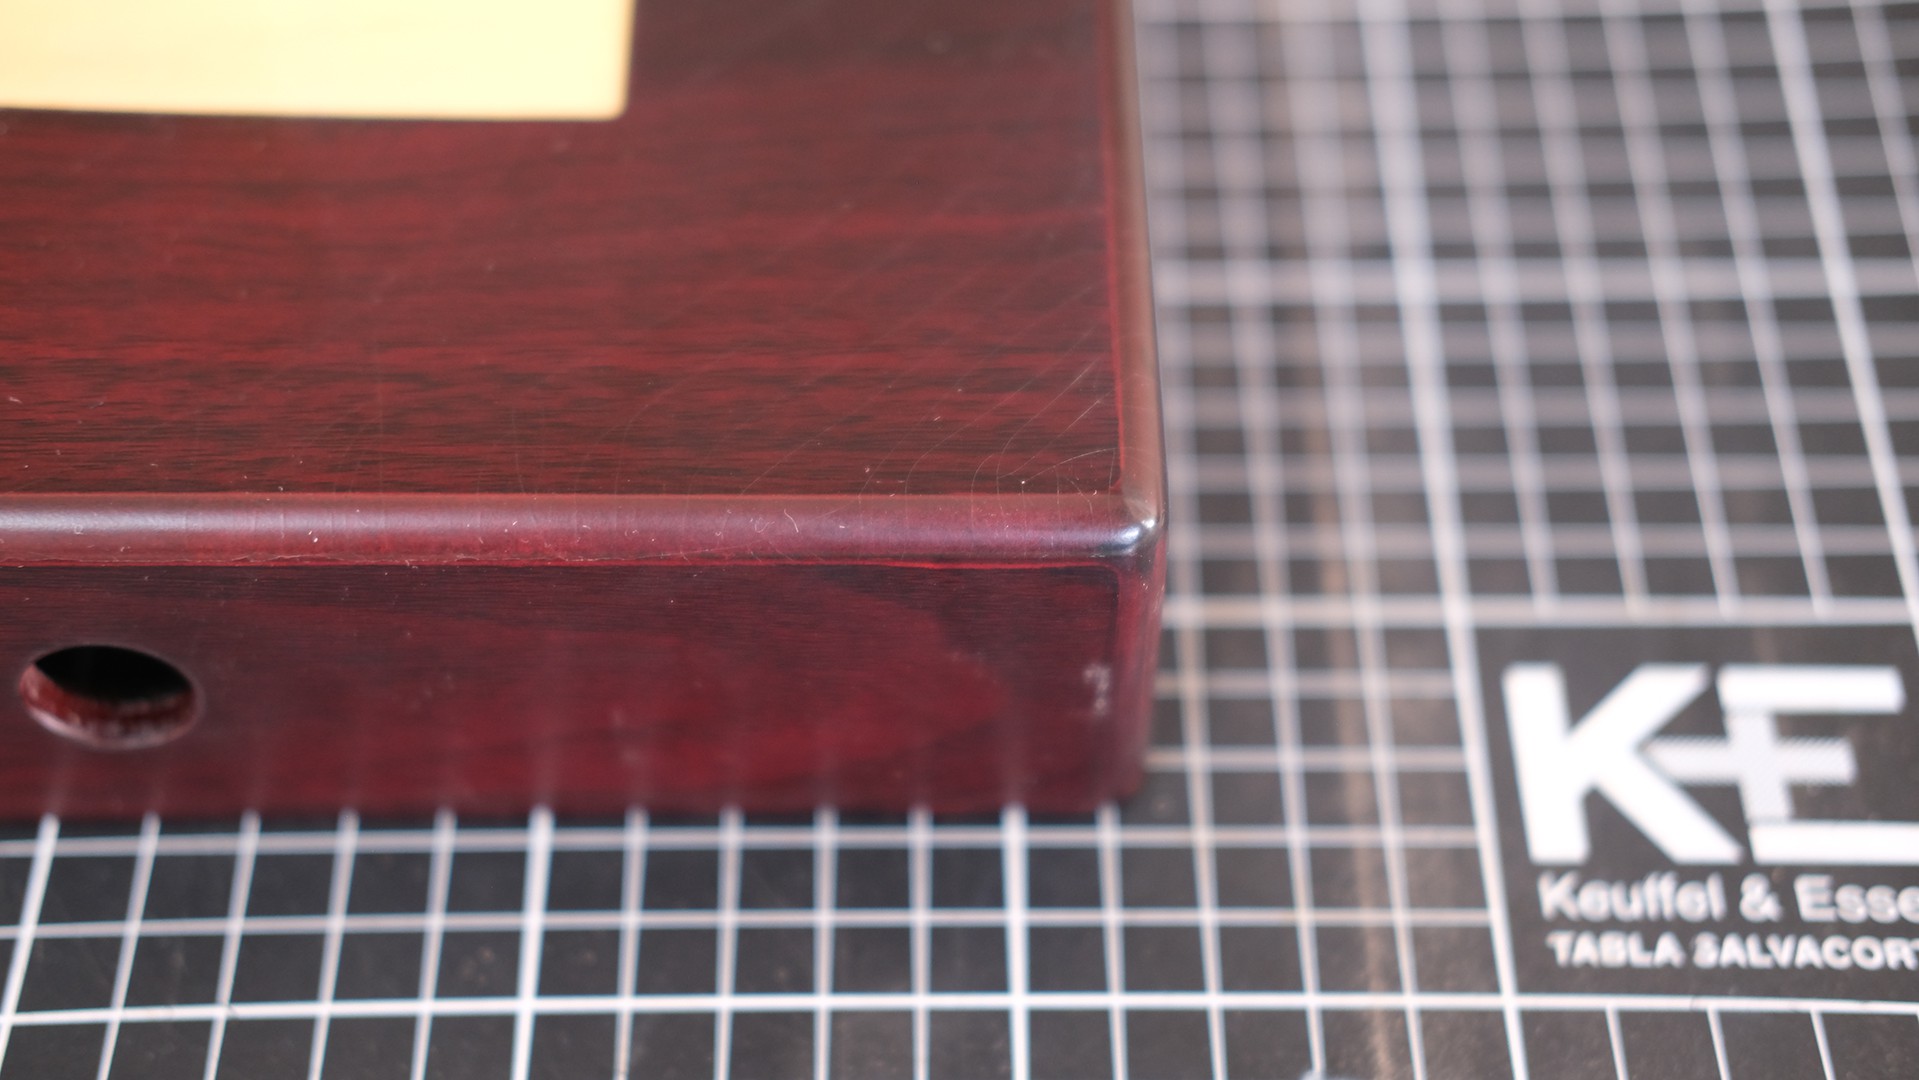
04/20/2021 at 03:03 • 0 commentsI've always preferred playing OTB. I already spend too much time on my phone and computer for work. With the lockdowns, one of the things I missed the most was 1-1 games. I ordered a squareoff board hoping it would provide a great physical experience, but it doesn't feel great at all.
![]()
My first instinct was to modify the squareoff board and replace the plastic membrane with wood veneer.
![]()
![]()
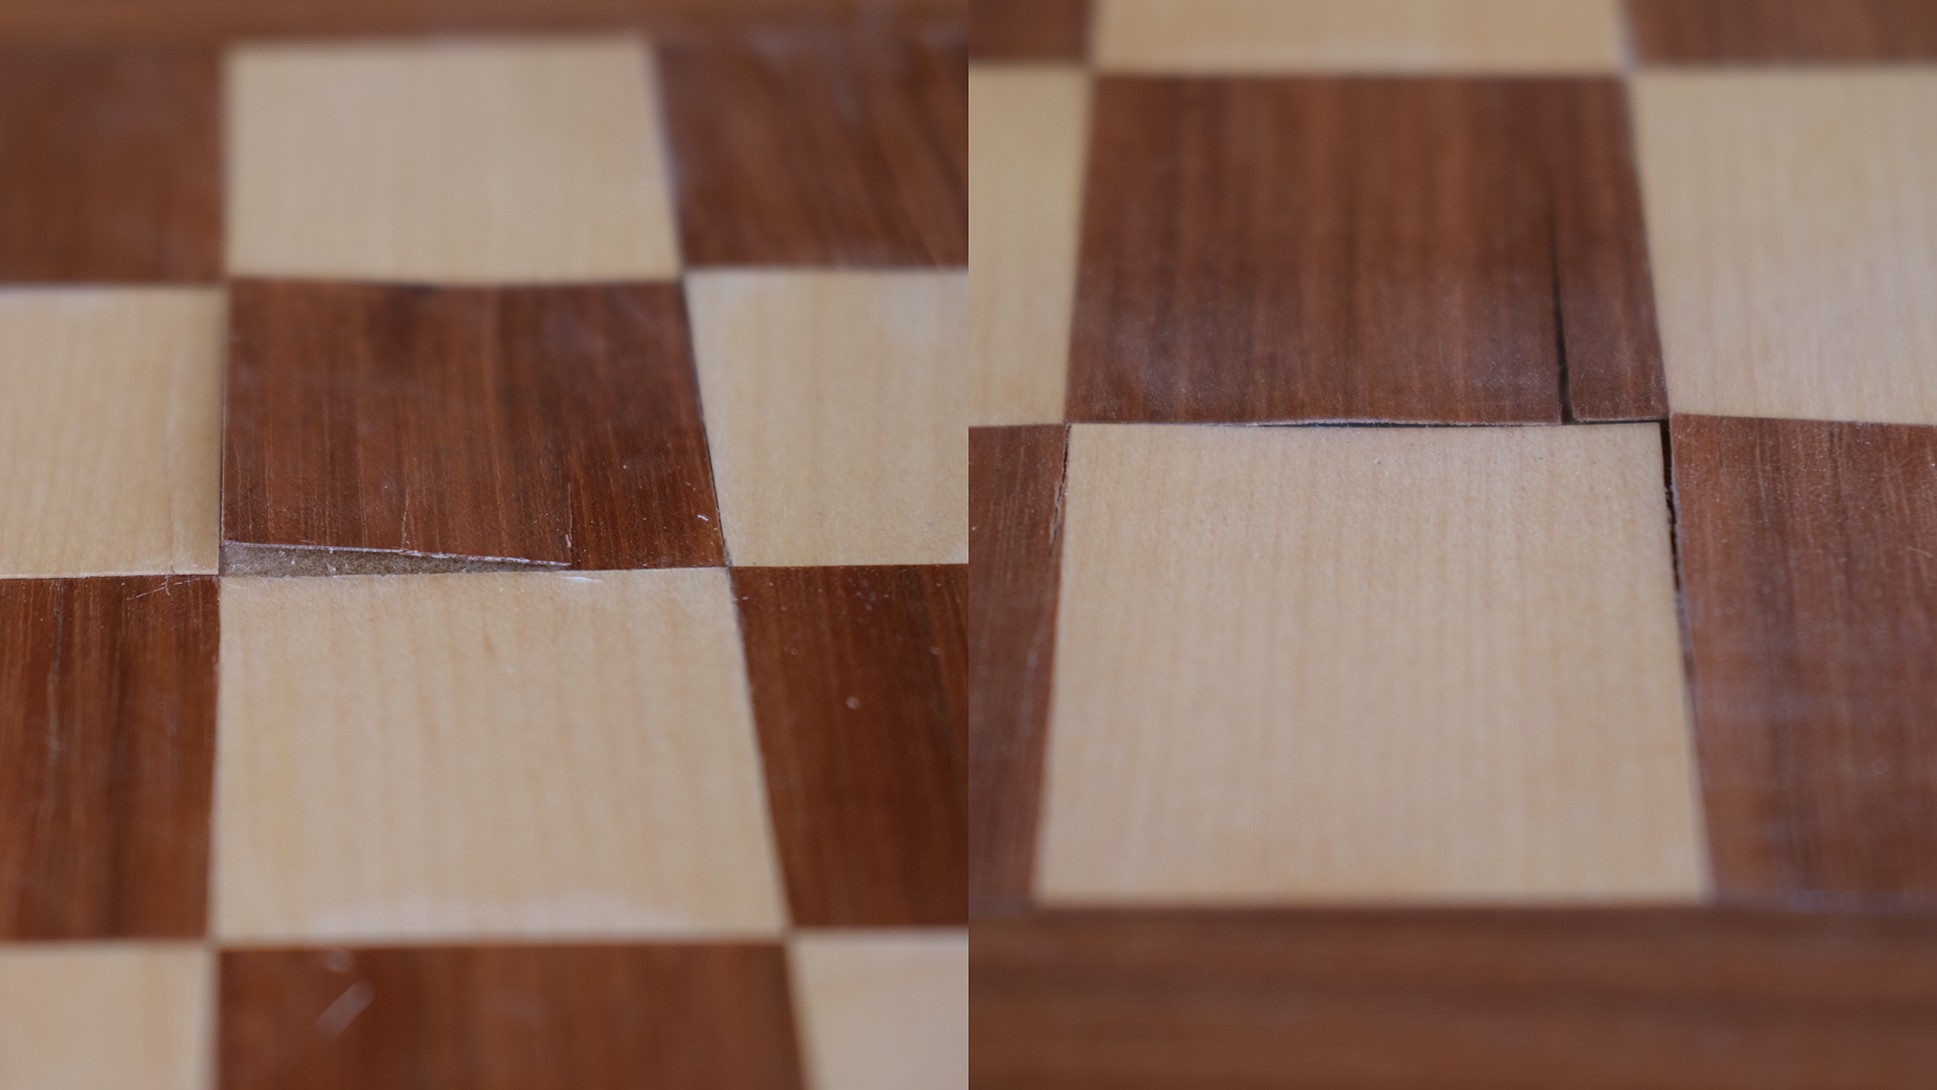
Bad idea, the membrane system requires the surface to bend for the pieces to be detected. Not only will real wood not bend, but the inconsistent detection was something I didn't love about the SO in the first place.
![]()
- Must feel as close to an "analog" board as possible
- Wood veneer, large wood weighted pieces :)
- Play against anyone online (Compatible with Lichess, no closed ecosystem)
- Play against the board (Stockfish but maybe some other too, what are your thoughts on this ?)
I'm terrible at anything software but luckily convinced a friend to help me out, he's brilliant so I'm confident we will build a kickass board.
![]()
I’ll be sharing the progress we make over here, but if you are more passionate about this subject and would like a more in depth look or share your ideas, I created a discord server too. This is the link: https://discord.gg/5Am7CDzwUf
 Phantom Chessboard