-
First Post
04/21/2021 at 12:40 • 0 commentsAlright ! So, first of all, thank you for checking out our project. We're always a bit rushed with time, so I just wanted to leave a quick post to give a general idea of what you can expect through our logs.
Here, we'll be sharing everything you need to know and have so you can build your own Brain Machine 4; but most importantly, so you can make any changes you want and design your own !As the description mentioned, the machine runs on Python (3.7.9 recommended), Touch Designer, and Arduino IDE.. so you'll need to get those. For Python, we suggest getting pyserial, matplot, numpy, pillow, python-osc, tk, websockets, scipy, and pylsl. There's a couple of libraries here you might not necessarily need this time, but that's the list we currently use for all our projects so might as well get everything covered !
While you get on to that, we'll start getting the next posts ready to get some of the code and explanations to you asap.
Write to y'all soon and happy prototyping !
P.S. Here's a couple of photos so you can get the idea of the actual hardware and software running the nice pictures you see as thumbnails.![]()
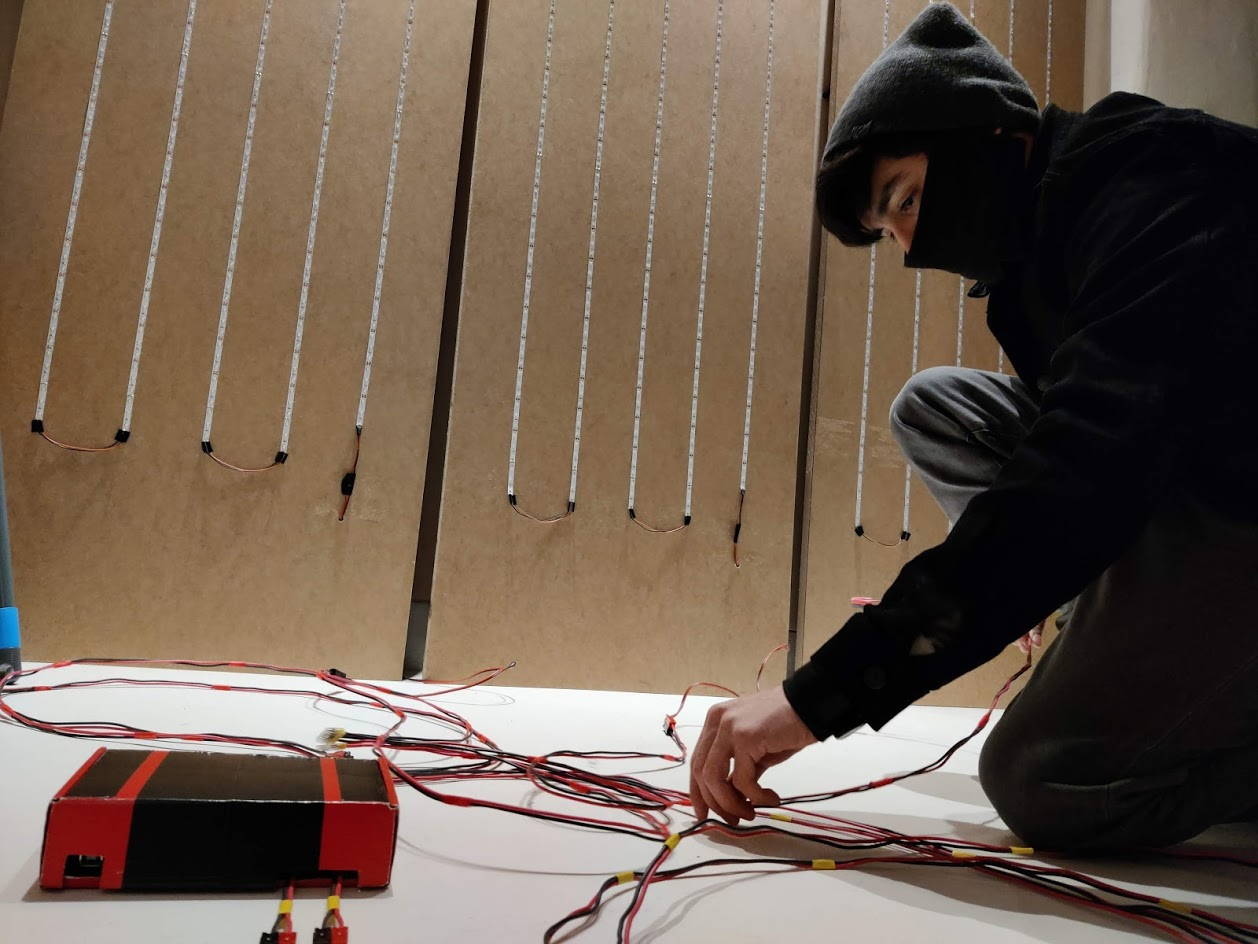
Figure 1. Electronic box including an Arduino and 2 generic Single-Motor DC Drivers and three of five panels LED panels used in our arrangement. The electronic box is connected to a 12V car battery on one end and to the panels on the other. These cables are a bit thinner than our recommended 12AWG (probably 14 AWG) but they performed pretty well too.
![]()
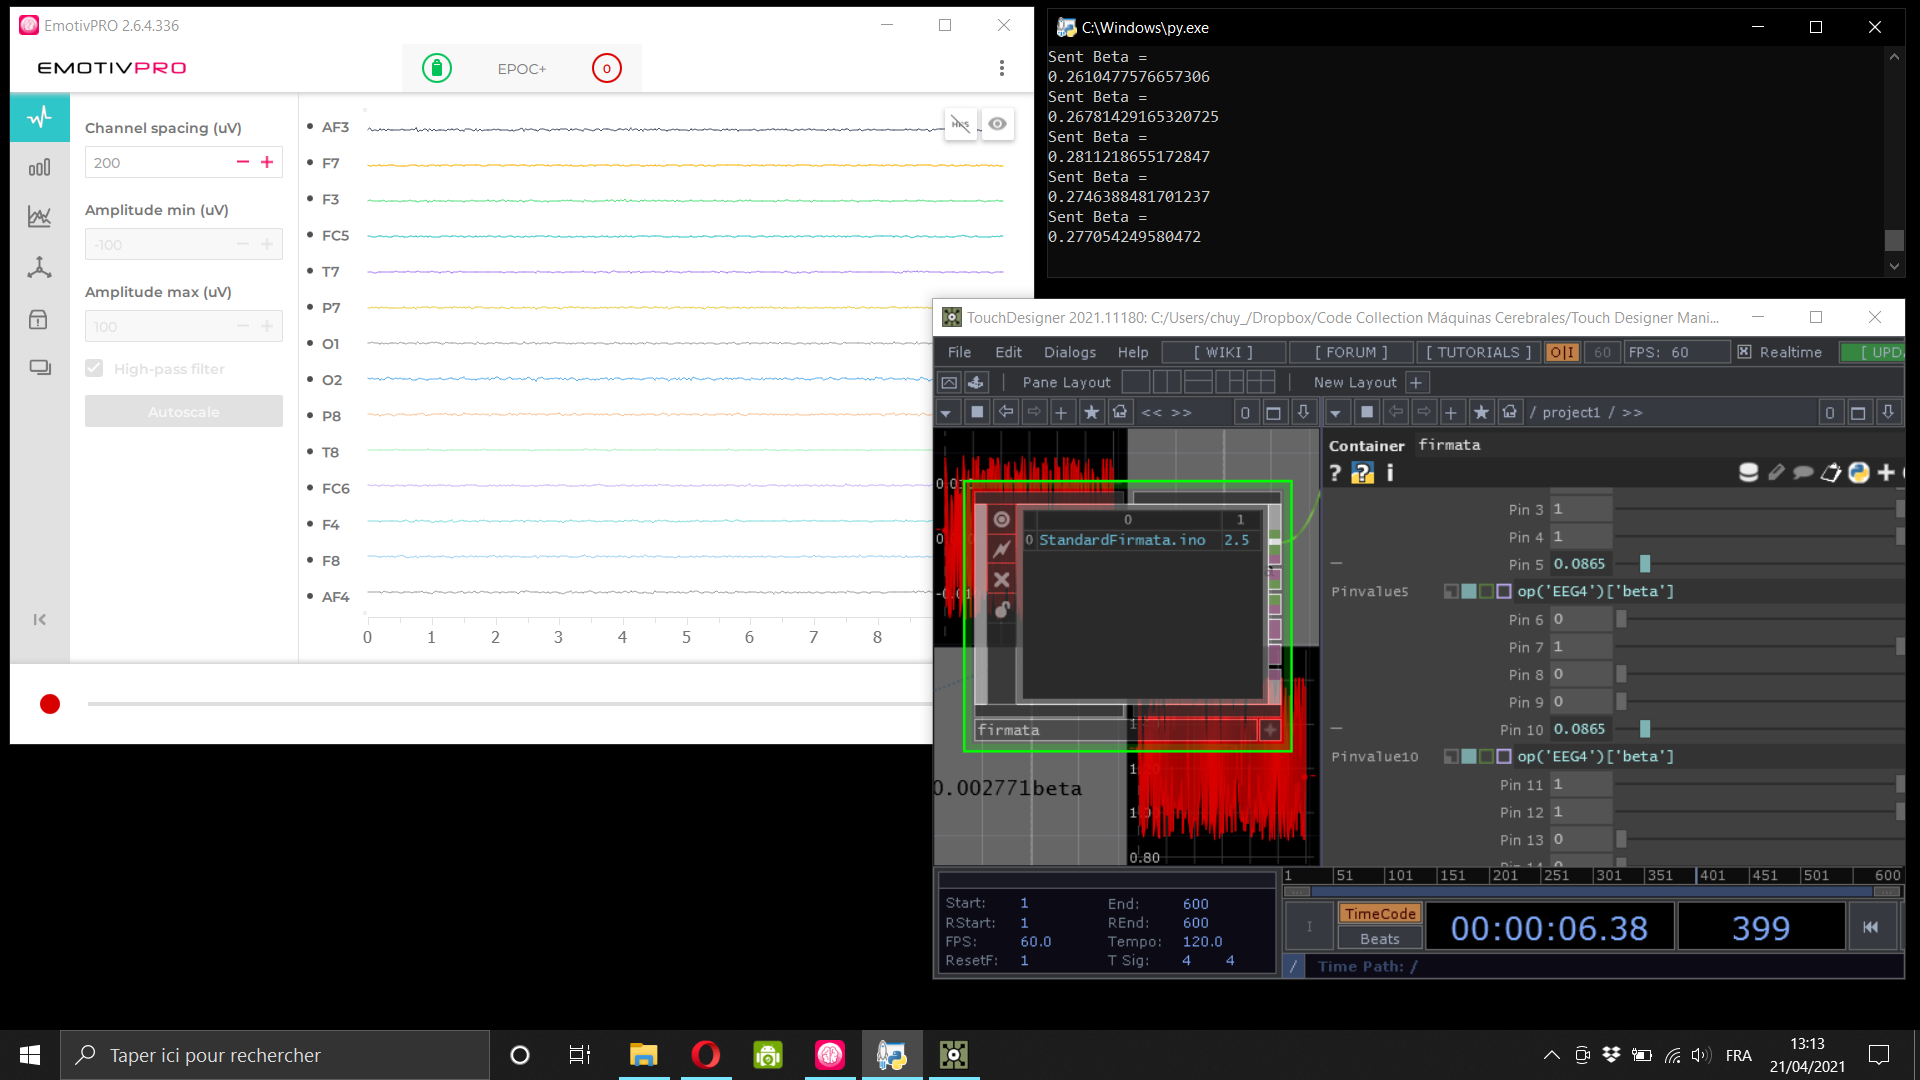
Figure 2. View of the three required programs running simultaneously. On the left, Emotiv PRO performs real-time measurements of the EEG signals captured by the Epoc+ 14-Channel Headset; on the upper right, the Python window displays Beta (15-25Hz) mean power values processed by our original code and sent to an internal OSC port for subsequent reading by Touch Designer; on the lower right, Touch Designer uses the OSC-read values to produce sound using varying oscilator combinations and to control the electornic drivers through direct manipulation of the Firmata-Programmed Arduino (this last bit is pretty high-maintenance so make sure to look at the specific post on it !) .
EEG + Touch Designer "Brain Machine 4"
Python Signal-Processing Implementation for improved Translation of Brain Activity.
 Jesús Tamez-Duque
