What is it?
This device will help you to make awesome time-lapses of your 3D prints using only a micro switch and a handsfree circuit (if your using your phone as the camera).
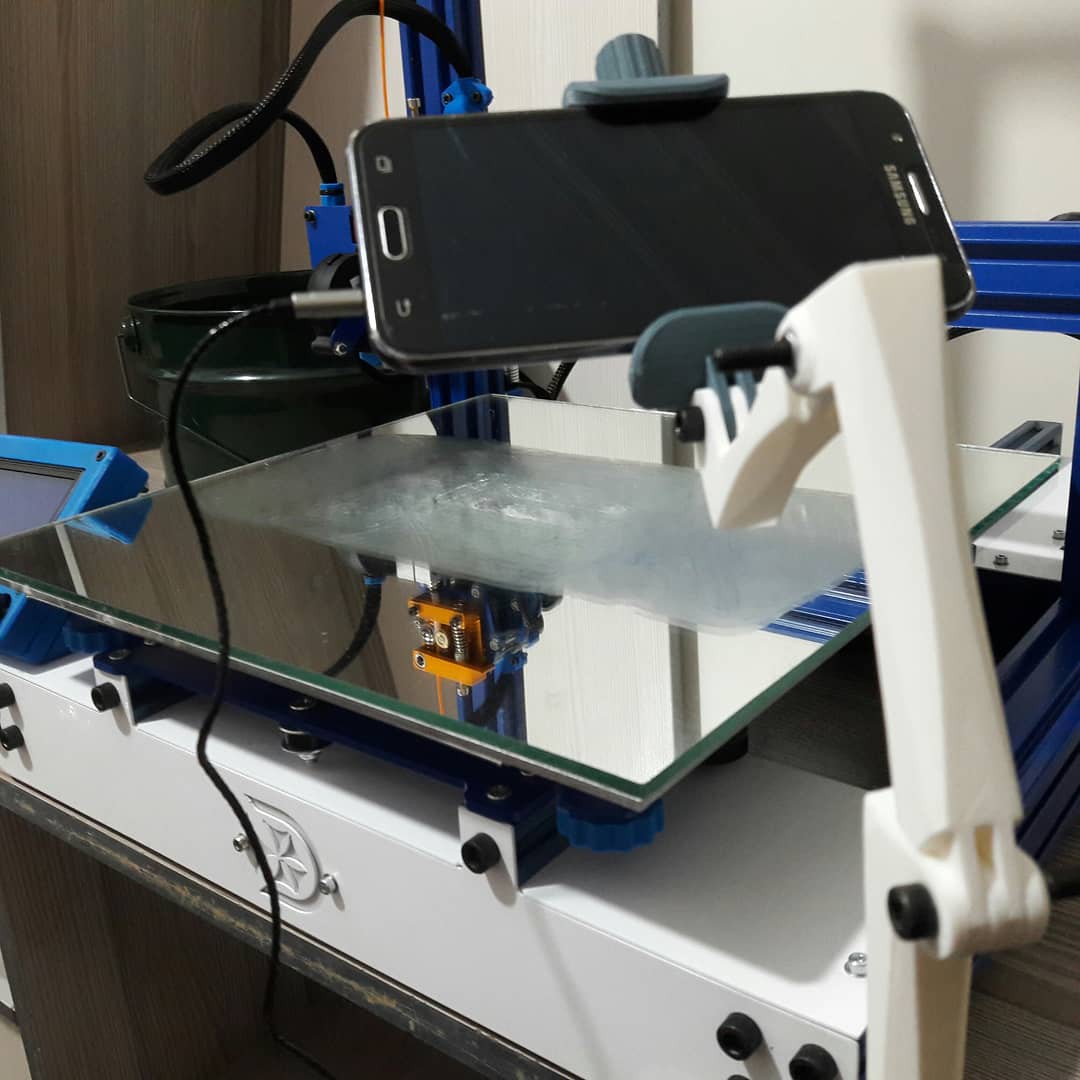
You may ask what a handsfree has to do with a 3D printing time laps, well, I used it as a way to trigger the phone camera.
In the camera app settings in your phone, you should see an option which can set the function of the phone volume buttons in the camera app, which you can set it to take photos. Now this means that whenever you push the volume button of you phone while you're in the camera app, it will take a picture!
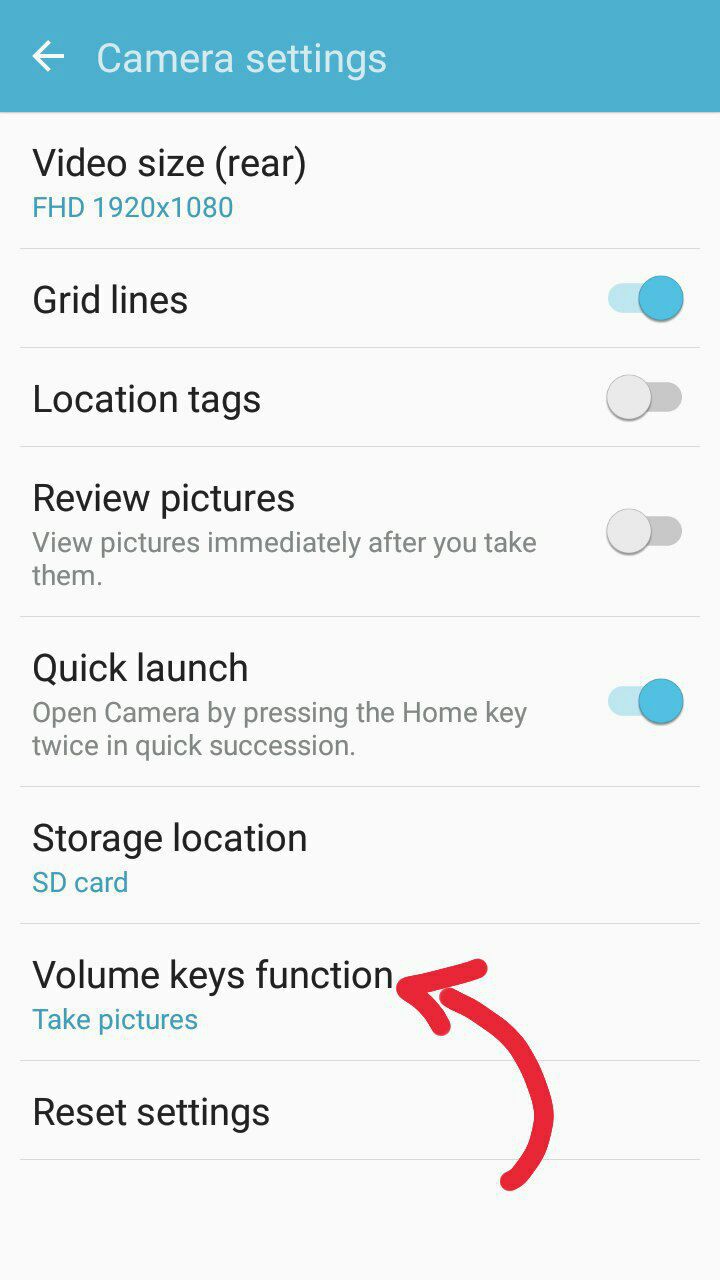
and thats all you need, that's the key to those eye catching time lapses which the print will grow up out of nowhere.
Making the Remote Trigger
So now you get the concept, the idea is to use a handsfree PCB as the remote trigger for the camera. for this, you'll need a handsfree with volume control buttons, thats essential.
Then you just take out one of the volume control buttons on the headphone PCB and replace it with a micro switch (everything explained in instructions section). Now you have a wired remote trigger.
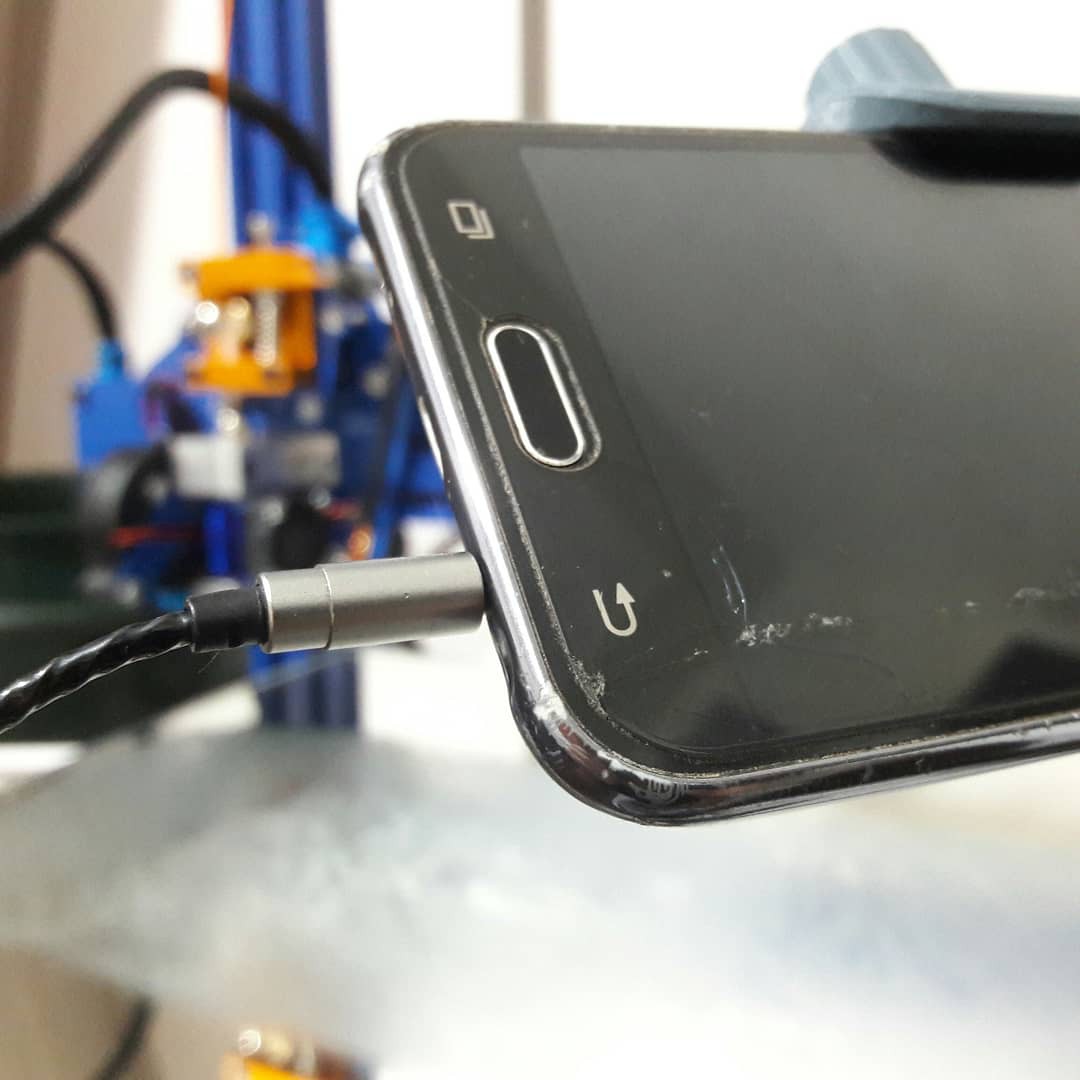
Note: You only need this if your using a smart phone as your camera, if you have a DSLR camera you can use its own remote trigger.
Placing the Remote Trigger
After making the remote trigger, you should place the micro switch on the X axis of your 3D printer, or wherever that moves up and down with the print head of your machine.
For me, I just placed it at the very end of the X axis V slot.
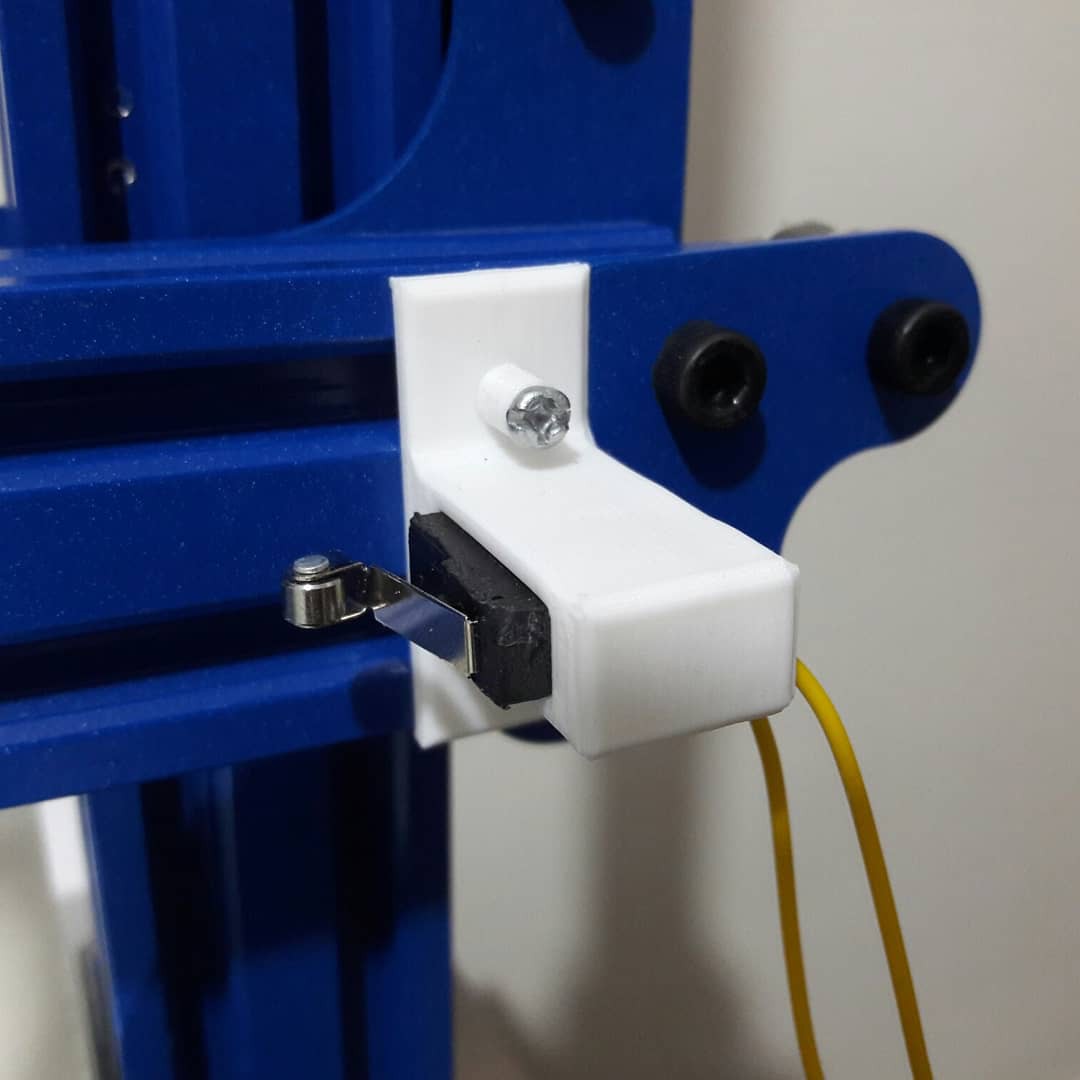
Note: you cant use Y axis if the Y axis of your printer is your print bed, like Ender 3 or CR10 for example.
G-Code Modification
You need to make your printer pause the print after each layer, move up the Z axis a bit, move the Y axis to anywhere that you like it to be for taking the picture, then move the X axis to the micro switch and slightly press it.
In Cura slicer, I made this possible using a costume configuration called "Costume time laps".
Here is the link to its Github page:
https://github.com/simonjamain/CustomTimelapseCuraPlugin
You can find a step-by-step instruction for making this upgrade in the instructions section
 setCREATE

 Pointlessly Useful
 Roger
Roger
 theschlem