 PixJuan
-
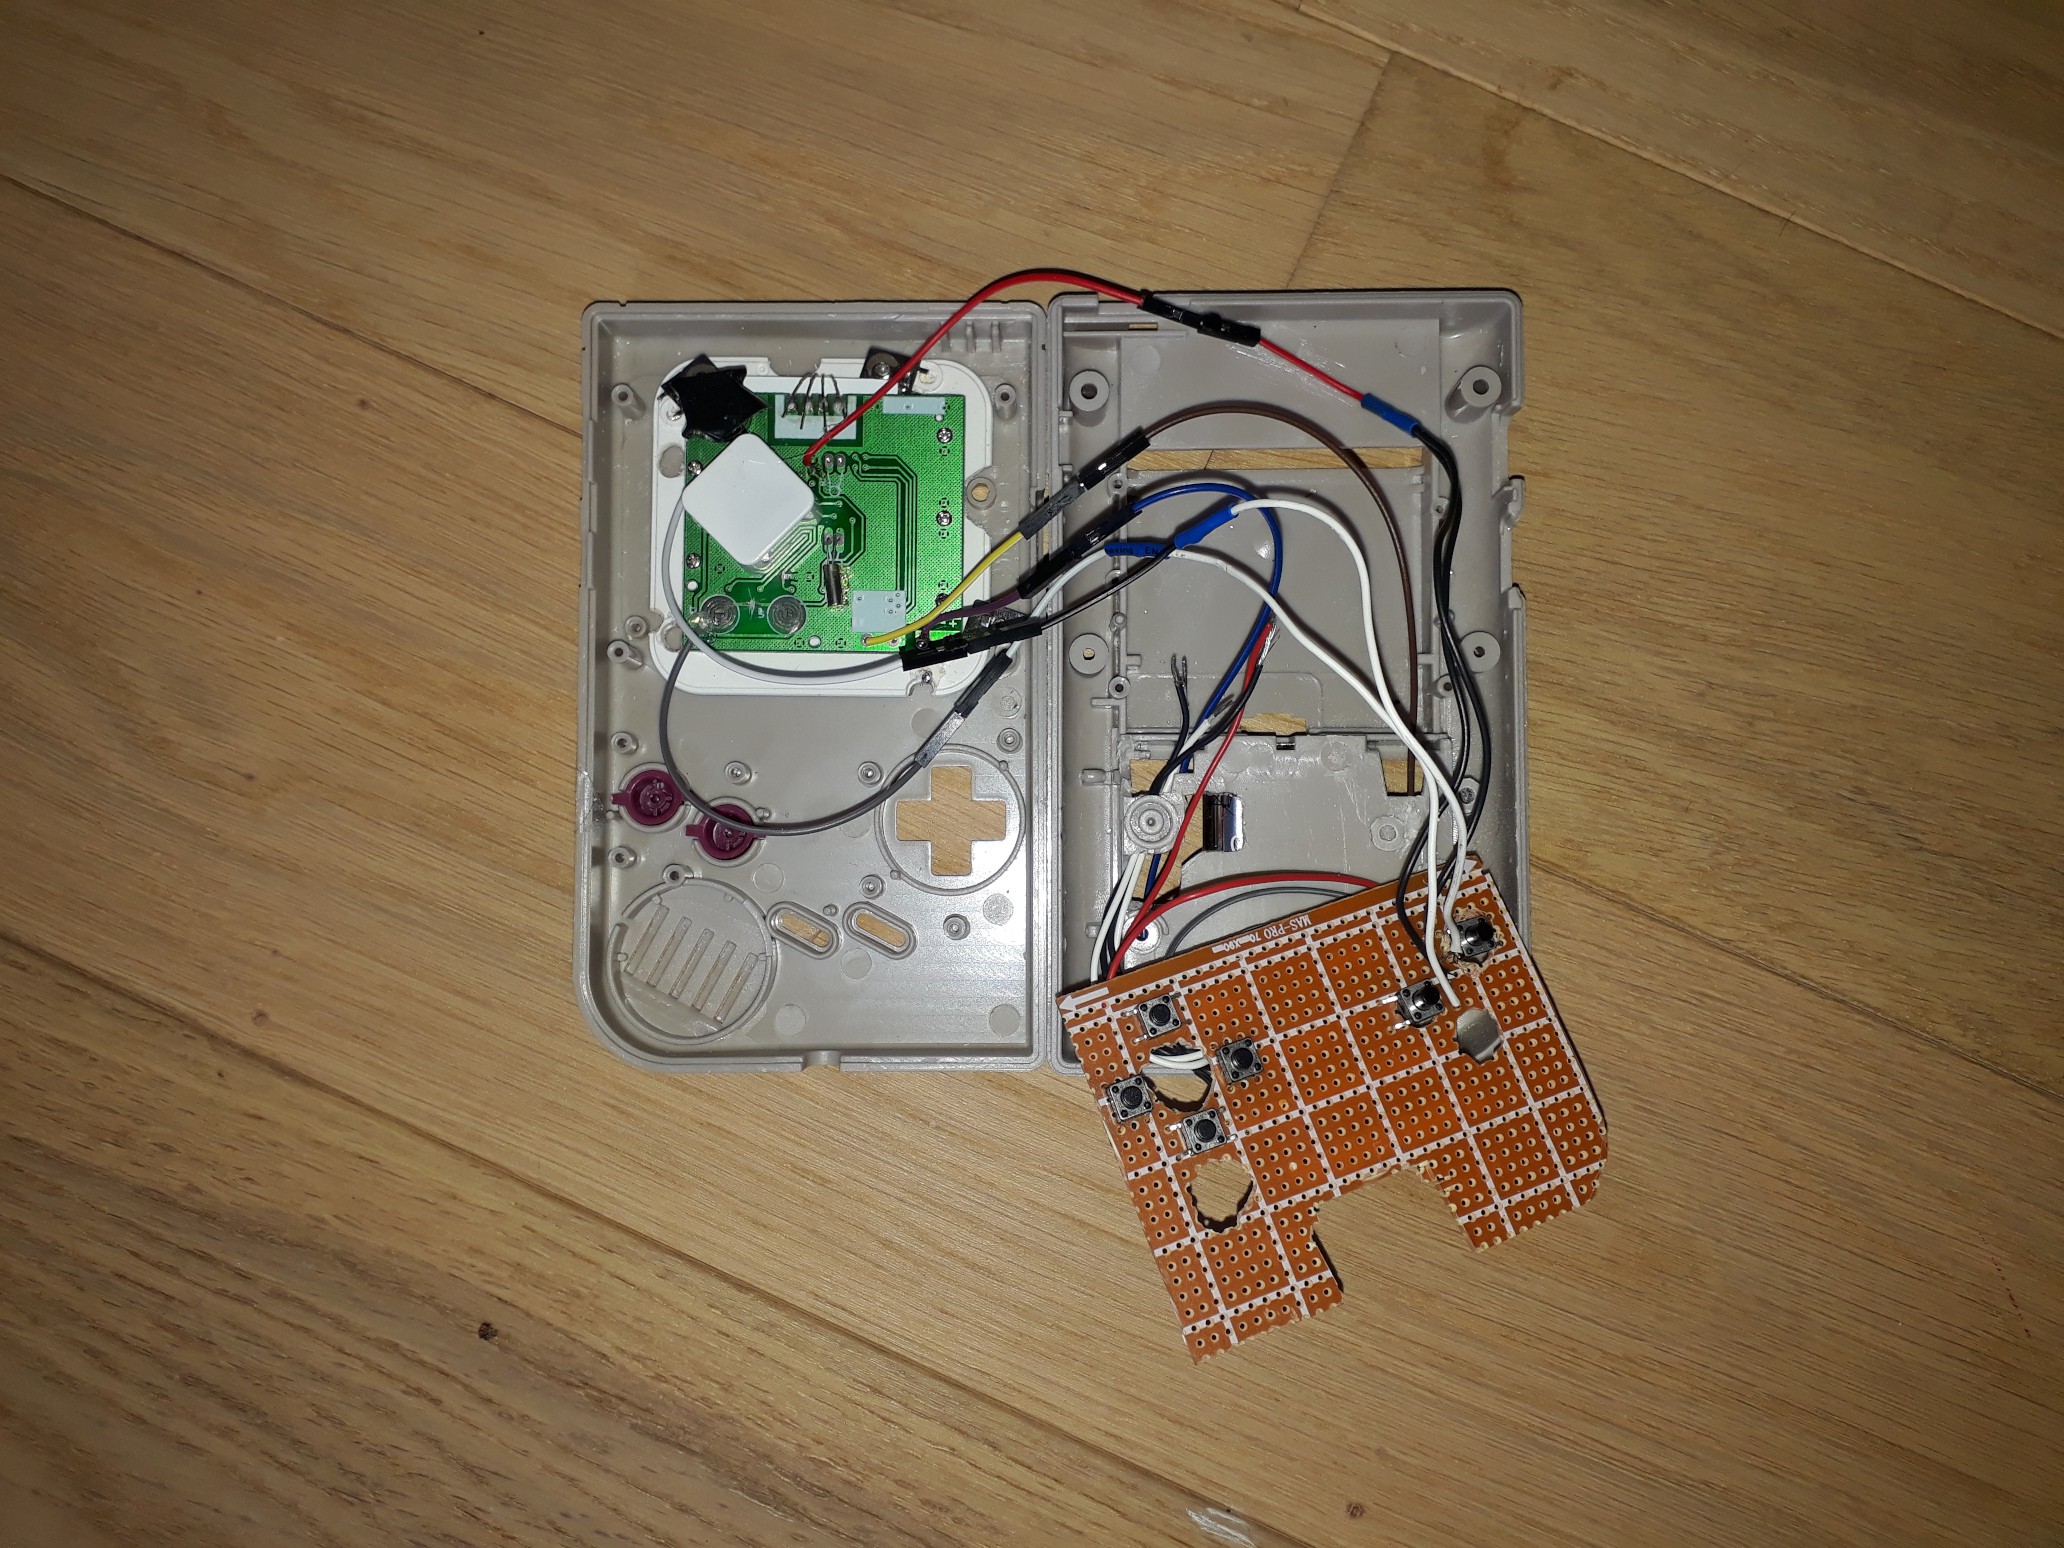
1Step 1
First, drill holes in the prototype PCB , cut the part so that it fits.
Then, solder the buttons on the top and the cables on the back.
Drill the PCB case so that there is room for the cables. Retrospectively it would probably have been better to solder the cables on the top, I wouldn't have had to slaughter the case so much, but it works
I soldered buttons for the cross, even I didn't use them in the end. -
2Step 2
With a Dremel or a similar tool saw the sides of the clock.
Drill holes in what remains of the frame of the clock so that you can screw it later to the front of the Gameboy case.![]()
-
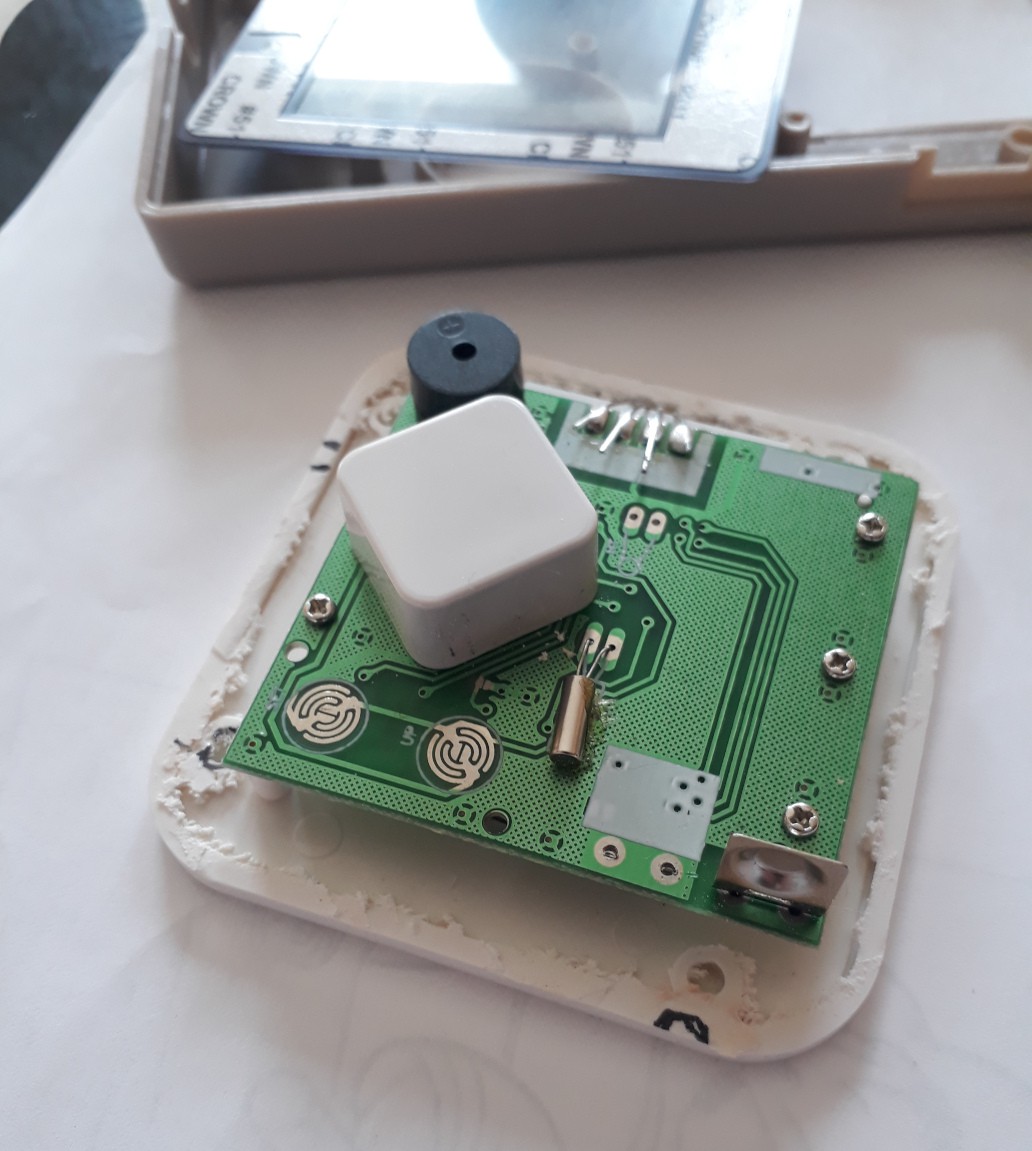
3Step 3
Now we need to solder some cables on the clock.
Unsolder the battery holders, and keep them for later, then solder some jumper cables to power the clock.
Then solder cables on the button pads, I tried to remove the "vernish" on the PCB but it didn't work very well, for one of the button,I ended up following the lines and soldering on the other side of the clock.![]()
before I soldered the button cables -
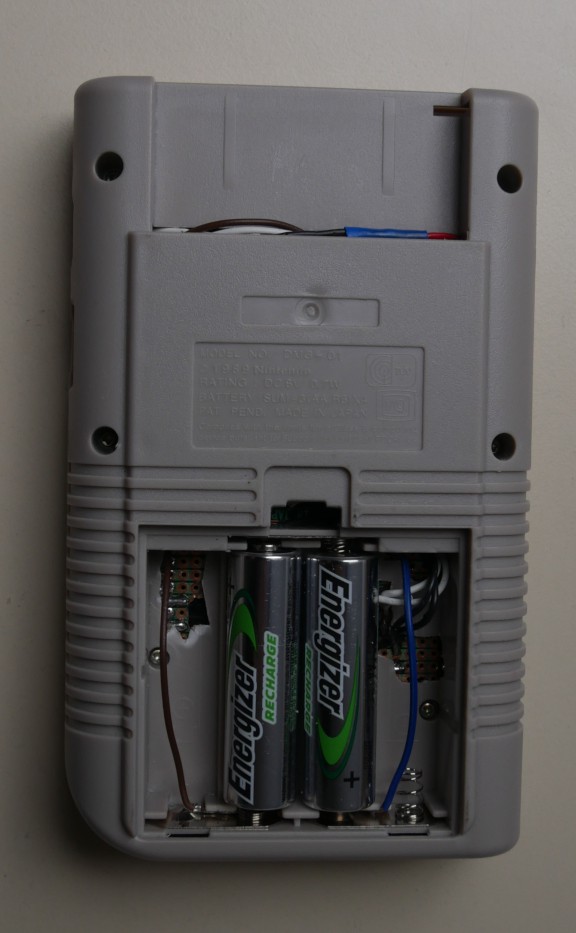
4Step 4
Insert or solder 2 cables in the gameboy case battery holder, you only need 2 batteries to power the clock, not 4 like for a DMG Gameboy
![]()
-
5Step 5
Screw the clock on the front case and pray that it still closes. I drilled holes in the clock battery holder and used as a washer them to hold everything in place, but regular washers should work as well.
Be careful not screwing too hard, or the screws will go through the thin front case plastic.
![]()
-
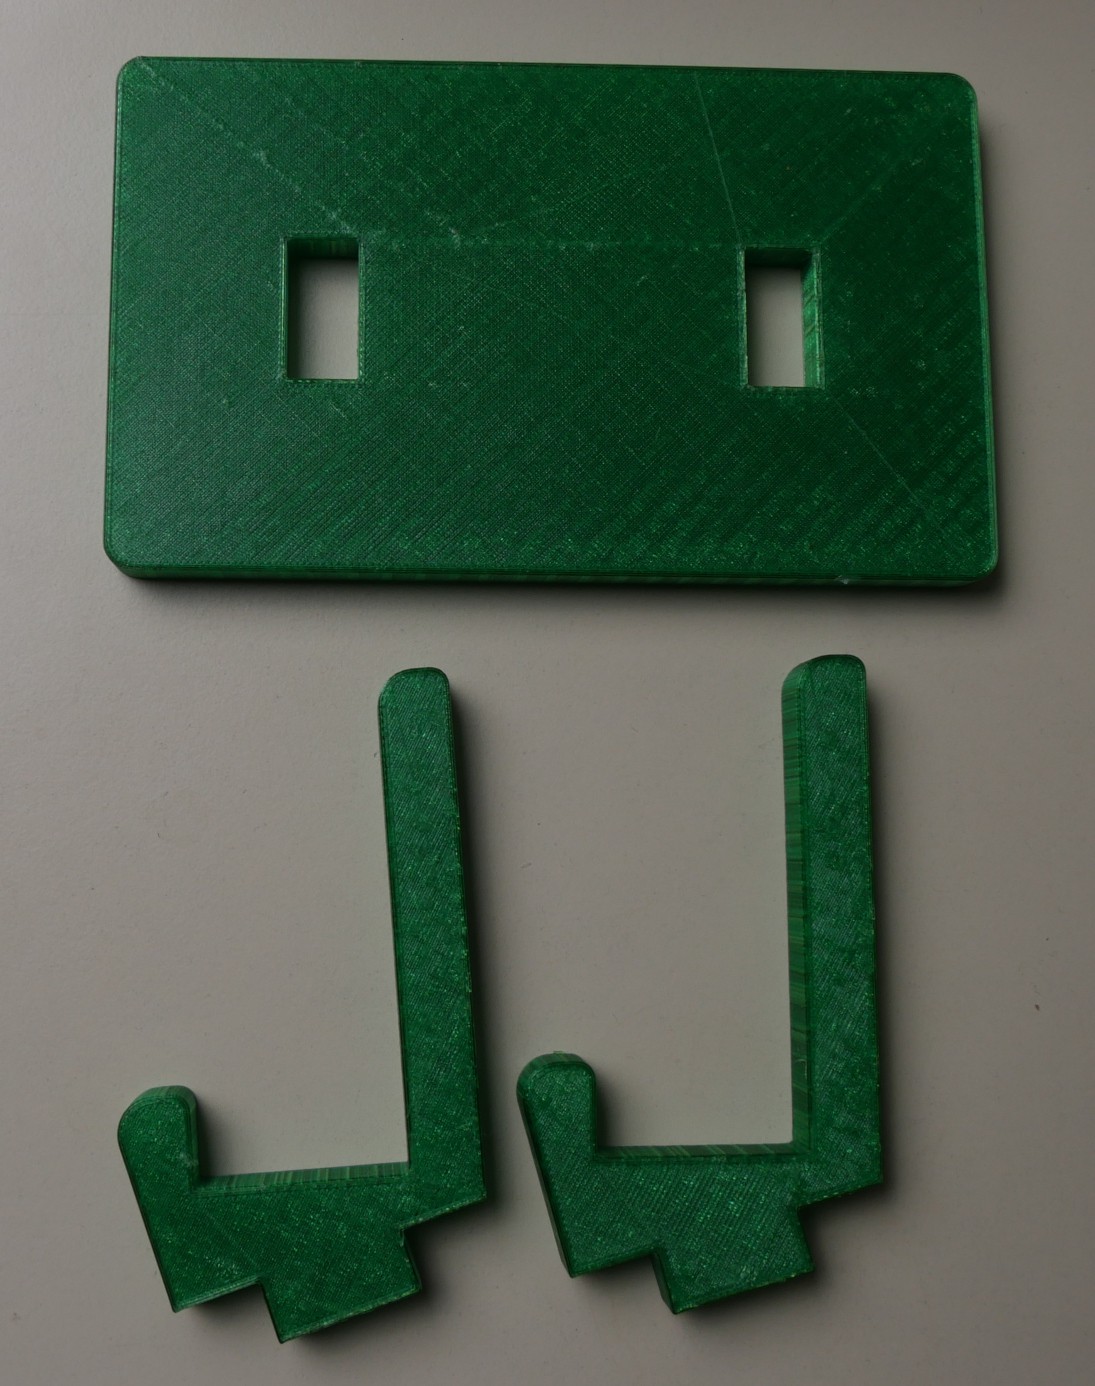
6Step 6
3D print the Gameboy stand.
![]()
You're done.

Discussions
Become a Hackaday.io Member
Create an account to leave a comment. Already have an account? Log In.