-
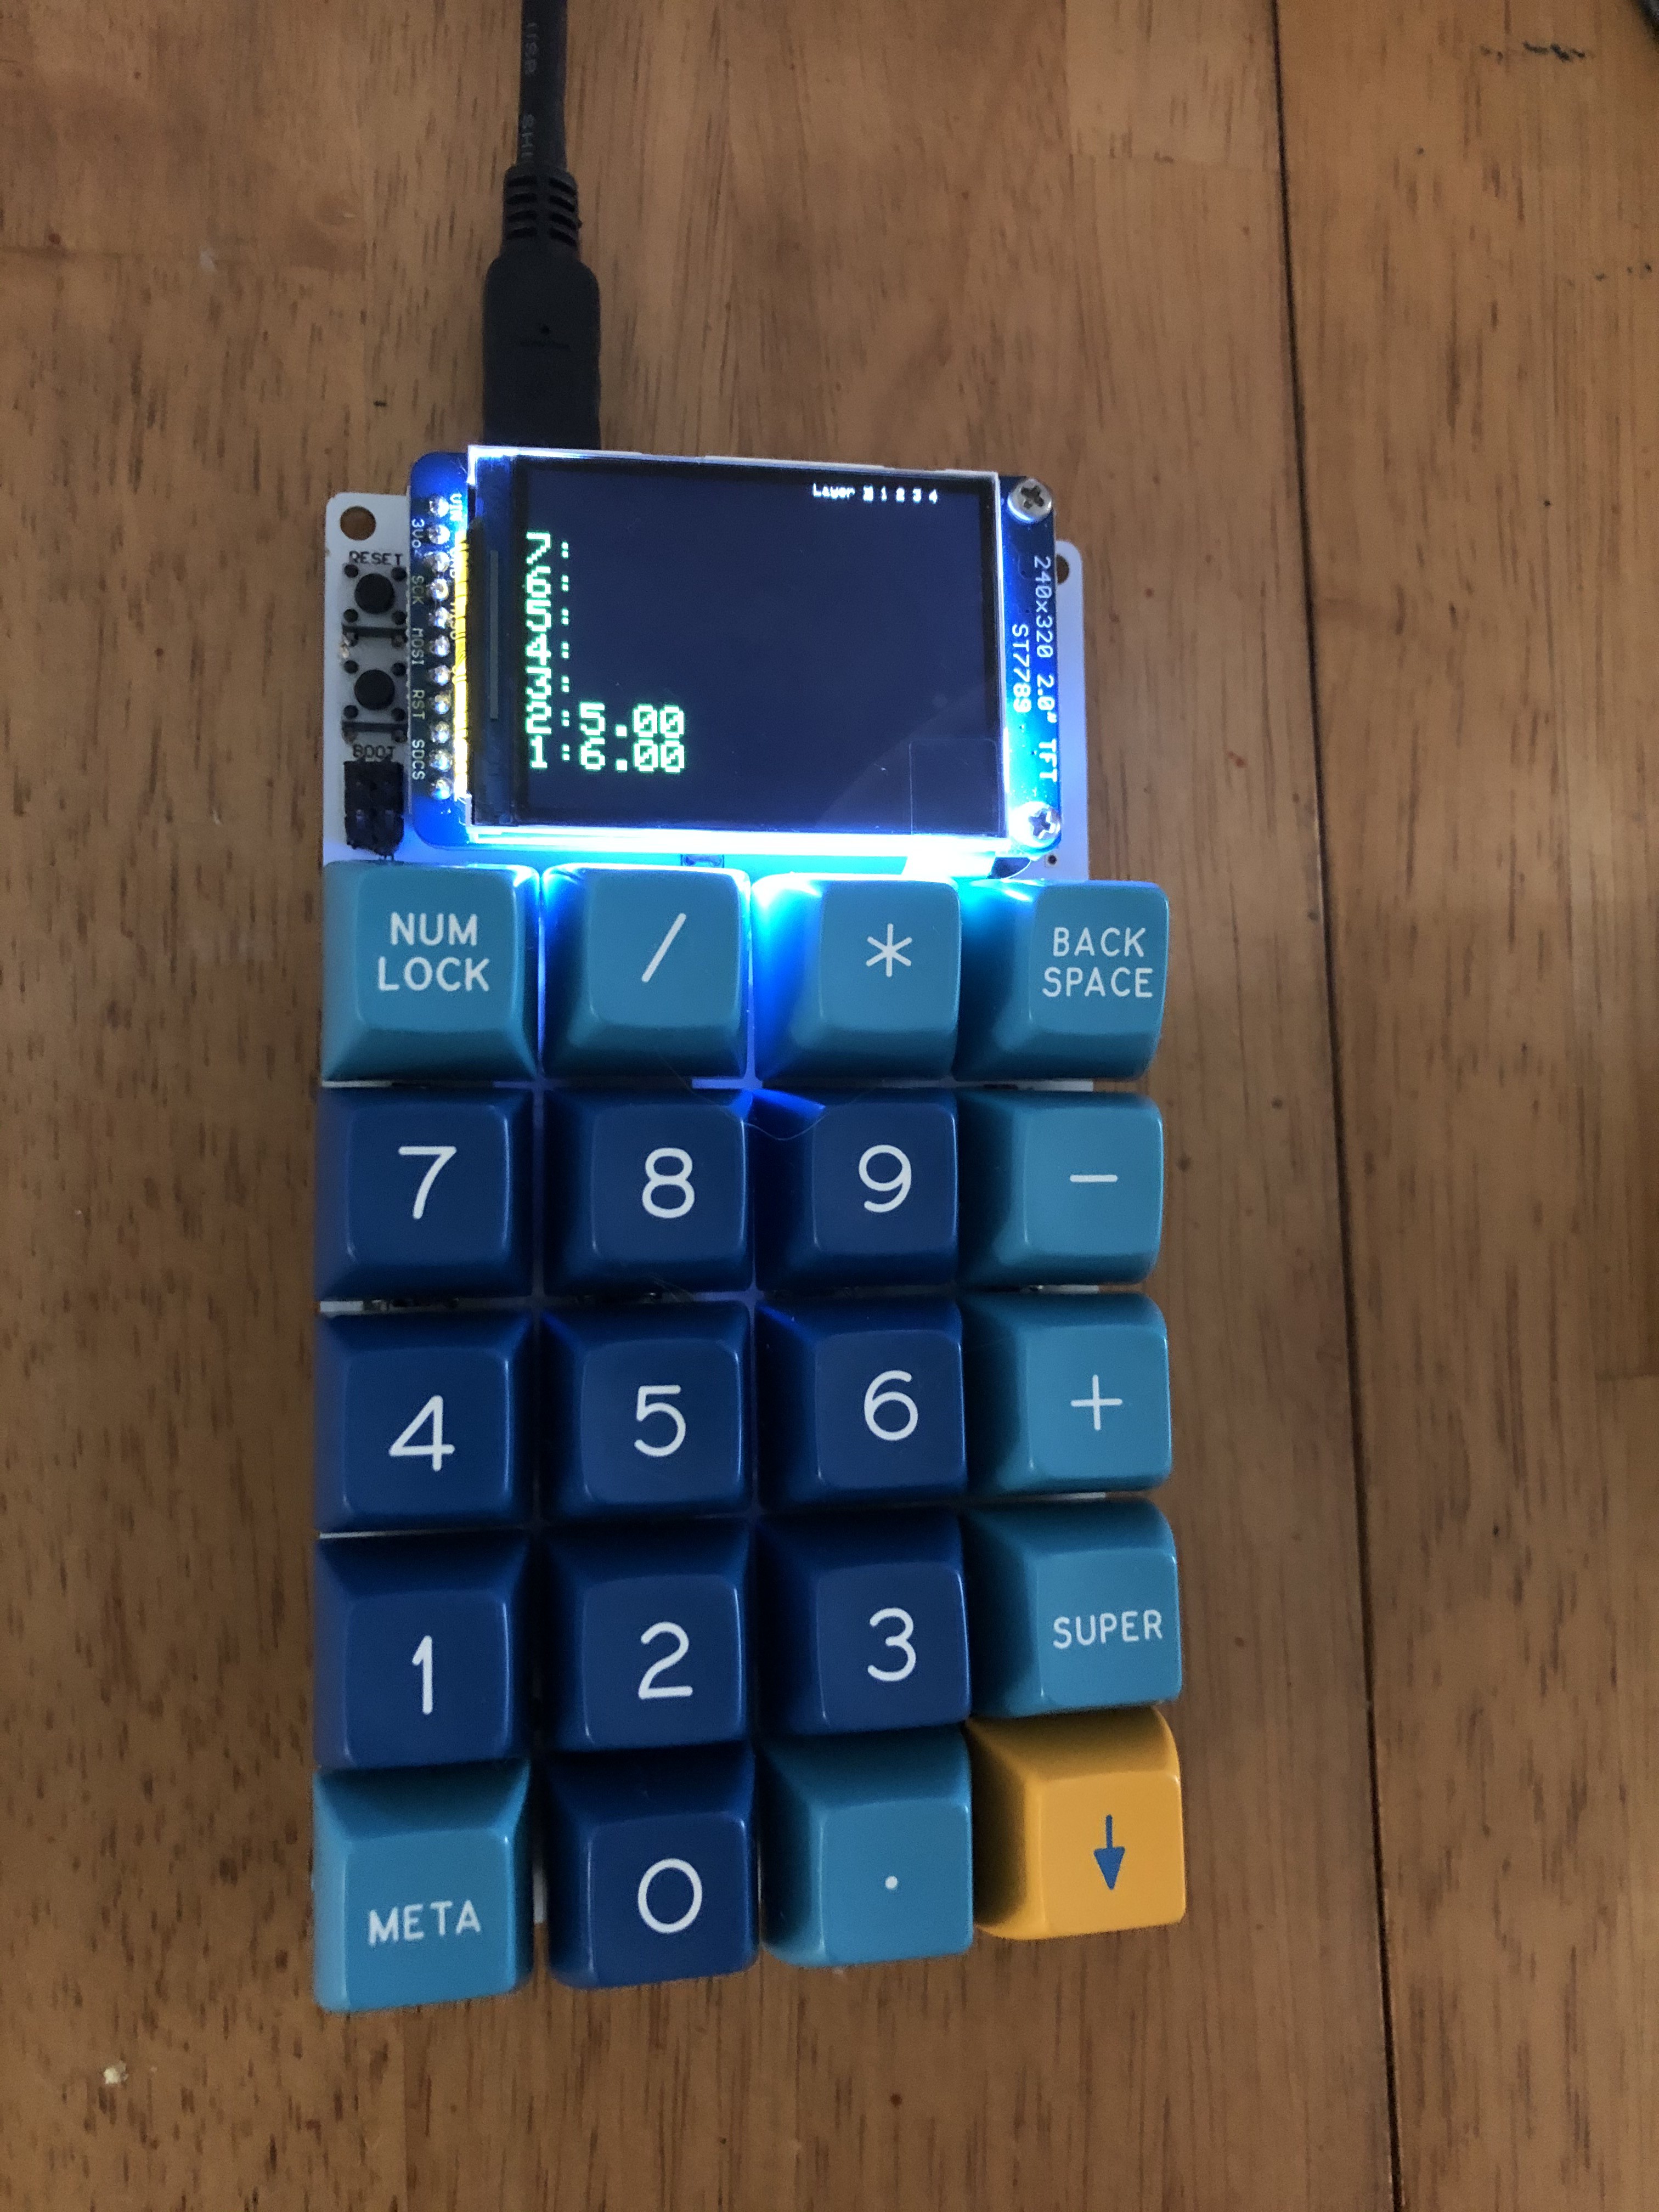
keycaps on
05/26/2021 at 20:14 • 0 commentsPut some keycaps on and it's looking pretty good. I need to glue down the display a bit to contain the leaking backlight. I didn't have any Enter or = keys that were one unit big, so I improvised.
I've found that I really need a backspace key because I make a lot of mistakes while typing on it. Also, I can use it as a "drop" function to remove items from the stack. At some point I can try to design a base for it and 3D print it, but I've never done any mechanical CAD work before.
![]()
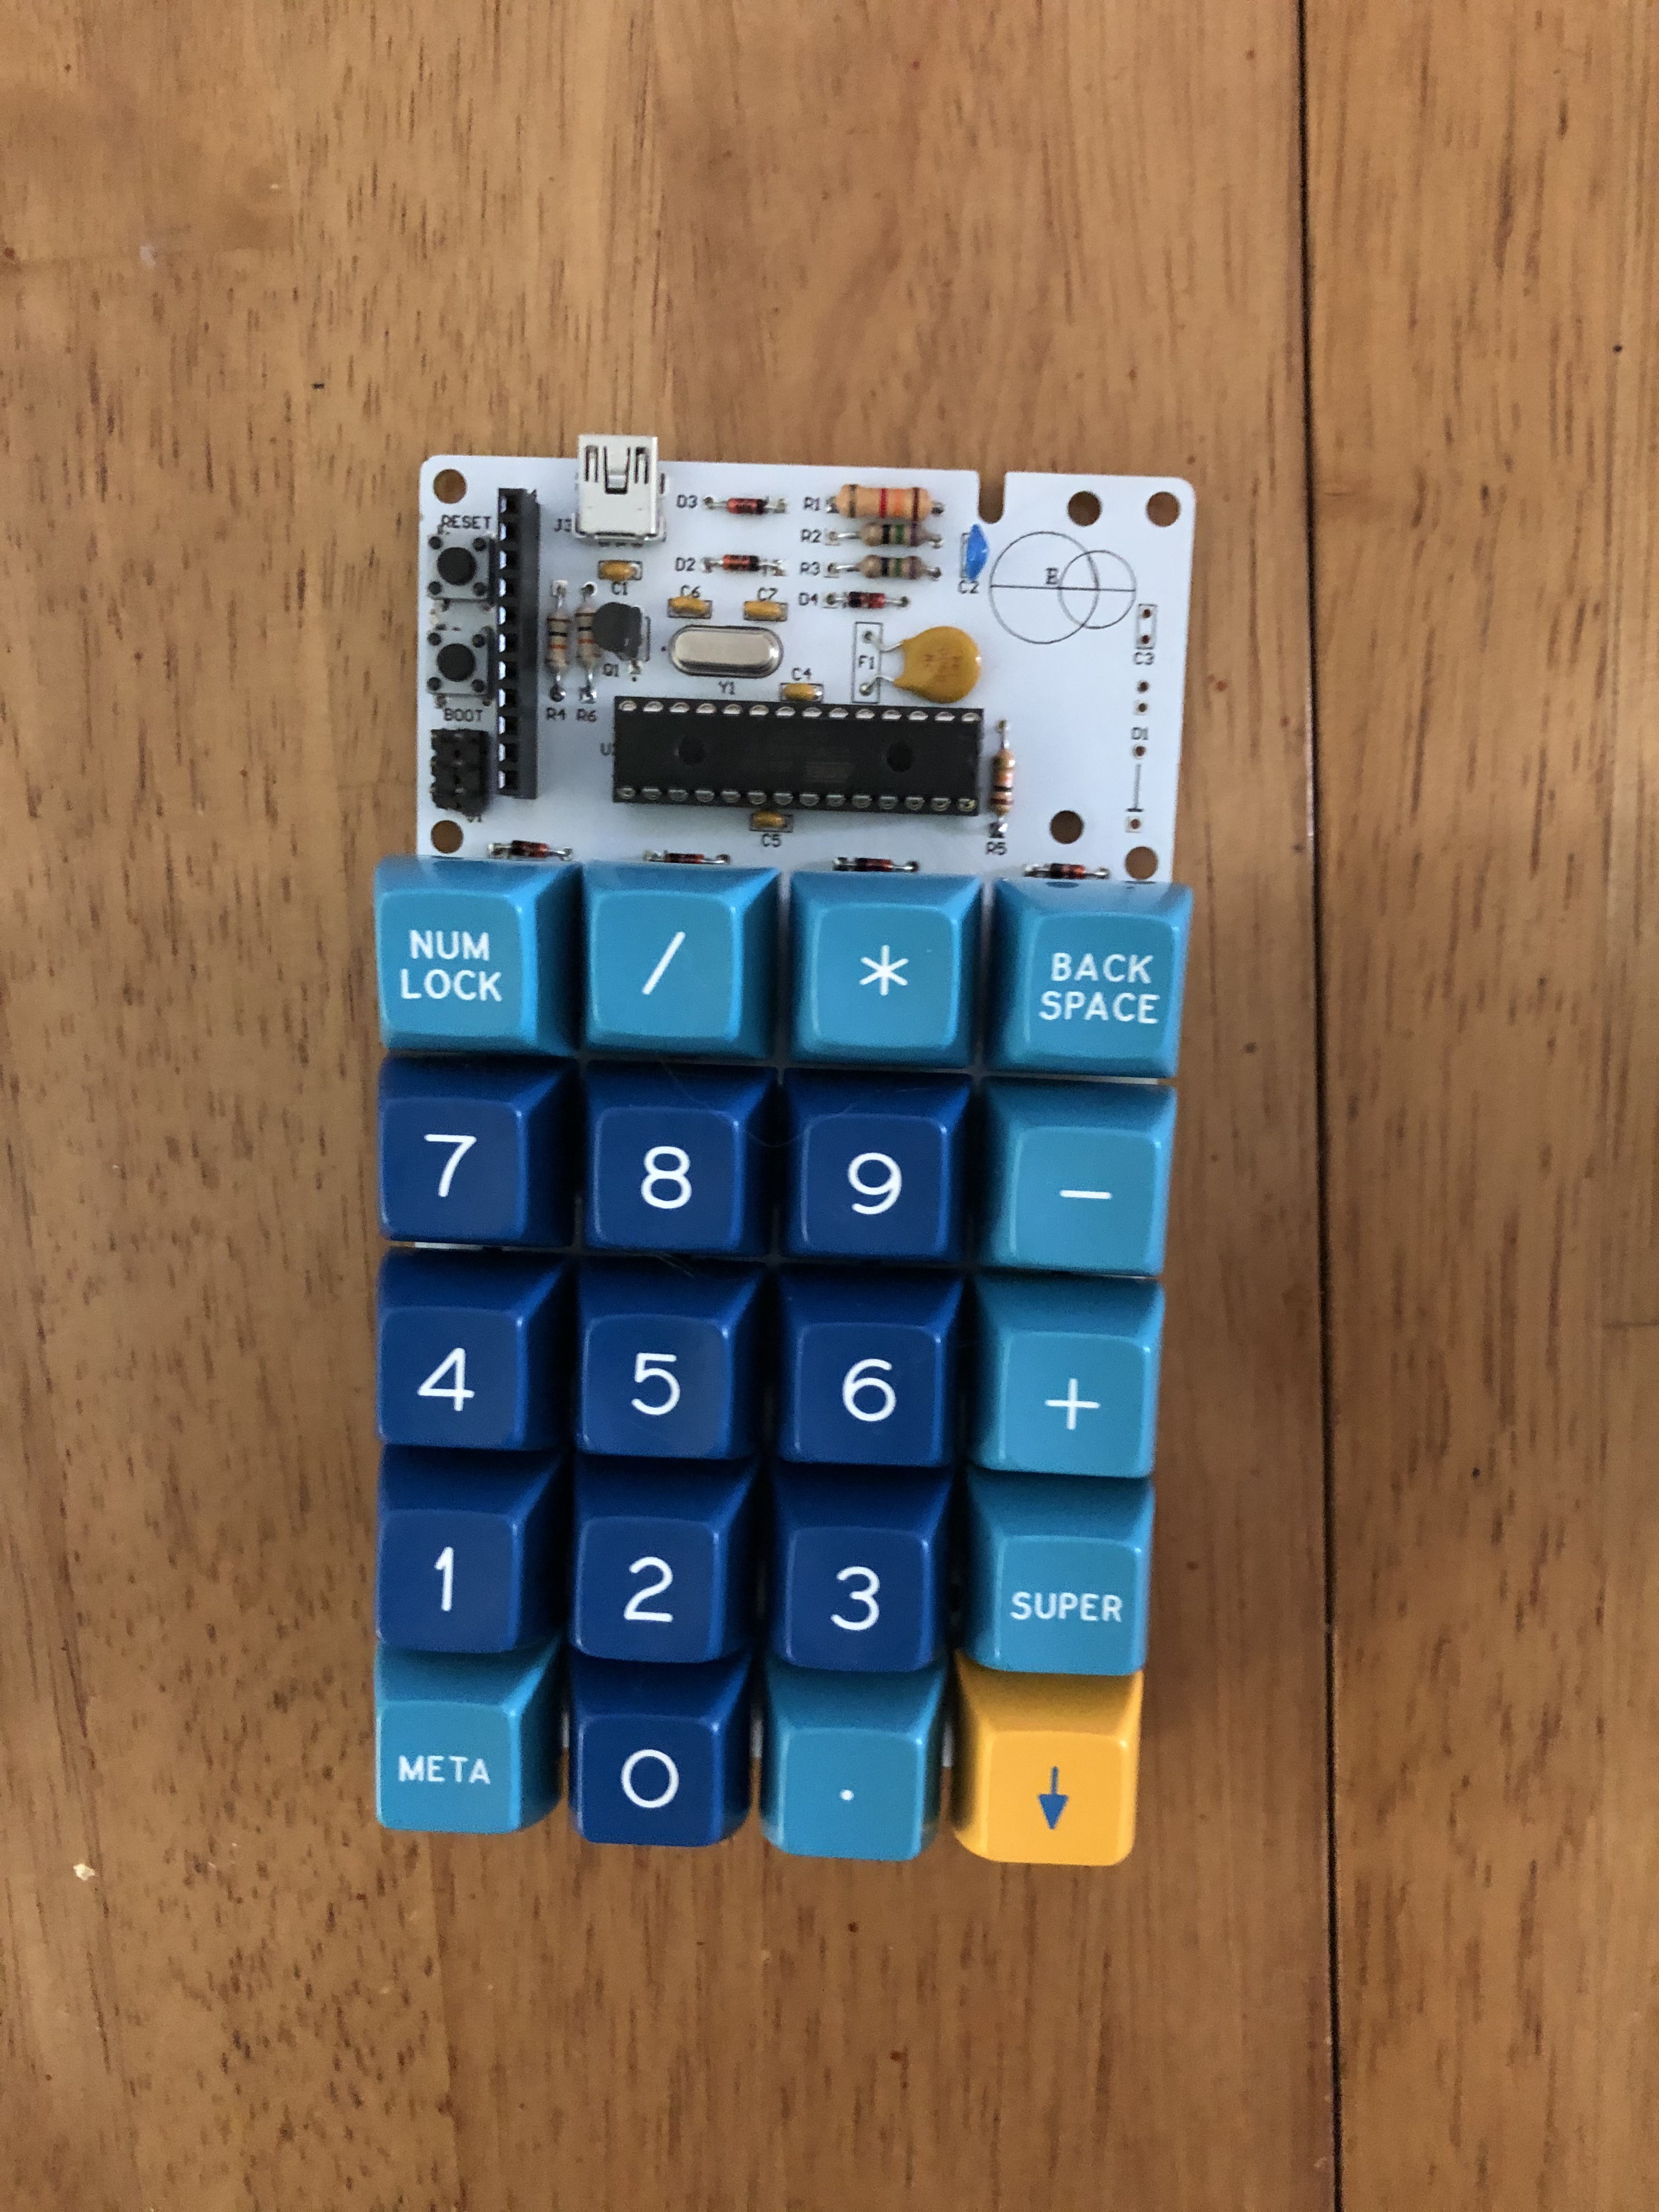
One with the screen removed:
![]()
-
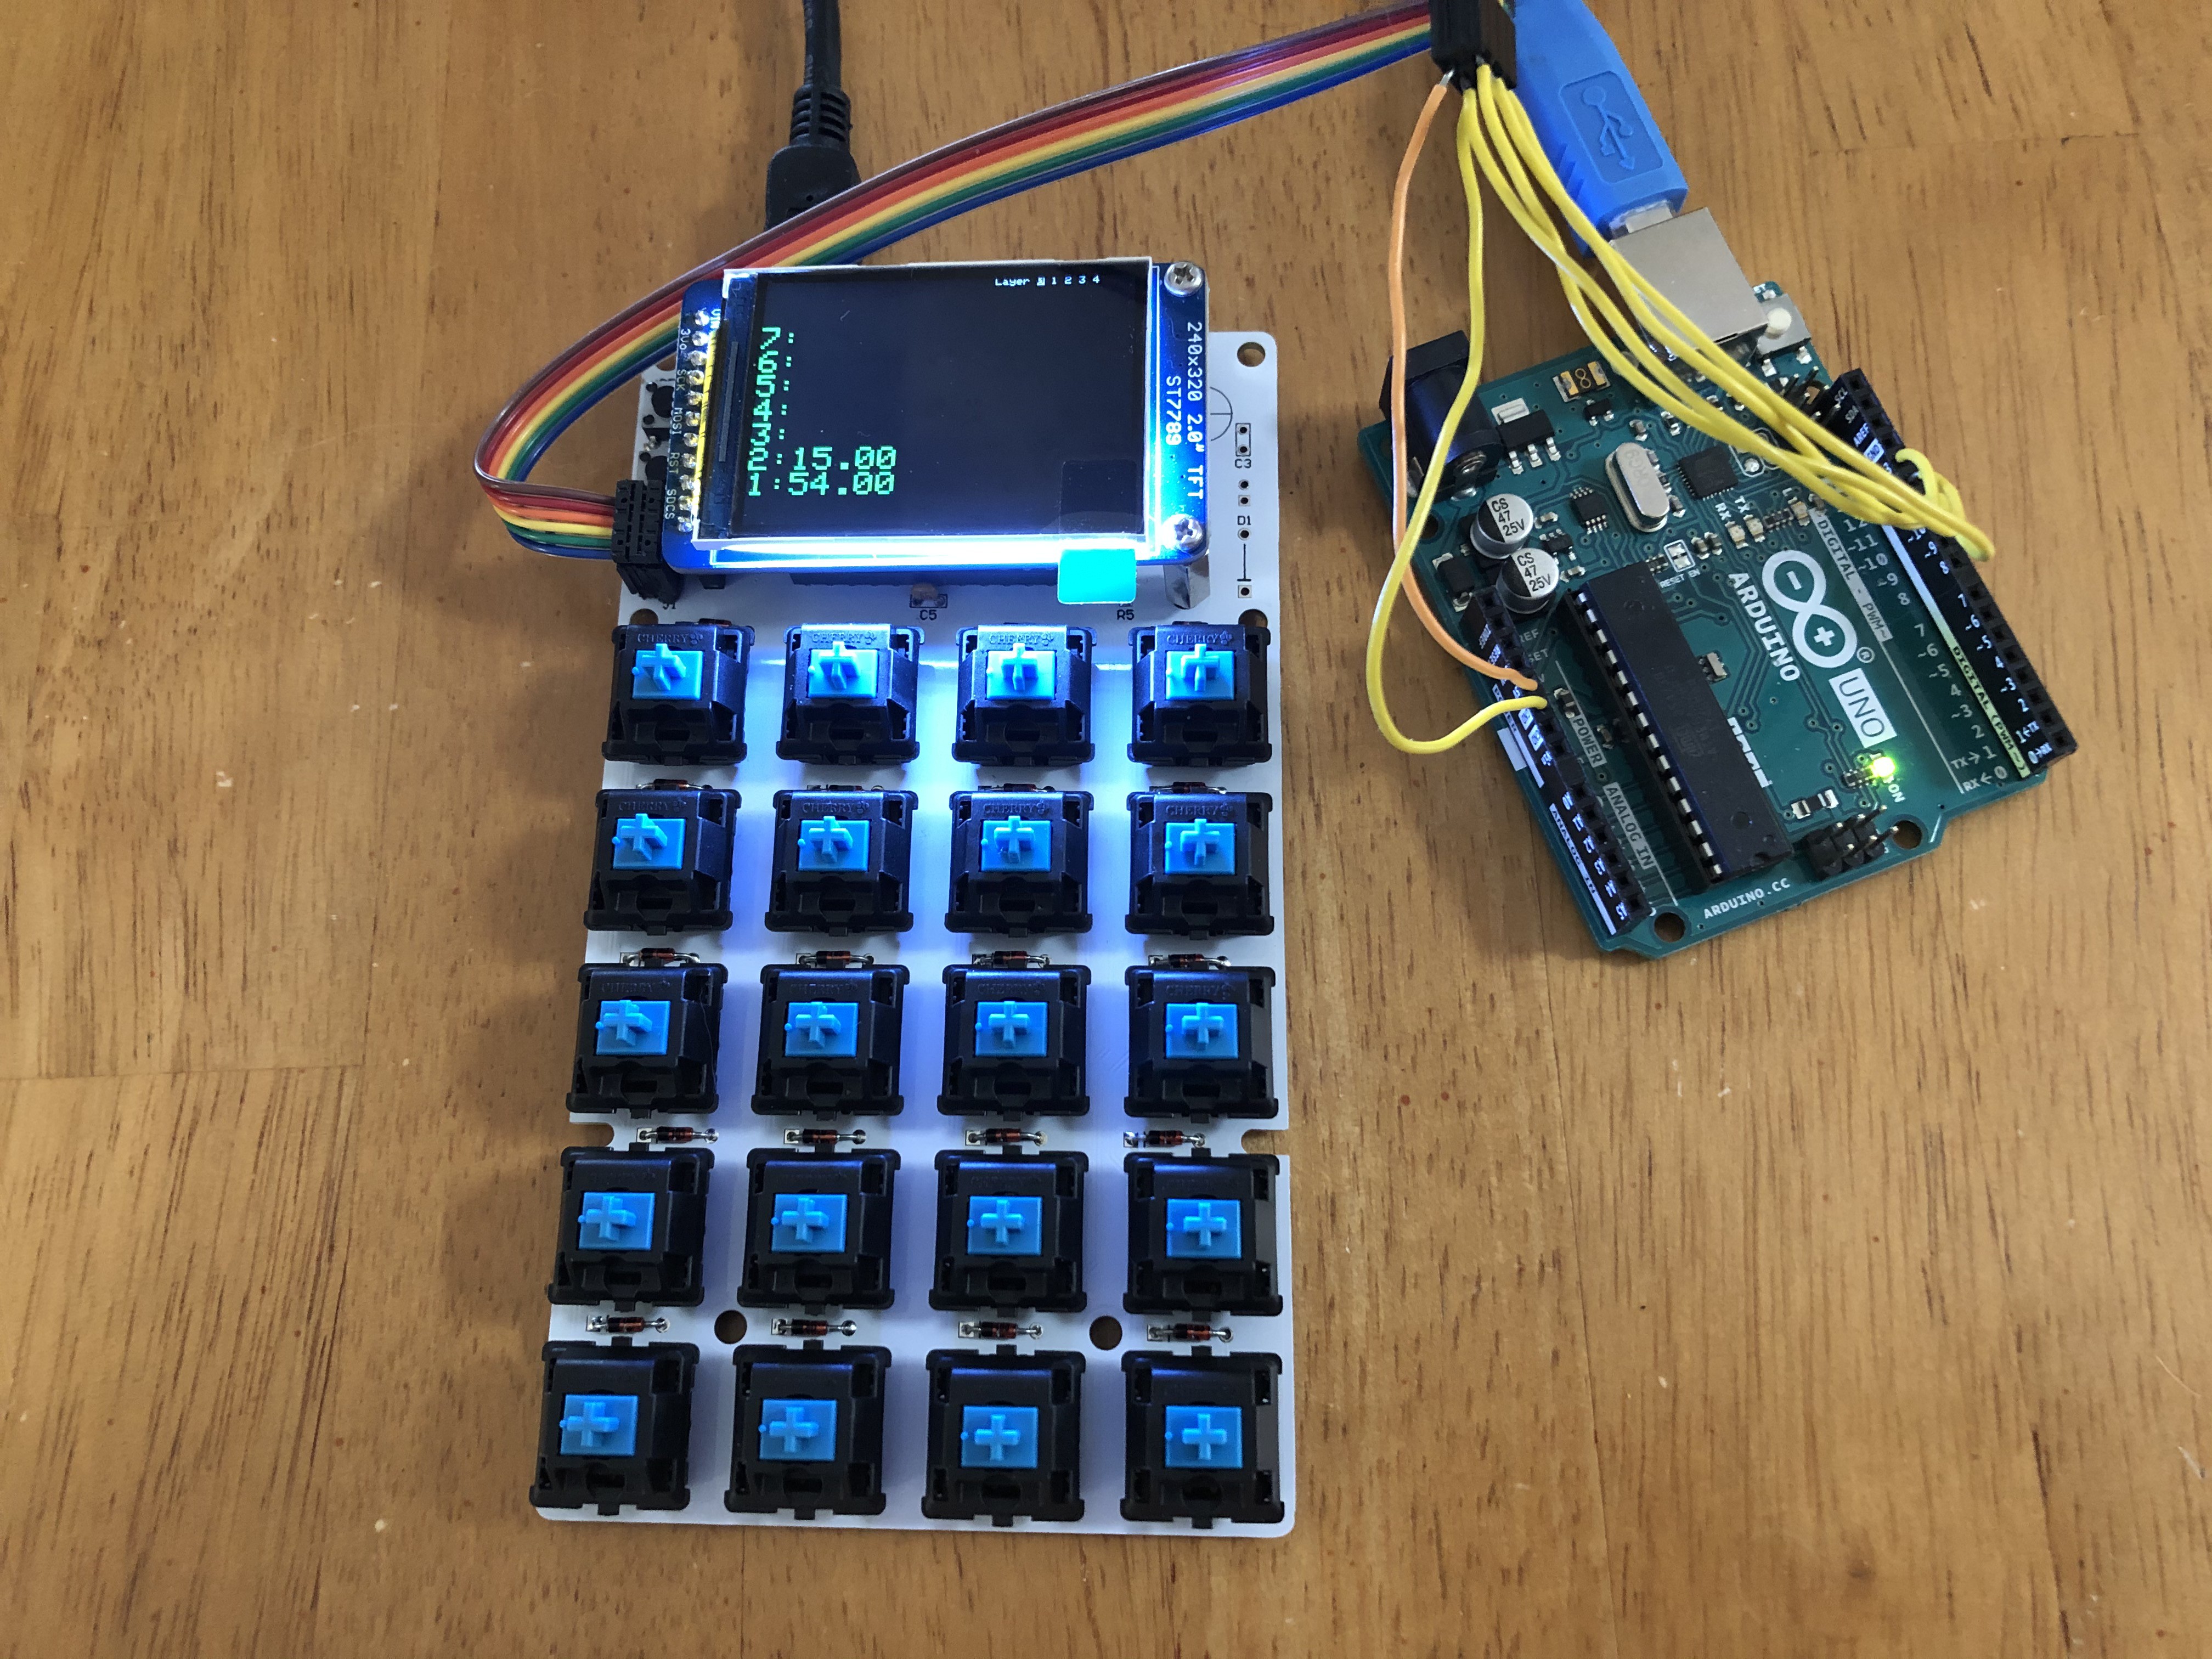
All switches added
05/25/2021 at 16:35 • 0 commentsI've cut some traces and soldered some wires, so the SPI bus uses the native port. This made screen updates much faster. I've checked the switch scanning code and it all works, so I soldered on the rest of my switches. I went with Cherry MX Blues for some clack. All switches are now sending keycodes over USB.
![]()
Next I need to work on the layers code to access the other calculator functions. That also means I need to decide on other functions that I want to implement and what keys to put them on. This is where there isn't a good stopping point since I can keep adding layers and functions to no end.
Also, I'll add some keycaps for now to make it look nice(r).
-
Initial PCB bring-up
05/21/2021 at 17:22 • 0 commentsI've had the PCB in house for some time now, and just got around to assembling and doing the first loading of software. I didn't realize I had used a different pin for the SPI interface, so it's reverted to using a much slower bit-banged version. This significantly slows down the screen writing. I believe I will cut and jumper wires to put it back to the fast version.
It took a considerable effort to figure out how to use the Arduino as an in-circuit programmer. And then to figure out why the display wasn't working. I guess PlatformIO include file didn't define the ports correctly. The USB worked right off the bat though (luckily).