TuckerShannon
-
How Not To Make A Glow Conveyor Belt
06/14/2021 at 02:55 • 0 commentsWhen creating my metal glow scroll plot clock, shown below, I needed a sort of "conveyor belt" made of glow in the dark material.
![]()
I (unfortunately) decided to make a glow-in-the-dark silicon band using smooth-on silicon and glow-in-the-dark powder.
![]()
I 3D-printed a mould and poured a 2-part silicon with a mixed-in glow-powder
![]()
Using a vacuum chamber, I removed the air bubbles from the mould.
![]()
I cut the top part off later
![]()
As a result, I had a really cool glow-in-the-dark belt!
![]()
Unfortunately, it came off the rollers almost immediately and was completely unusable...
![]()
As a desperate final attempt, I purchased some glow-in-the-dark duct tape. I learned adding flour to the back removes the sticky property of the tape!
![]()
-
Working on drawing from GCode files. (In progress)
06/13/2021 at 21:35 • 0 commentsCurrently, the LaserPi is only configured to draw text, and a few pre-defined shapes. I'd really like to build a new method for the LaserPi to interpret GCode and thus project any shape or image onto a screen.
To begin this step, I need to have a method for defining a "canvas" (the glow-in-the-dark surface). This would allow the user to align the laser the corners of the "canvas" and save these coordinates within memory.
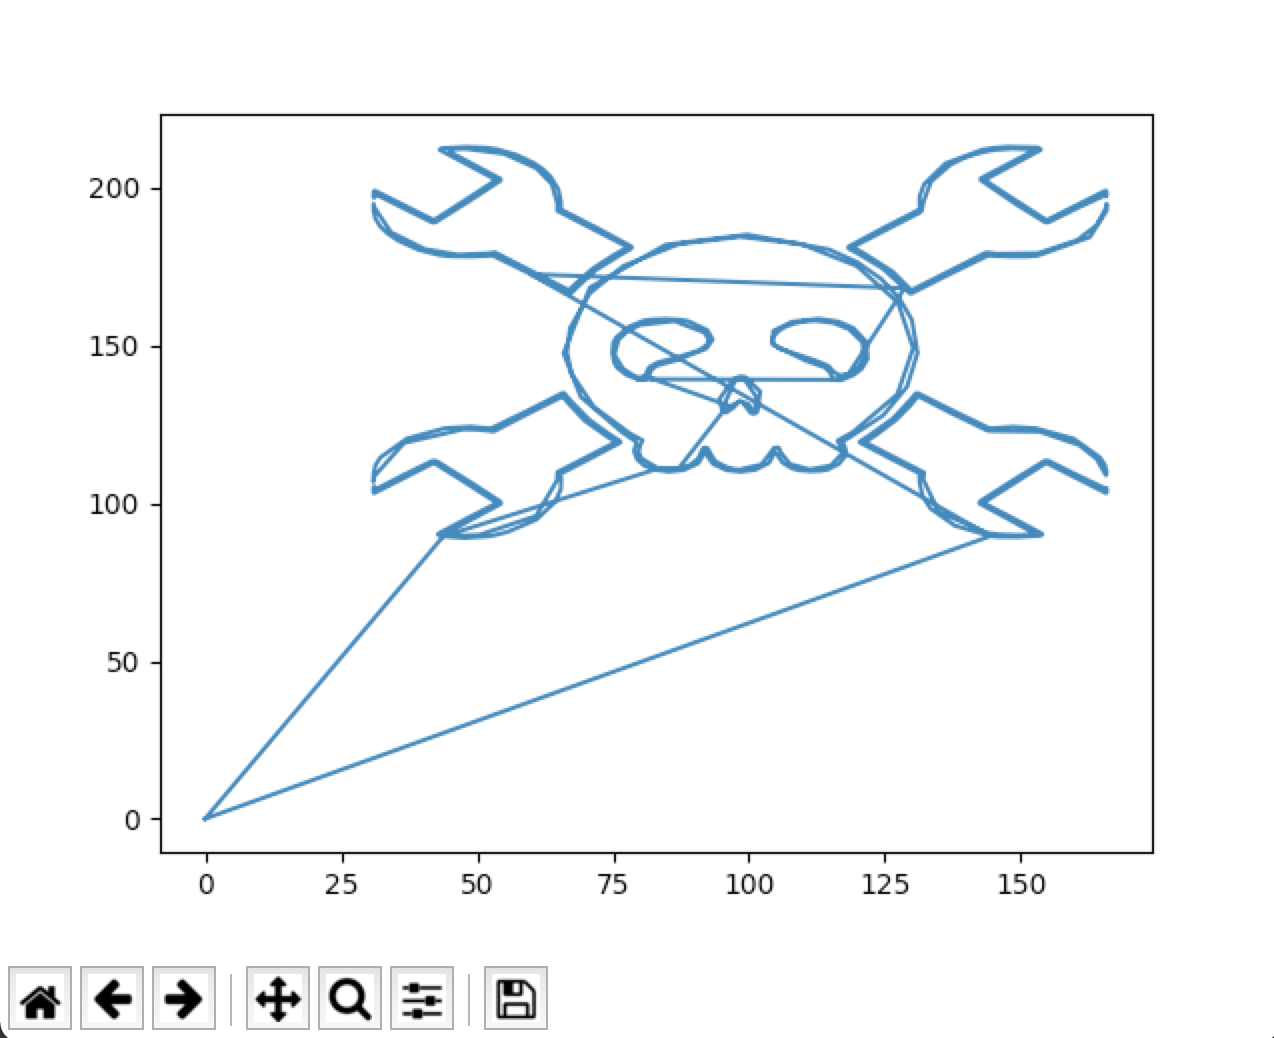
After having the coordinates of the canvas saved, I plan on using a gcode interpreter (pygcode) to plan the toolpath. I want the toolpath to scale to the size of the canvas so that the image will be roughly centered and scaled to the canvas.
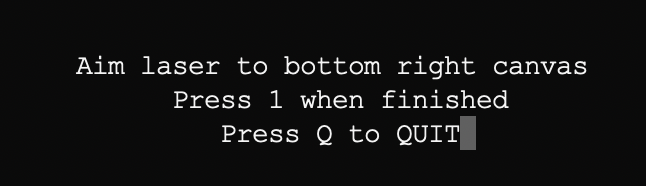
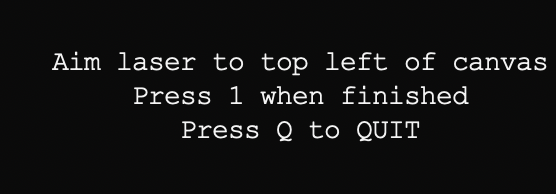
Canvas Setup Procedure (Using arrow keys and python Curses)
![]()
![]()
![]()
Gcode interpreter is now working too. Just need to connect the dots !
![]()
Up next: Actually drawing this on Glow Paper with the PiLaser. Wish me luck!
Follow the progress on GitHub!
-
Creating a new mechanism (turret style)
06/13/2021 at 21:15 • 0 commentsAfter finishing the glow plot clock, I was left wanting more. I decided to create a new design using more accurate stepper motors.
I found byj48 stepper motors to be a cheap and effective solution for movement.
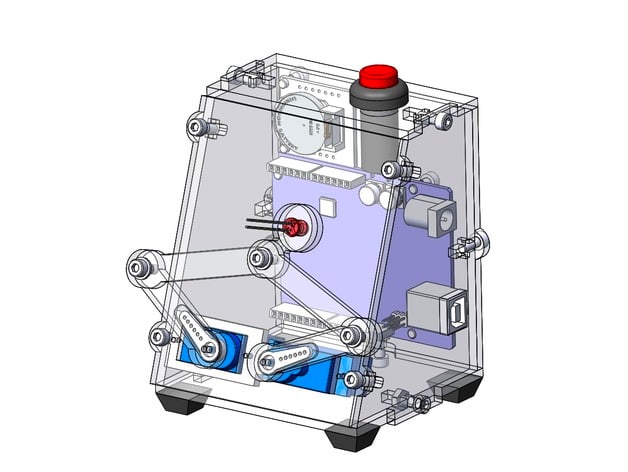
My next designed focused on a "turret" style approach using a more powerful microcontroller, the RaspberyPi ZeroW.
![]()
CAD design
![]()
Modified hand held laser pointer (Replaced button with transistor controller by RPi GPIO pins.)
![]()
Assembling of the 3d printer parts, motor drivers, and raspberry pi
![]()
Finishing assembly
![]()
I wanted the laser to be controllable by the internet of things and my Google Assistant so I used IFTTT to achieve this.
![]()
After relearning basic trigonometry, I was able to accurately move the motors to project on a screen!
![]()
-
More variations and videos for makers!
06/13/2021 at 20:52 • 0 commentsAfter moving to a new city, I no longer had access to a laser cutter. I did have a 3D printer though! So why not make a new version of the plot clock that anyone with a 3D printer could also make?
CAD design:
![]()
I also updated the the design of the laser cut version to be more robust
![]()
I've added the DXF and STL files for anyone who would like to try this out!
-
Initial Motivation
06/13/2021 at 20:46 • 0 commentsI was fascinated by Joo on Thingiverse's creation of a whiteboard marker plot clock. It used servos, a whiteboard marker, and even an eraser to draw the time! This got me thinking thought of alternatives ways to do recreate this effect! I came up with the idea to do it with glow in the dark material and UV lights. I bought a UV laser, and cut some acrylic at my local makerspace.
Here's the first iteration of my glow clock :)!
![]()
UV Glow-In-The-Dark Laser Displays
Using UV LEDs, Phosphorescent Glow material, and clever mechanisms, a reusable and exciting display can come to life!