sotasystems
-
Modifying the gameboy and cartridge shell to fit components
11/07/2016 at 19:59 • 0 commentsIn order to fit the screen, the screen area needs to be widened.
I used a file for that:
![]()
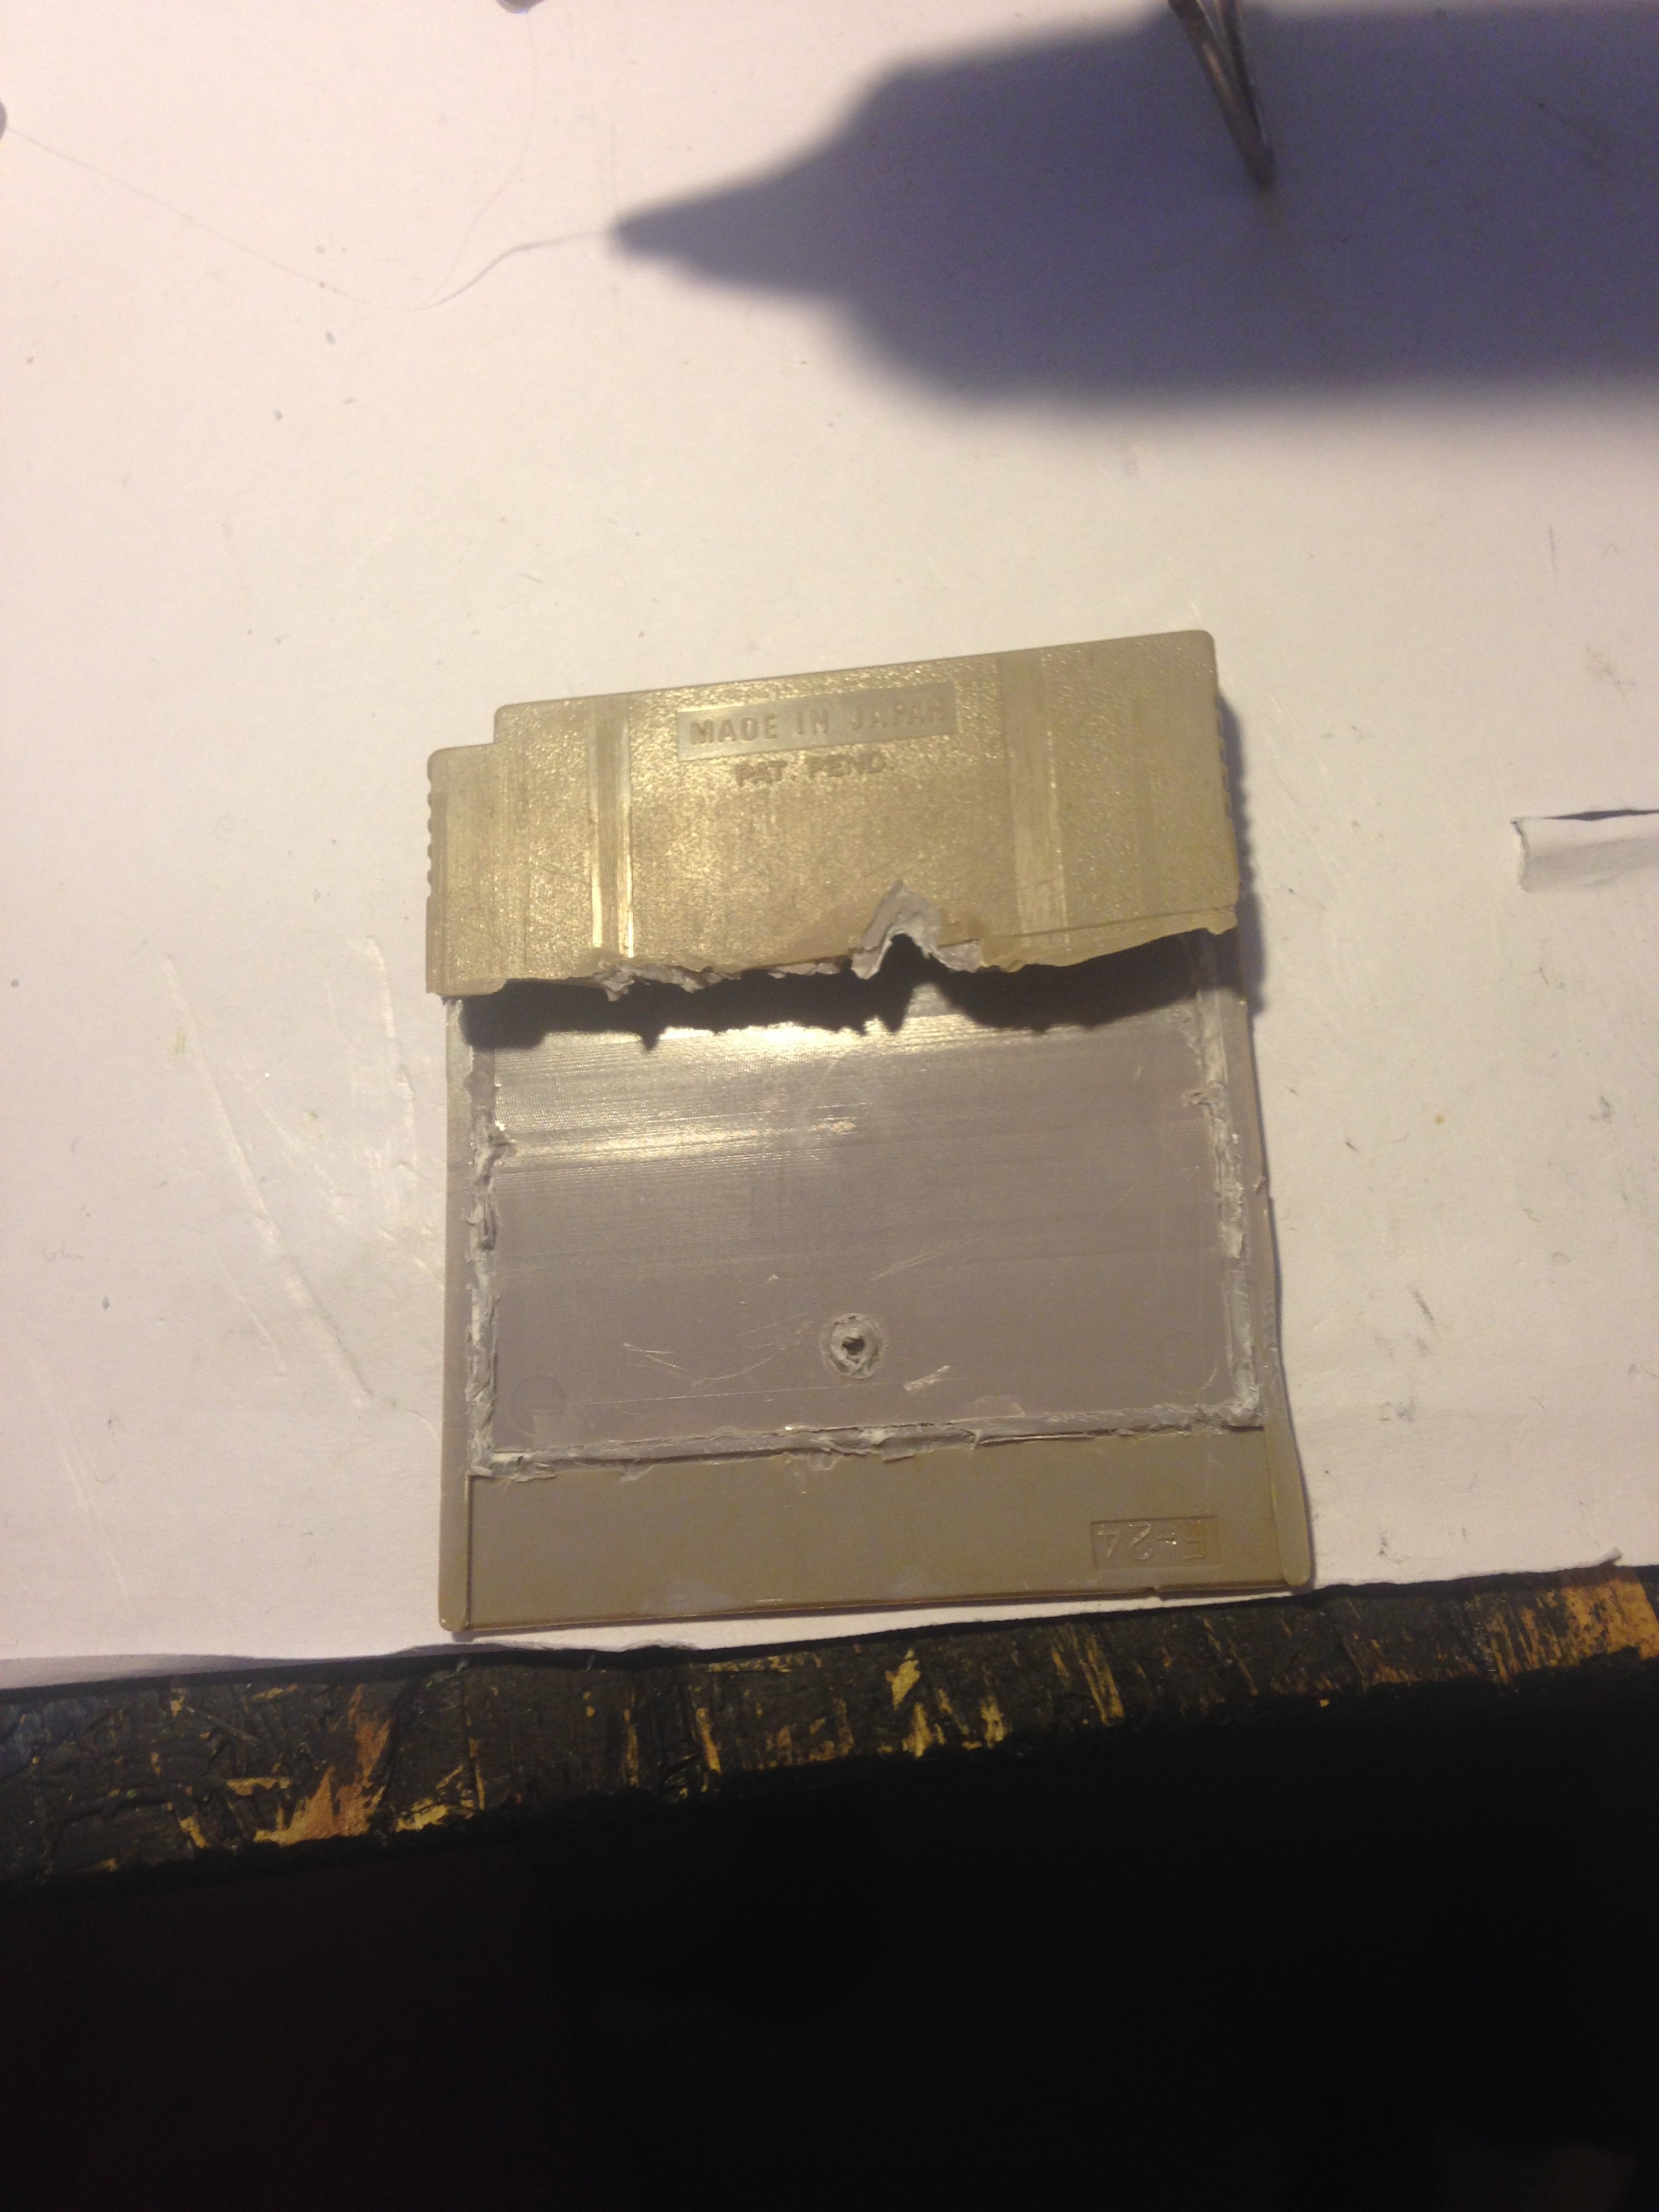
I took the tetris cartridge apart and cut the lower part around the line as good as possible. I also cut down all the posts inside the cartridge. The cartridge was so brittle that it literaly fell apart when I cut it, but that is OK because you won't see that when it is slotted in the gameboy. I then glued the two halves together with hot glue:
![]()
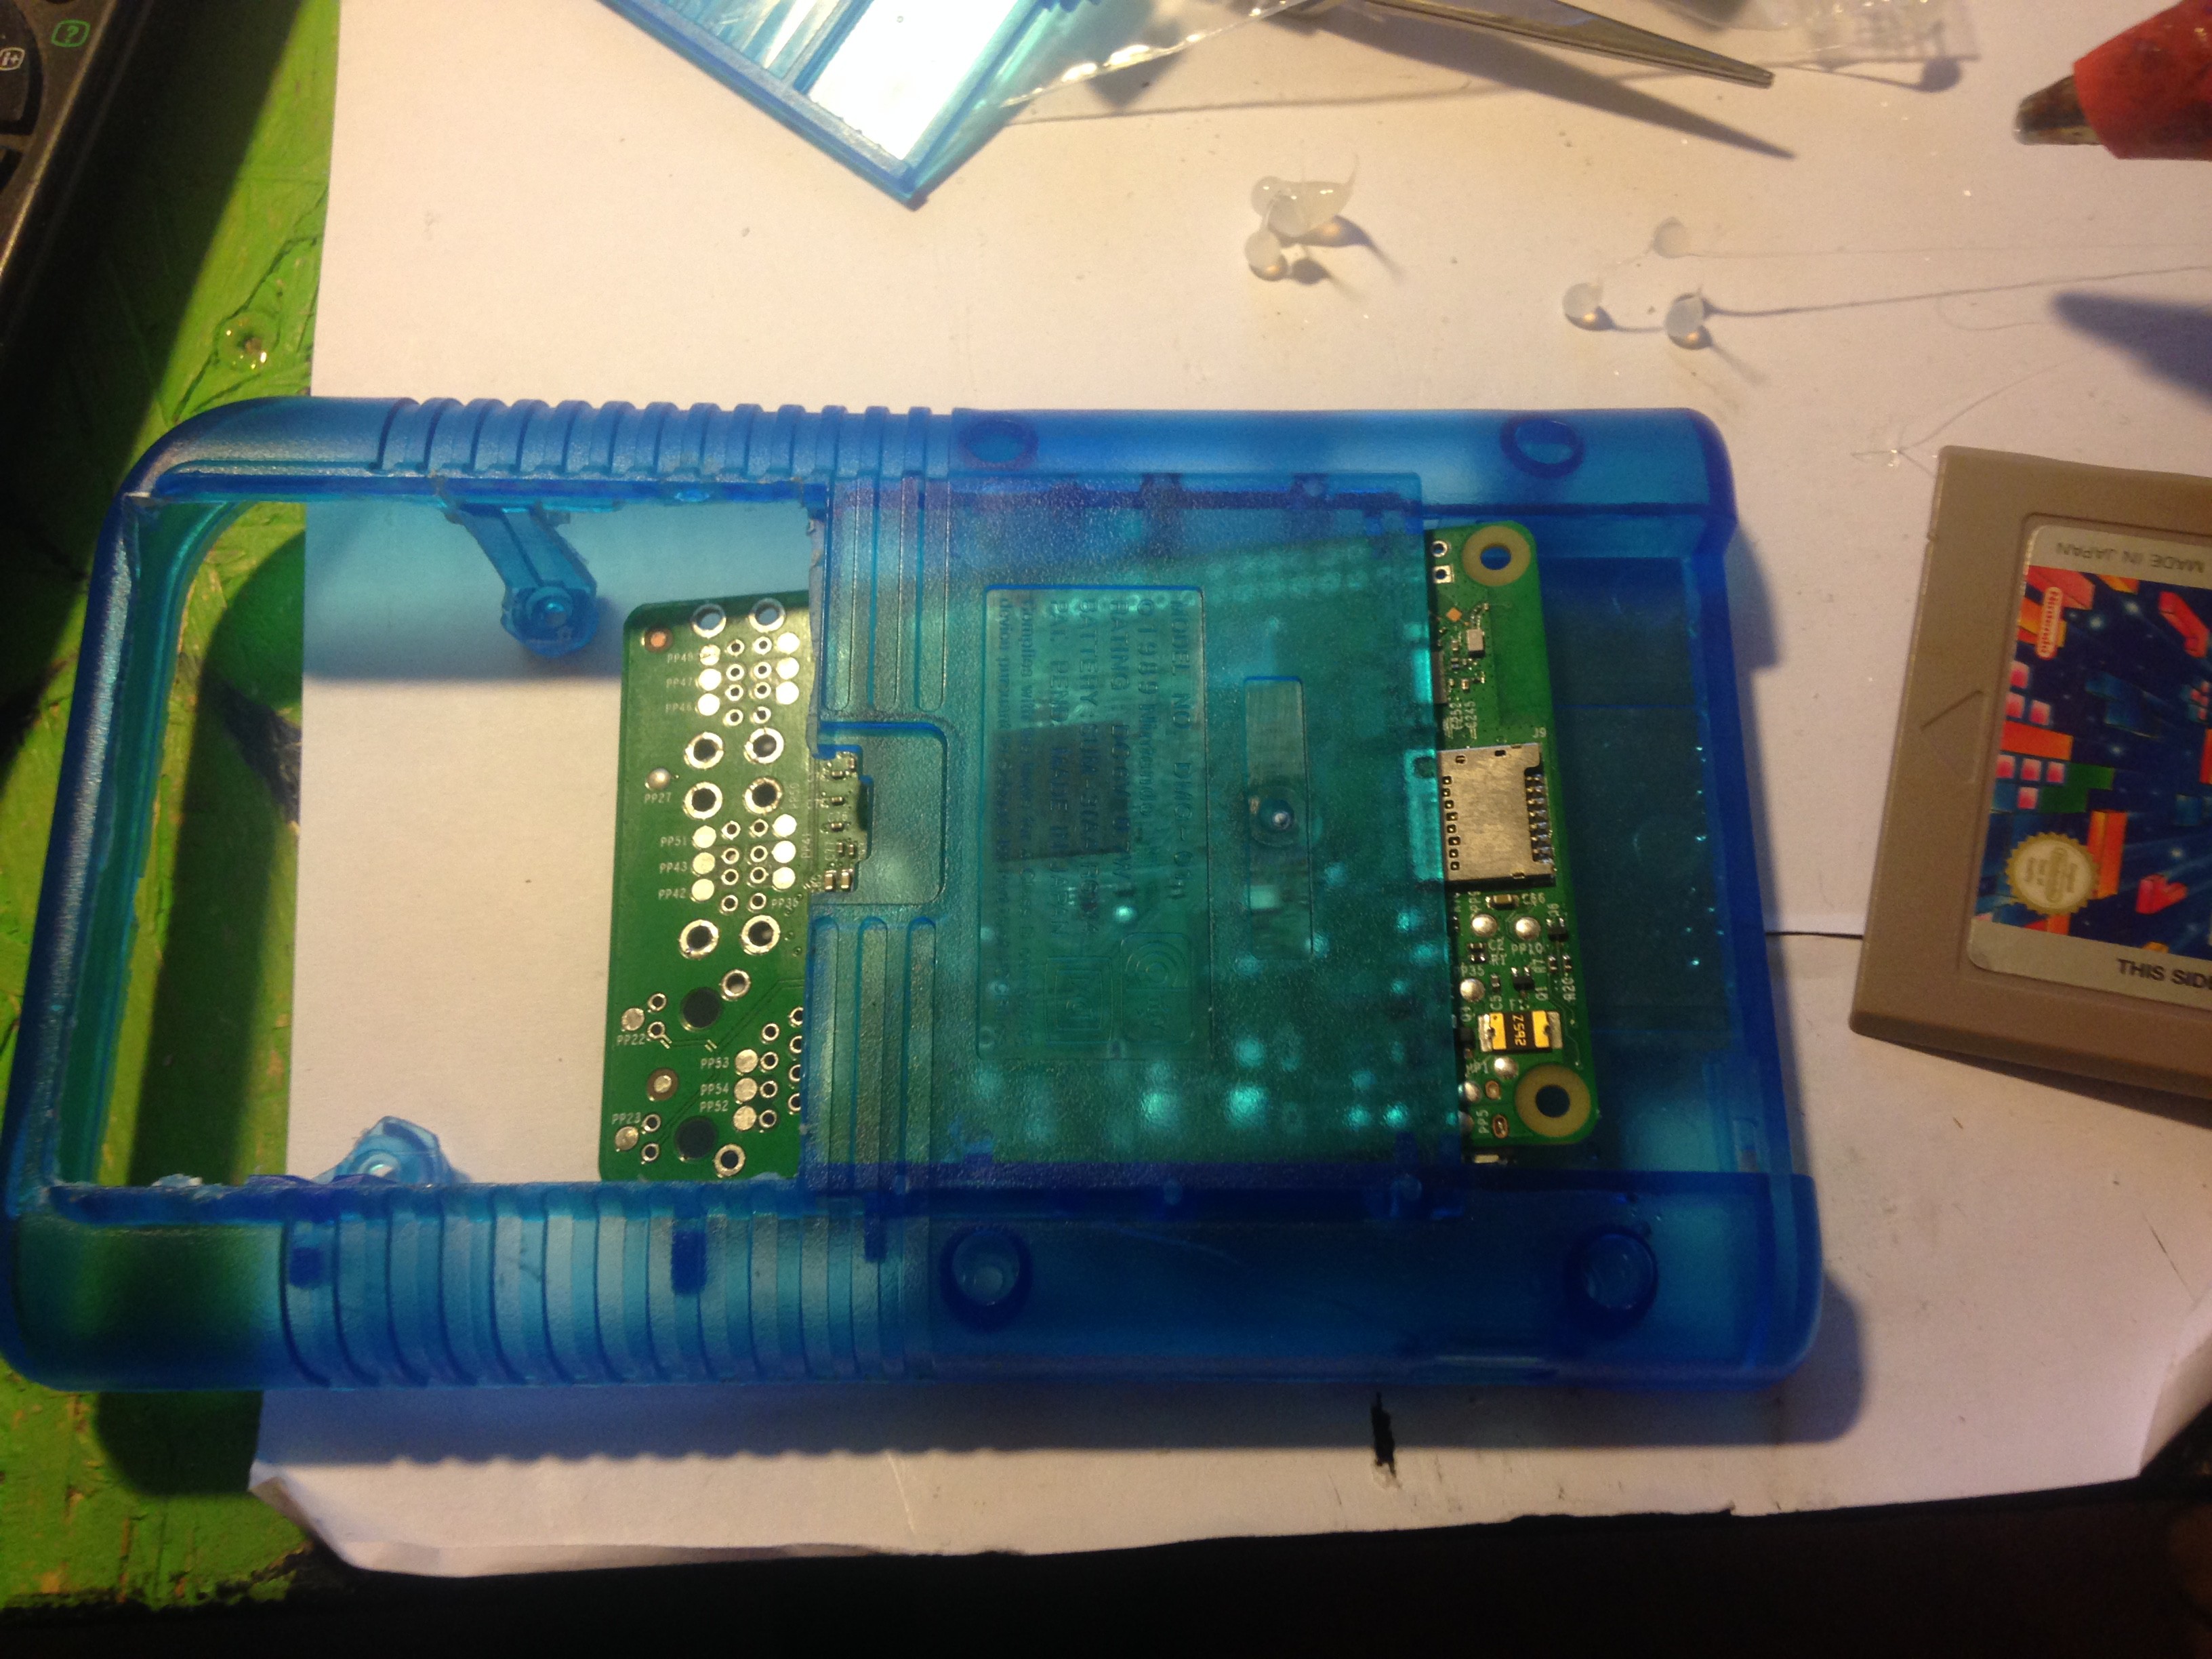
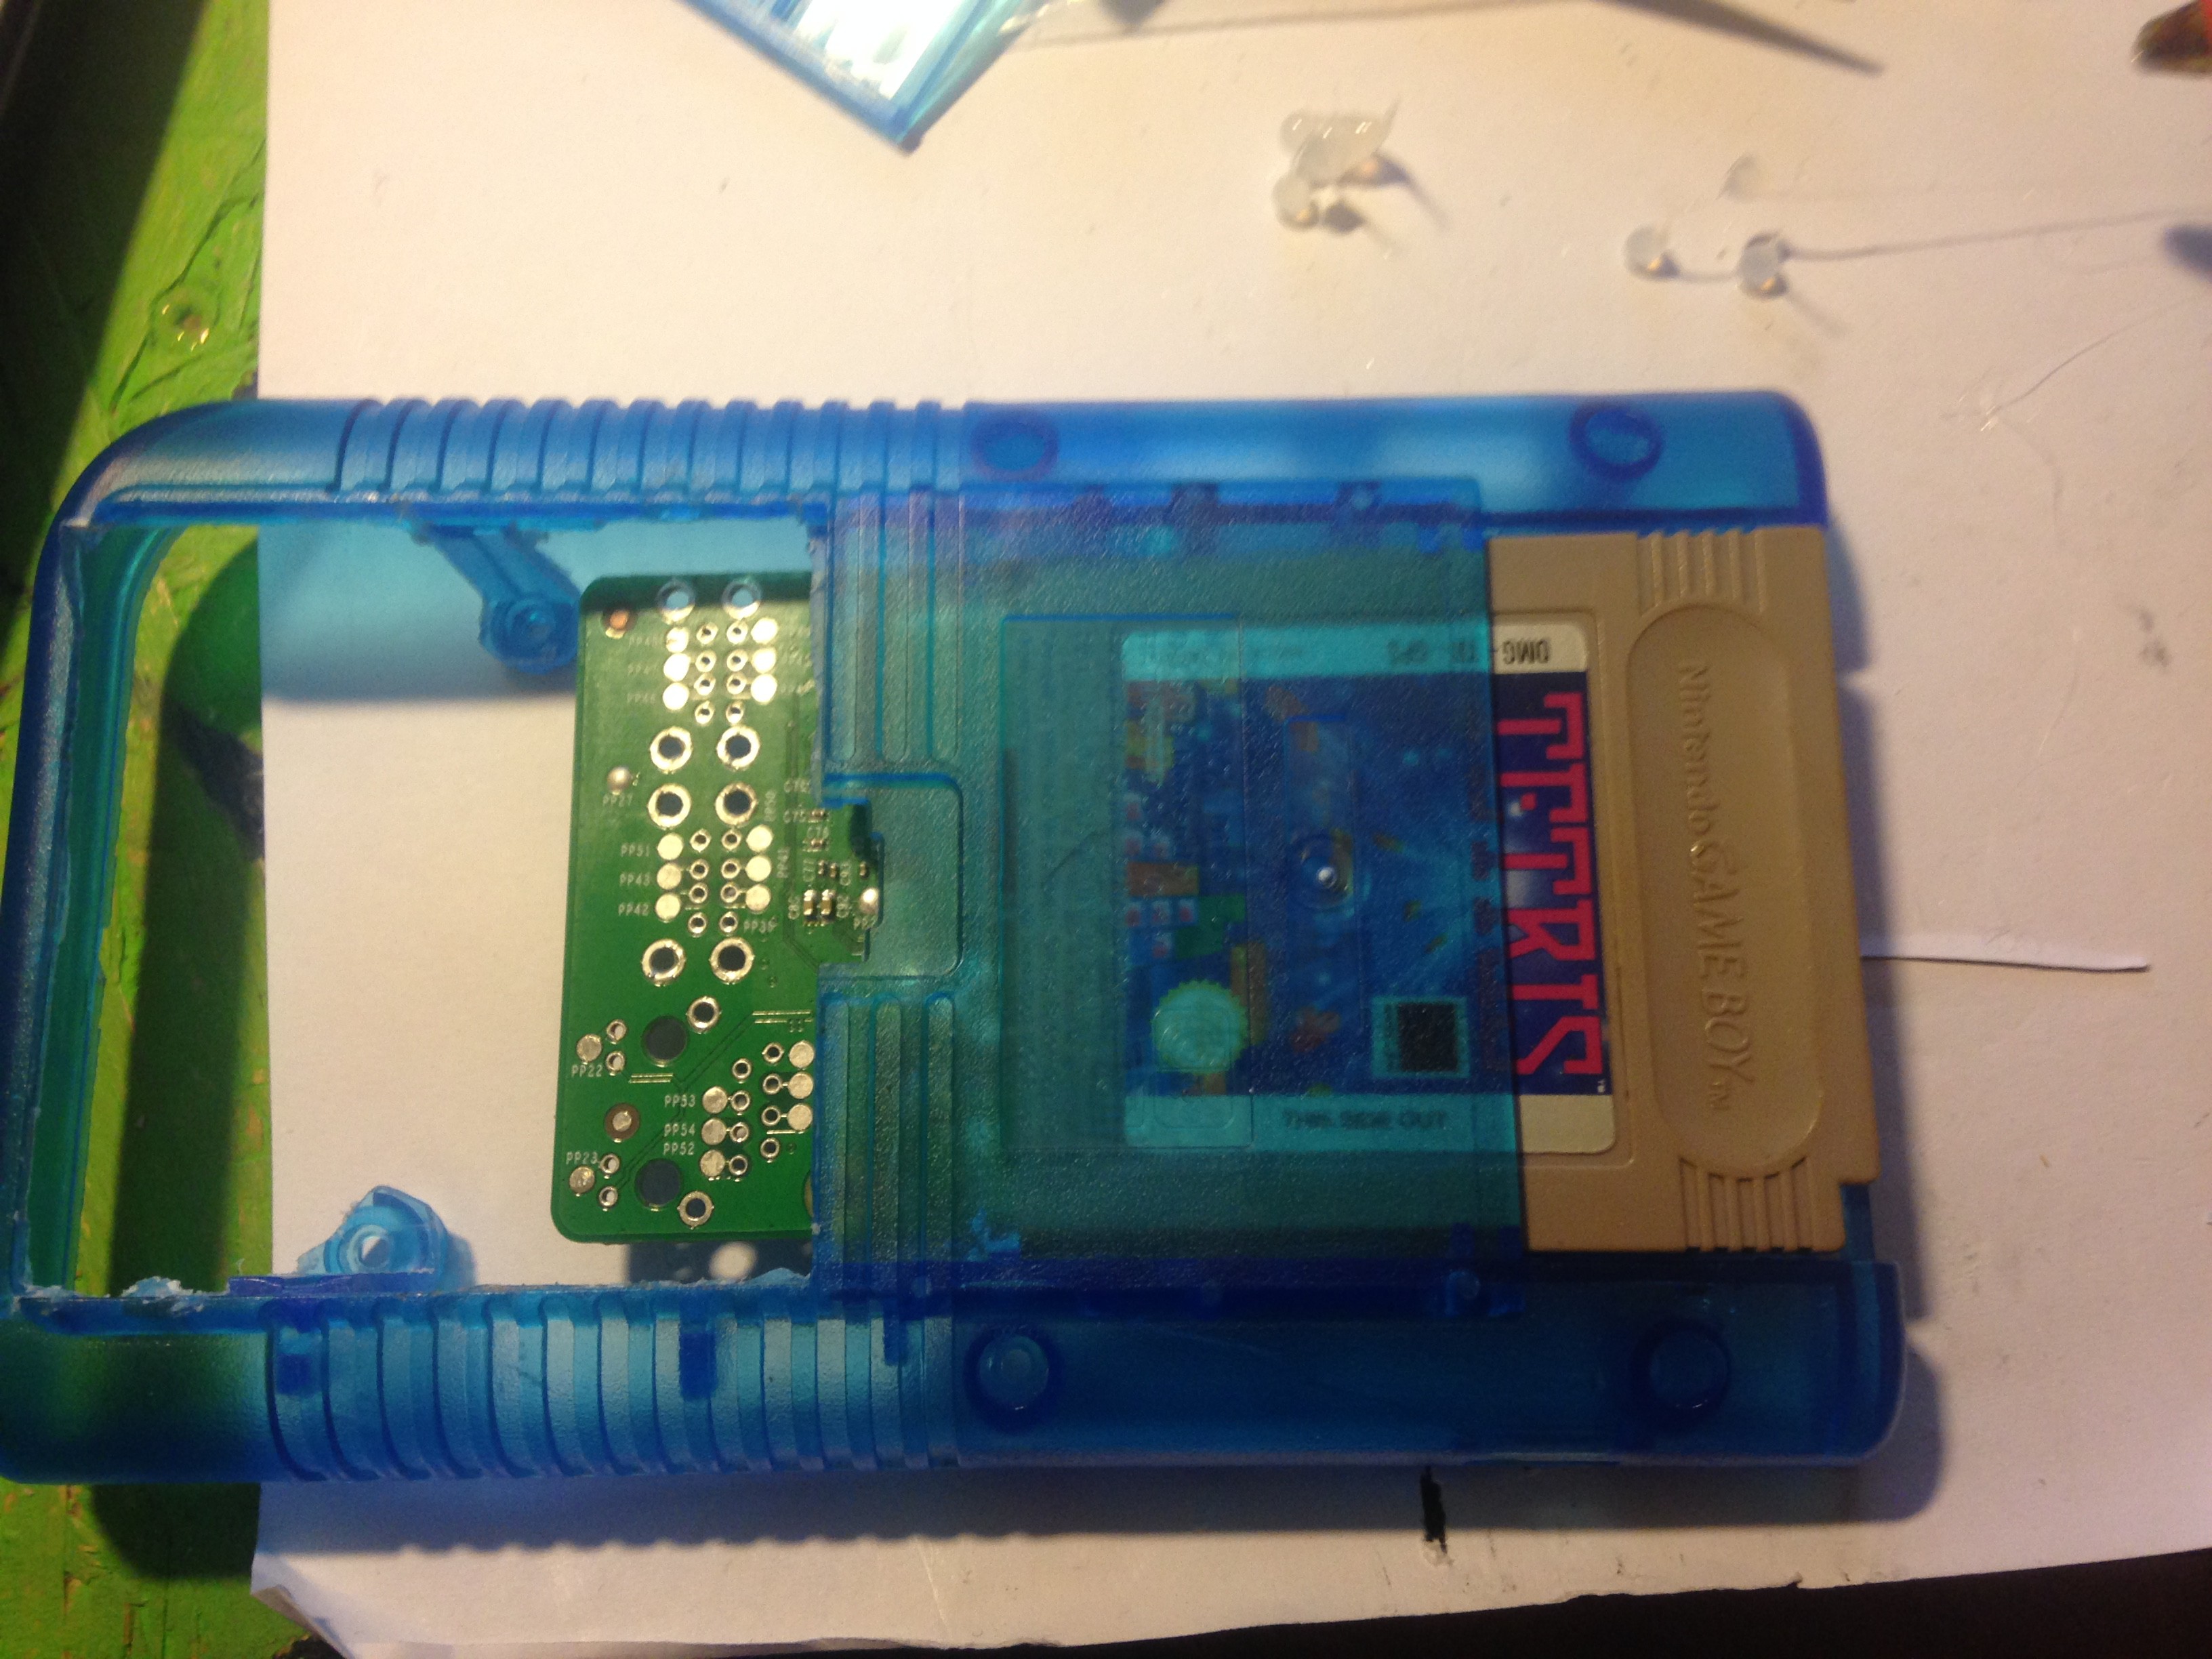
Most of the battery compartment has been removed in the same way So the raspberry pi fits inside:
![]()
![]()
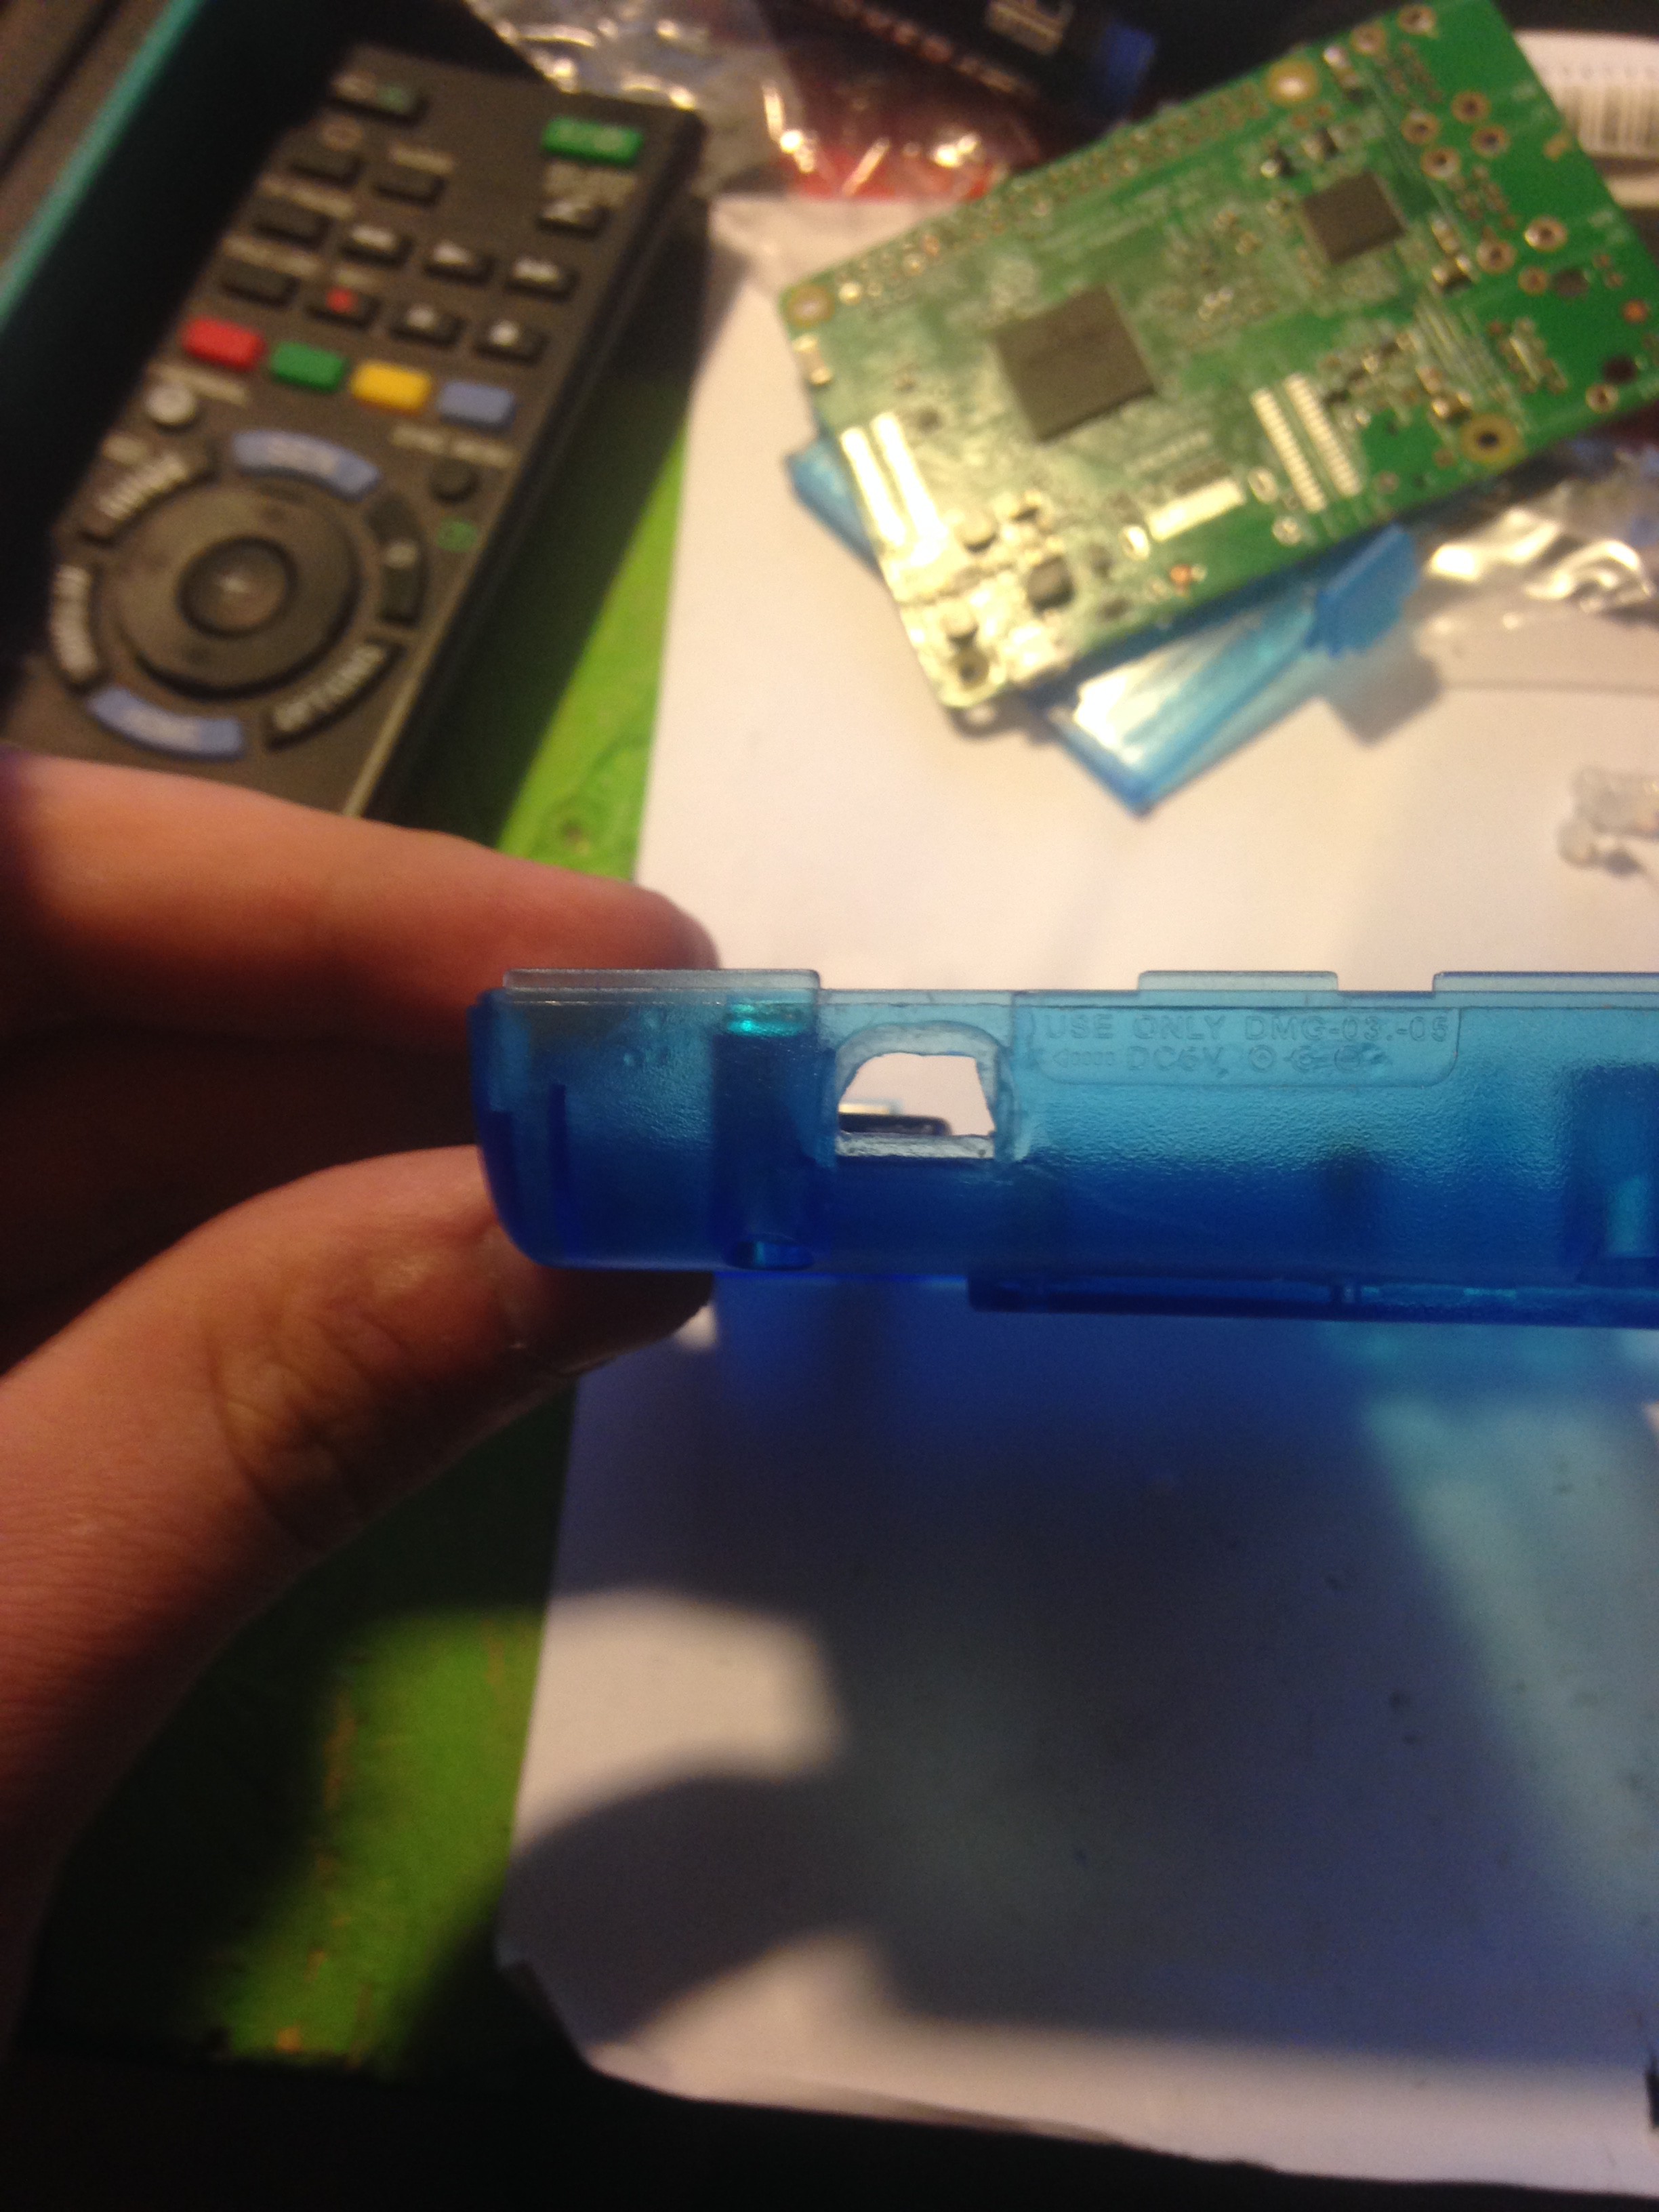
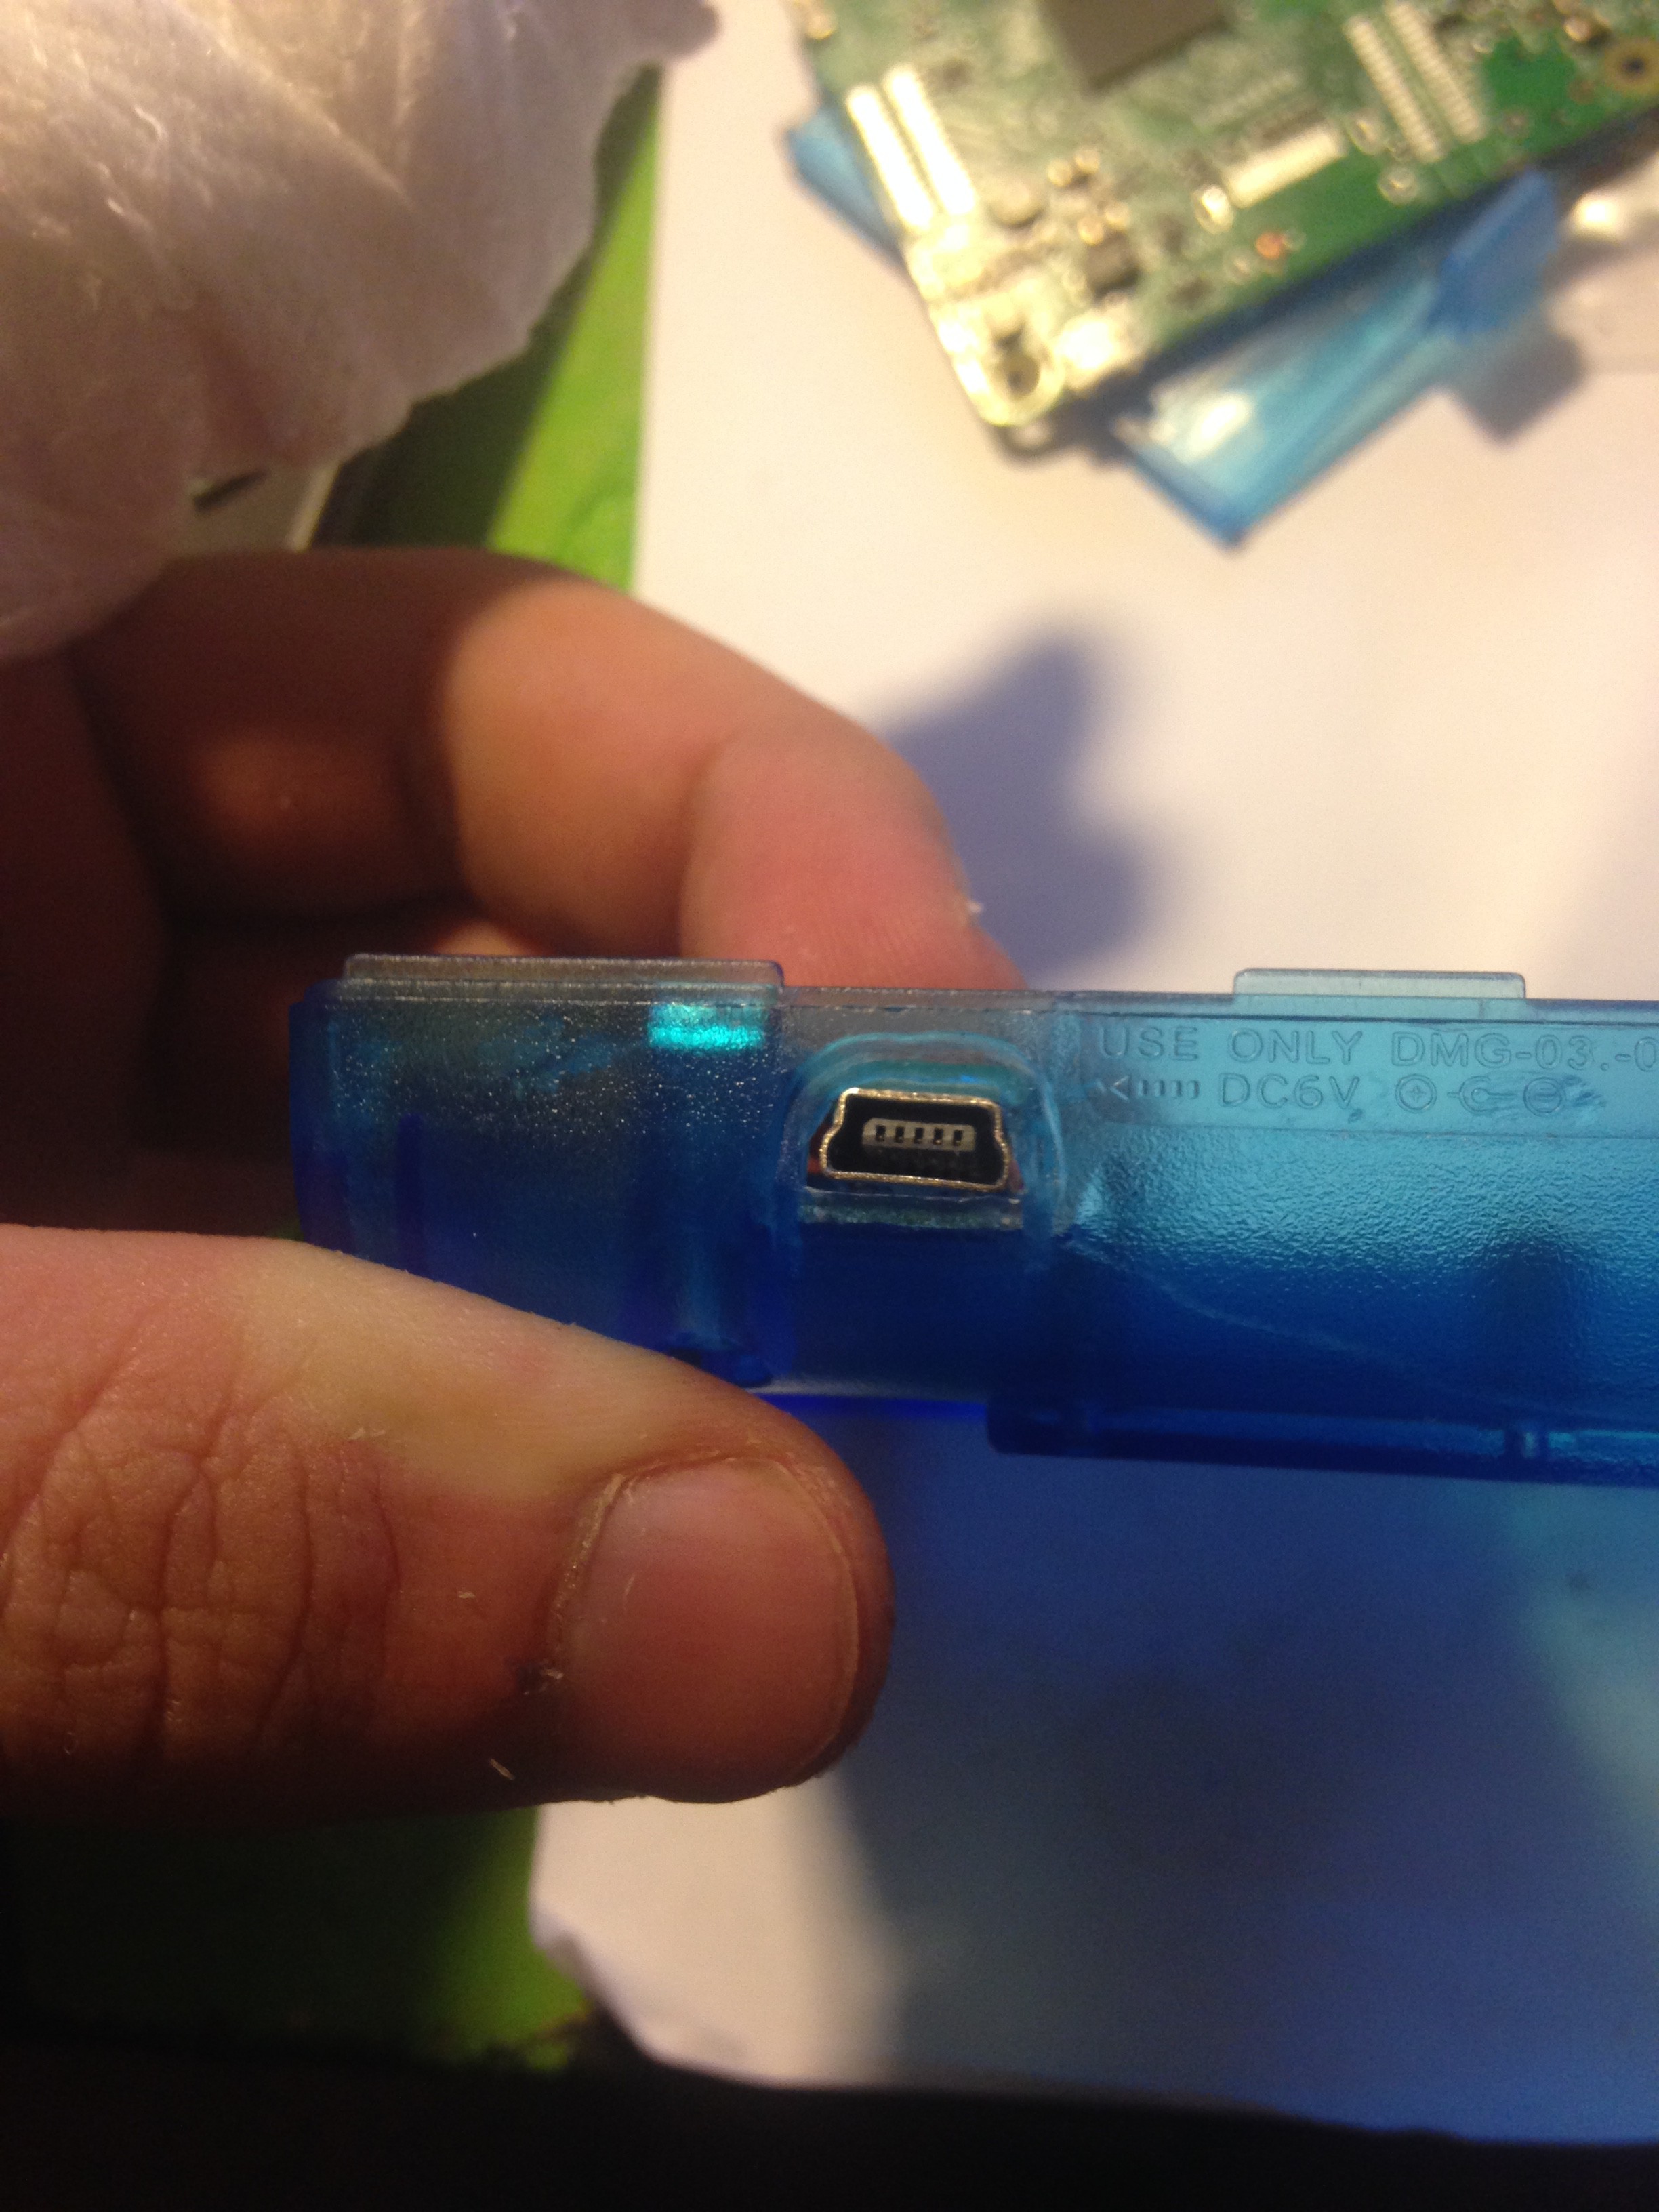
Then I widened the charging port with a file too:
![]()
Then you can glue in the charging port:
![]()
-
Preparing the Mini USB breakout board
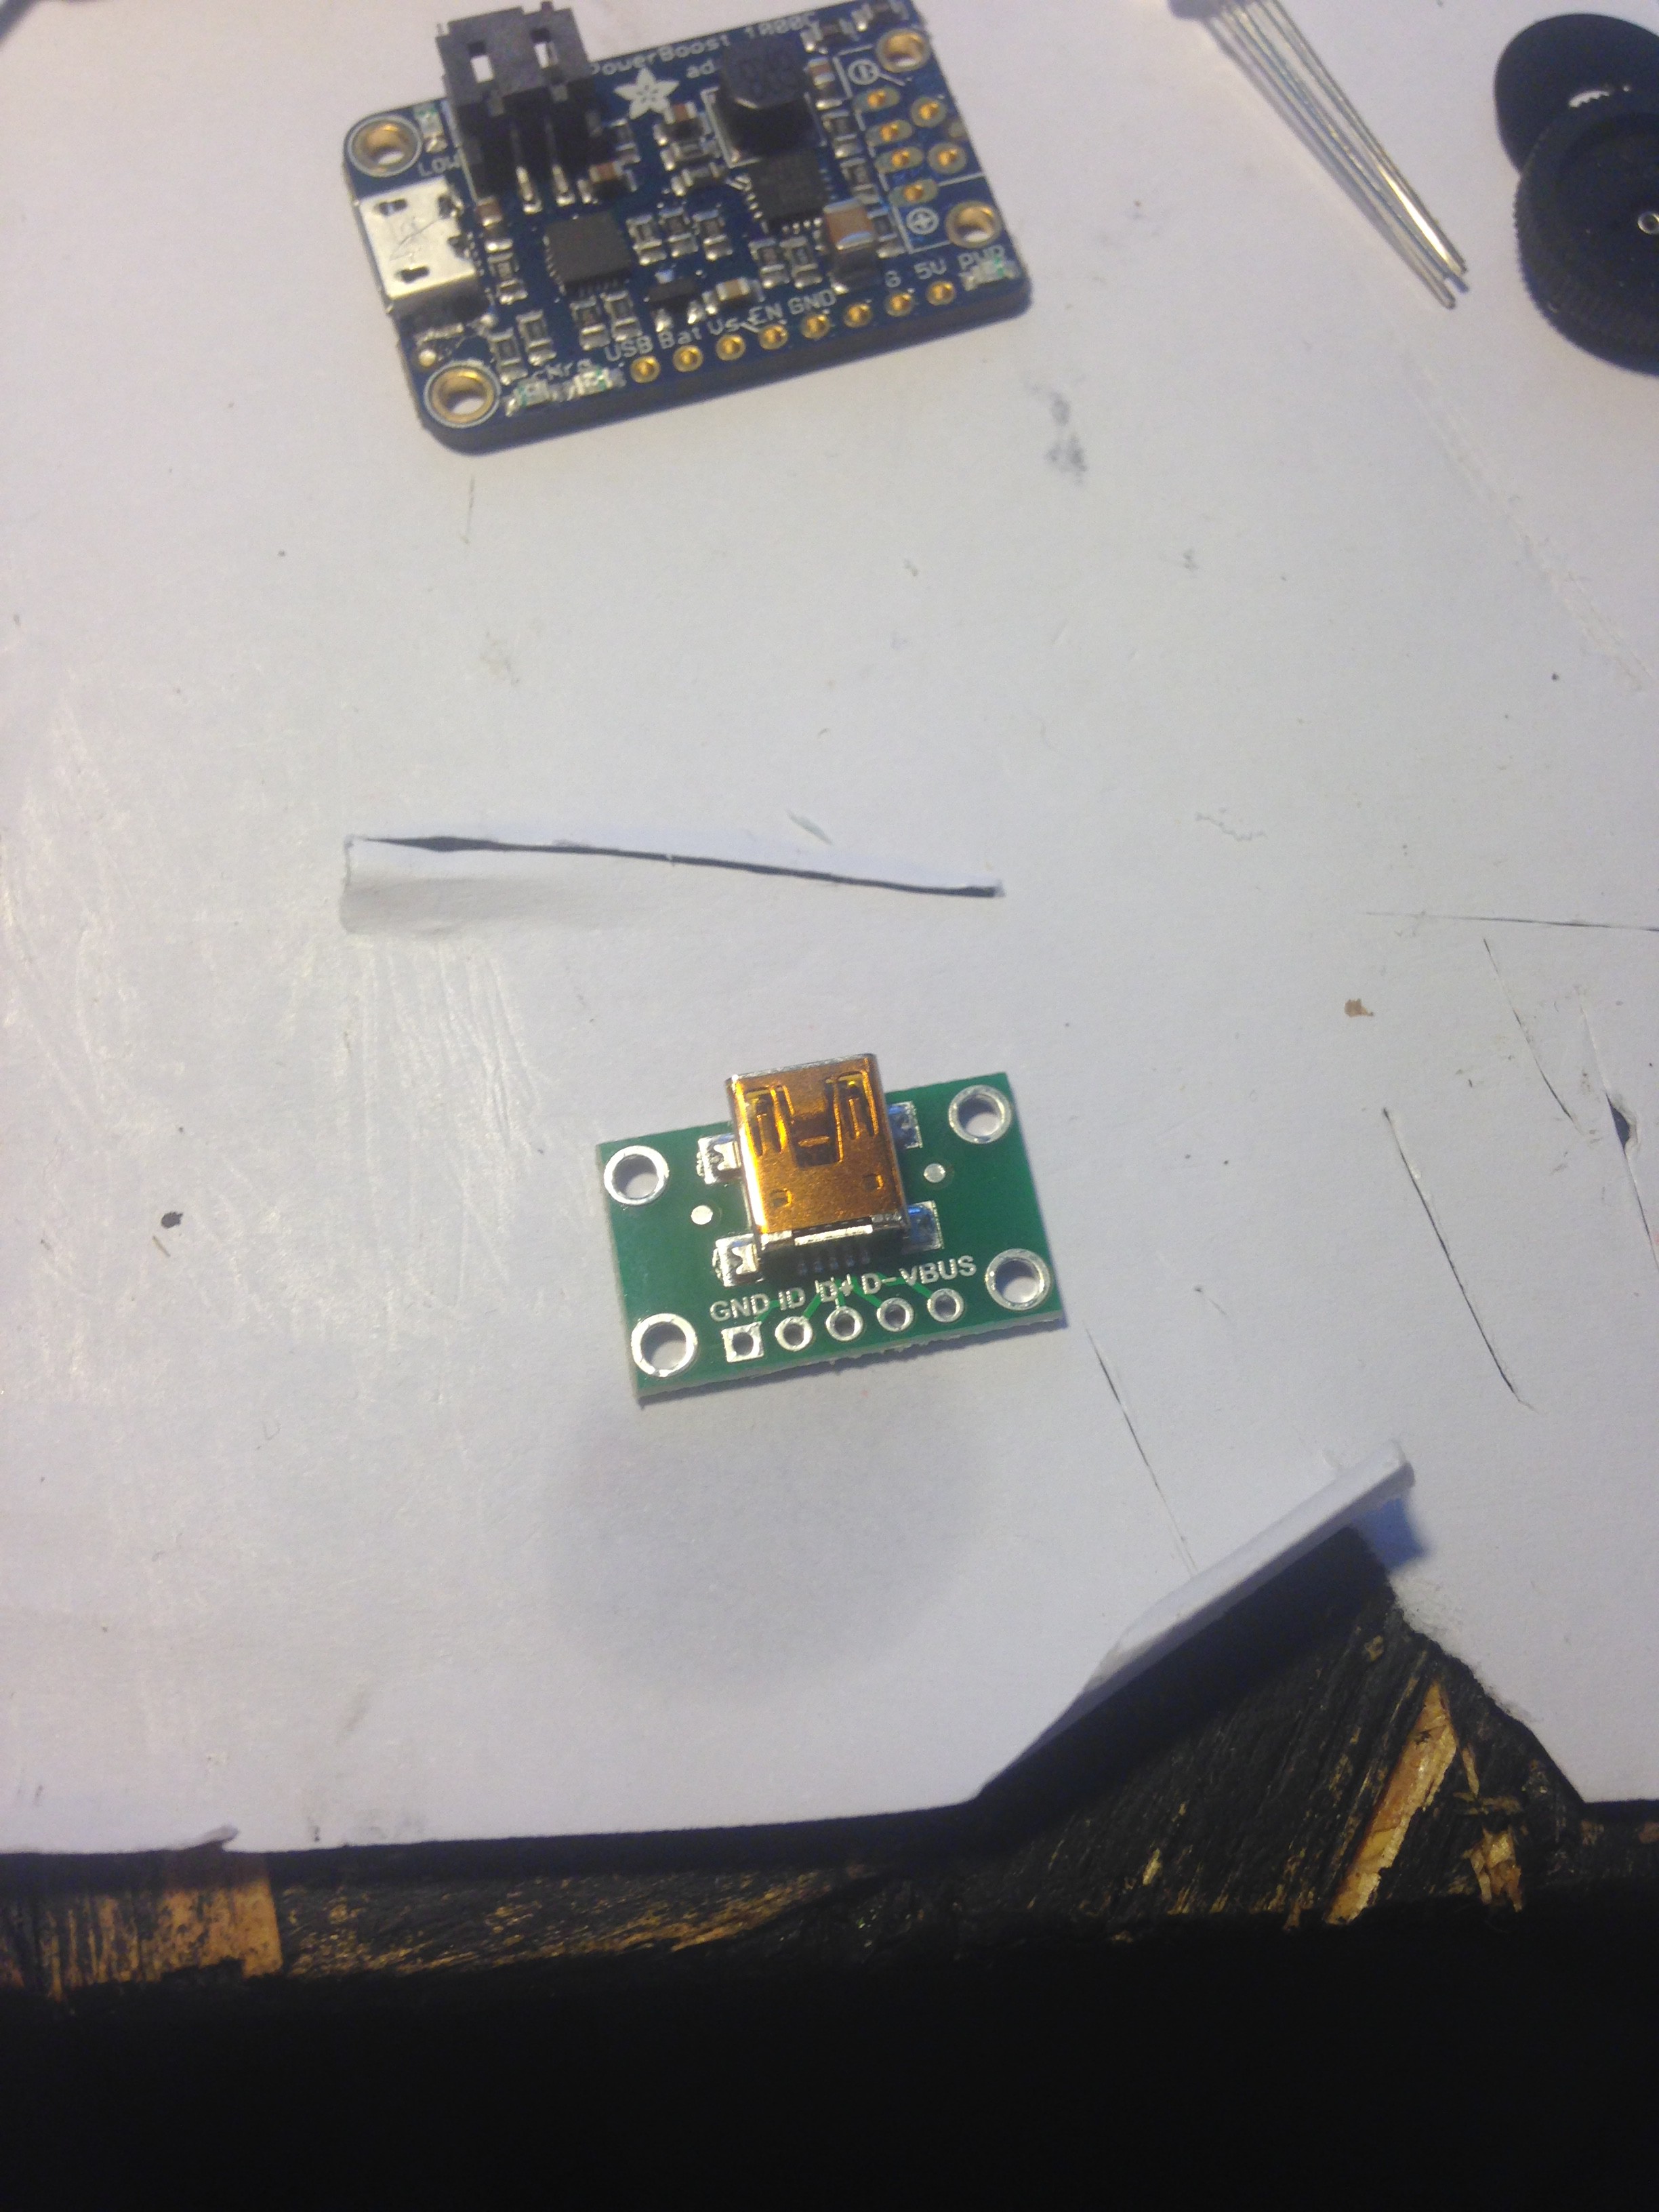
11/07/2016 at 19:13 • 0 commentsThe Mini USB breakout board doesn't fit in the original spot for charging the gameboy, it's just a little to bulky, so we have to trim it.
For that I used a hacksaw:
![]()
![]()
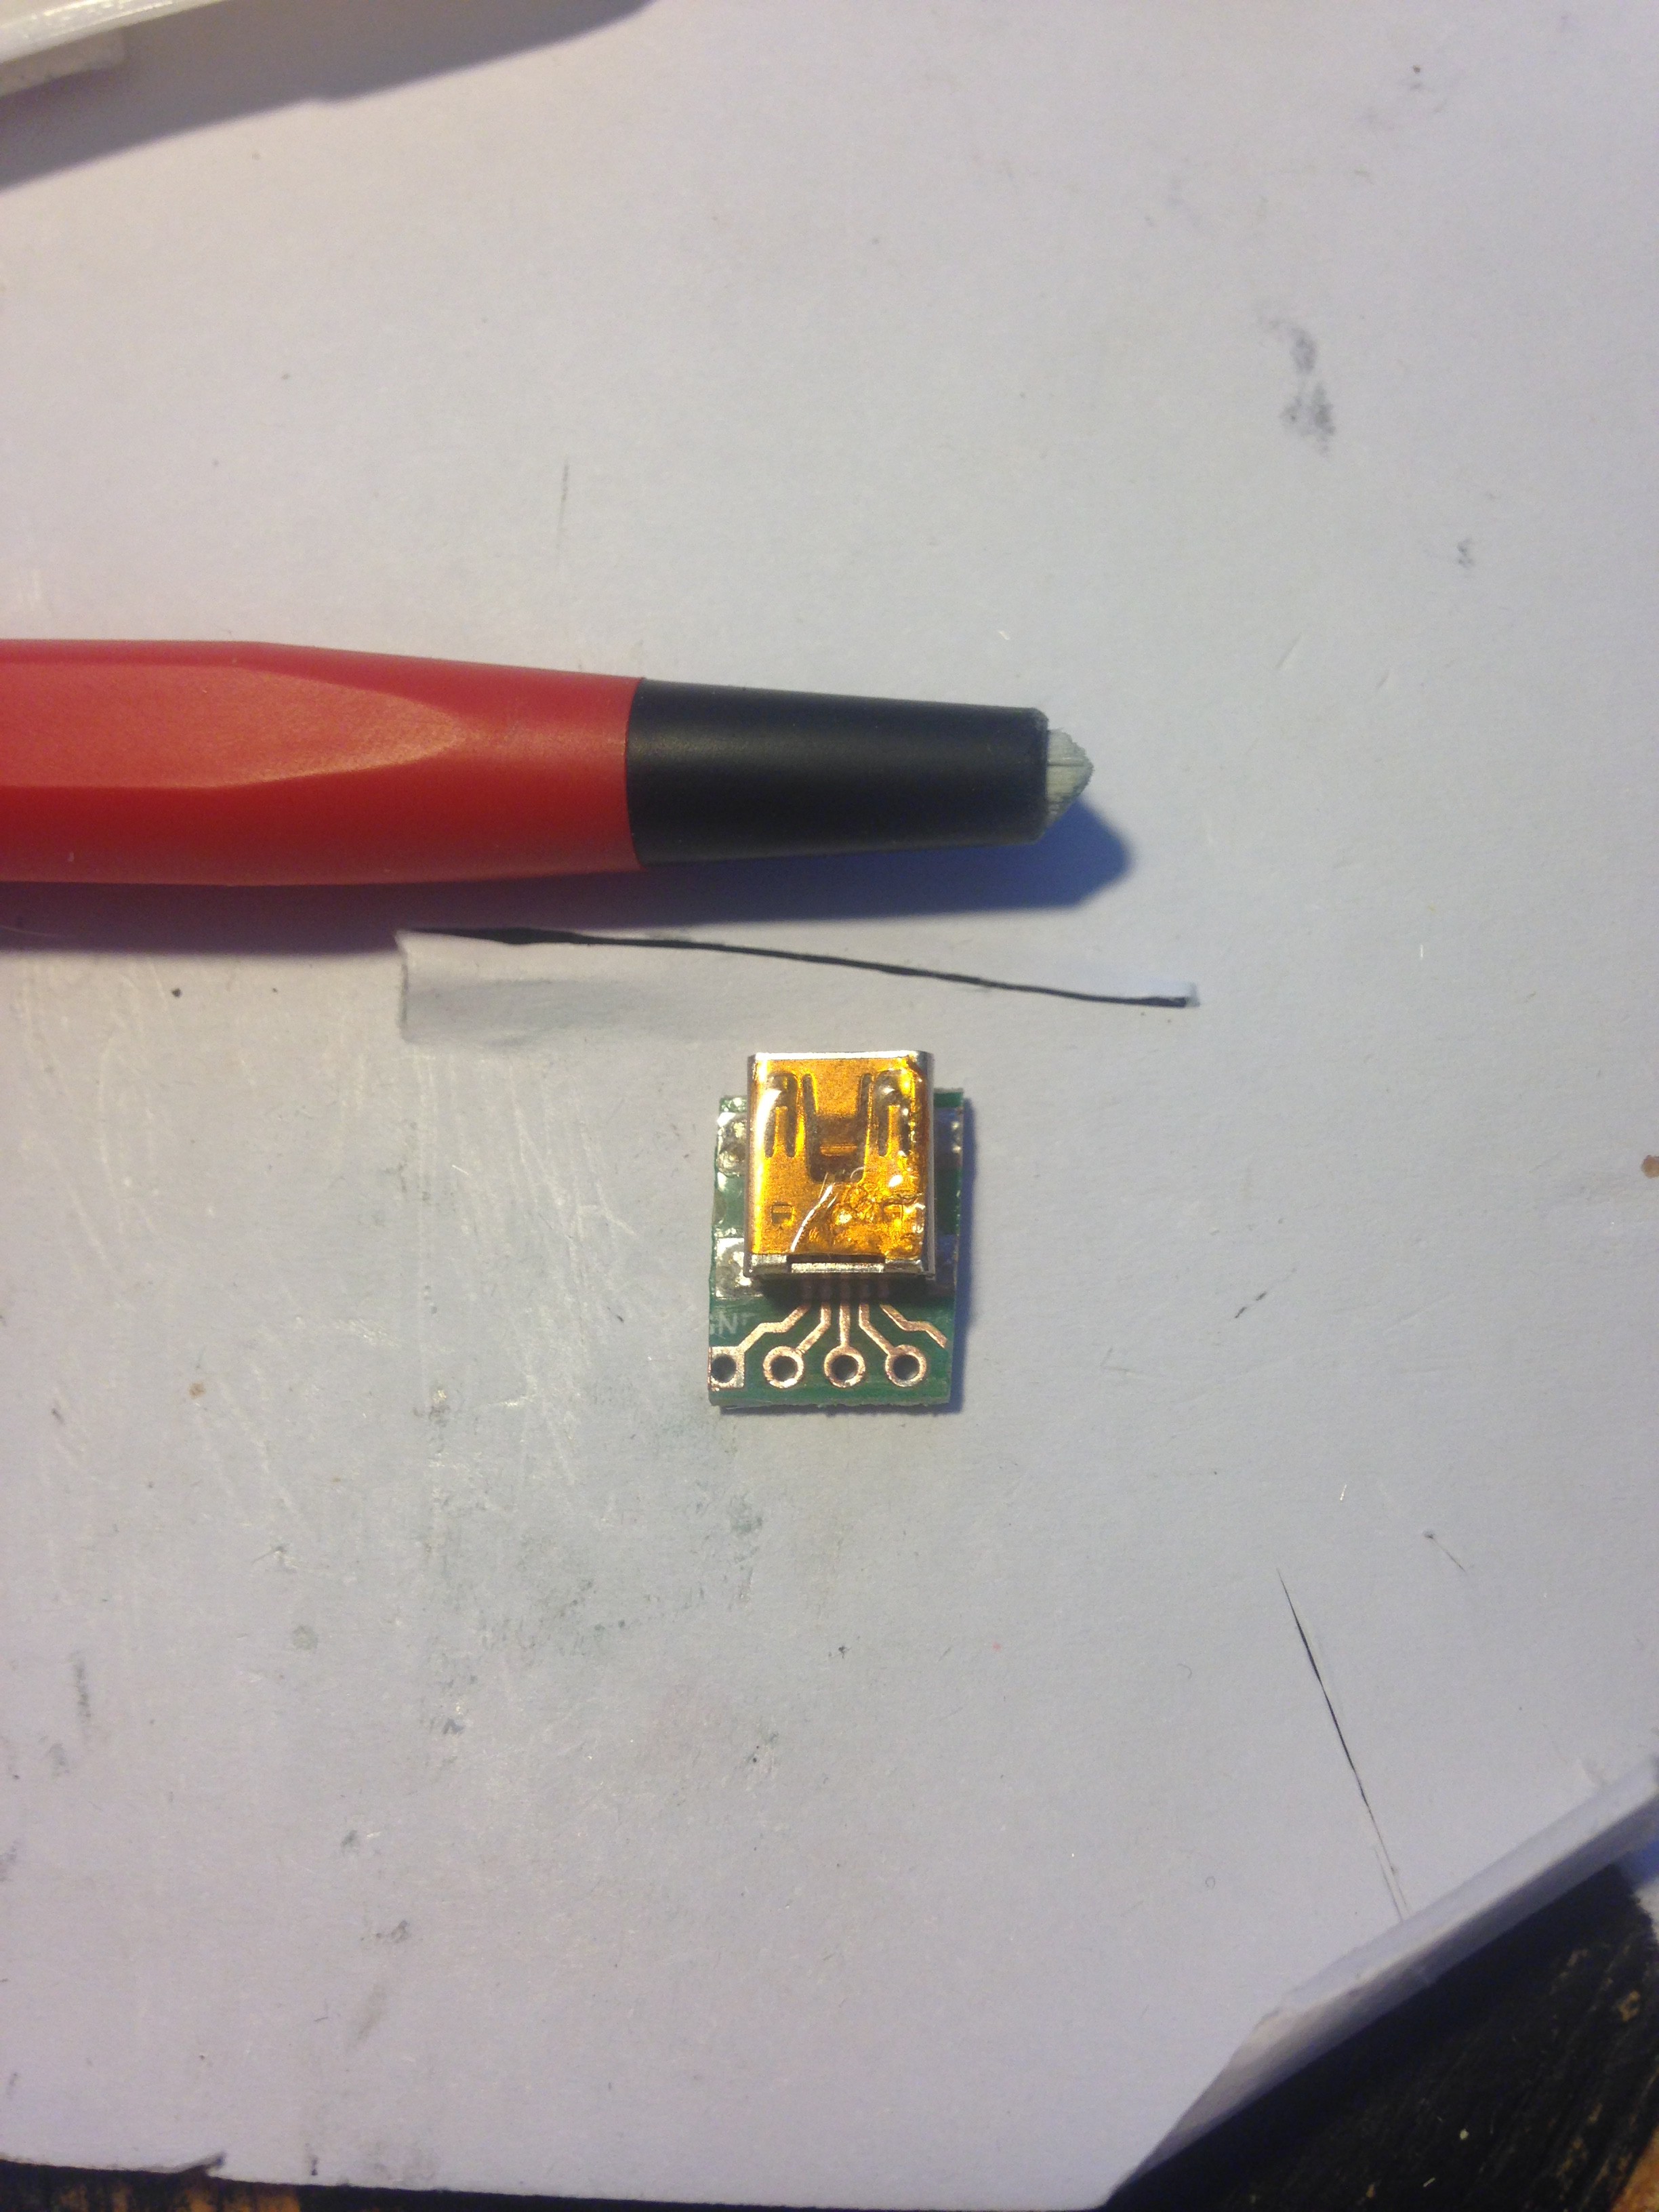
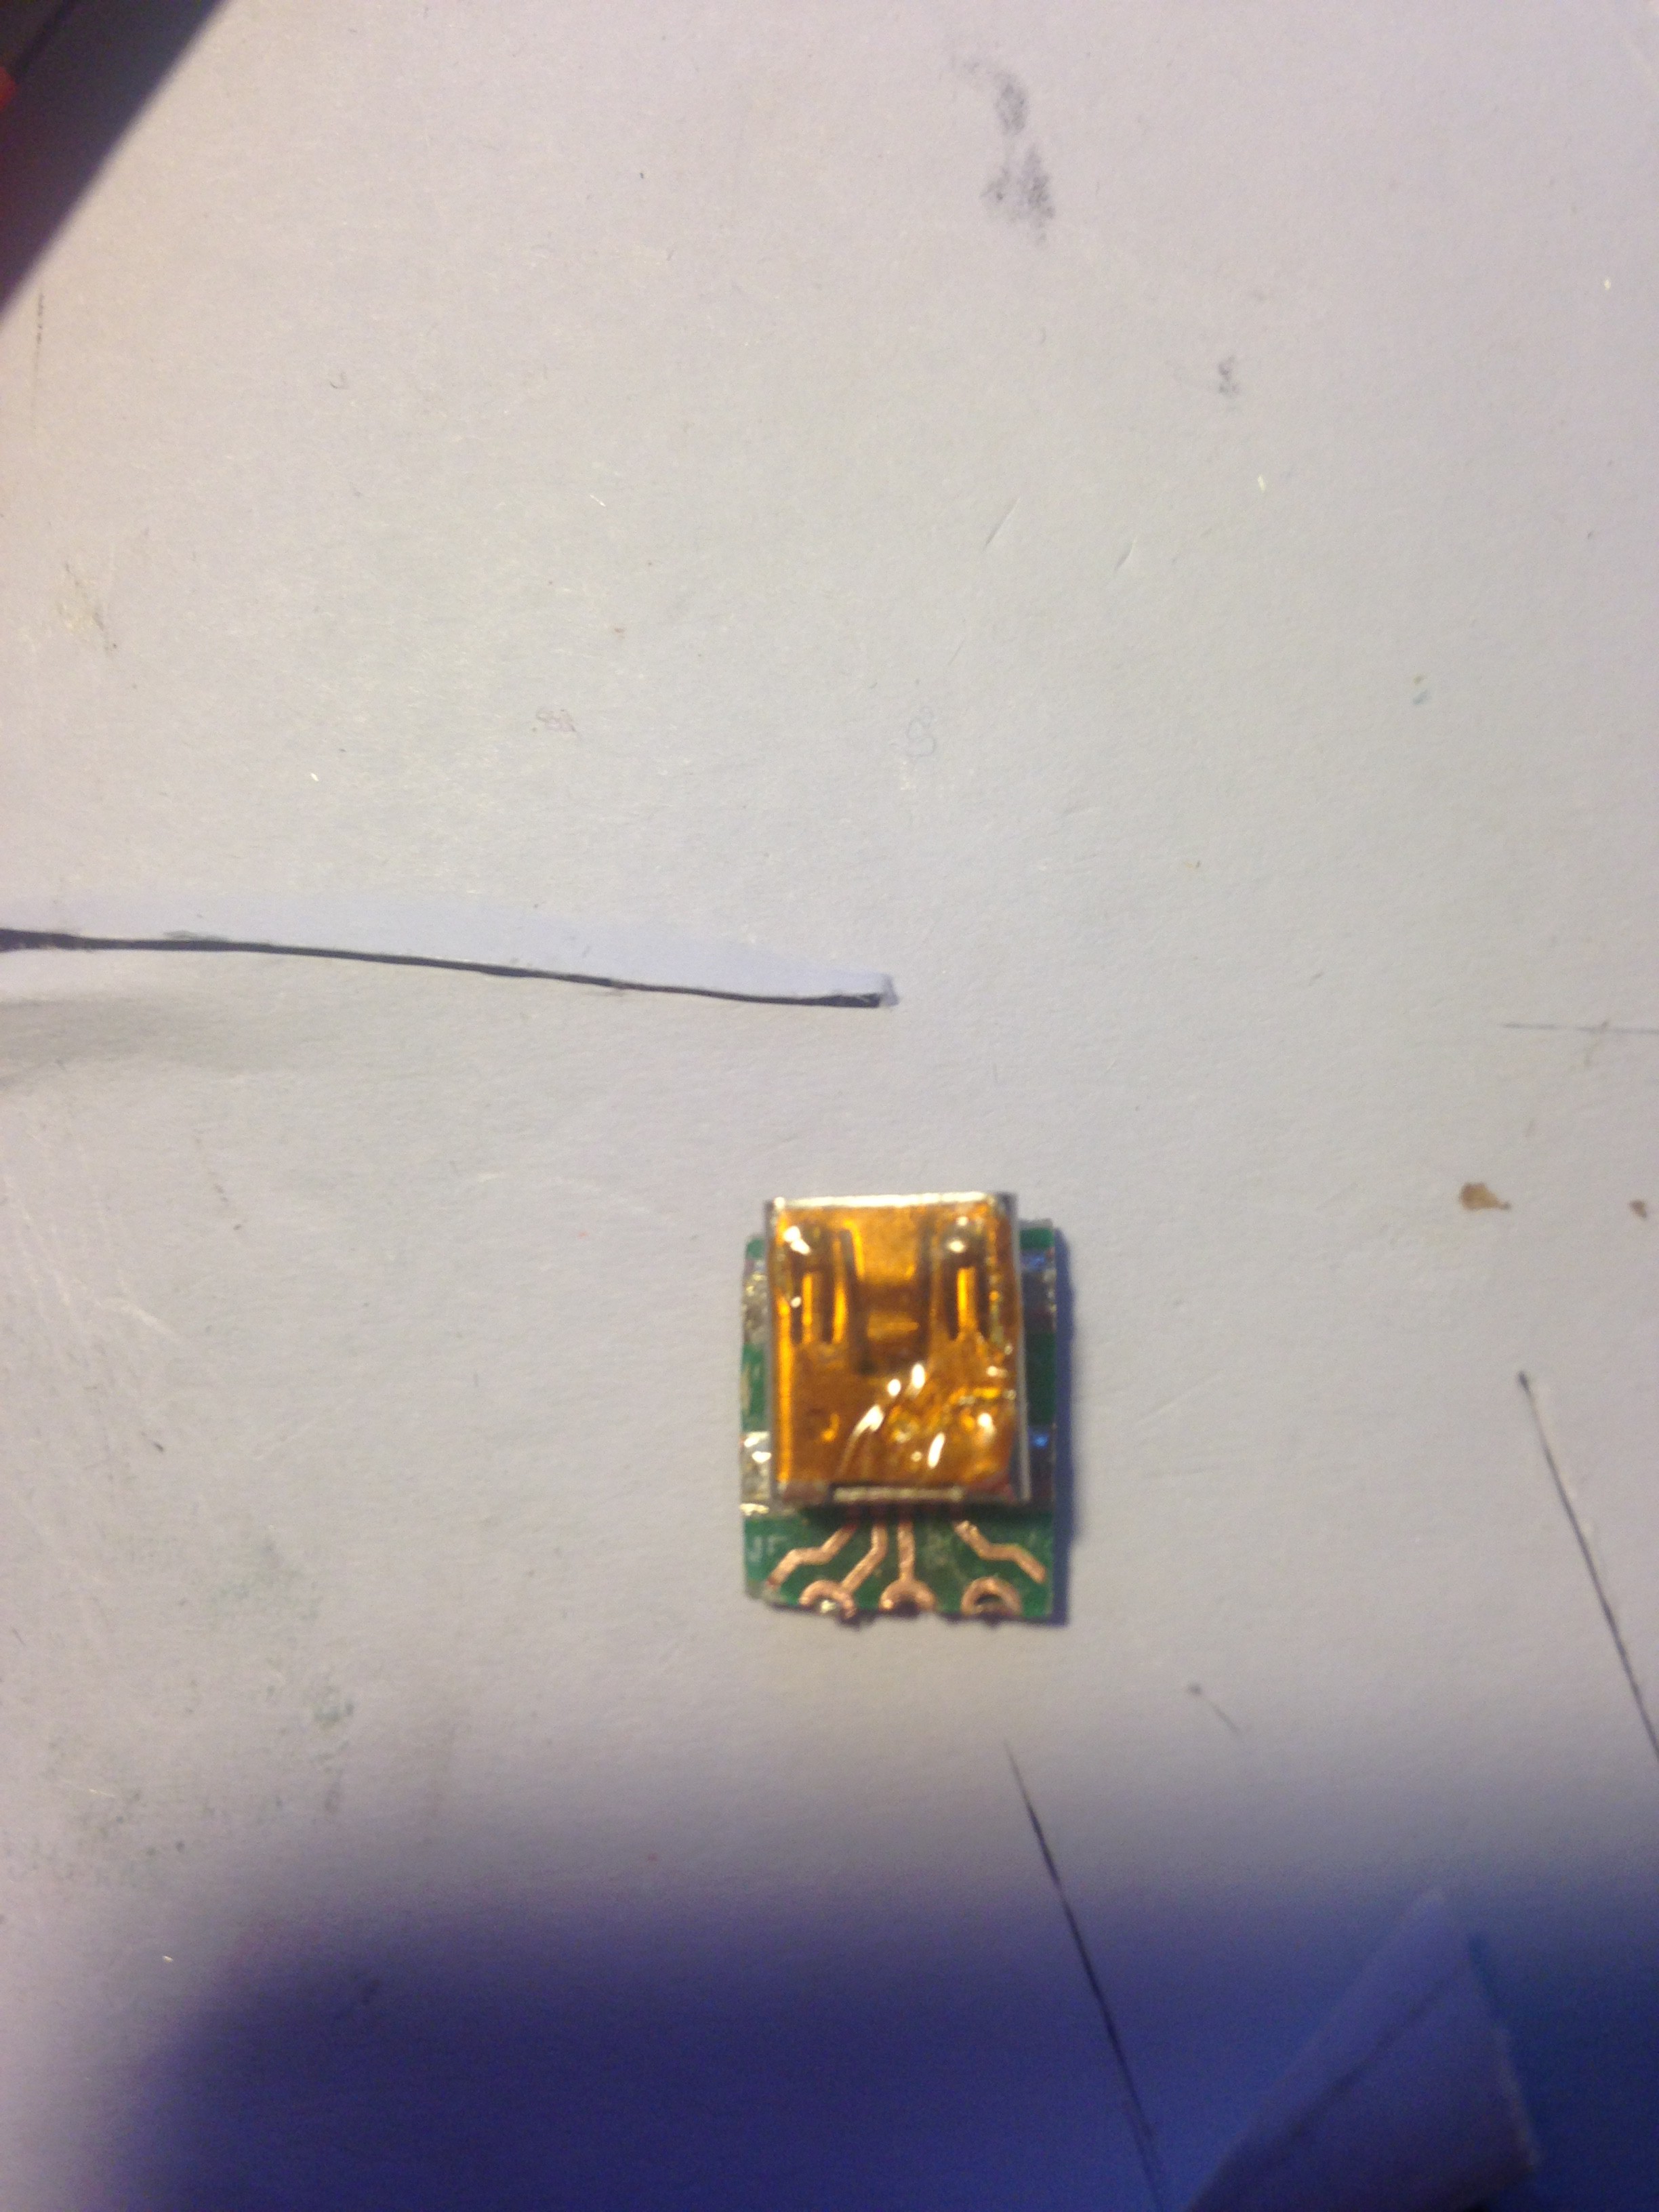
Some pins have gotten cut off, but that is OK, because we can still use the ones near the center. To gain access to them, I used a glass-fibre pen to scrape off the PCB's protective film and expose the copper:
![]()
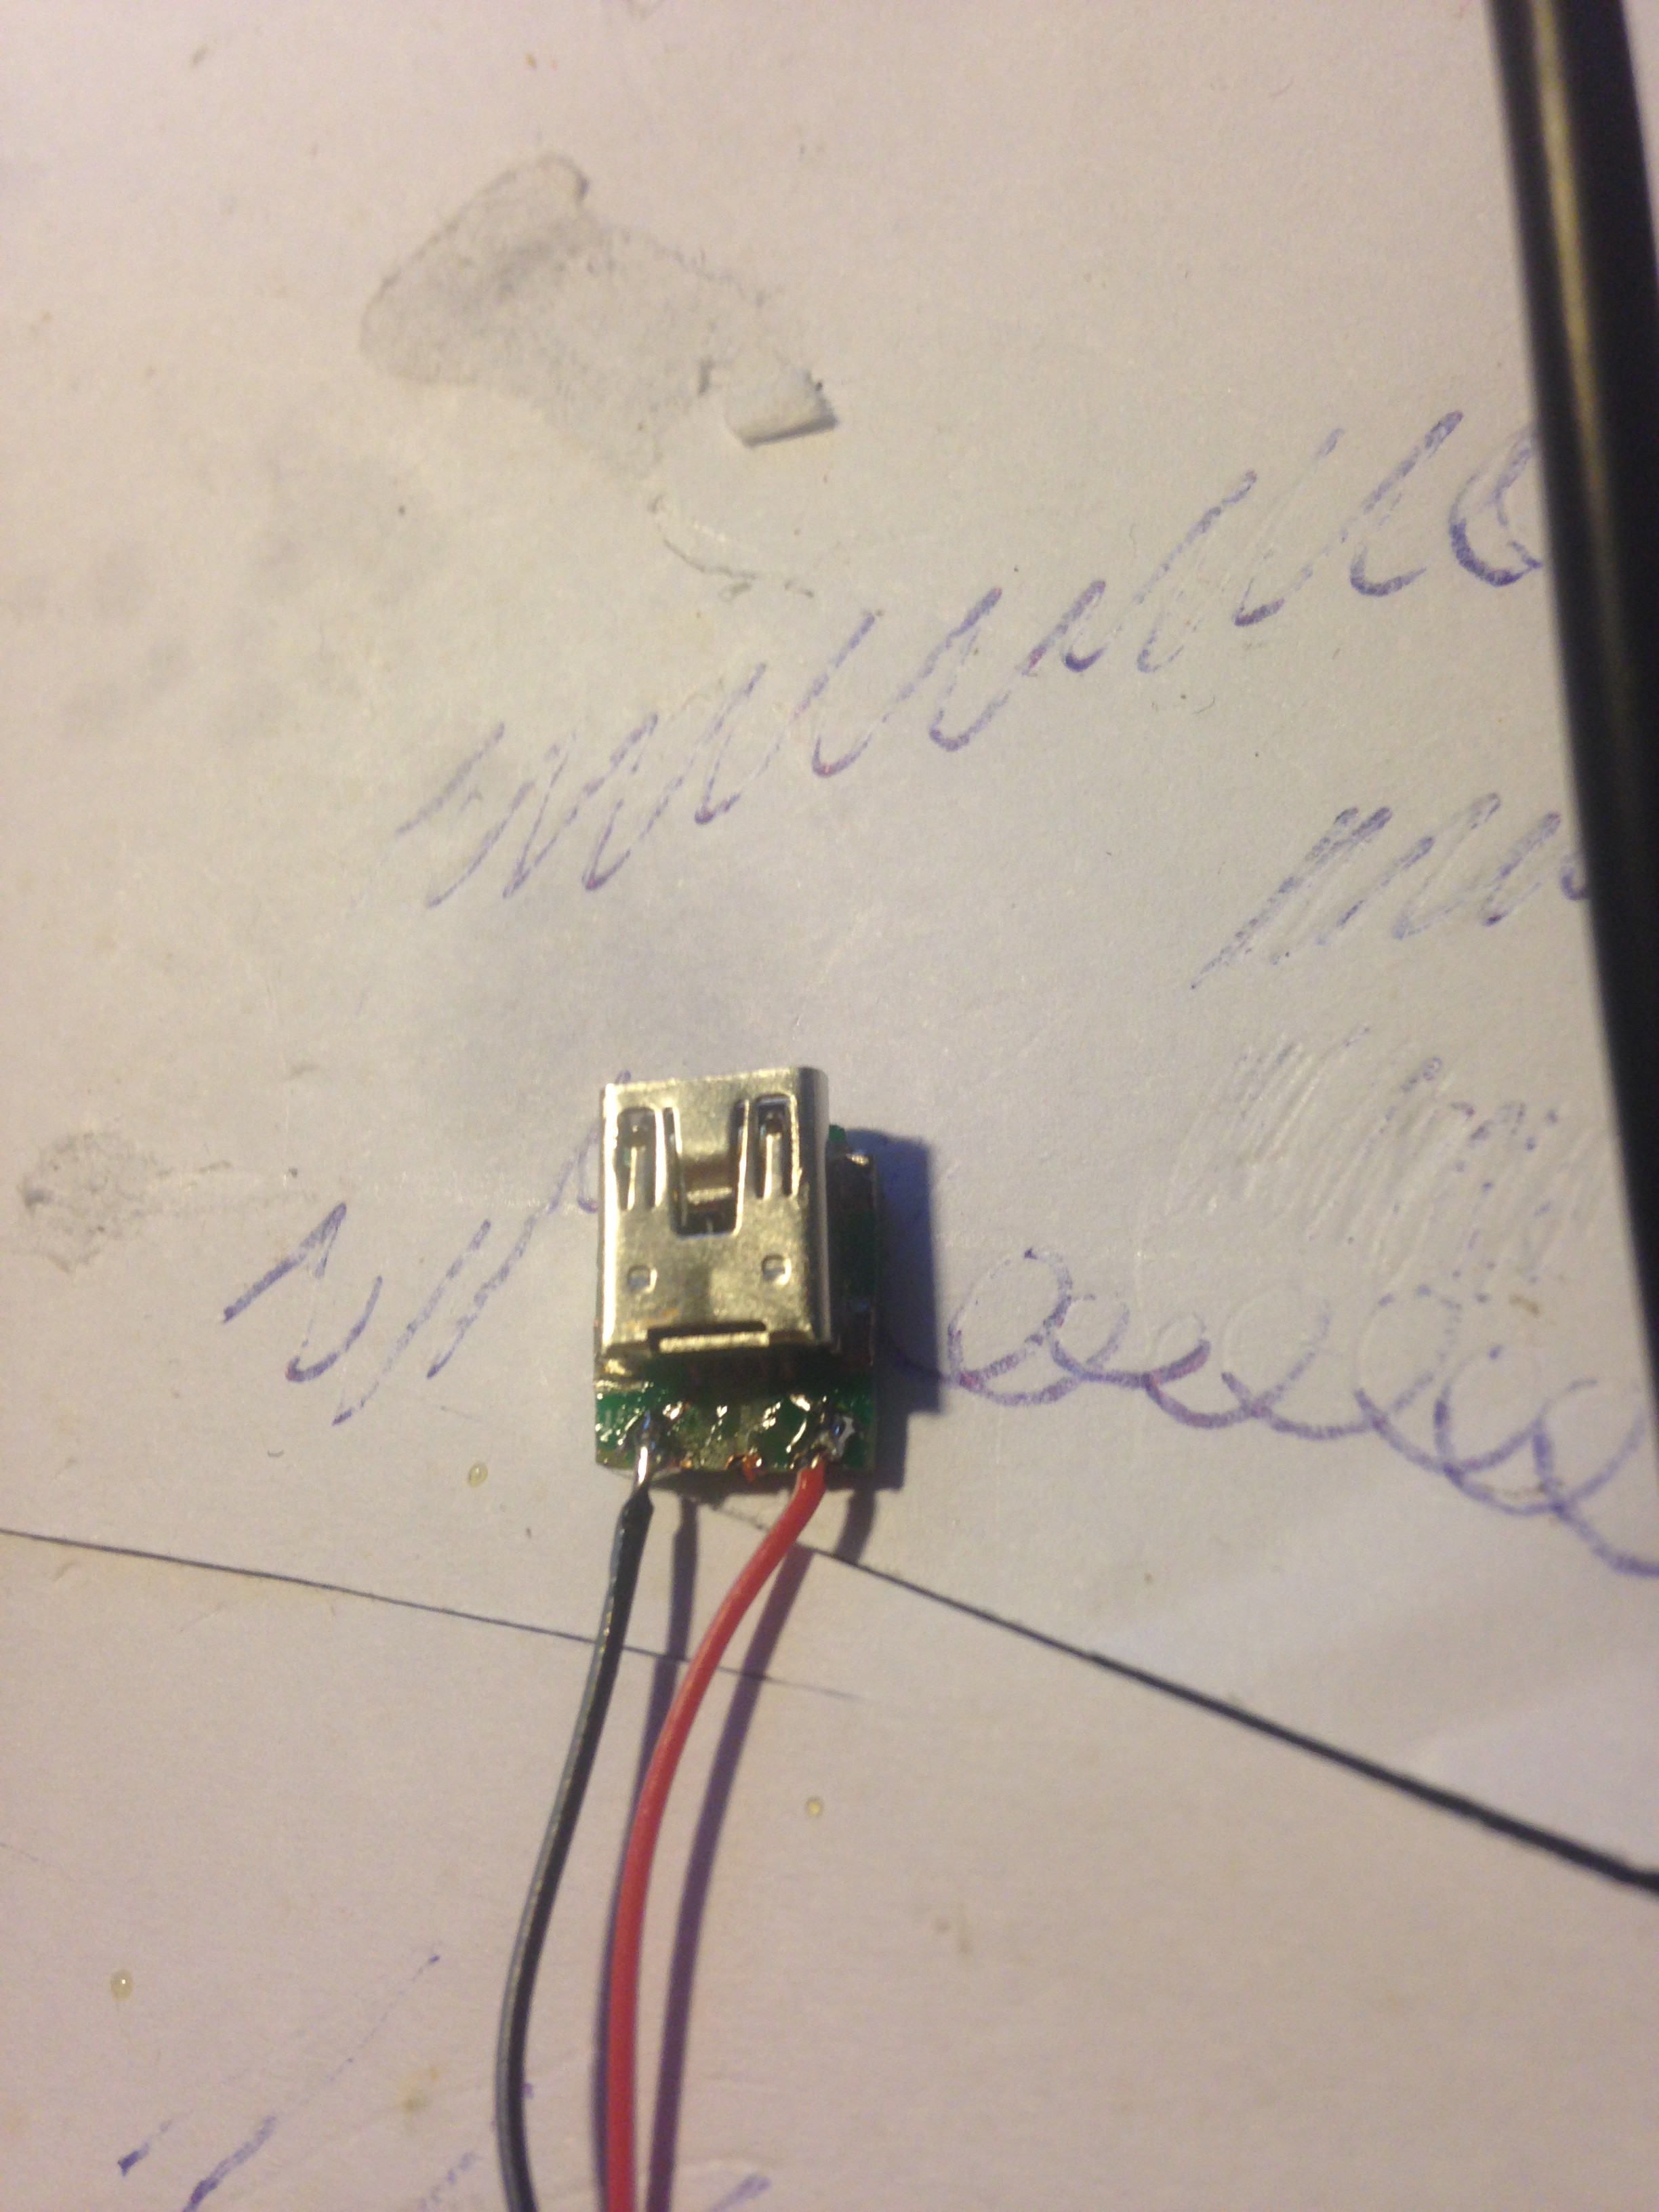
Then I test fitted it again and filed it untill it fitted fine:
![]()
Also, as you can see there, I already have removed one data line with a knife. I did this for all remaining lines except 5V and GND, as I only need those.
After that is done, I soldered on the wires to the 5V and GND lines:
![]()
-
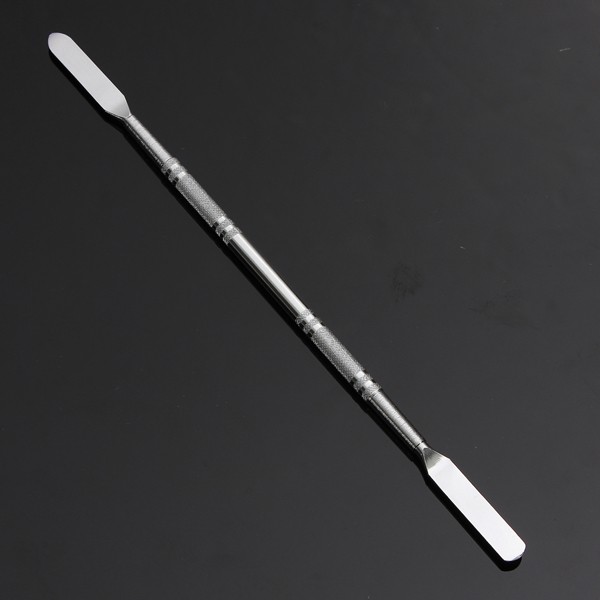
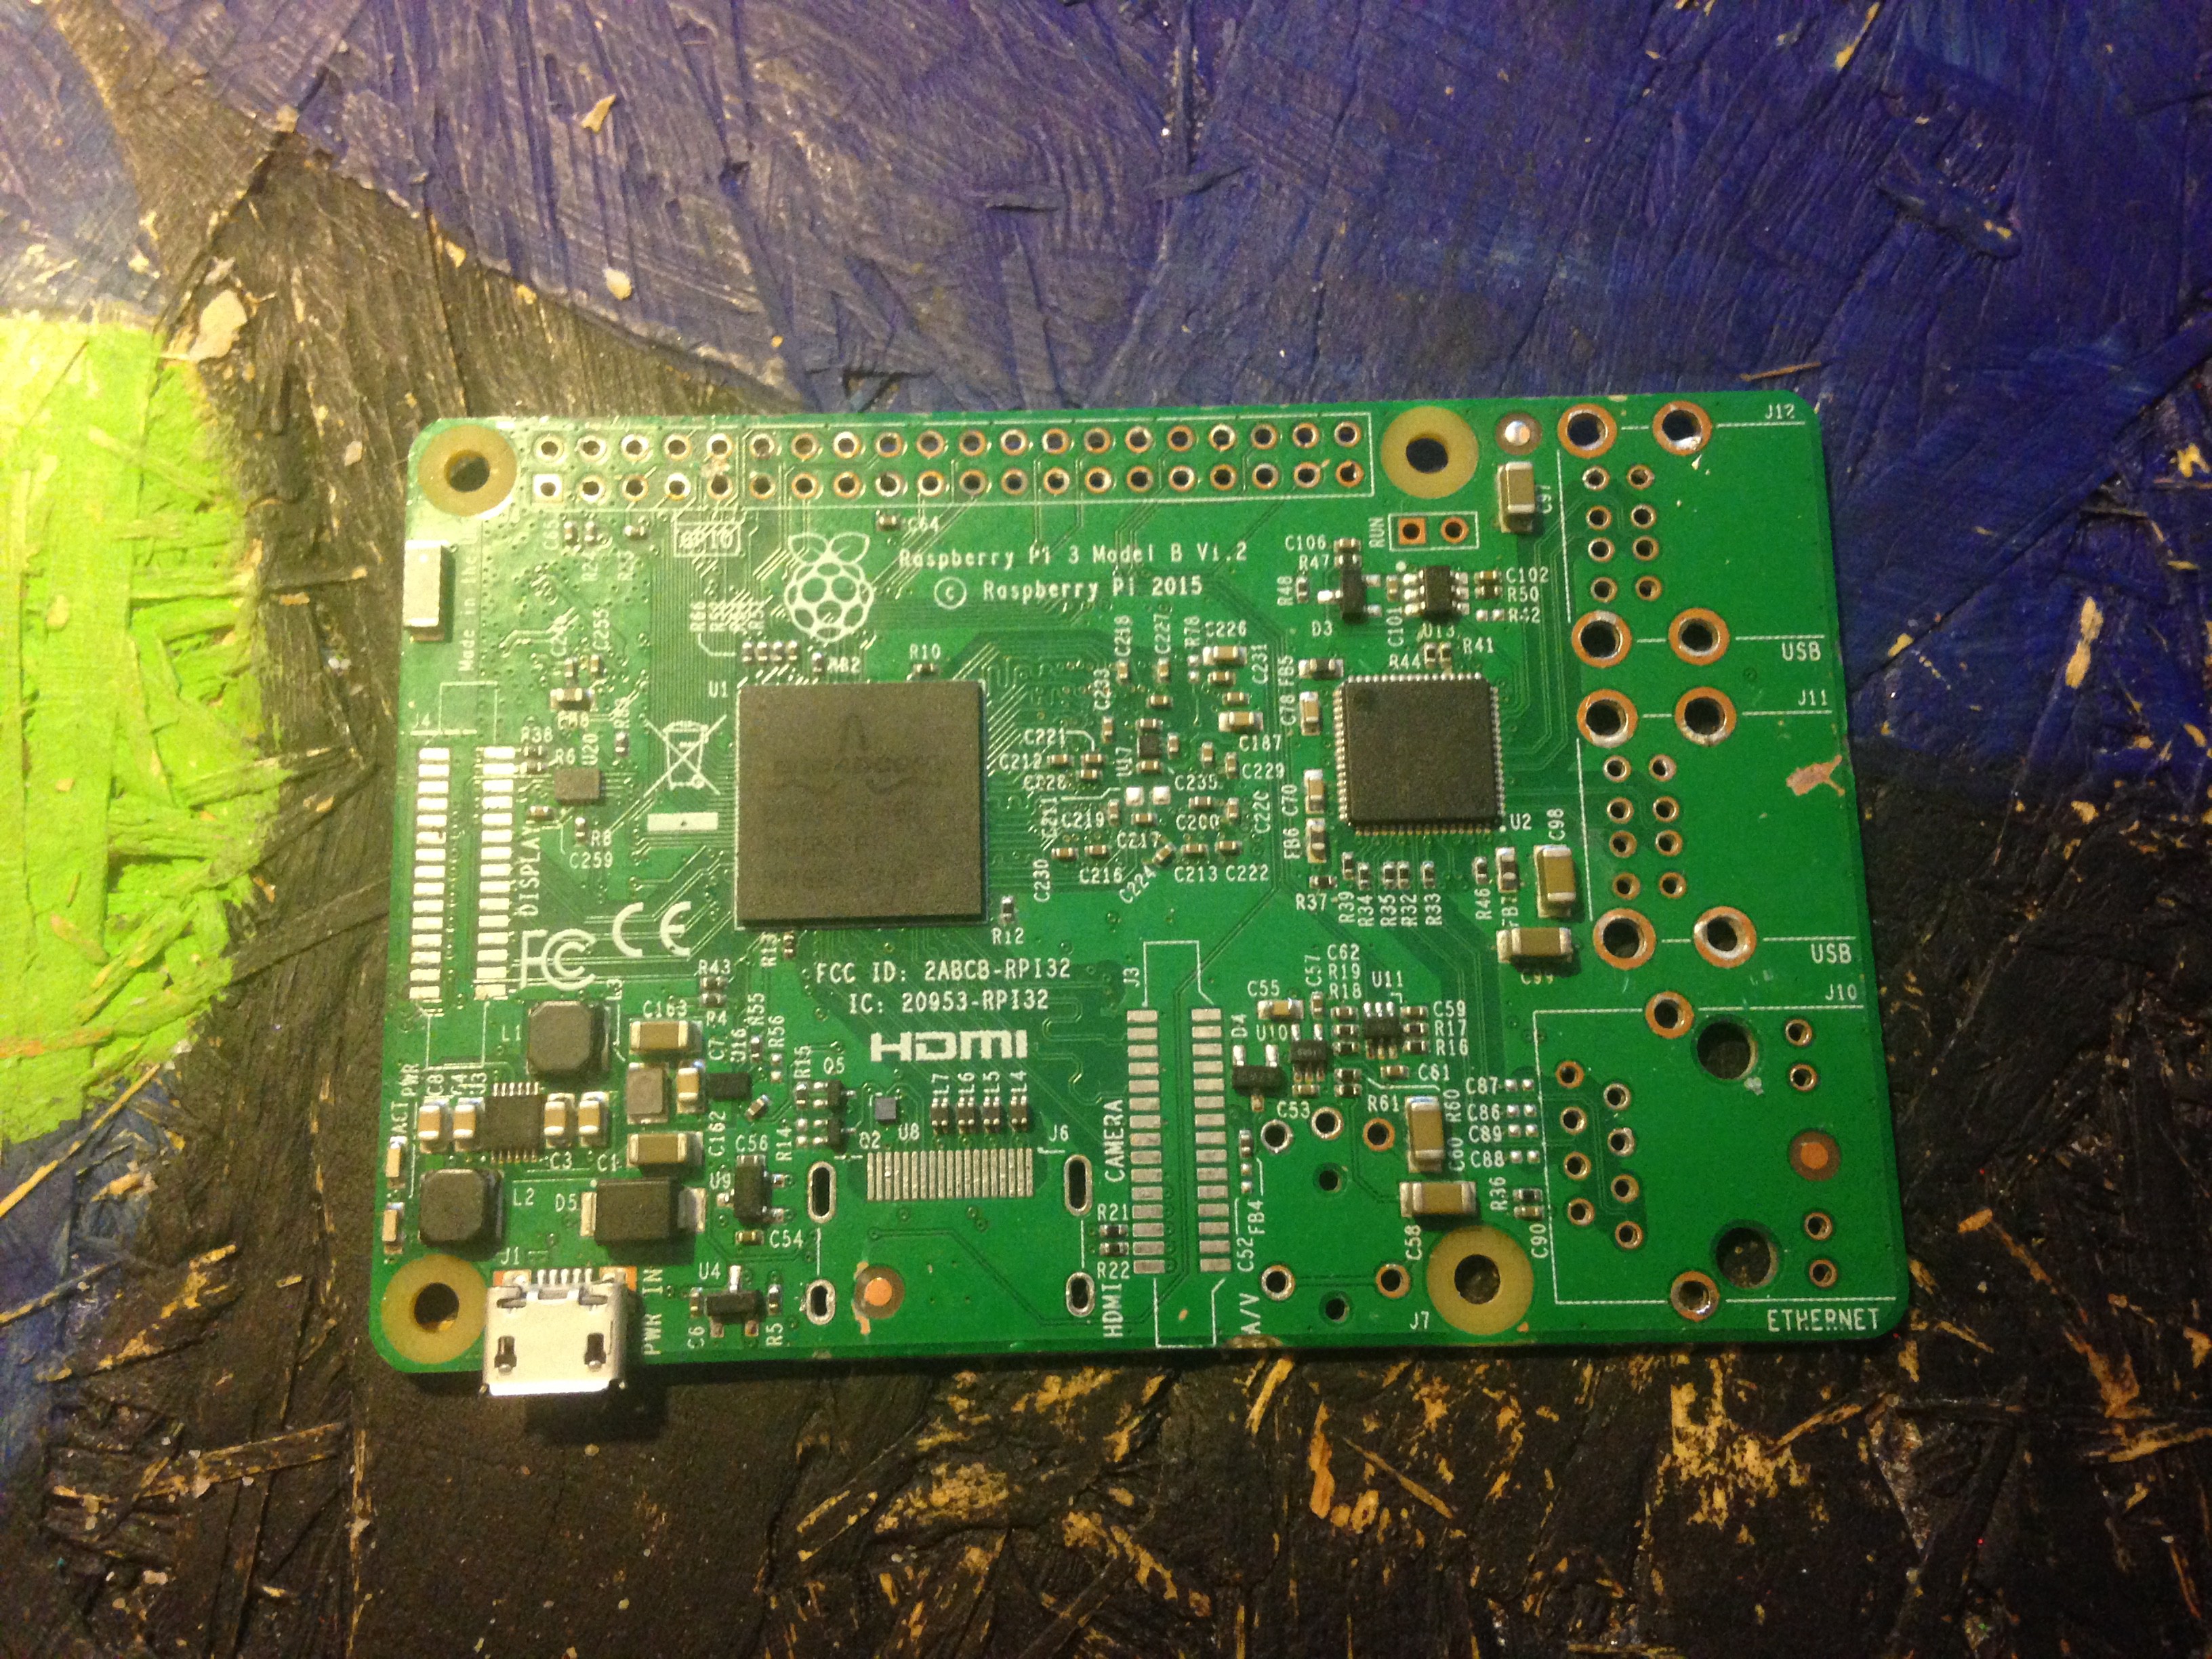
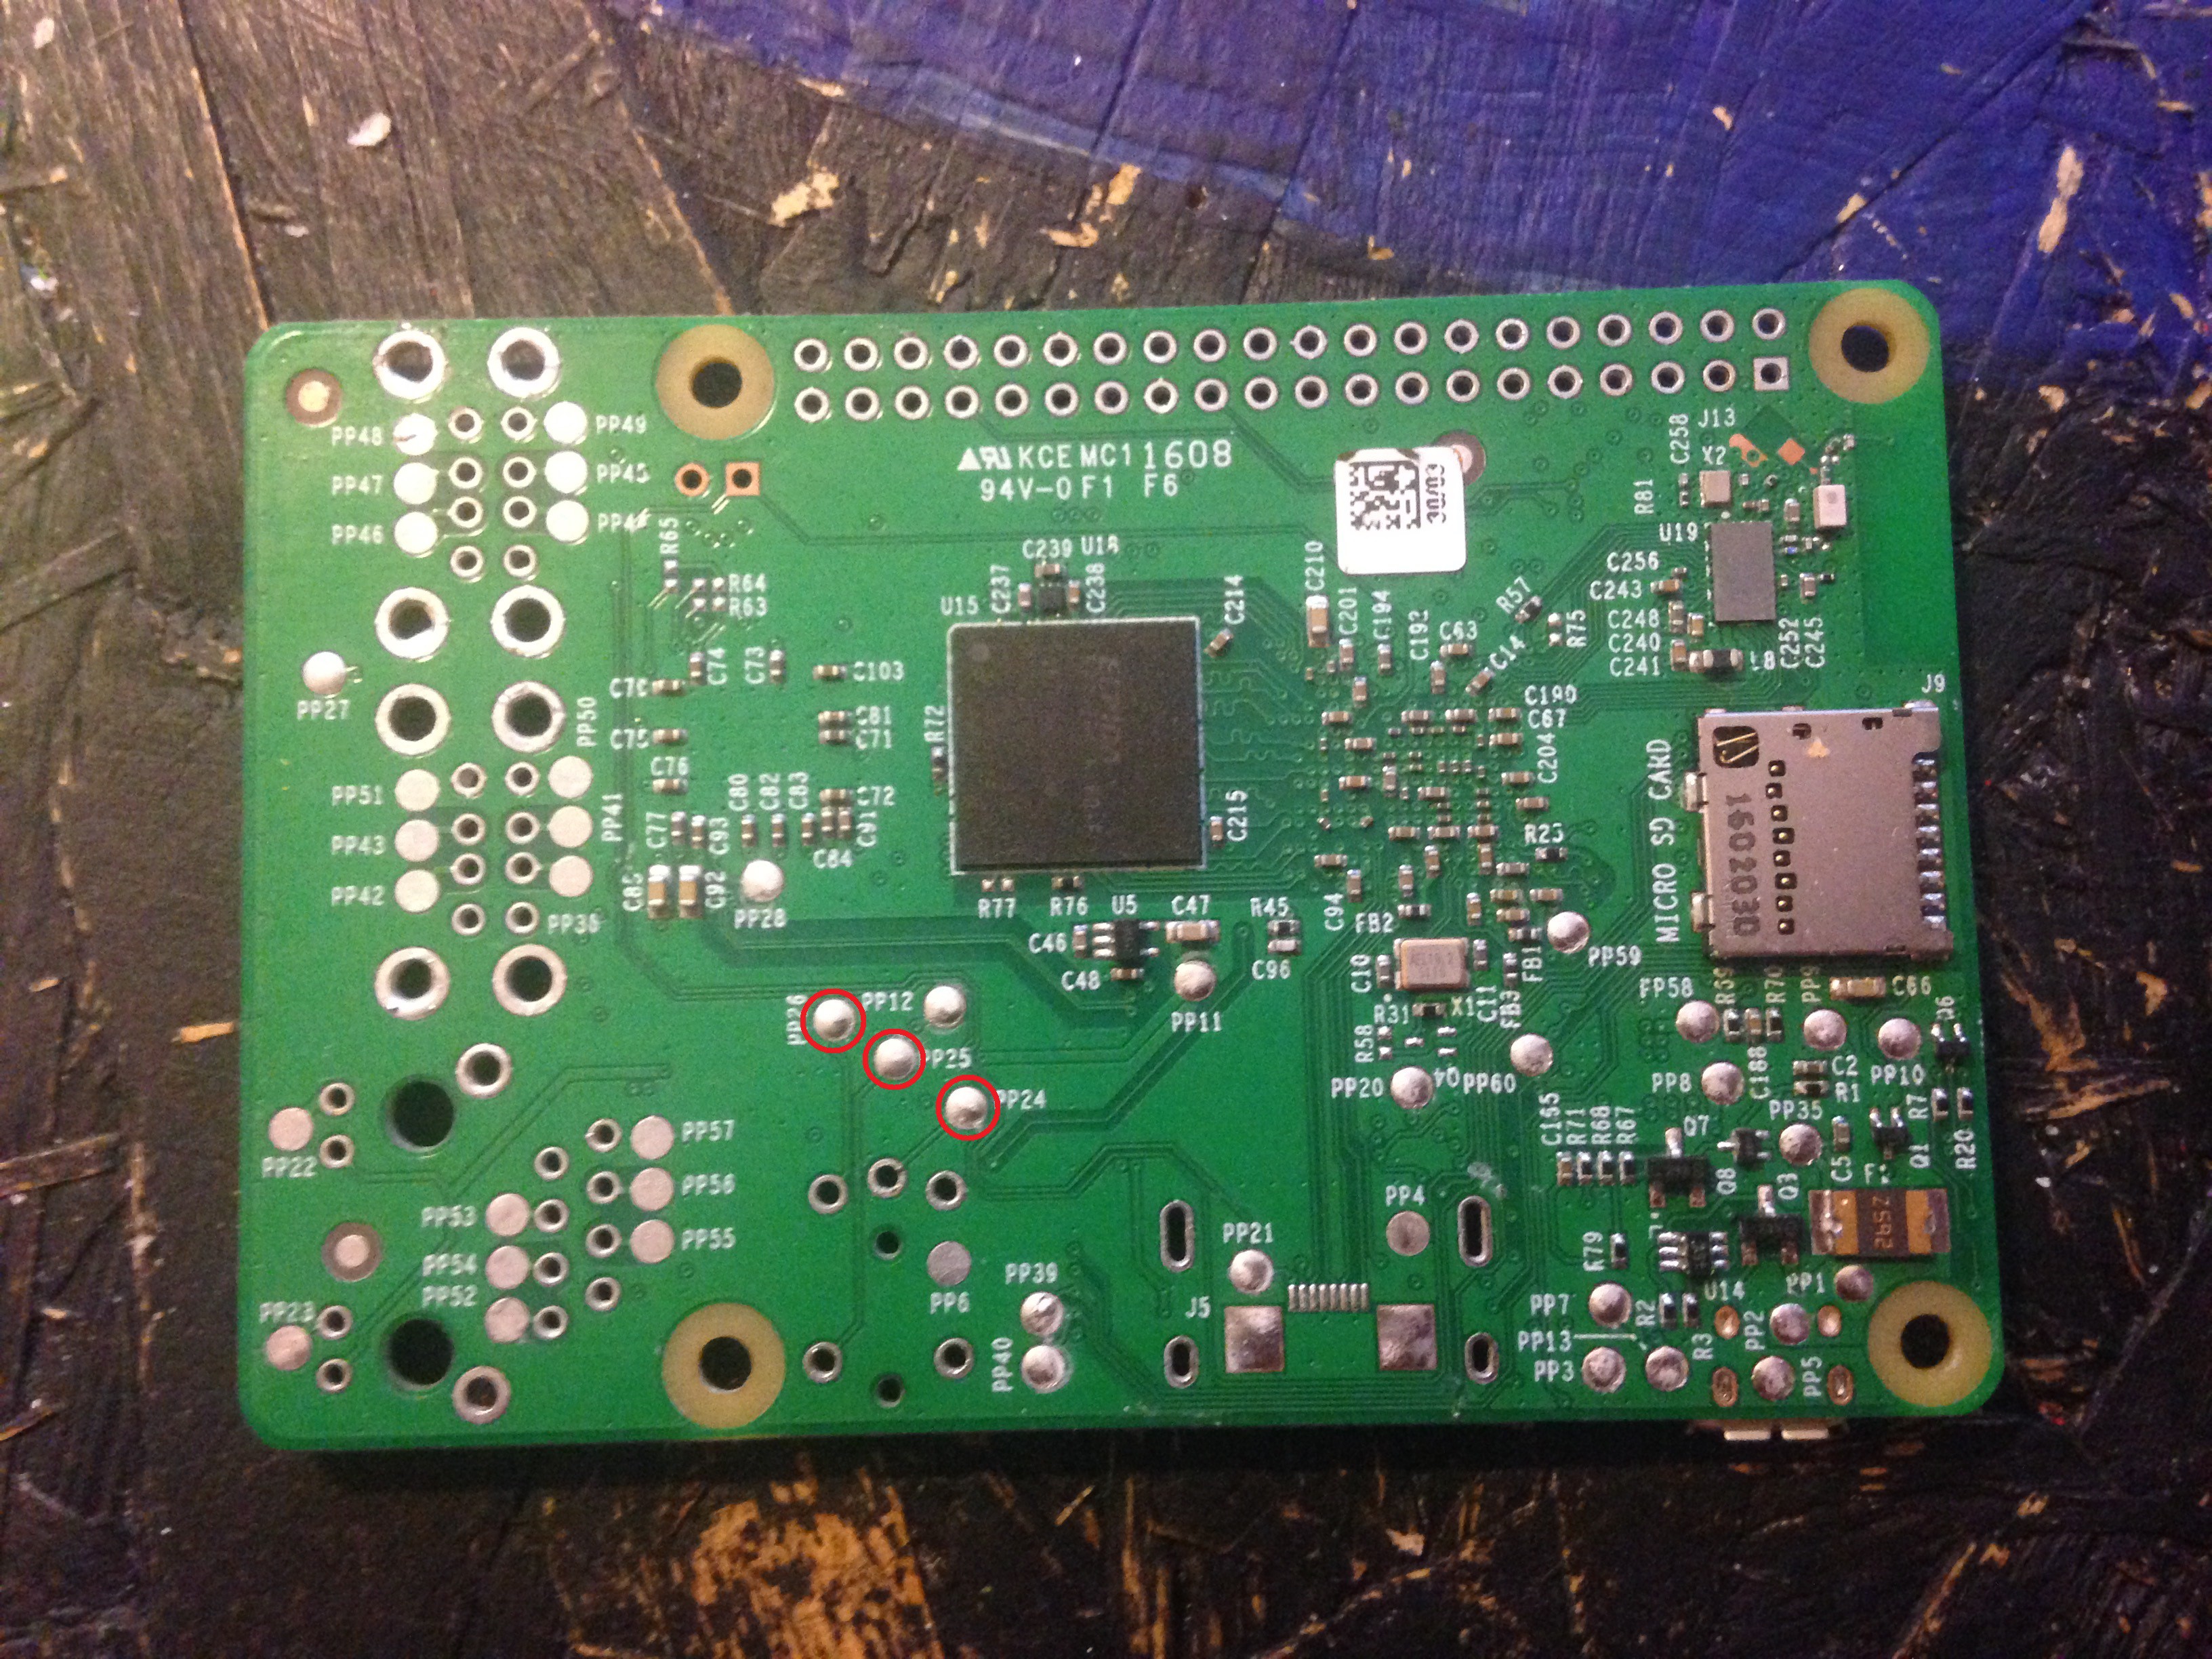
Stripping down the Raspberry Pi 3
11/07/2016 at 18:52 • 0 commentsIn order to fit the Raspberry Pi 3 into the gameboy better, we have to strip it down (desolder IO's)
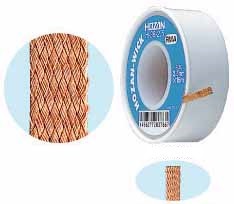
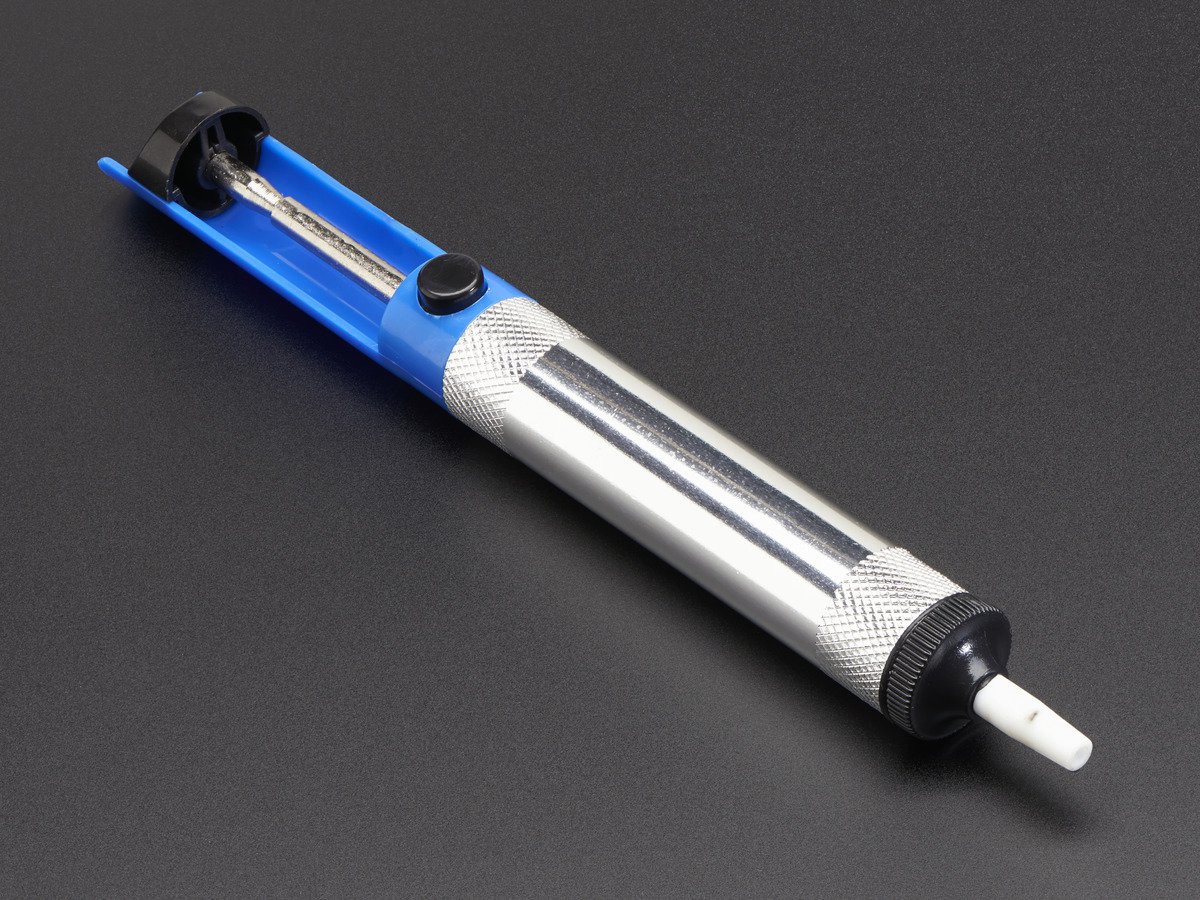
For that I have used desoldering wick, a solder sucker, and a metal prying tool:
![]()
![]()
![]()
I have used 350 °C on my soldering iron. This is the result:
![]()
![]()
-
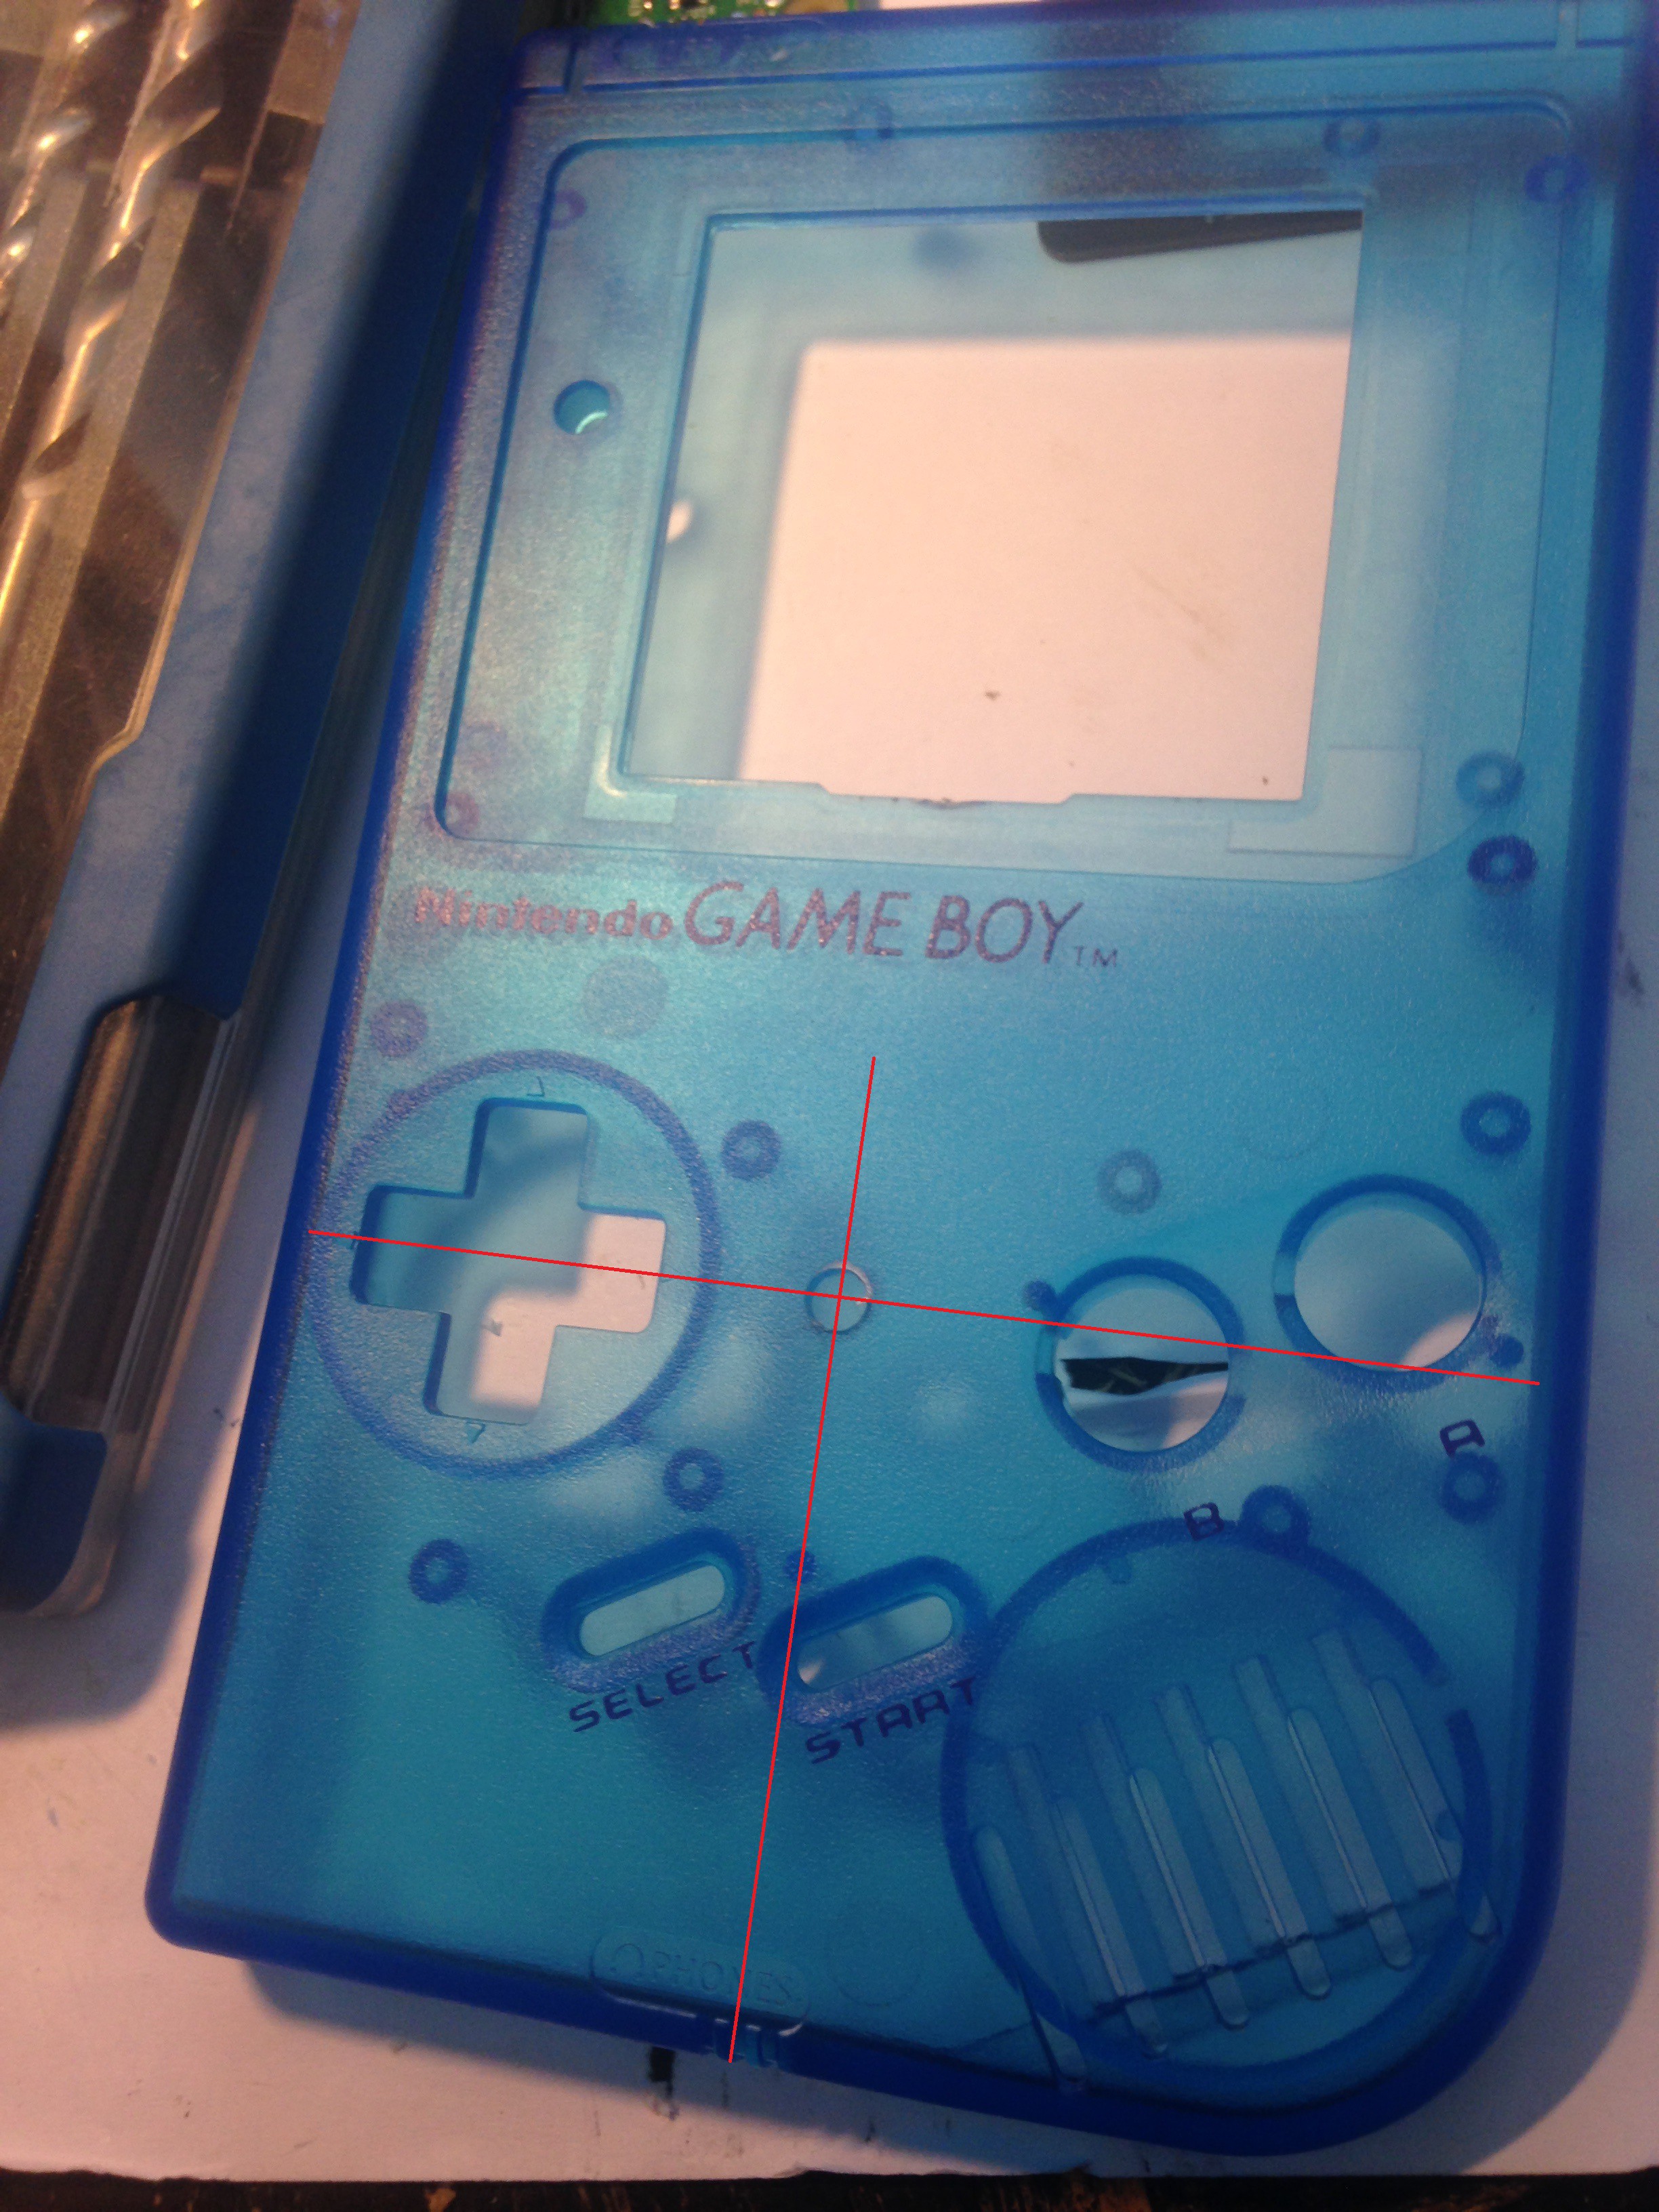
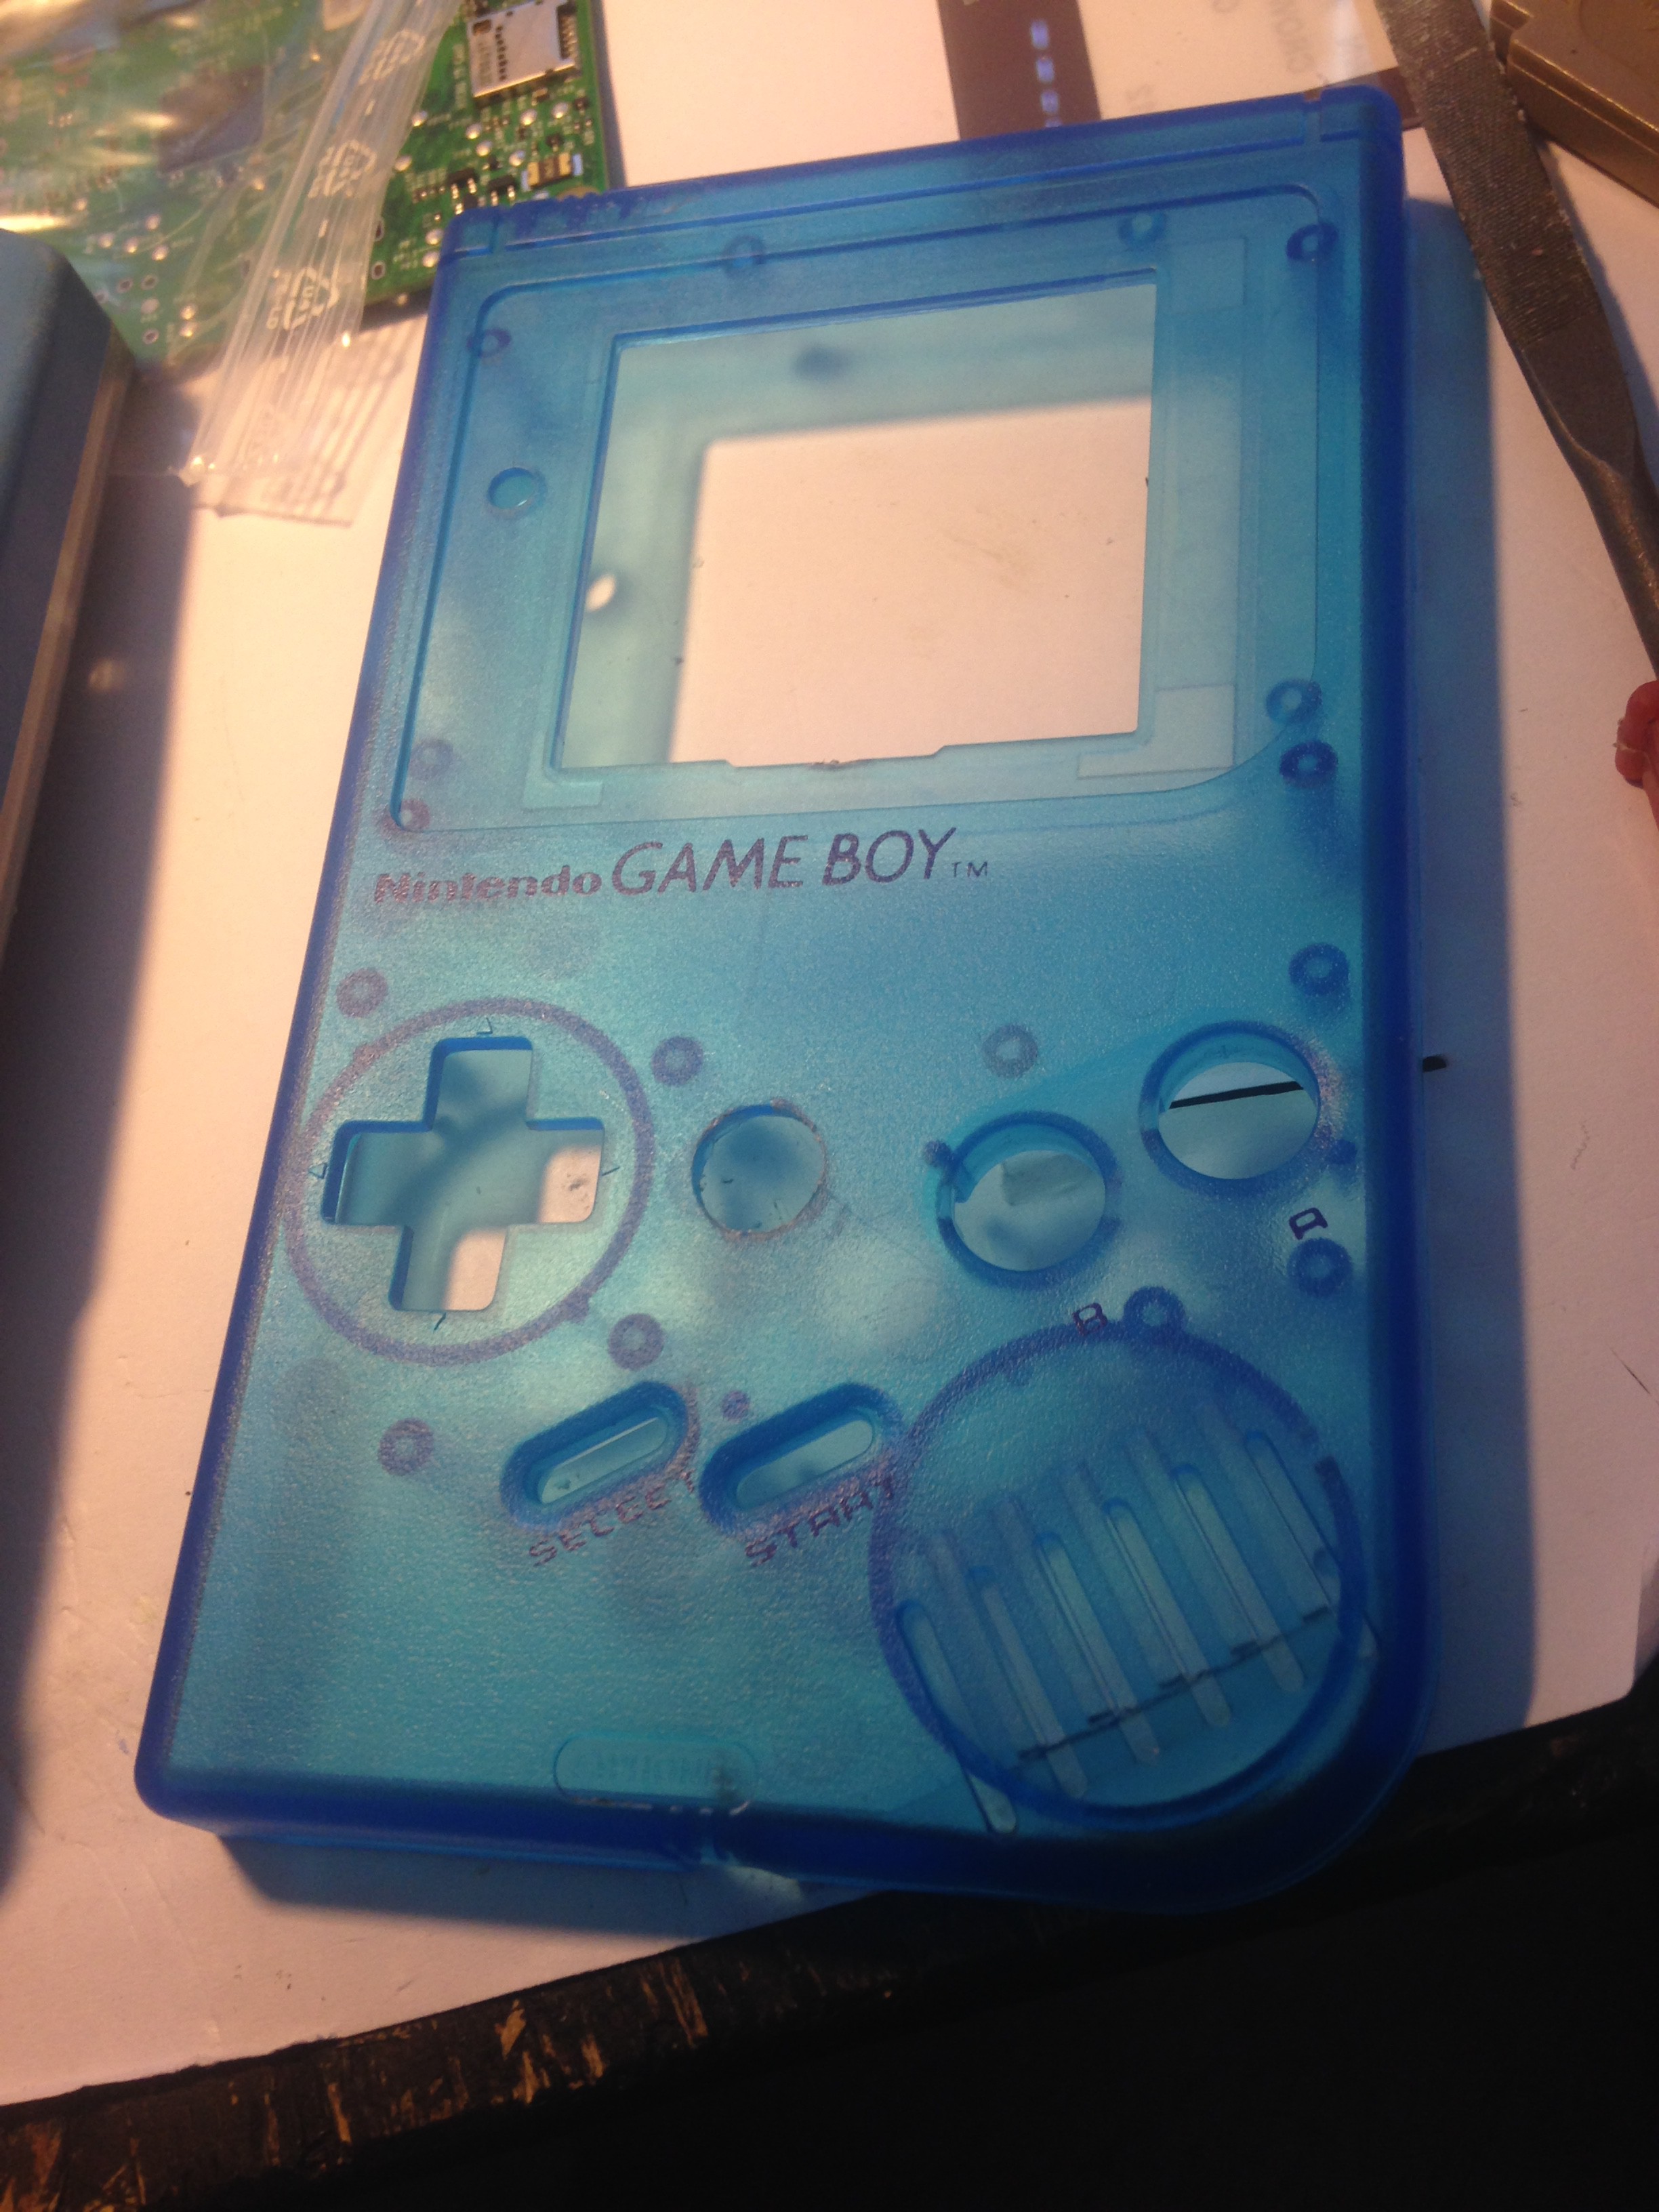
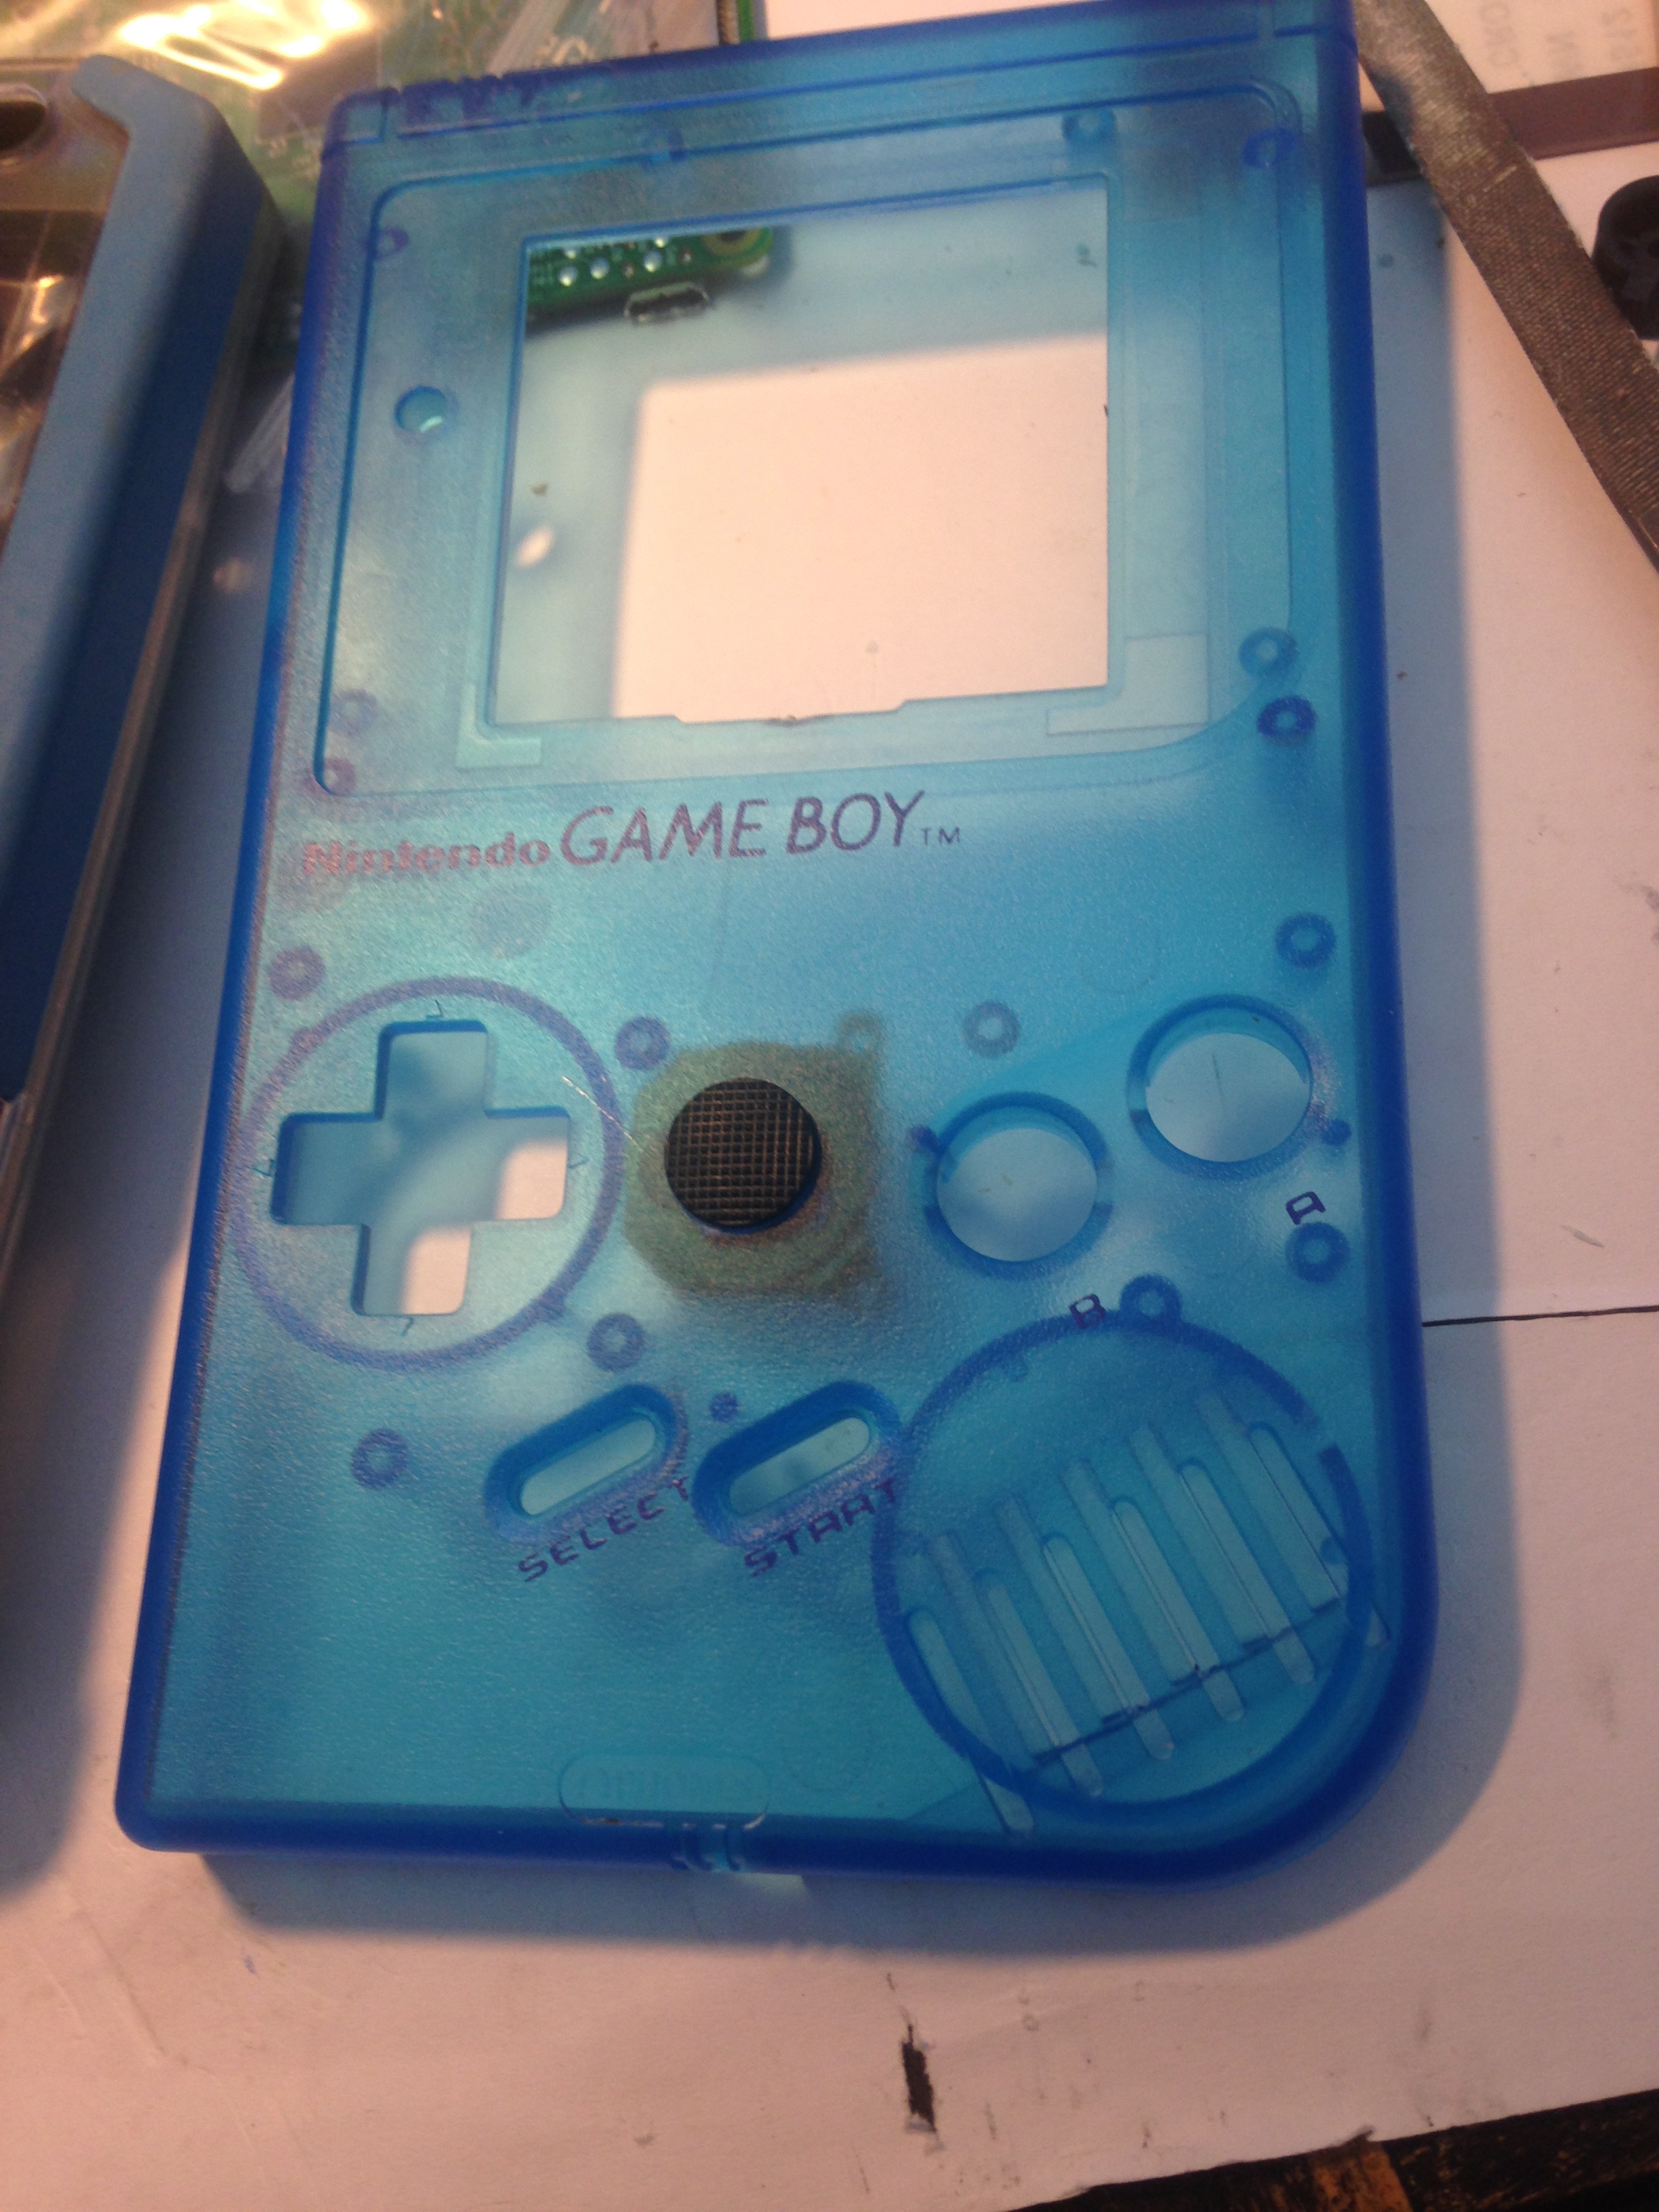
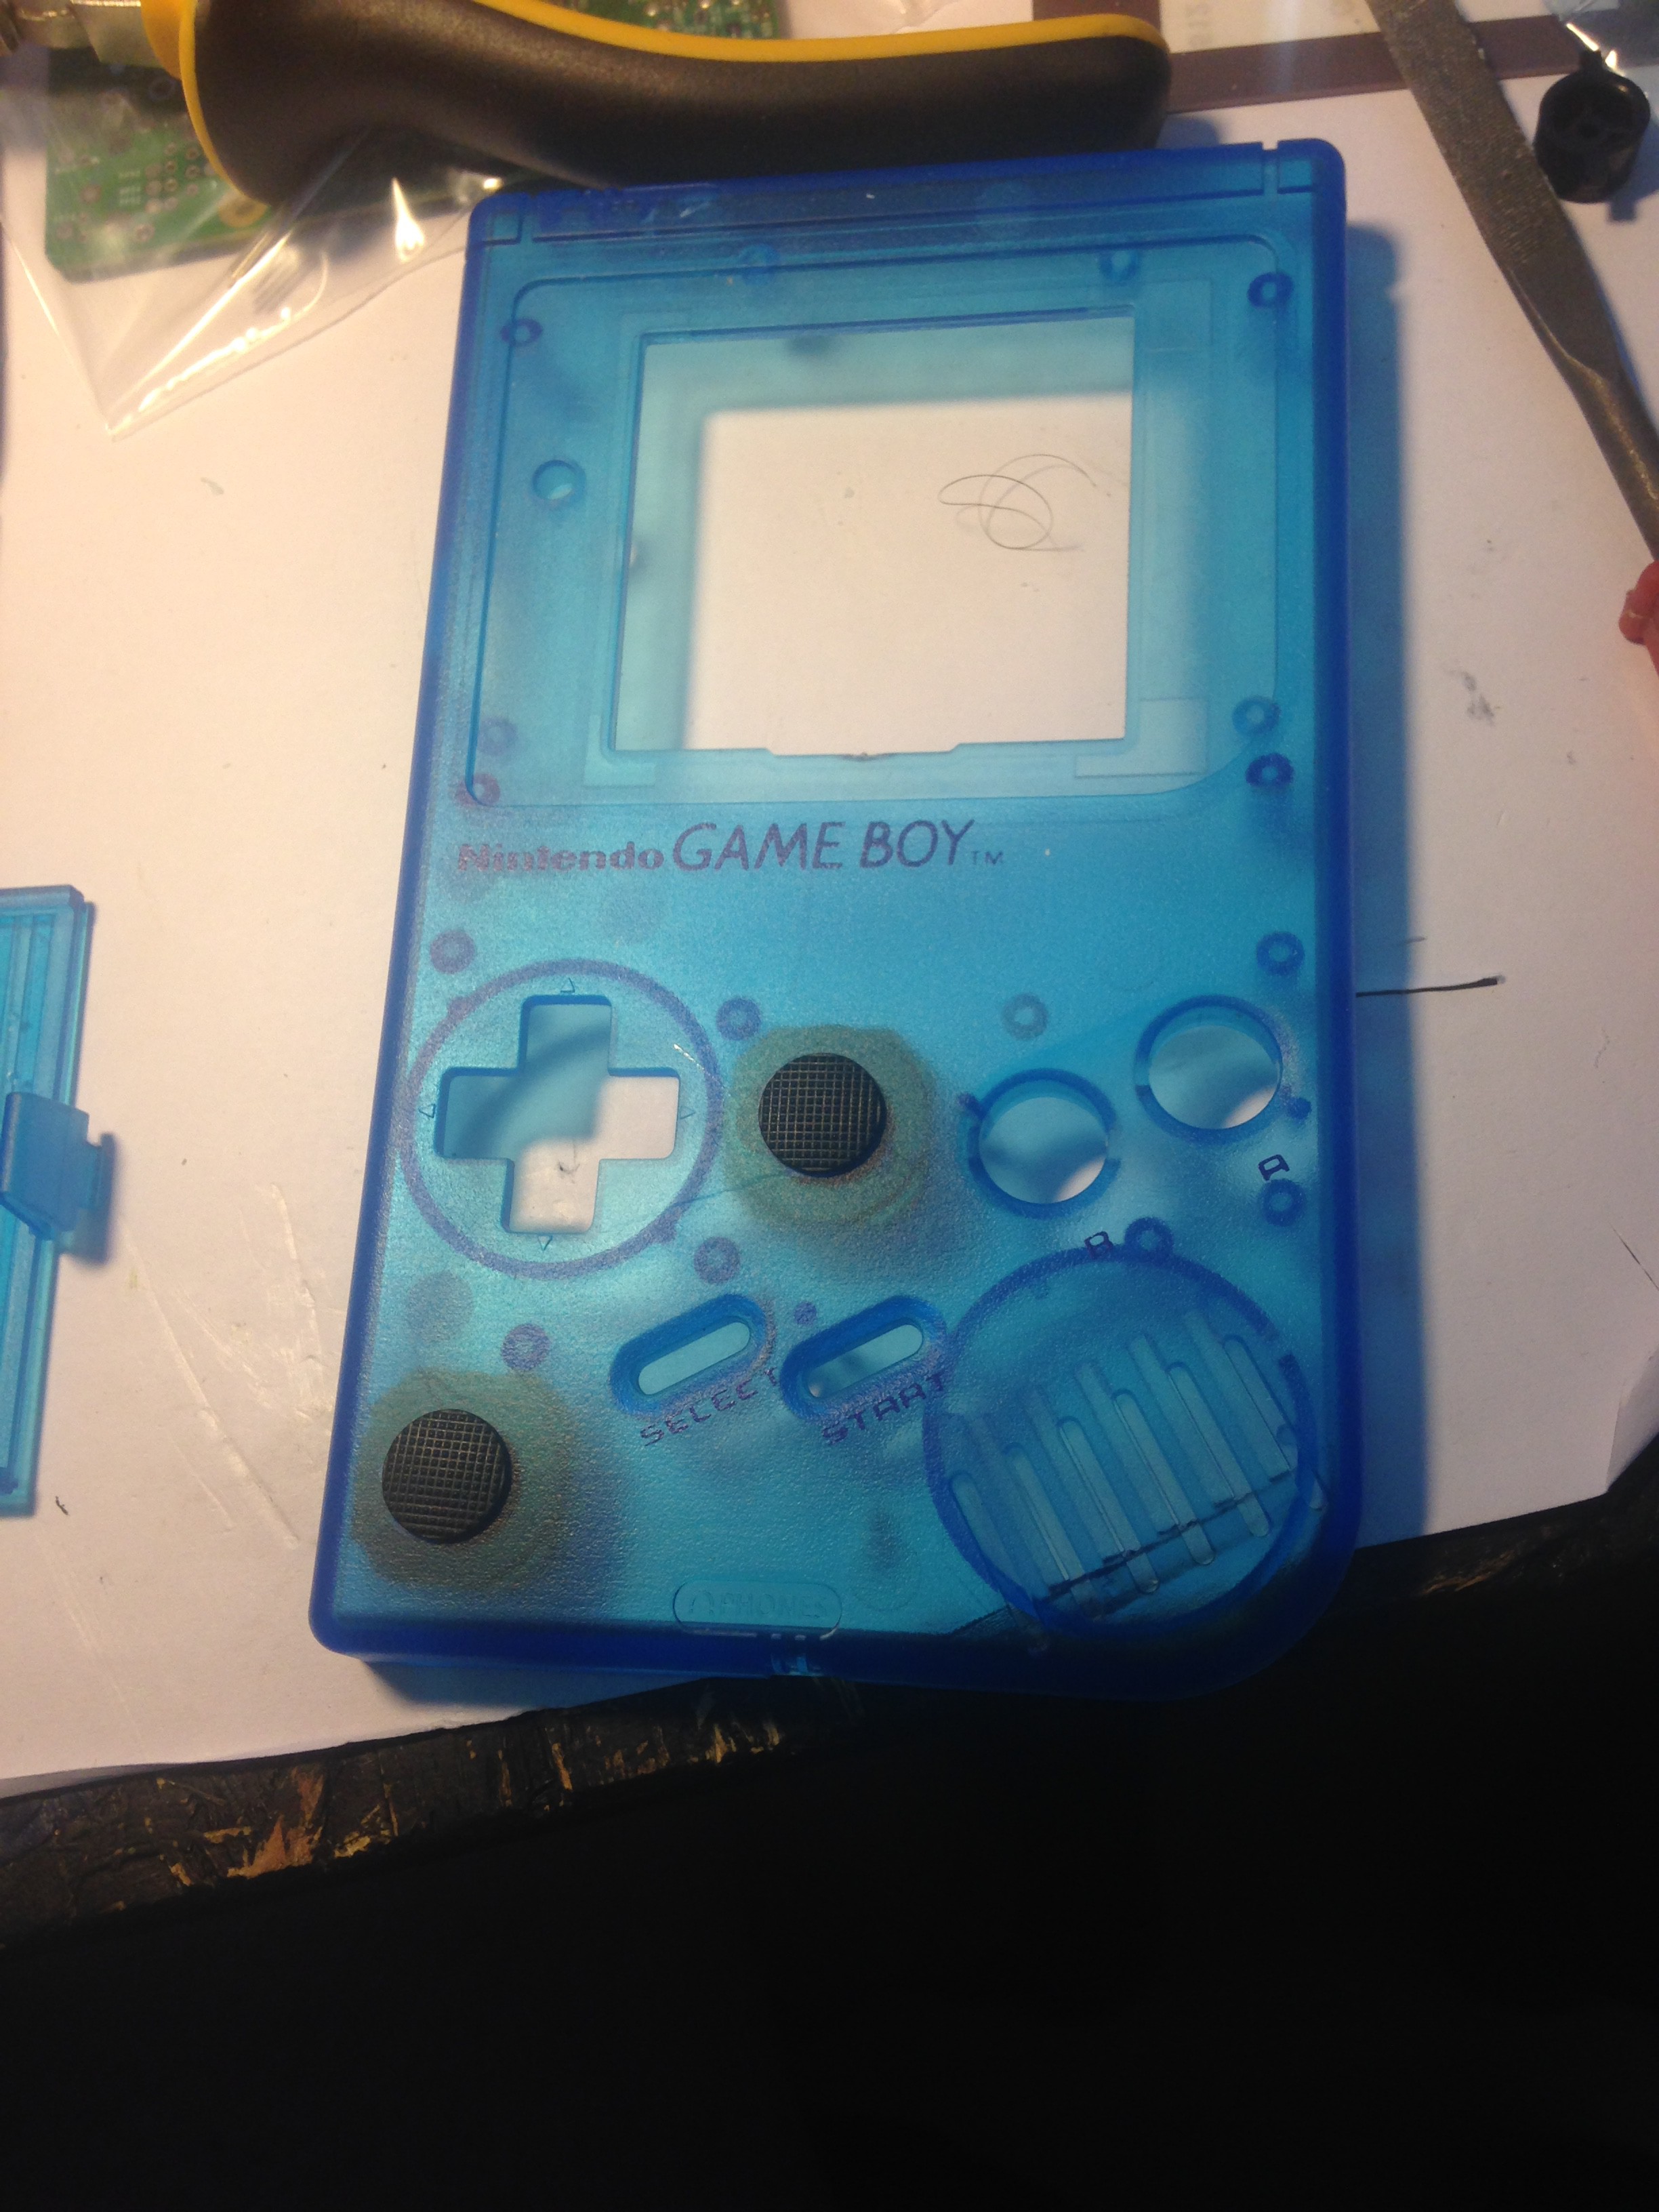
Drilling first holes and test fit analog sticks
11/07/2016 at 18:40 • 0 commentsHere I drilled a hole in the center of the gameboy shell and test fitted the analog sticks to see how the would "feel":
![]()
![]()
![]()
I was happy with it, so I did the same for the lower left:
![]()
![]()
Raspberry Pi 3 Gameboy
This is a DIY Raspberry Pi 3 gaming handheld running RetroPie to play all your classics!