Hardware:
- Adafruit MLX90640 infrared camera (110 FOV).
- Teensy 3.2.
- 12x 8x8 WS2812b panels.
- MeanWell UHP-200A-5.
- PlatformIO via Visual Studio Code.
- Arduino framework.
- Adafruit MLX90640 library.
- FastLED library.
- 2020 aluminium extrusions.
- 3mm white cast acrylic.
- 3mm baltic birch plywood.
- Black eSun PLA+.
- Voron v2.4 3D printer.
- DIY laser engraver.
- Miter saw with aluminium cutting blade.
License:
- Have fun, link back.
Source code, CAD, STLs:
More projects:
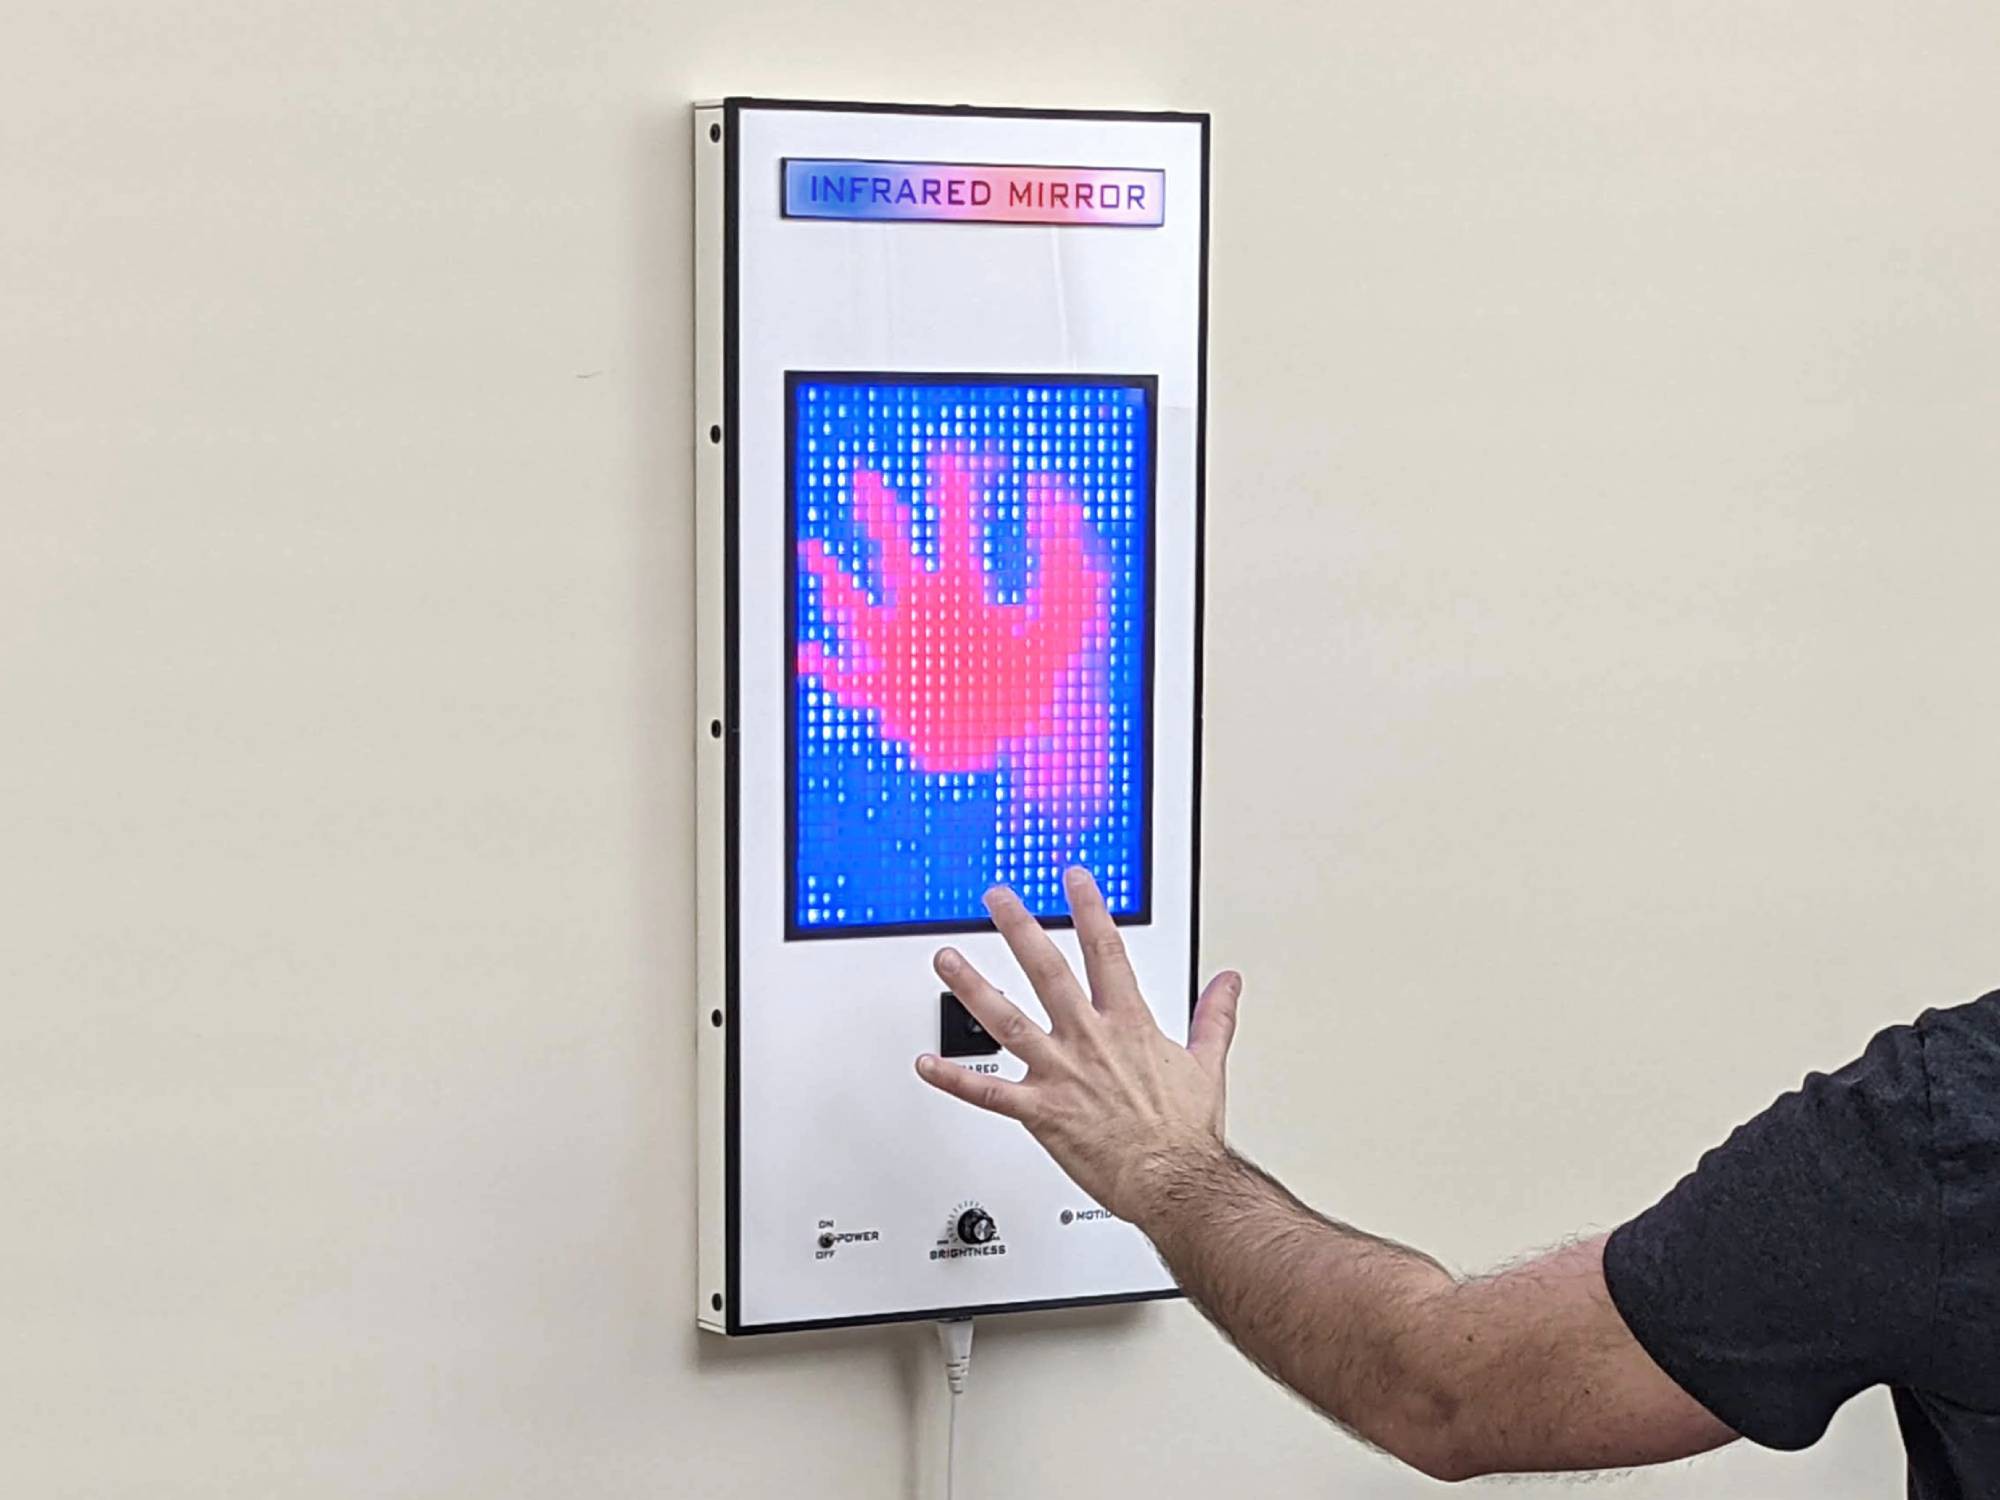
You can melt butter with those hands!
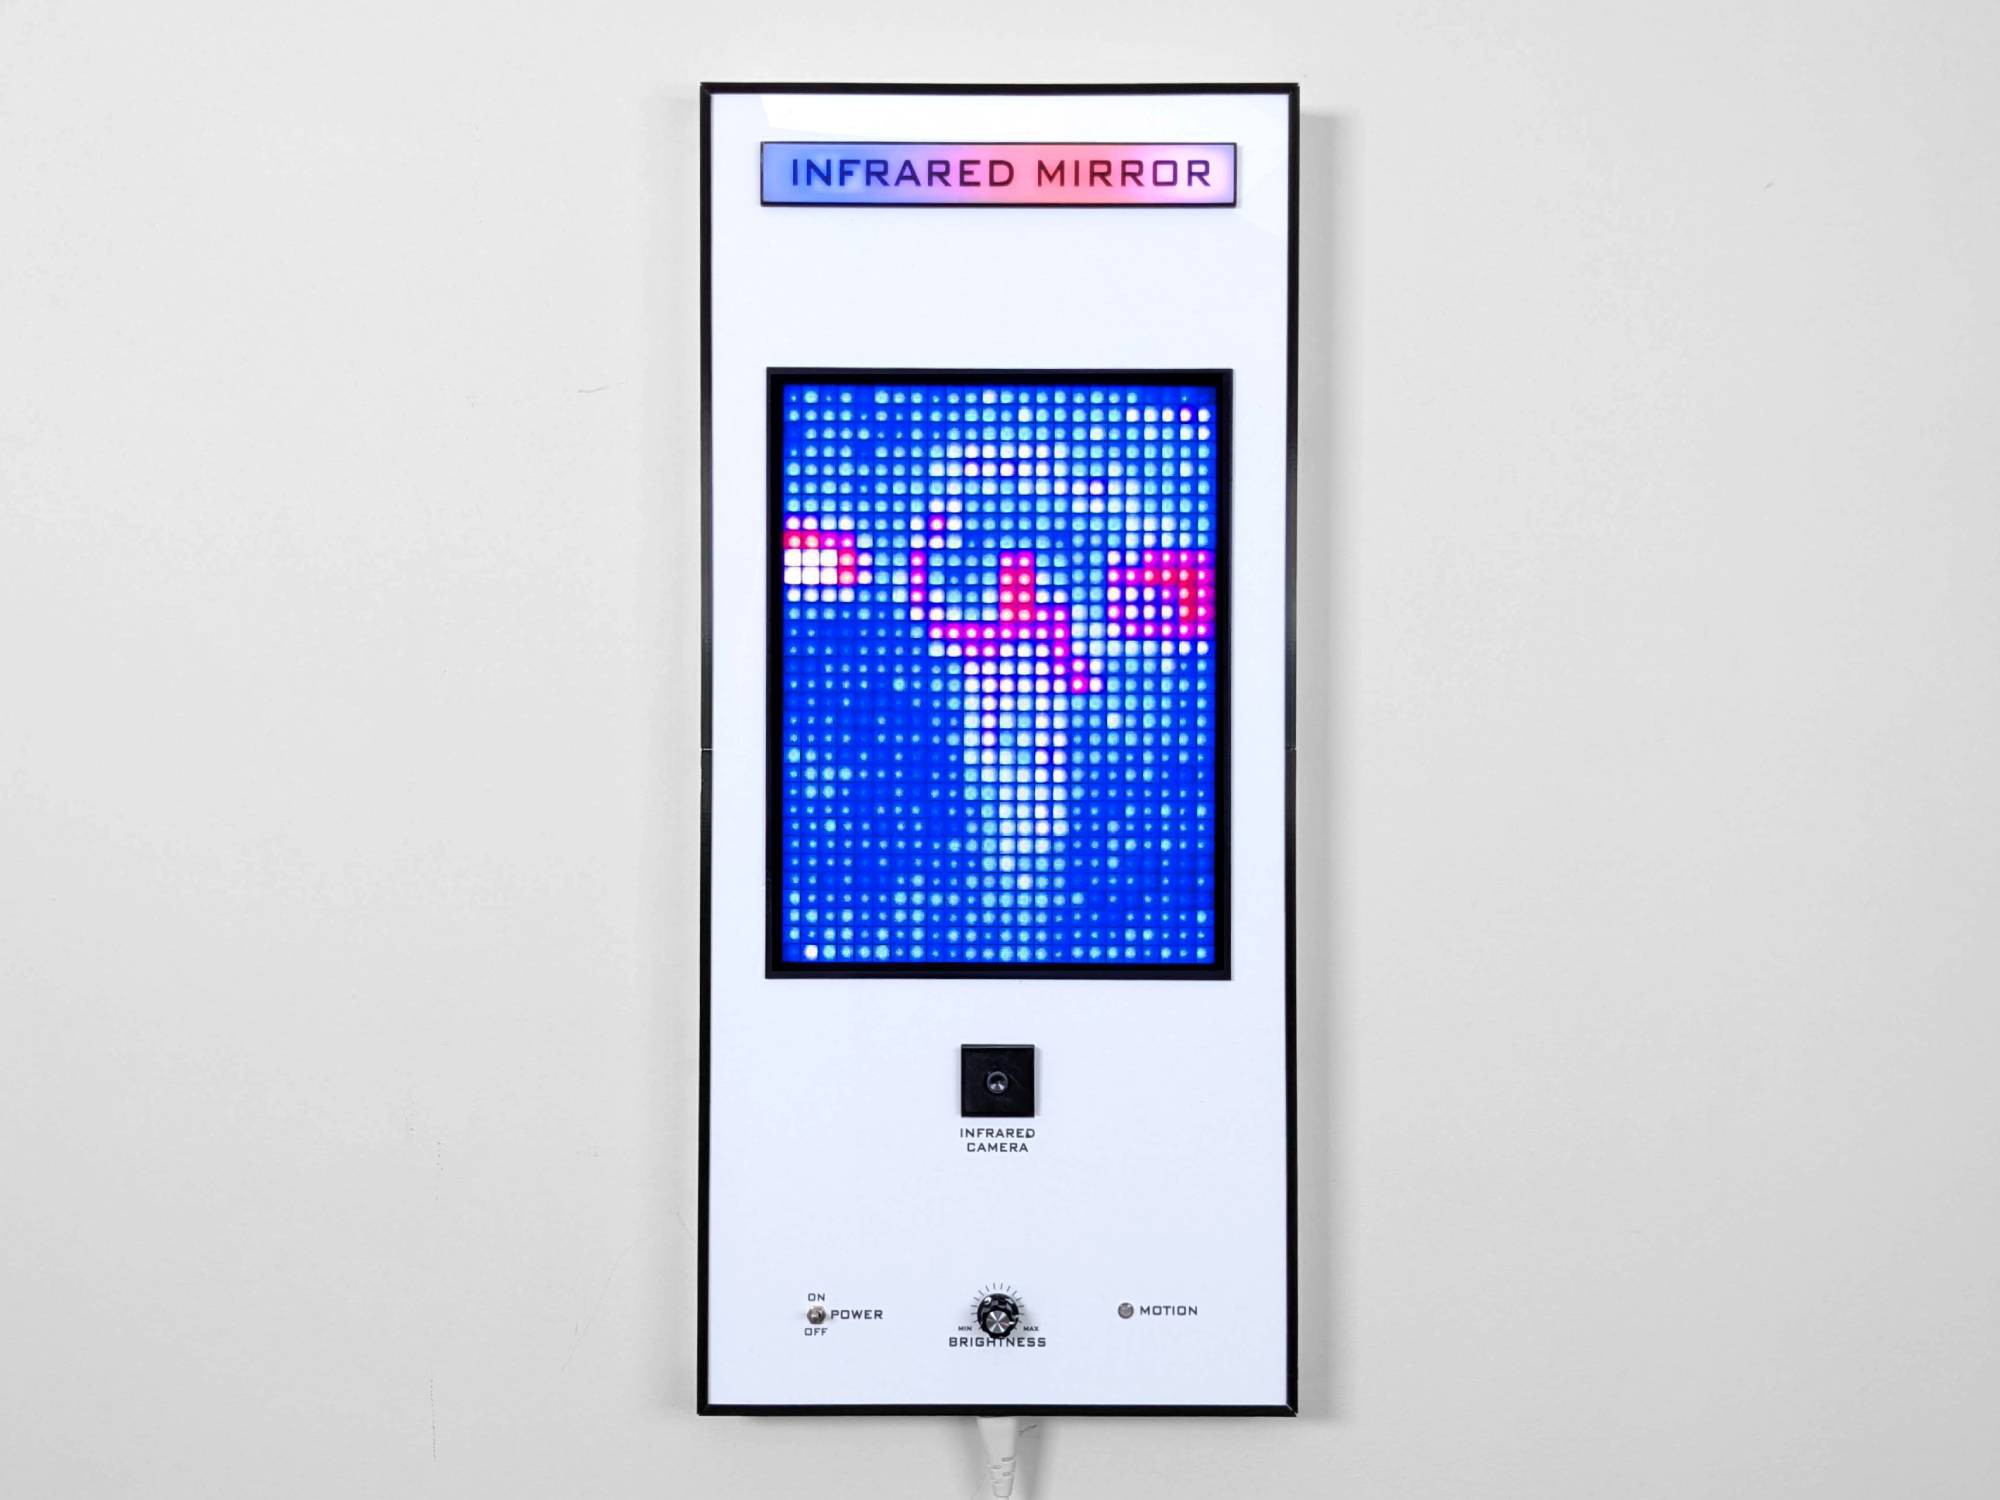
That's me waving at you! To my left and right are studio lights.
The frame measures 10.5" x 23.5".
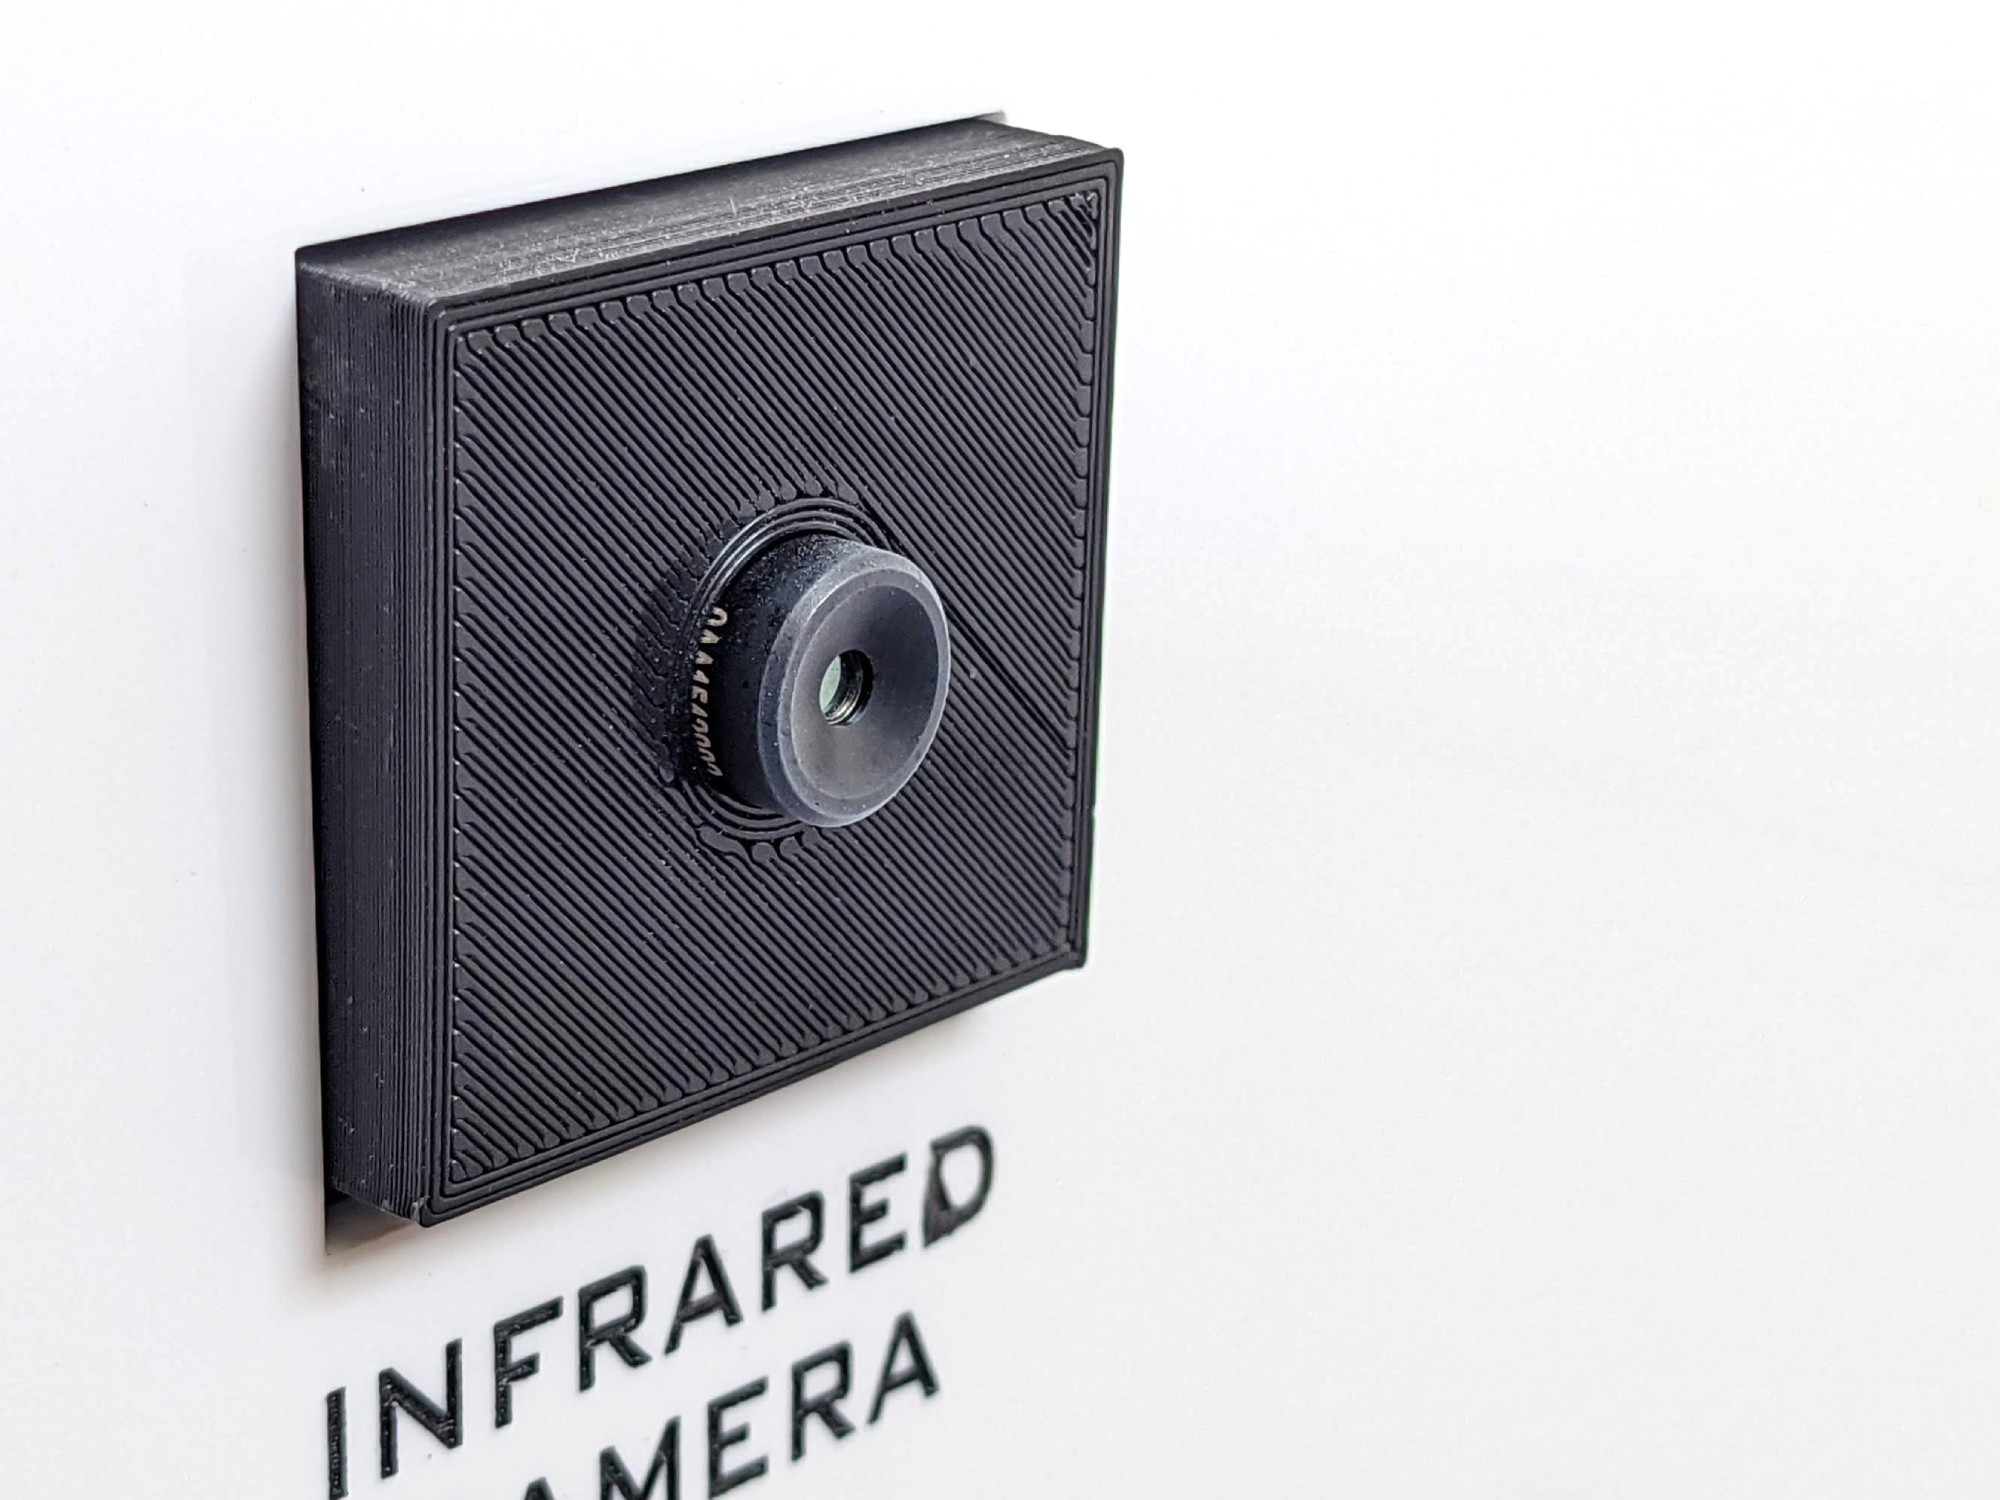
The MLX90640 has a resolution of 24×32 with a FOV of 110 degrees and a painfully slow refresh rate of 16hz (with modification to MLX90640 library).
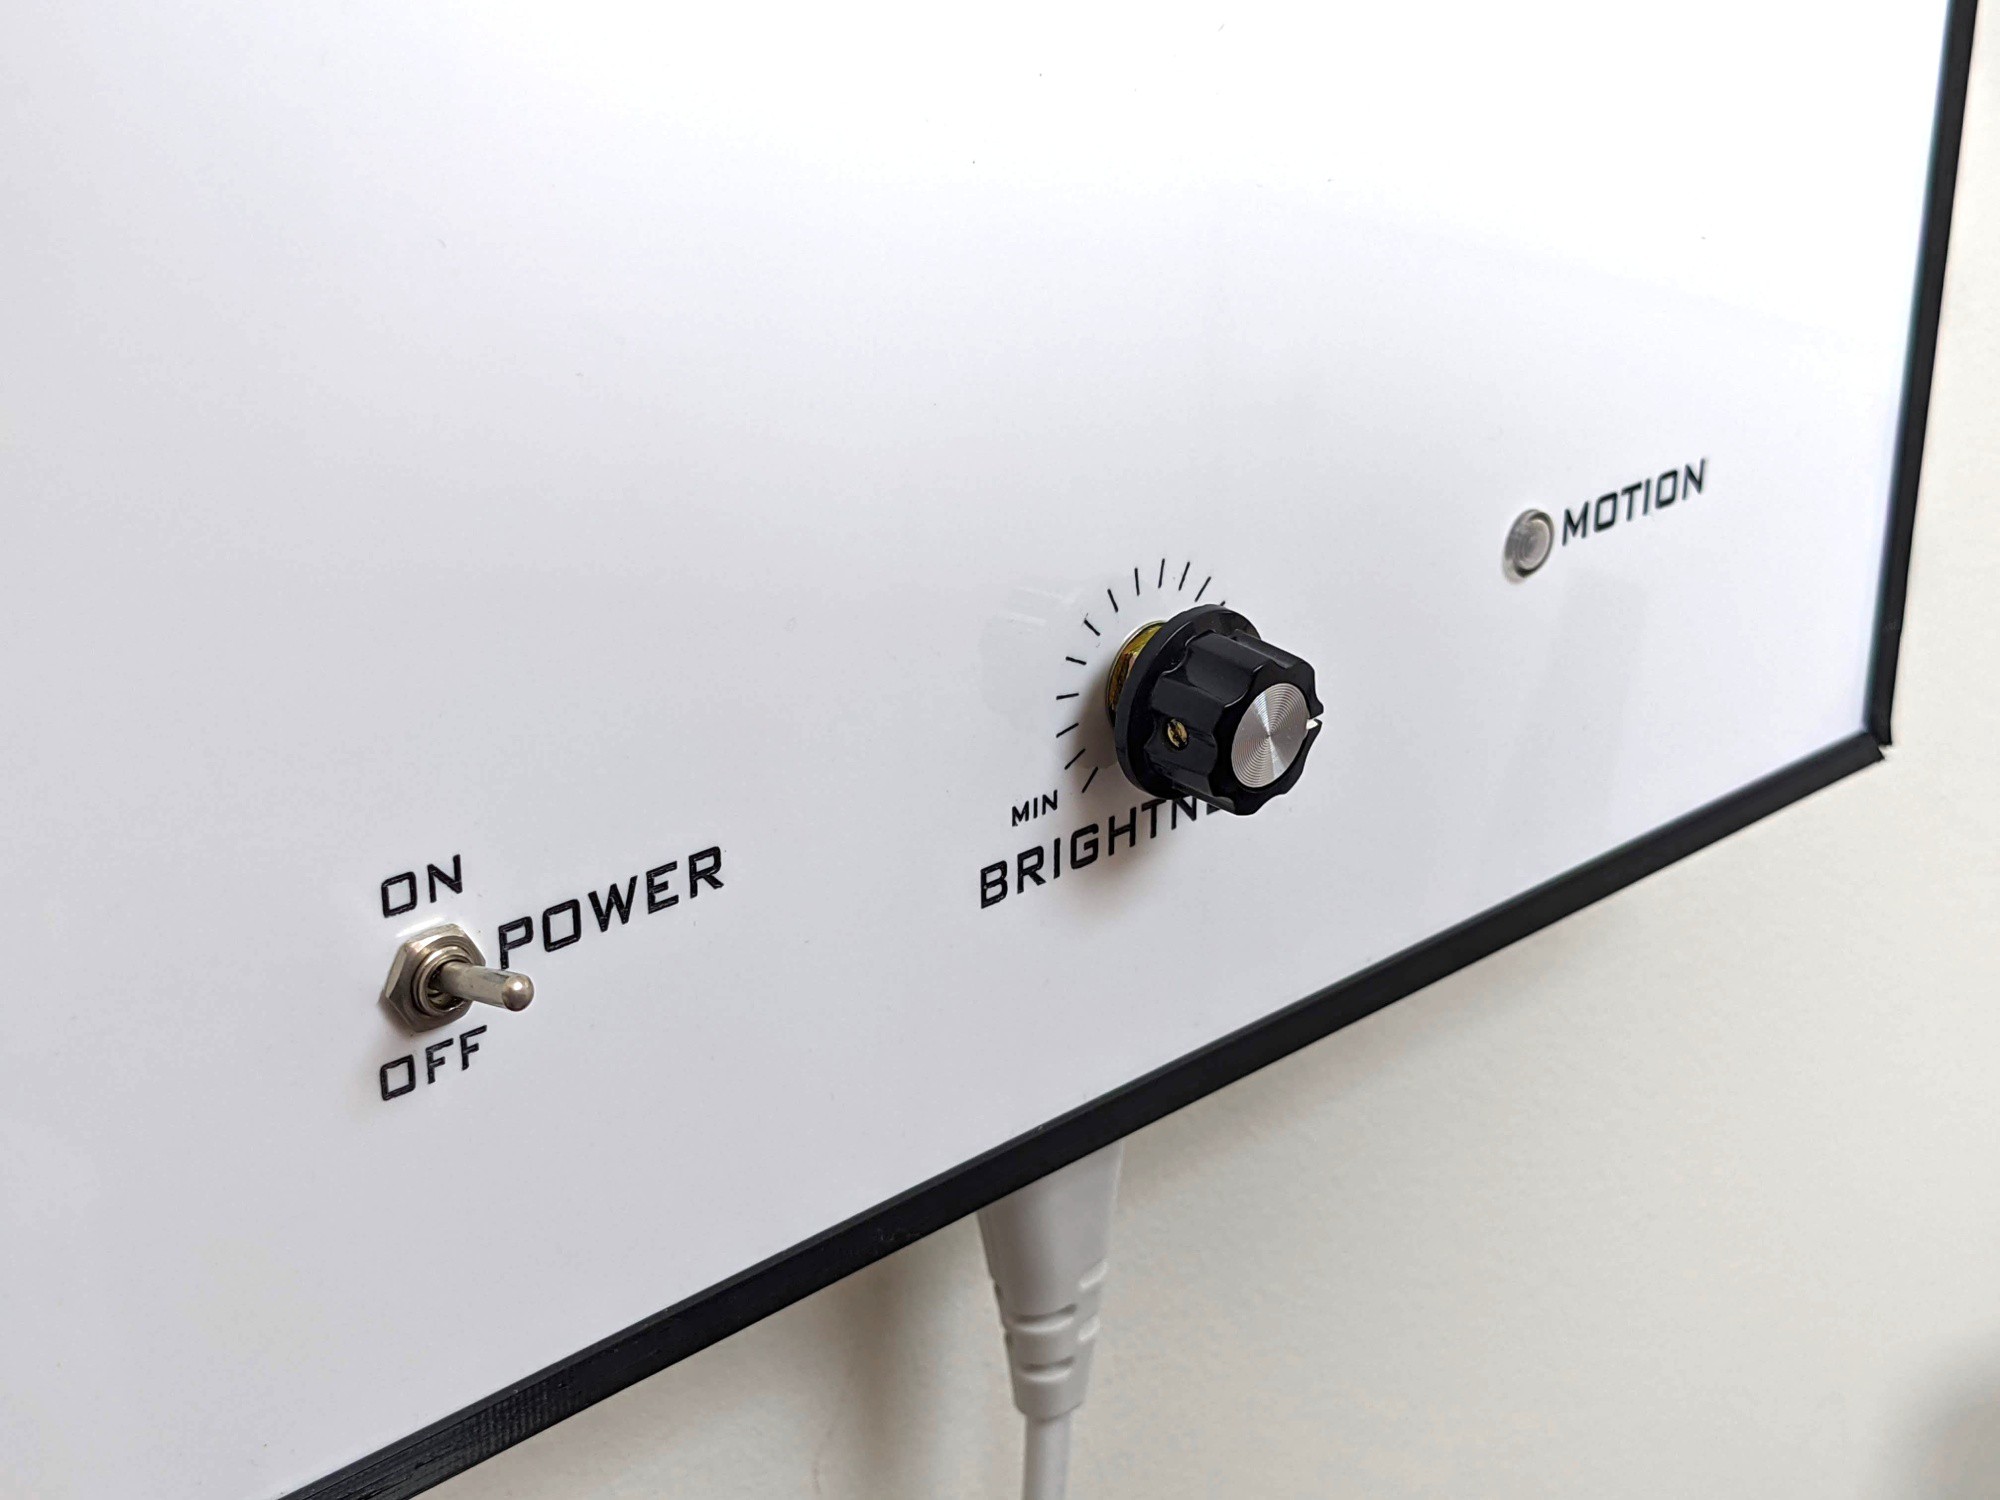
The controls are simple with just a power switch, brightness control, and indicator that flashes upon motion detection.
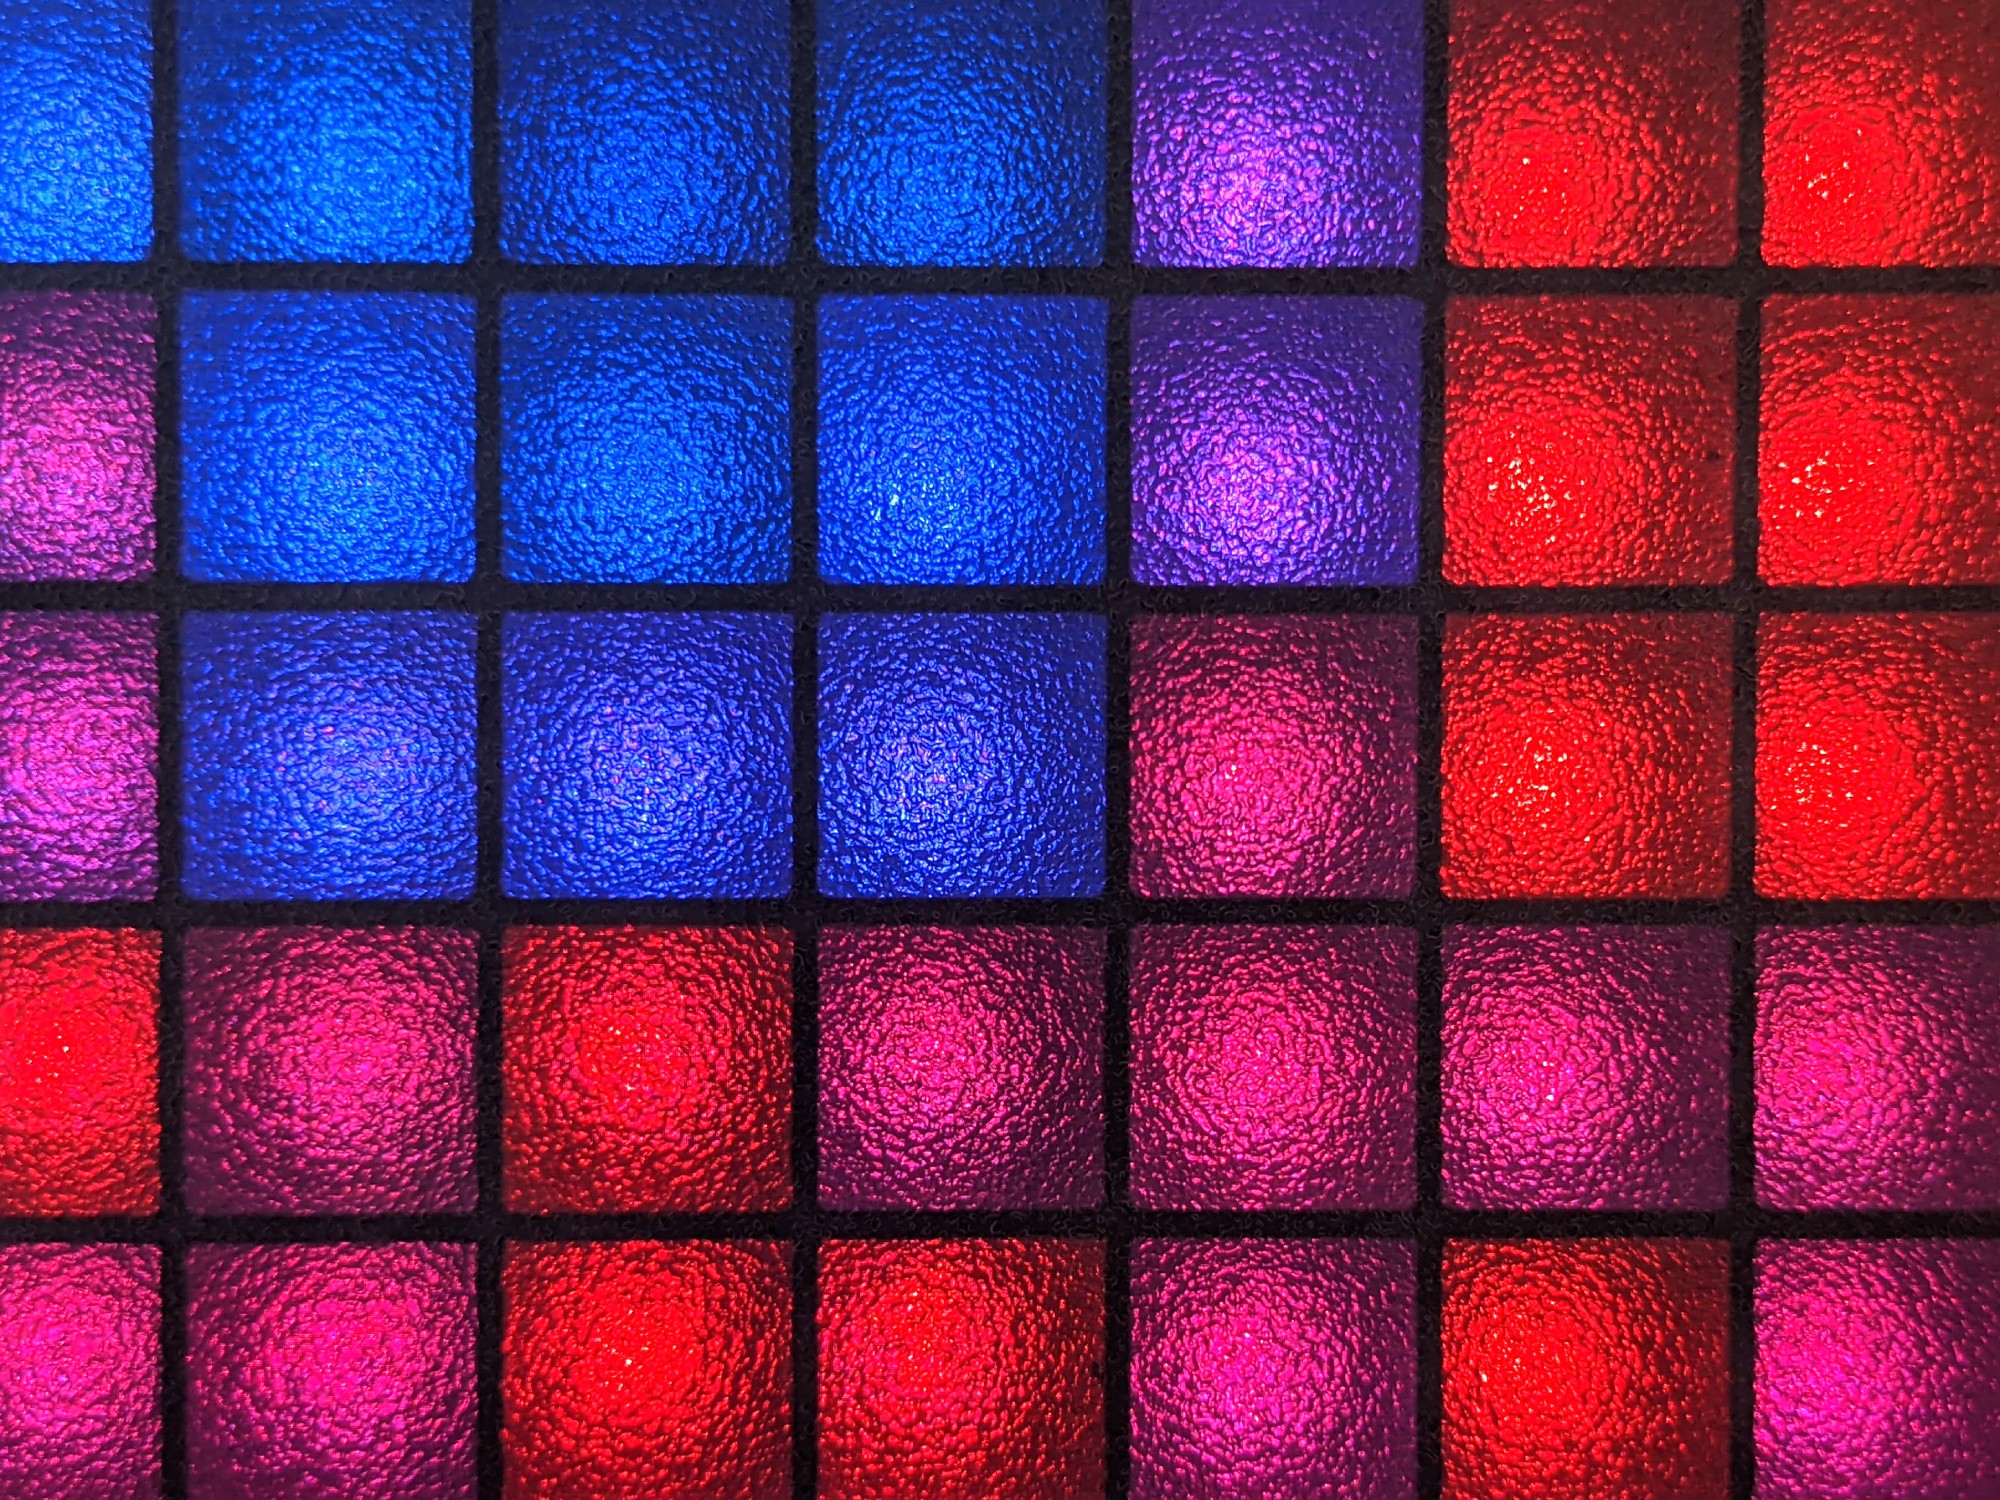
The display is diffused using plastic window privacy coverings between a 6mm acrylic panel and a 3D printed grid.
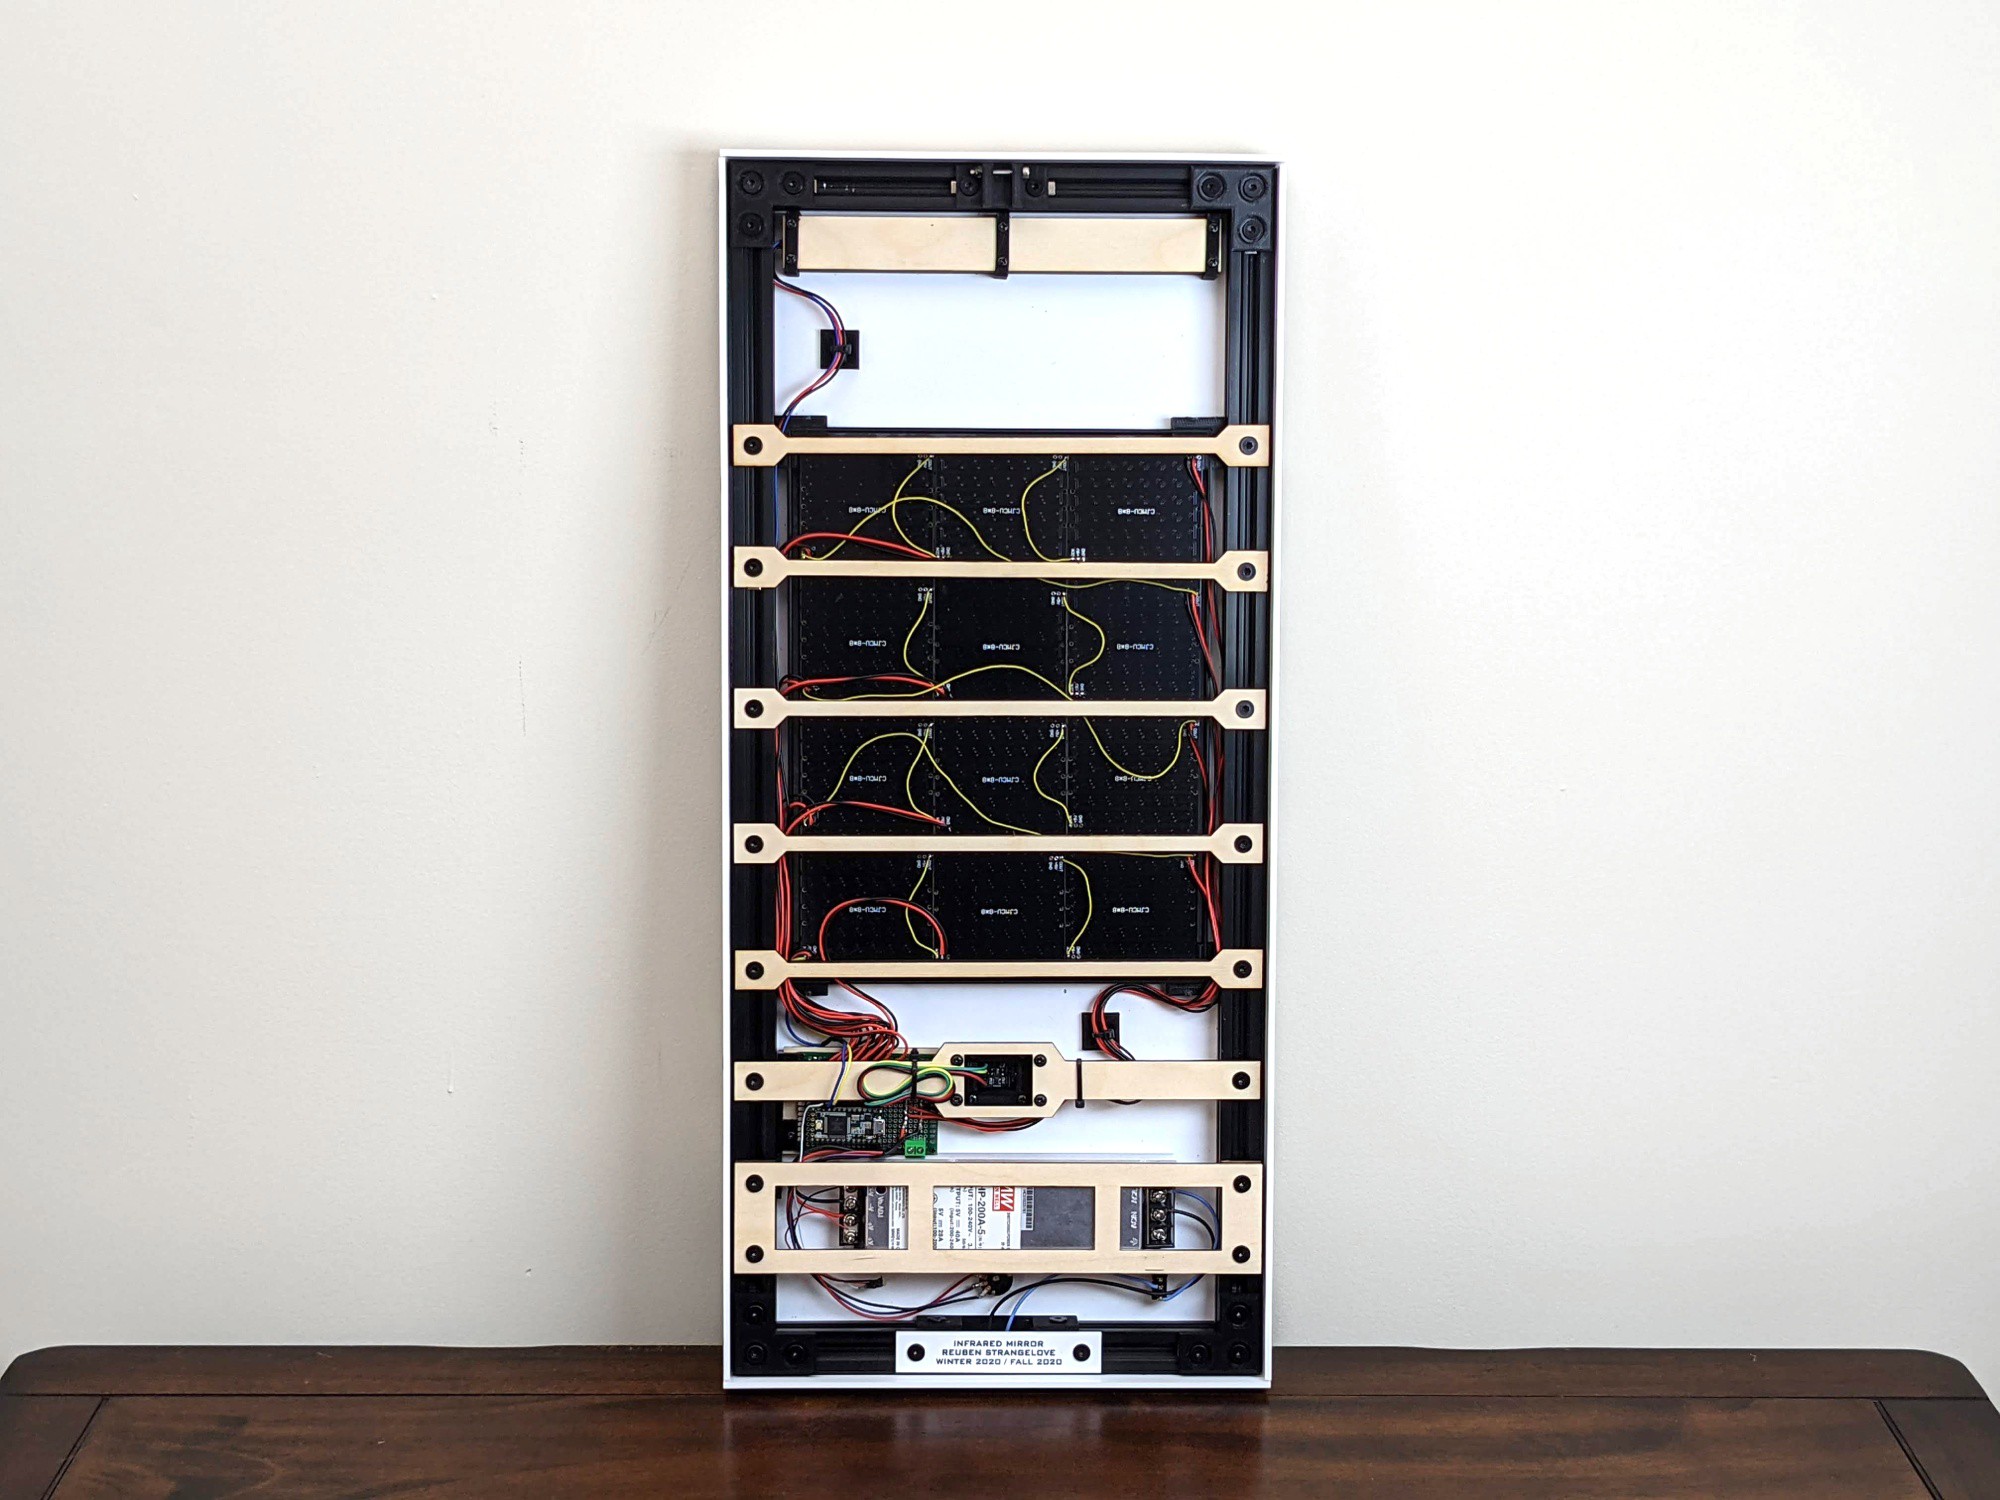
The frame is constructed using sturdy 2020 aluminium extrusions that provides mounting points for various brackets.
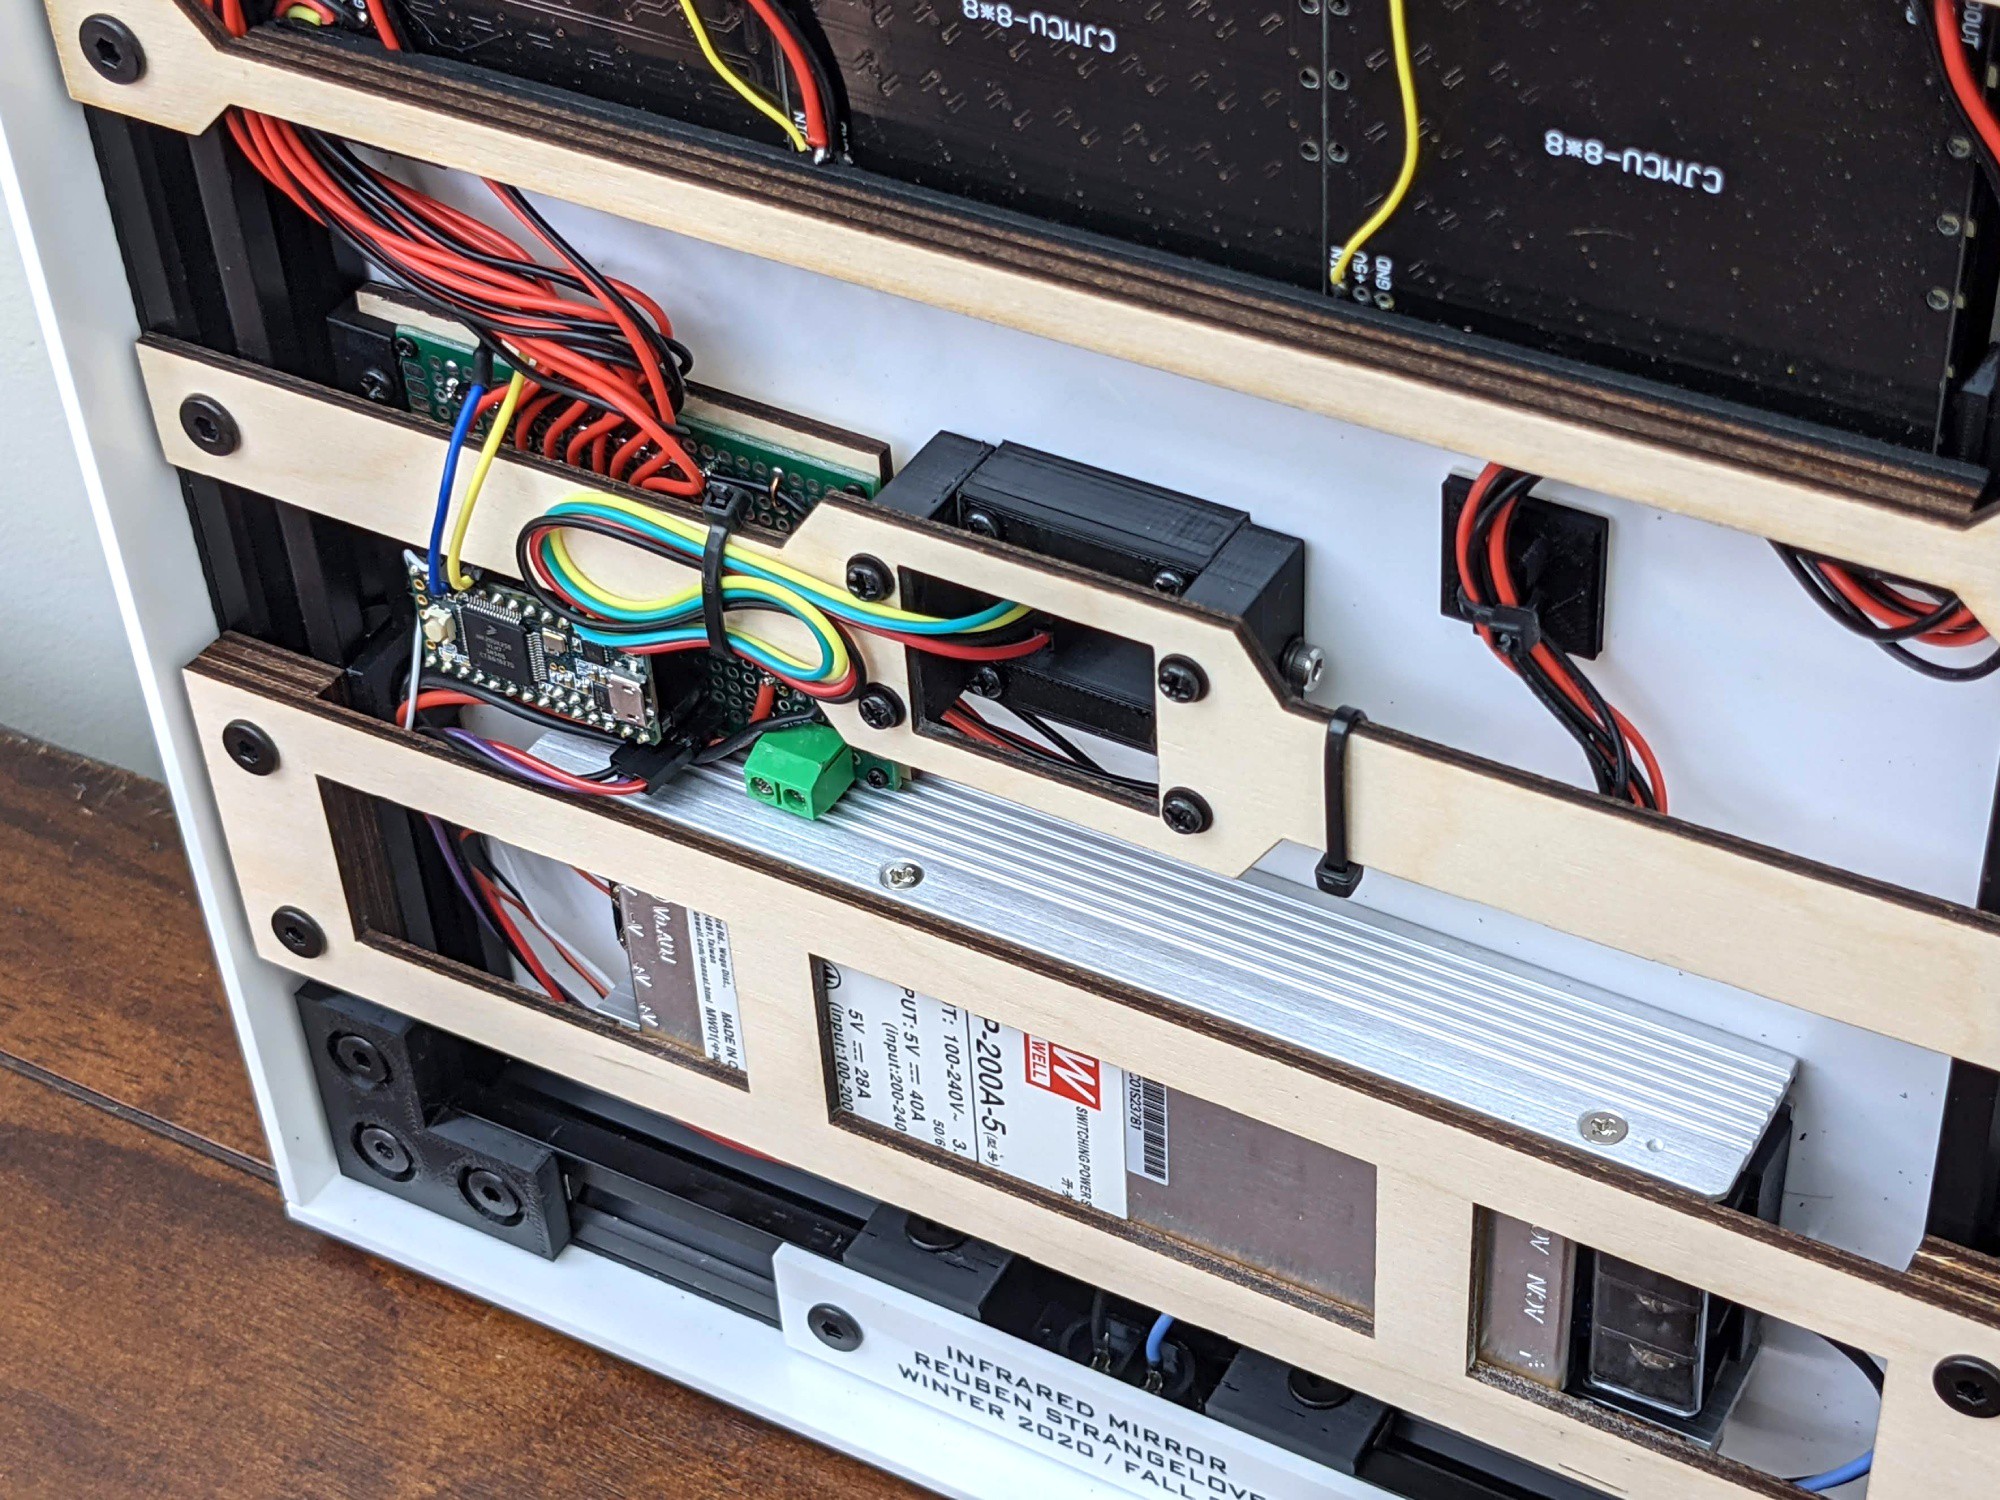
The power supply was chosen for the power capacity and form factor to fit neatly inside the confines of the frame.
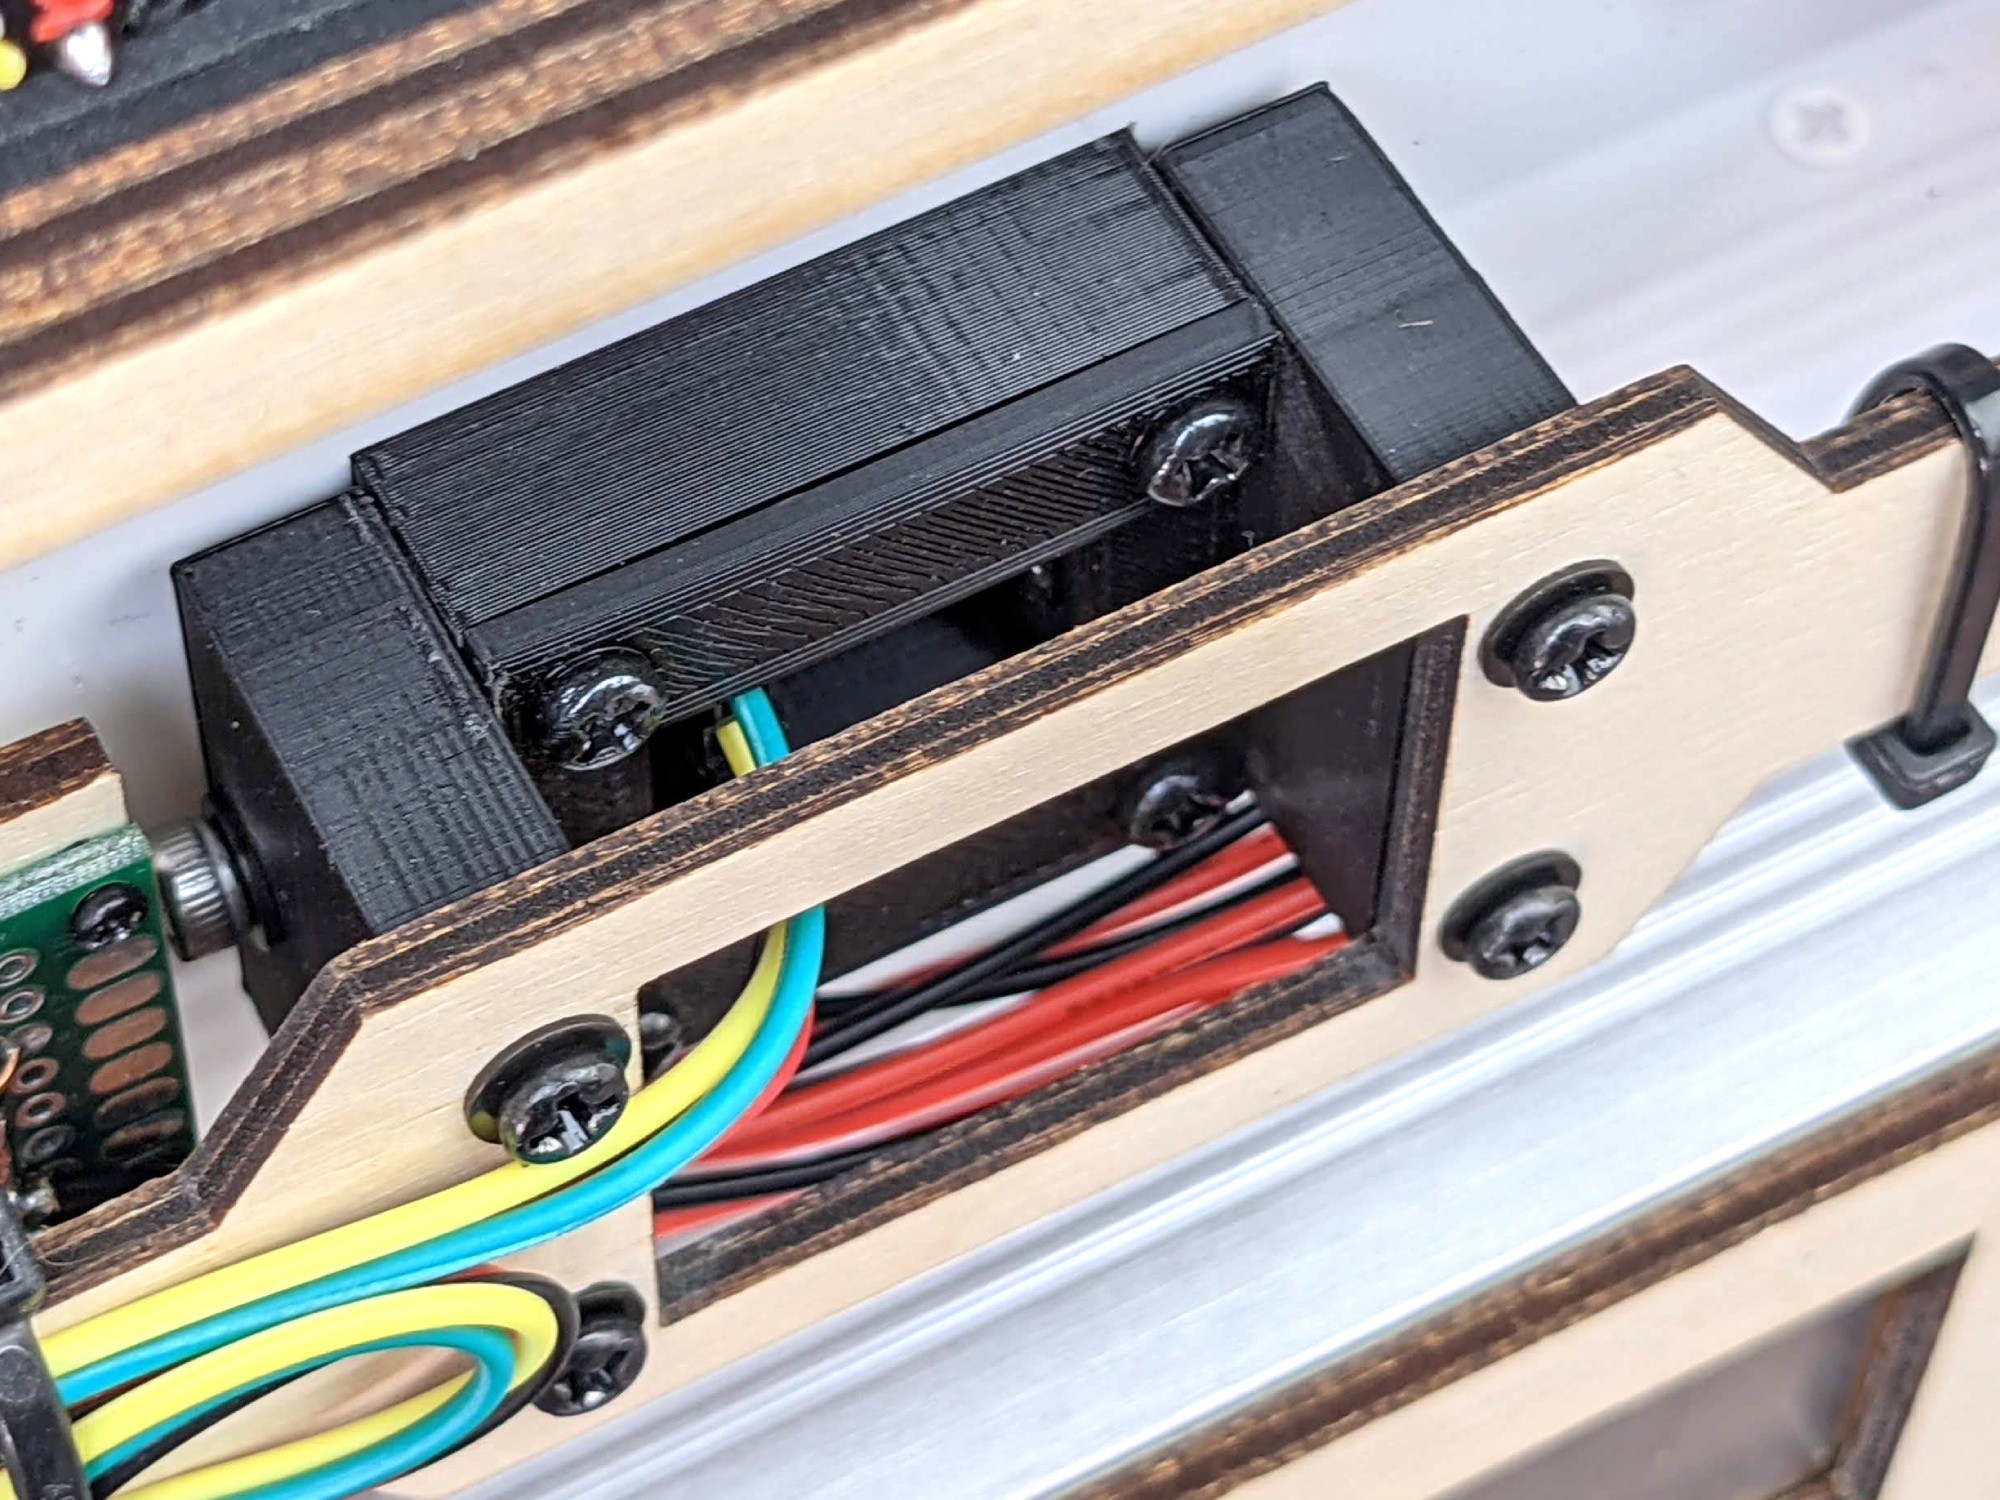
The camera mount is 3D printed and provides a bit of a swivel for angle adjustment.
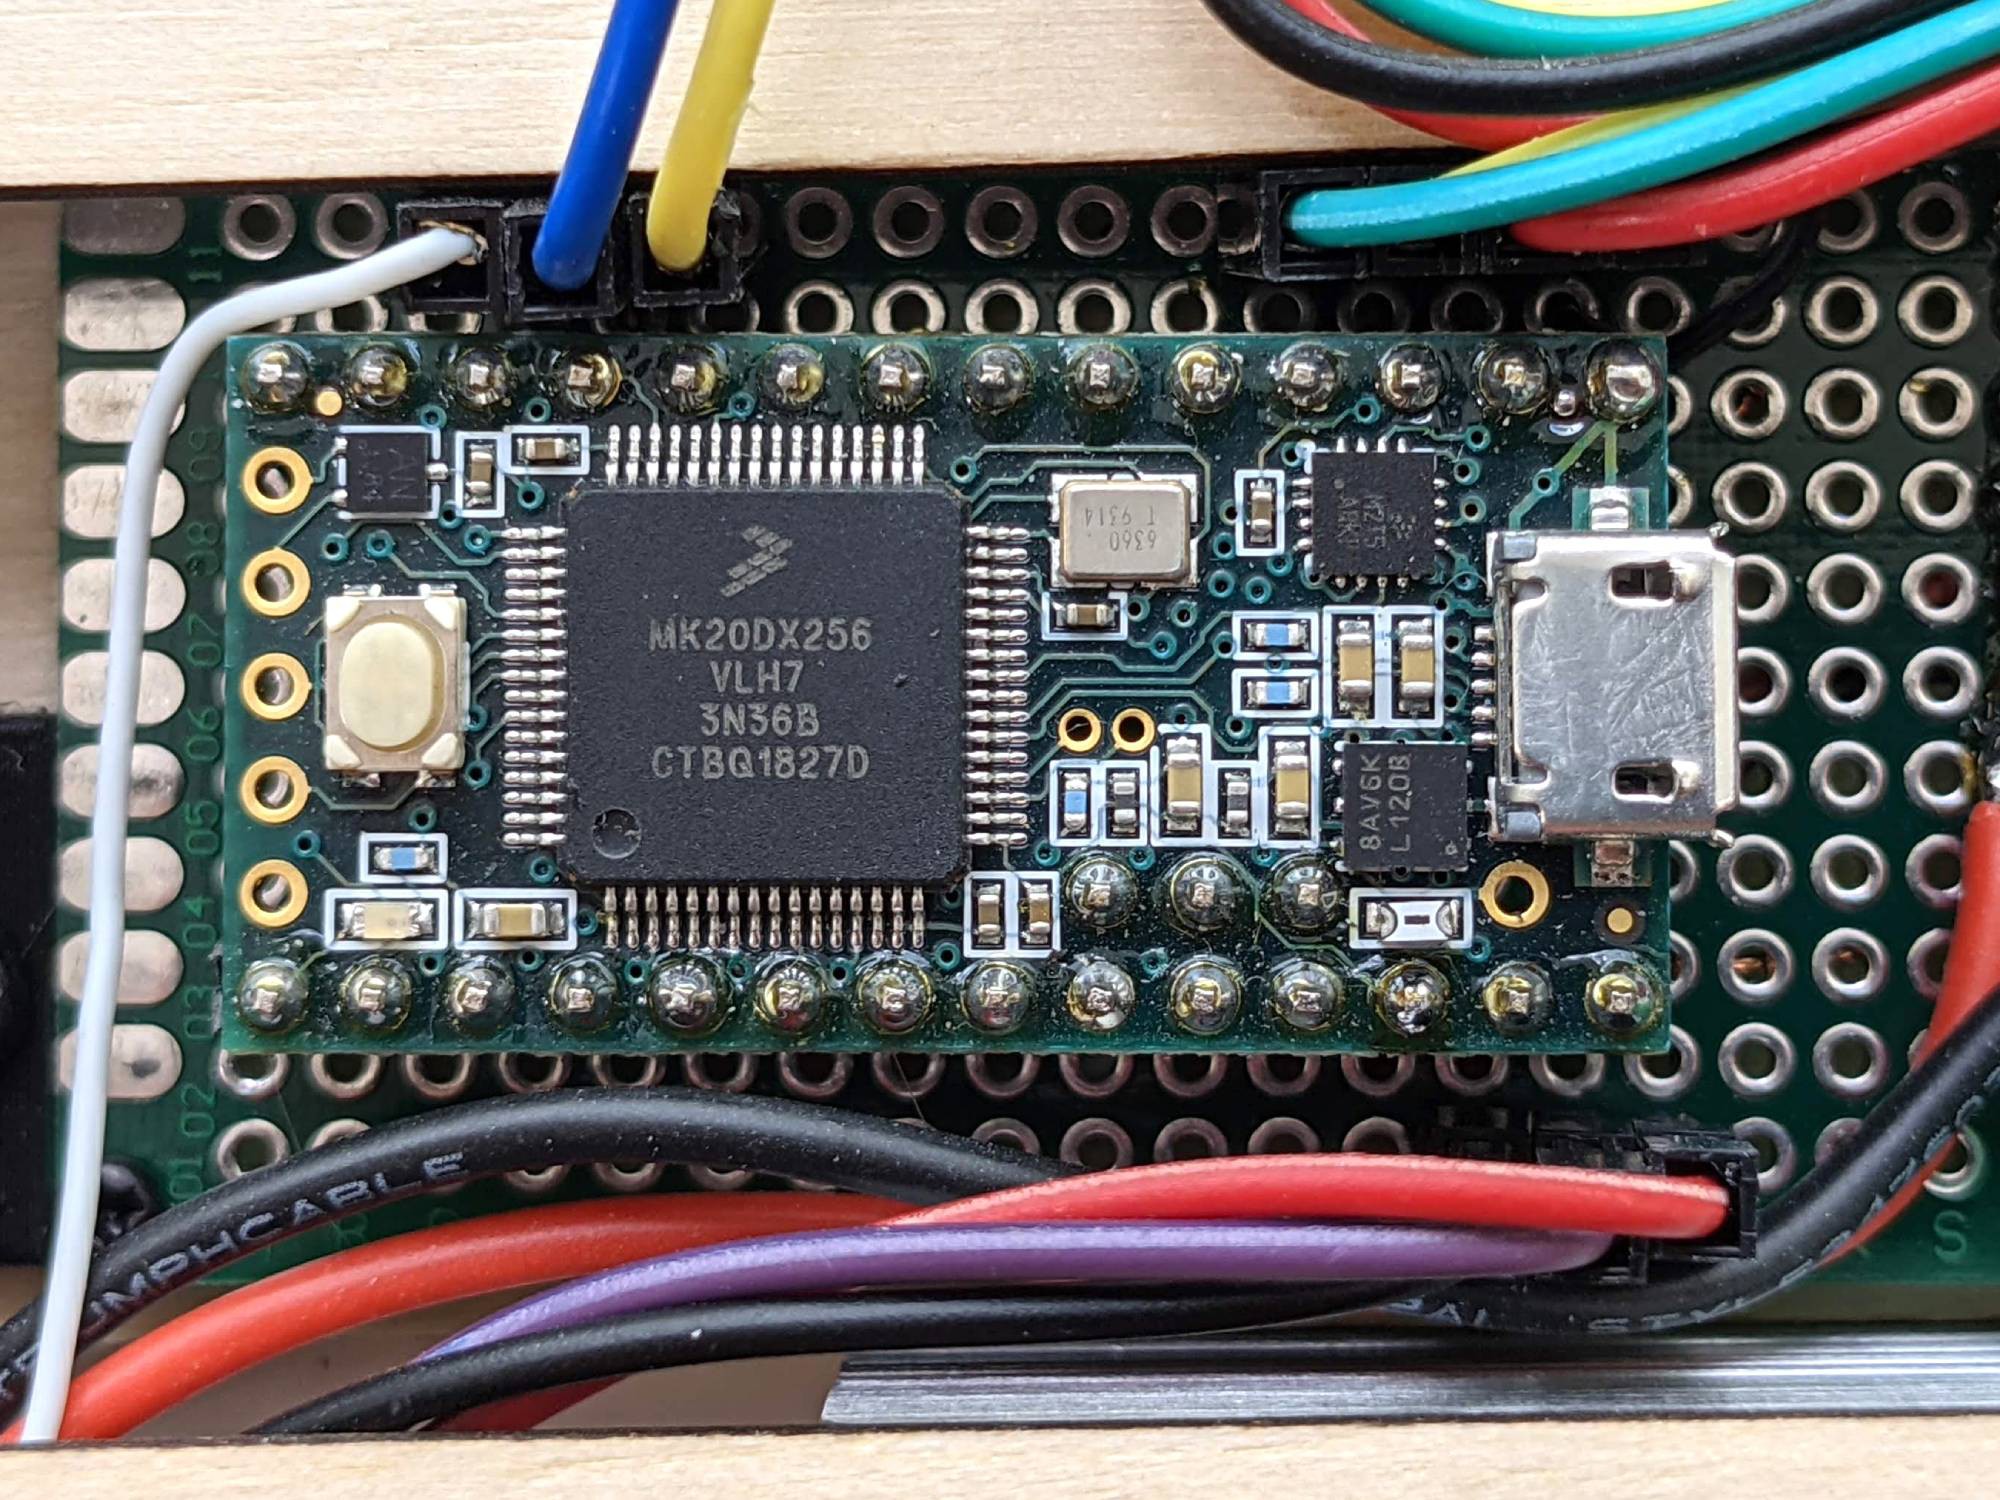
A Teensy 3.2 was selected because of it's processing power and out of the box library support for FastLED that provides an amazing refresh rate for the LED matrix.
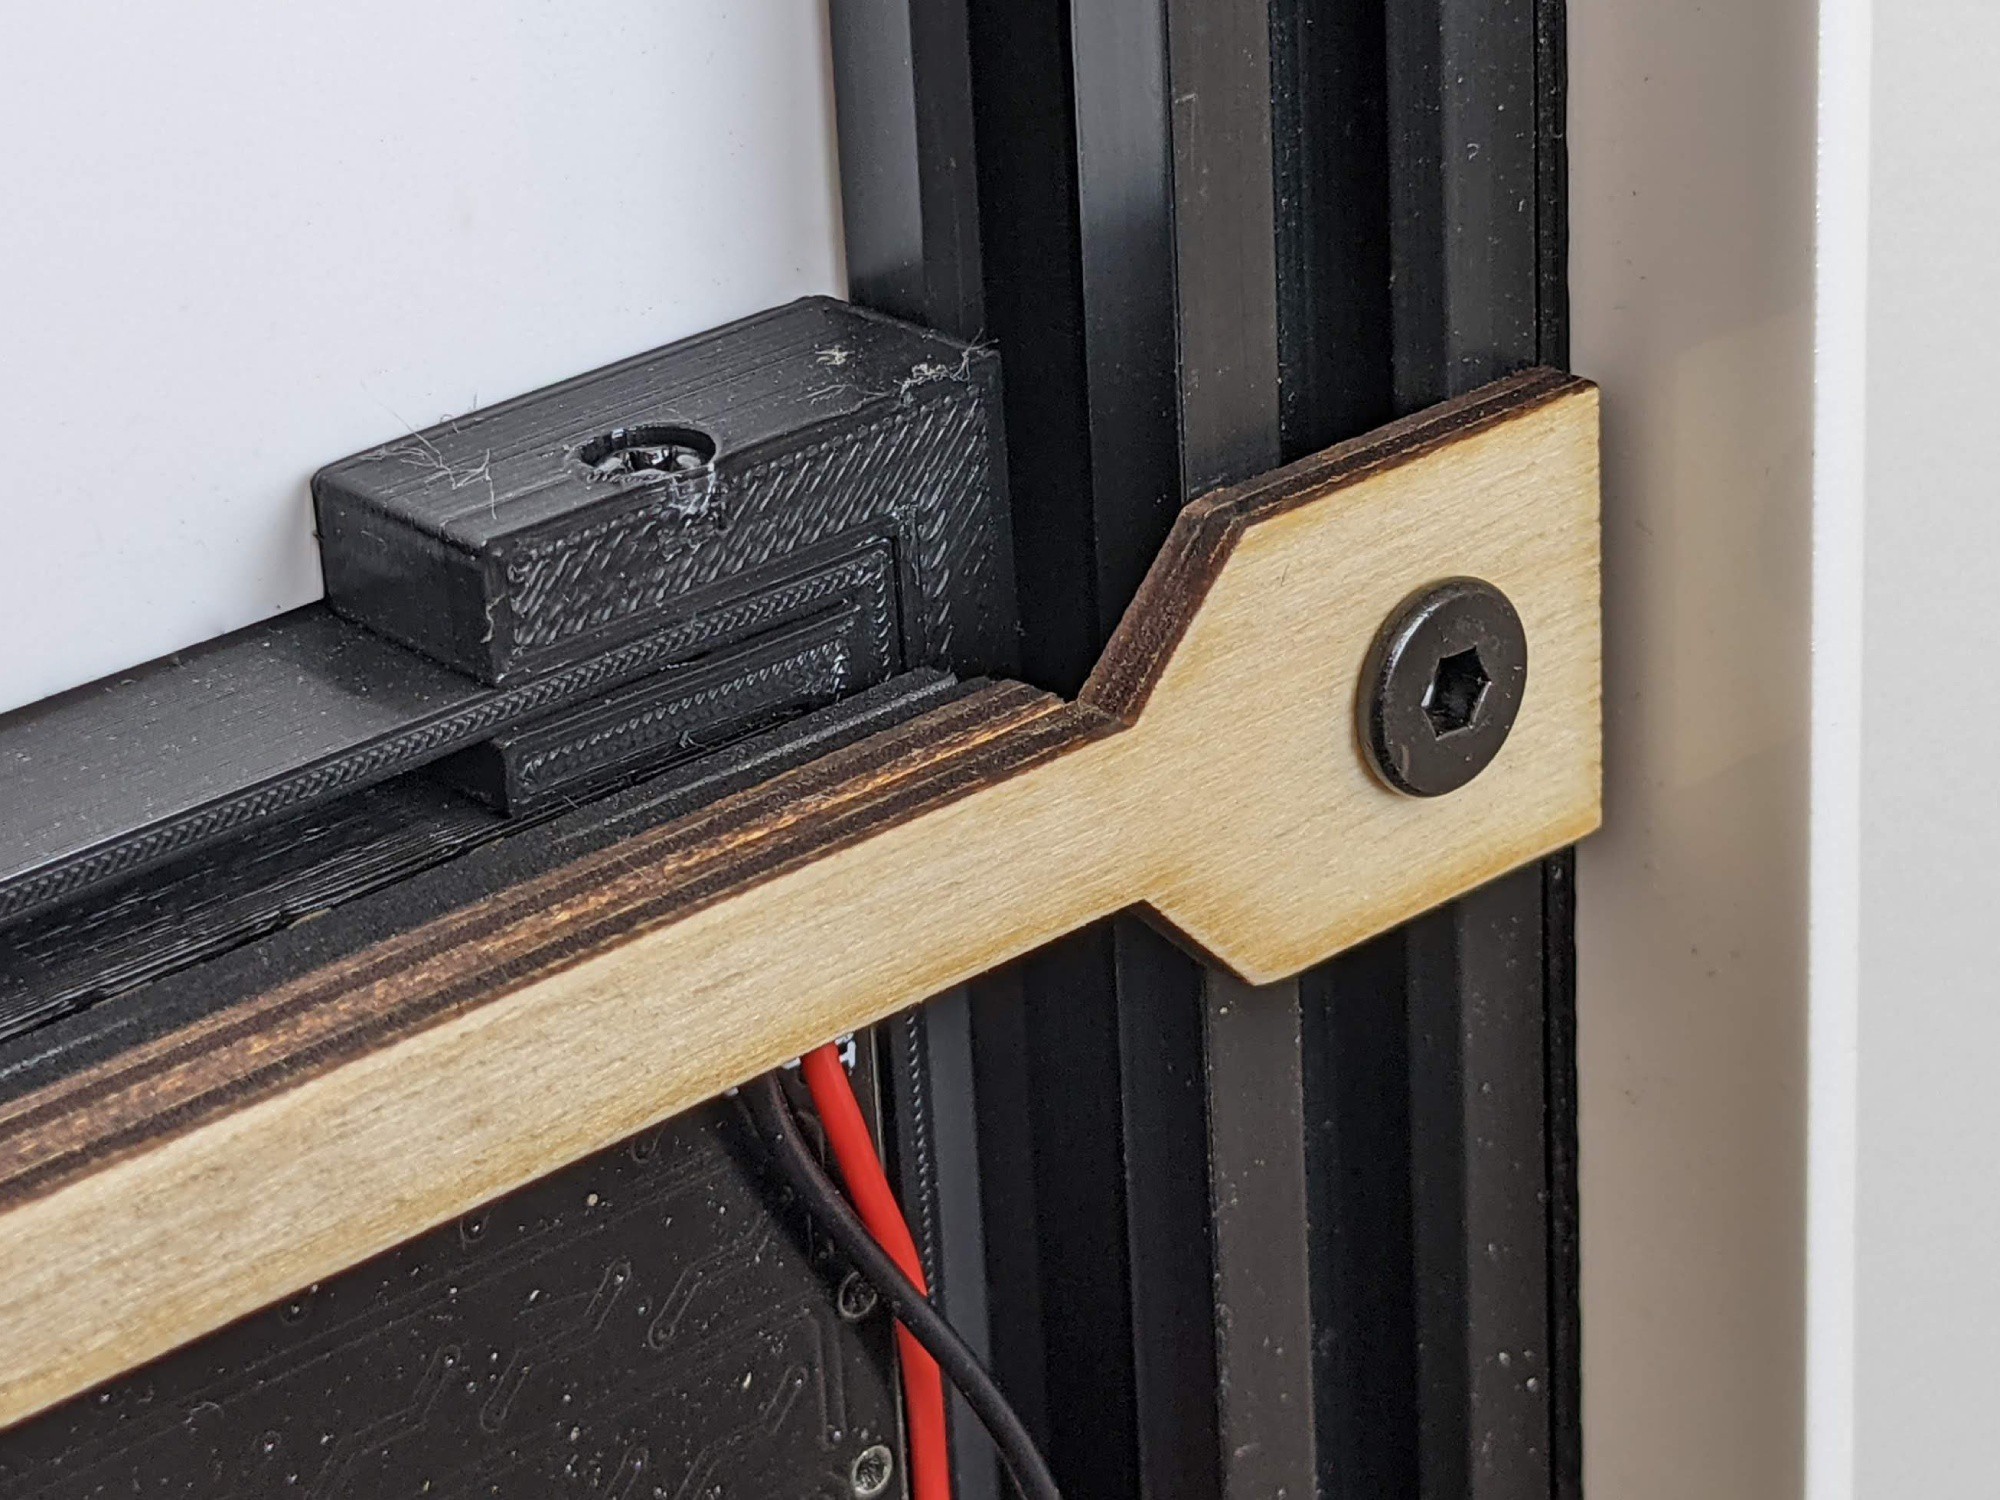
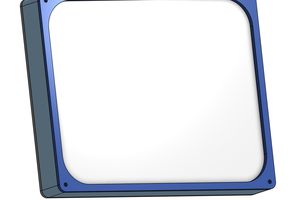
The LED panel frame uses multiple brackets to center the acrylic diffusing panel, bezel, and LED grid.
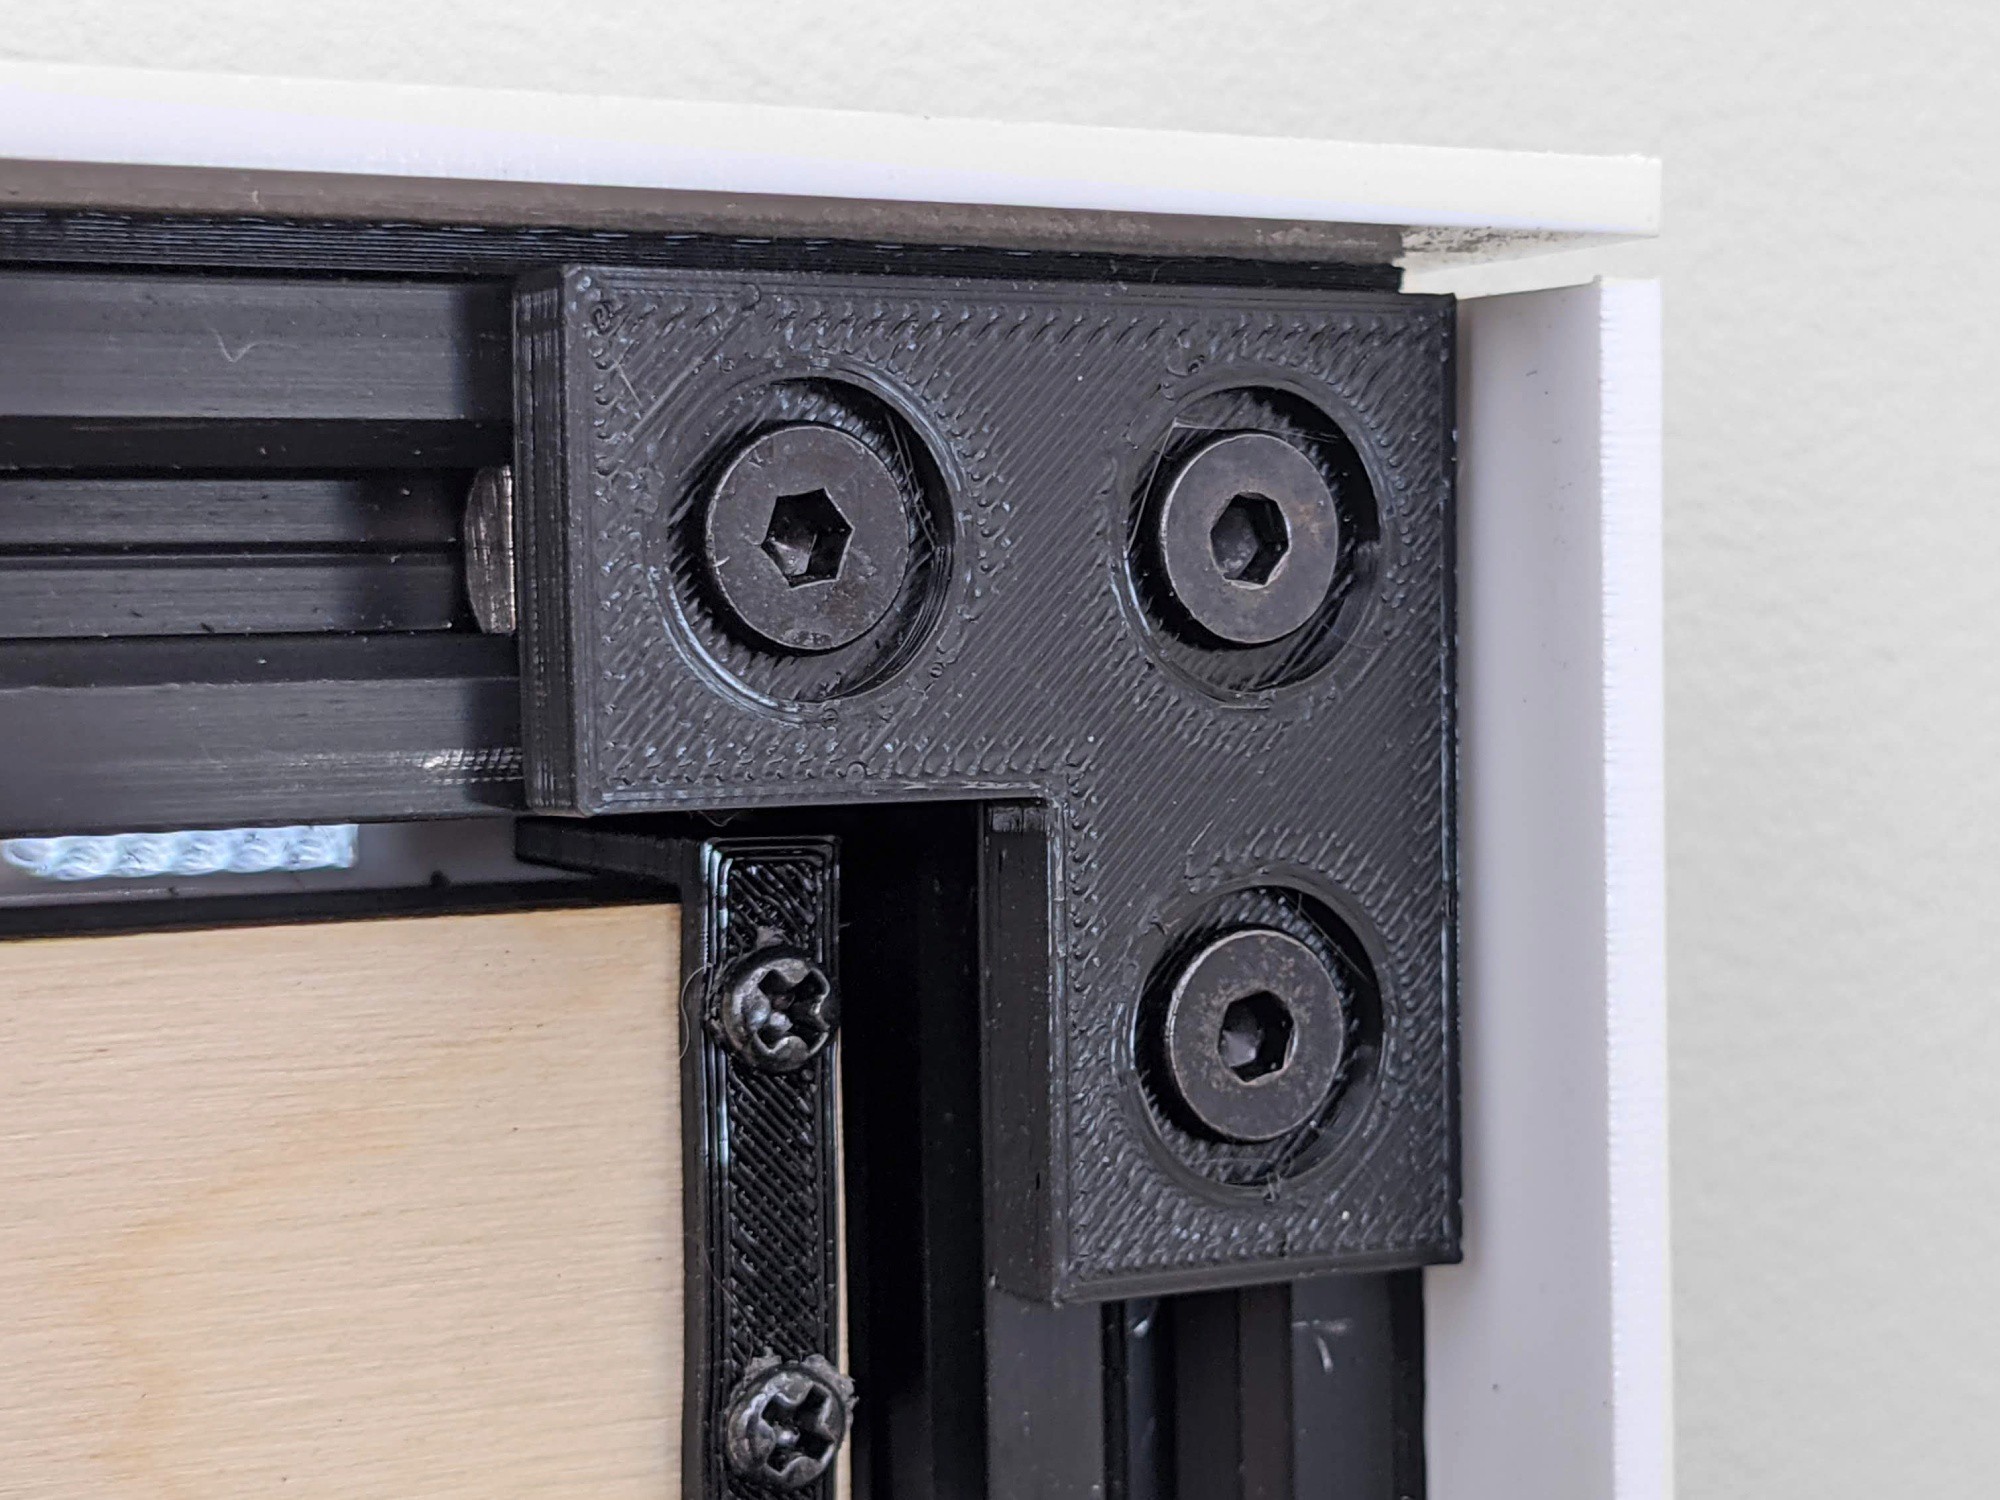
The corner brackets hold the frame sturdy.
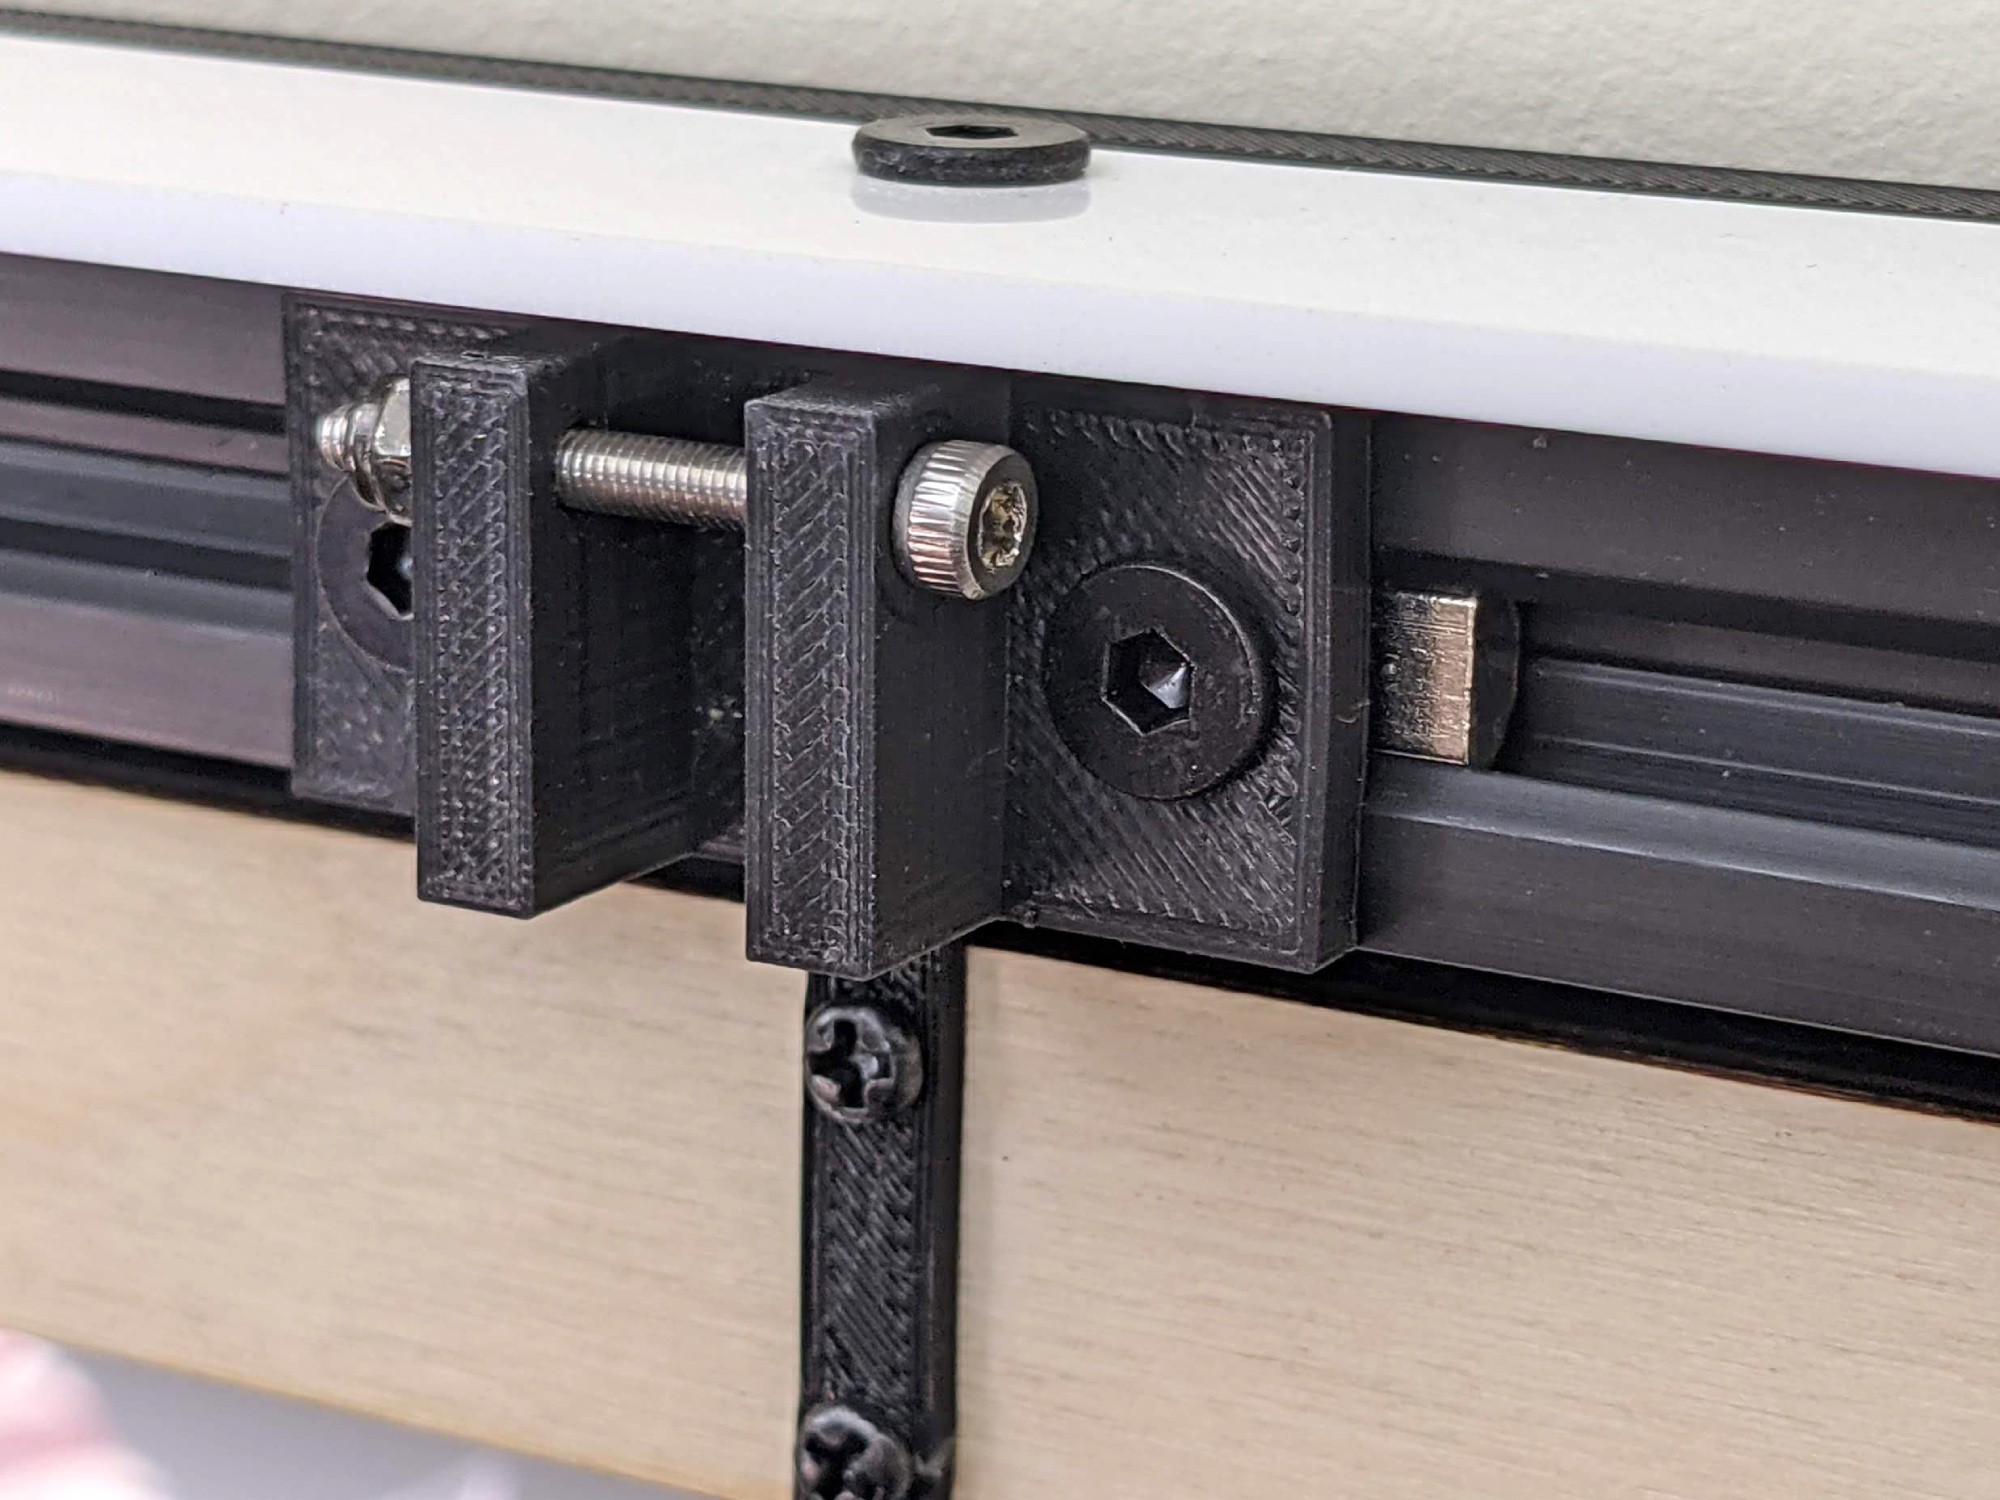
A simple bracket allows for tilt adjustment and tactile feedback to know the frame is attached to the hanging nail.
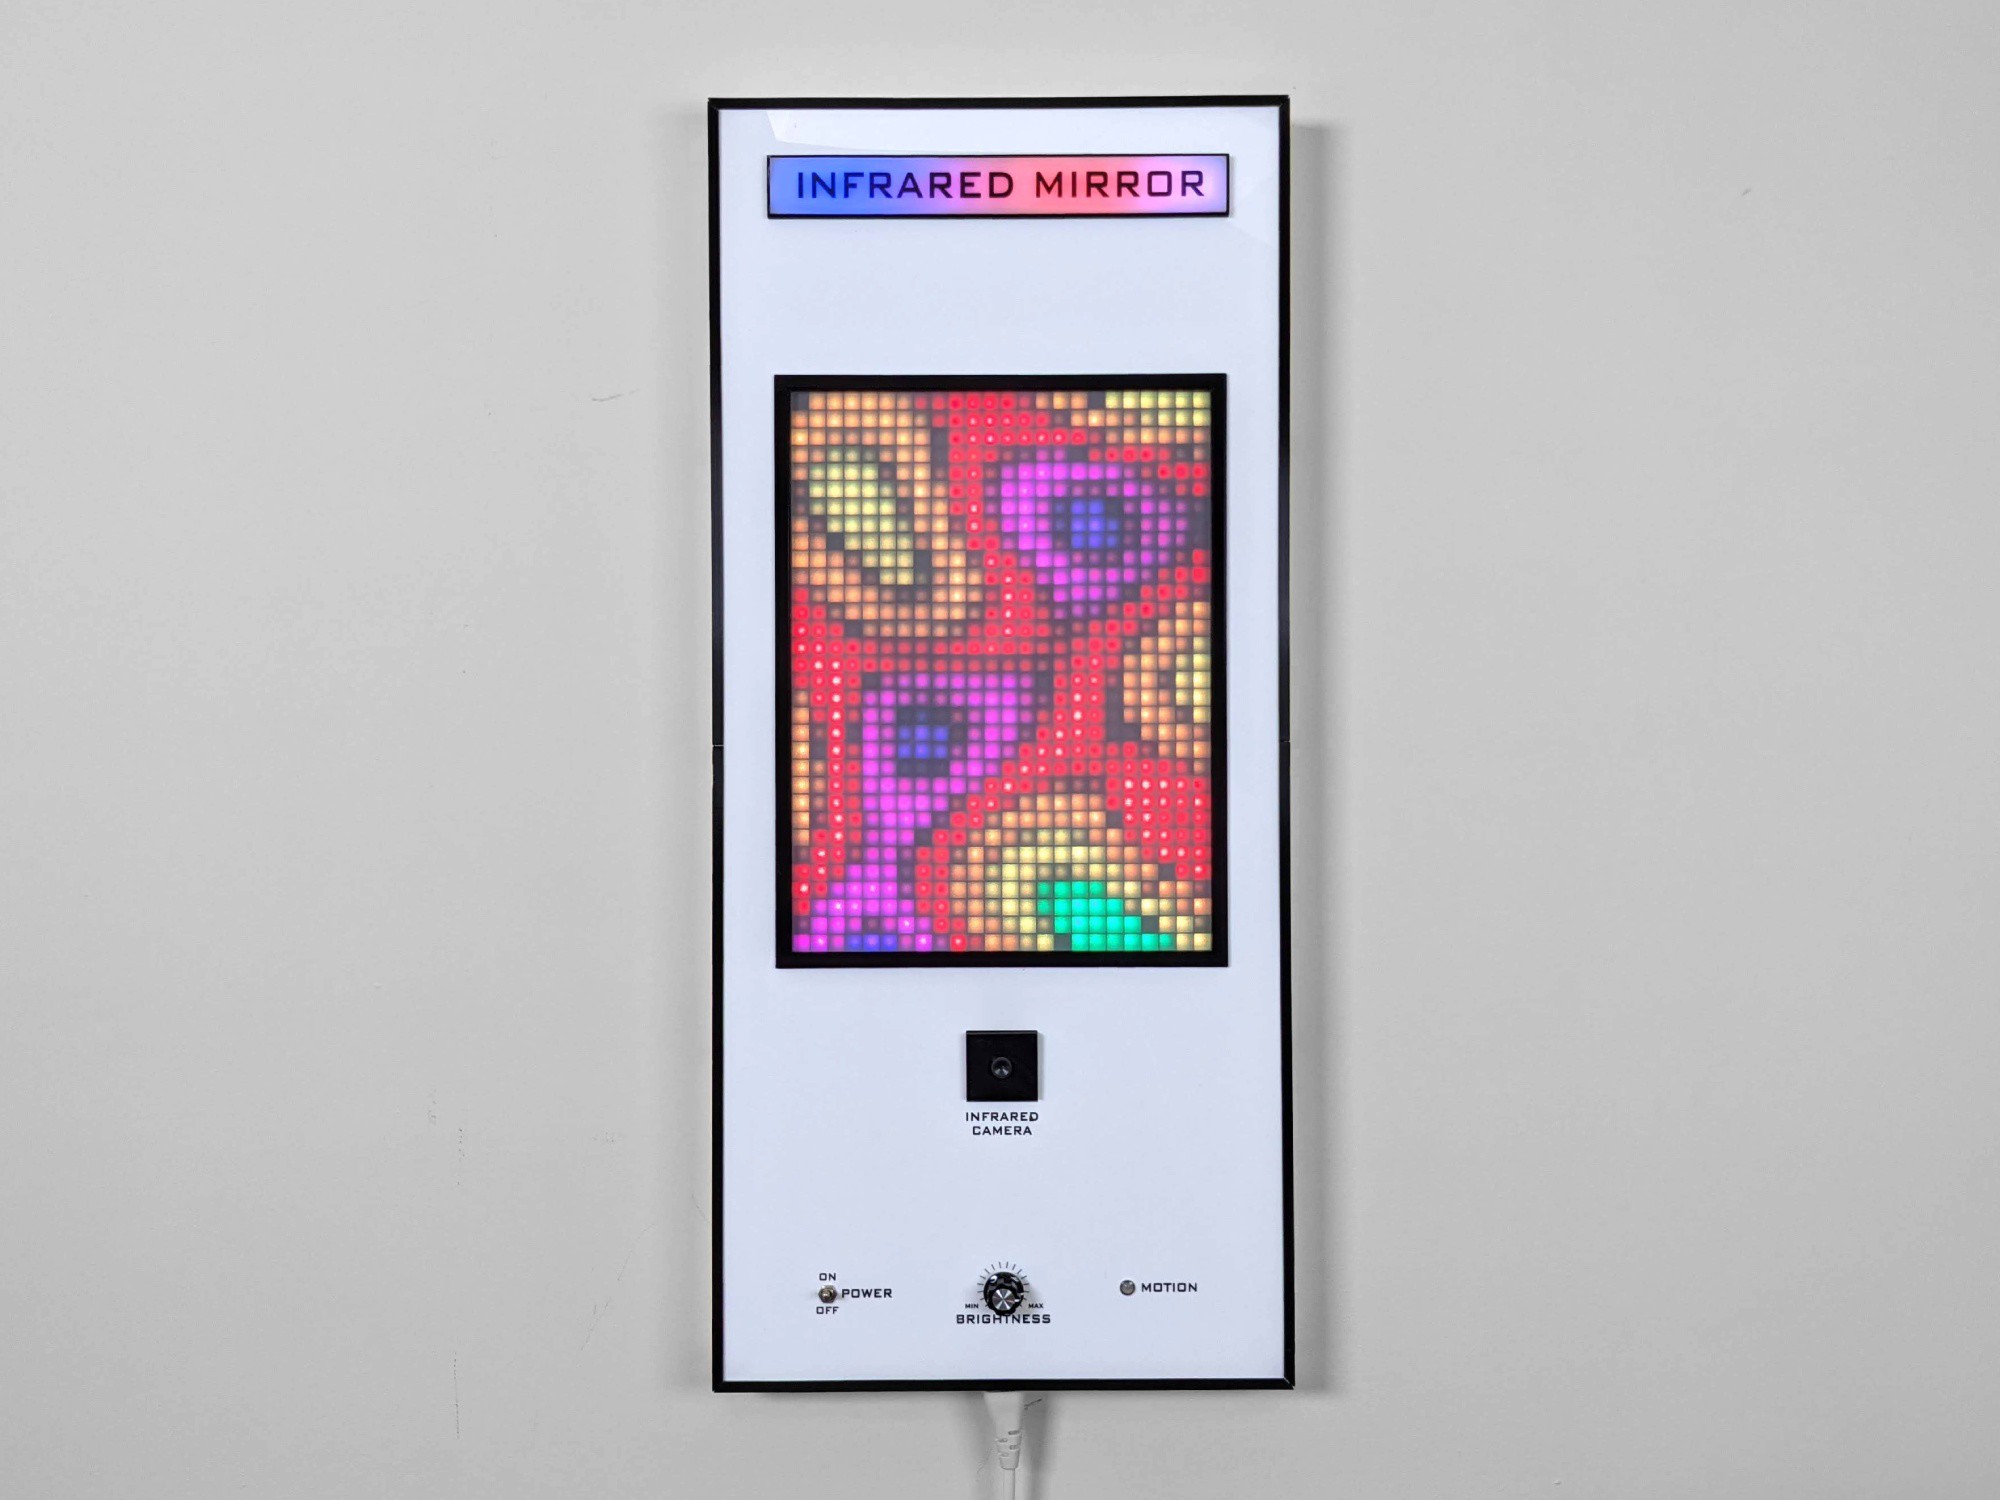
When no motion is detected a 'screen saver' kicks in creating a fun ambient artwork. The effect is known as the Perlin effect which was implemented by the FastLED library author.
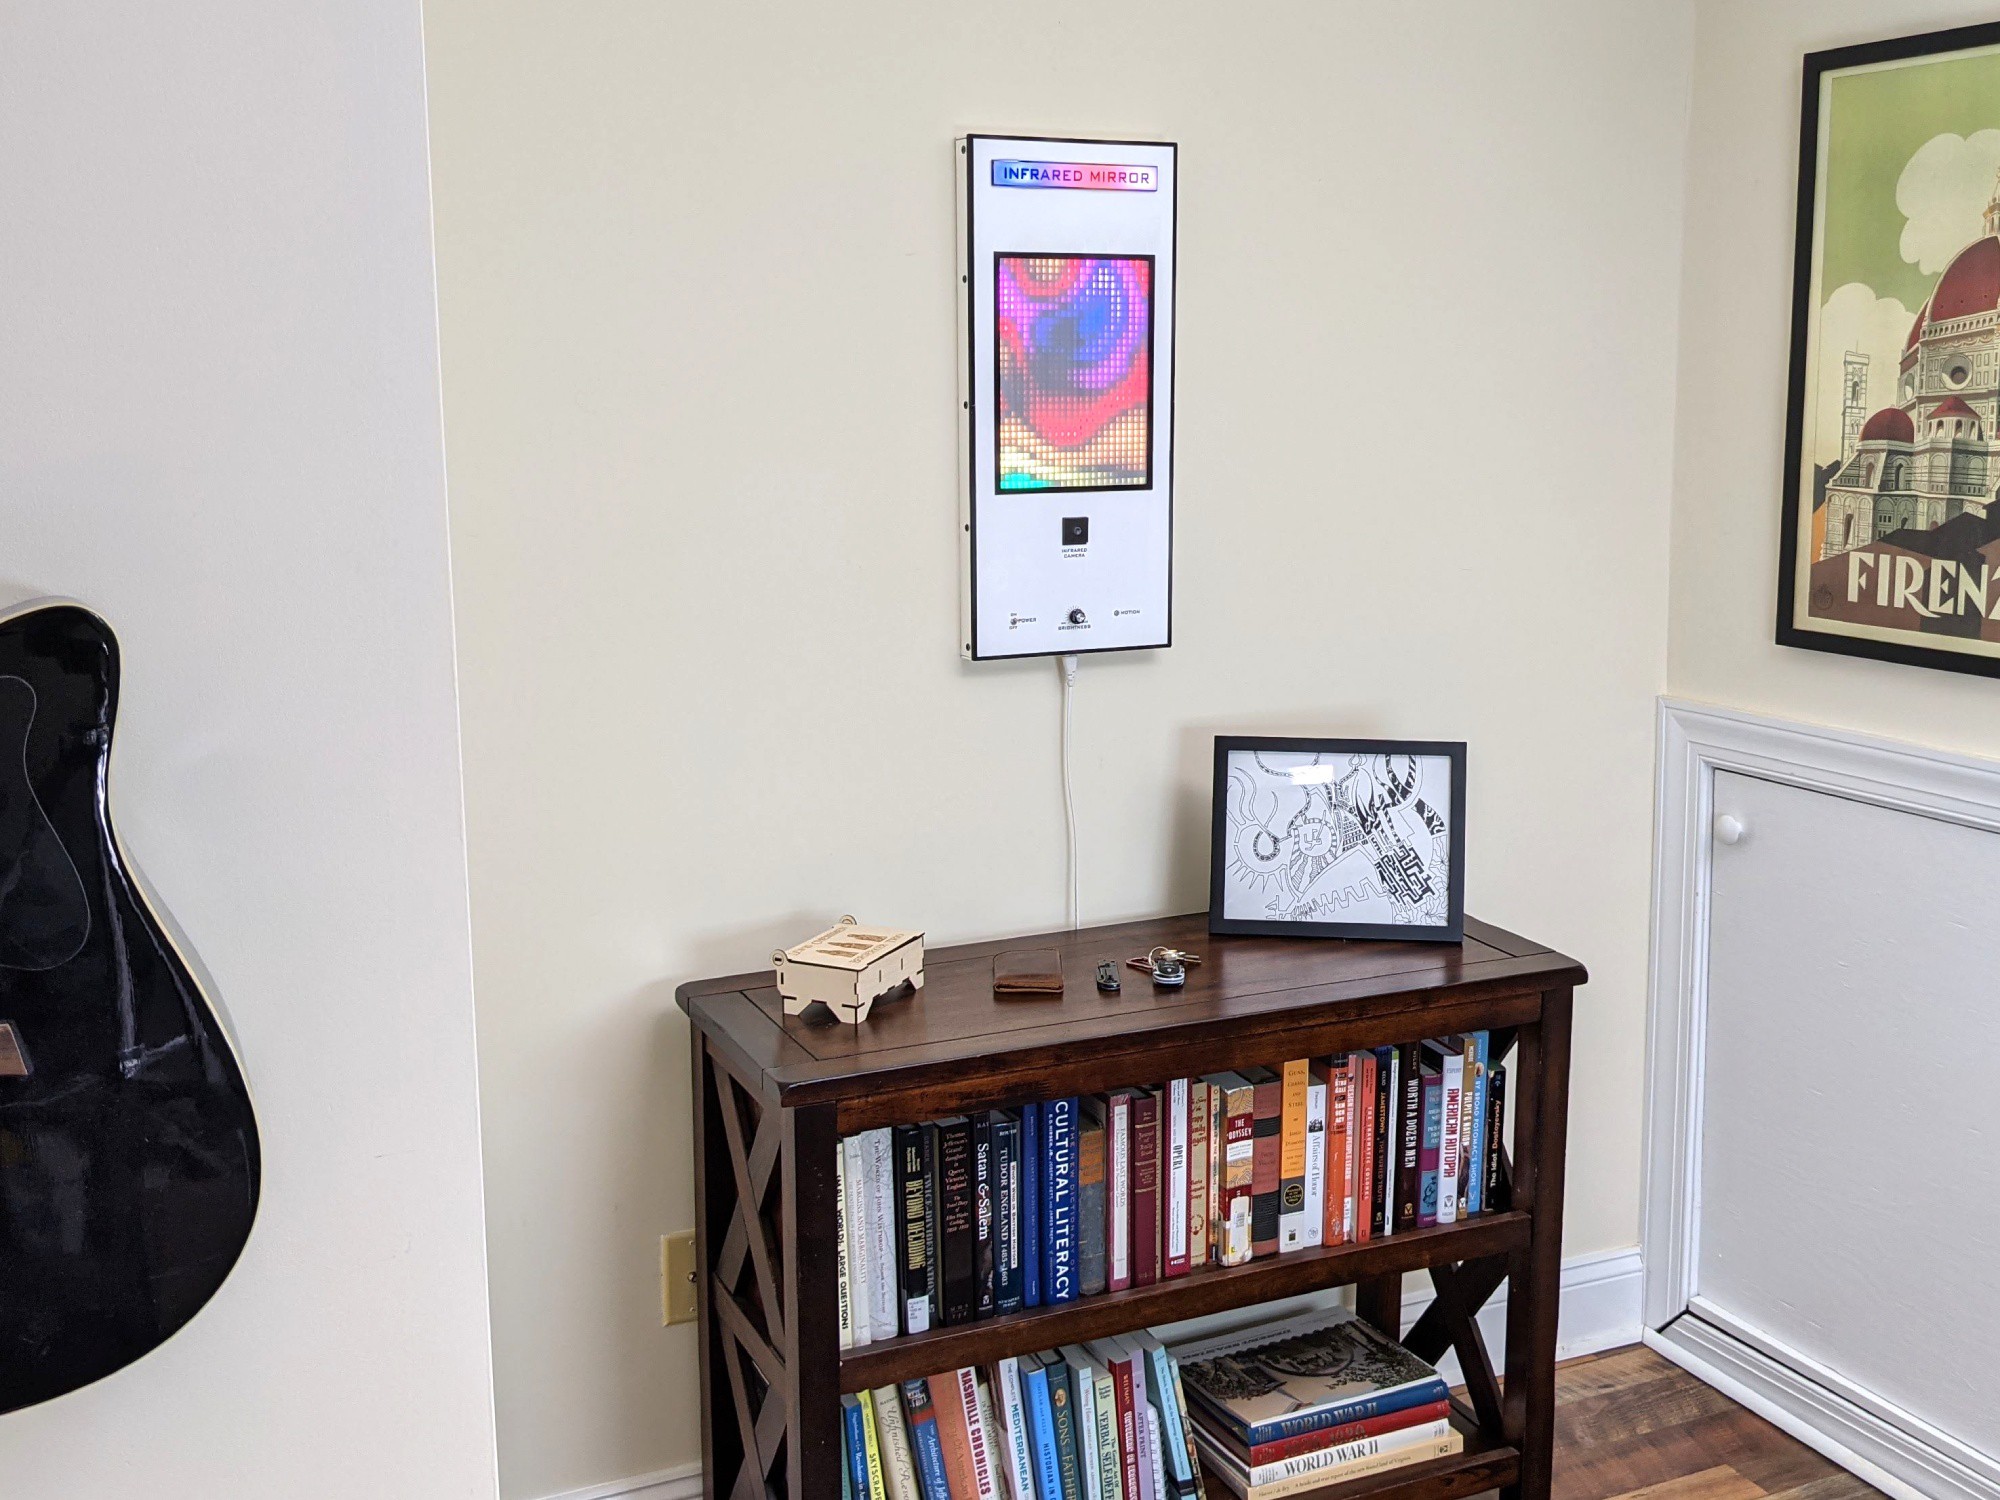
I hope this project inspires you to make something awesome!
 Reuben
 evive toolkit

 t3chflicks
 CriptasticHacker
 Andy Shinn