Fabian
-
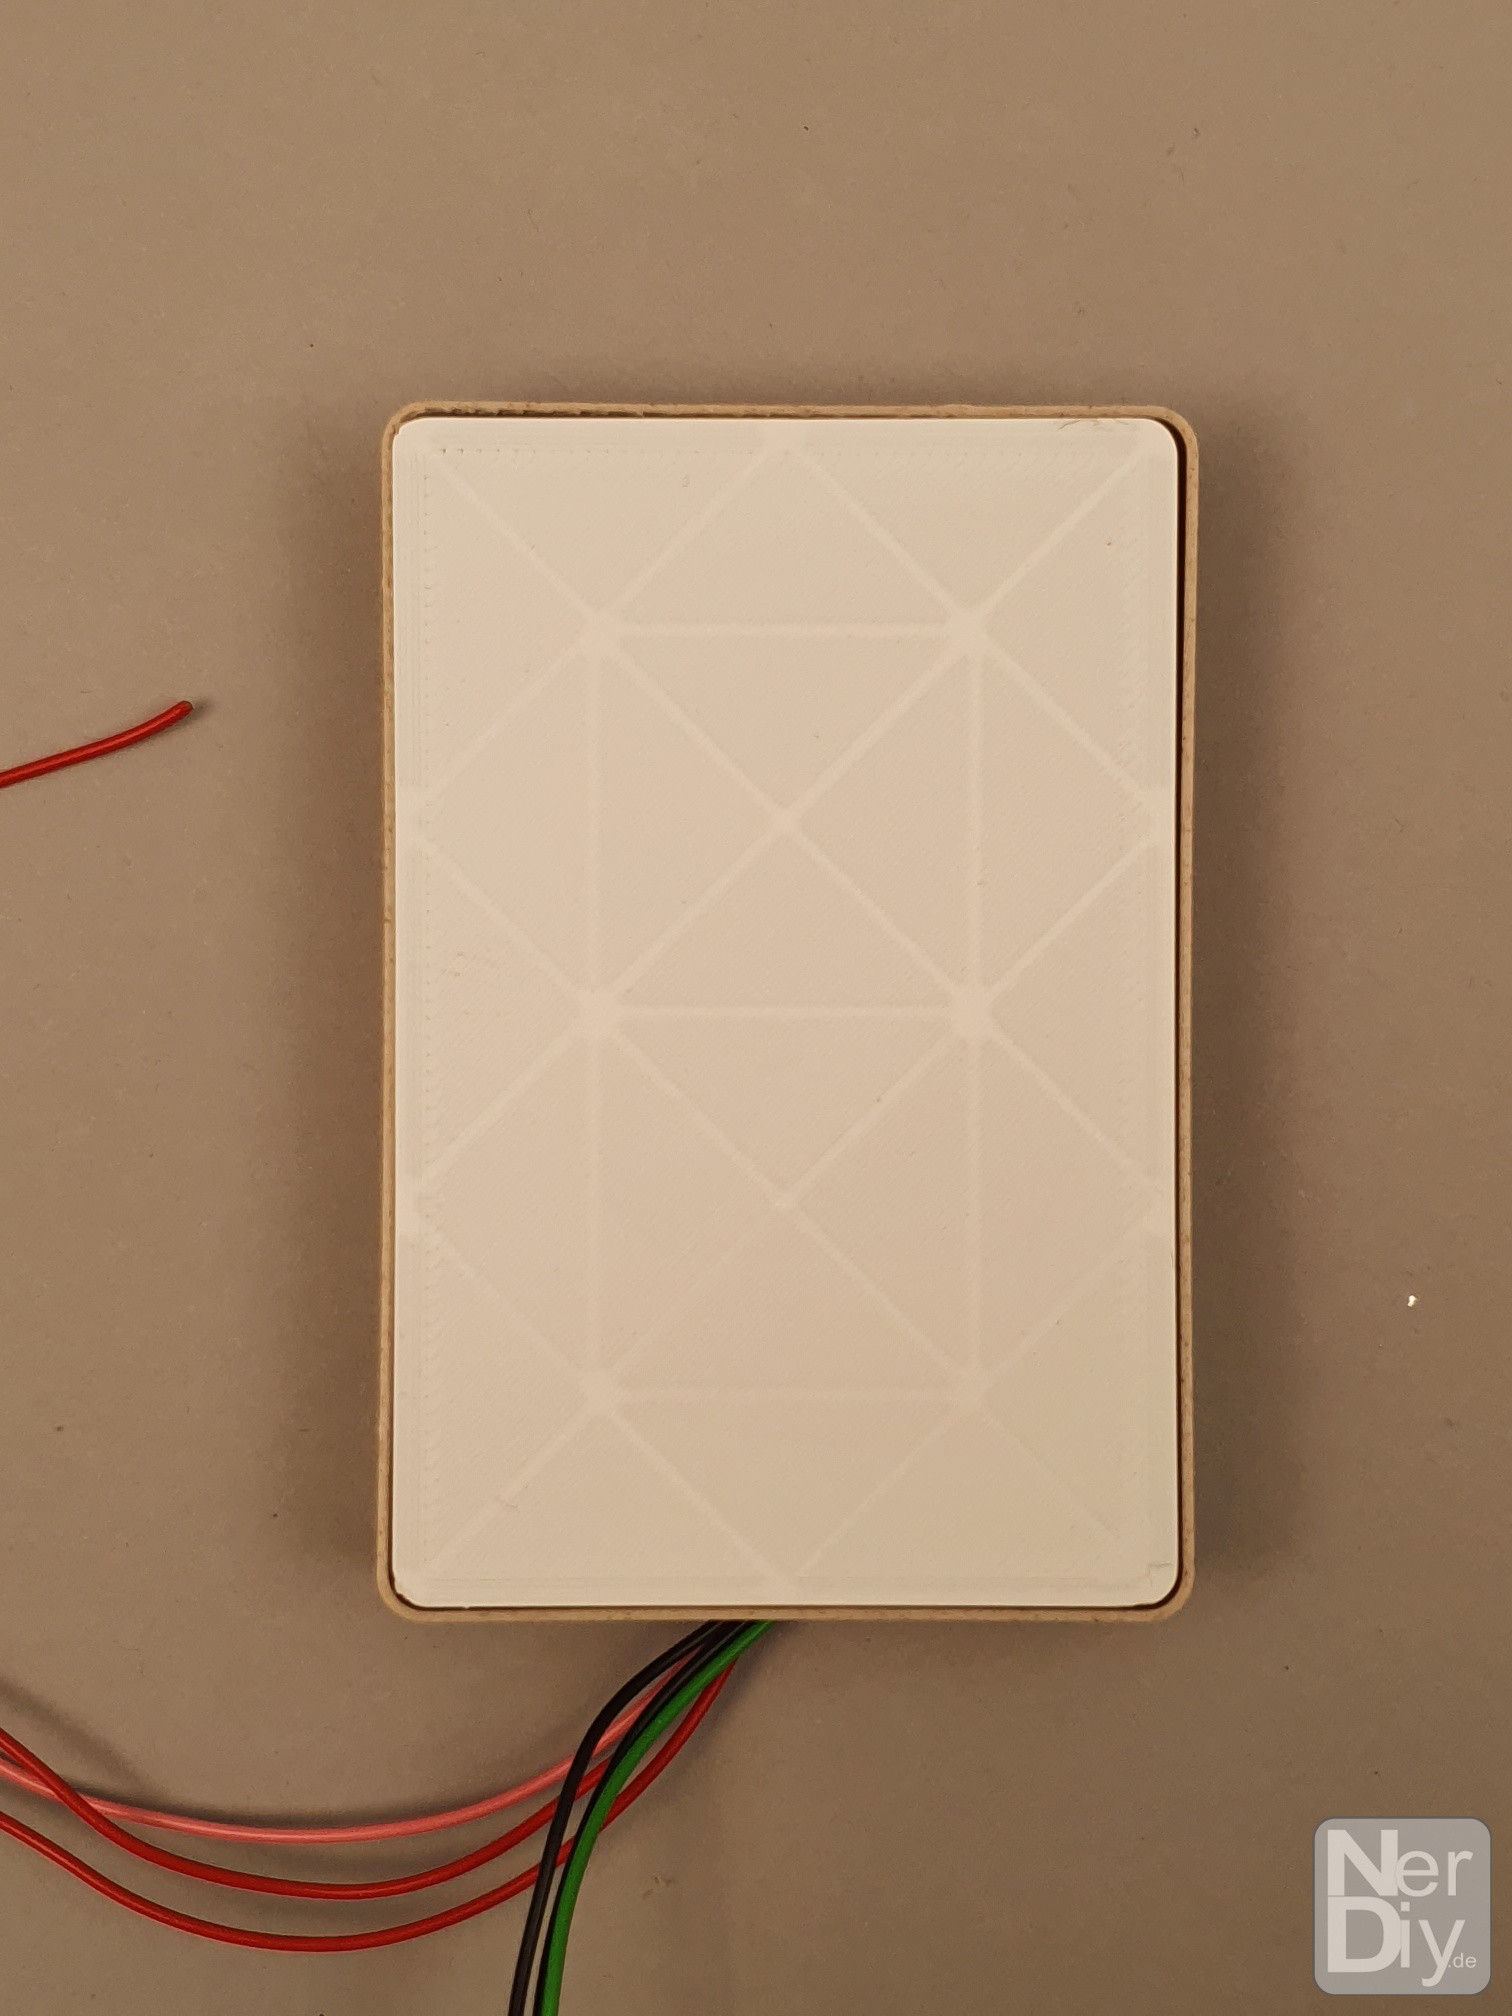
Easy 3D printable housing
06/16/2021 at 14:54 • 0 commentsUnfortunately, the 276mm wide housing for four digits cannot be easily printed on a normal 3D printer.
That's why I designed an alternative housing. The individual digits can be pre-assembled and then screwed onto a bracket. In this way, even more than four digits can be "daisy chained" one after the other, for example to display five-digit numbers or longer words directly.
You can see the start animation on the video. After the start, the time is retrieved from an NTP server via the WiFi connection of the ESP32.
-
Alternative to PCBs
06/09/2021 at 15:33 • 0 commentsOrdering finished PCBs is becoming easier. Nevertheless it can happen that you don't want to order PCBs or you just don't want to solder the SMD LEDs.
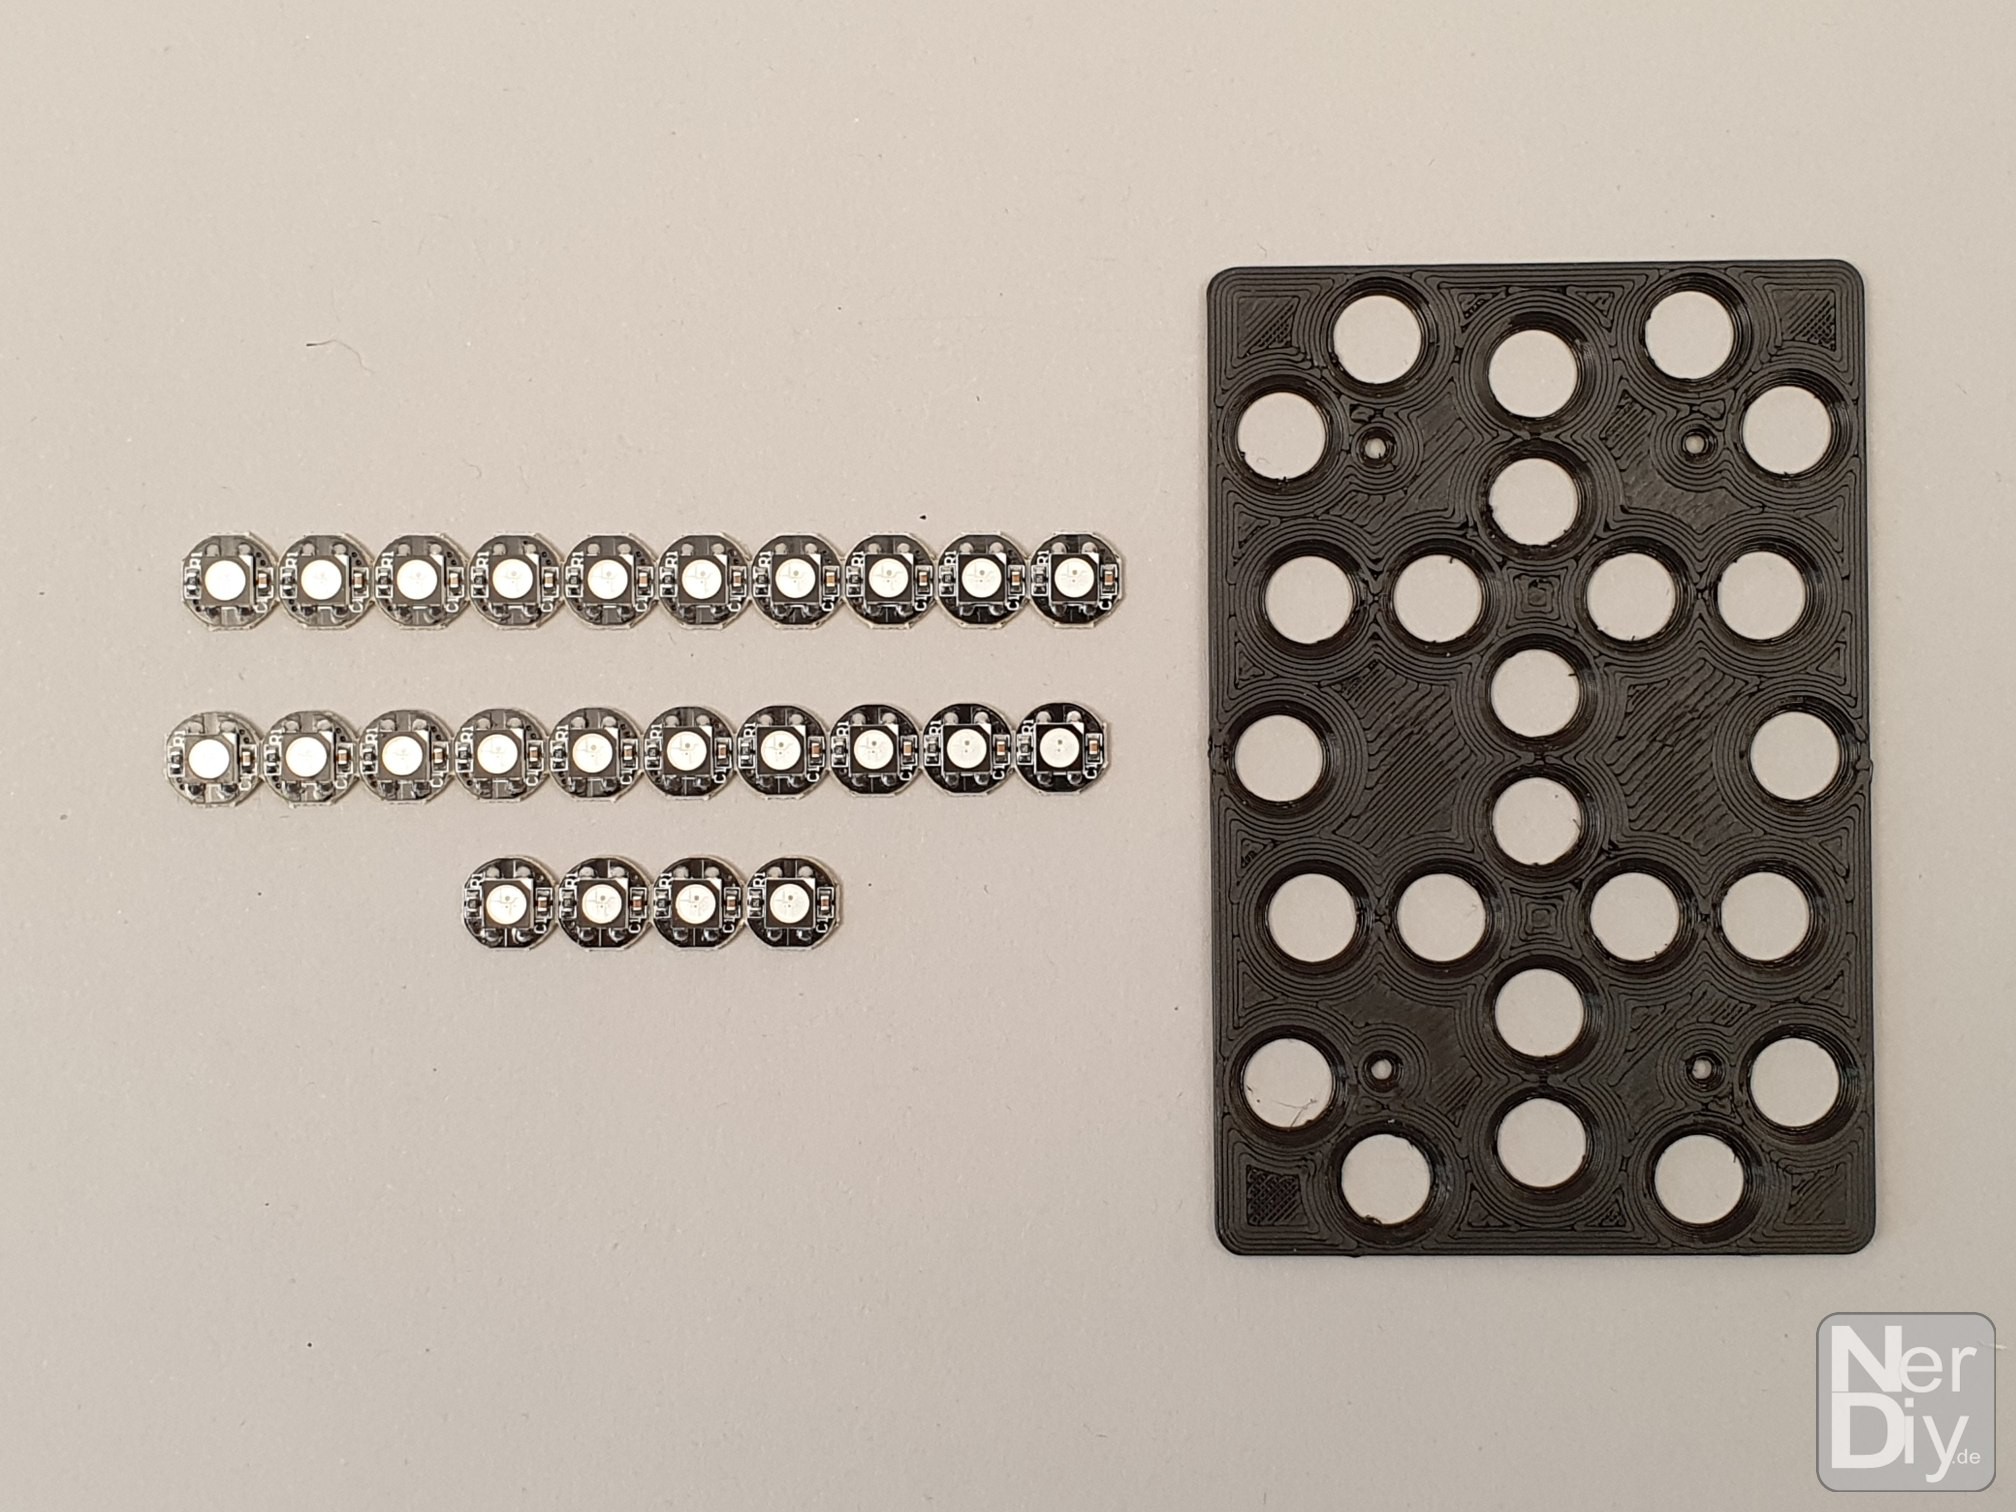
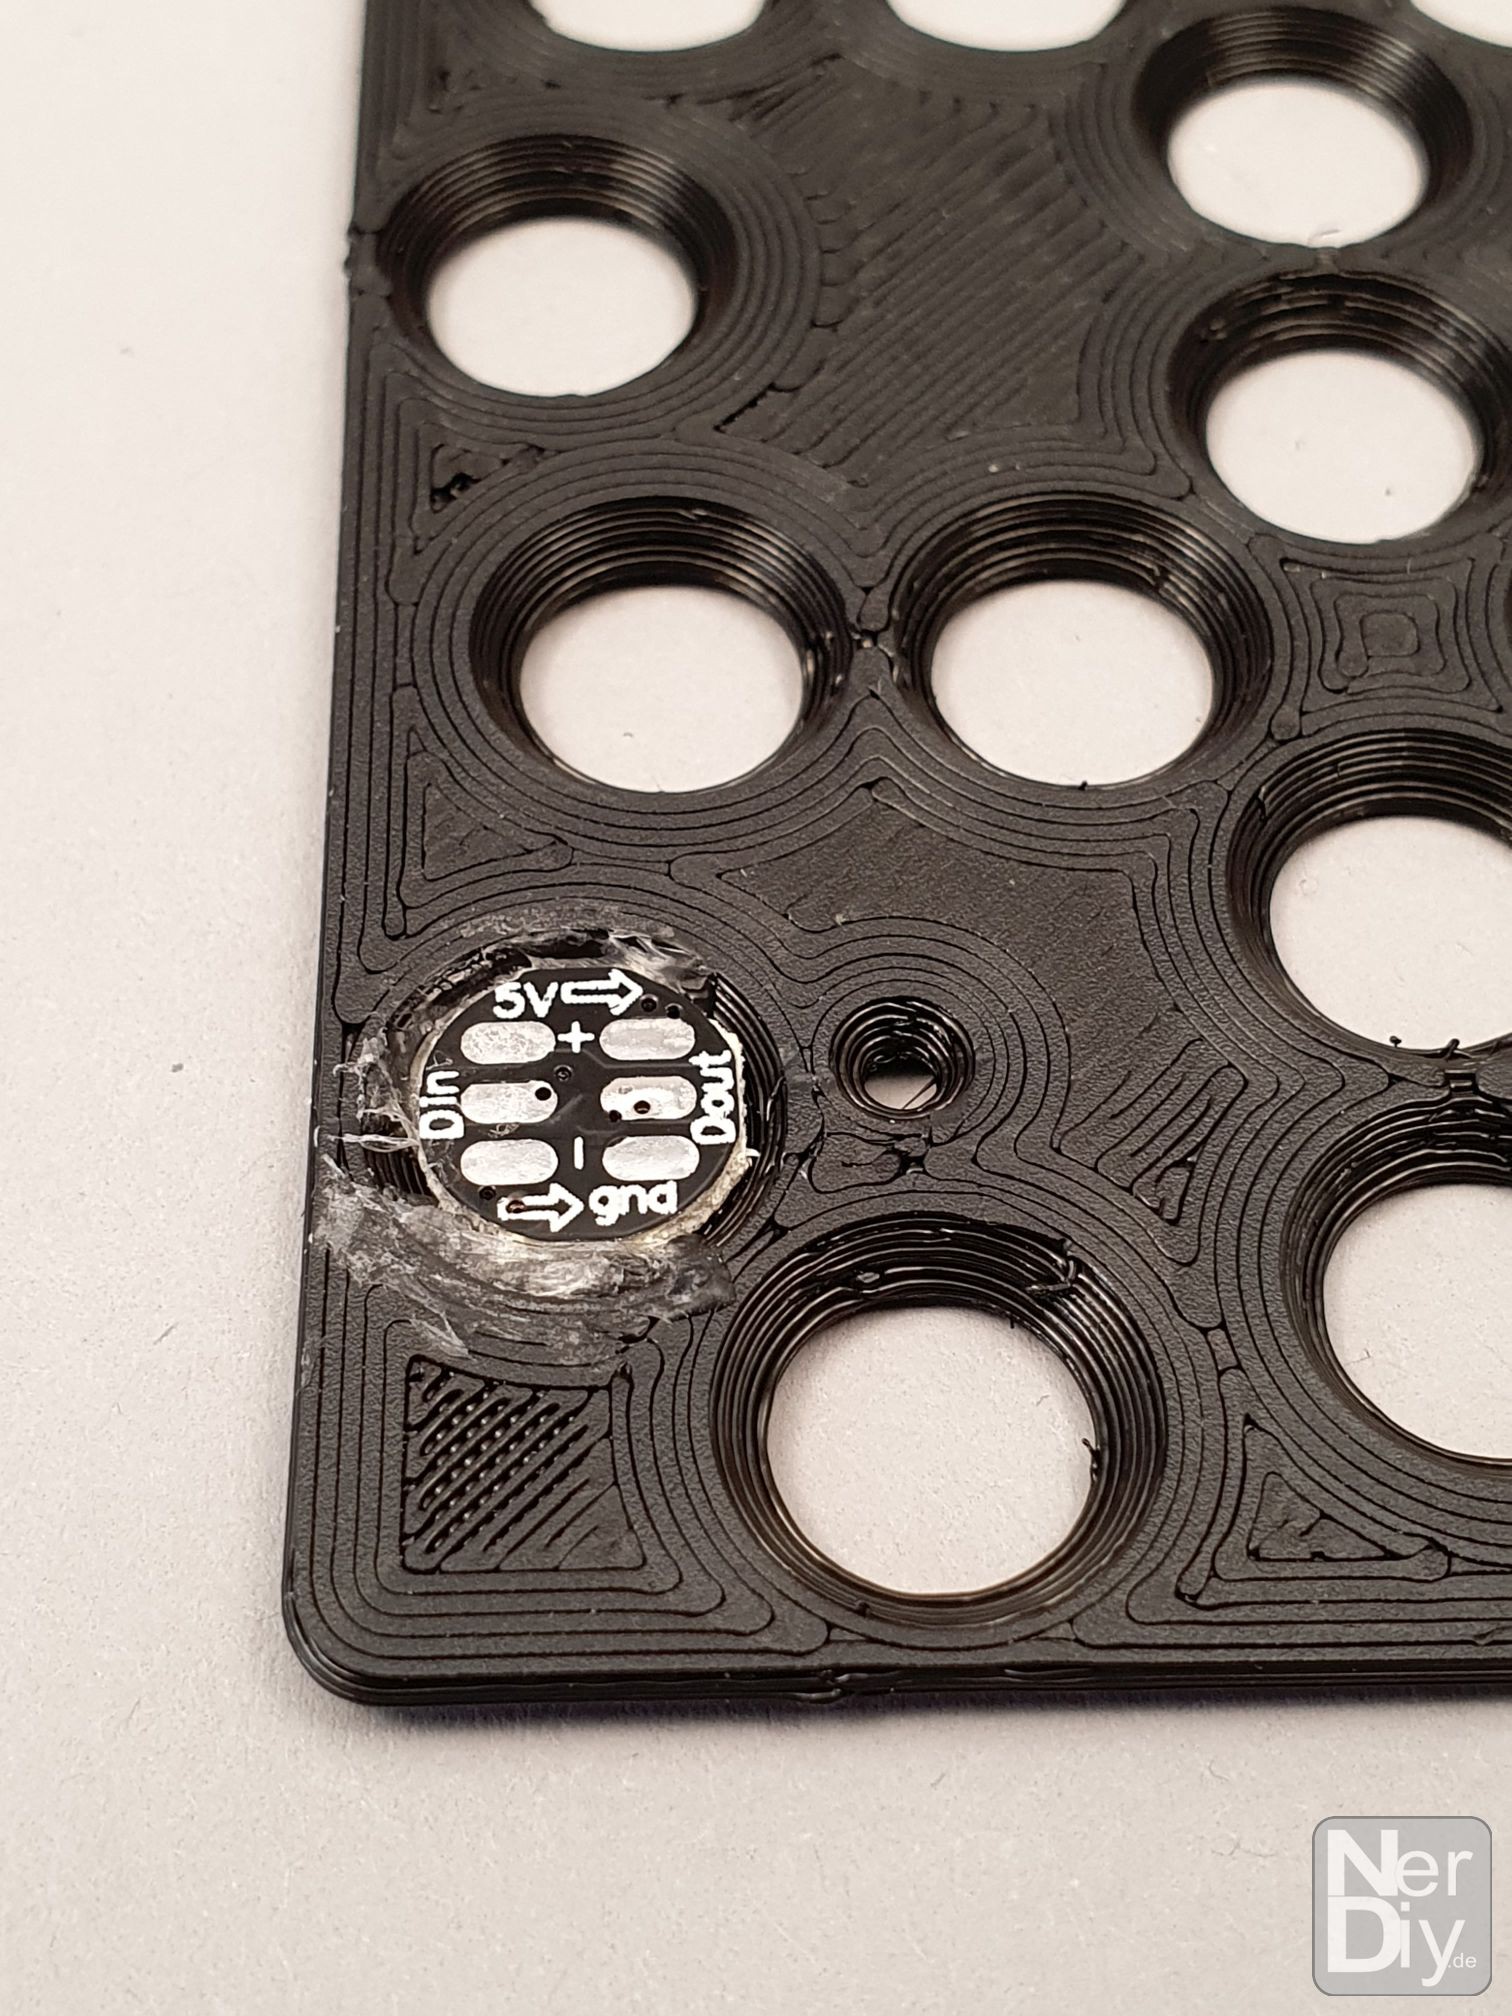
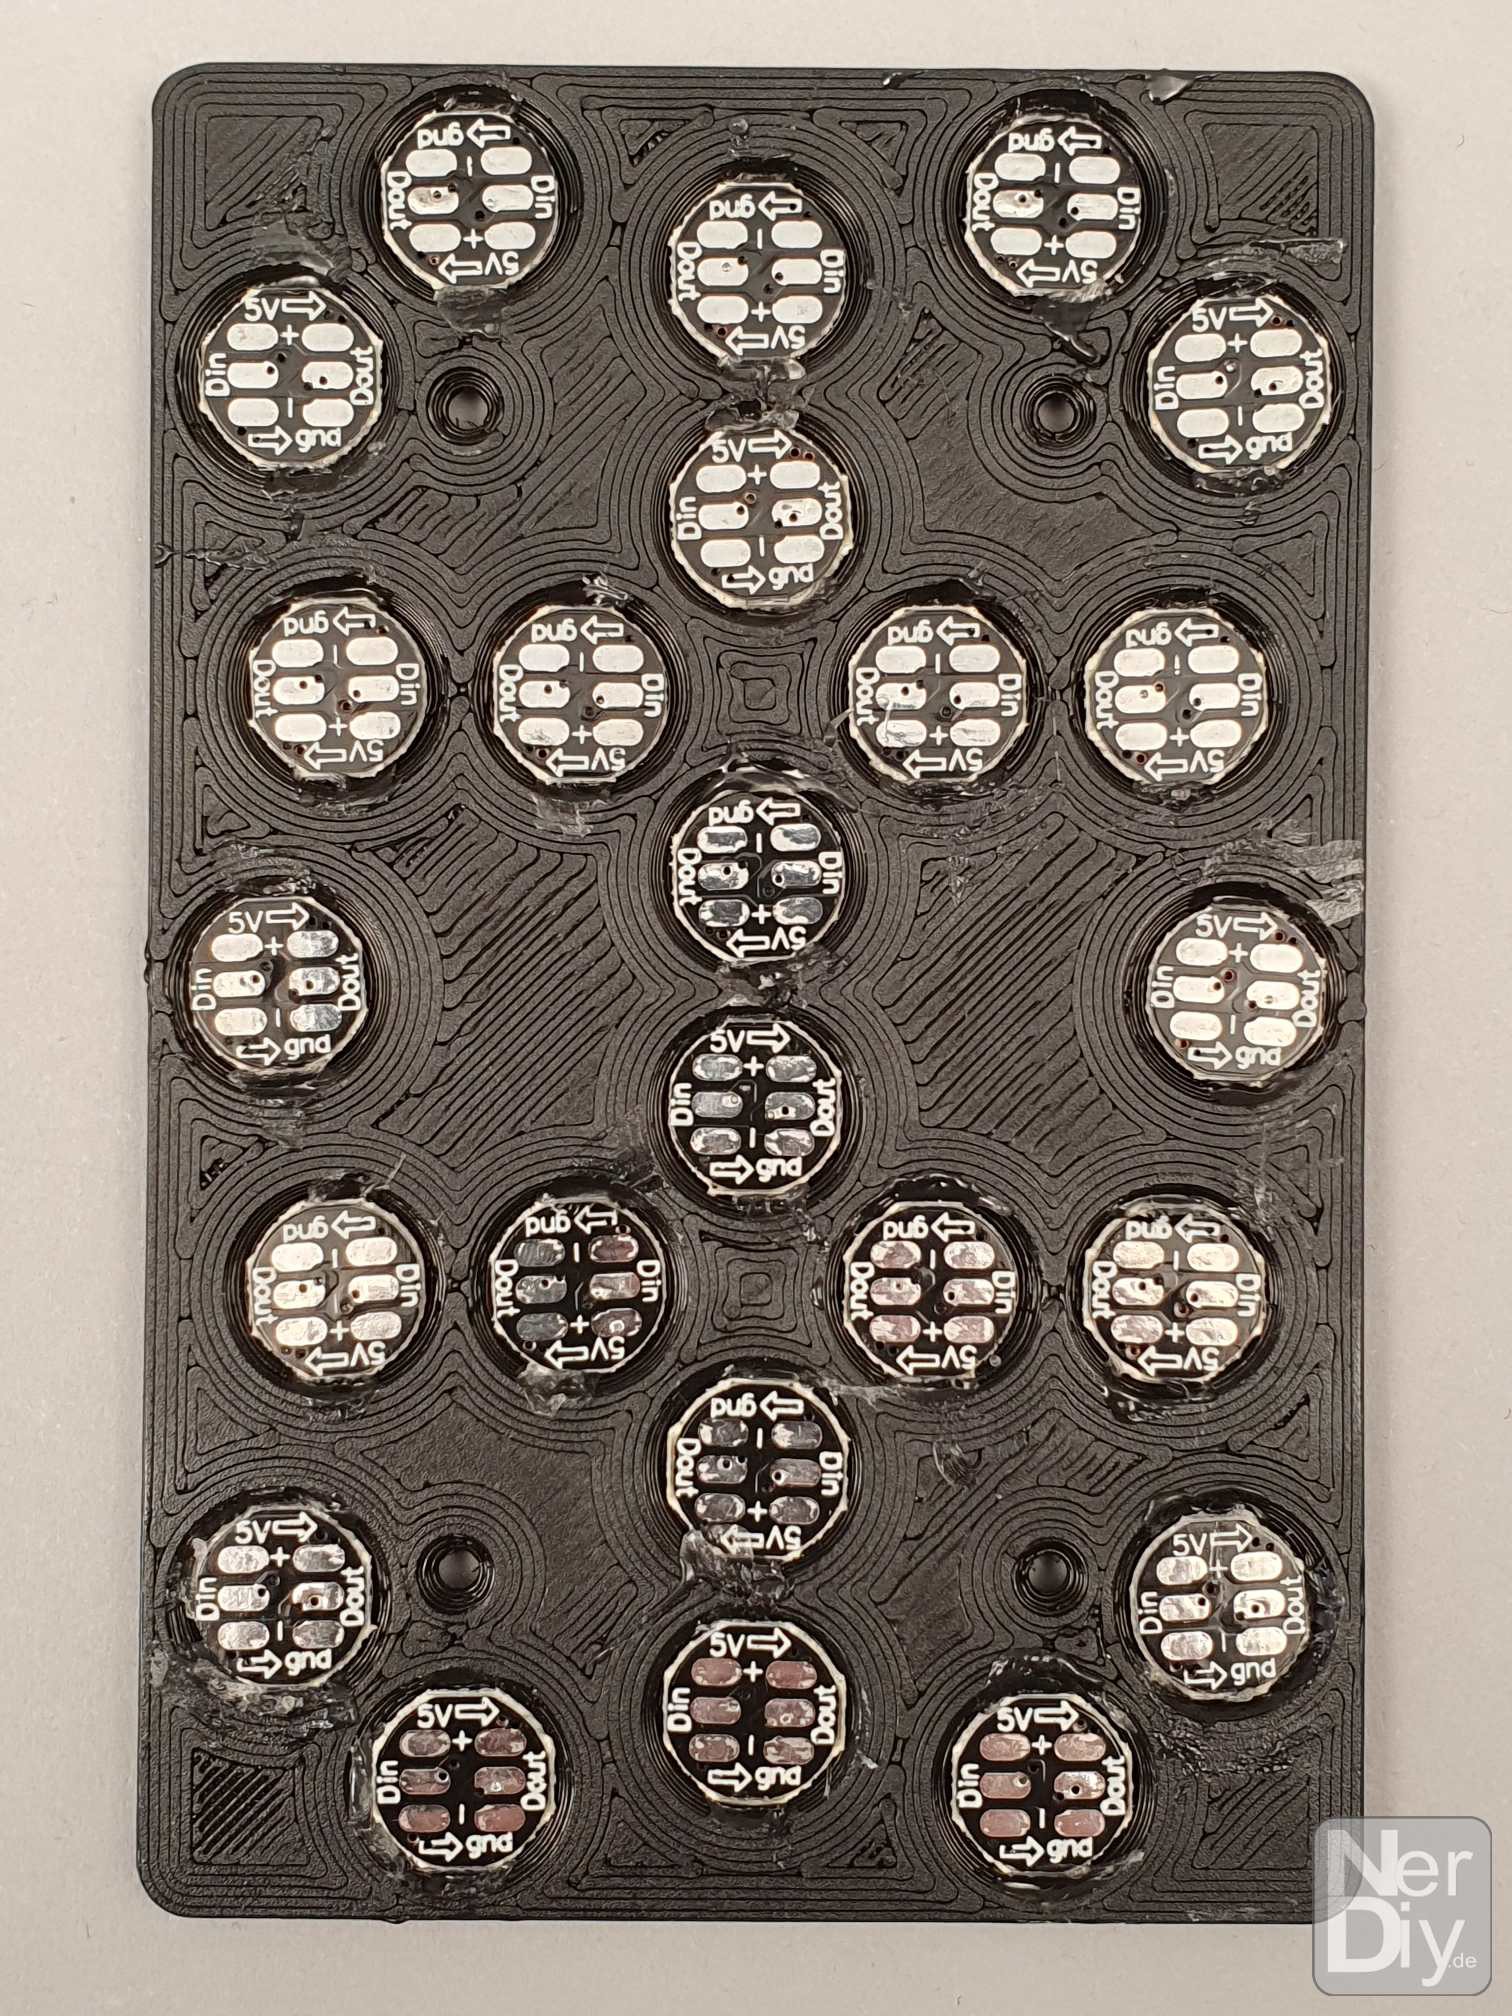
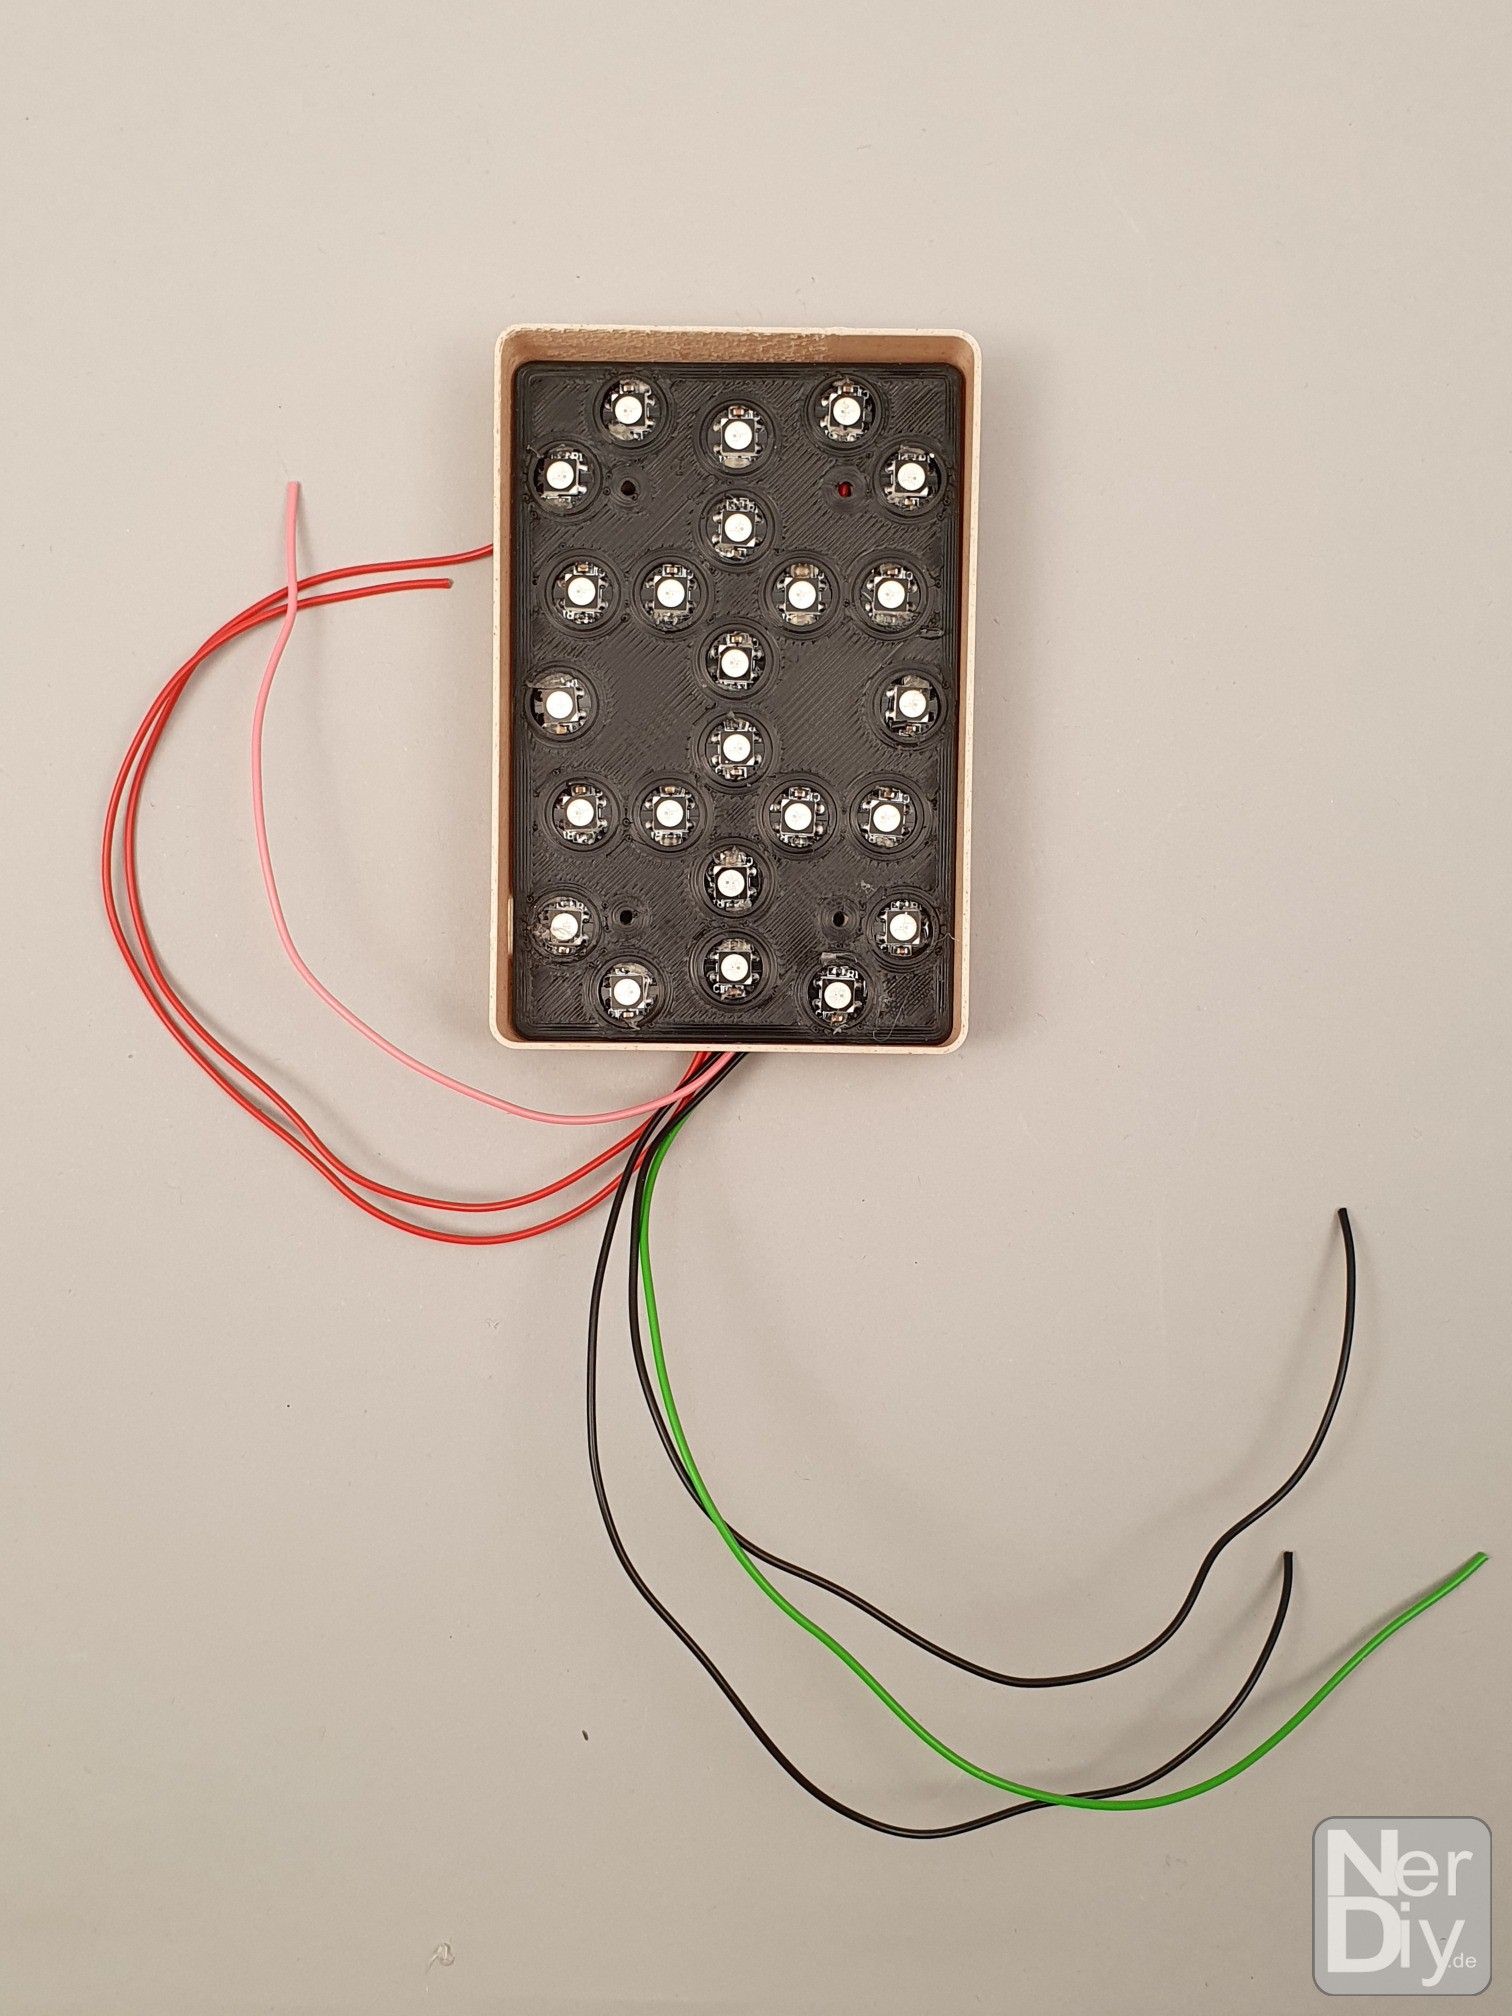
That's why I created a template in which you can insert finished LEDs and solder them together. So you can avoid having to solder SMD components. Nevertheless, soldering the 24 individual LED boards is quite a fiddly job.
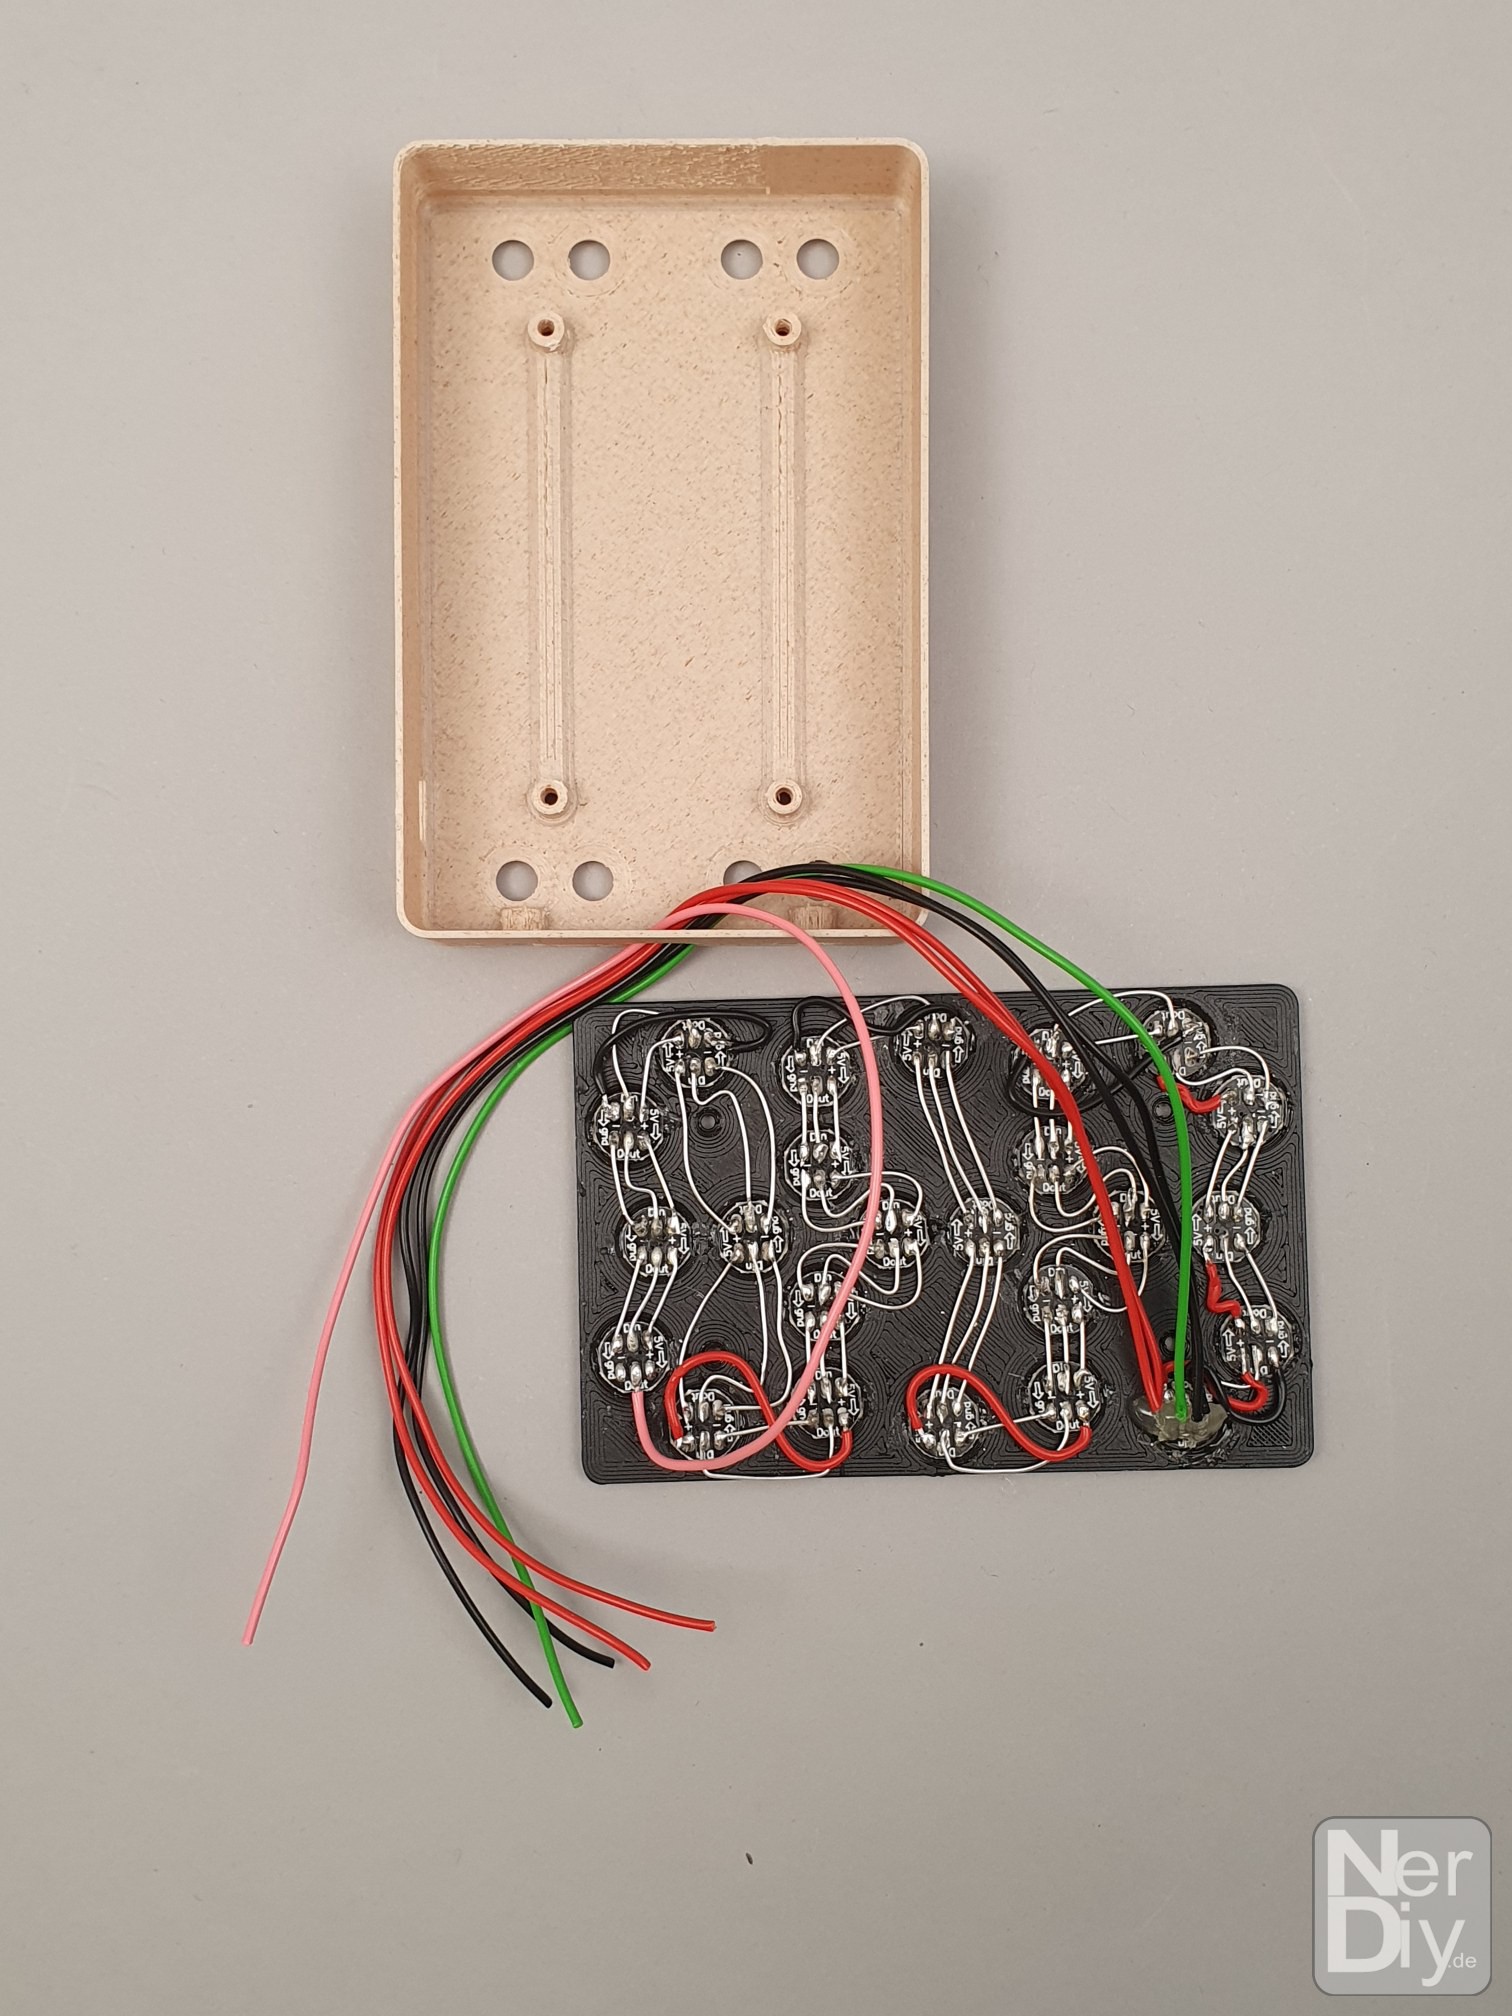
In addition, of course, no ESP32 can be installed on the template. That means you have to control the LEDs from an external microcontroller. This can be installed in a base. I will post information about this soon. :)
![]()
![]()
![]()
![]()
![]()
-
The diffusor
06/04/2021 at 17:29 • 0 commentsBuilding the diffuser was a little science in itself.
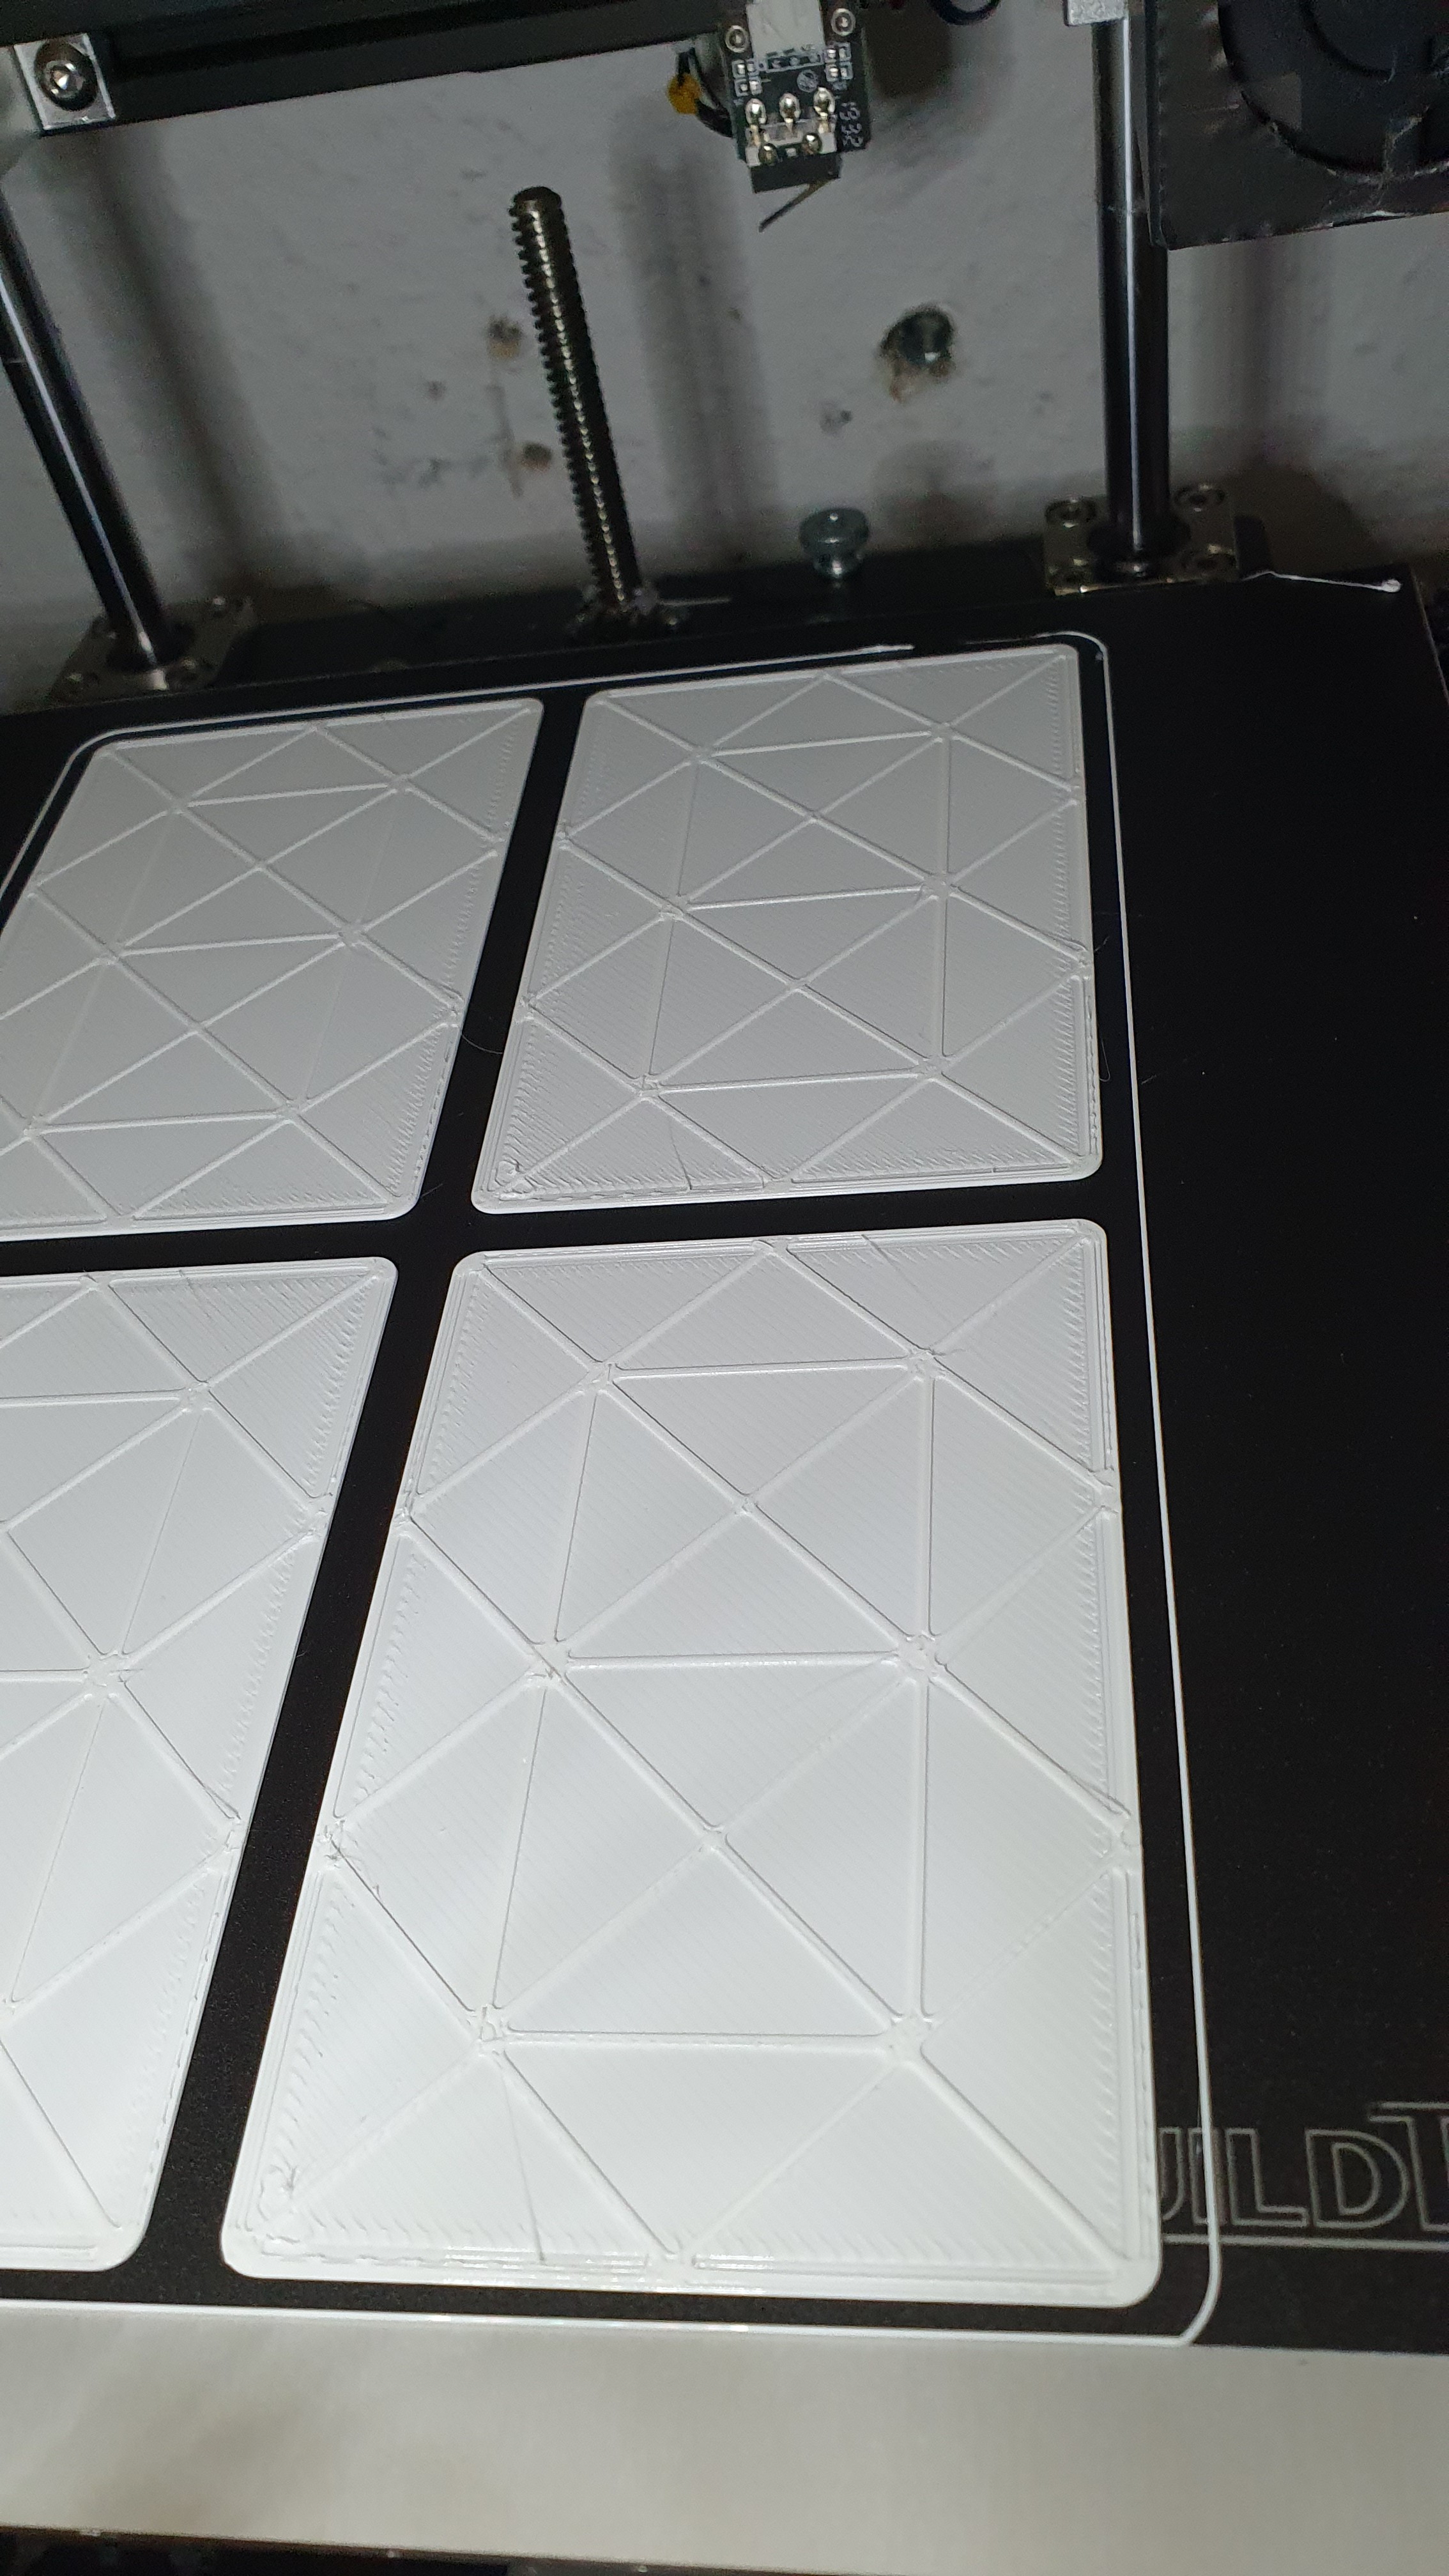
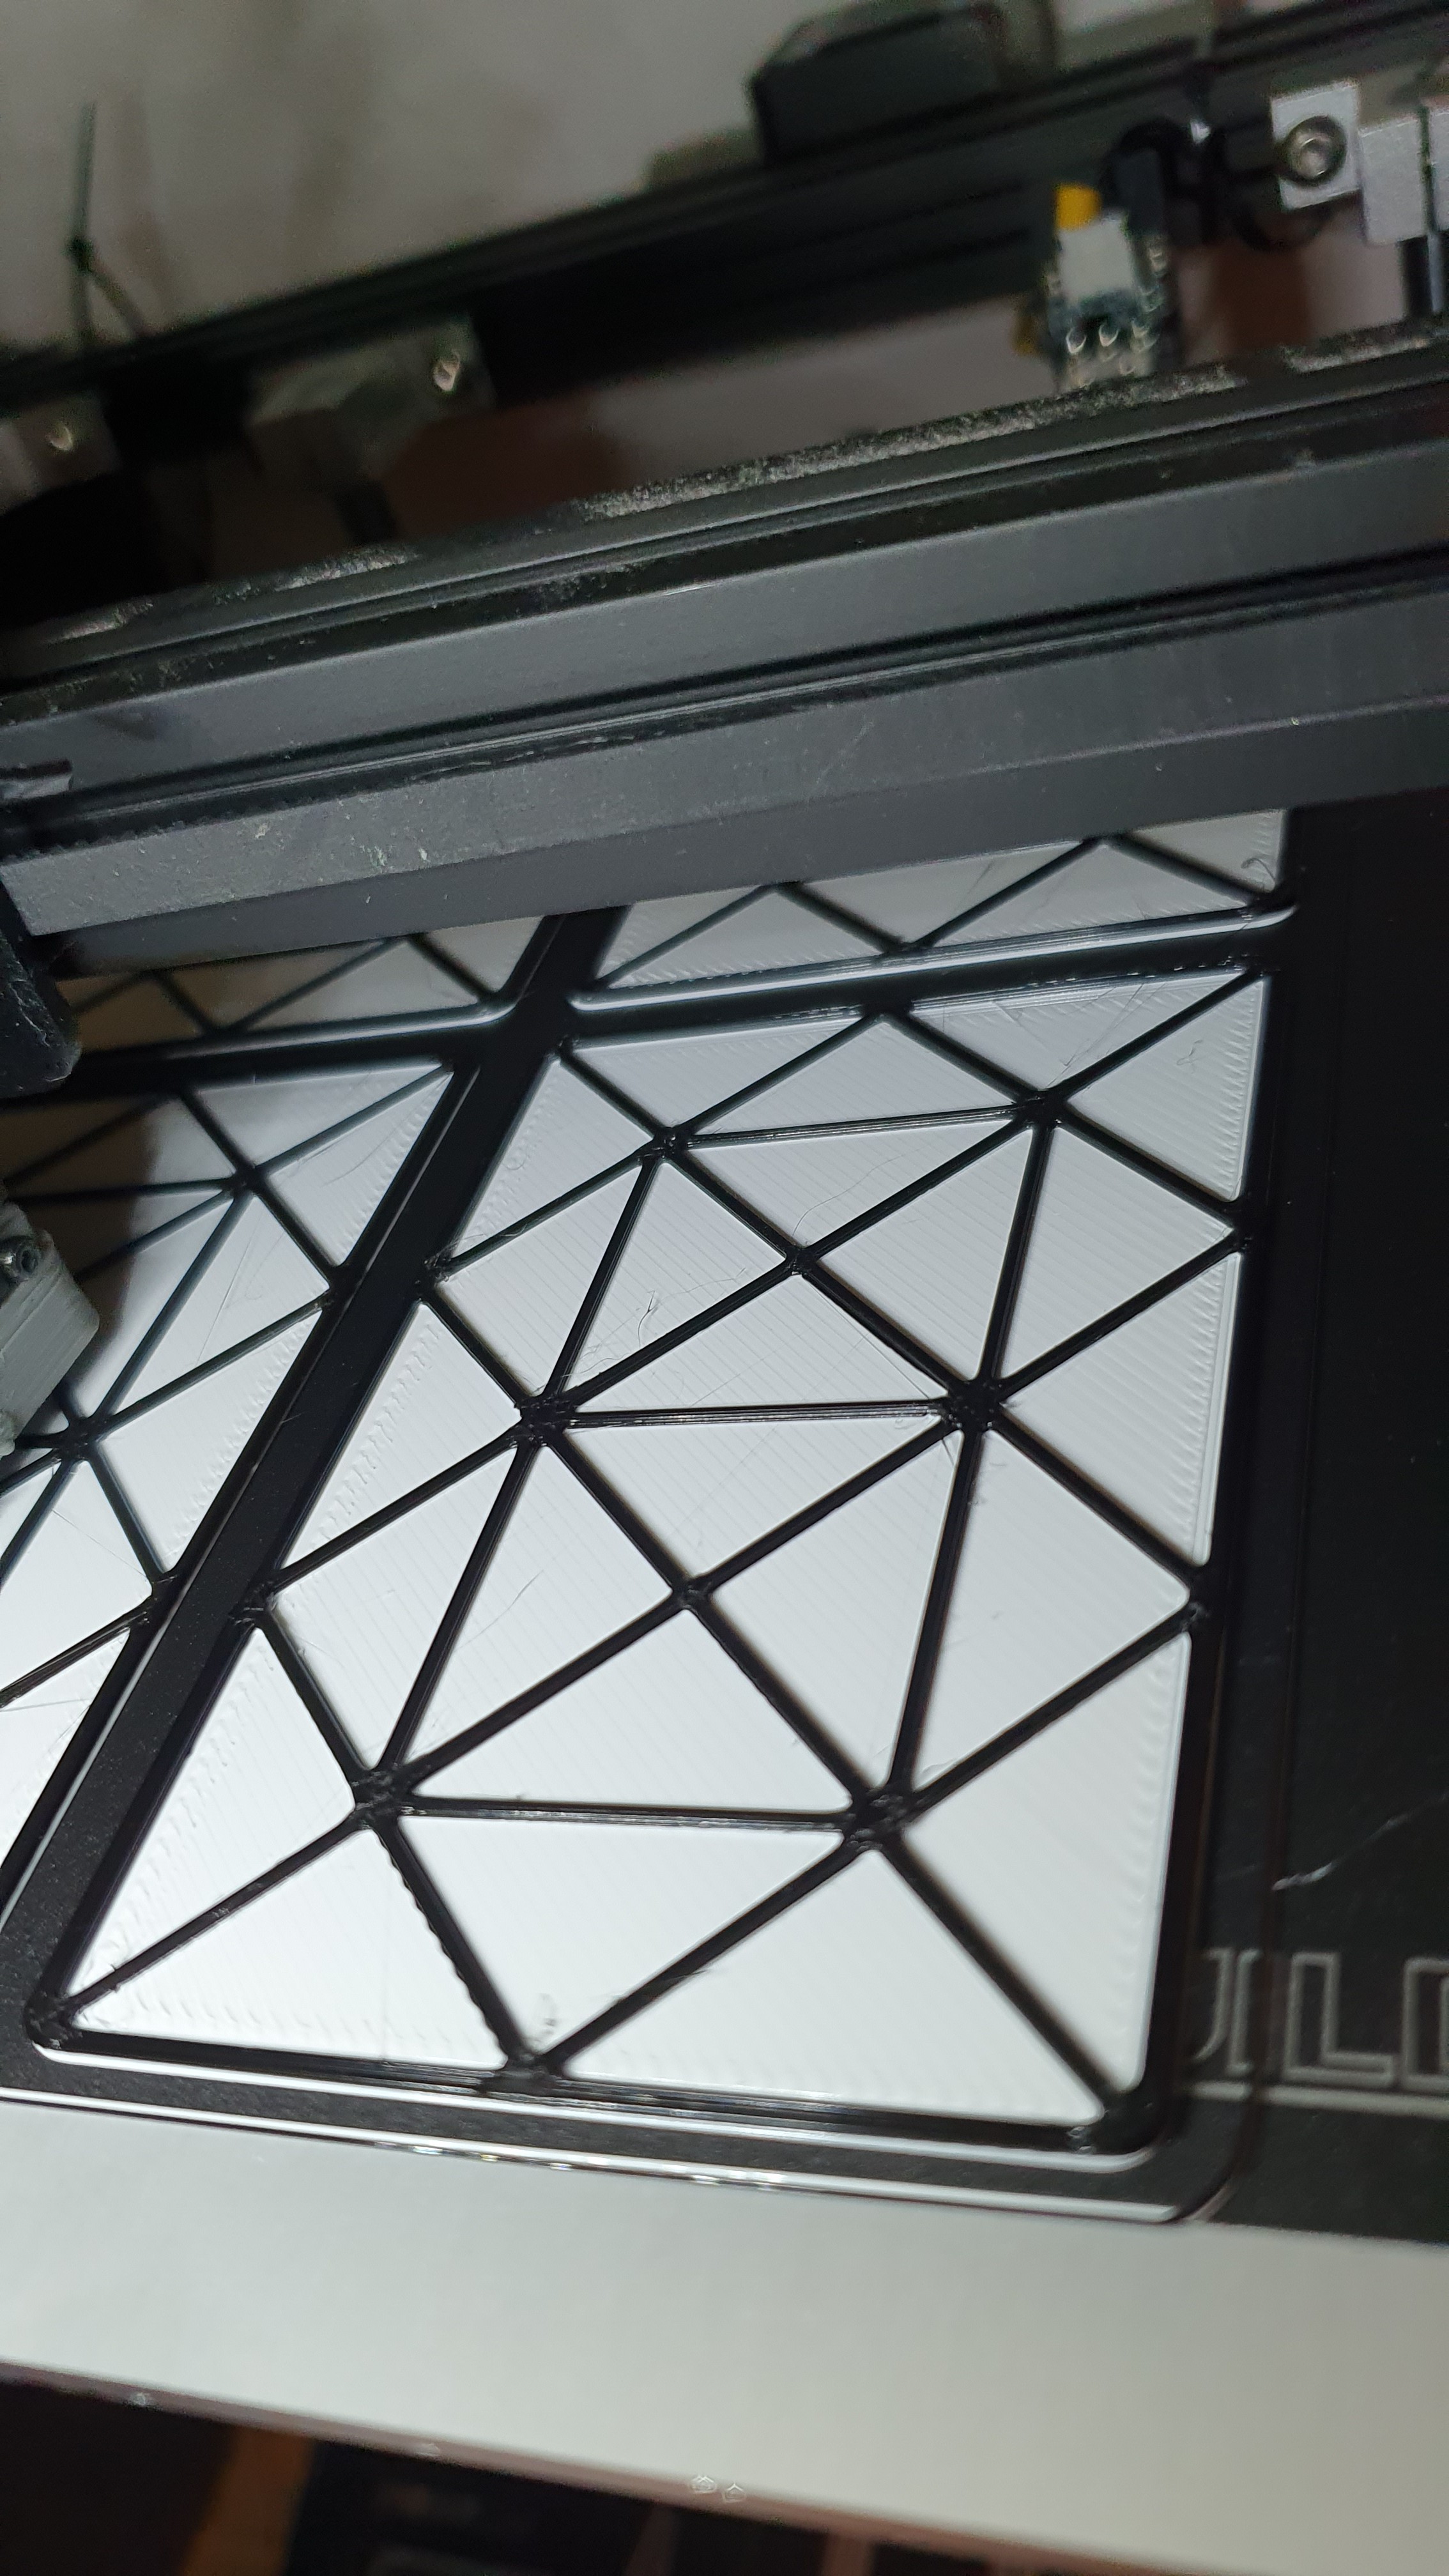
At first I printed the entire diffuser out of white PLA. Unfortunately, this meant that the neighboring segments of the lit segment were also at least partially illuminated.
The solution was to print the front of the diffuser from white PLA, pause the 3D printer after the first two layers, replace the filament with black one and continue printing. So the front of the diffusor became white and can be easily illuminated while the black frame parts separates the individual segments well from one another.
Actually the perfect use for a 3D printer with dual extruder. But it is also possible with a single extruder, just a little more laborious. :)
![]()
![]()
![]()
-
Why ESP32?
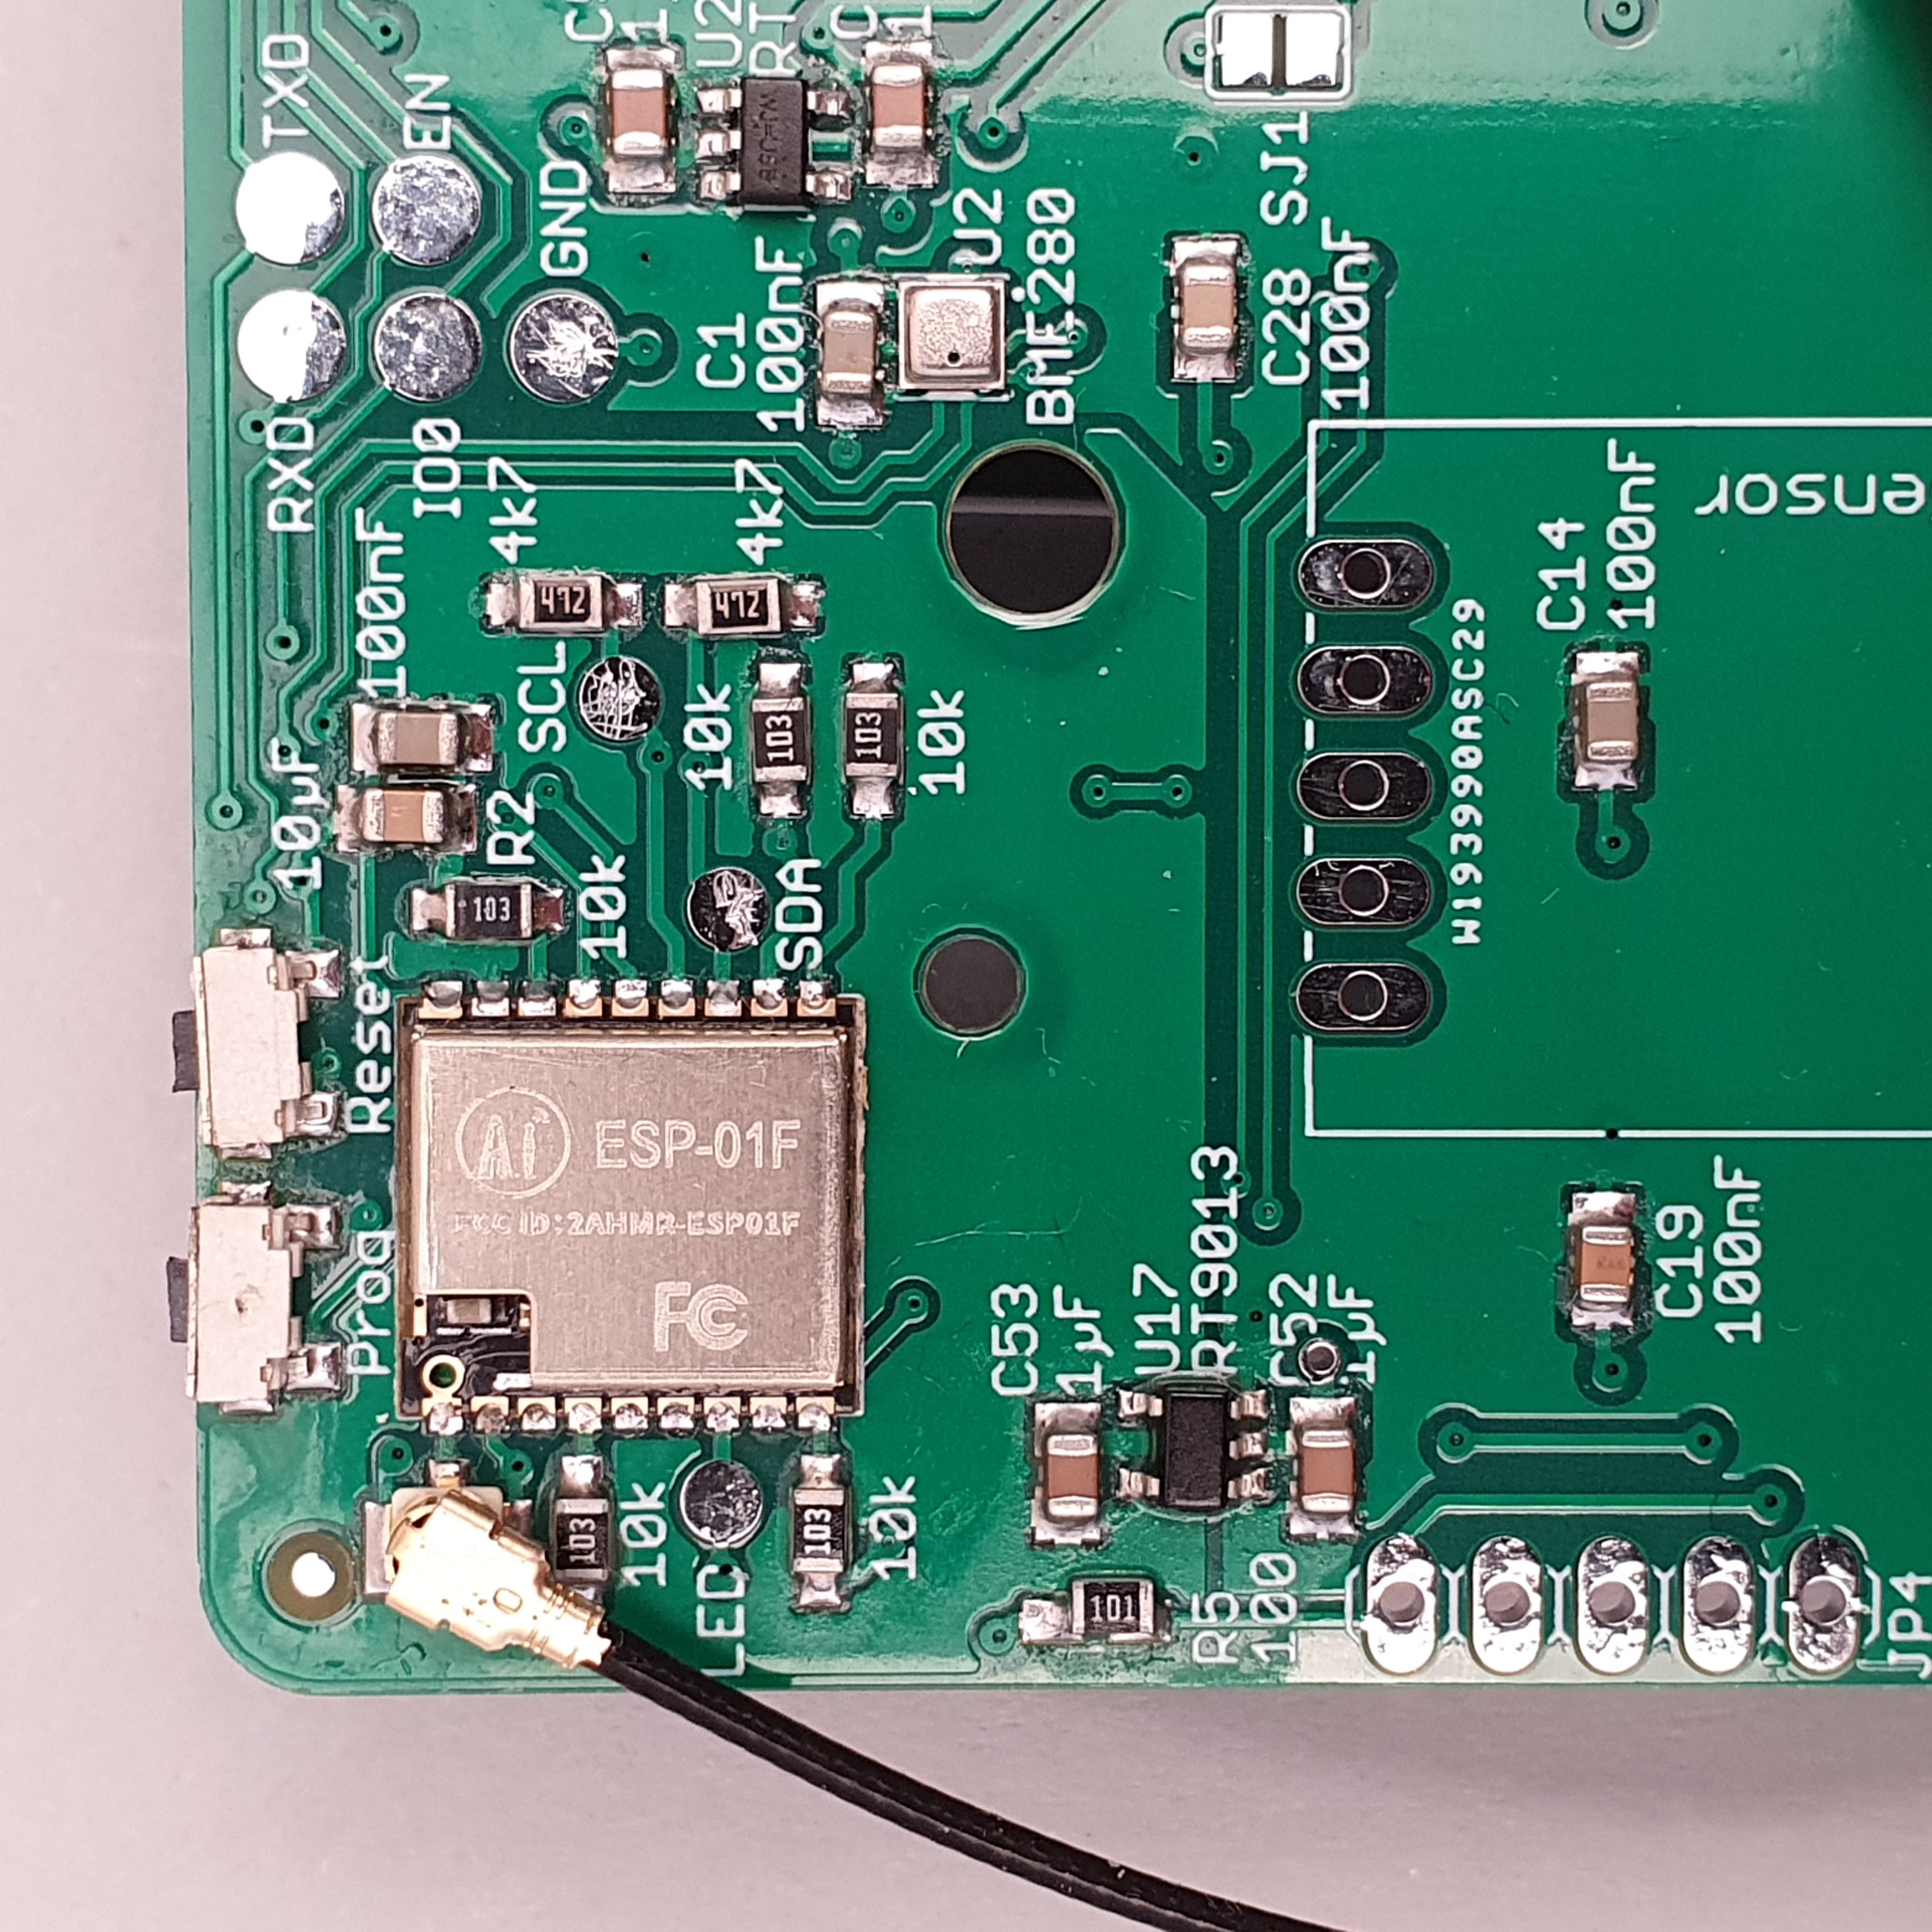
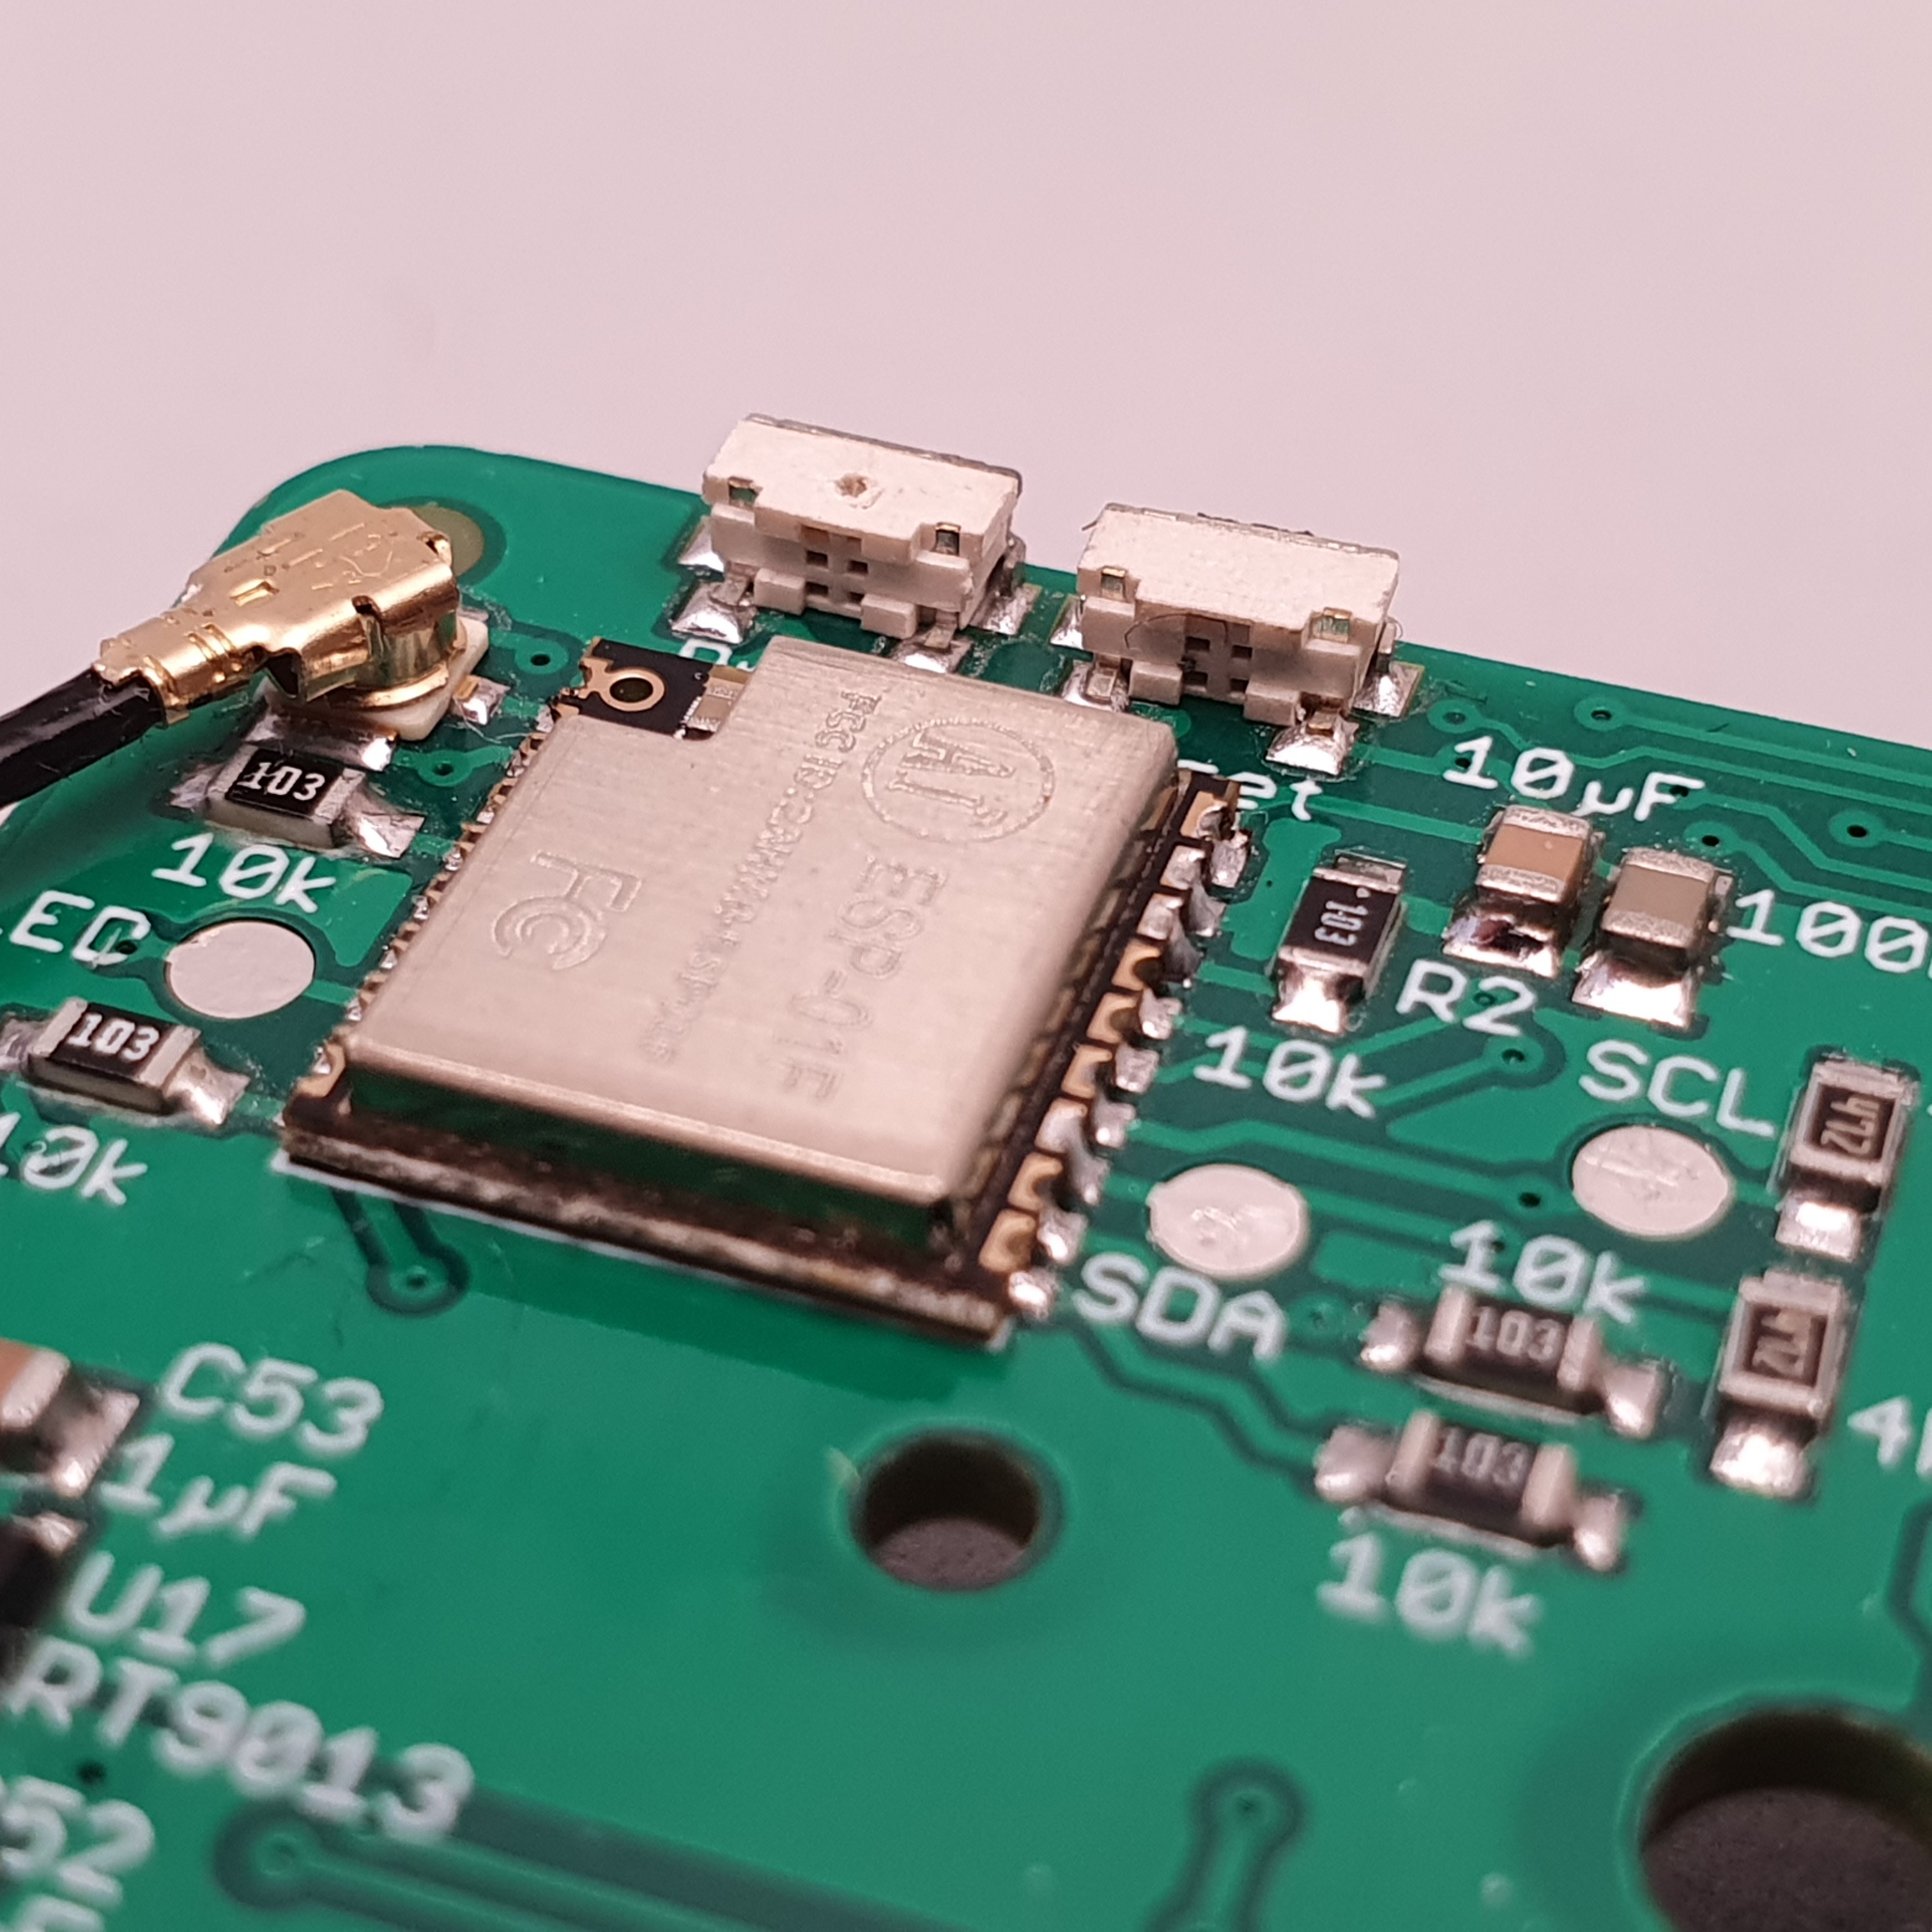
06/03/2021 at 14:54 • 0 commentsI had equipped the PCB of the first revision of the pxlDigit_24 with an ESP8285 ESP-01F.
This is actually a very powerful microcontroller if you want to set up a project compactly, but at the same time don't want to do without wifi and a lot of computing power. If you then see the price of the ESP8285, the decision is actually almost made.
So I set up the first revision with an ESP8285, as you can see in the following pictures.
![]()
![]()
Unfortunately, only then I noticed the (only?) disadvantage of the ESP8285 for my use case: The memory is relatively (luxury problem!) scarce. Not seen in absolute terms, of course, because with its 8MBit memory it is really well equipped compared to other microcontrollers.
The only problem I had here was that I wanted to use the ESPEasy framework again as the basis for the software. This is a framework that can be expanded with the help of plugins and configured in a very user-friendly manner. Depending on the desired plug-in, a little more memory is of course required.
At this point I had already worked with the ESP32, which is a really powerful further development of the already very good ESP8266 or ESP8285. In addition, the ESP32 is not much more expensive than its little brother and has some key features that ultimately moved me to use the ESP32.
Tthis can not only communicate via WiFi. It can also be equipped with bluetooth functionality. In addition, the development work can be simplified considerably with the aid of the JTAG interface.
In the end there is a little more of everything than with the little brother. More ADCs, more flexibly configurable peripherals, dual core ...Granted, maybe. an ESP32 is a bit bored when it only has to control the 24 plus X WS2812 LEDs. But when it comes to the possibilities, I'm curious to see what will happen in the future and may still come. :)
-
Modular construction
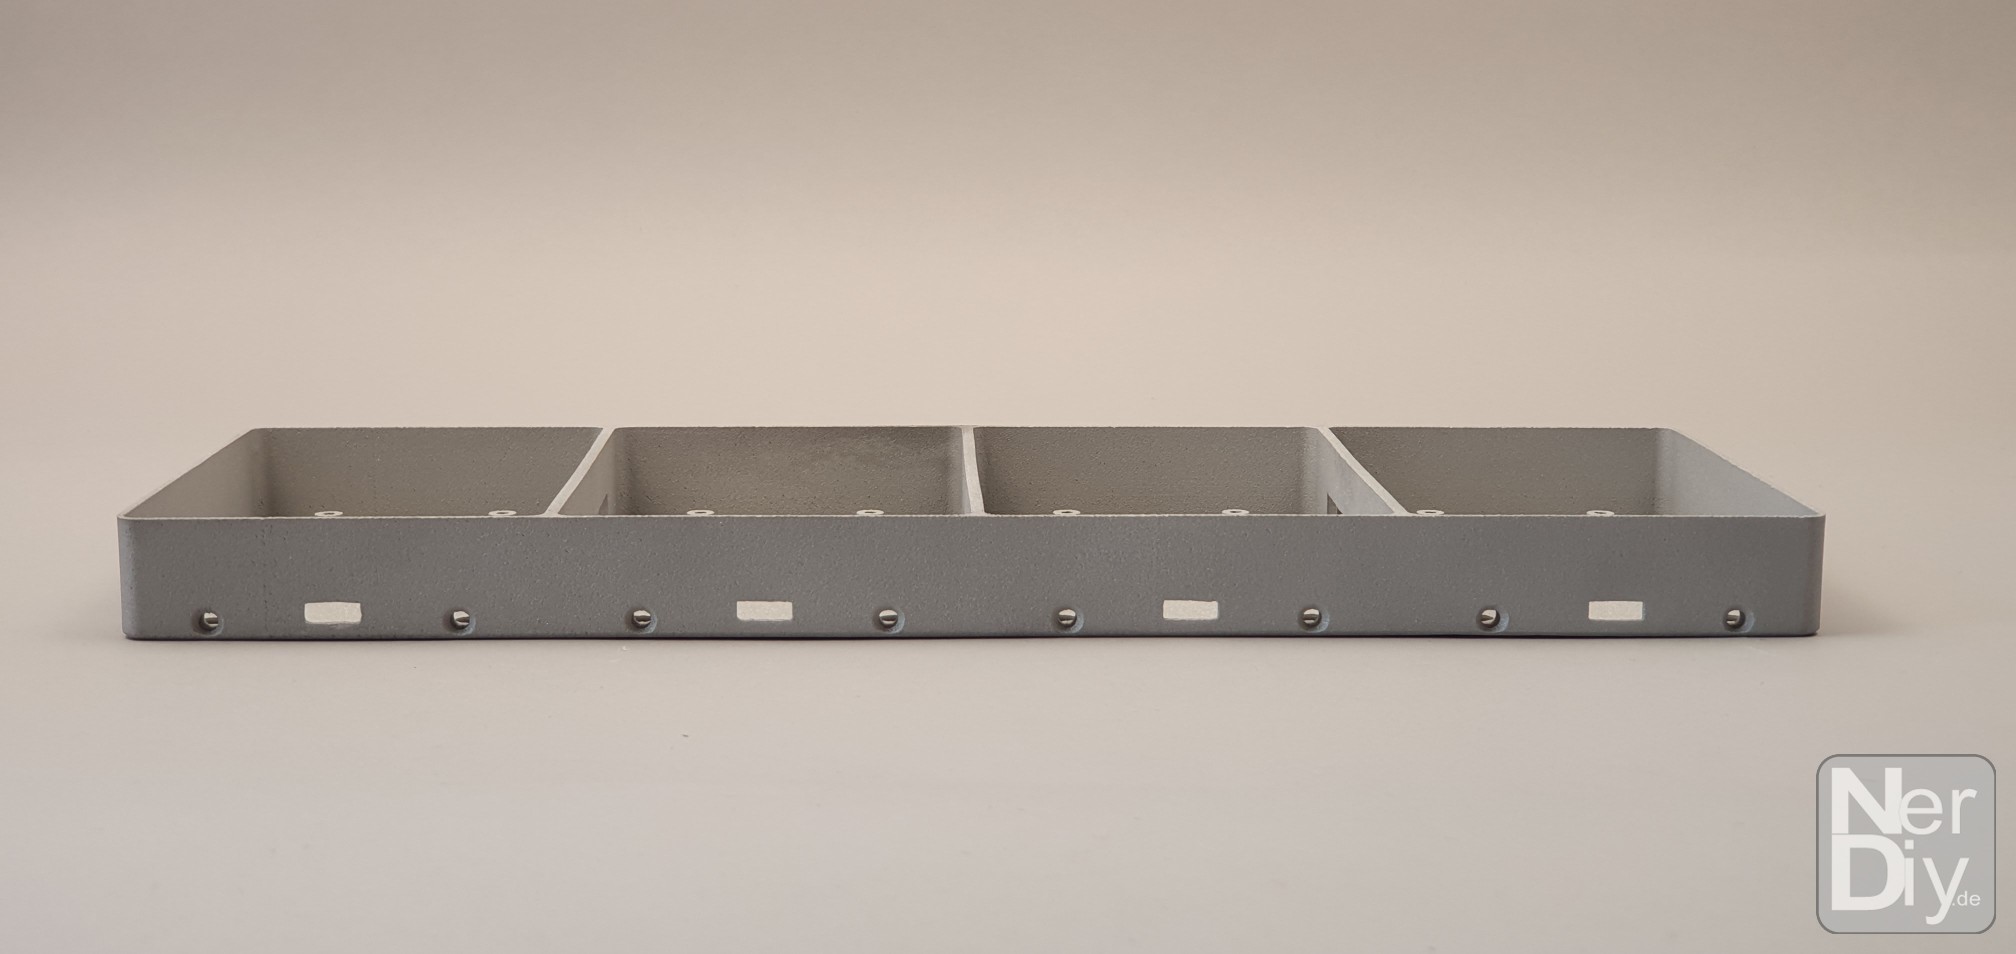
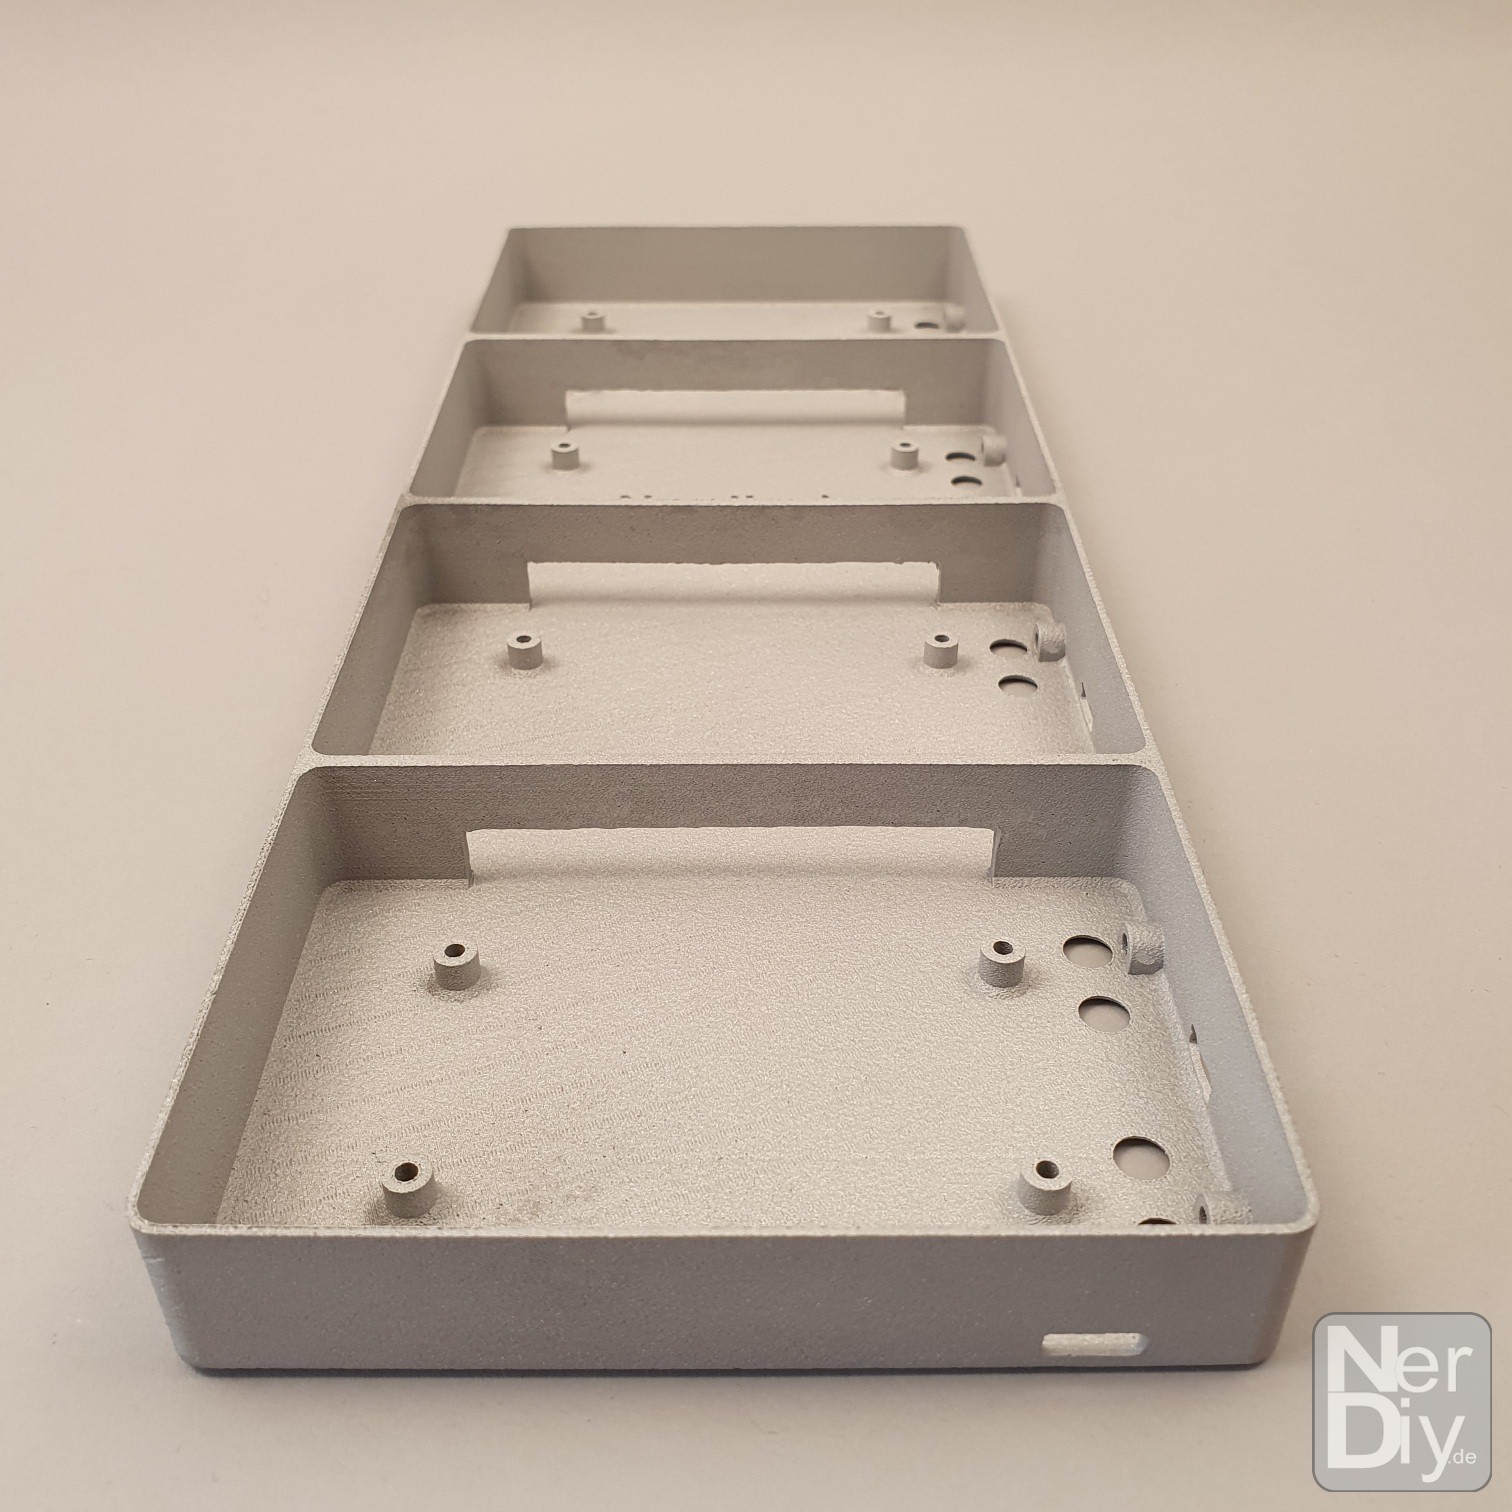
06/02/2021 at 17:05 • 0 commentsI try to keep the structure of pxlDigit_24 as modular as possible. The aim is to be able to arrange the individual digits as you like. I created different housings for this.
One of them is this case in which four digits can be arranged next to each other. Unfortunately it is a bit too wide (276mm) for standard 3D printers.
![]()
![]()
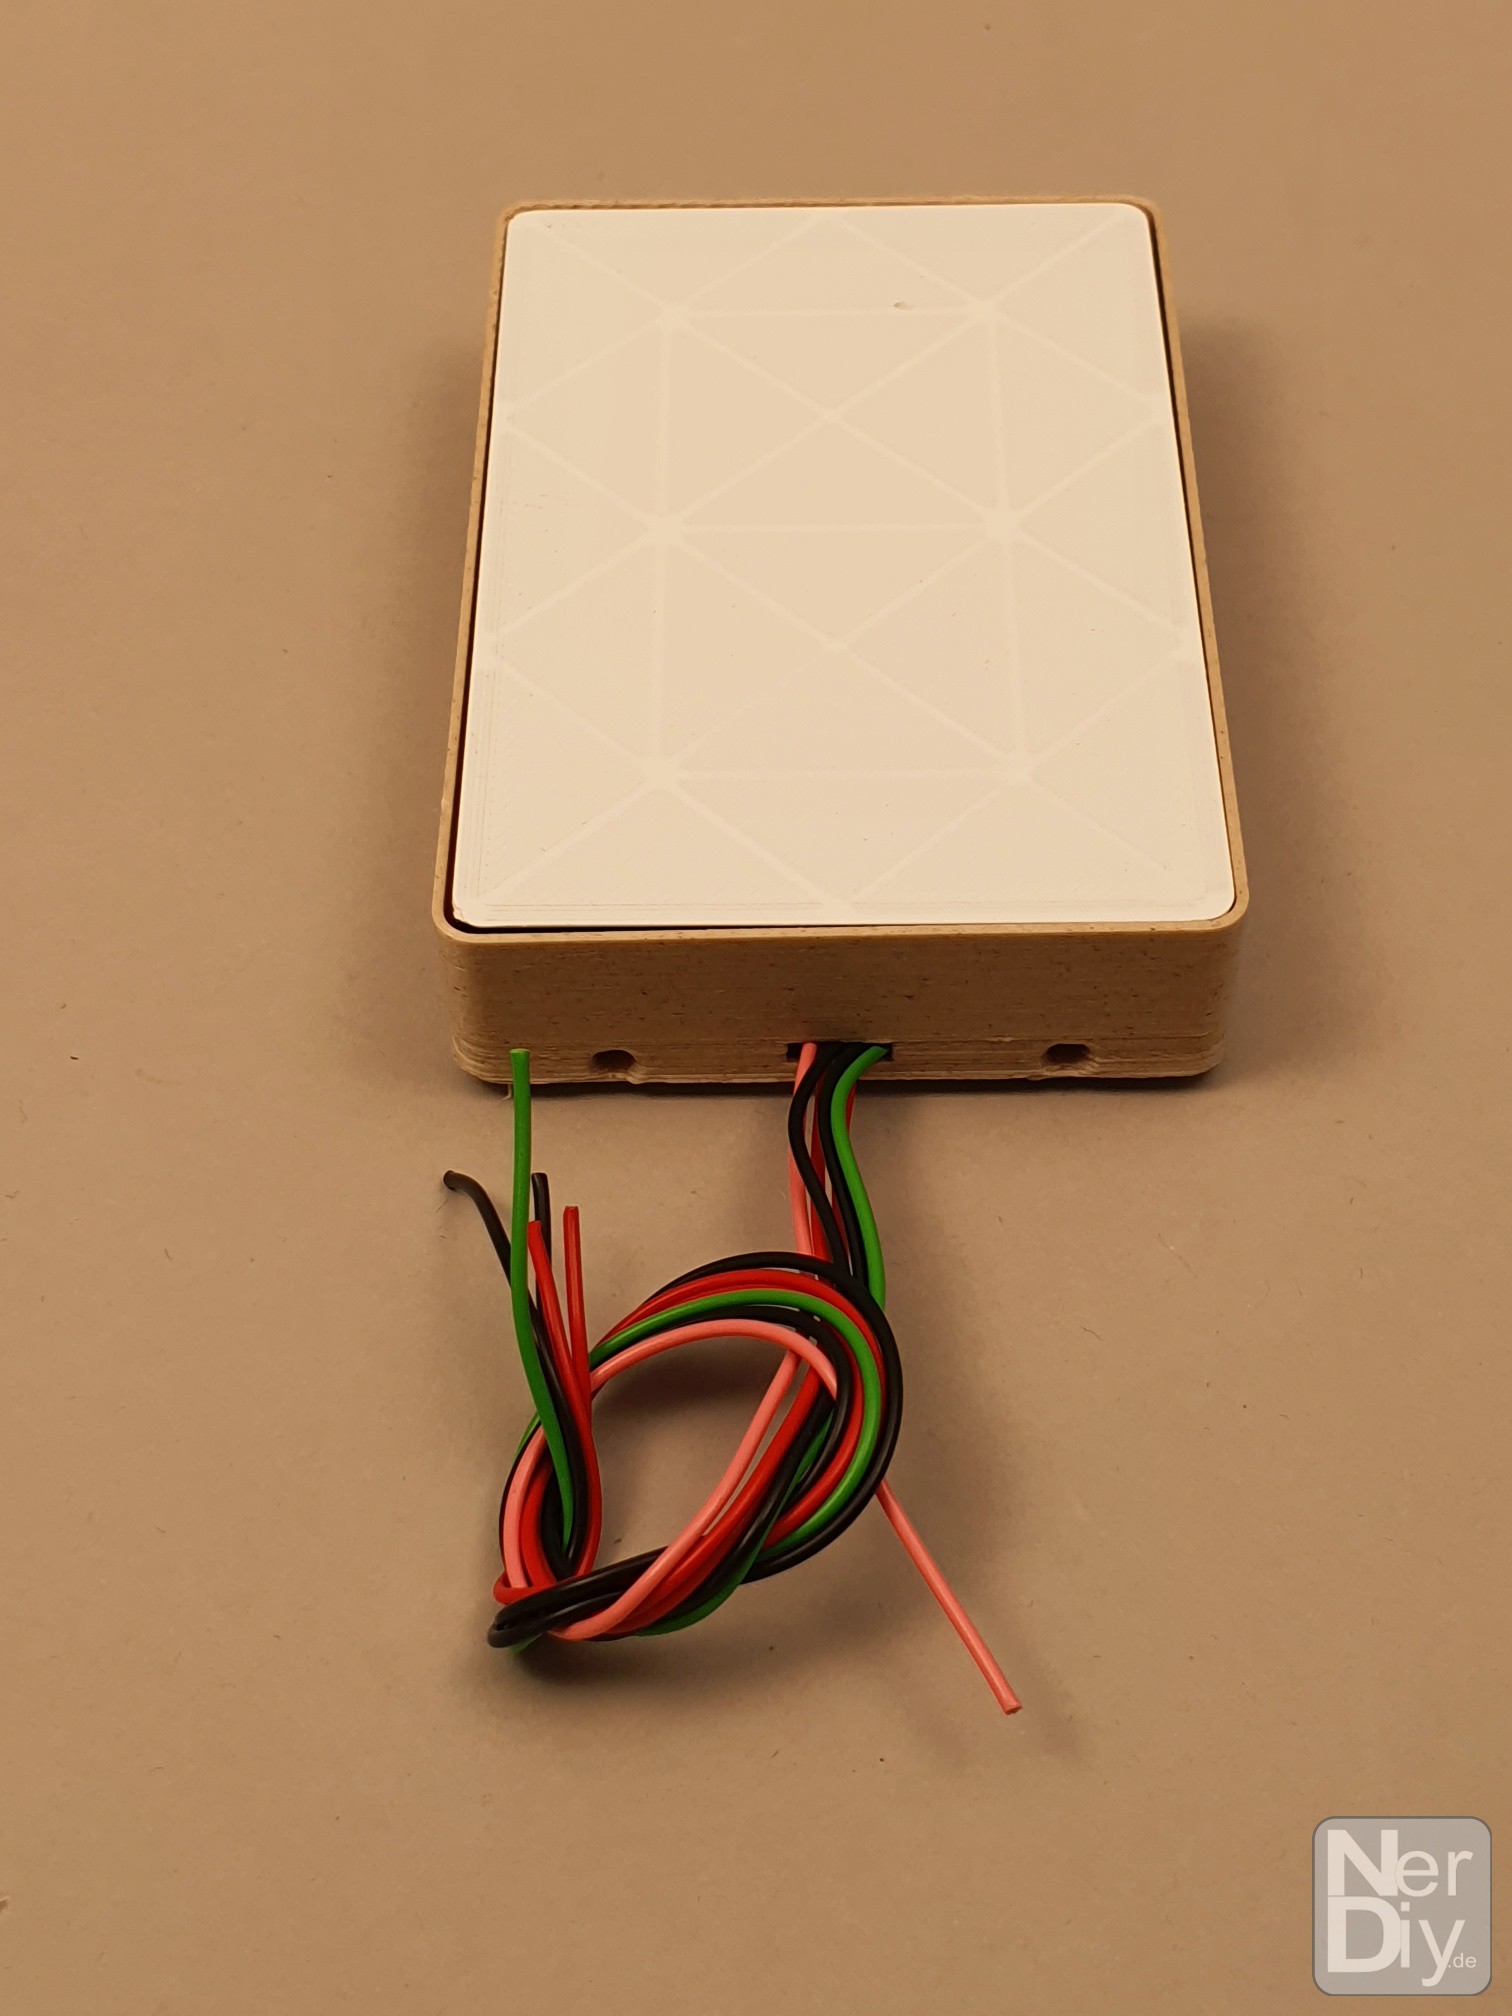
So that the housing of the pxlDigits can still be produced on a normal 3D printer, I also designed a housing for individual digits. In this way, the circuit boards including the diffuser can be installed in the individual housings and arranged as desired.
![]()
![]()
I am currently working on further cases which I will be introducing here soon. :)
pxlDigit_24 - retro style character display
A 24-segment retro style character display