** Still a work in progress, but thank you Hackaday for the article! **
A couple years back I got my hands on a T3100/20. Seemed to be in good condition; was stored in a travelling bag with the power cord, but it wasn’t able to power on. Took the thing apart and found the cause: everything was rusted and clearly had some major water damage, likely it’s been in a garage or storage unit for decades. The chassis was fine aside from some rust stains inside, so I gutted the parts and set it aside for an eventual build.
Done:
LCD is installed, along with the controller board
LCD controls mounted
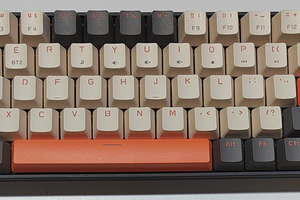
Keyboard’s hand wired up and working, installed
Screen insert/ modular secondary display designed and mounted
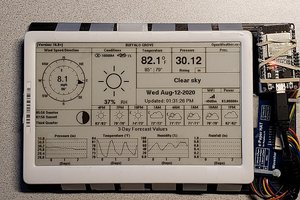
E-ink display mounted as an insert
Pi’s display setting is resized to display along the visible area only.
Quite a bit of stuff I want to keep modding, and will be documenting it in the cyberdeck cafe community’s discord and may stream the process on twitch. Thank you Hackaday for inspiring me to work on this project!
All the mounts and covers I’ve designed in Fusion 360 aside from one (the rpi case), 3d printed in PETG. I didn’t have much CAD design knowledge going in, but picked it up quick enough.
When I started the project, I wanted to maintain the laptop’s original color and chassis without modding it. The biggest concerns for that would be finding similar keycaps and making the screen emulate the original plasma display’s reddish tint. After getting the keyboard done I realized how much fun it’d be to mod it.
The keyboard was interesting, I’ve never handwired a keyboard before and didn’t realize how messy it can get so fast. I’d definitely want to redo it, eventually. The biggest issue was the space I could work with, and my lack of understanding of layouts (at the time) that might make the best use for the space available. I laser cut a skeet in a similar layout as the previous PCB, taking care to get the spacing correct for the top row’s separating bar. For the wiring I mostly followed Brownfox’s guide here: https://deskthority.net/viewtopic.php?t=6050 although the firmware I largely built on my own thanks to QMK’s documentation and community. I made a small mount for the teensy so it could be easily removed and stuck it to the underside of the case.
After the keyboard was done, I started on the display. There was a ton of space after removing the plasma display and plenty of room to drum up ideas for. Really, there’s a ton of space in the whole thing. I thought it’d be fun to insert an e-ink display that I had left over from a different project to display daily data from (todo list, weather, etc.), or just as an interesting logo/ system display. While brainstorming the use of the display I made a big error: the monitor, when centered by the mounts, overlaps with the area I laser cut for the display.
Now I had to think of something else, at least to keep the e-ink display off the lcd screen by lifting it up enough to not scratch while still not sticking out far enough for the 3mm standoff on the monitor shell to rest on the display/cause it to be lopsided. Looking through other components/displays that would fit in the remaining area, I had a few parts that could work, but really had a hard time deciding on a single component that I was happy with. Even concerning the e-ink display, I was thinking of swapping for a standard B/W one for how much faster it can refresh. Once the monitor was assembled, I didn’t think I would want to constantly take it apart (and break the old plastic clips off) just to swap out secondary displays.
Took a short break from the project because of the mistake, but decided that if I can’t decide on which display to use I could make it modular. I designed an insert that filled the remaining space and acted as a support and shield for the LCD panel and an insert that could be edited for different displays and their controllers. A USB cable could extend from the...
Read more » Valrum


 ogdento
 Gregory Sanders
This is a nice build! +1 on the cool e-ink sidecar screen. I am thinking of doing a similar rebuild with an old (dead) Powerbook 190 I just acquired. I love the retro look - but I would like to actually _use_ these machines for more than deco.