You can find the assembly Instruction and more details on my Instructables page
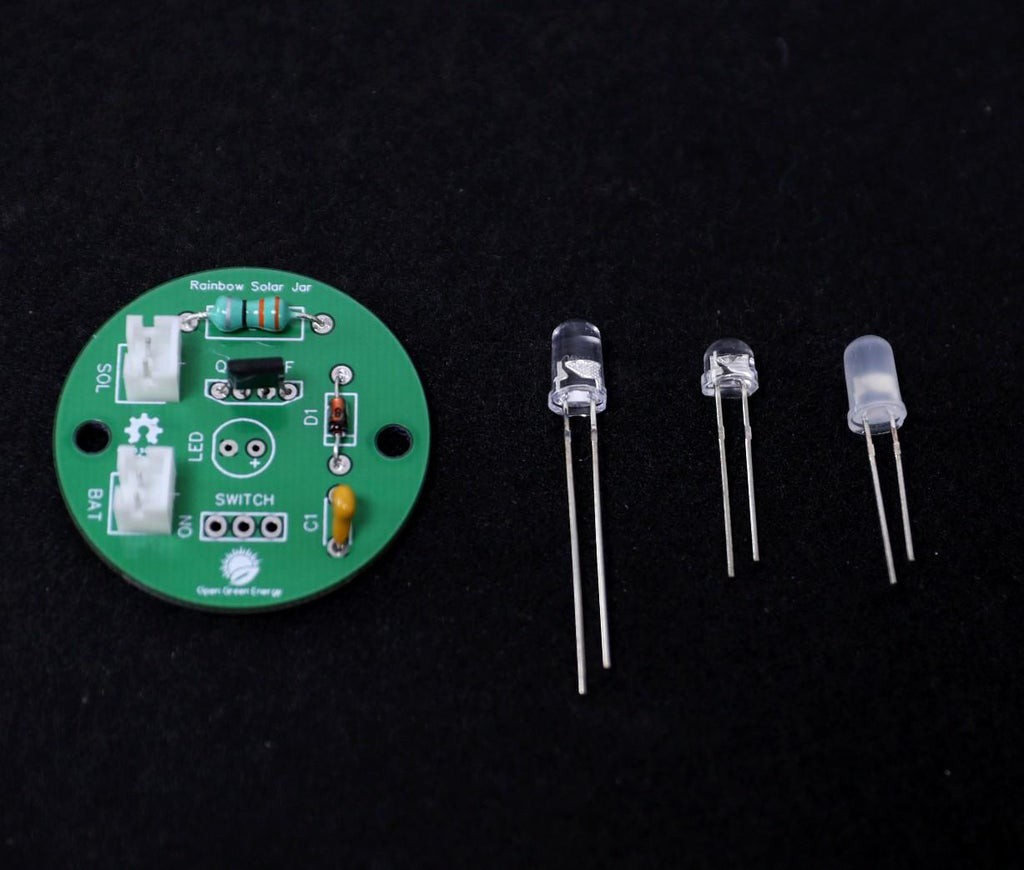
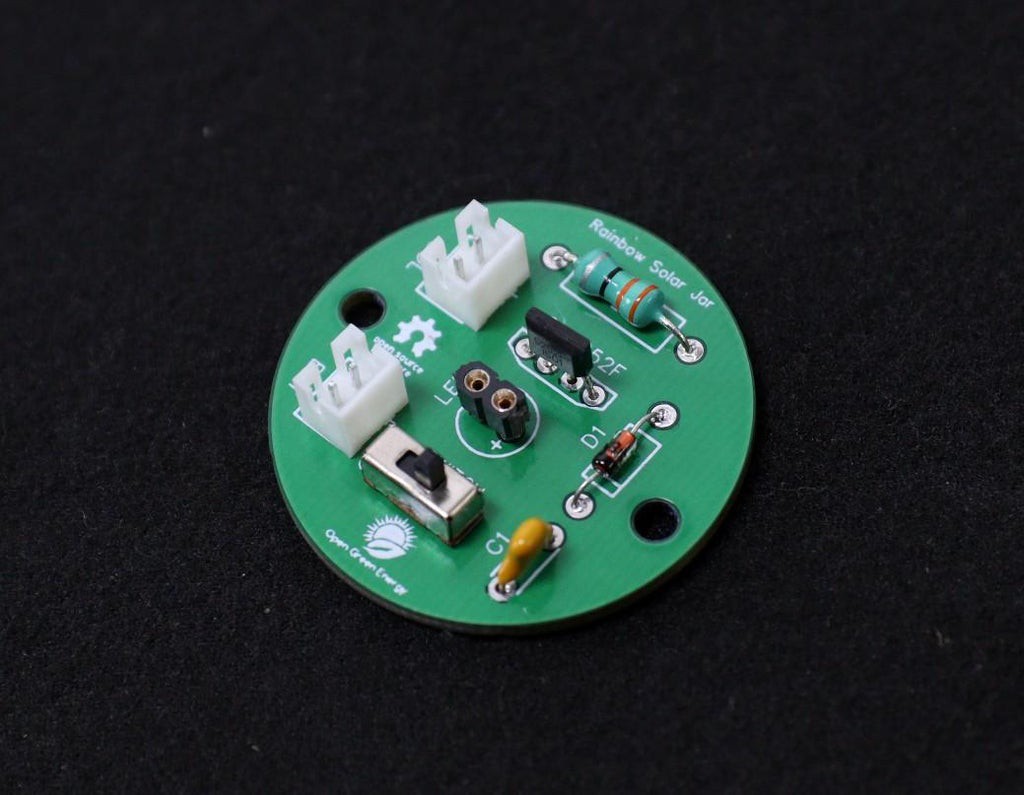
We can solder a 5mm LED onto the PCB directly. But to test a different kind of LED, here I have soldered a two-pin female header. By using this, I can easily swap between different kinds of LEDs one by another.
In the next few steps, I will test with the following LEDs:
1. Strawhat LED
2. Colour Changing RGB LED
3. Candle Flickering LED
4. Fairy String Light
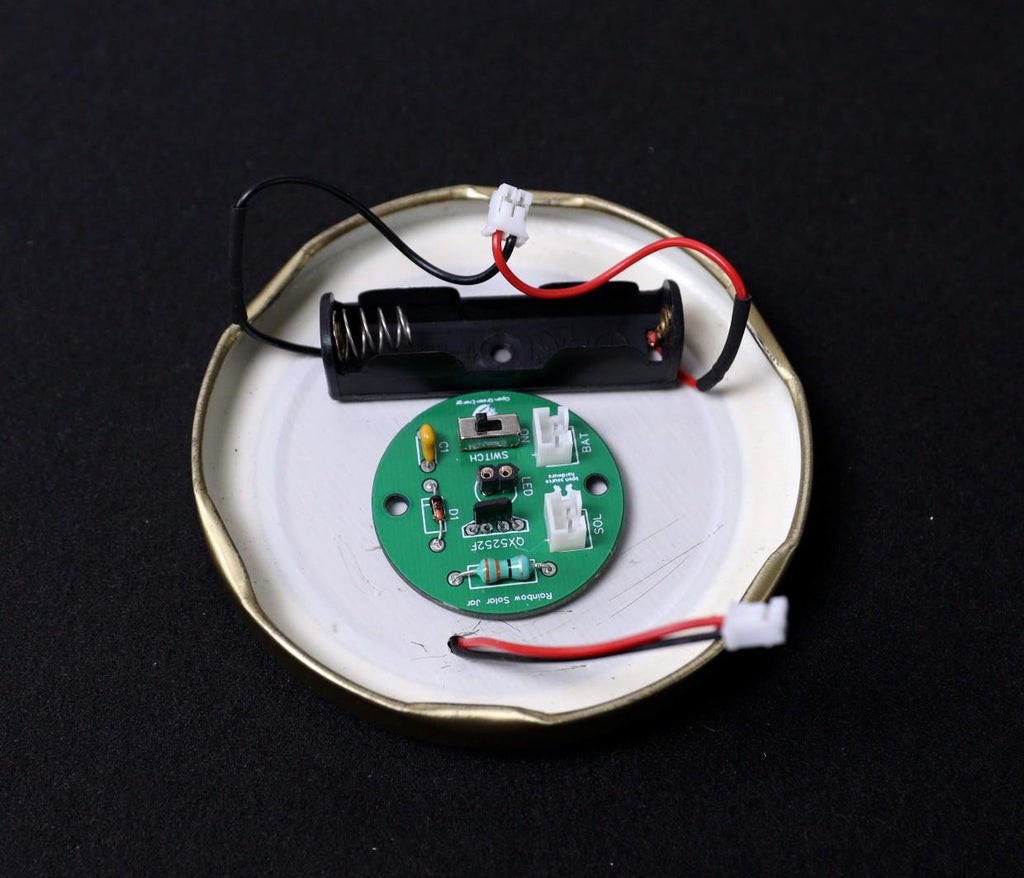
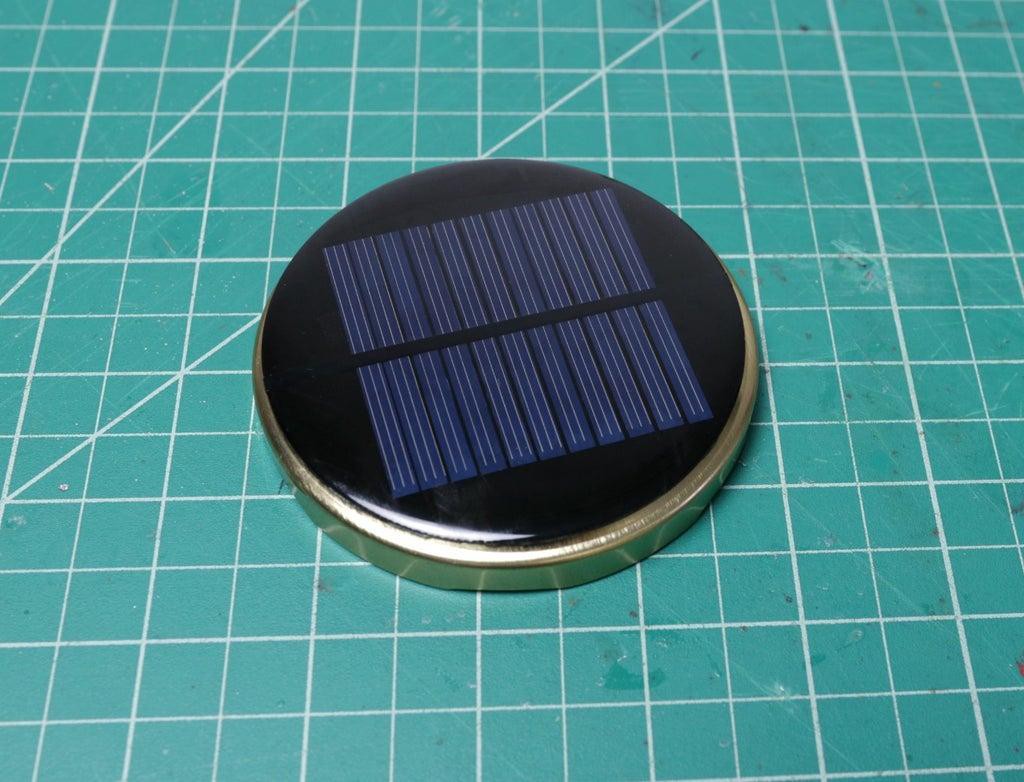
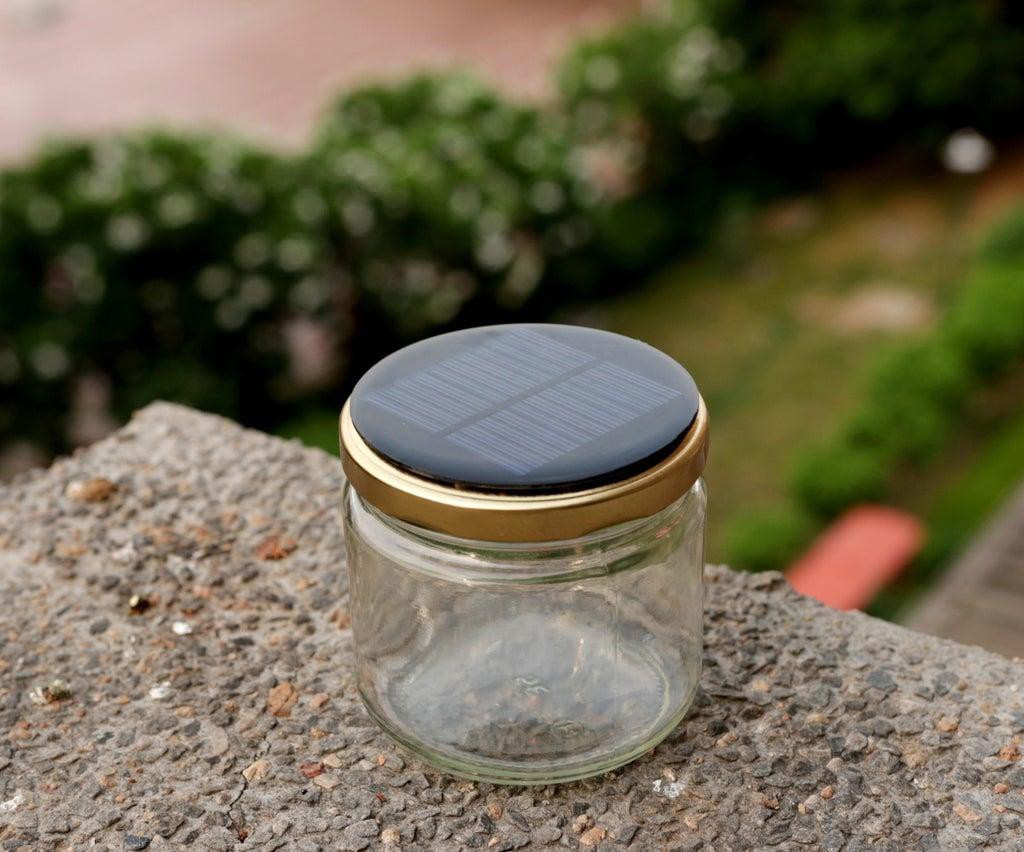
Now slide the solar lamp switch to ON position and then place the Jar in the bright sunlight.
The solar cell will charge the battery.
1. Strawhat LED :
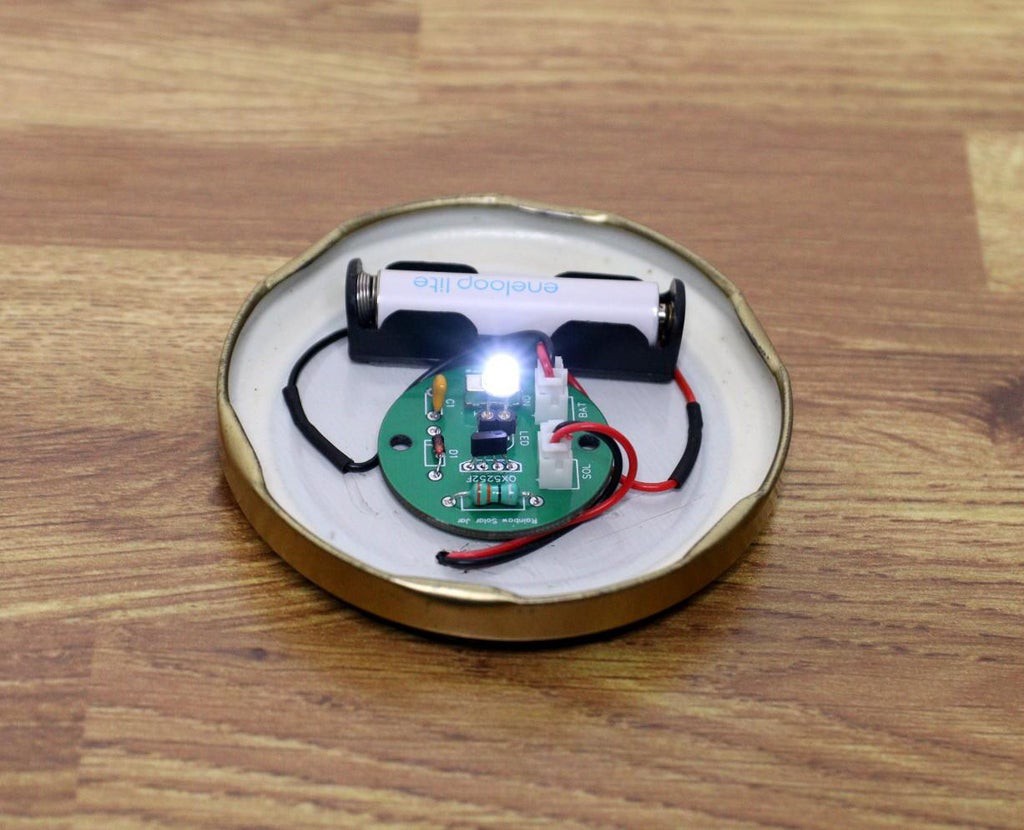
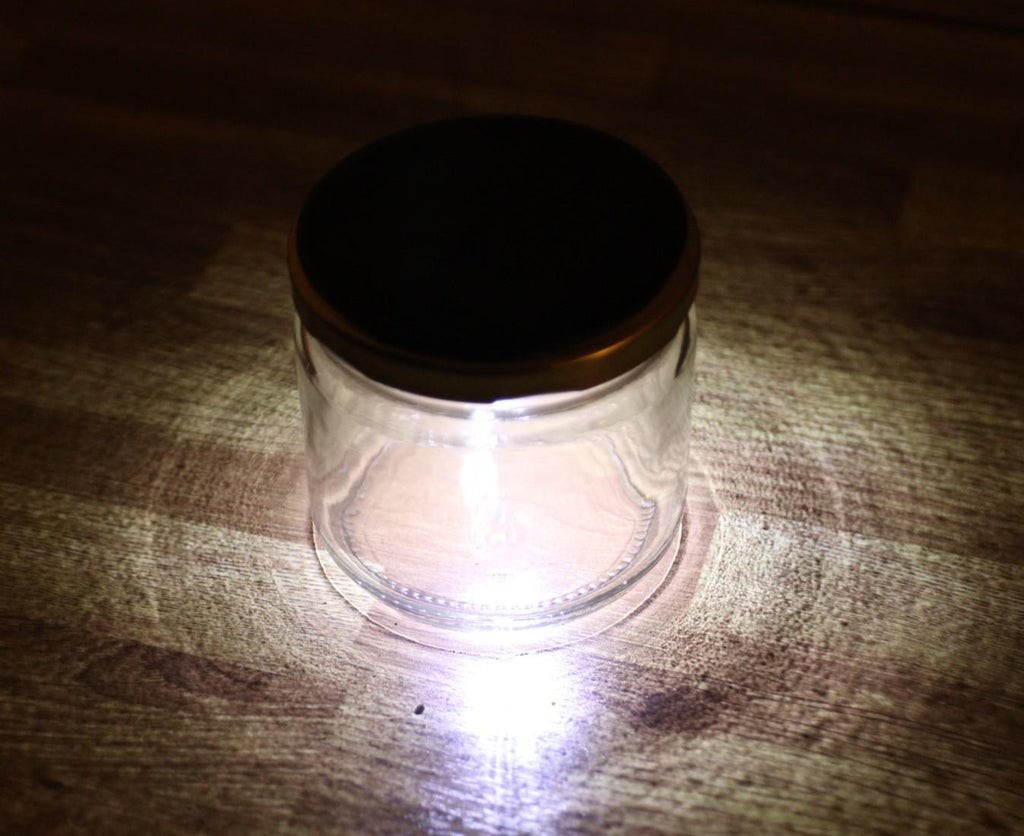
For a quick test, insert the LED into the female header.
Then slide the solar light switch to the ON position and cover the solar cell with your hand. The light should be turned ON.
Here I have used the 5mm Strawhat LED. The output of the lamp resembles a flashlight.
2. Colour Changing RGB LED:
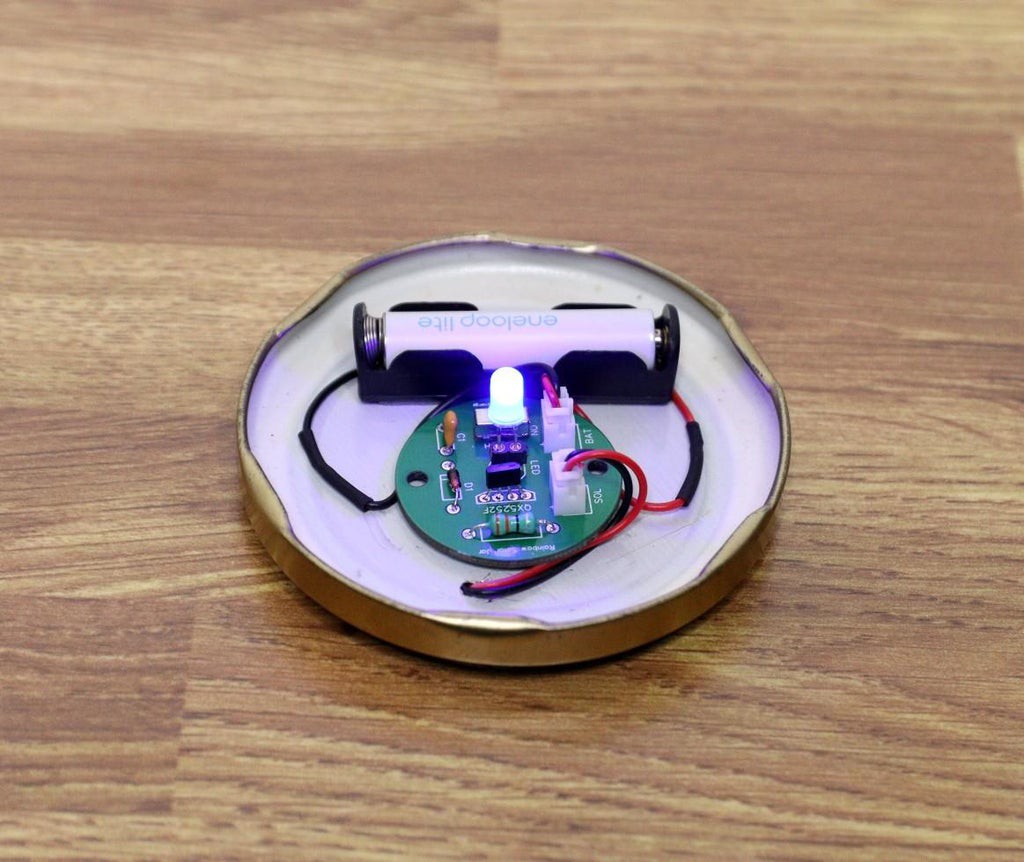
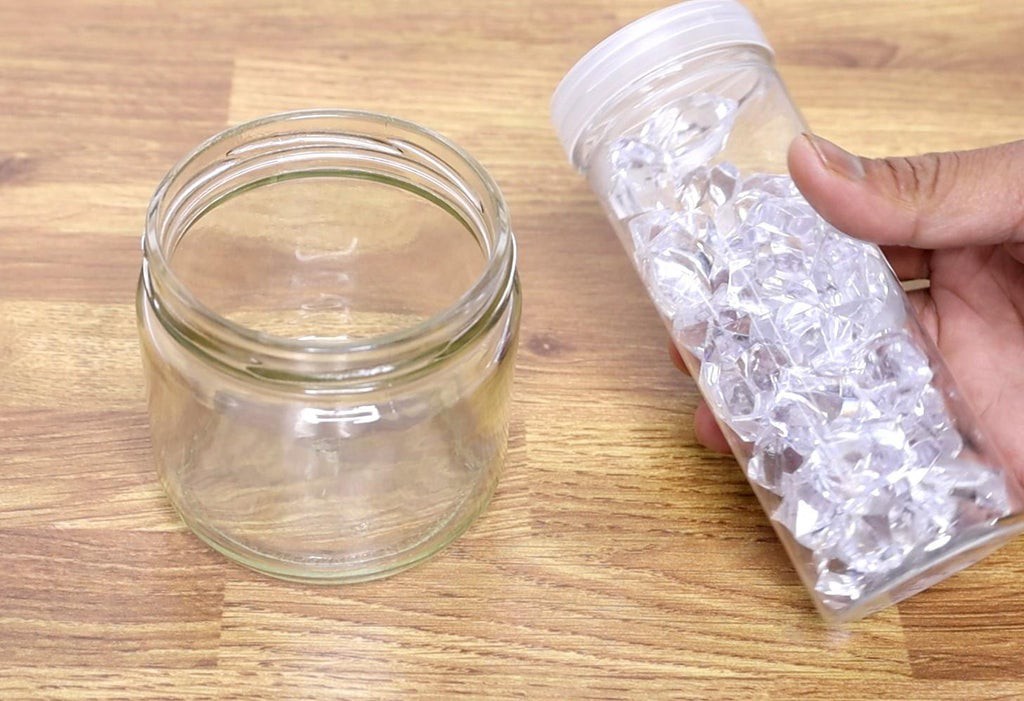
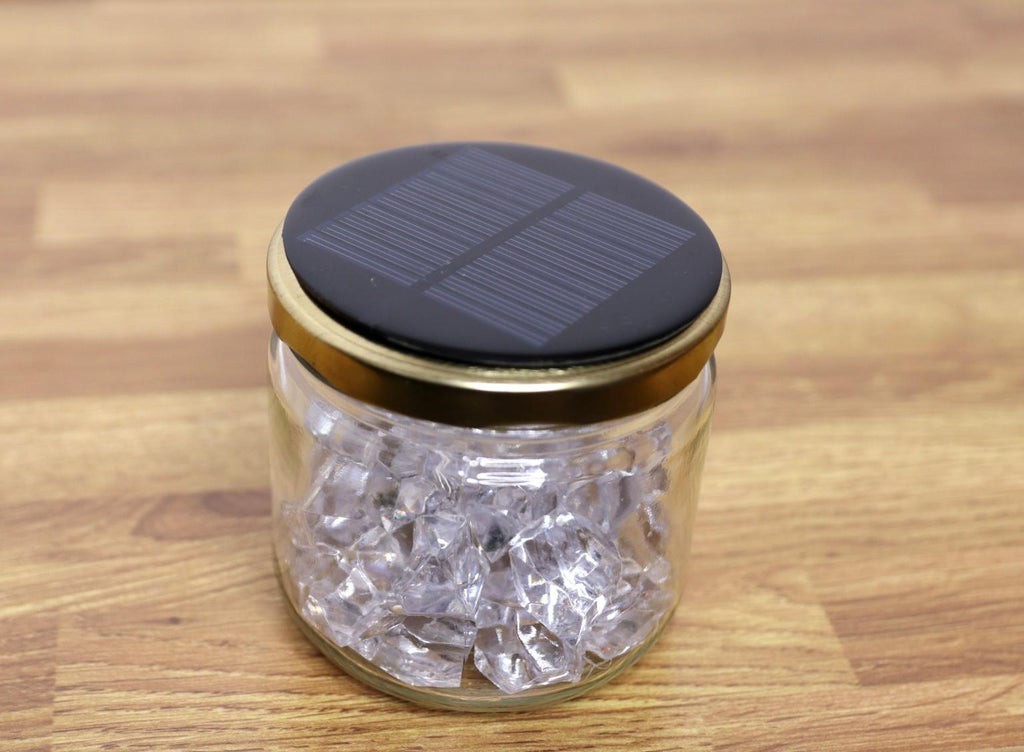
You can use your creativity to produce various attractive effects on the lamp.
I have filled the jar with acrylic pebbles to get the glittering effect.
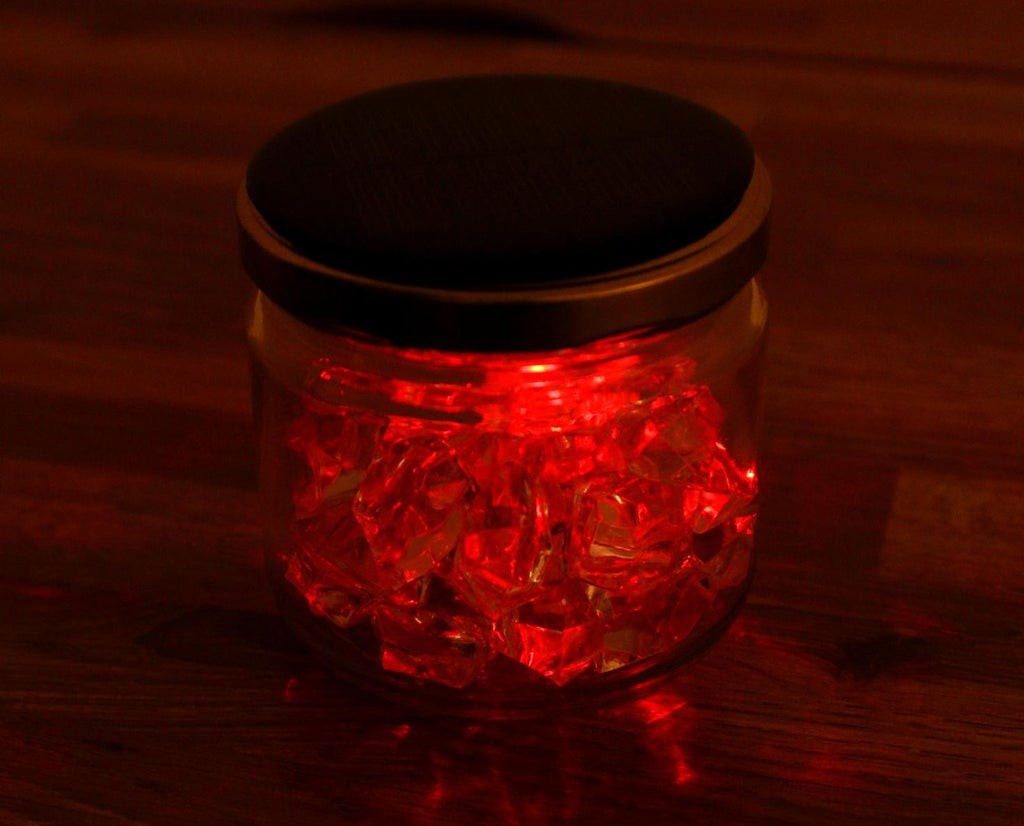
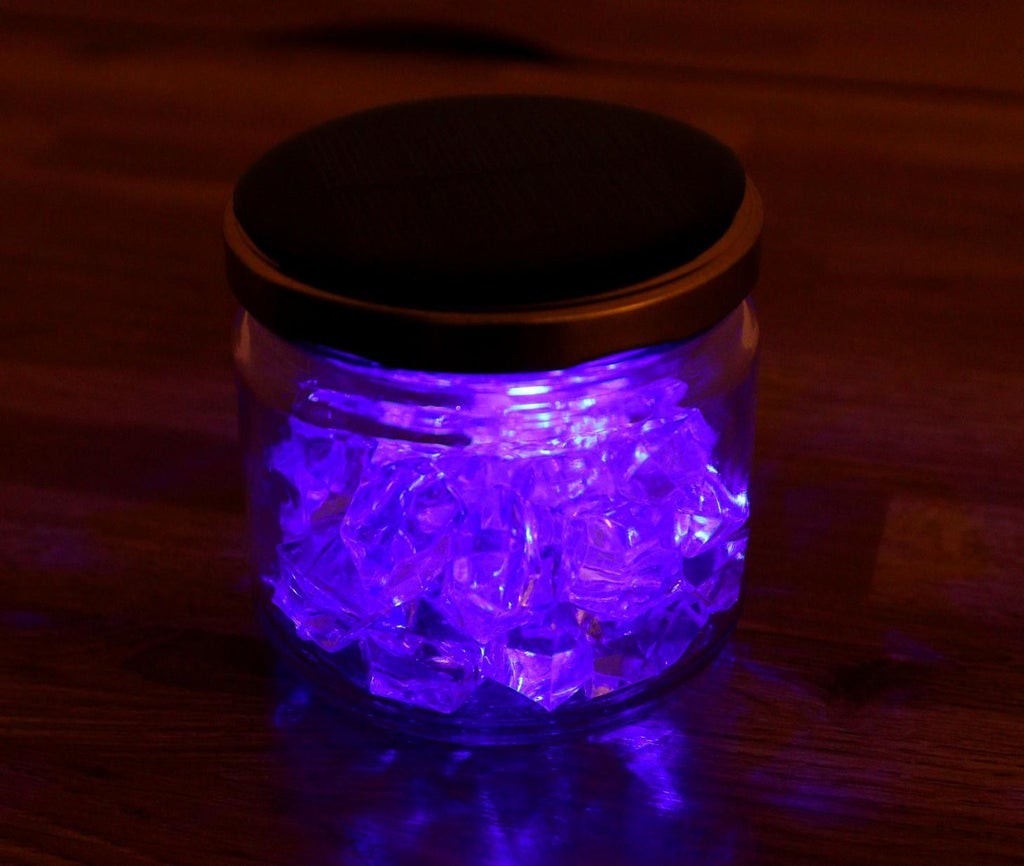
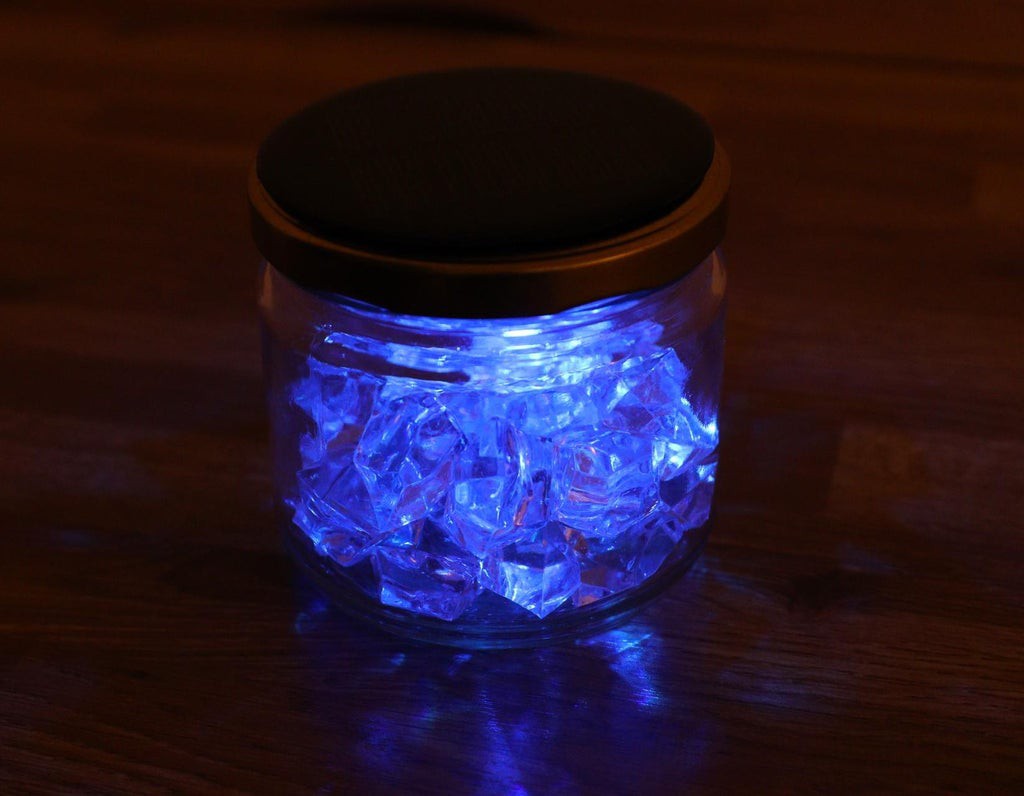
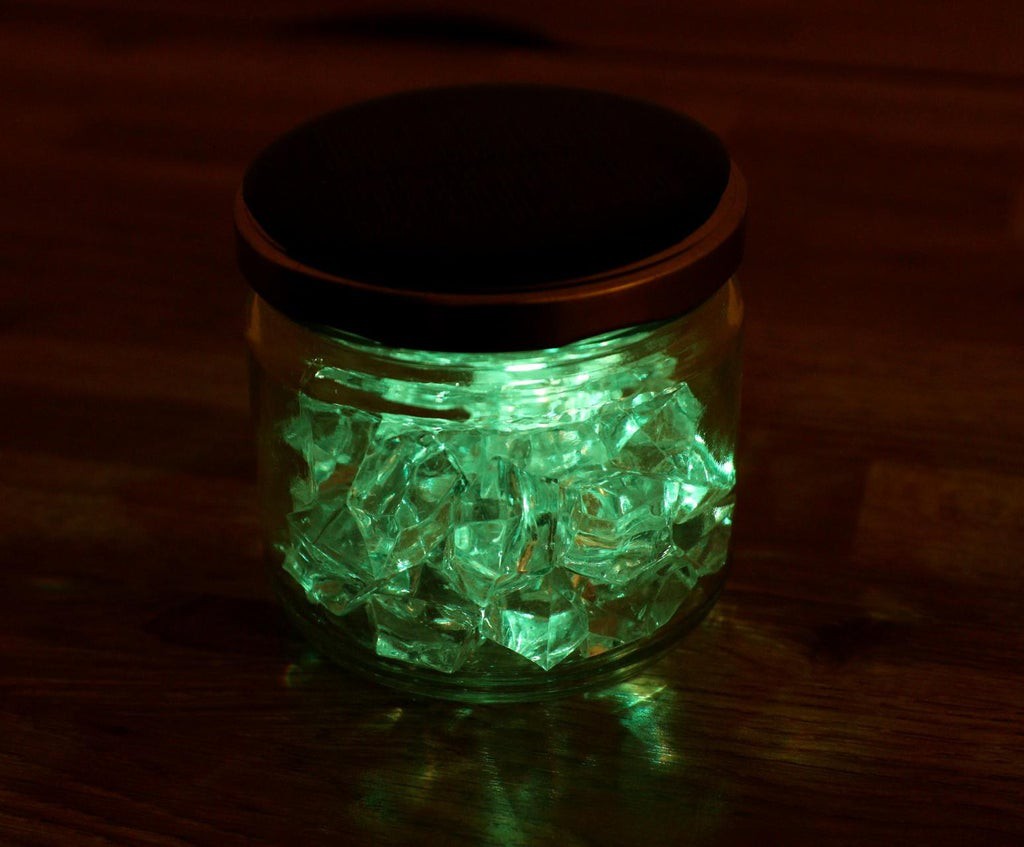
Here I have a two-pin RGB LED. Insert the LED into the female header.
Then close the glass jar lid and enjoy the slow and fast color-changing rainbow effect.
The acrylic pebble scattered the light in different directions which looks very attractive.
3. Candle Flickering LED:
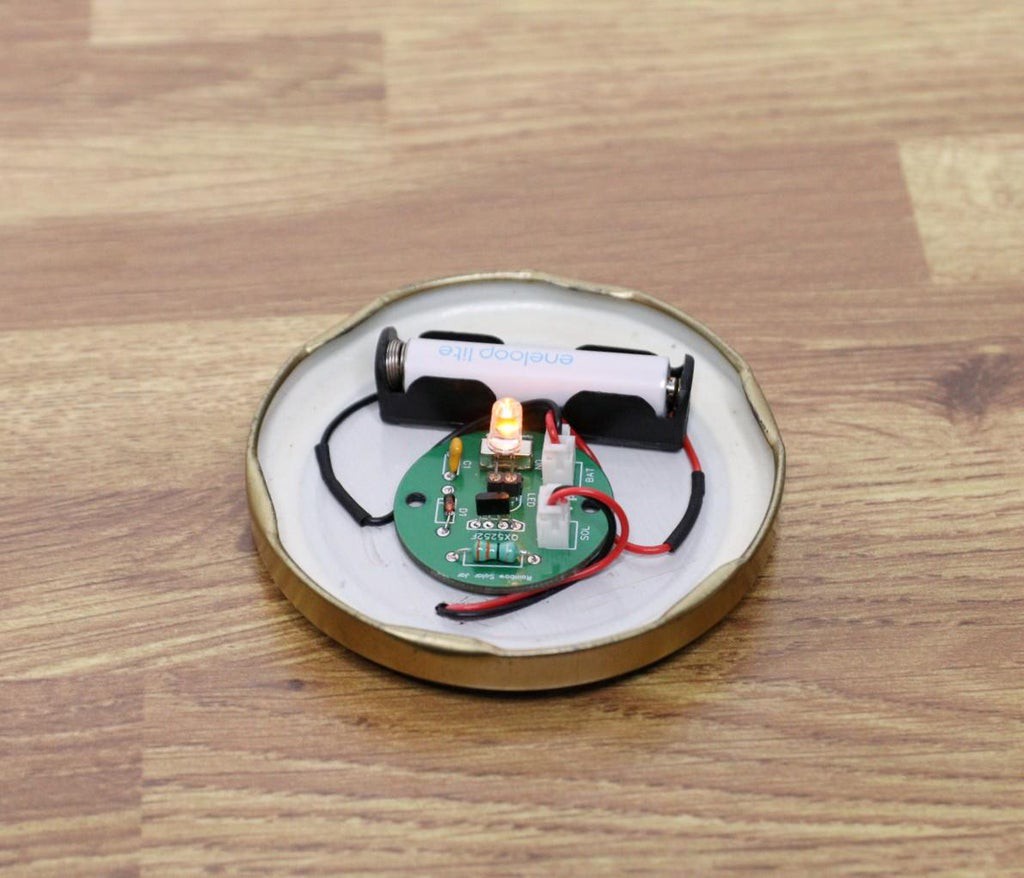
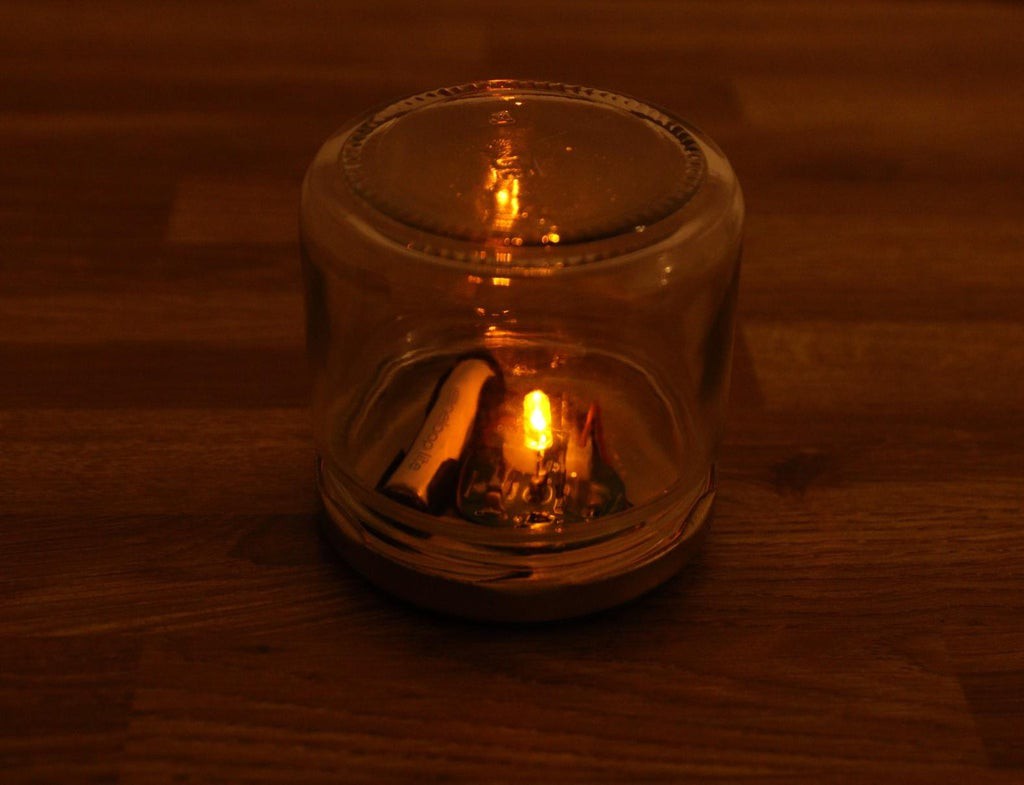
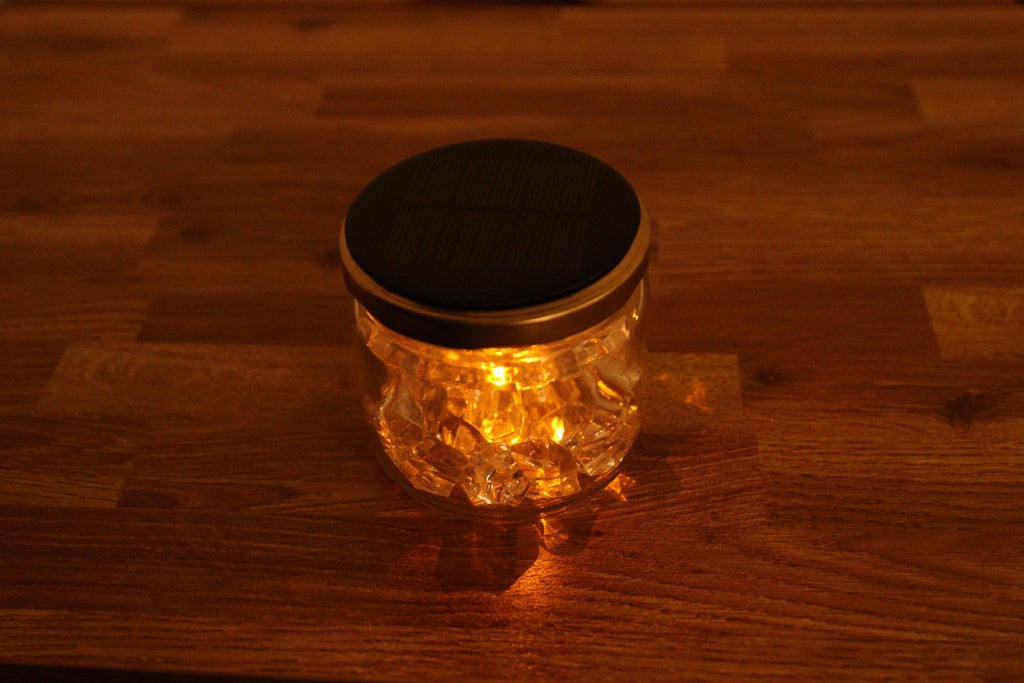
Insert a candle flickering LED into the female header in the PCB.
Close the lid, and see the flickering effect.
Then I have added the acrylic pebbles, to get the more attractive light effect.
4. Fairy String Light :
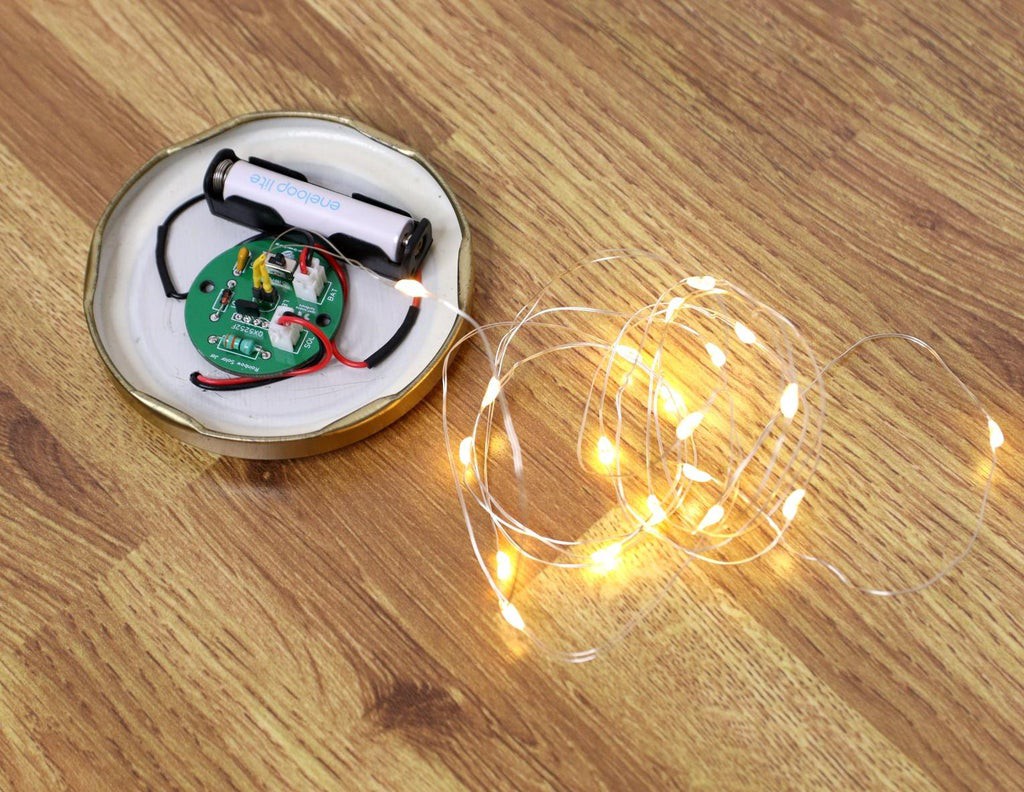
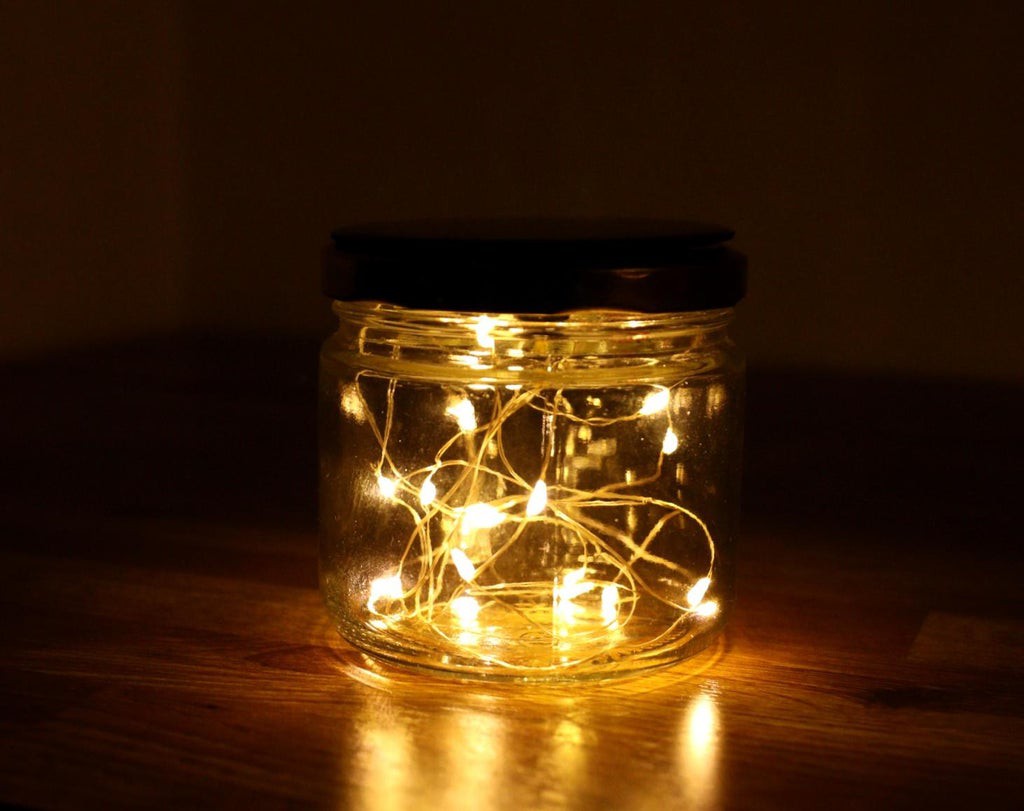
Initially, I was not sure, whether the PCB will support a fairy string light or not. But when I tested it, I was really amazed that it works with charm. But I will recommend you not use too long a string, because it may exceed the current handling capability of the IC QX5252F.
First I cut the fairy string light from the battery box. Then stripped out the insulation from the terminal wires.
Then insert it into the female header to connect the LED. Place the string light inside the Jar and it's done.
You can make a few similar jars and place them in your garden or lawn. Now enjoy your new solar jar.
 Open Green Energy
Discussions
Become a Hackaday.io Member
Create an account to leave a comment. Already have an account? Log In.