-
1Battery Placement
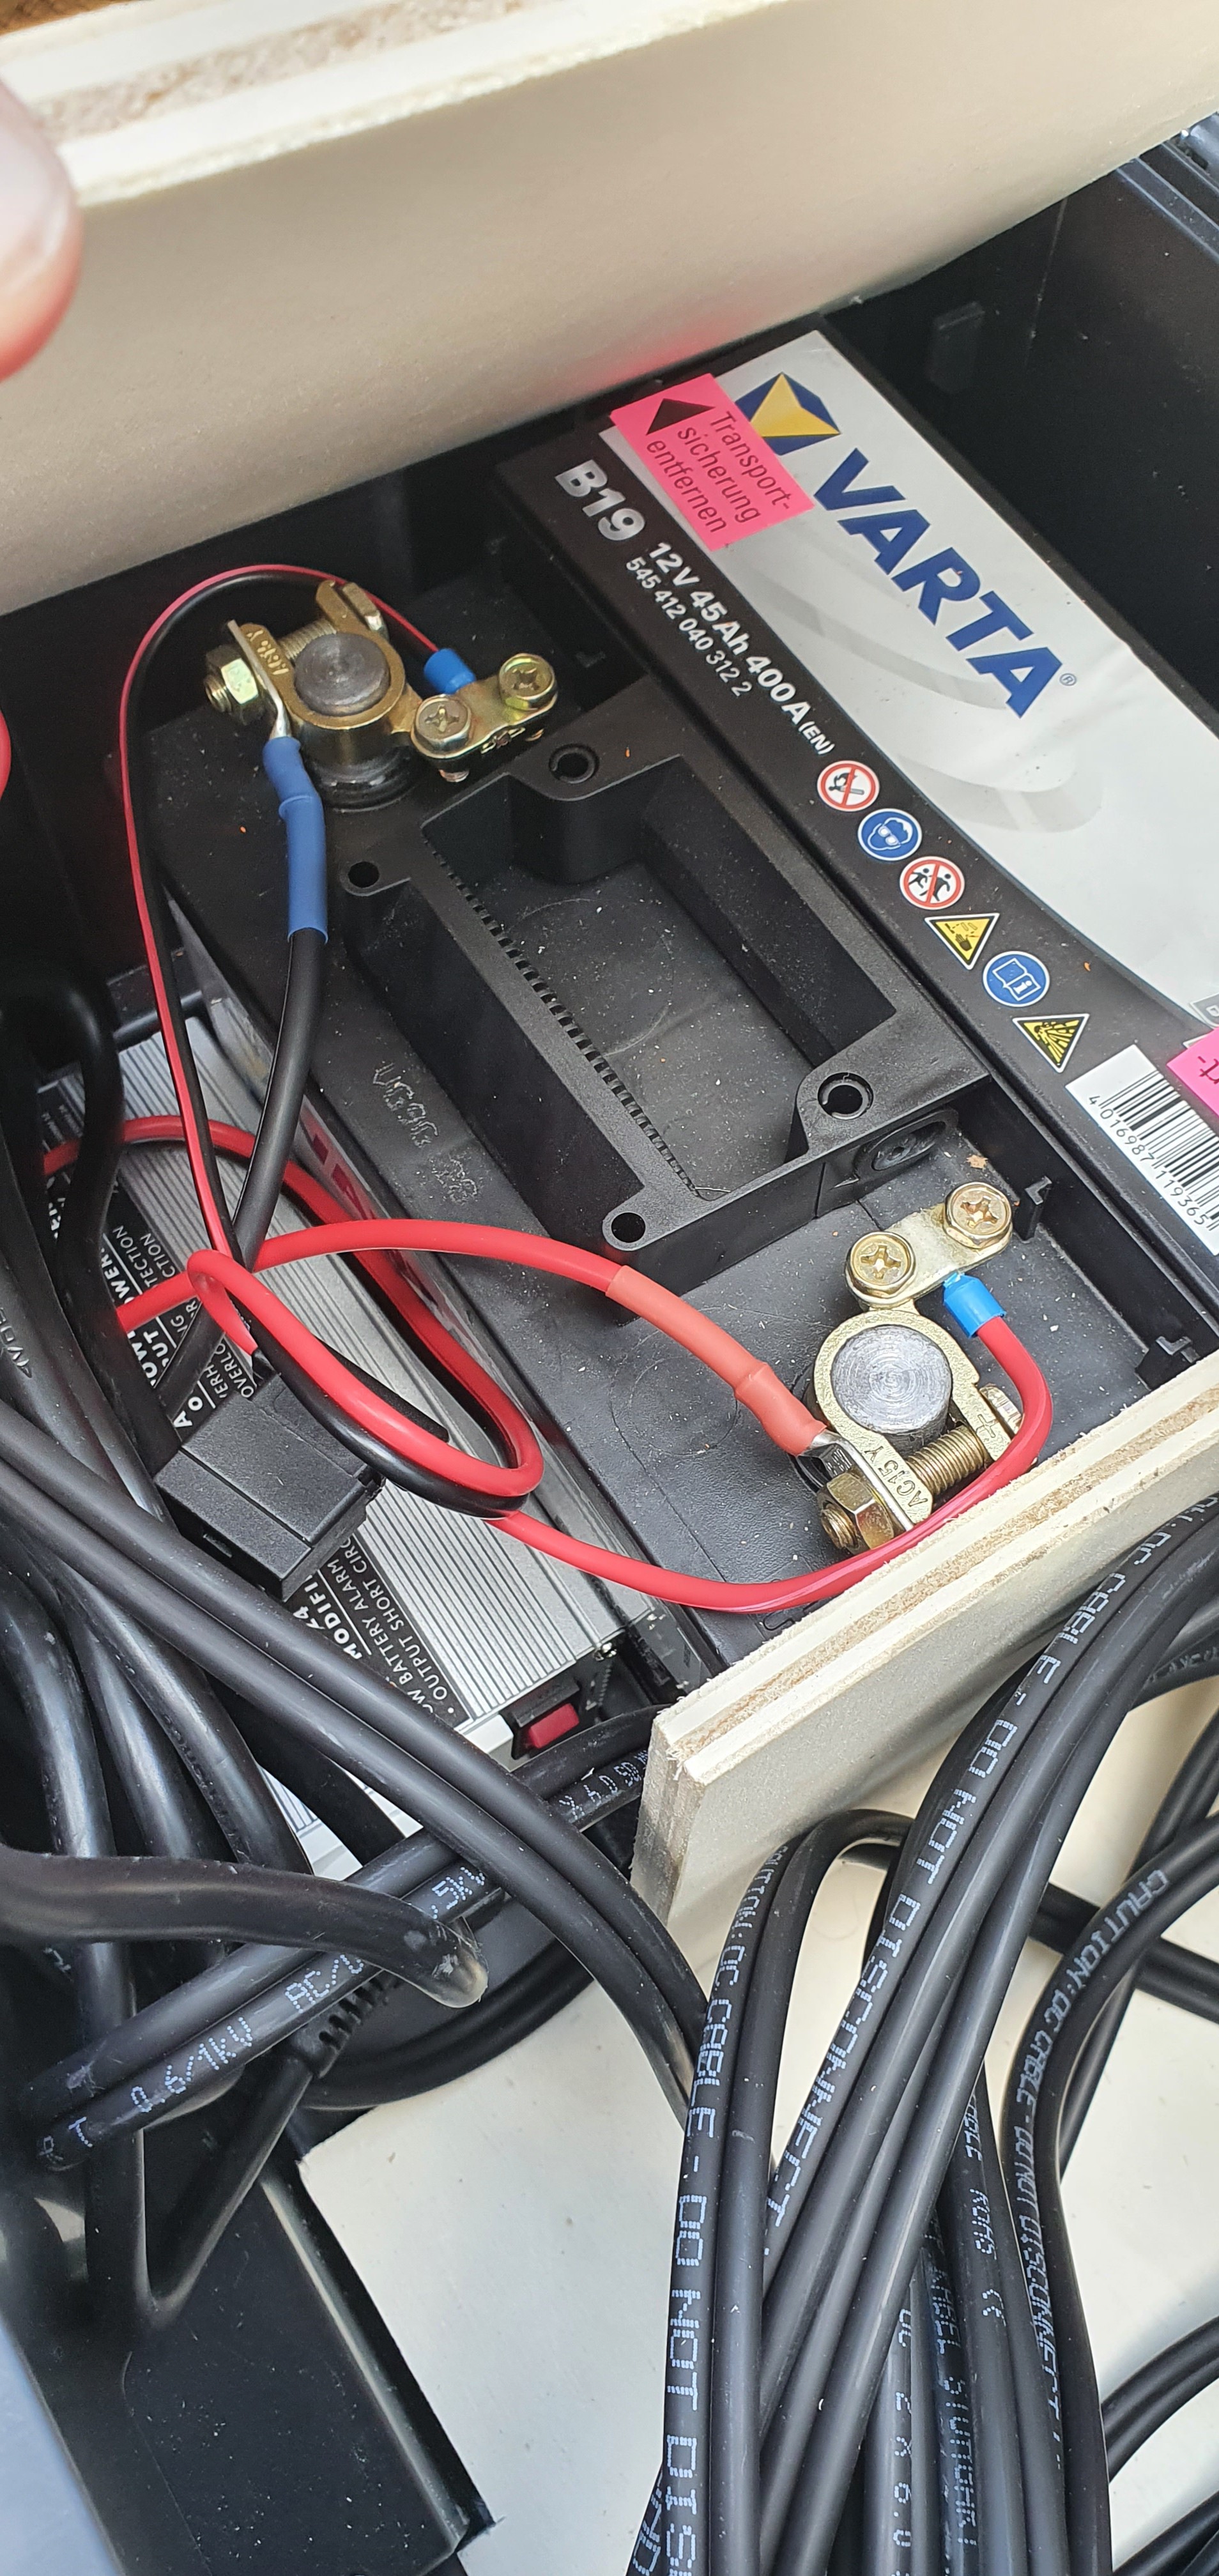
In order to prevent the battery from slipping, a precisely fitting base plate was cut from chipboard. This has a recess for the battery so that it can no longer slip. Of course, this has to be cut to fit the user's box (if you use another one then me).
![]()
-
2Connect PV and Battery
The next step was to connect the electricity. All cables were already included in the PV set I used. When using your own cables, please ensure that the cable cross-sections (10 mm) and fuses are suitable (maximum 15 cm away from the battery). I connected the cable to the solar panel first. Plus to plus, minus to minus. Since high currents flow, please tighten them firmly. I have not yet connected the solar panel (this has special quick adapters). Next I connected the battery. A 20A fuse must be installed in the positive cable (included in the PV set). Again, plus to plus, minus to minus. This fuse should not be plugged in! There is a danger of a short circuit.
![]()
-
3Adding the Solar inverer
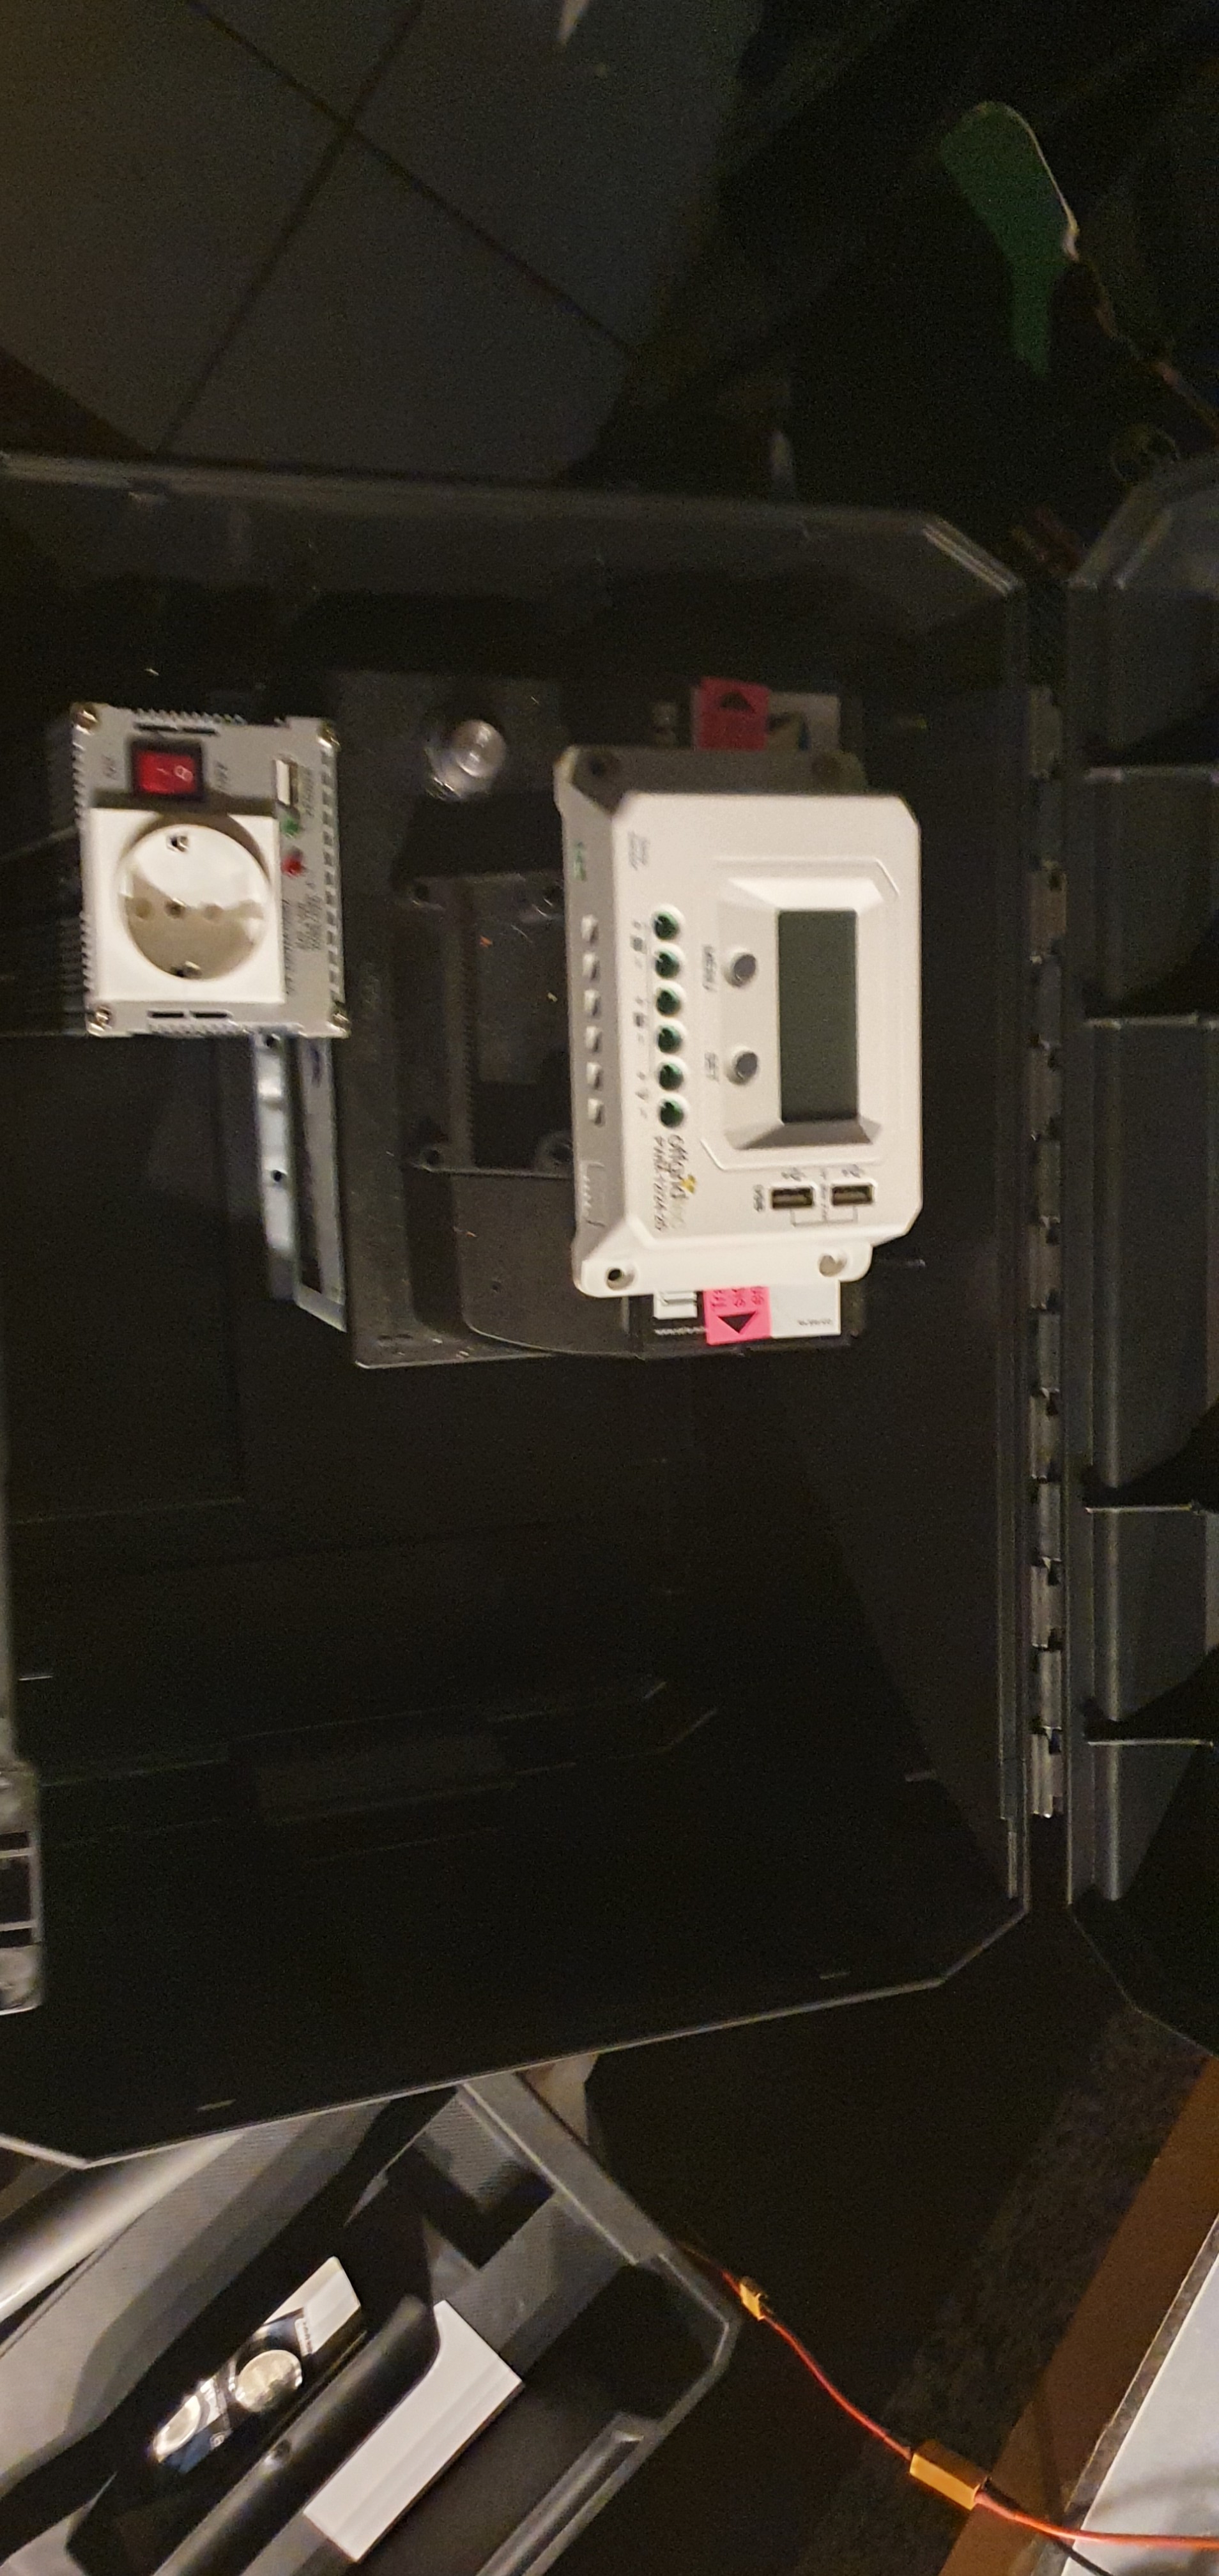
The230V invertermust not be connected directly to the solar inverter. The 230V inverter must be connected directly to the battery. My inverter came with 2 cables that could not be connected directly. I shortened them, re-crimped them and then connected them directly to the battery. A fuse was also installed directly in the positive cable of the battery.
-
412V car socket
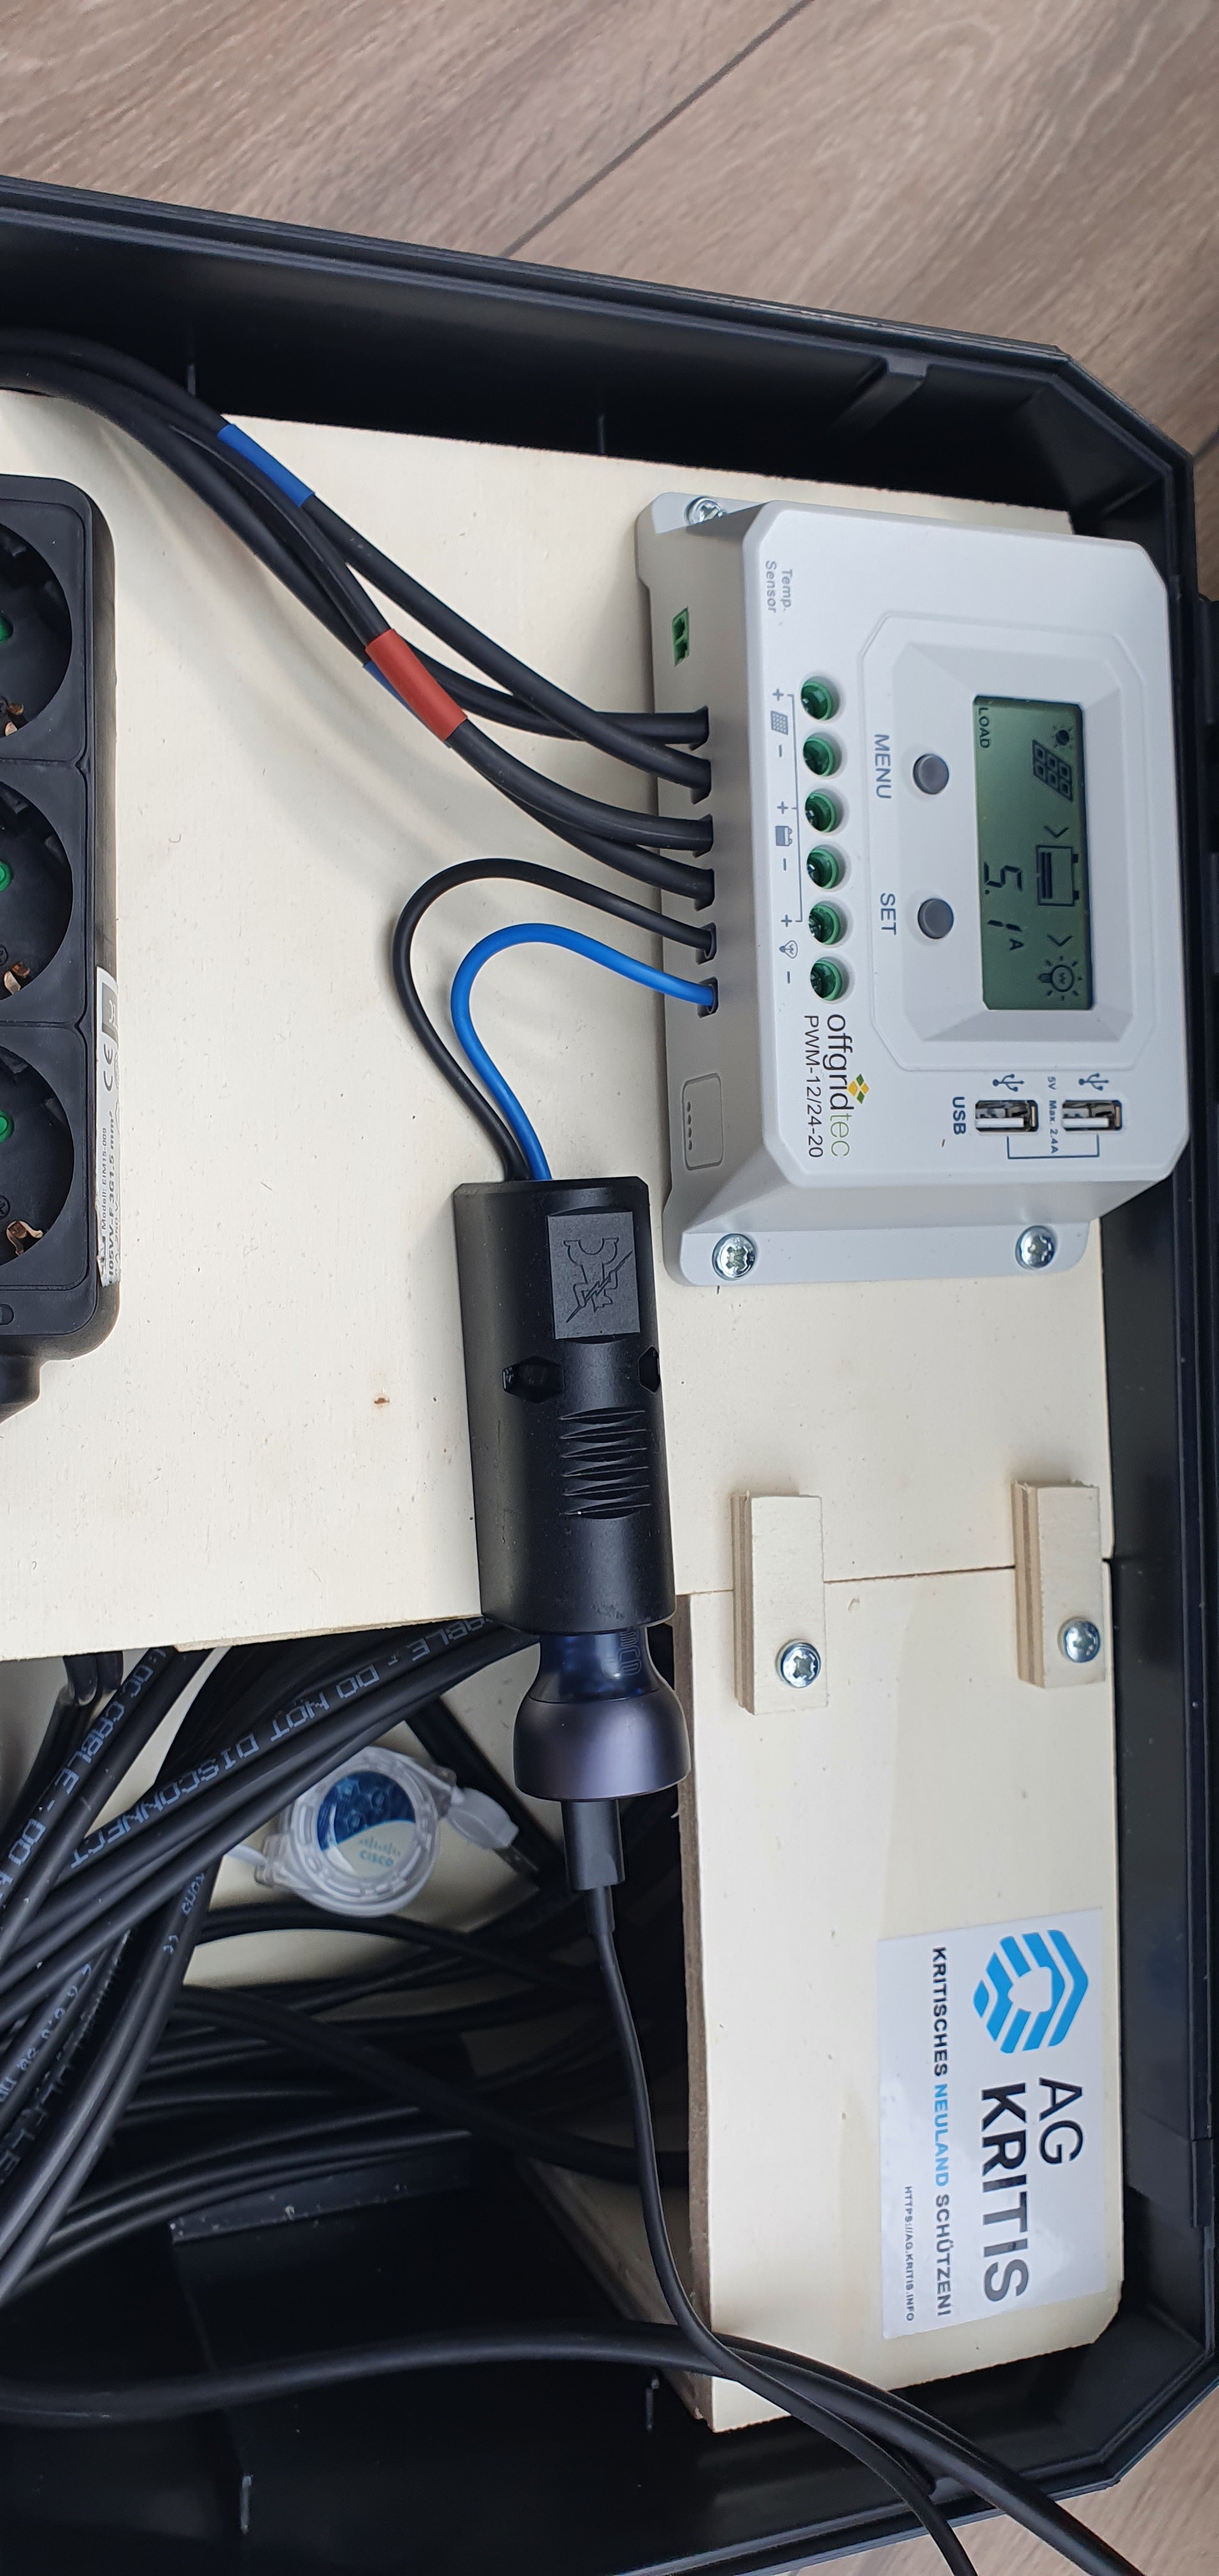
I connected a standard 12V car socket to the load output of the solar inverter. Here, too, a fuse is built into the socket. Only small consumers should be connected to the 12V output (chargers or smaller 12V consumers such as lights).
![]()
-
5Wood Working
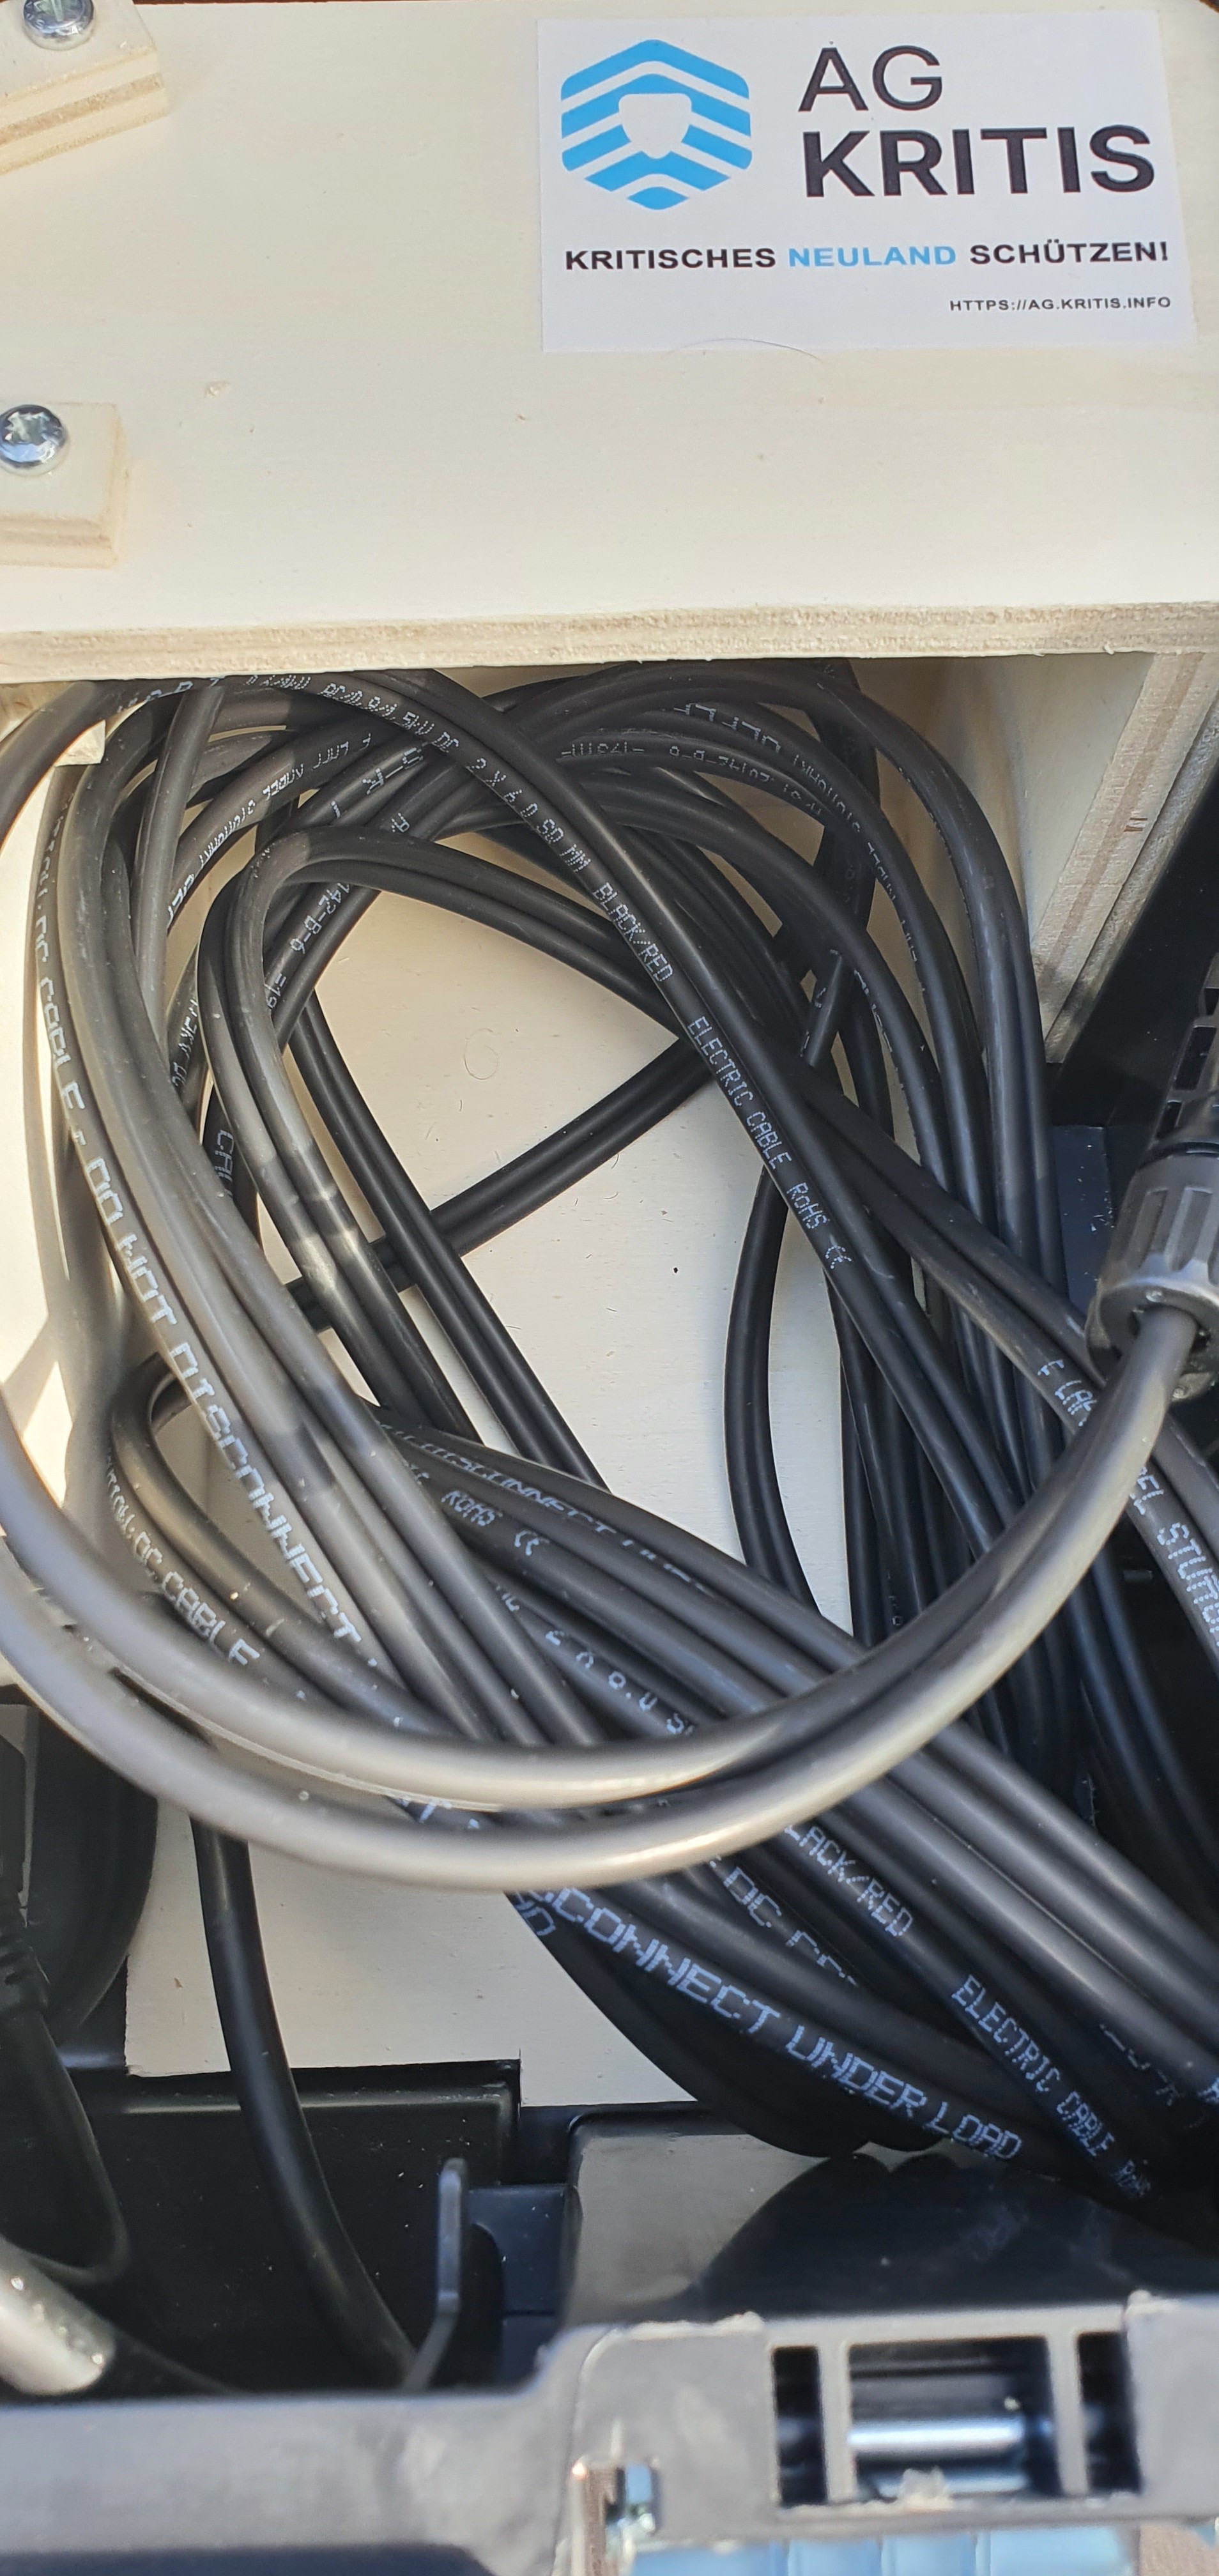
After the wiring was done, I lined the inside of the box with wood and connected everything with wood glue. The panel above the battery is only laid on and can be opened for maintenance purposes.
![]()
-
6Final Test
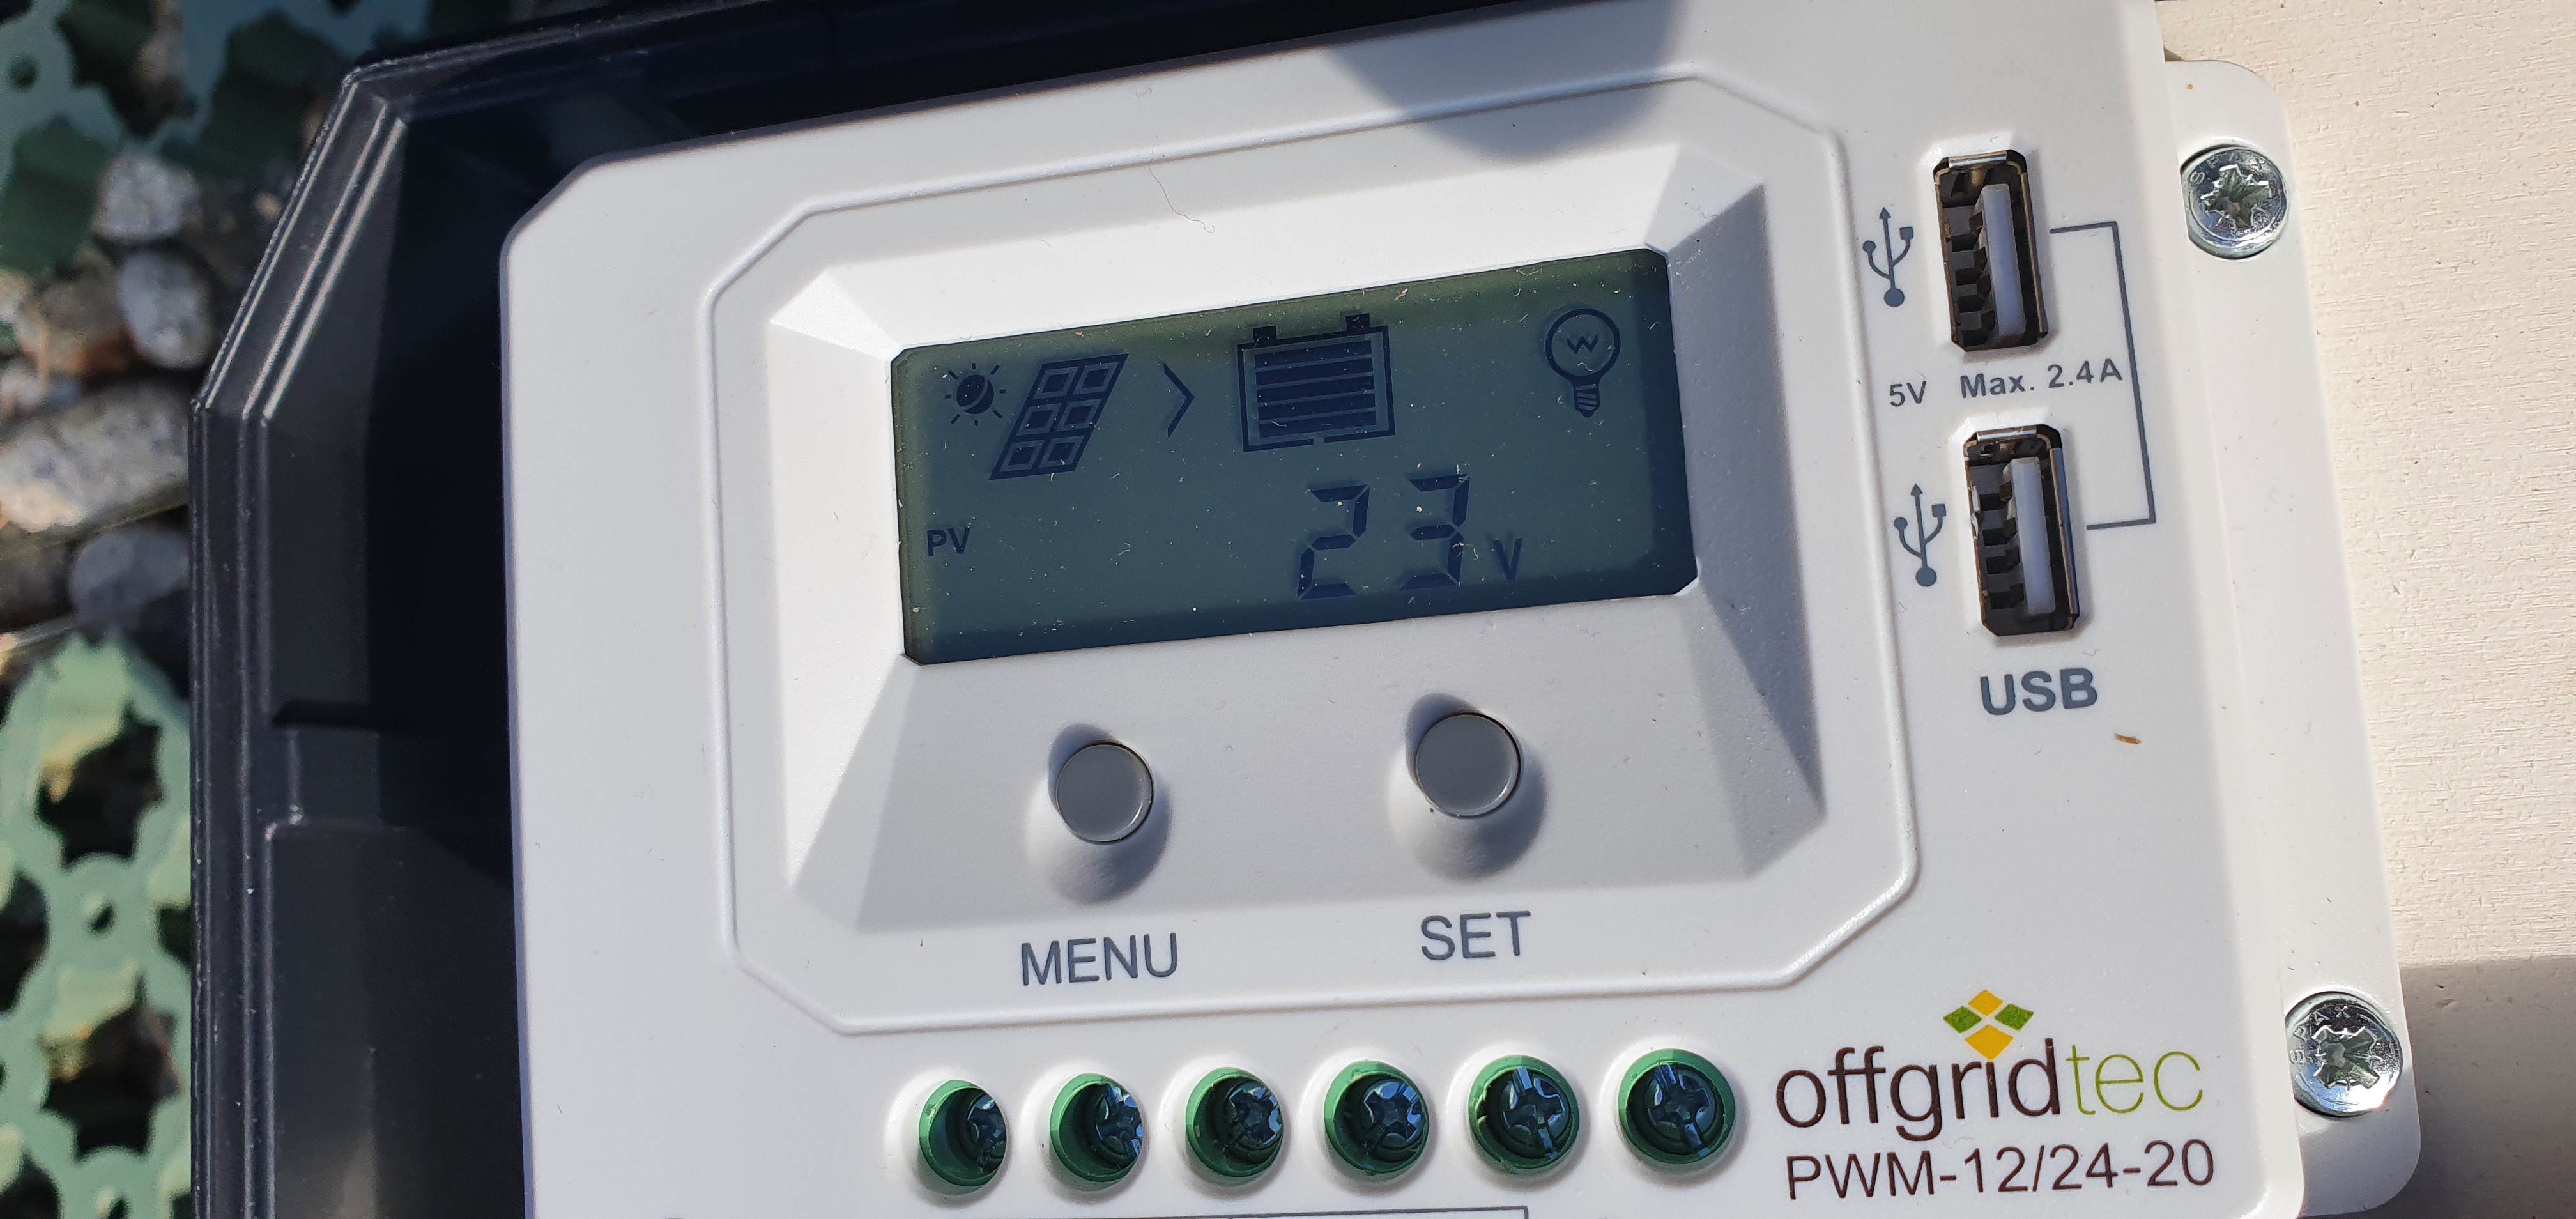
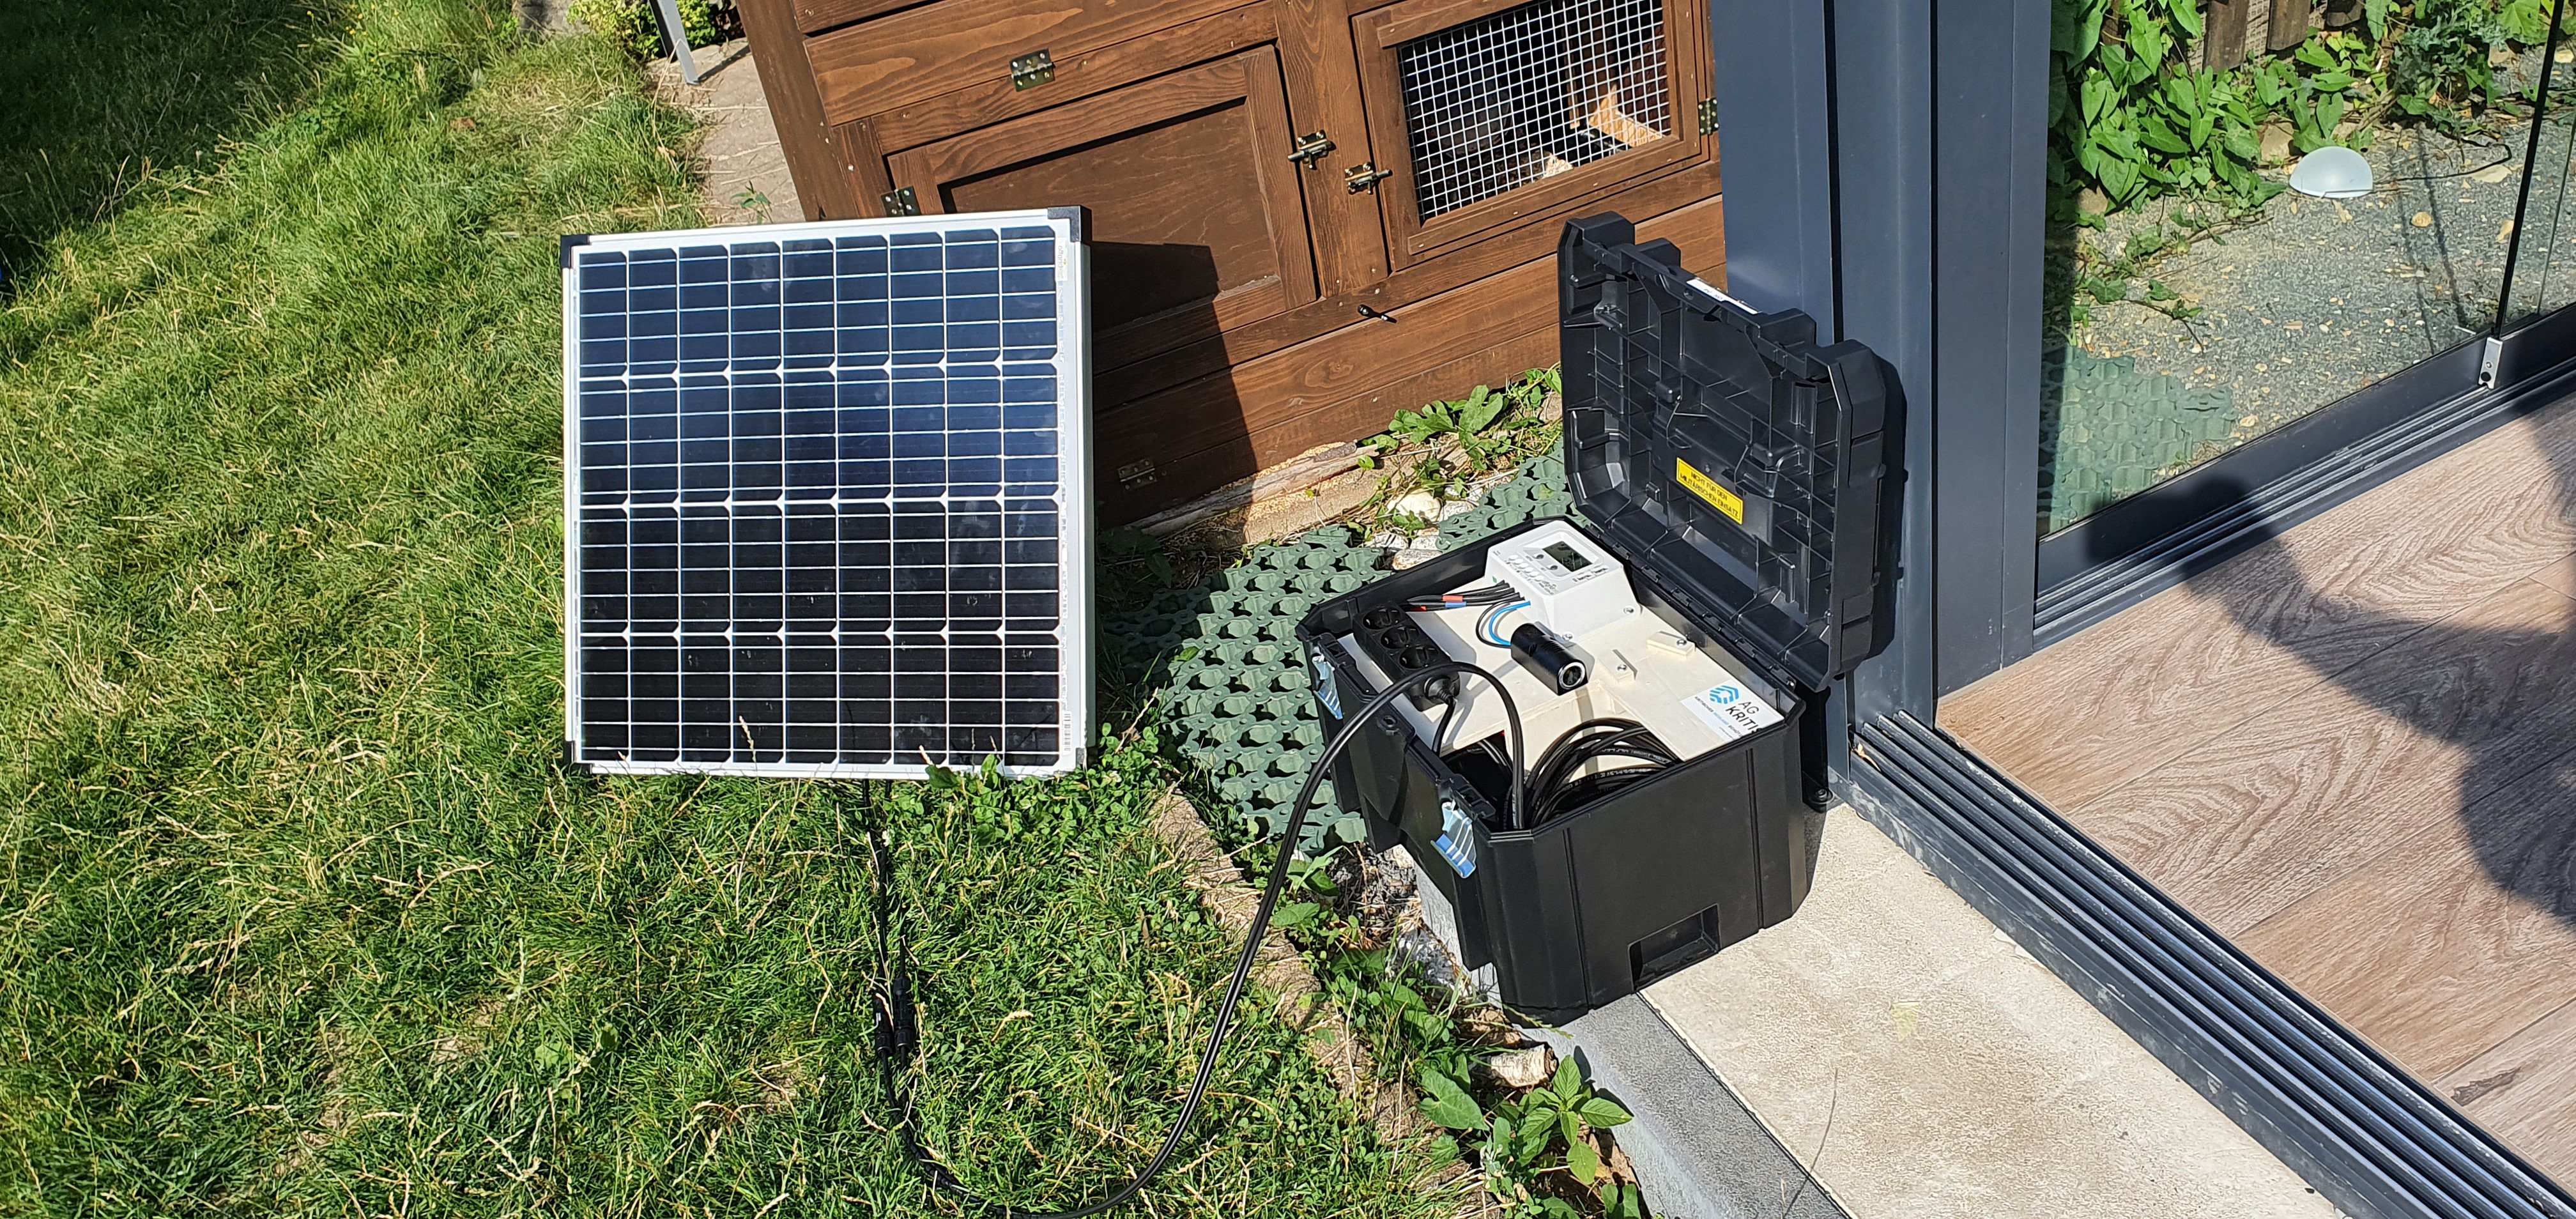
For the final test, the PV panel was connected and the fuses installed. The system switches on automatically. Since I use a wet battery, I have set this in the PV inverter. Therefore, please check your inverter to see which types are supported. I then plugged my laptop into the 12 V socket and checked whether it was charging. If everything works, the cables can still be laid nicely and the battery can be fully charged initially.
![]()
![]()
DIY emergency power system - a field report
Instructions for a simple DIY emergency power supply using PV
 Daniel Jedecke
Discussions
Become a Hackaday.io Member
Create an account to leave a comment. Already have an account? Log In.