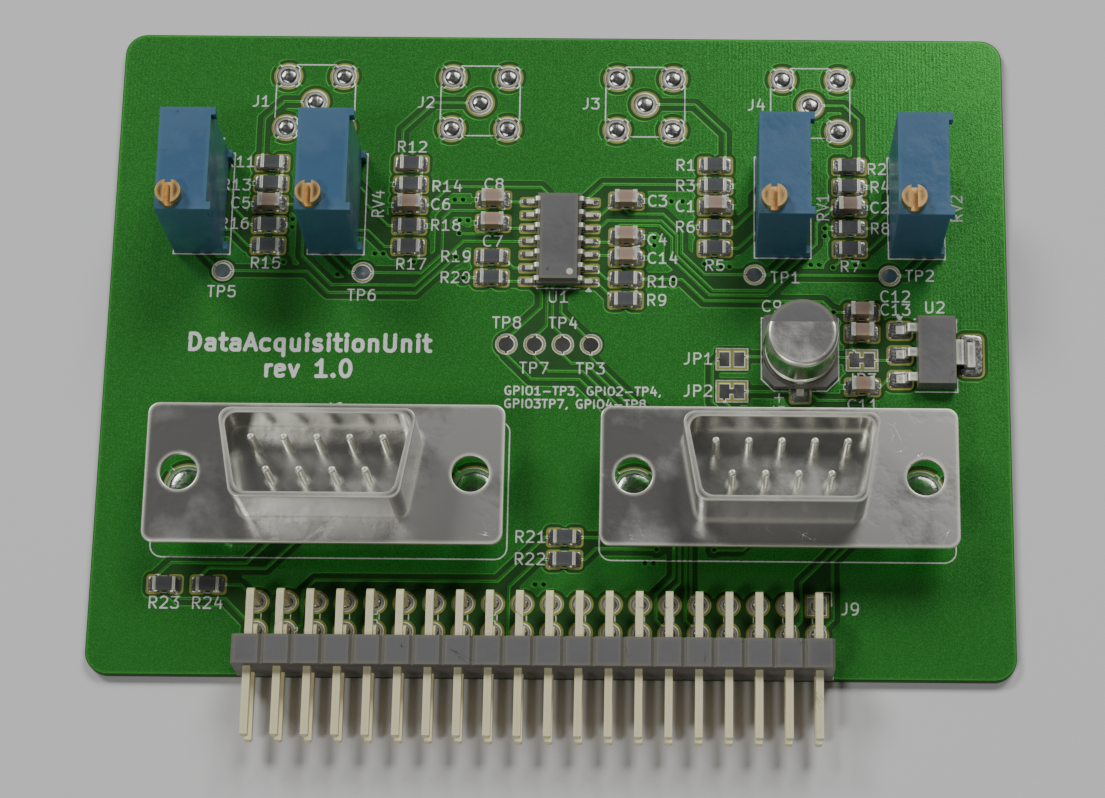
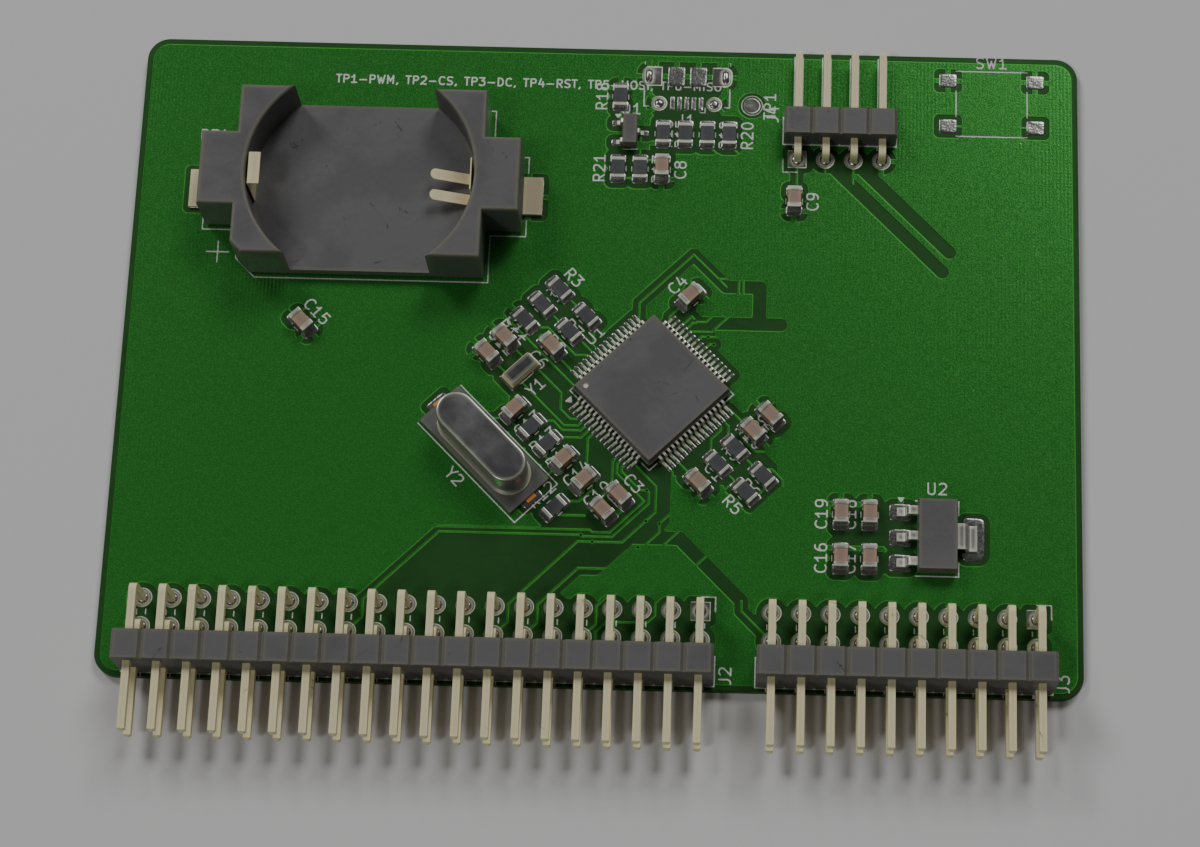
Recently, I found a great open-source tool for creating realistic PCB renders in Blender, and I decided to try it on my project. The tool is pcb2blender, and you can find its GitHub page in the link, which includes installation and usage instructions. You just need to install its plugin in both KiCad and Blender. Usage is simple too, you export your project from KiCad and import it directly into Blender.
What’s awesome about this tool is that it automatically assigns textures and even adds tin to the pads, making the PCB look like it’s actually soldered. I tried Blender a couple of years ago, and it has this weird way of handling textures by connecting blocks, kind of like programming - it’s interesting, but I didn’t like it (I’m not really into graphic design). With this tool, though, you don’t have to deal with any of that.
There are still a few things you’ll need to do manually in Blender, like adding light sources, setting up a background, and configuring the camera. However, I managed to figure it out in one evening, so it’s pretty easy.
Below, you can see some of the renders I made. They’re not perfect since I’m new to Blender, plus I limited the rendering samples to speed up image generation, so the output’s a bit noisy.
I’m really impressed with this tool!


 Robert Gawron
Discussions
Become a Hackaday.io Member
Create an account to leave a comment. Already have an account? Log In.