Close
0%
0%

Personalized Theme Clock

Theme clock with the YouTube subscriber counter, welding flash, and sound effects.

Similar projects worth following
For this project I built a themed clock for a friend. Themed clocks help make a super boring analog clock, into something a bit more interesting.

This clock will have a welder's theme with visual and audio enhancements and a YouTube subscriber counter. Although, the count is abbreviated.

Now, you may be thinking. "why do I need a themed clock"? Well the answer is obvious,
you might want to know what time it is, and.....


There are a lot of really cool clock on HackADay. I don't think this can compare to some of them but it is an easy build for someone, like myself, who isn't at the level as some of these other people. Plus, you can customize this clock to do whatever you want. This is just an example of a welders theme I chose for my friend. 

I used a DF Player Mini for the audio, a ESP8266 to connect to the Google API and the time server, a 8 digit 7 segment display to show the sub count, and an RGB Jewel LED to simulate a welding arch. I used the FastLED library to make the LED flash by varying the brightness levels. 

Every hour, the clock will arch the welding stick and play welding sounds for 30 seconds. If the subscriber count changes, the welding stick flash will arch and play a special celebration sound. 

Unfortunately, I could not keep the second hand with this build, the offset was a bit too high and the second hand would hit the cover. But I think it works fine with out it. 

Because the Google API only returns the first 3 most significant digits of the subscriber count, I made some fun of YouTube's decision in the video. 

The build is here:

And the video of Haslip Cycle Works receiving it is here:

All files for this build will be on GitHub:

https://github.com/CodeMakesItGo/ThemedClock

View all 8 components

  • Why I built this

    W. Jason Altice08/21/2021 at 13:44 0 comments

    This has been a really long project. Even though I finished the build a couple weeks after I purchased the components, it took me MONTHS to do the video. I also did 2 project in between this build and the final video. 

    In any case, I originally built this for my friends channel because he was about to hit 2,000 subscribers. But he also ended up moving at the same time so it was also a garage warming gift.

    This is a quick build, the most difficult thing was getting the DF Player to work with the serial 1 connection on the Node MCU to program it. When I would start programming, the DF Player would respond and mess up the programming. So I had to use the alternate pin for the Serial port. Oddly, I have to power the DF Player for programming to work, even though this shouldn't be he case.

    Other than that, I think it came out pretty nice, especially for my first attempt at this. I think I will build a Coocoo clock next for my own. 

View project log

  • 1
    Pick out a clock

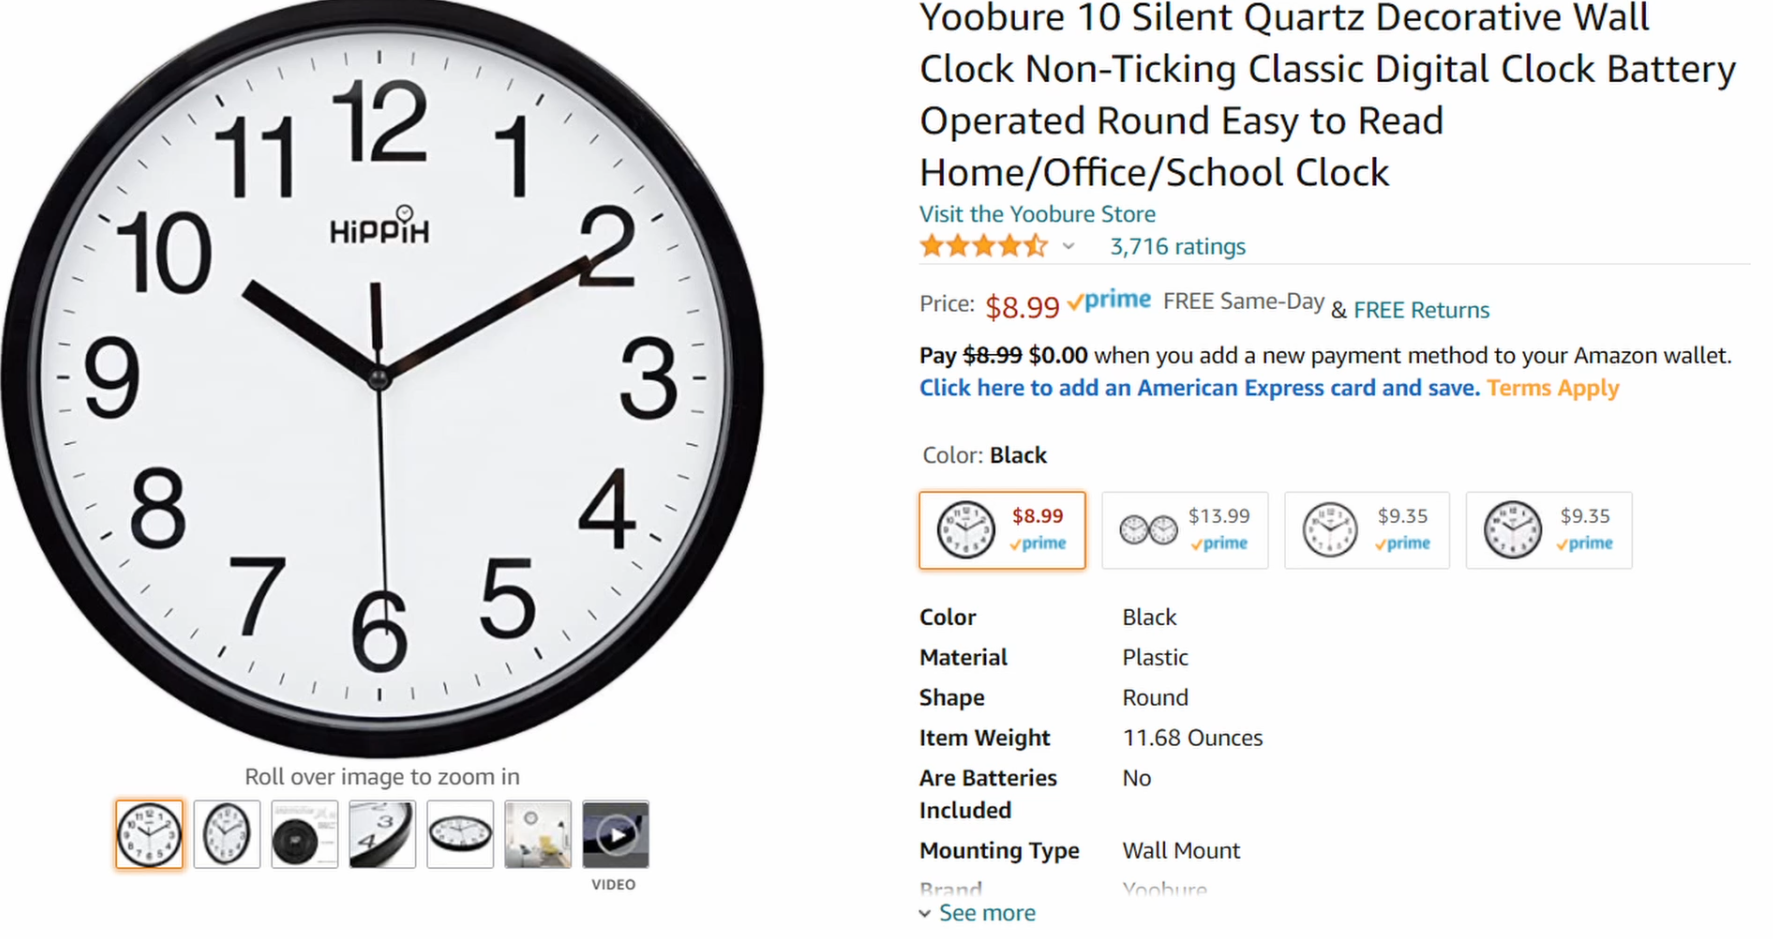
    To start, find a clock you like on Amazon or where ever. I chose this basic clock because it was really in expensive and good enough size to house all of the components I would need.

  • 2
    Take the clock apart

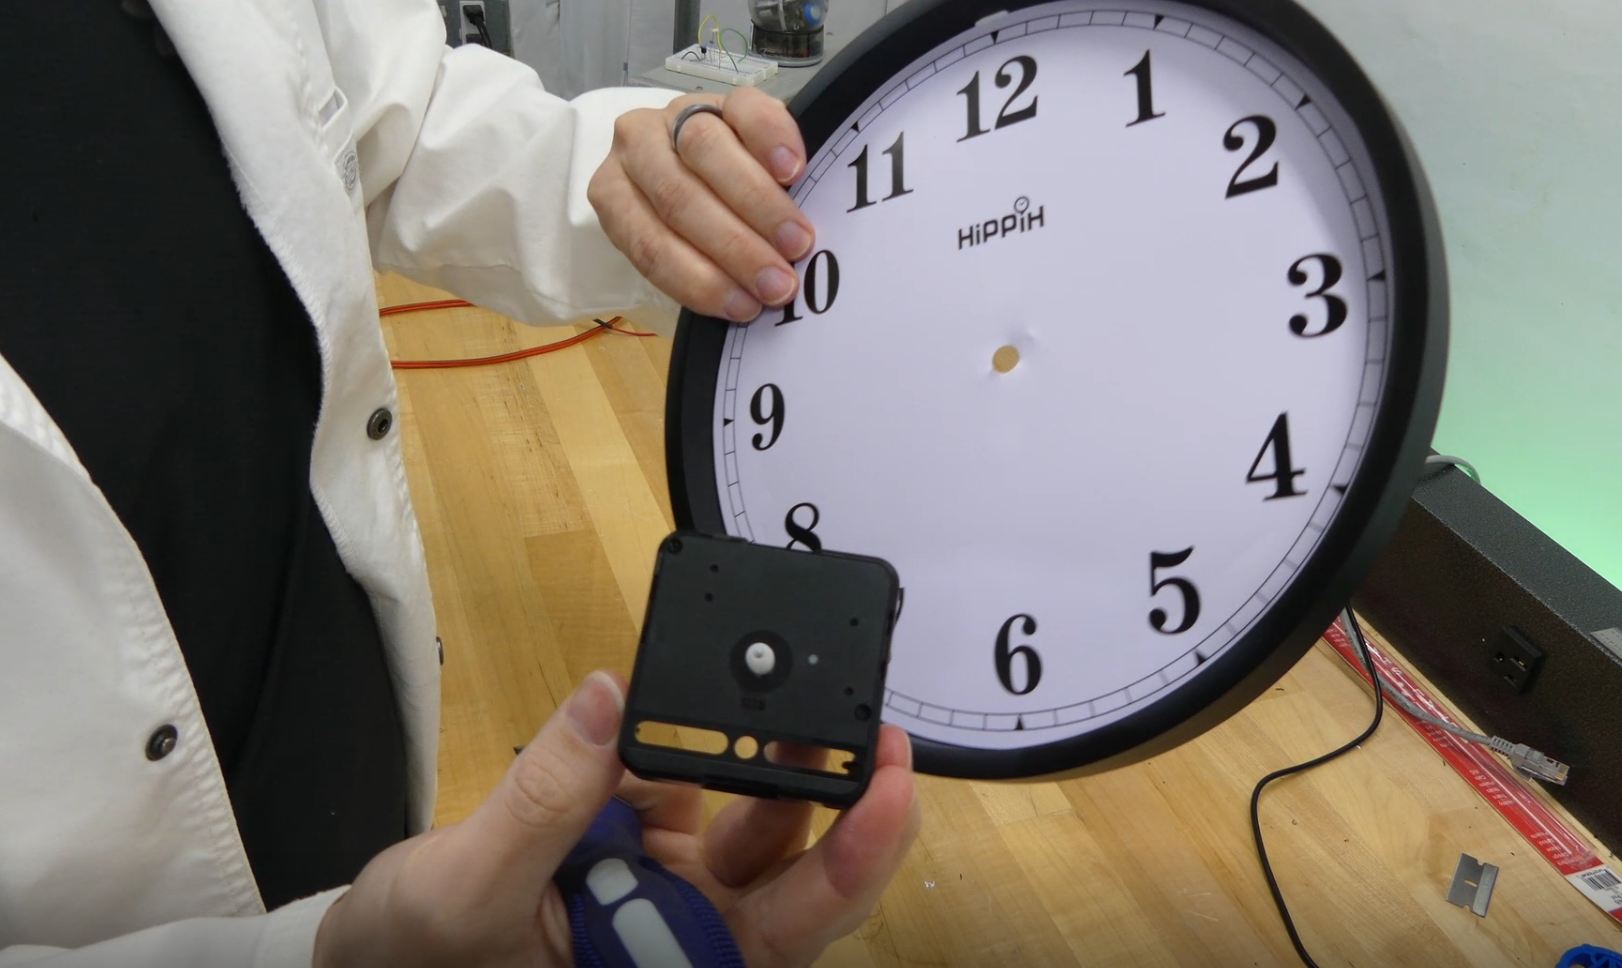
    This is the easy step, just take the clock all apart to the base platform.  Remove the face, hands, and motor.


  • 3
    Print out a new face.

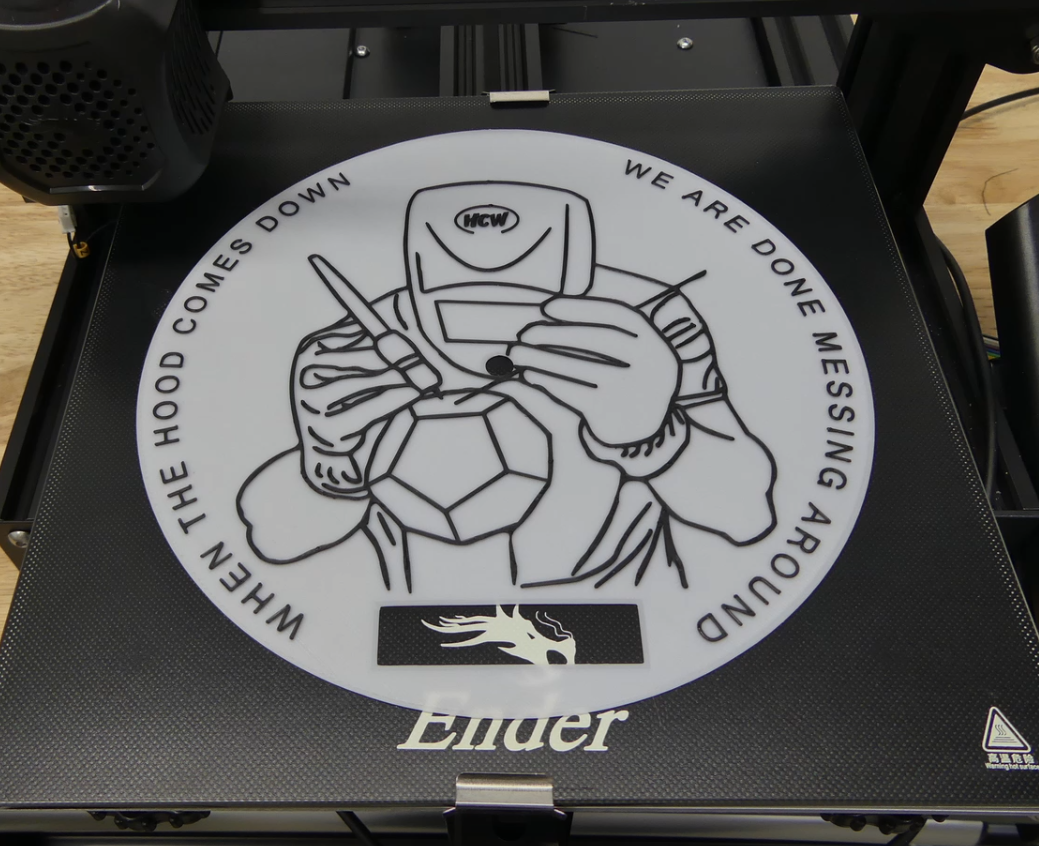
    I used my 3D printer to make the face but you don't have to. You could just print out something on your printer. But, because I used my 3D printer with a small bed, the face I printed didn't cover the entire clock. This turned out to be OK because I had also printed out inside trim pieces to offset the face from the back of the clock. 

    If you do use a 3D printer, this will have to be a vector graphic. 

View all 14 instructions

Enjoy this project?

Share

Discussions

Similar Projects

Does this project spark your interest?

Become a member to follow this project and never miss any updates