William
-
Documentation Updated
10/15/2022 at 06:07 • 0 commentsThe extensive documentation updates mentioned in the prior project log have been merged! These documentation updates will help ease use of Retro Modules significantly. Here are a few pages that have been overhauled:
Note that each numbered contact links to one or more pages that further explain the capabilities of the contact.
-
Better Docs!
10/13/2021 at 04:12 • 0 commentsUntil now, the Retro Modules specification almost exclusively used YAML files. The files are human readable, but are not very user-friendly. The documentation has got to improve! The Retro Modules for Education project was created to specifically focus on making Retro Modules more accessible for educational institutions. Accurate & intuitive documentation is essential for this project to succeed. The specification should not only be easy to grok, but also have a significant set of learning materials & example projects.
Enter Markdown & Docusaurus
![]()
Markdown is a well-established markup language that is supported as the go-to documentation language. GitHub supports Markdown by default & will auto-format Markdown as HTML. Moving the specification to primarily use Markdown is a step in the right direction, but it will only go so far. Retro Modules really needs a fully-fledged documentation site complete with rich media tutorials, graphical guides & quality references to third-party systems. Docusaurus is an open-source framework which supports React components in Markdown files. Docusaurus will help provide a quality introduction to the Retro Modules specification.
Initial Migration to Markdown
The process has already started. Over the course of the last week I have created many new markdown files that temporarily refer to the legacy YAML files -- and have also refined the documentation for the main six connectors: DA-15, 2x8k16 Header, DE-9, 2x5k10 Header, DB-25 & the 2x13k26 Header. The changes are in a feature branch & will be merged into the main branch once the remaining Markdown updates are complete over the course of the next month or so. You can check out the changes by browsing the feature branch at retromodules.com/start!
Docusaurus Static Site
Migrating the Markdown files into the folder structure preferred by Docusaurus will be straightforward, but still a little time-consuming. At the outset, the Docusaurus site will likely use very few React components. Follow-up releases will start to introduce video-related & graphical components. As the application matures, interactive graphical components will become common -- to help further assist Makers new to the framework.
The Path Forward
For many years, retromodules.com has merely been a landing page that links to the specification & related social media sites. This has been necessary, given my focus on specification standardization & other very important priorities. Once the Docusaurus-driven documentation site is ready, it will become the default site you will see when visiting retromodules.com. As I develop the documentation site, I will be testing the limits of the Docusaurus framework & evaluate whether a dynamic site will be necessary. If so, the documentation site will be the static complement of the fully-dynamic retromodules.com site. Retro Modules Specification changes (which will be fewer & fewer, over time), would automatically update content on both the static Docusaurus-driven site & the dynamic site. Stay tuned!
-
"The Power Curriculum" Work has Begun
08/23/2021 at 05:59 • 0 comments![]()
The next step for this project is the full development of The Power Curriculum. I am also planning to develop Audio, Video, Robotics, Automation & Automotive curricula. Some of the ideas for those will be released soon.
There are many ways power can be harvested & used. The Retro Modules framework can help students safely learn about & test power-related hypotheses. At this point, I have a rough outline of what the curriculum will include & have included it below. I expect to be able to have the curriculum more clearly defined by the end of the year. More to come!
Power Curriculum
- Lessons & experiments discussing popular naturally occurring power sources:
- 12V Nominal Automotive Solar Panel Retro Module experiment
- PC Fan Retro Module + Wind Source experiment
- Water Flow Turbine Retro Module + Water Source experiment
- Lessons & experiments discussing Batteries:
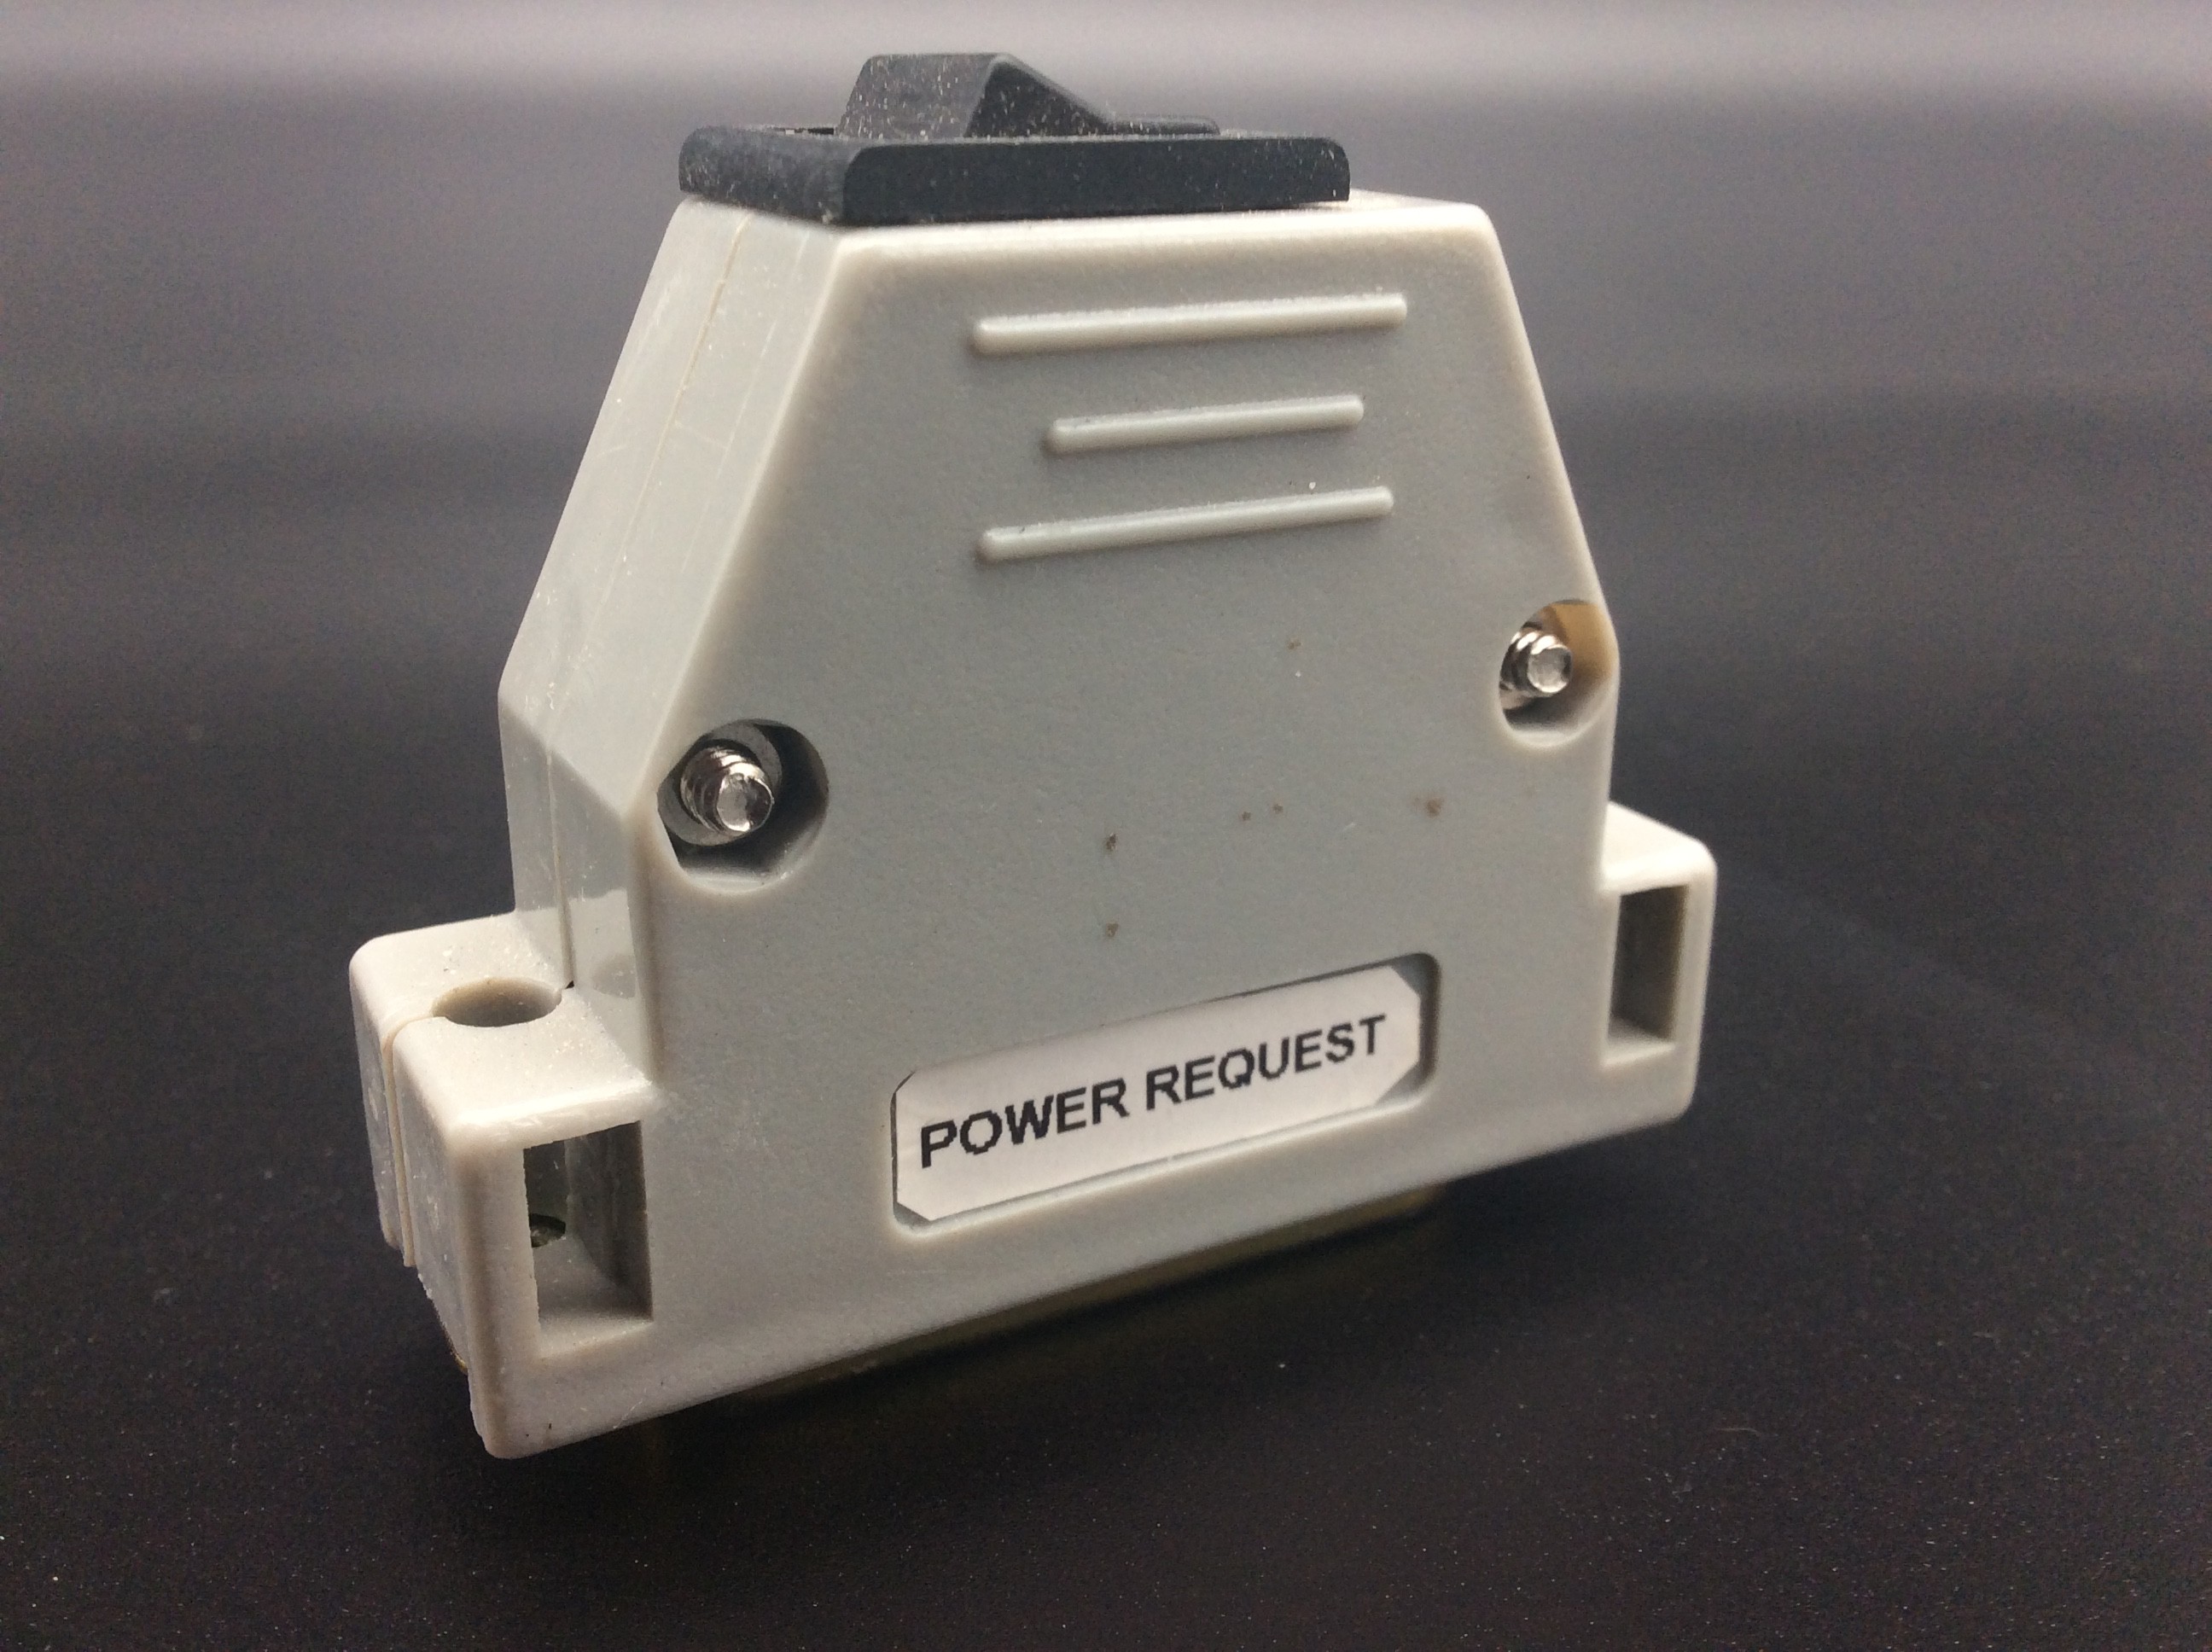
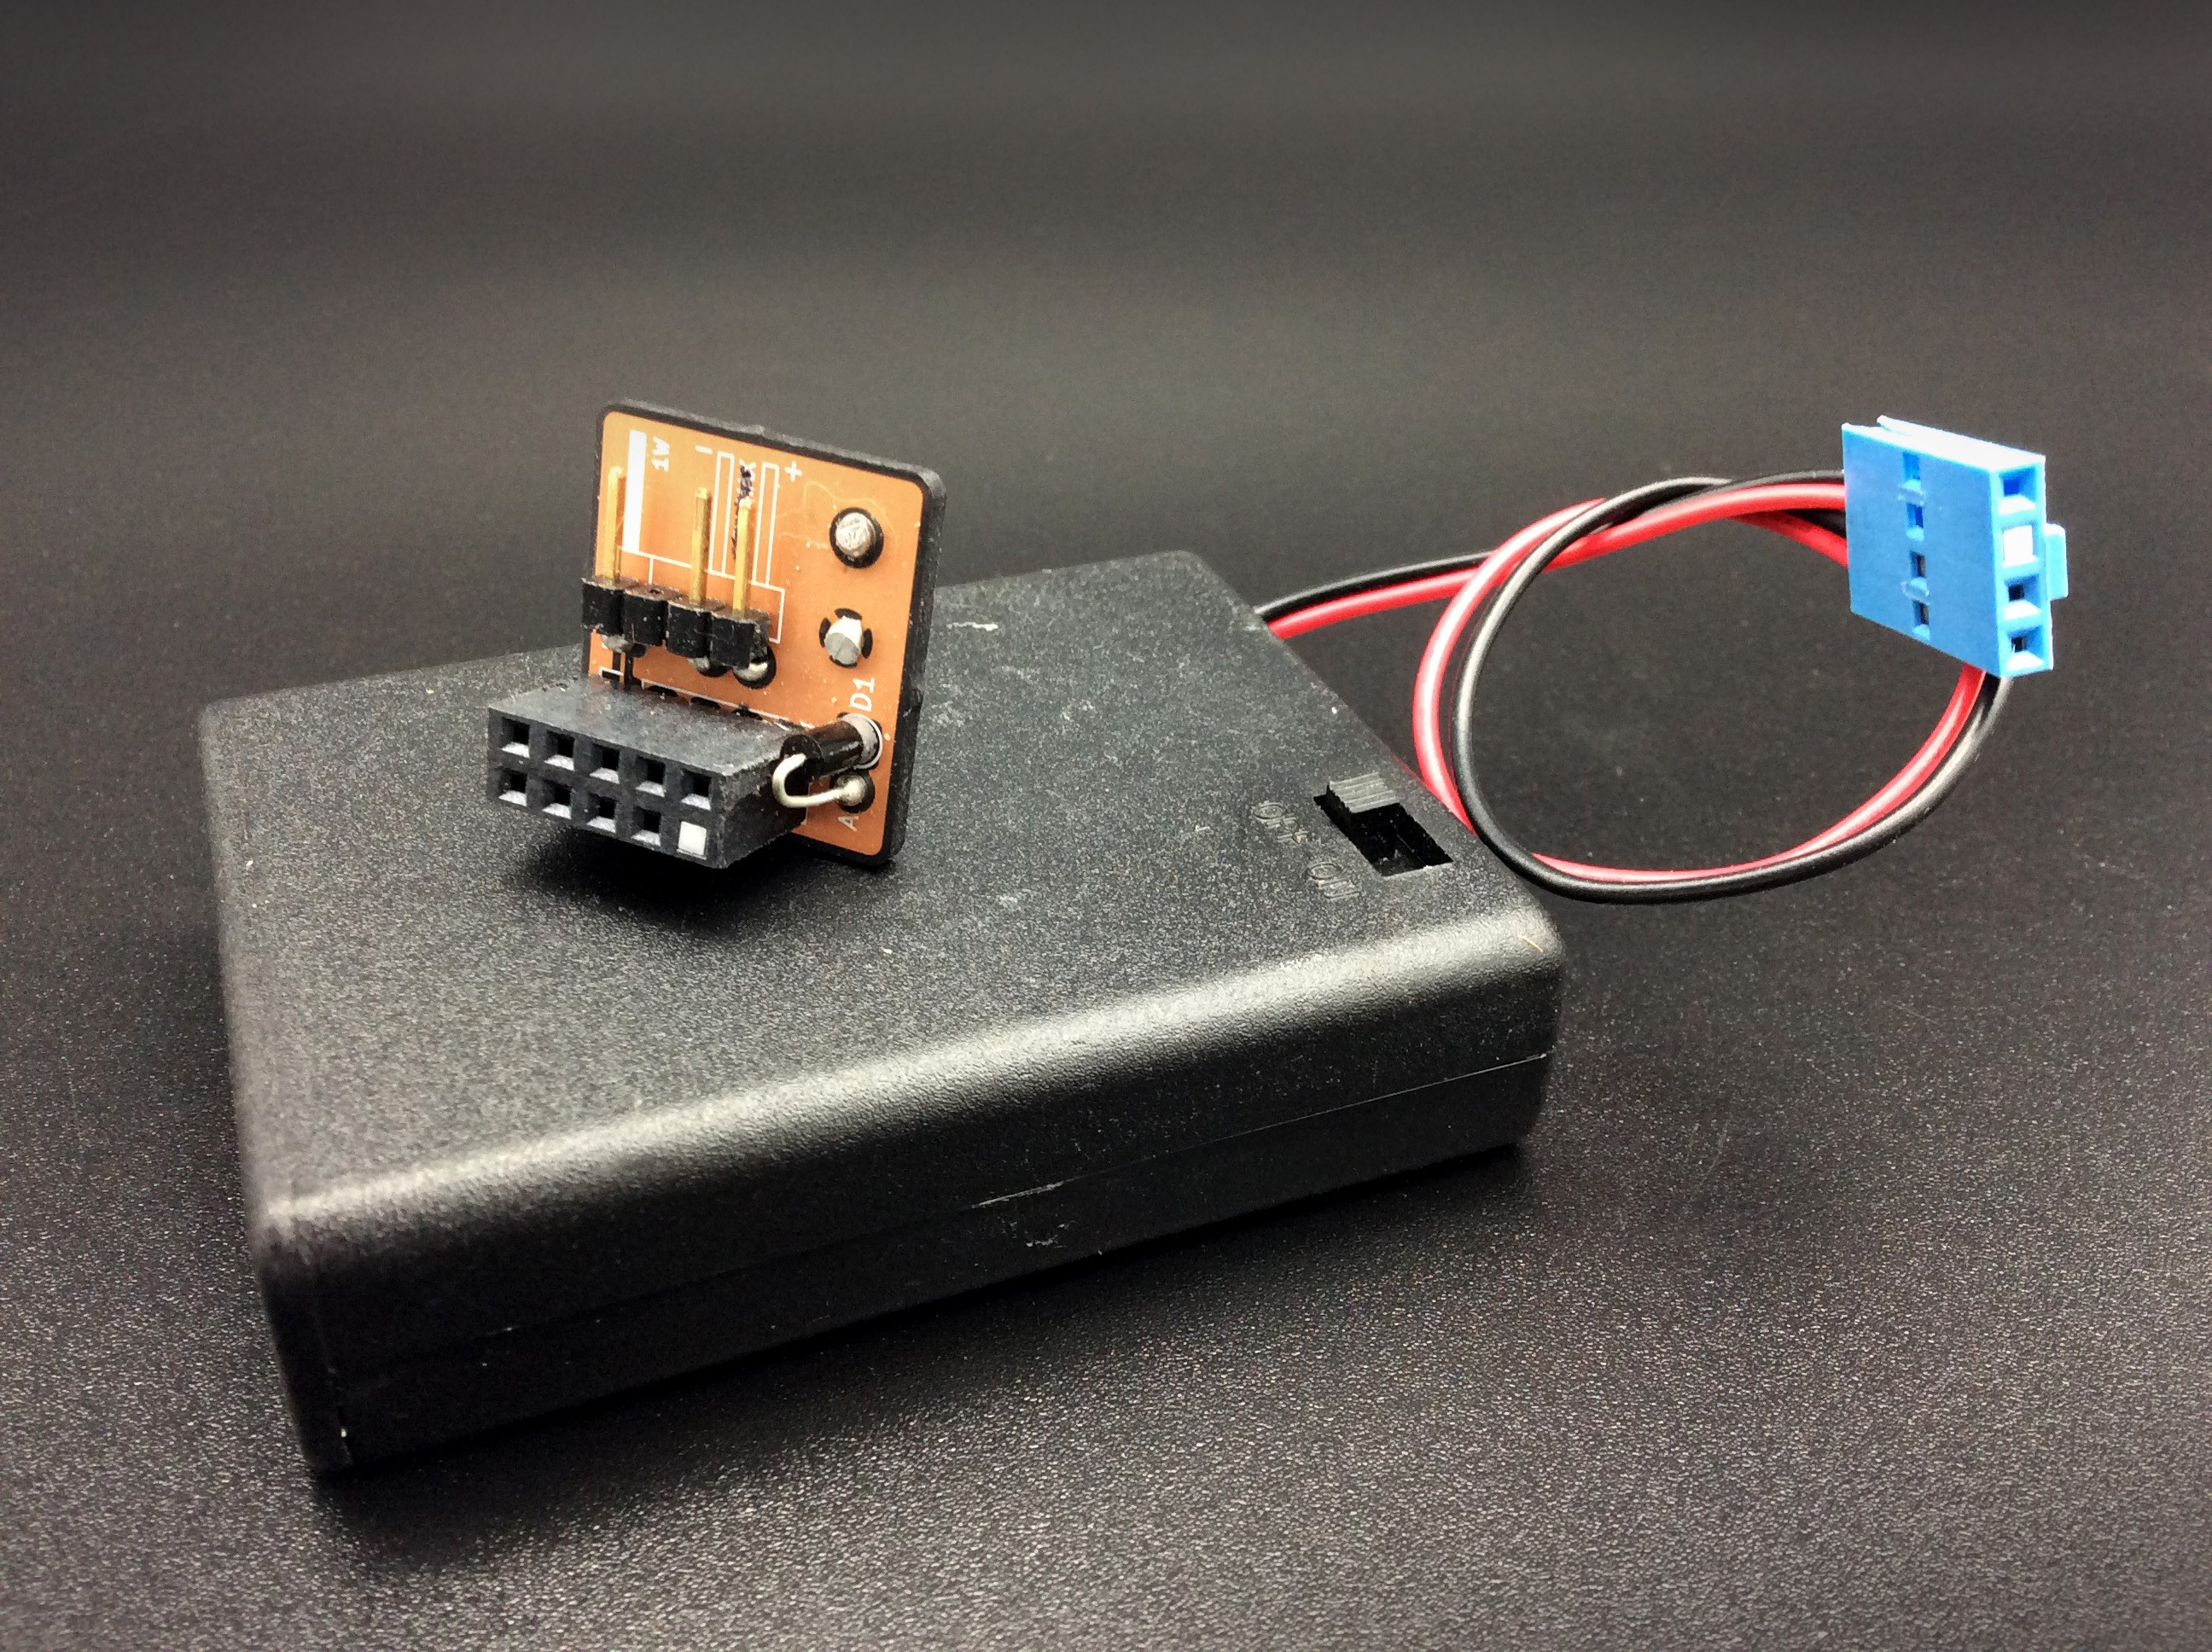
- 9V Lb battery with identifying resistor & EBC connector experiment
- 9V NiMH battery with identifying resistor & EBC connector experiment
- 3x 9V NiMH battery pack with 1W thermal sensors, identifying resistors & EBC connector experiment
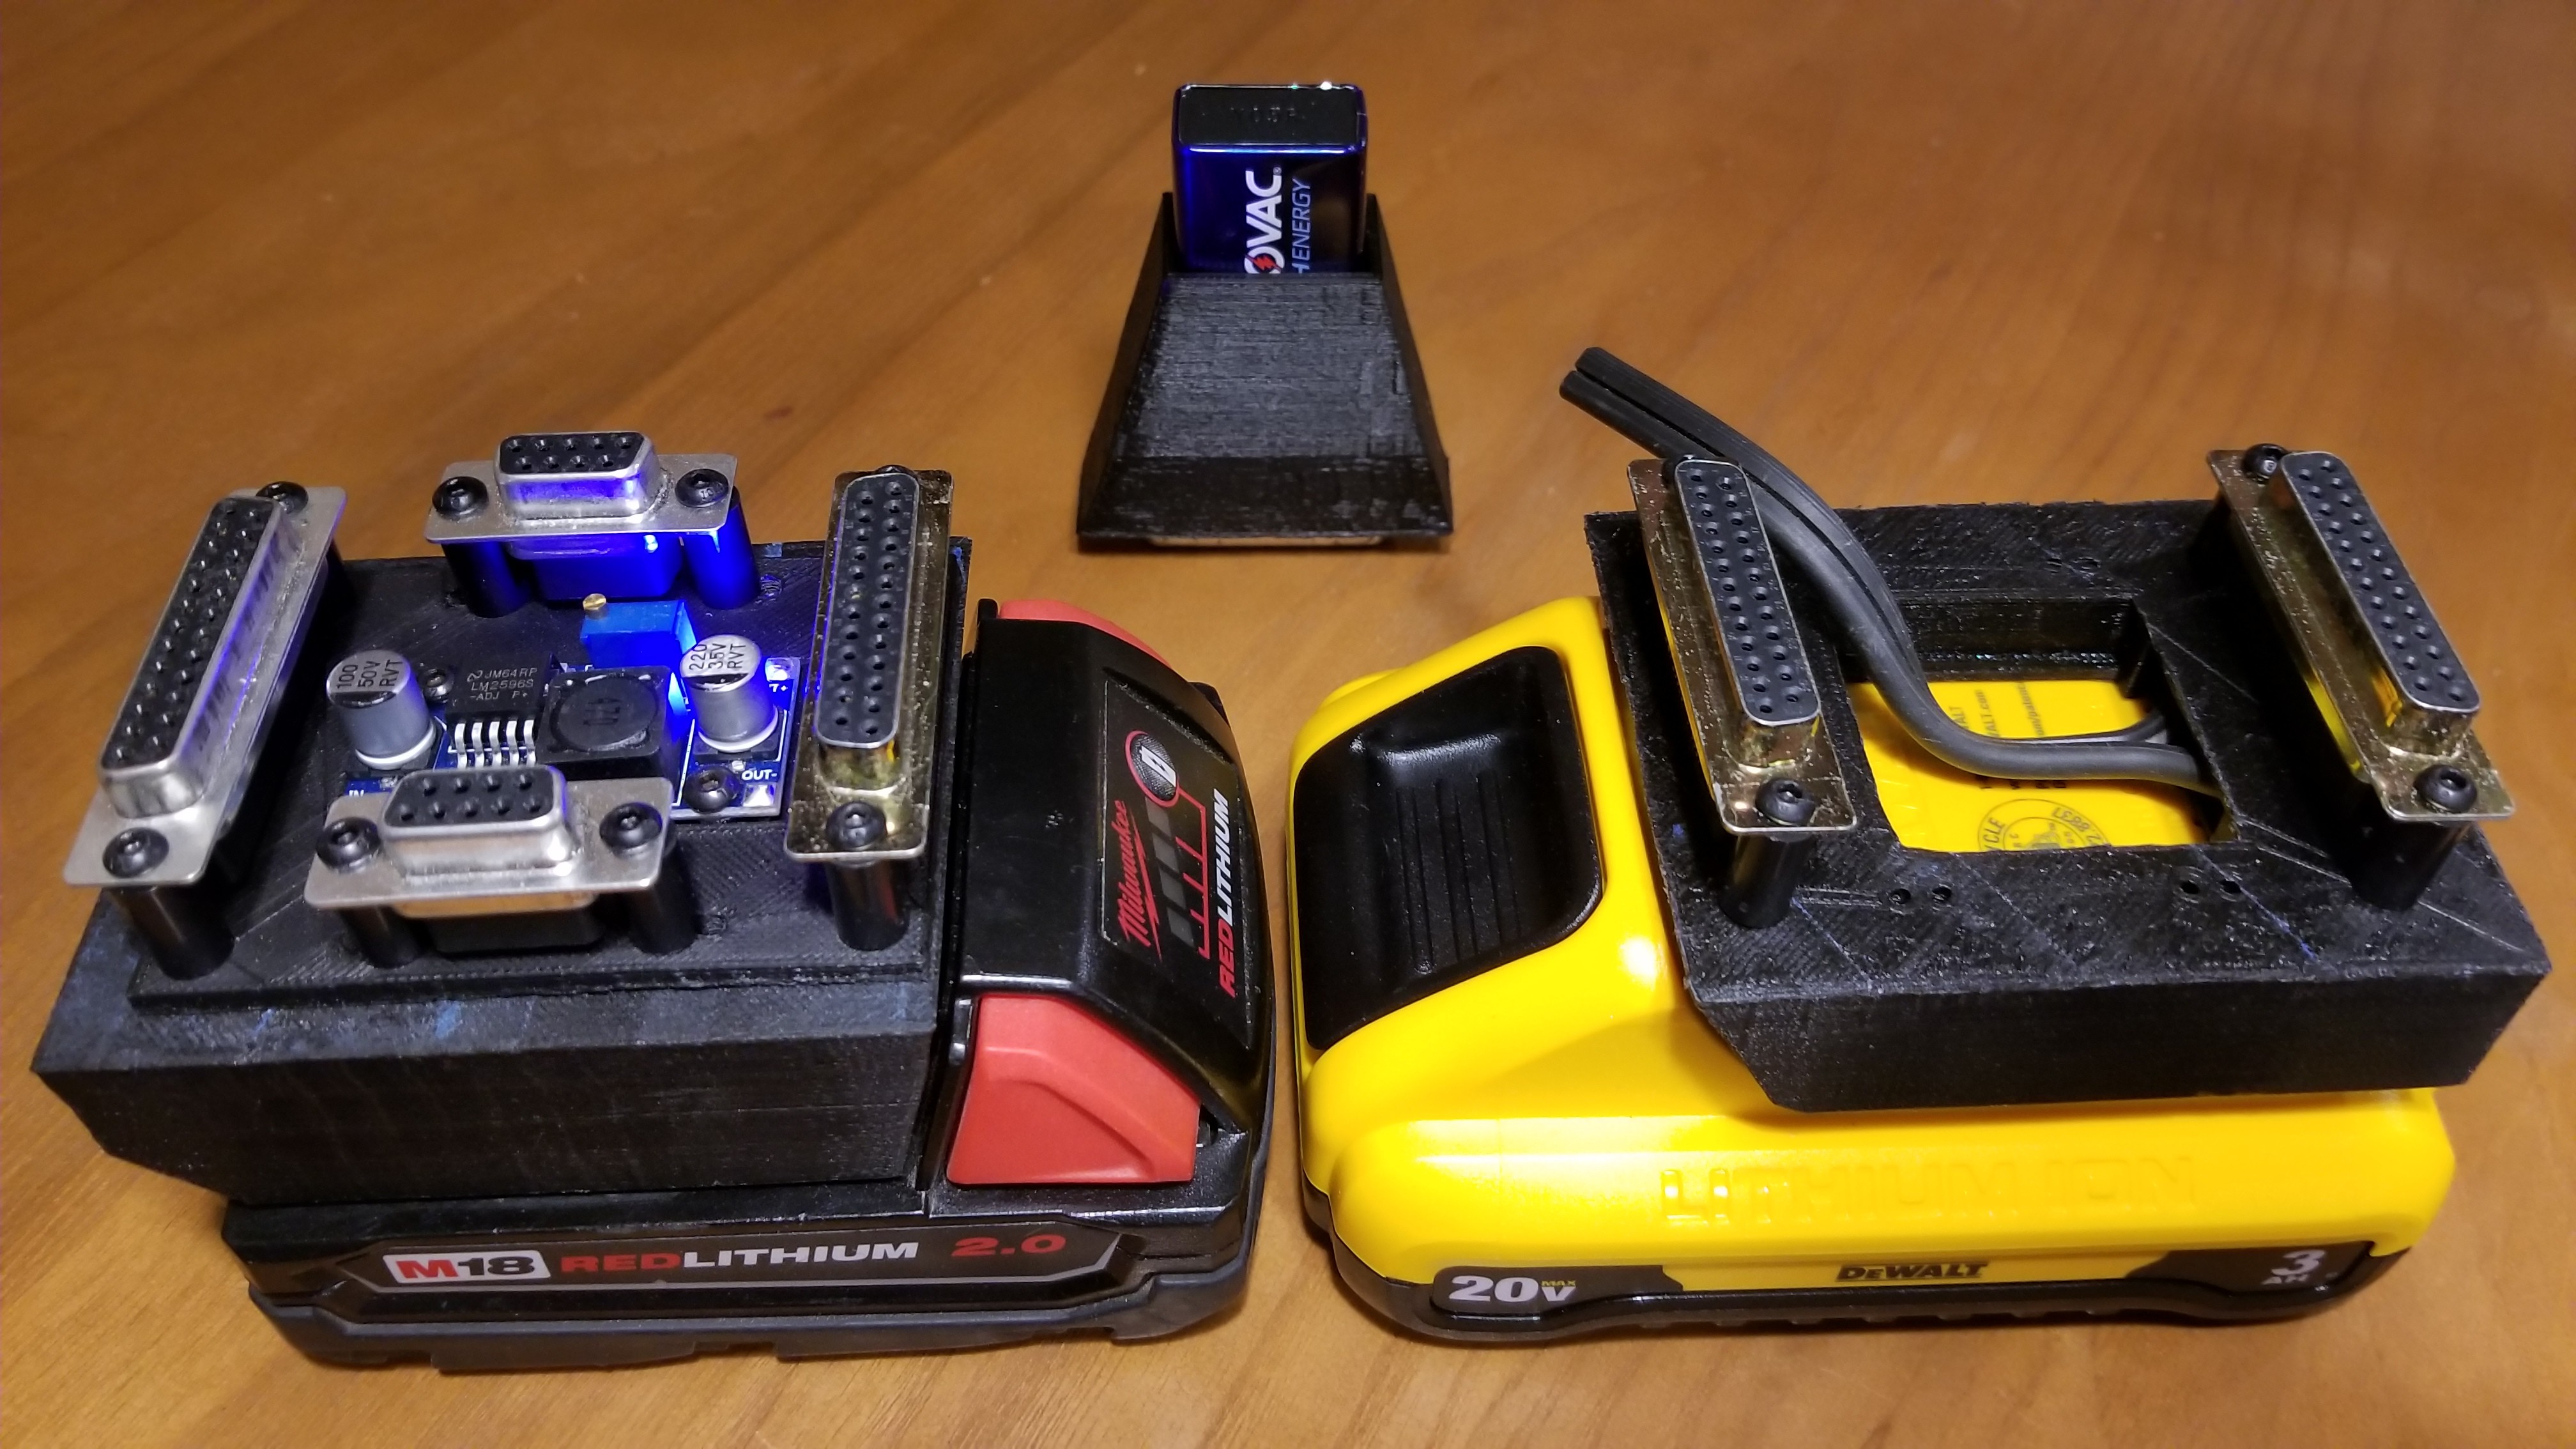
- Lessons & experiments discussing Chargers:
- Hobbyist multi-cell battery charger & LiPo battery experiment
- 1x battery charger with EBC connector adapter experiment
- 1x battery charger with microcontroller which auto-detects cell count & chemistry of an EBC-connector-equipped battery pack as well as monitors the temperature of each cell experiment
![]()
![]()
- Lessons & experiments discussing popular naturally occurring power sources:
-
Retro Modules & S.T.E.A.M.
08/23/2021 at 05:16 • 0 commentsHow Retro Modules can be used for Scientific Experiments
Retro Modules can be used in the lab & the field. Each scientific experiment is typically unique & may require custom hardware to monitor (and possibly run) the experiment. Rather than building a one-off unique electronic rig for each specific experiment, generic functionality can be identified & extracted into modules. When the experiment is complete, the generic modules are still available for other experiments that may occur in the future.
How Retro Modules can be used for Technological Experiments
Recently, the framework was expanded to readily support experiments built on breadboards in crayon boxes. Modularity is cool, but a budding Electronics Engineer still needs to tinker, learn the essentials & test hypotheses. Retro Modules supports a broad set of simple signals & communication protocols found all around us. It provides a base layer of compatibility with many other popular circuit boards & frameworks. From breadboard work, to scratch-built hand-soldered boards, to premium-design many-layer custom circuit boards, the Retro Modules framework is ready.
How Retro Modules can be used for Engineering Experiments
What makes a thing a module? Most things can be made modular. Making something modular can be boiled down to making a thing compatible with another thing, according to an established spec. An old CNC machine being adapted to work with a modern computer via USB fits the bill. A lawn mower adapted to be controlled by a remote control also qualifies. So too does a 3D printer fitted with a shoe for a power tool battery. As does a bridge fitted with stress sensors. Retro Modules was designed to accommodate many of these use cases, while using a flat topology. The CAN protocol was chosen for long-distance & noisy applications. SPI & I2C were chosen given their simple hardware stack & ubiquity. Analog audio, SD & HD video signal support was added to allow simple ways to audibly & visually monitor locations. Finally, moderately higher voltage maximums allow for more power-hungry modules further away from the central hub. This flexibility allows Retro Modules to be considered a prime candidate for experiments ranging from robotics, to industrial automation, to field monitoring & control, to vehicle control systems.
How Retro Modules can be used for Artistic Experiments
One of the most impressive artistic experiments on earth is the ongoing work by "Compagnie La Machine." The brilliant company of creative people make massive animatronic creatures that often tower over city streets & vast audiences assembled. These creatures frequently feature lights, pyrotechnics & special effects audio systems to help further convince audiences the machine is alive. While the Company may be using advanced proprietary control systems, they may merely be relying on CAN to control the creature. The audio systems are likely using standard-fare unbalanced audio cables. Engineers deep in the belly of the float the creature is mounted to are probably using SDI for video monitoring, but could just as easily get by with Component or Composite video monitoring. Retro Modules could be used for artistic ventures like these, where many small modules make a big creature. Scale it down a little & you may have a large robot-like costume worn by a performer at a convention. The performer could use their camera Retro Module to feed video into their onboard computer Retro Module equipped with face tracking functionality that could control their pair of Eye Retro Modules. The following year they may have an entirely different costume that uses the exact same Retro Modules.
How Retro Modules can be used for Math Experiments
Much like with the Scientific category, Retro Modules can easily be used in the lab & the field. Mathematics experiments may also need custom rigs to test theories. Generic functionality can be identified & extracted into modules which can be used in many larger experiments which may not relate to the original experiment.
What is Retro Modules?
Retro Modules isn't a single product. It's a free, community-maintained framework designed to make making easier & more accessible.
-
Some History
08/22/2021 at 08:23 • 0 commentsI began developing Retro Modules as a hobby around 2010 after realizing many modern microcontrollers can fit in old-school Null Modem enclosures. I did not have PCB design skills at the time, but I could certainly hand-solder a prototype & close it up. It looked great -- on the outside!
![]()
The form factor allowed me to create professional-looking product with just a little hand-soldering & off-the-shelf components. While still very simple, it allowed me to happily demonstrate intermediate electronics skills. I didn't have to apologize for the rat's nest of wires inside each module because it was out of sight. It allowed me to show off the proof of concept with ease. Such a form factor can empower intermediate engineers to easily make modules which can go through the rapid iteration process while looking professional at every stage. When the process is largely complete, prototype PCBs can be designed to fit into the exact same enclosures used early on. The Retro Modules project has progressed, though slowly. It has remained a hobby until now, given other priorities. I hope that changes soon. The PCBs I've designed so far look & work great!
Distracted by a Spec
Last year, I realized I was working more on refining the Retro Modules specification than on actual electronics experimentation. I was also spending lots of time designing custom dock configurations & enclosures. Very little electronics work. That needed to change. A major reason why I was doing little electronics work is due to the early instability of the modular specification. I grew tired of creating modules only to have them become incompatible with a newer version of the specification. As I grew more confident with PCB design I knew there would come a point where PCBs are being manufactured & the spec had to be stable. That time came earlier this year as likely the last of the specification changes were made for the most common connectors. While testing the basic PCBs & preparing for the design of more advanced PCBs, I found I had several modules which needed technical questions answered before PCB design could continue. I needed to do standard-fare tests of components & circuits that would be used.
Getting Back to Real Experimentation
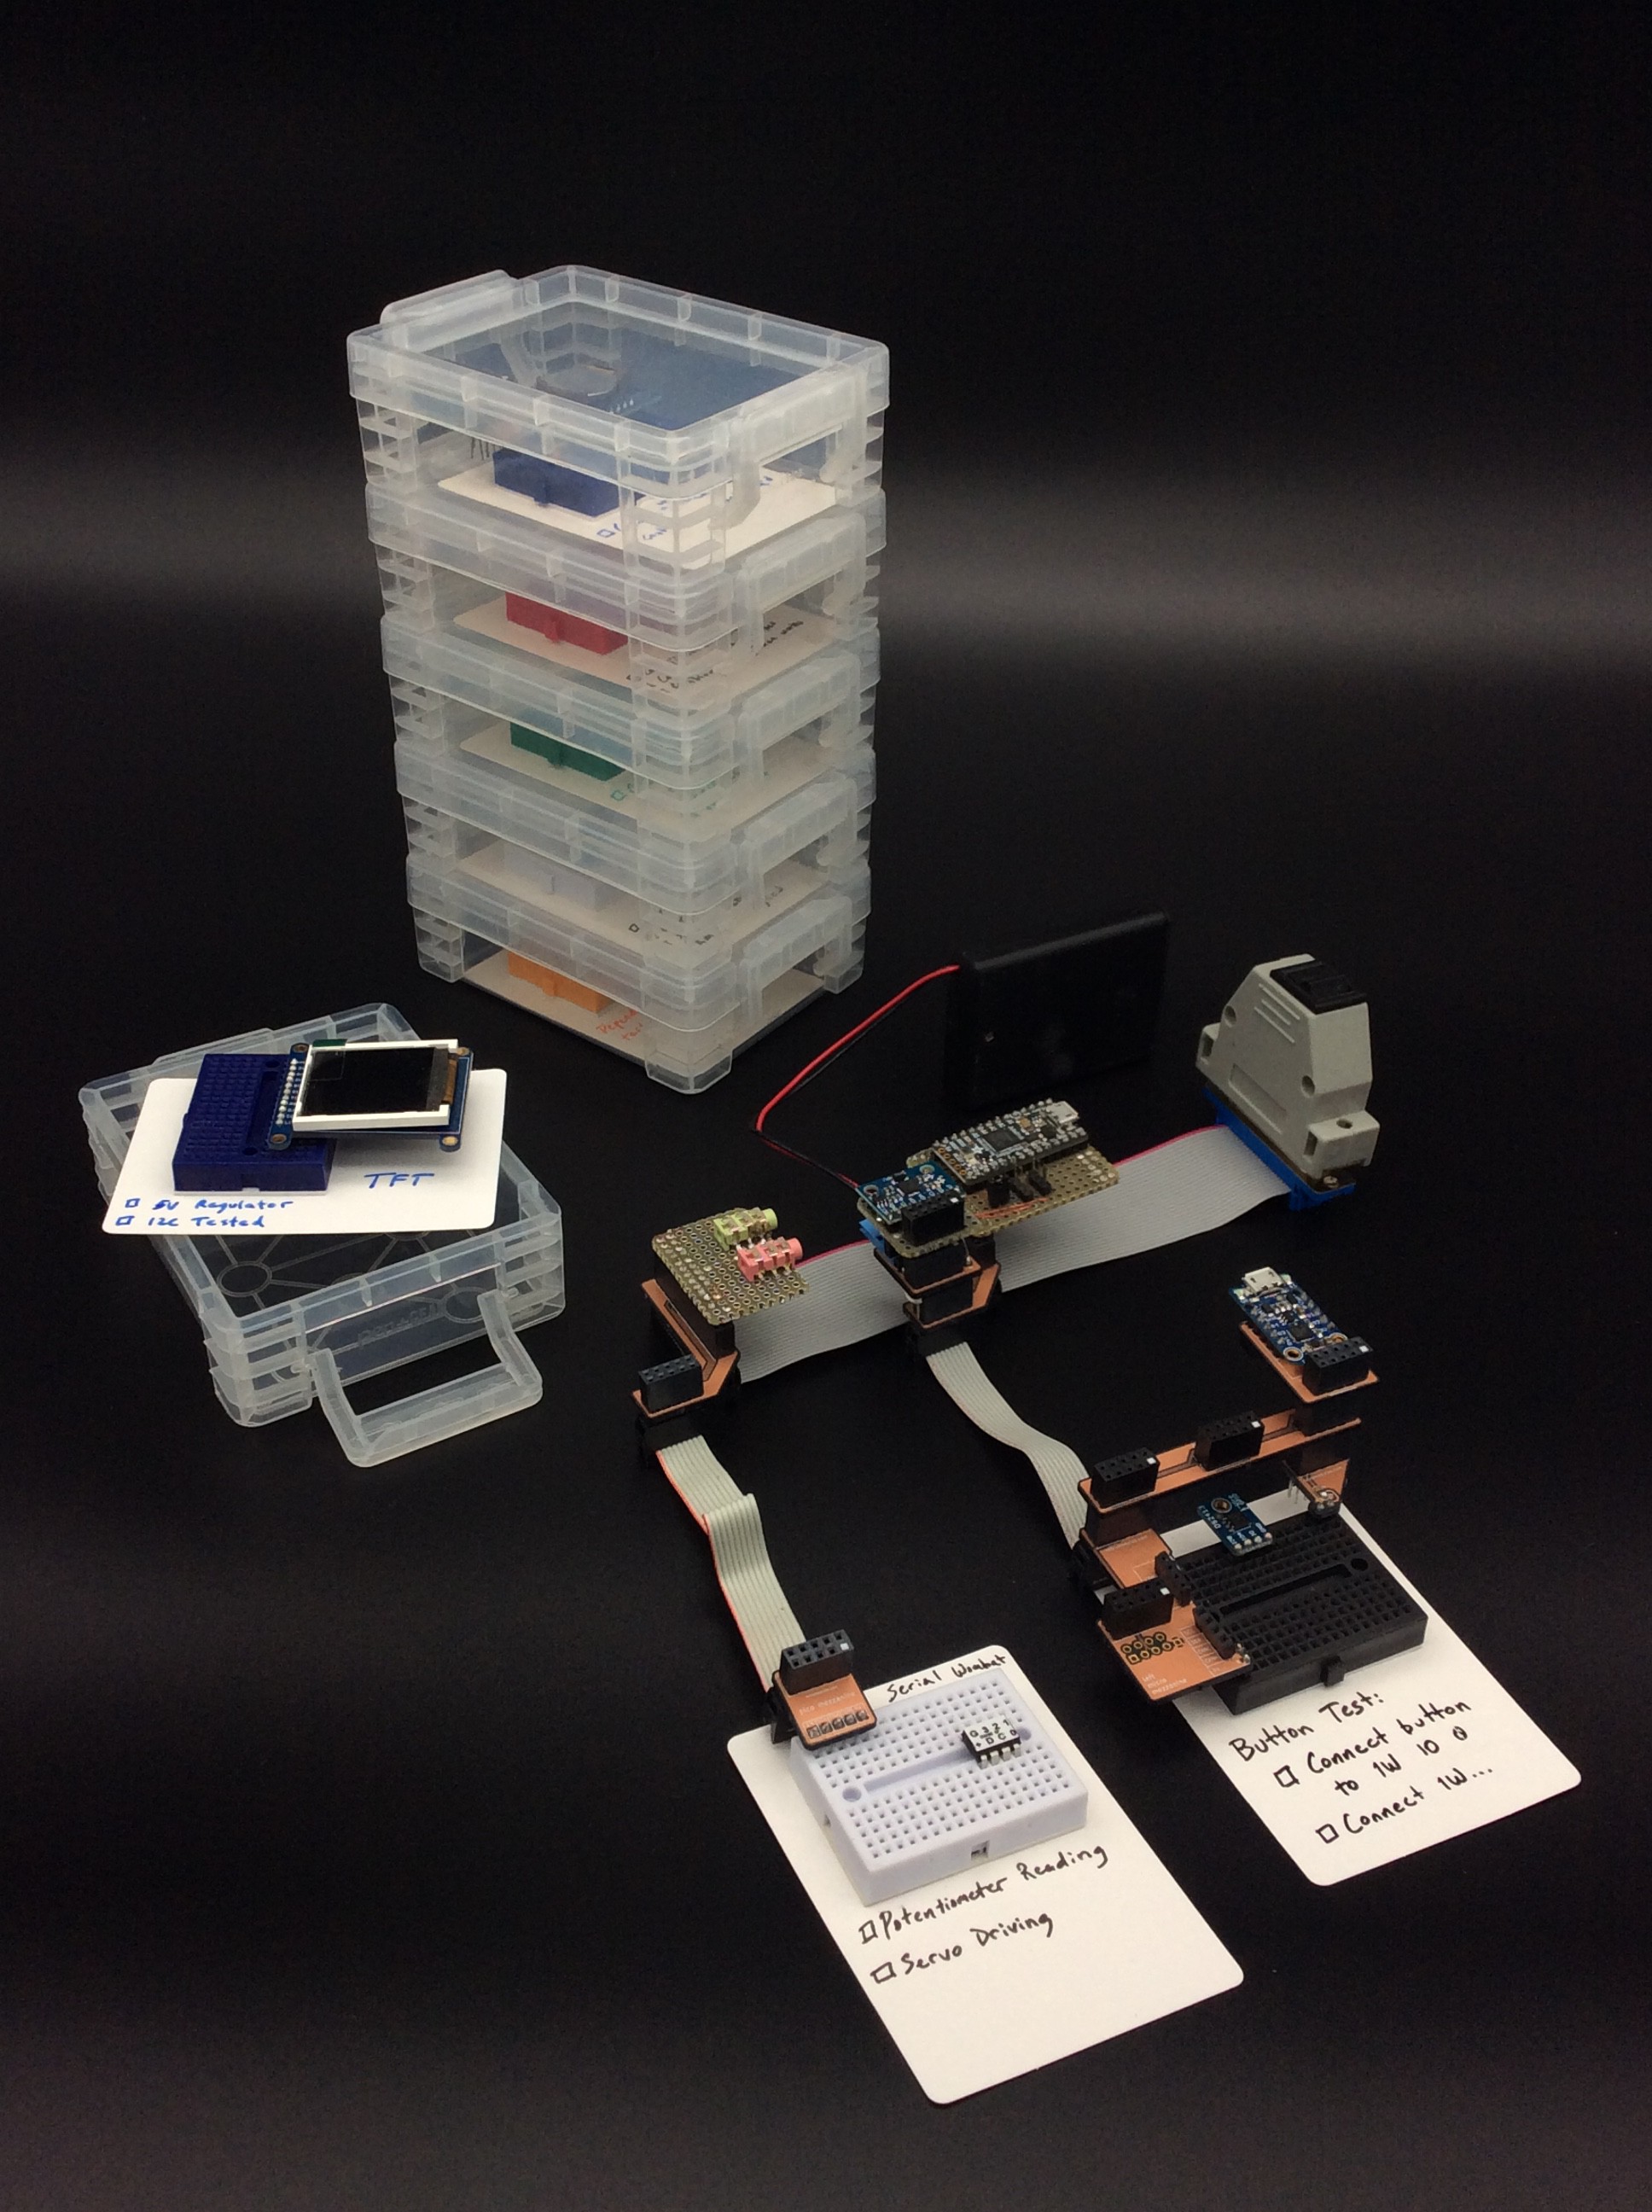
Most "finished" modules will probably be small & simple, which led me to consider a small breadboard dedicated to each module in the current queue. These small breadboards typically have double-sided tape on their back, which led me to consider sticking a blank business card to it. I went further by purchasing dry-erase flash cards & markers. While the dry-erase option is great, the business card & pencil actually work better. The dry-erase ink dries to the flash card & may accidentally get wiped away before it dries. A wired assembly easily fits into a crayon box that costs less than a dollar. Additional notes can be written on additional blank business cards & placed in the crayon box with the breadboard. I designed a few adapter PCBs with consistent pins to effectively make the breadboard a Retro Module. These breadboard-based-modules can be easily daisy-chained together with other breadboard-based-modules, PCB modules & modules in D-Sub enclosures.
![]()
Now, when I have a module idea I can go grab a mini breadboard, a crayon box & an index card. Five minutes later, I have a Retro Module with some documentation in a box. It doesn't do anything yet. There are no wires or components other than the breadboard, but it is already just a few quick steps away from being a working Retro Module.
Facilitating Modular Experimentation in the Classroom
This same process could be used on the first day of an electronics class. Students can be given the necessary supplies & stick the mini breadboard on the index card. The teacher can ask the students to jot down ideas for modules on a separate piece of paper & ask them to pick one. They can write the name of the module idea they chose on the top-right of the index card attached to the breadboard. They can be asked to list a few things they want the module to do & put check boxes at the left of each line item. Finally, they can be asked to put their module in the provided crayon box & take it home. In the following class, they can go through the same exercise with a new set of supplies & be asked to choose another module on their list, etc. The exercise helps students compartmentalize functionality they are interested in & reduce the risk of scope creep. As their collection of crayon boxes grow, they steadily gain the ability to make their experiments work in concert.
Retro Modules for Education
Optimizing the Retro Modules framework for educational settings.