 A.dzhusupov
-
1List of equipments and tools you need to make Thenar.
- hot glue gun
- paint brushes (1” and 3”)
- screwdriver set
- Arduino
- soldering iron
- wire cutter
- digital multimeter
- metal file(s)
- sanding block
- 3D printer
- tool box
-
2Materials
It is better to print models from HIPS filament. It is not expensive and very handy for sanding.
Prefer to choose dark colors of filament - it will be easier to see where on a surface you need to sand more. Best choice is black color.
Same is for color of UV resin for 3d printing - it is better for curing.
![]()
![]()
-
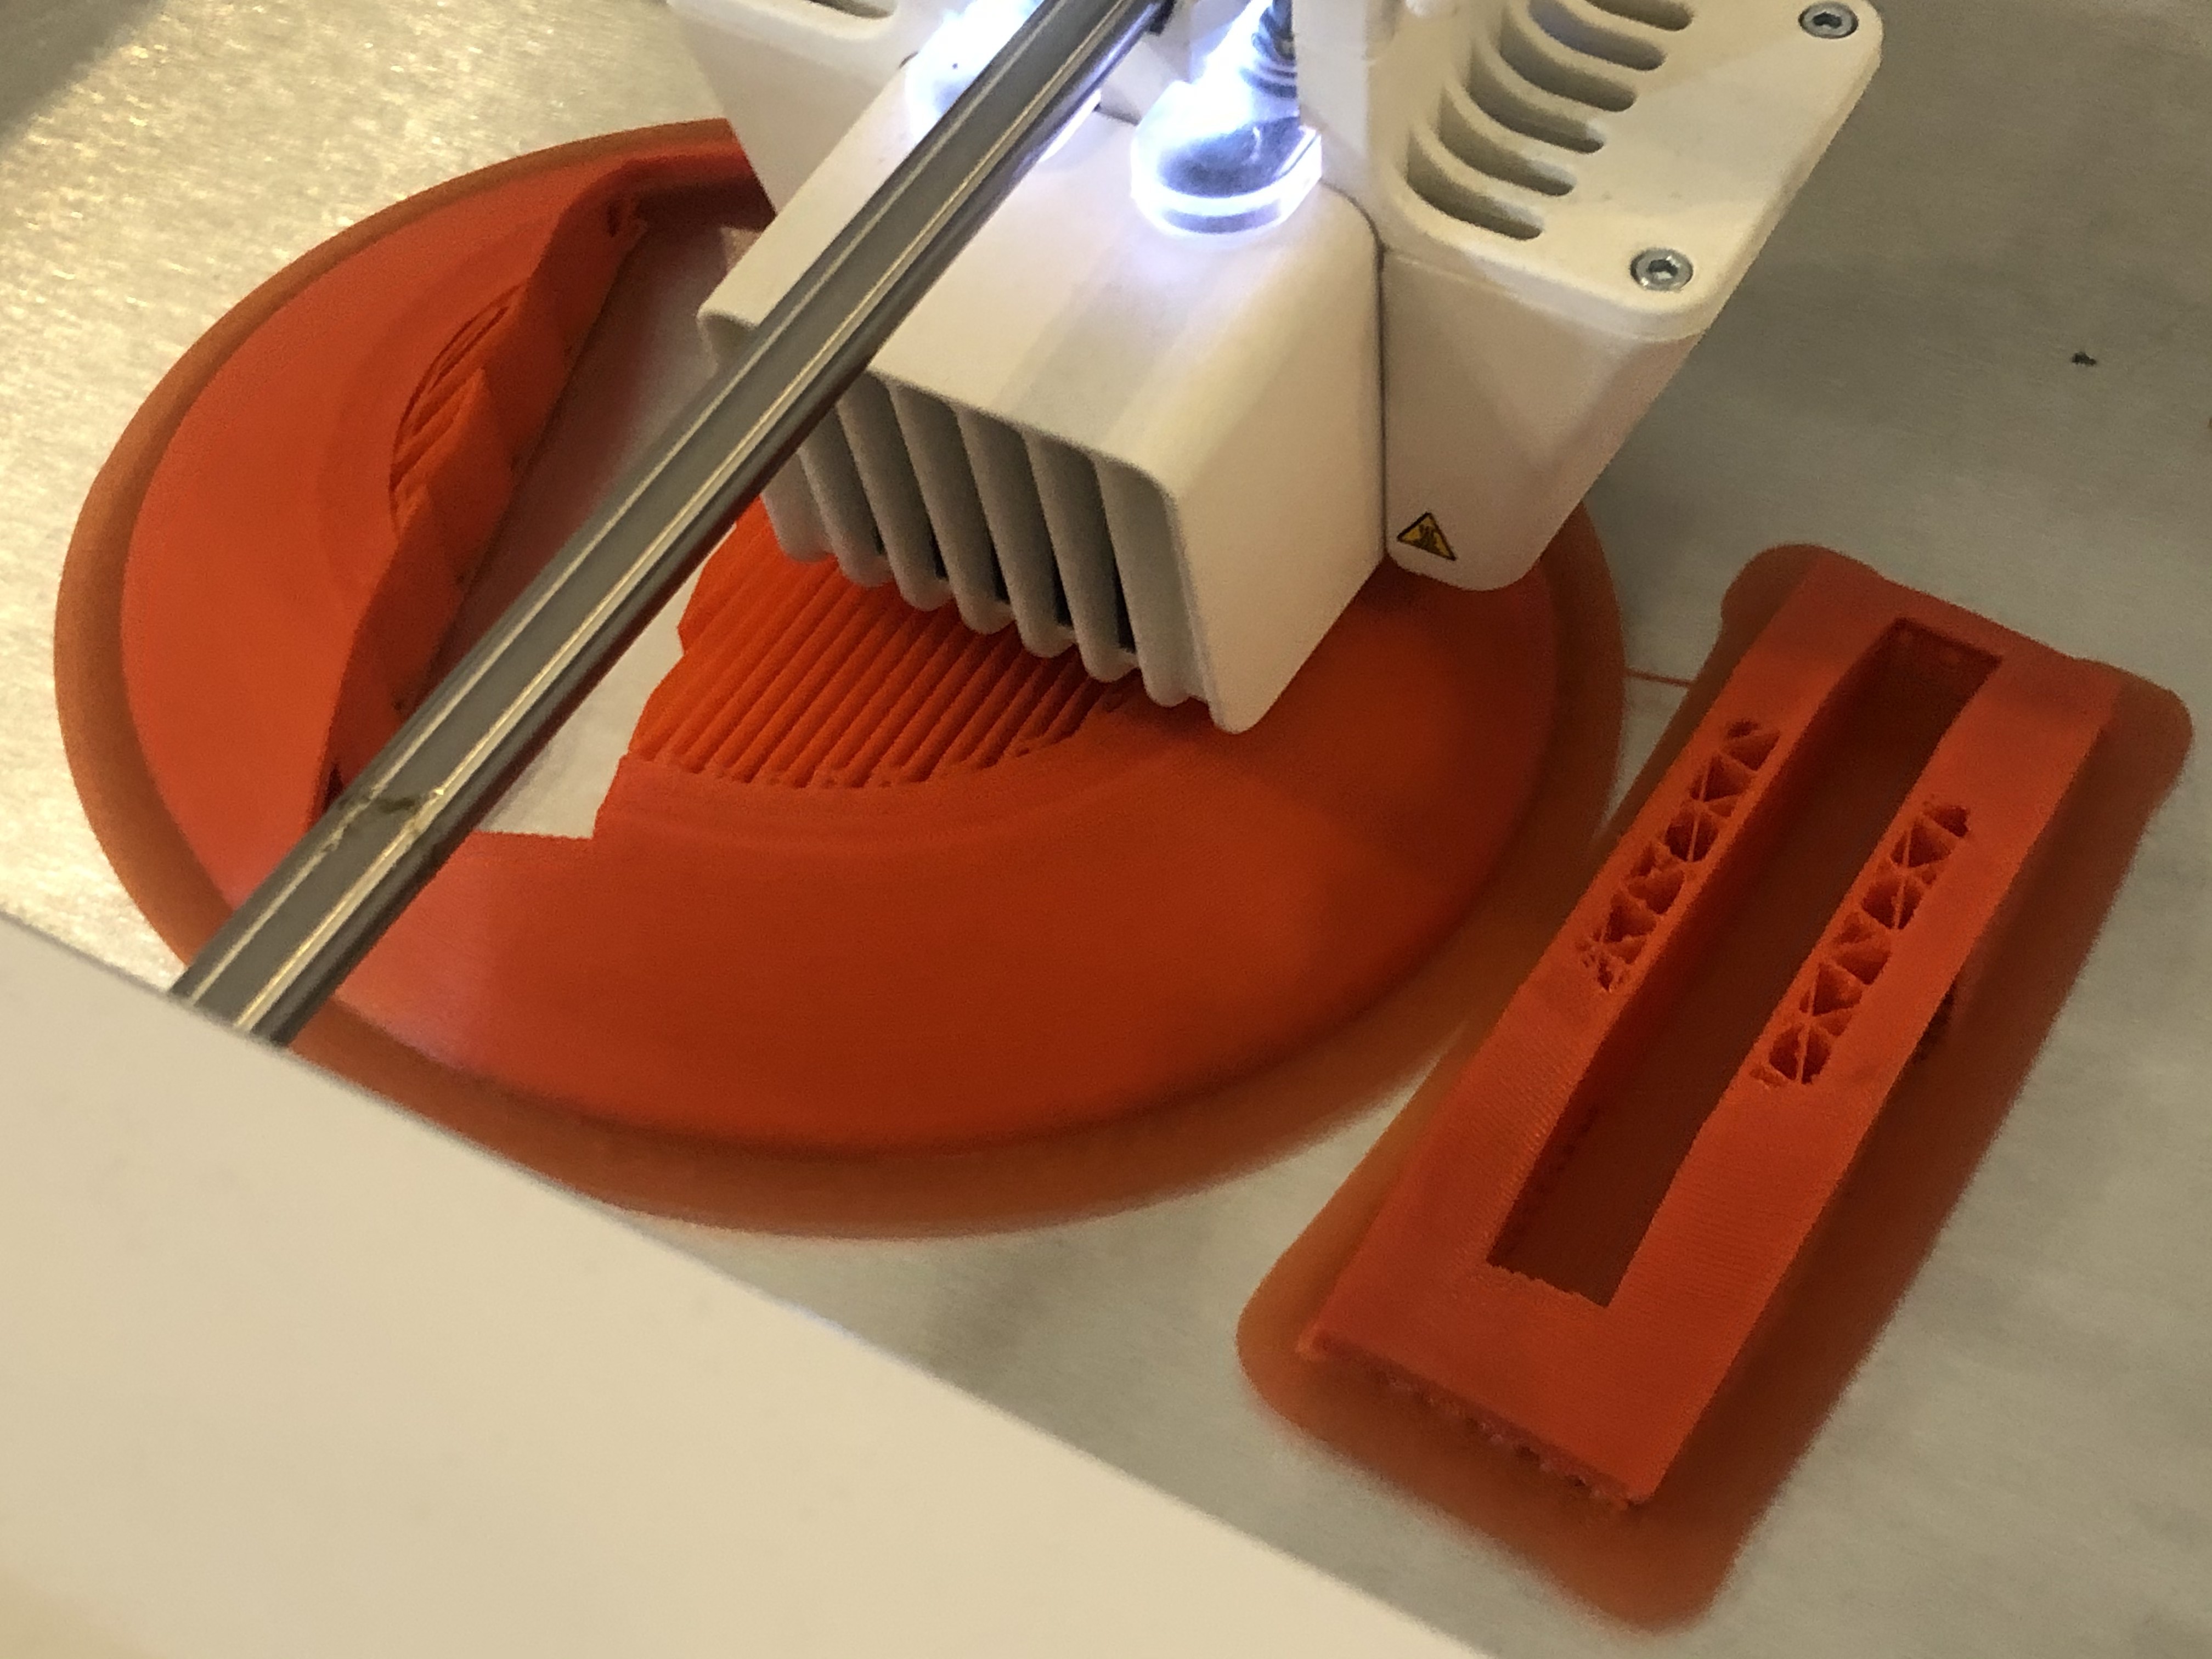
3Printing parts
Print all of the parts in the package. For your convenience, they should be printed in one piece. Place all the models on a print bed so that supports will not connect to the outer surface of the case. It is enough to print parts with 0.2 mm thin layers with 30% infill of filament. Except for Braille pins and a pin cap are printed on an FDM (FFF) 3d Printer.
![]()
-
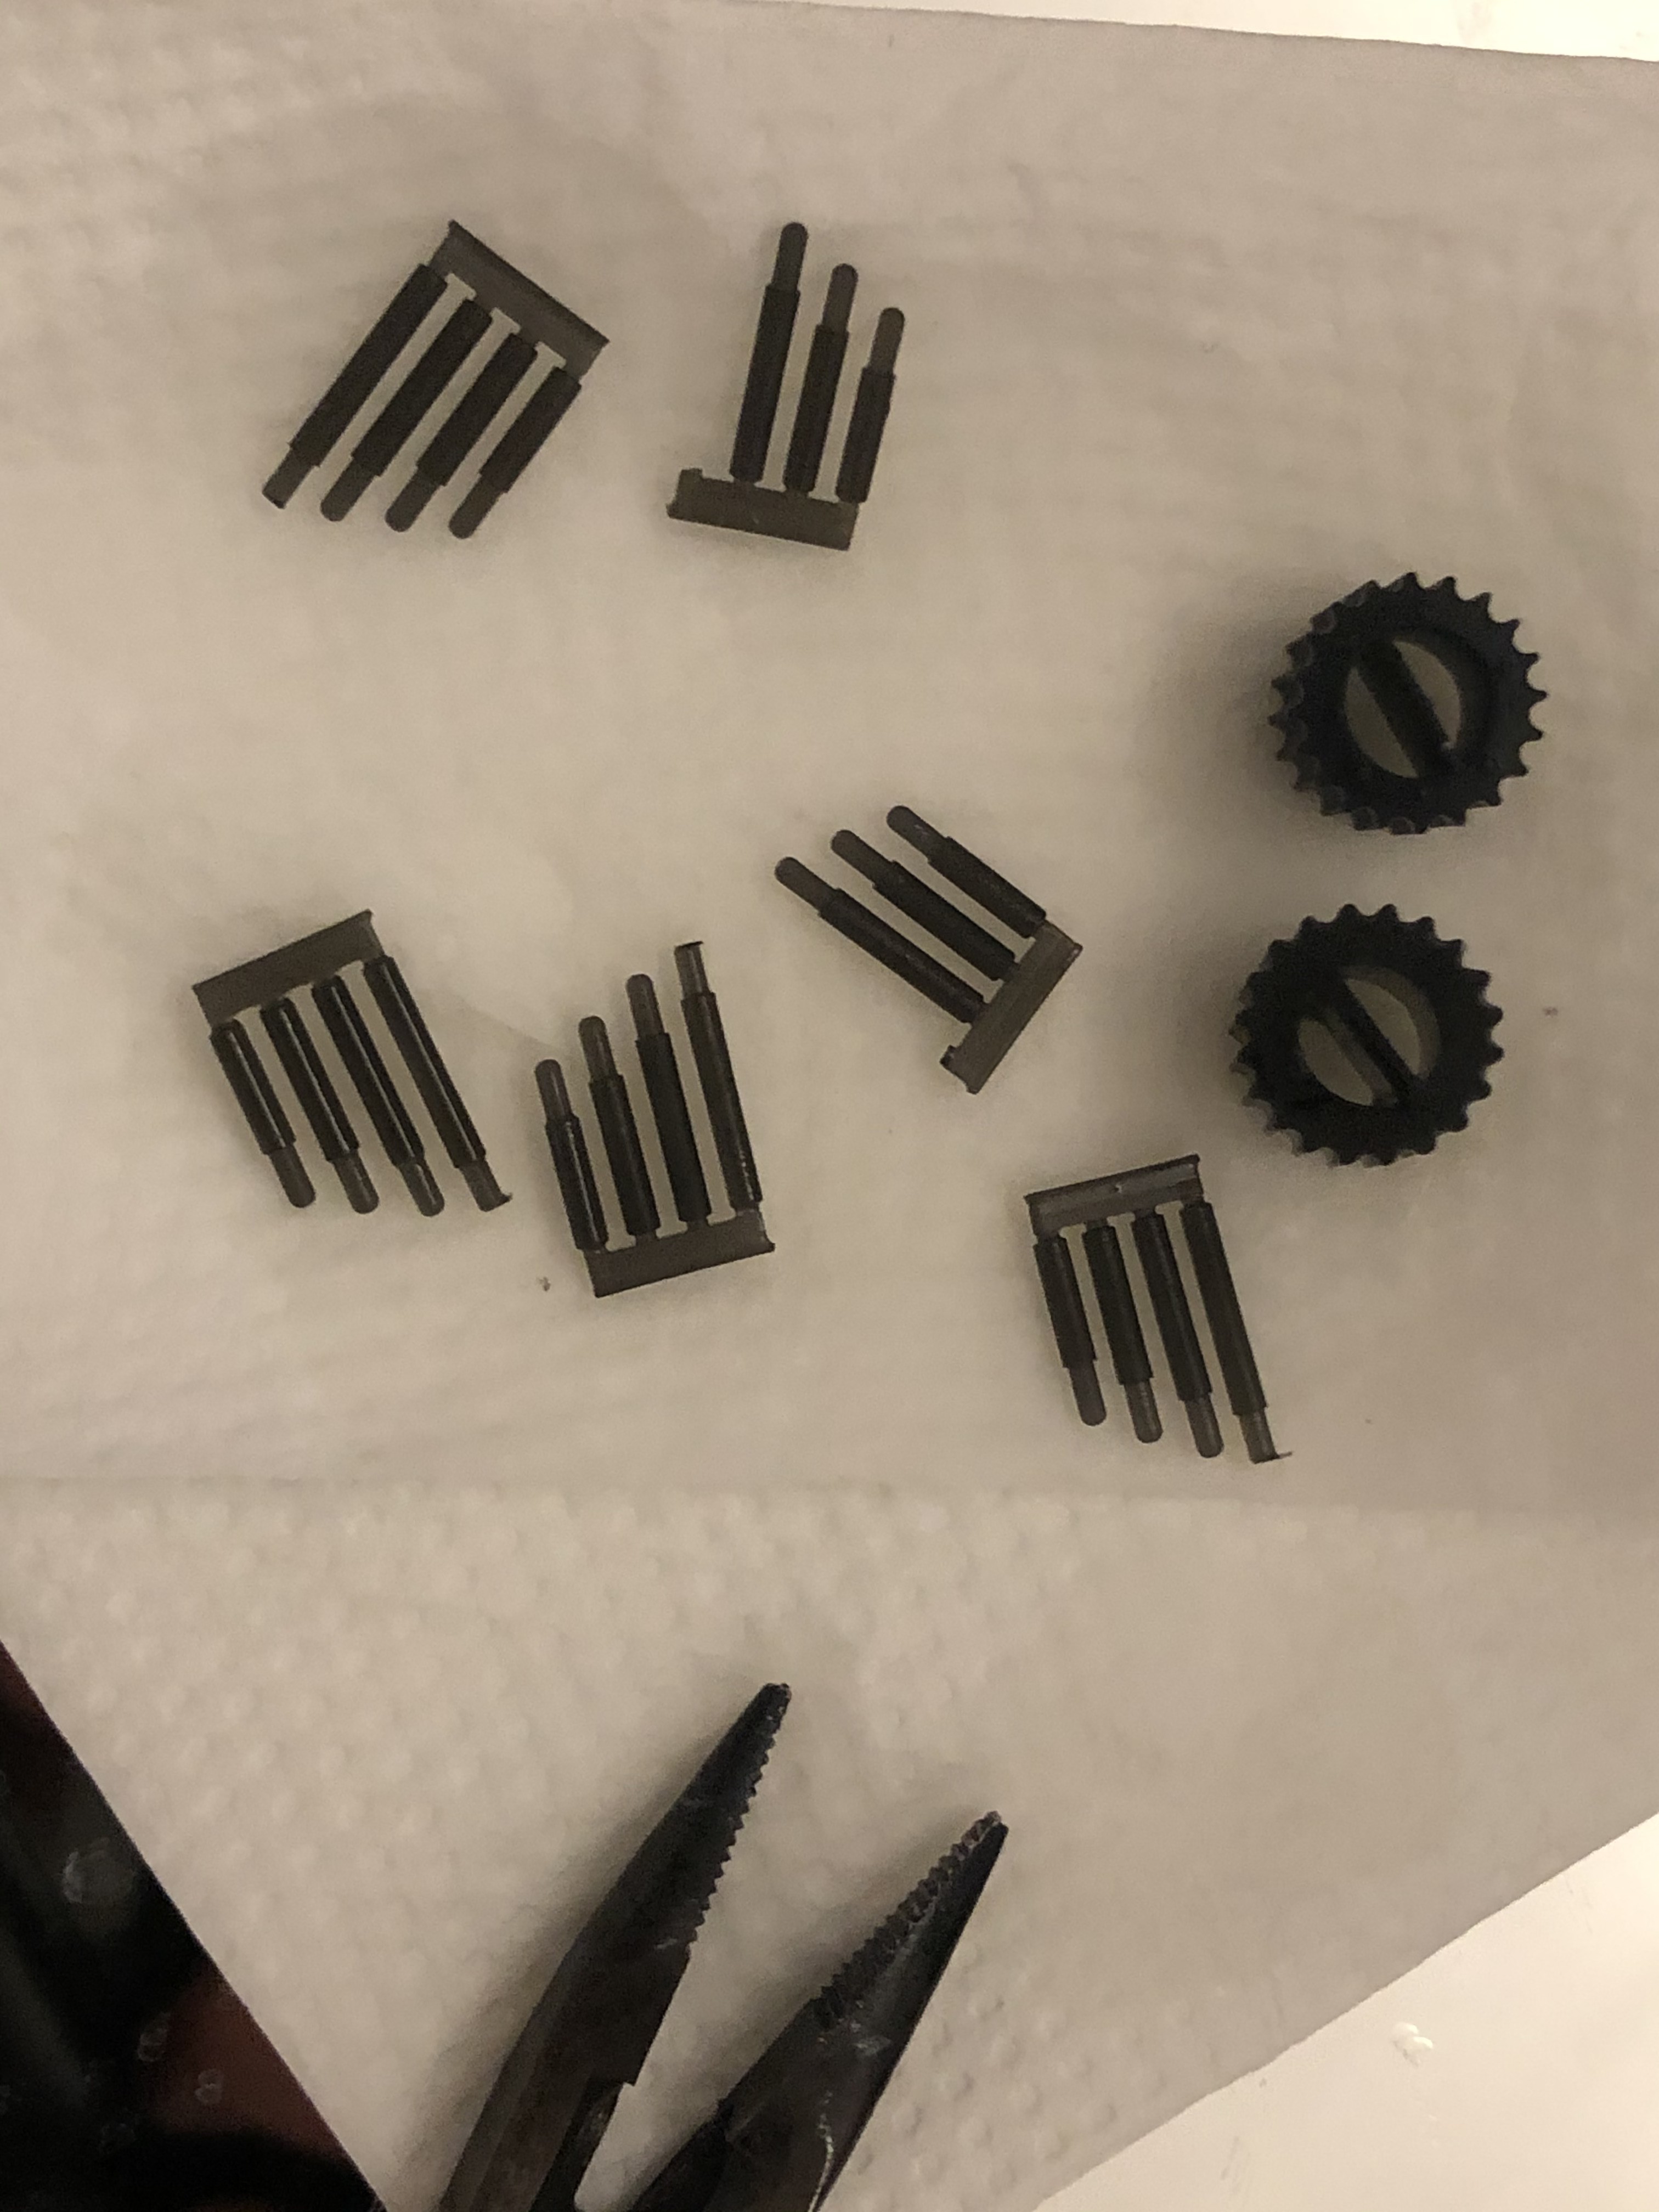
4Braille Cell cap and pins
Braille pins and pin cap is better to print on an LCD 3d printer. However you can print on FFF printer, and it will need more sanding and drilling cap holes for pins.
![]()
-
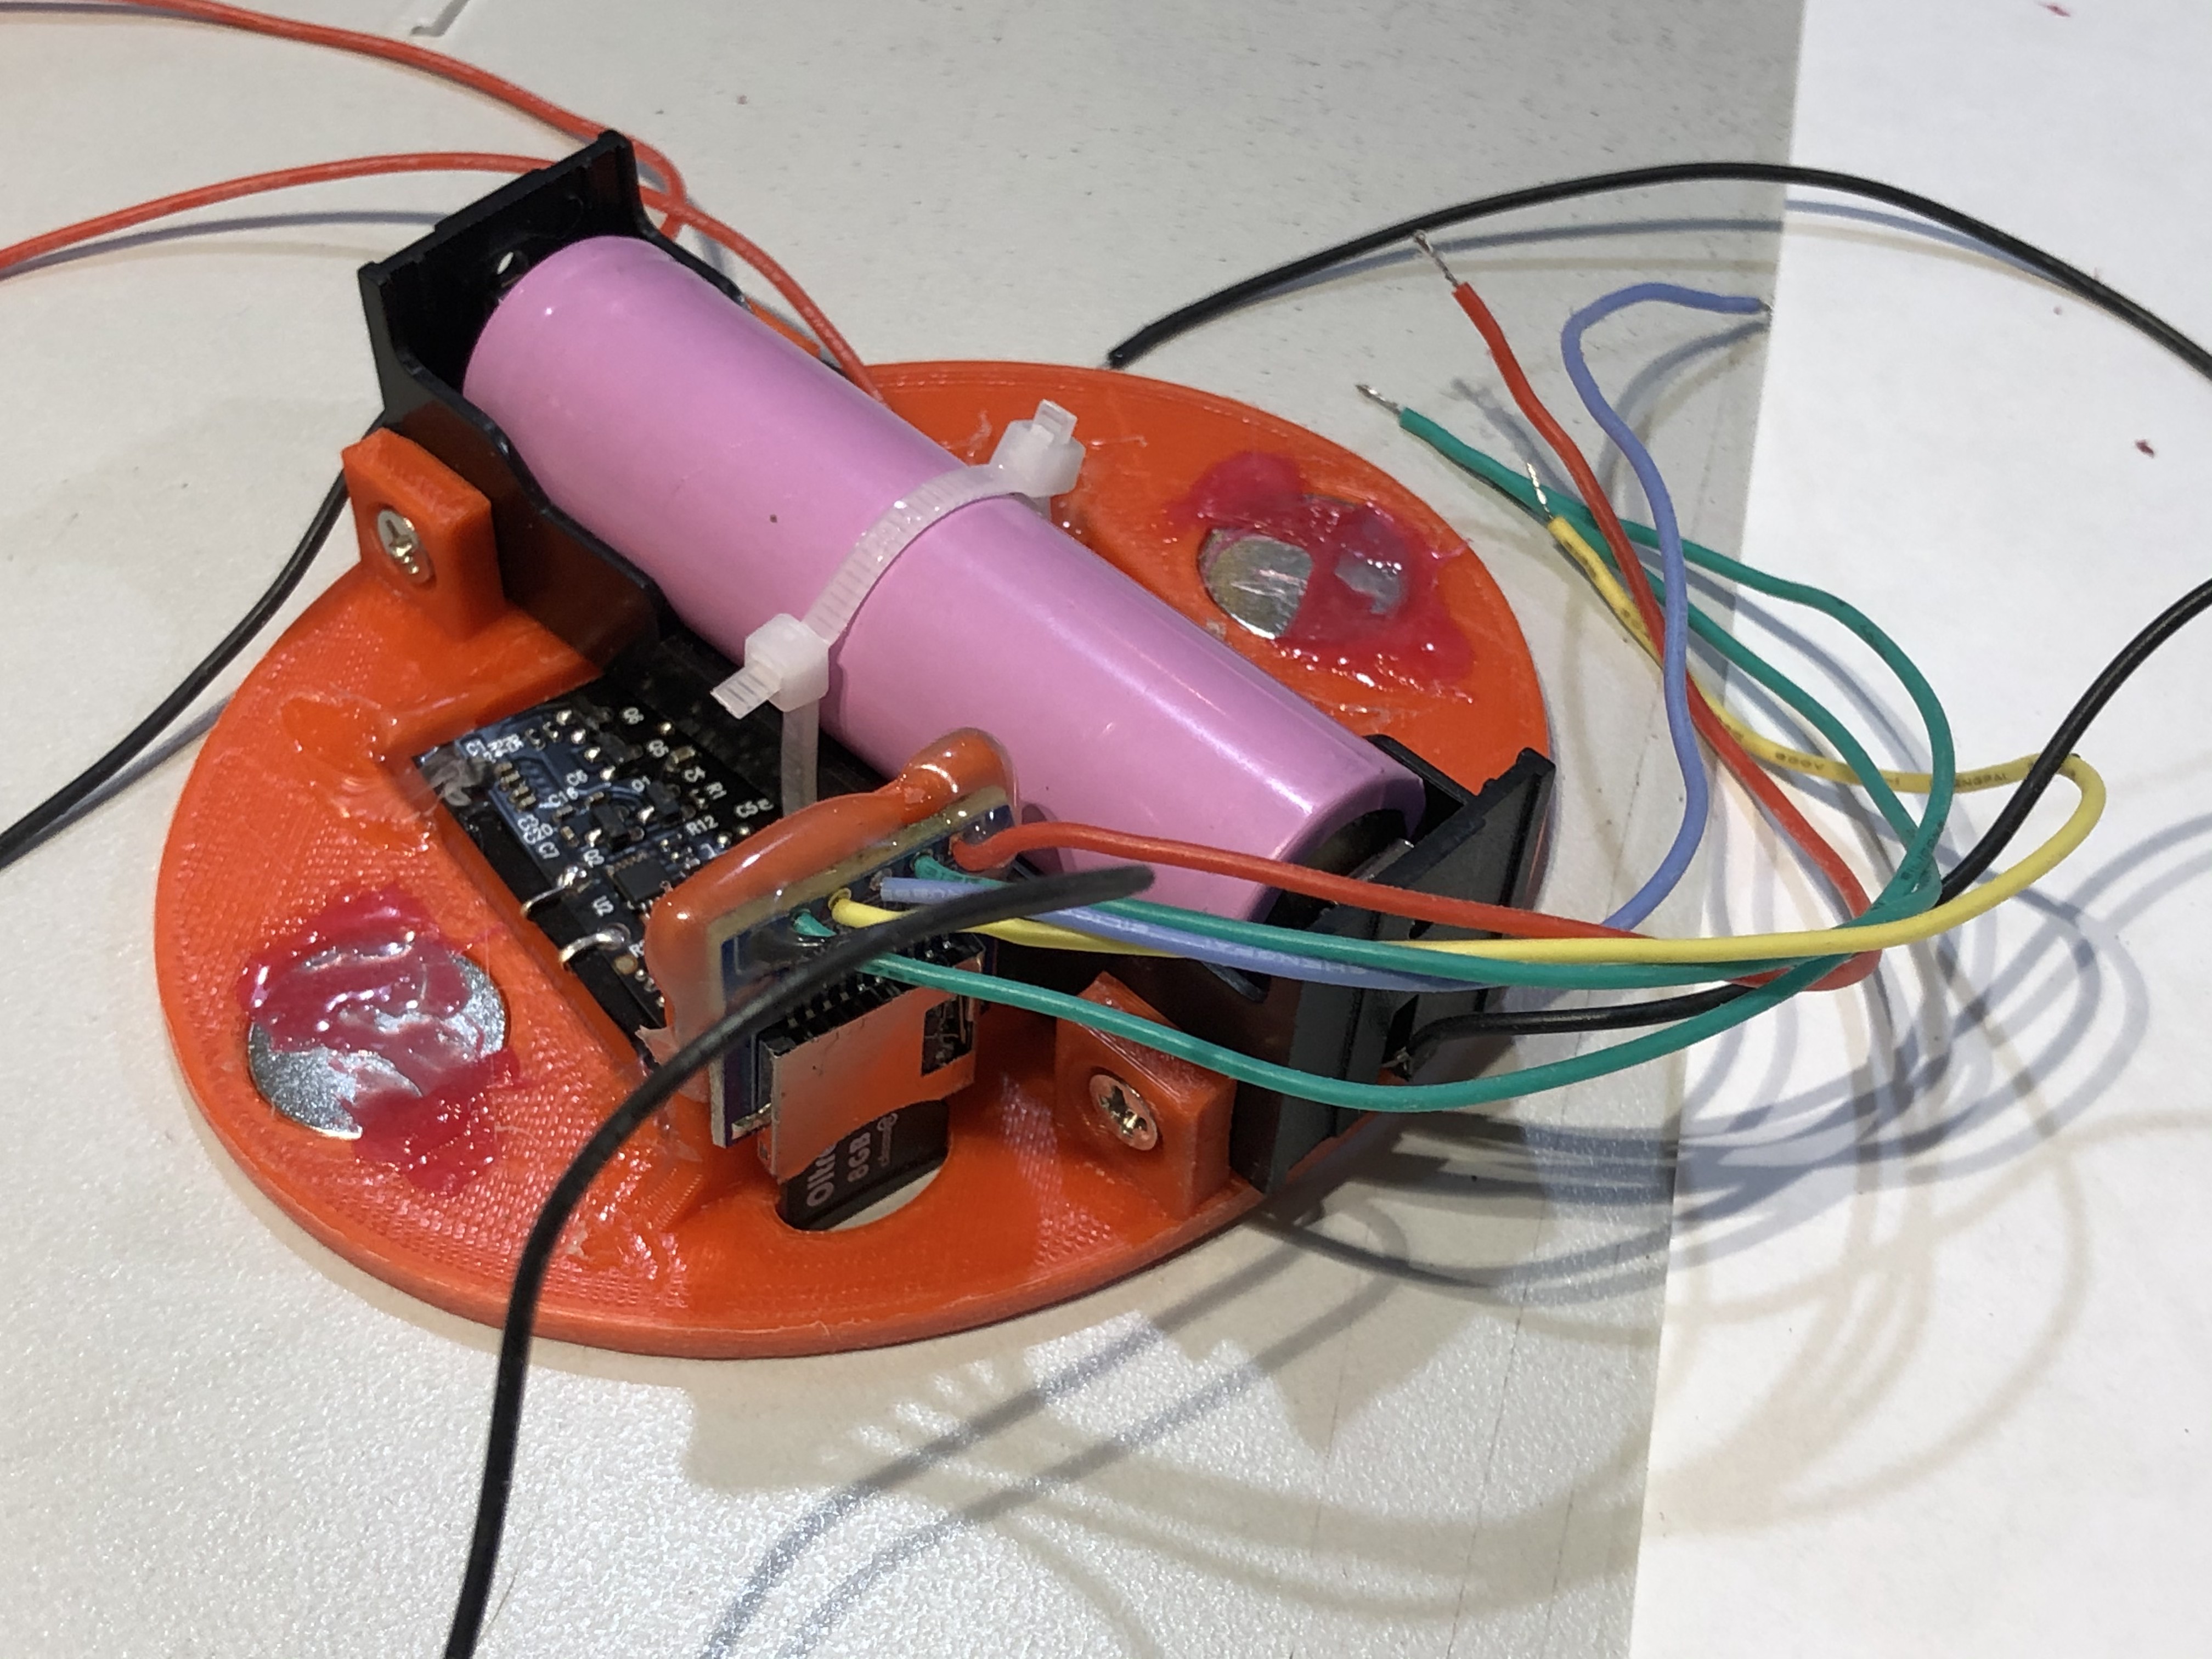
5Case
Glue magnets with the hot glue gun to the bottom part of the case and to the upper part of the charger dock station. Choose different poles for magnets to stick to each other.
Then glue the Qi Wireless Charging Receiver in a special hole. On top of the receiver place and glue the Li-ion battery. Solder all wires before gluing.
![]()
Tip:
Mark the magnets poles with permanent highlighter to avoid the mistake in polarity.
-
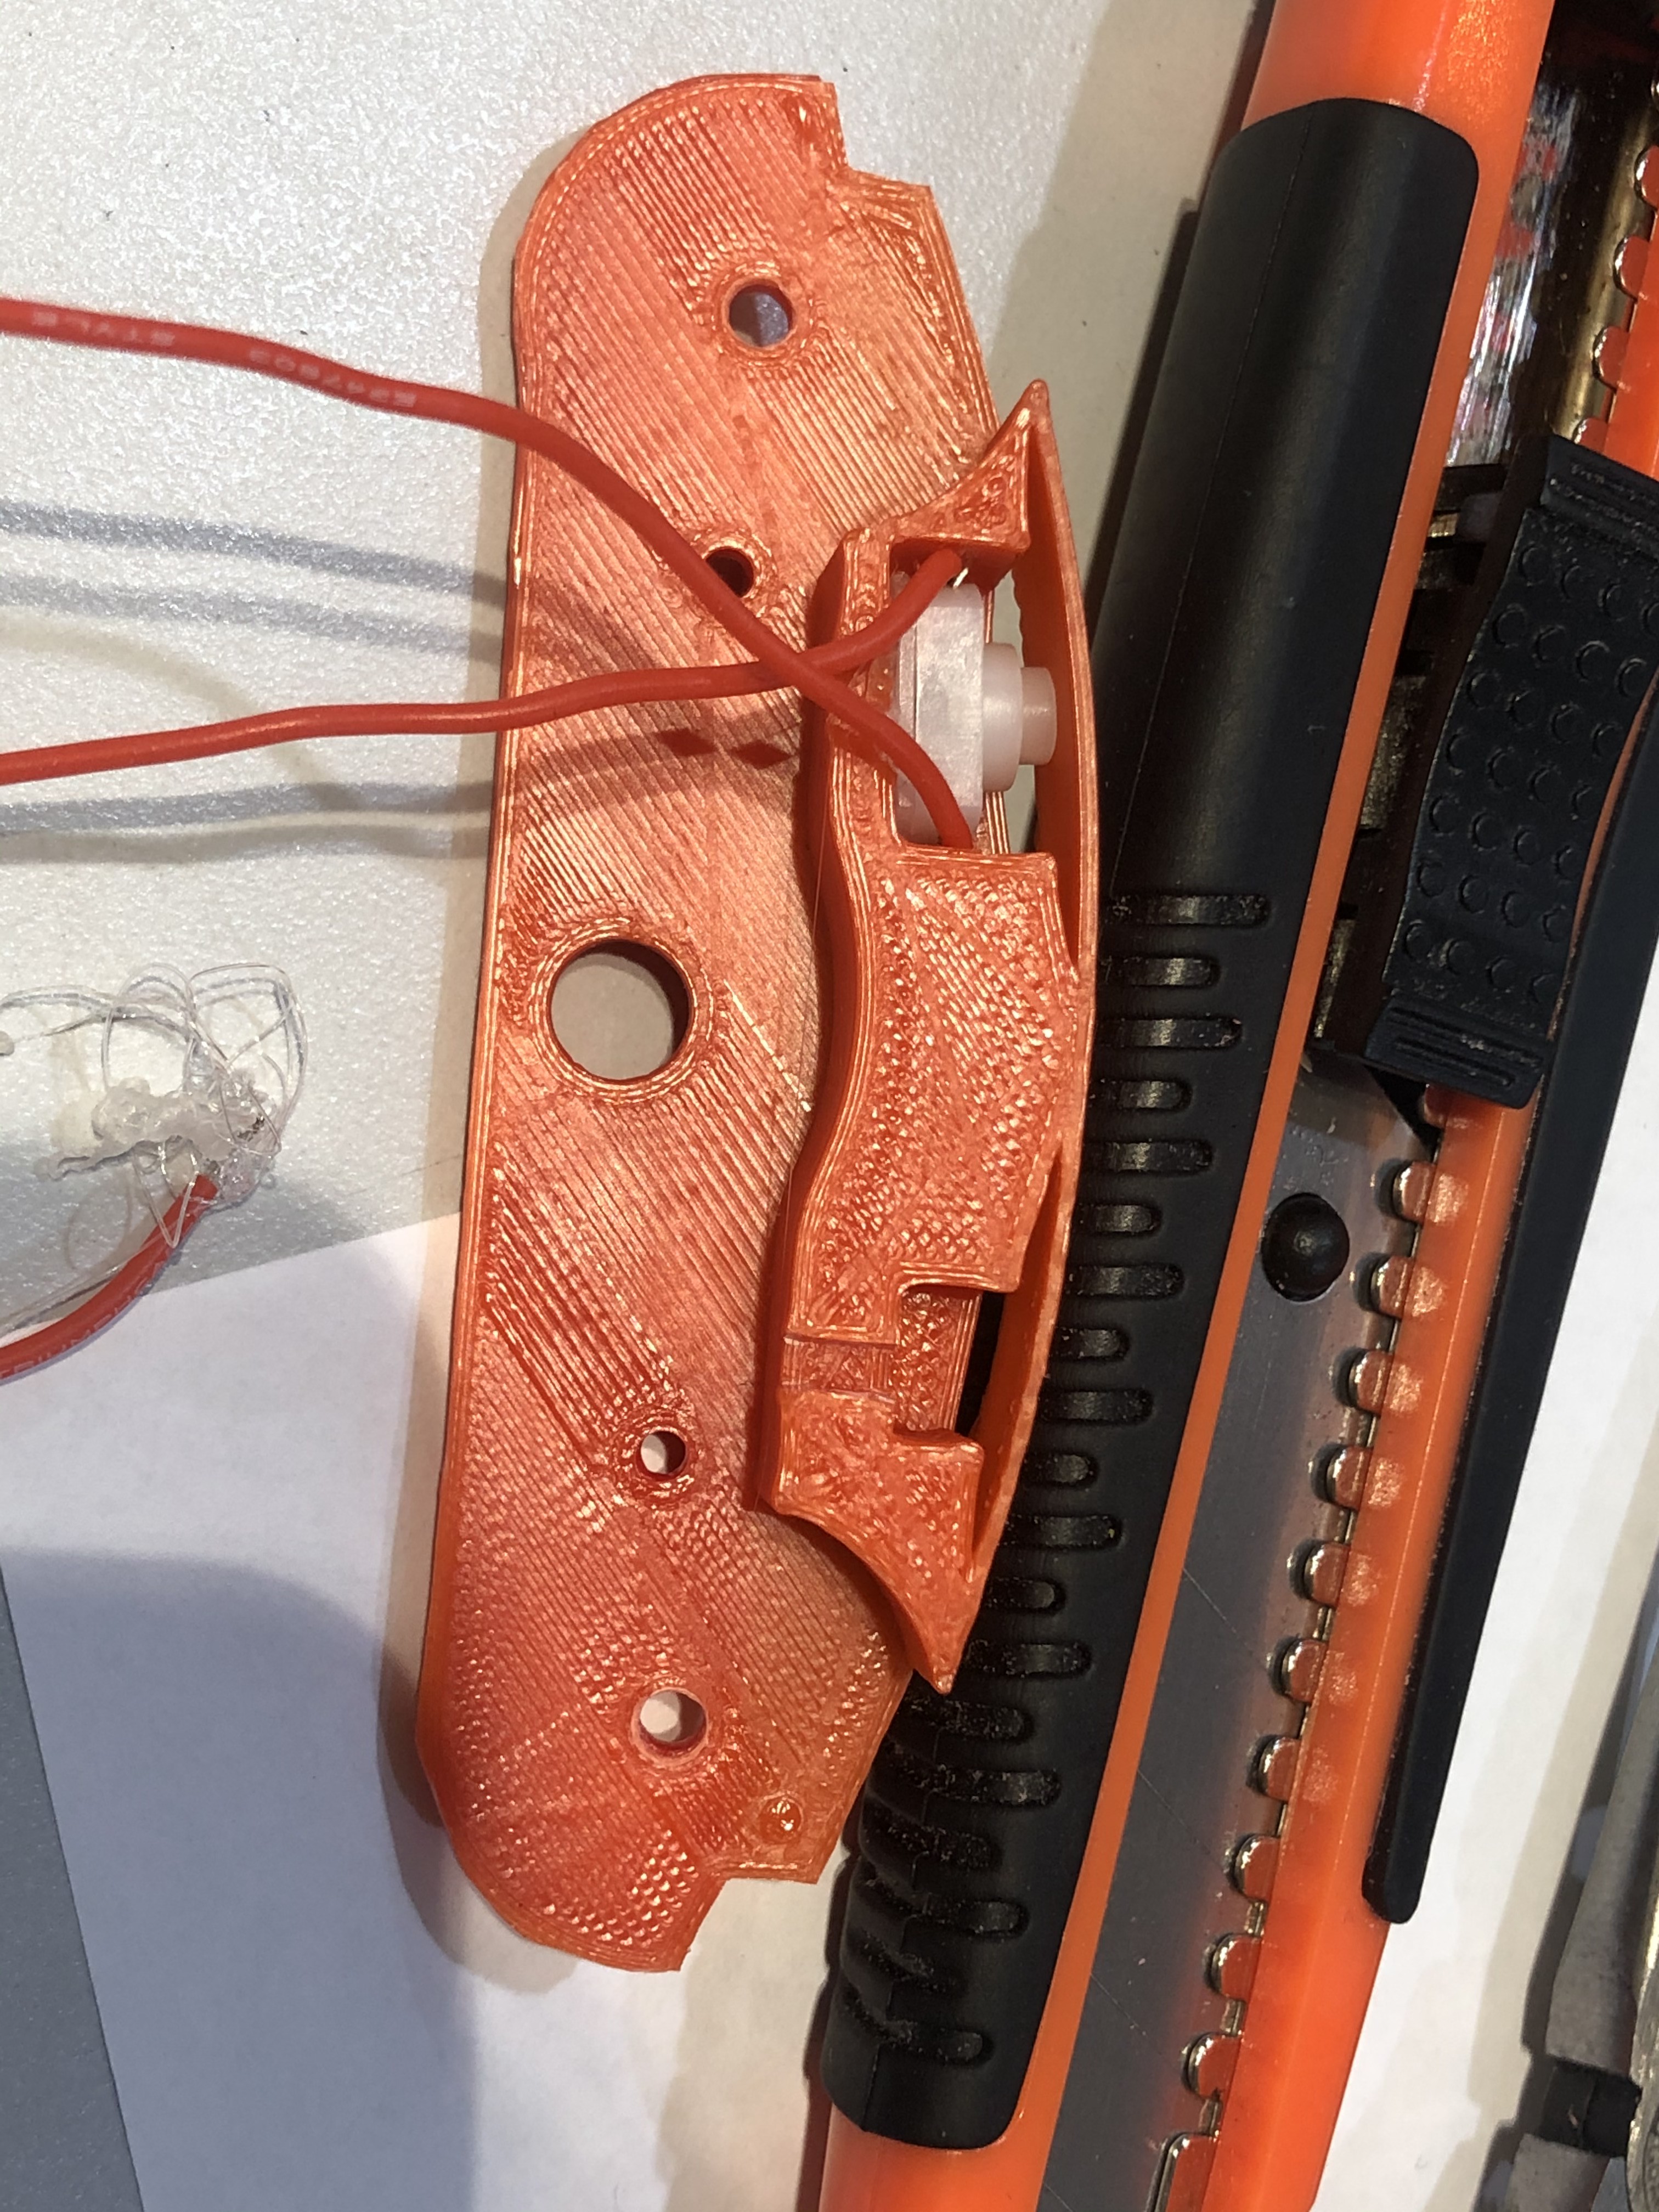
6Jogging dial (shuttle wheel)
Cut legs of the pushbutton, solder wires to them, and place them inside a special hole in a jogger case. Secure it with hot glue. Place bearings in their covers and mount them inside the jogger case using ling M3 bolts. Close the outer case of the jogger and put the rubber belt GT2. When the jogger is fully assembled tighten the bolts with M3 nuts and glue with acetone. Screw-in the rotary encoder and solder wires to it.
![]()
![]()
-
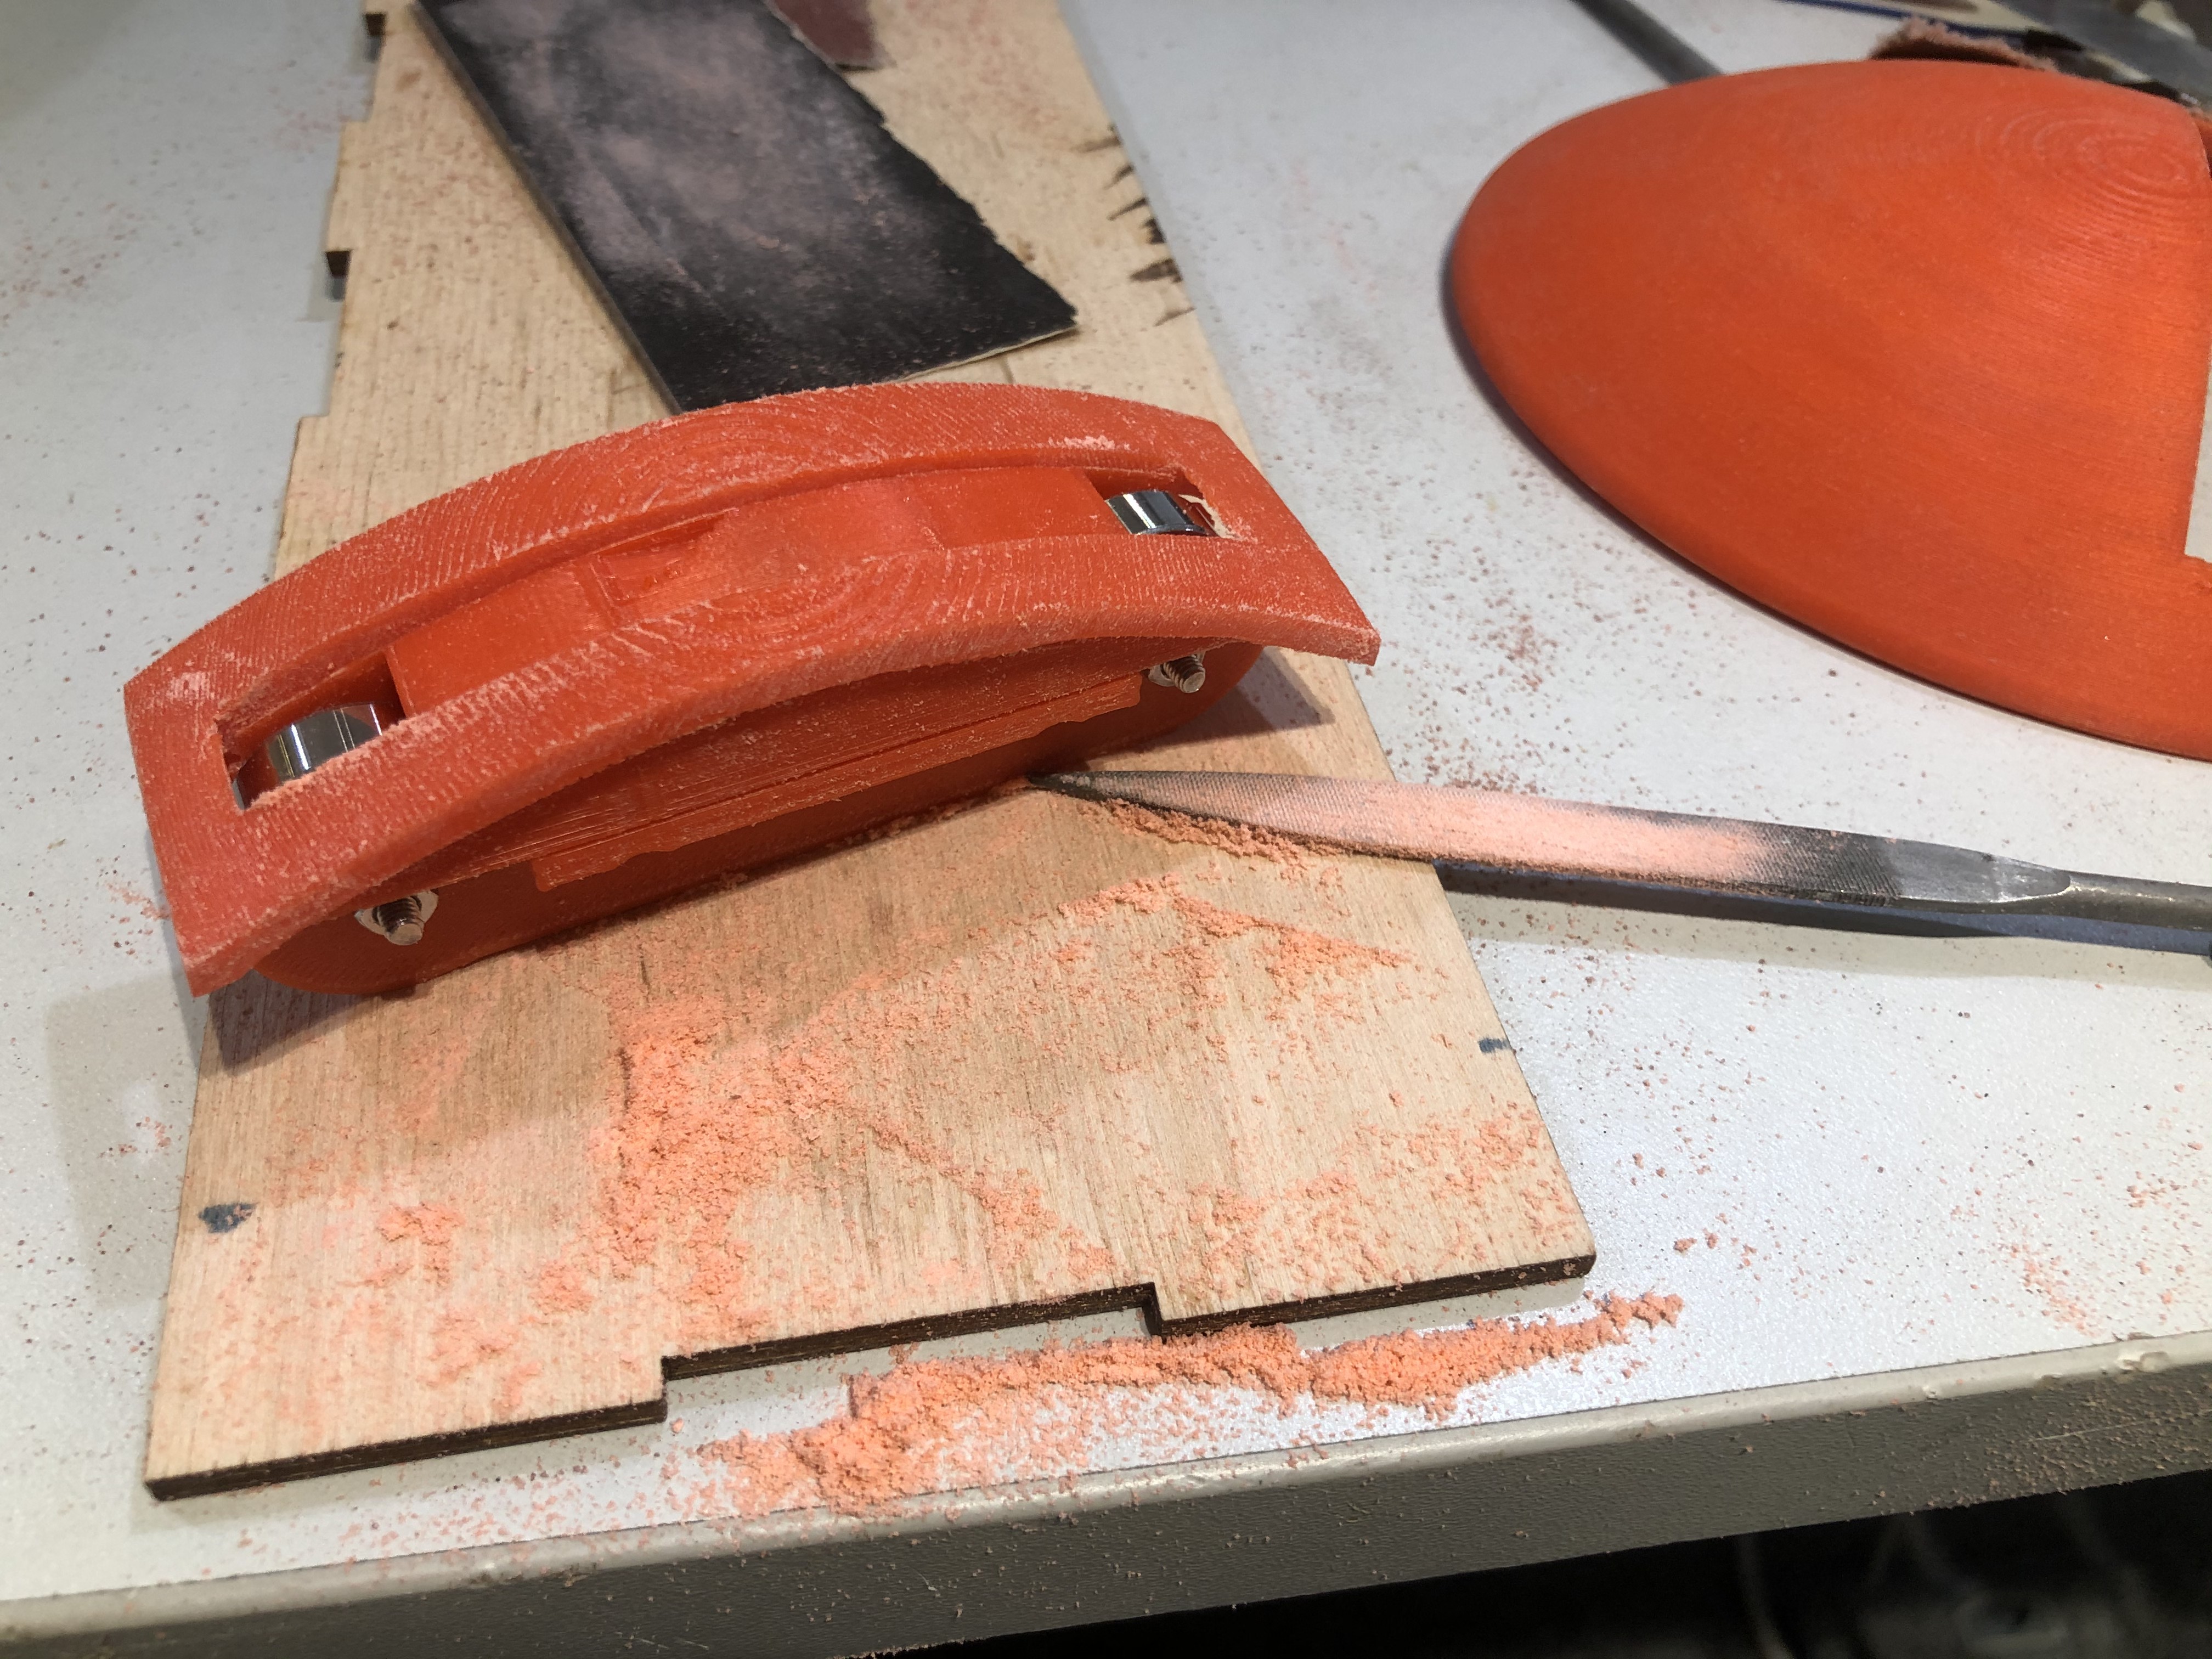
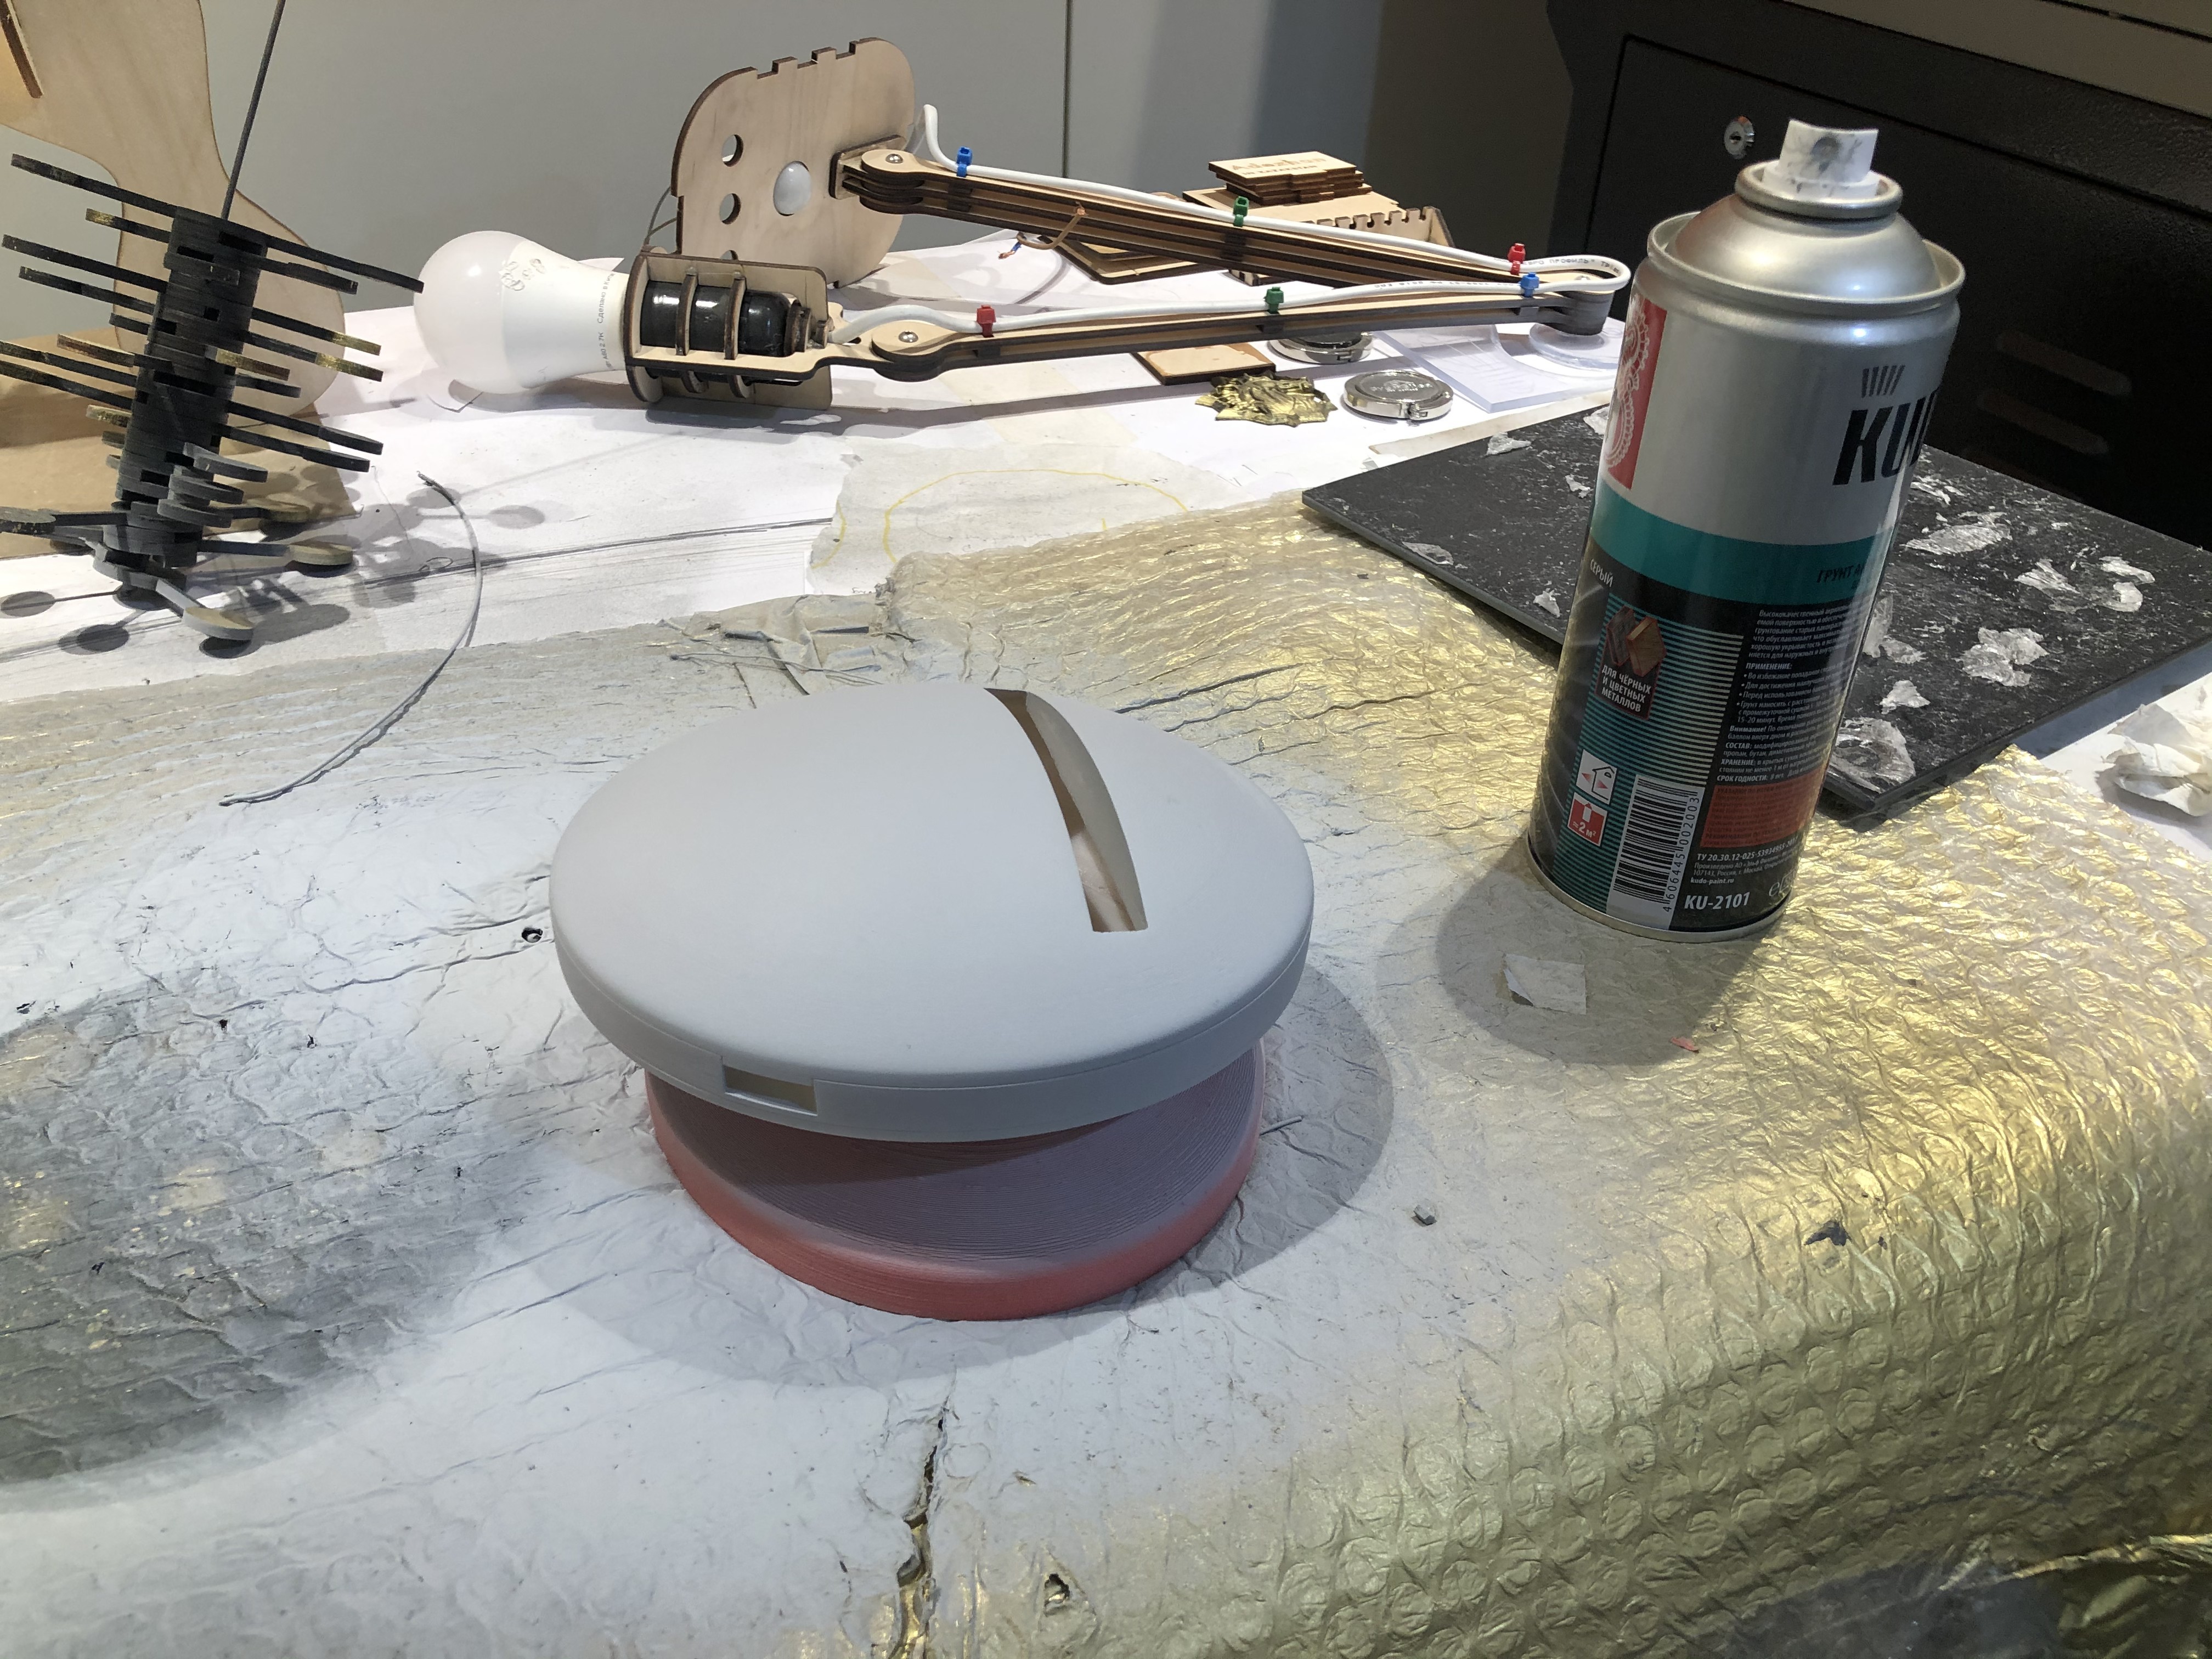
7Finishing a case
Sand the case parts with sandpaper. Then cover them with spray primer. For a better result make 4-5 layers and wait for 10-15 minutes to fully dry each layer.
You can color it with spray paint.
![]()
-
8Schematics
Solder modules and Arduino according to following scheme. Try to make connecting wires as short as possible and stick them to inner side of the case.
![]()
-
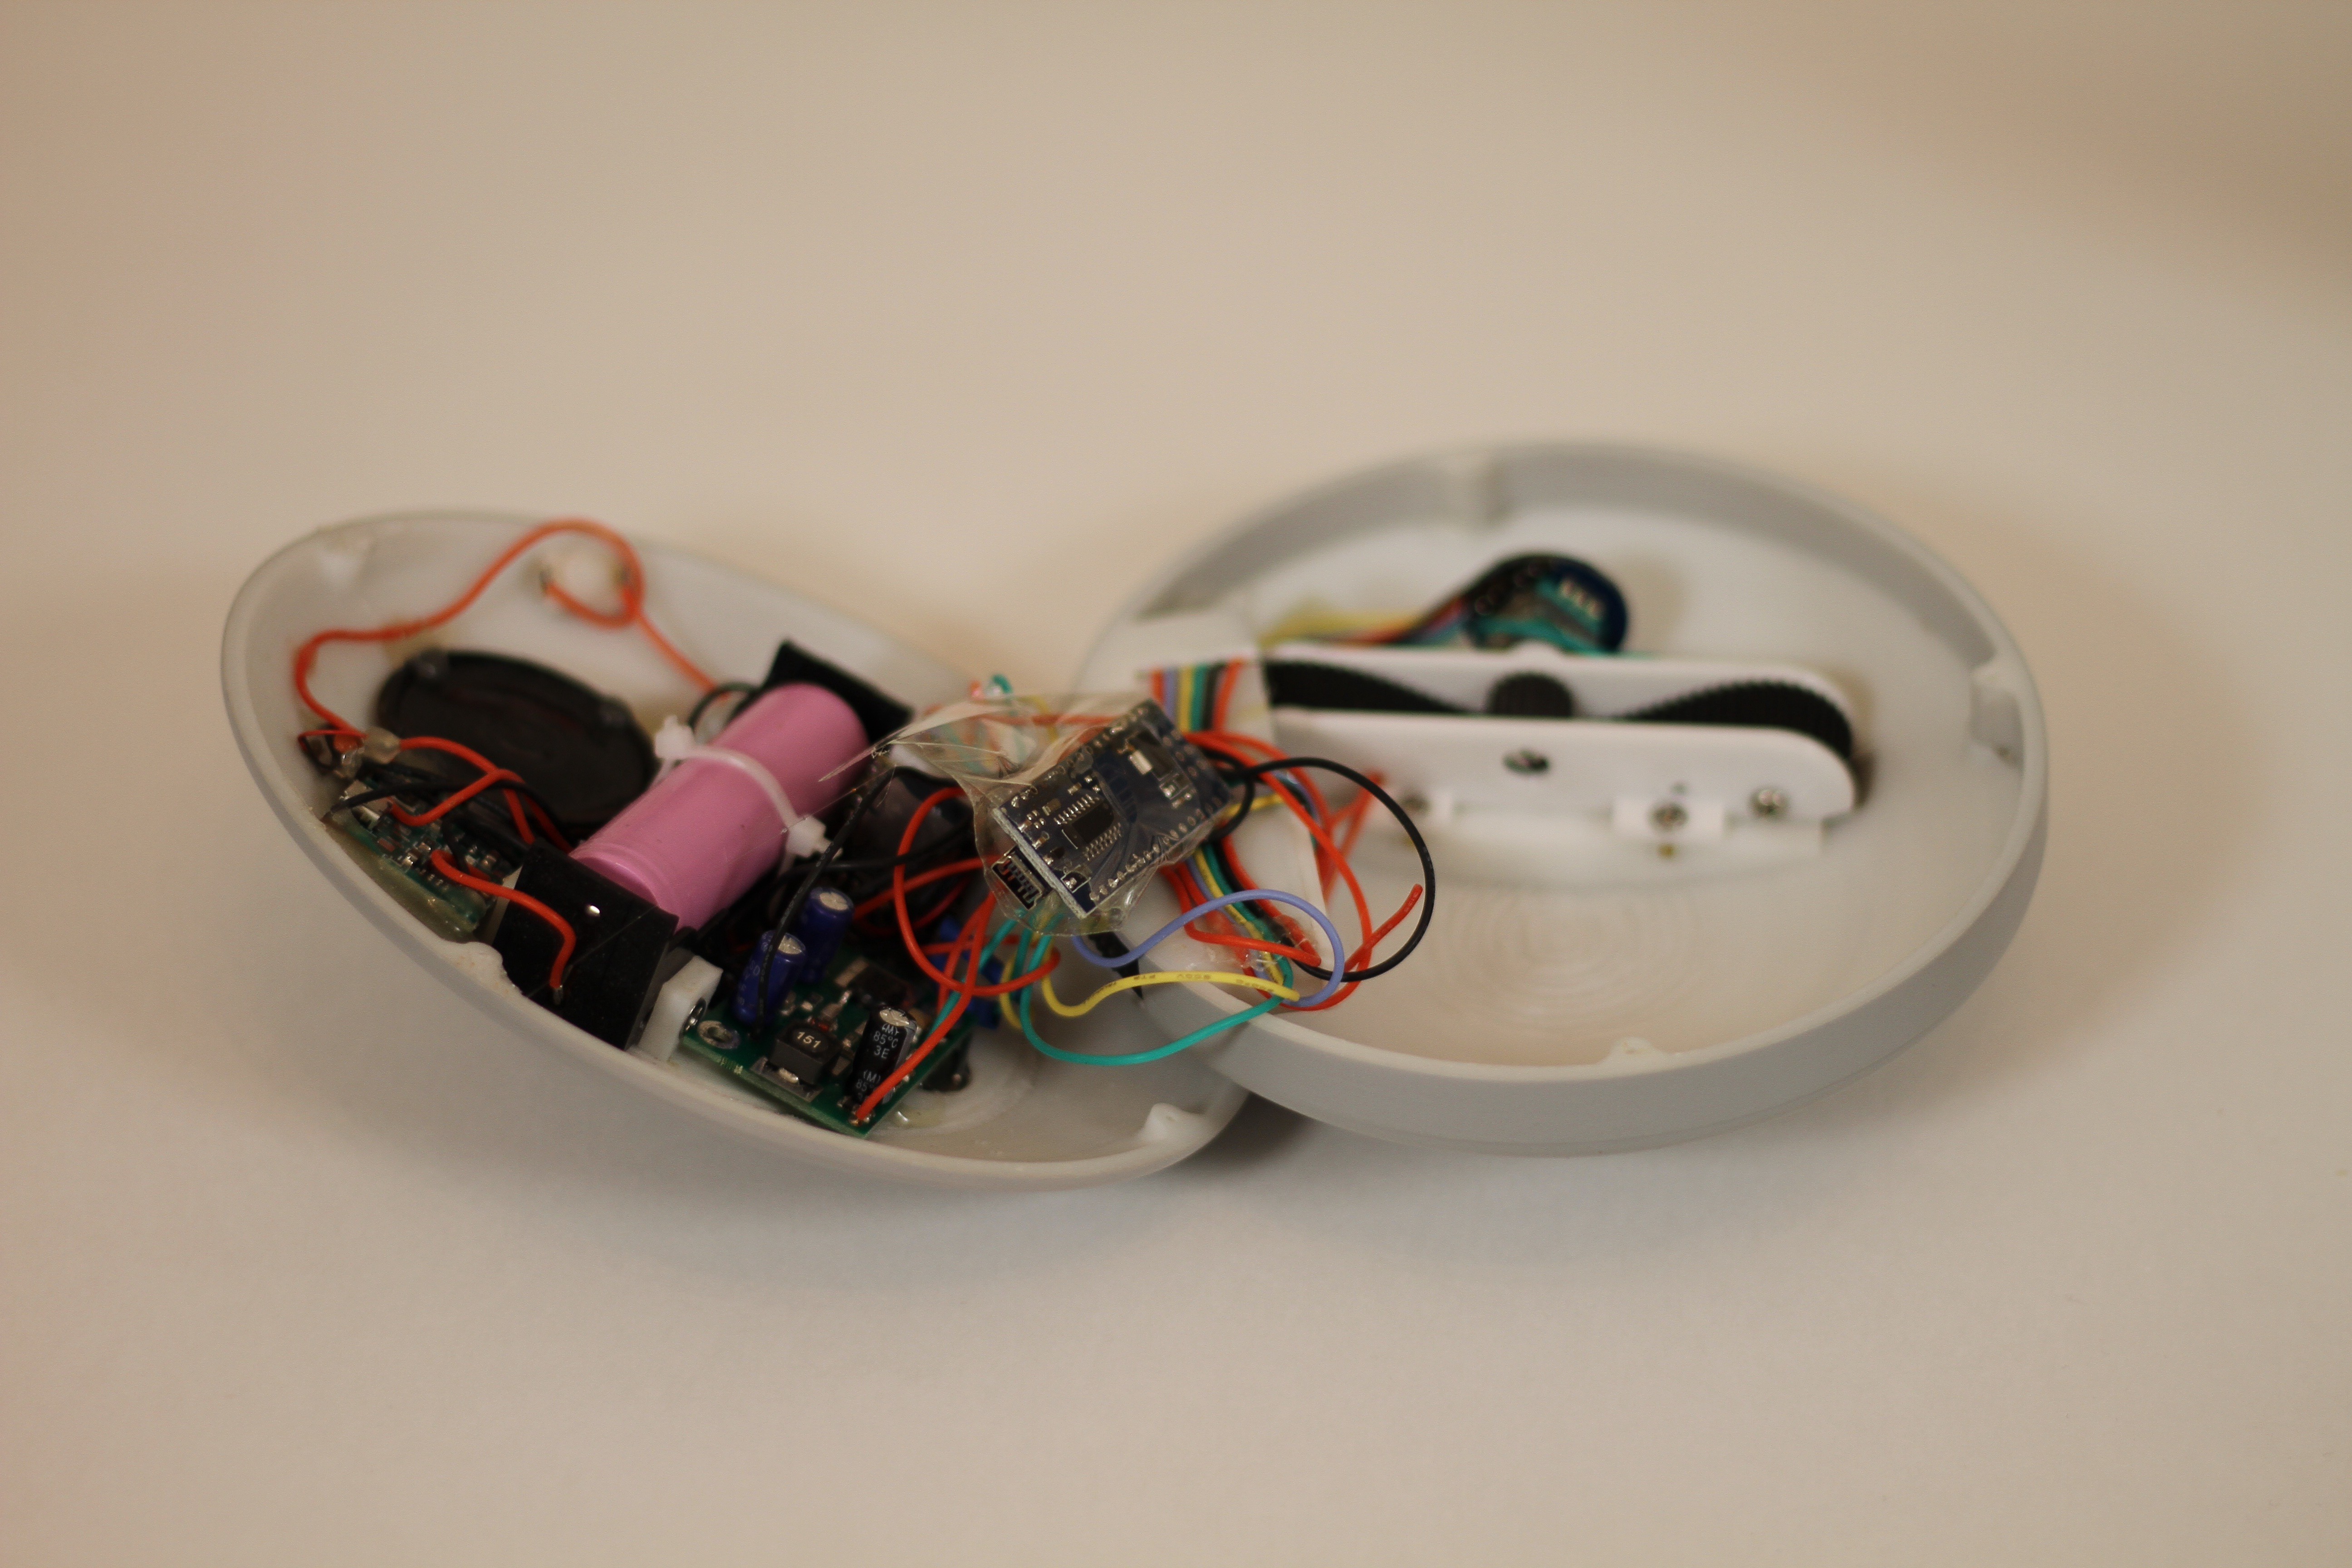
96. Placing parts in a case.
When all parts are assembled put them inside the case. Secure them with the hot glue gun. Then assemble together all parts and glue them with acetone.
![]()
Tip:
Use paint brush to apply acetone, and be careful, because acetone resolve the primer and very toxic.
-
10Tips
8. Try to avoid overheating magnets with hotglue gun - long heating damages magnets.
![]()
Thenar - portable and affordable Braille book
Thenar is the portable electronic Braille book, that was invented to replace >$1000 Braille displays that are available on a market.


Discussions
Become a Hackaday.io Member
Create an account to leave a comment. Already have an account? Log In.