Kal
Kal-
#hiatus.4
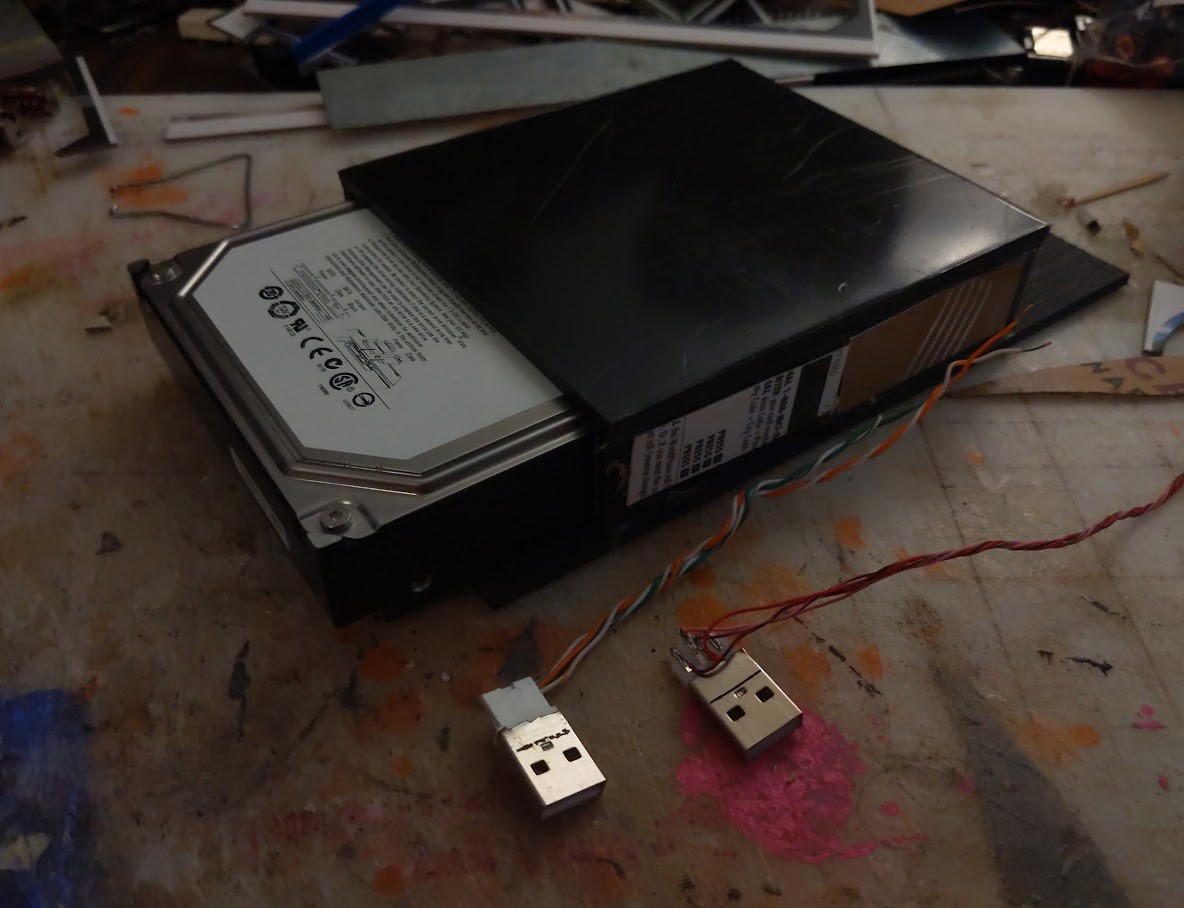
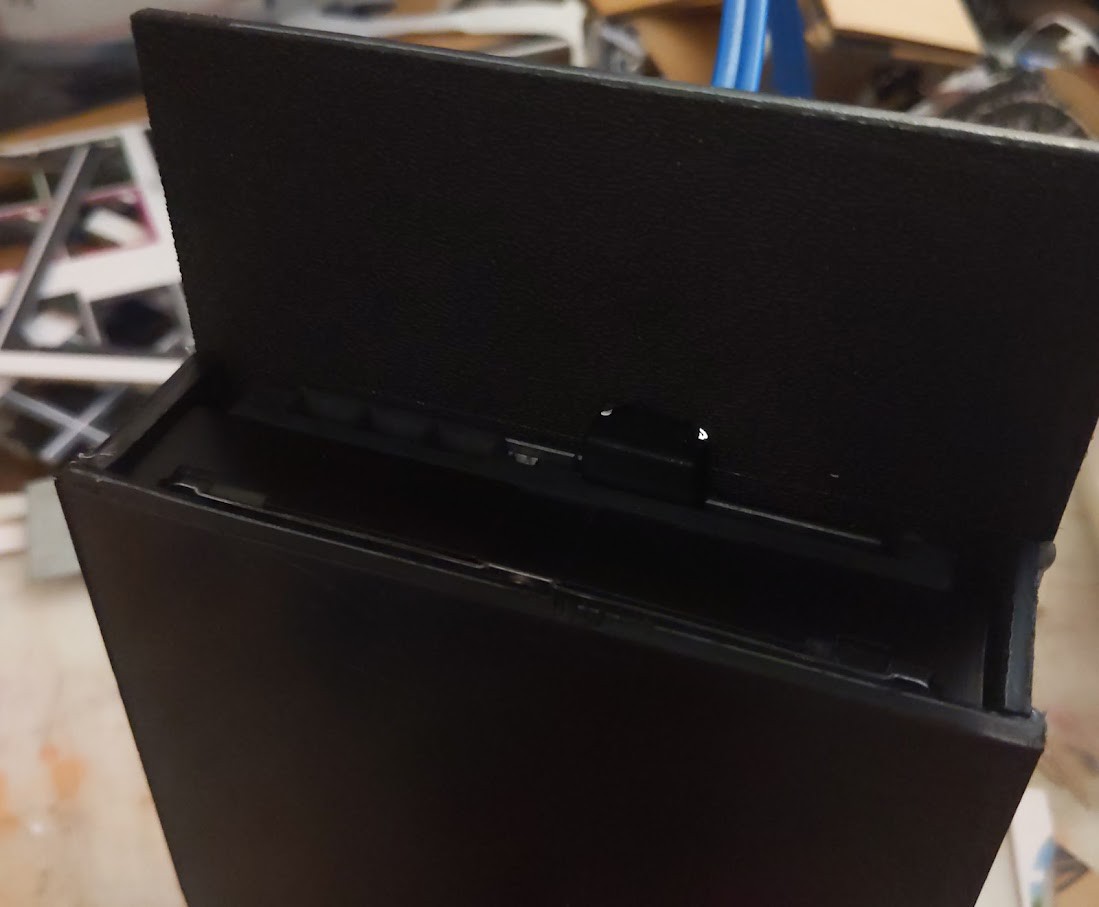
11/05/2021 at 21:17 • 0 commentsI'm updating for the update now, rather than for the project. So here's a sleeve to fit a 3.5" HDD with enough space at the top for thumb-and-forefinger and enough length at the bottom to fill out the projected cross-section (if not of this device, then of a device). And some handmade 90deg USB A's set for ganging. Why did i bother, the cables would've been piss-cheap? Whatever. I'm updating for the upd... oh.
![]()
![]()
-
~hiatus~
10/03/2021 at 16:52 • 0 commentsI got the key caps looking pretty... great? I dunno, but it's definitely a look. But that was days of fiddly effort and i don't know if the look is what i want in the finished product. So i started hating the whole idea and getting anxious, wasting time, getting that how-does-one-say executive failure. So f'it, i'm setting something else as project no.1 for a while.
![]()
Using various techniques i cut bits out of some old books and affixed them to the caps and sealed them. Mostly i was using CA (because that's what my brain is made of, i guess) and the lovely part is that it polishes down magnificently with an emery board. But some of them i was also coating with nail polish which is also fine but results are inconsistent. I kinda dig the ransom note steeze, mixing blocky cyber-letters (GAMEMASTER The Complete Video Game Guide, 1995) with olde schoole printing typeface (Lincoln Library Of Essential Information (travelling salesman's example ed.), 1949).
This is definitely going in something that's going to cycle into project #1 status in the short term.
-
#3 supplemental
09/10/2021 at 19:18 • 0 commentsBad get worse: Not only is transferring letters from books not easy as pie (it's a bunch of fiddly work every time) but the results are perfect, aesthetically exactly in line
![]()
-
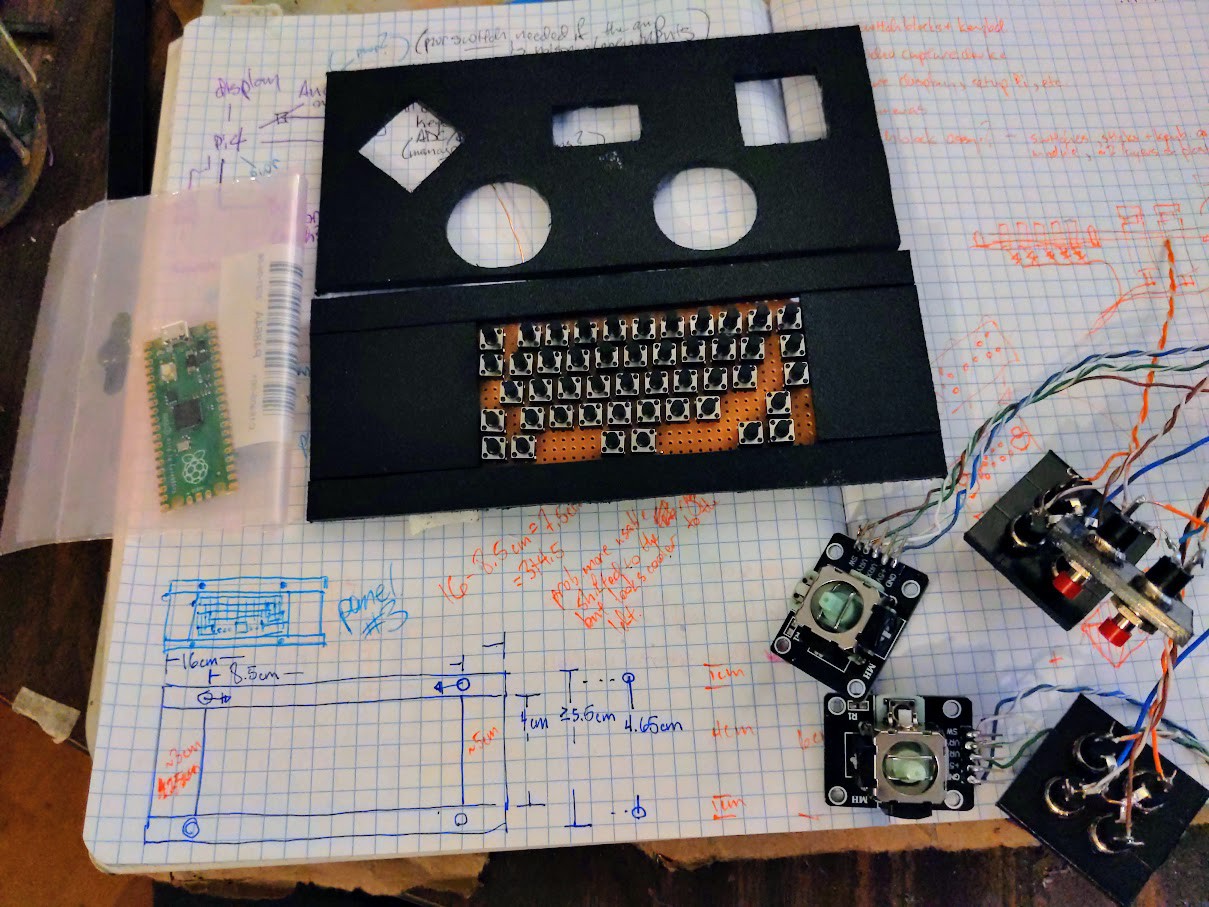
miscProgress
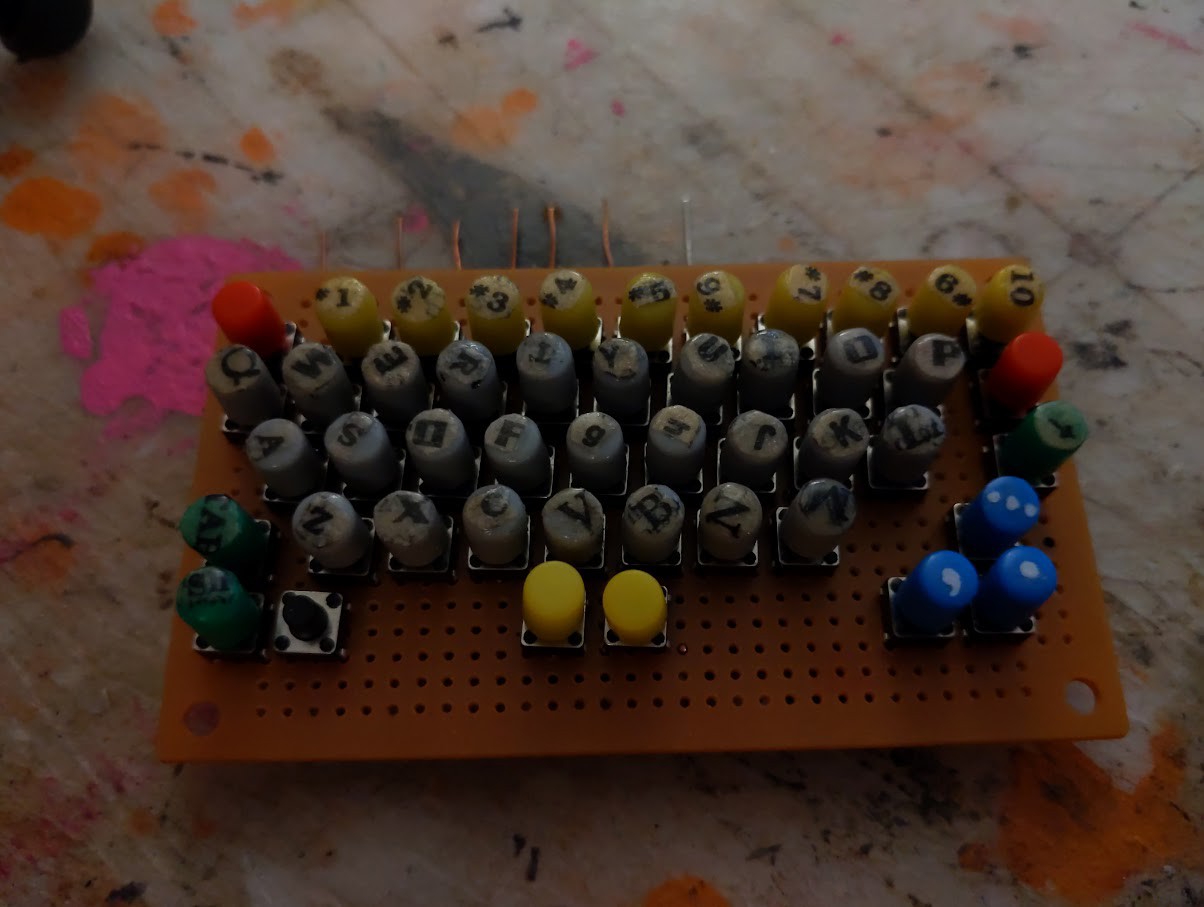
09/10/2021 at 00:38 • 0 commentsI've cleaned up panel #2, started soldering the gaming controls, cut and joined the keyboard and started laying out panel #3.
![]()
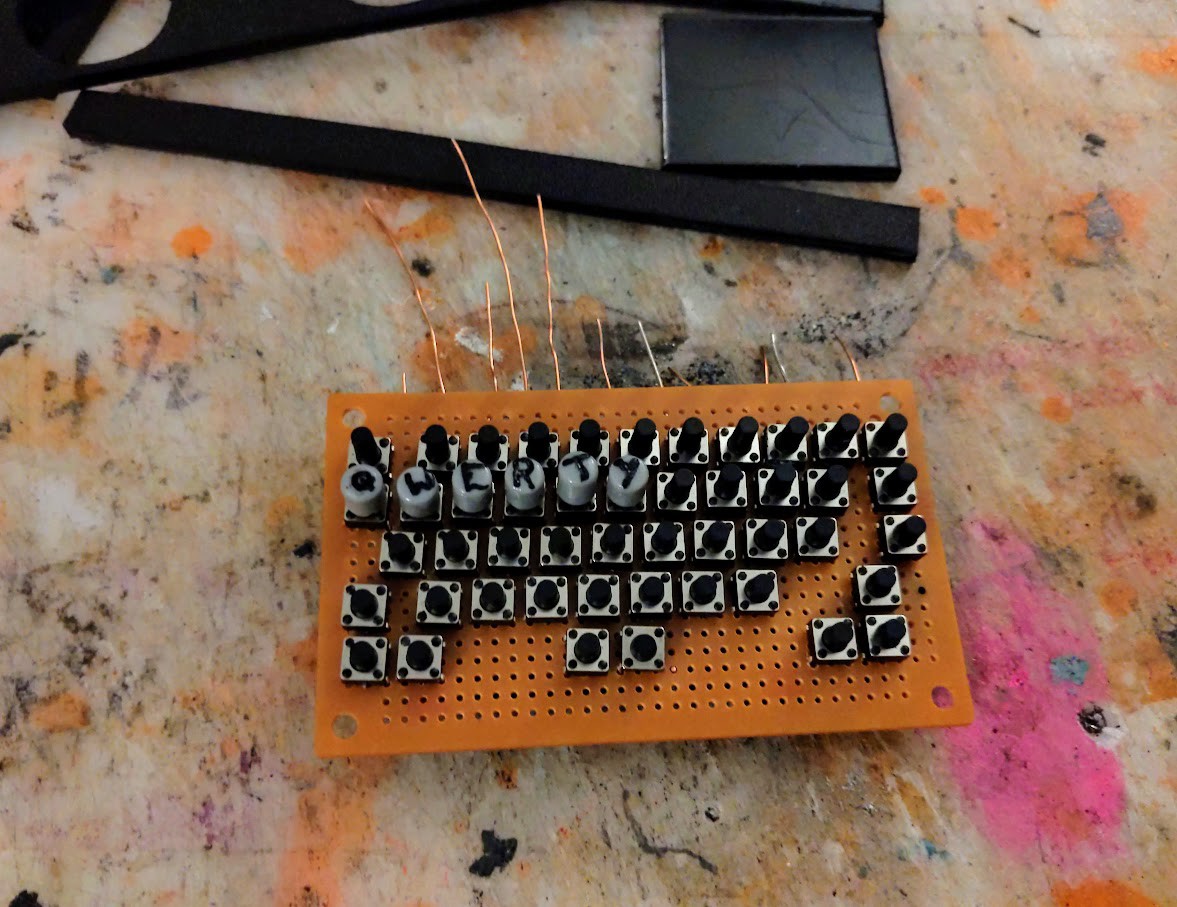
Never mind tapering around the keyboard, i've concluded. I'm testing options for gluing #3. It'll be a little complicated behind the face but not too bad or too bulky. I'd wager the keyboard is the first part to fail from use (depending on the user, of course) no matter what i do but i'll shore up what i can to keep it from flexing, popping solder joints, what have you.
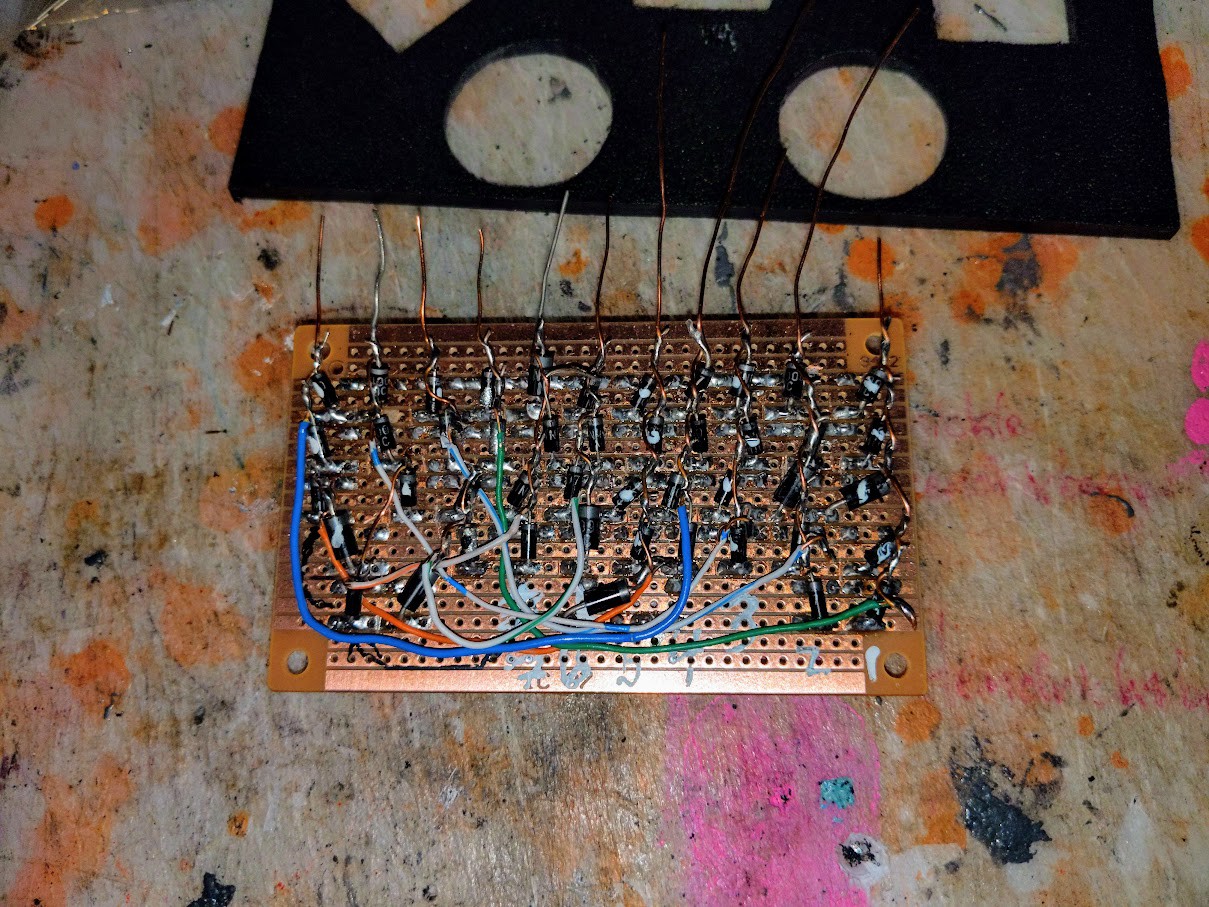
Rows cut, columns joined:
![]()
It tests good so far, i don't think i'll have to redo anything but that's a possibility. More likely i'll have to rejigger the gaming controls, but that expectation is colored by a past project that... encountered complications. Regardless, i'm not permanently joining anything with moving parts until those bits function as intended.
![]()
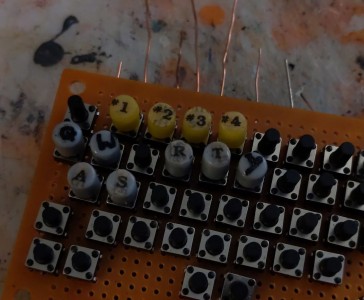
I think i need to letter the keys though that's going to cast the whole thing more amateurish if i do it by hand like this. It'll color people's first impressions out of scale with how significant a feature it is. I've been fretting on that but it only just occurred to me to try some kind of transfer.
I'm sure i'll be able to get the video capture card picking up the security cams without infinite work but i'm losing confidence i'll have it done next week. I'm ~1hr of futzing with it from doing something simpler. Speaking of time i'd love to be done with coding the Pico already. Plenty to keep me busy...
-
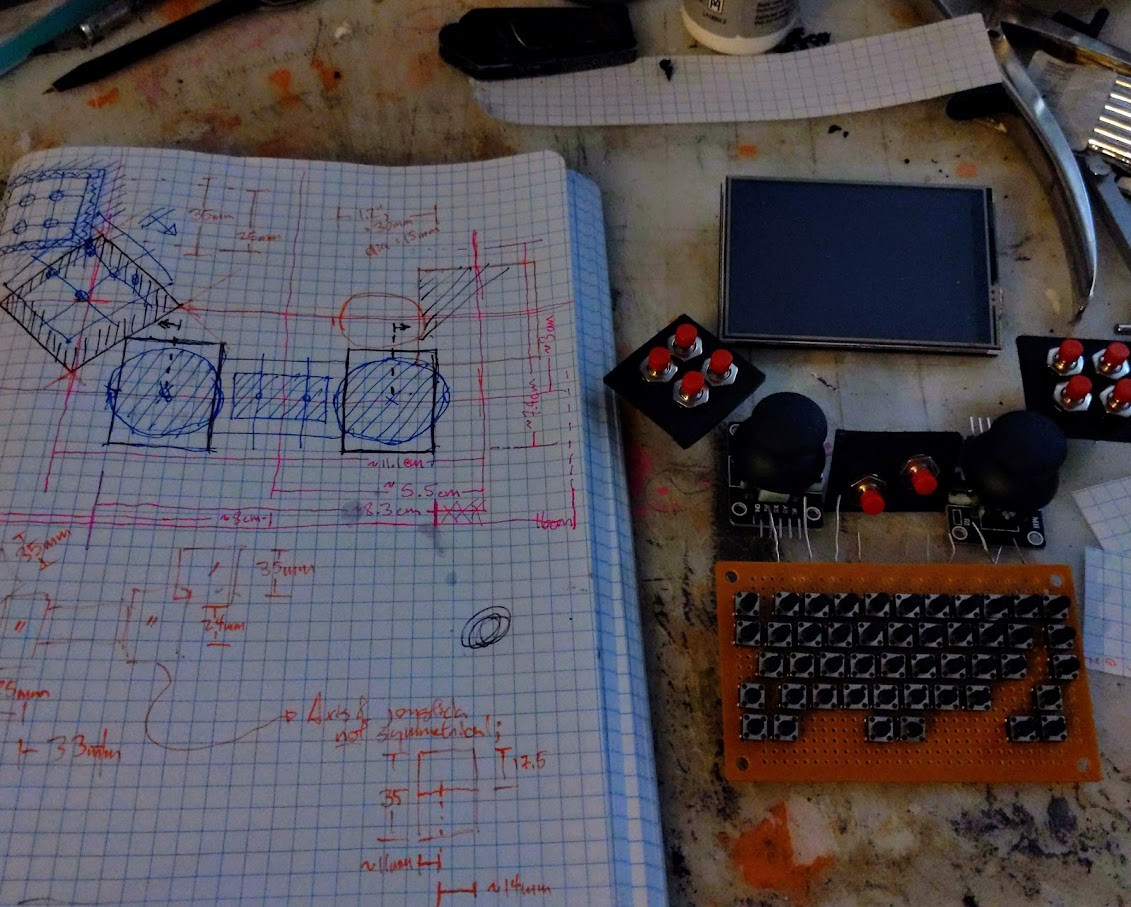
Face panel #2, i guess
08/29/2021 at 19:36 • 0 comments![]()
The layout i like for the switch blocks and joysticks looks bigger than i expected but it's right in range with my original estimate. She's gonna be a chonker and if i skip the CCTV camera she could be thin and blocky, all like Dean Stockwell's little friend.
The display will be on face panel #1 and the keyboard on panel #3. I'll probably want to taper the bottom in so users can put two thumbs on the keyboard...
so maybe:
[DISPLAYDISPLAY
DISPLAYDISPLAY]
[UD]  SEL  [AB]
[LR] START [XY]
   \  KEY  /
    \BOARD/

or maybe offset like:
[DISPLAYDISPLAY
DISPLAYDISPLAY]
[UD]  SEL  [AB]
[LR] START [XY]
        [KEY  ]
        [BOARD]
[PICTURED BELOW: The future of gaming?]
![]()
(see also https://accordingtoziggy.com/)
-
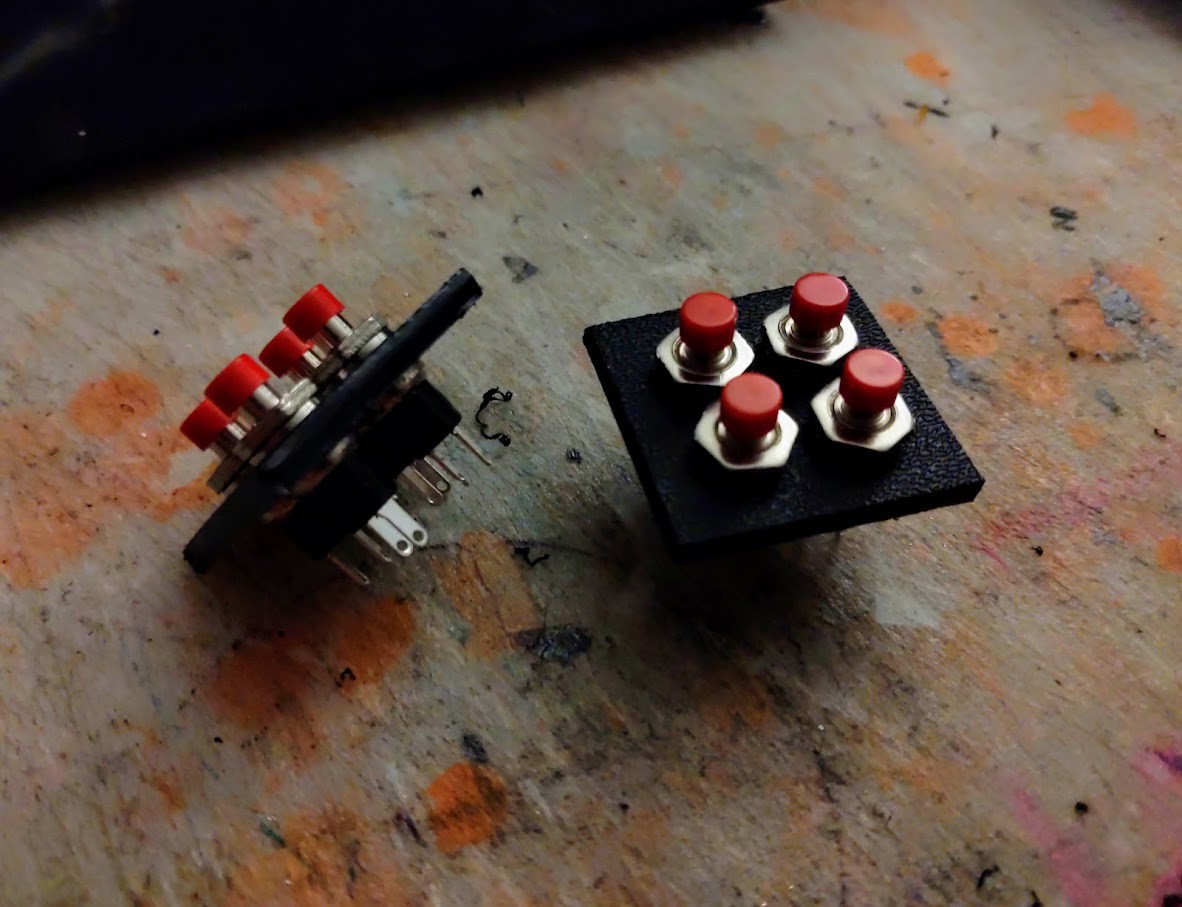
Switch blocks
08/25/2021 at 10:29 • 0 comments![]()
These'll go on the face to be DPAD and ABXY. The switches are lovely and i got them at a good price (YMMV but the seller DIYhz on amzn has a selection that appeals: https://www.amazon.com/gp/product/B07FS55G9P/) but they're not what you'd think of as gamepad buttons. This project has to be usable, if it's not usable i've failed, but i'm prioritizing aesthetics ahead of Gaming Excellence.
![]()
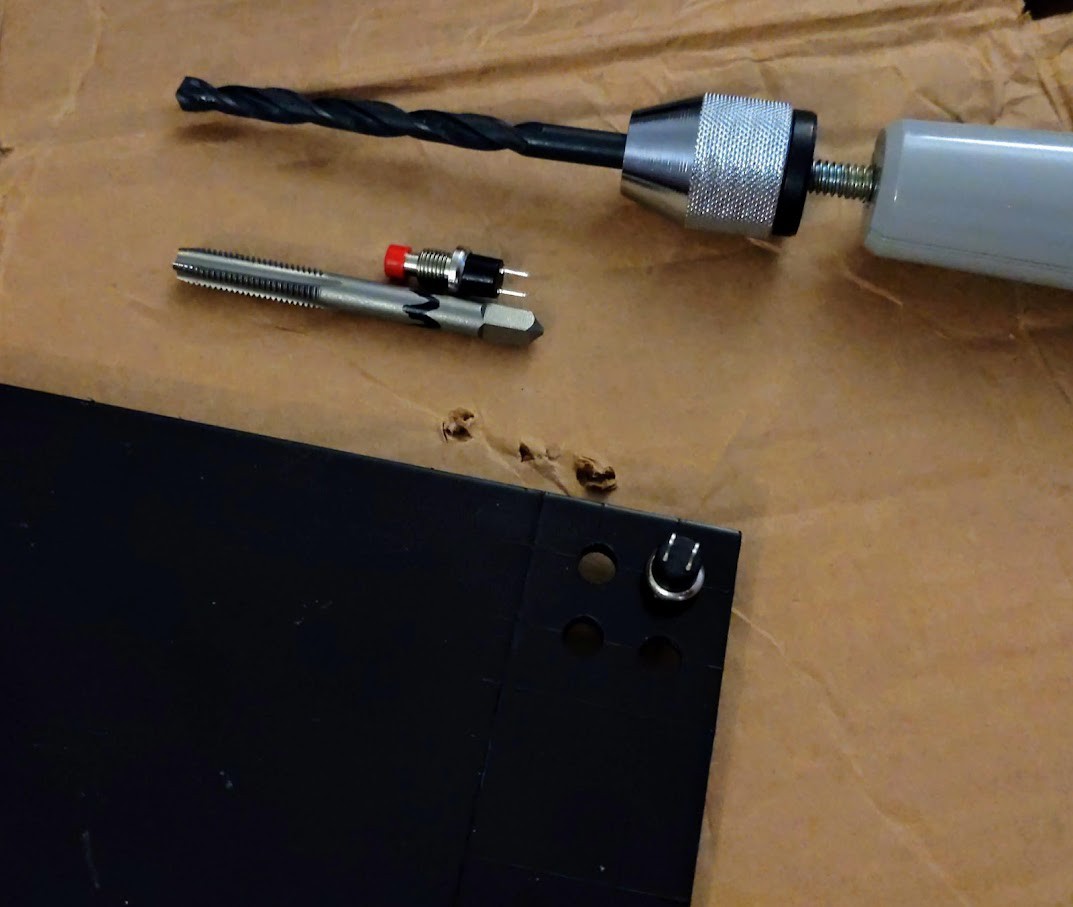
The buttons are 6mm across and the outside of the threading is something like 0.26". Maybe there's an established, proper way to seat these but experimentation brought me to marking the blocks, gouging a little divot for the drill bit tip, then cutting a hole with a 1/4" bit and finally cutting threads with a 7mm tapping bit. Cutting a bigger hole works as does strong-arming the switch's threads into the plastic but those techniques are less precise.
![]()
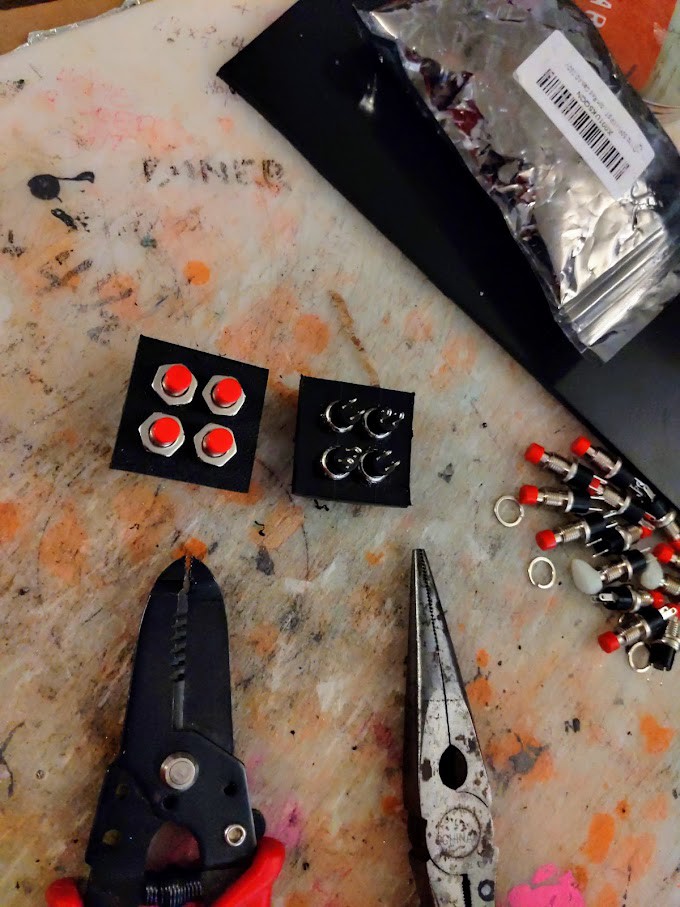
Squnching the nuts down is still a bit of a pain.