-
1Setting up the Pump
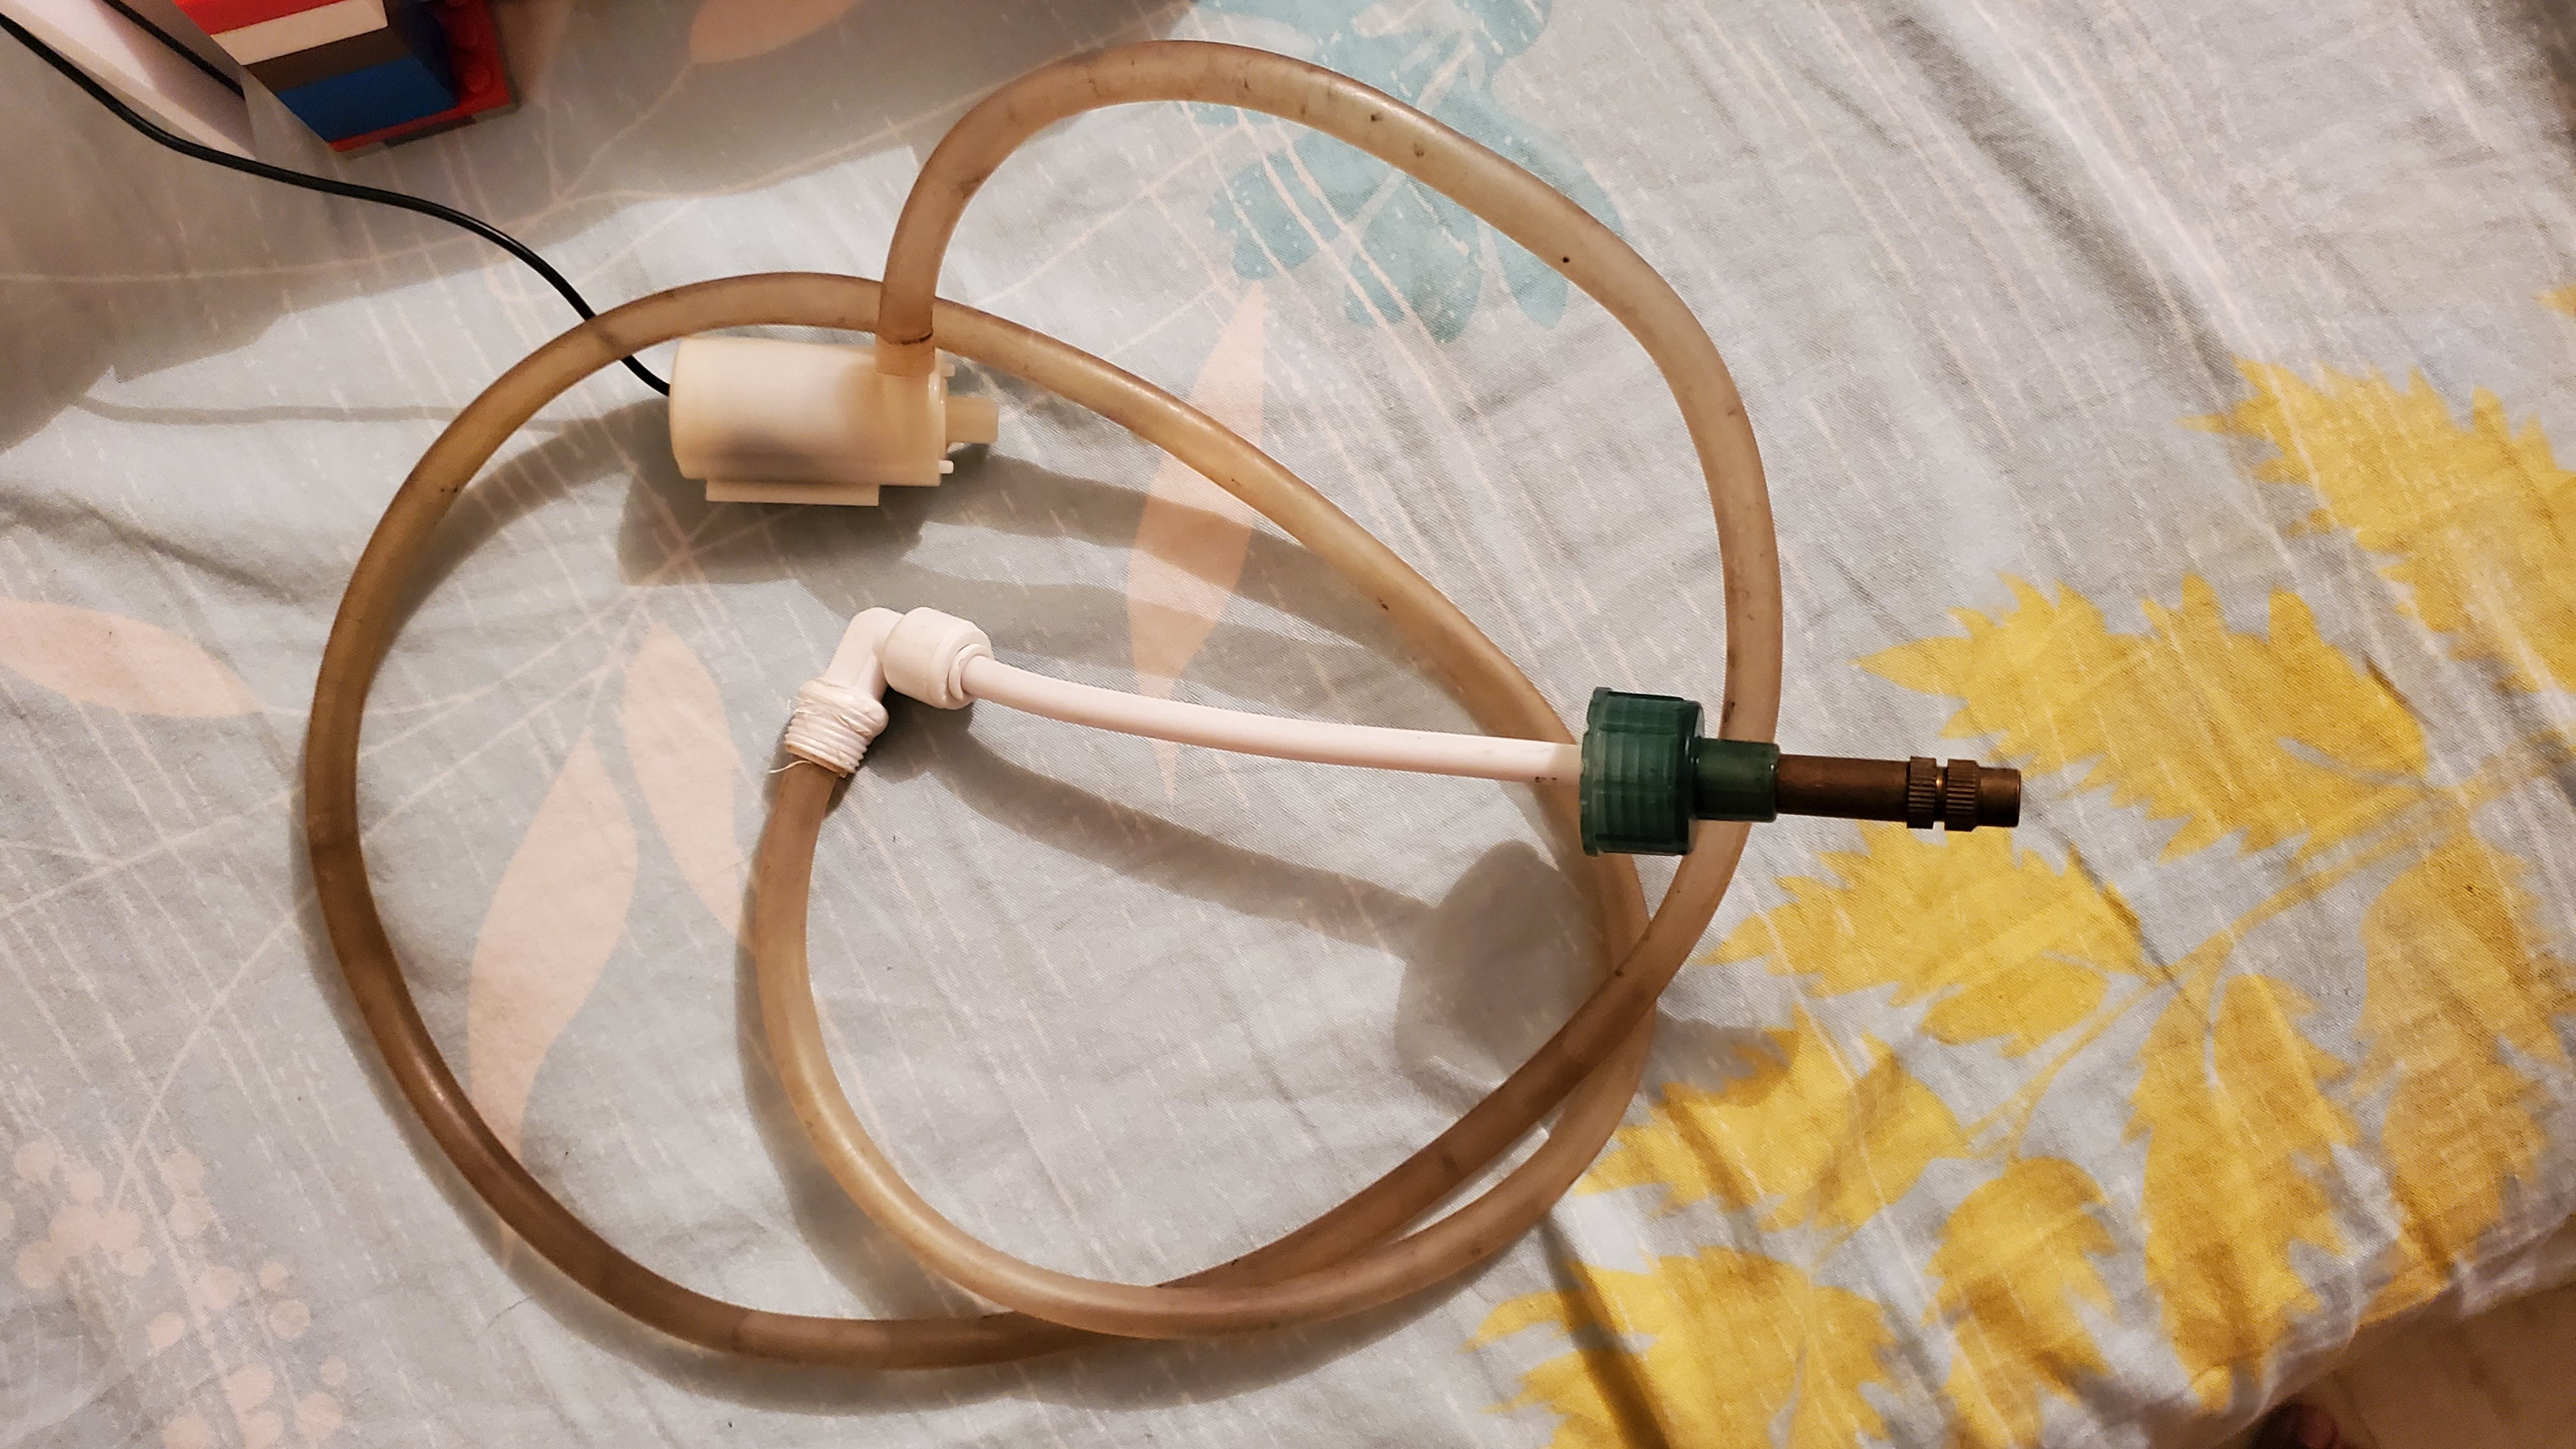
Attached the pipe of about 8-9 mm thick in diameter to the side outlet of pump. The other end, I attached to a pipe joiner and smaller pipe, that I got from water dispenser. Finally the attached the nozzle which I borrowed from a broken sprayer.
![]()
For the electronic part, connected the pump to LM293D driver IN pins and a 4xAA battery holder to power pins
def alarmSprayOn(): print("In Alarm Spray On ") for i in range(8): ##range value depending on capacity of water container GPIO.output(enablePin,True) GPIO.output(in1Pin,False) GPIO.output(in2Pin,True) time.sleep(3) GPIO.output(enablePin,False) def alarmSprayOff(): print("In Alarm Spray Off ") GPIO.output(enablePin,False) GPIO.output(in1Pin,False) GPIO.output(in2Pin,False) -
2Setting up the I2C dispaly for clock
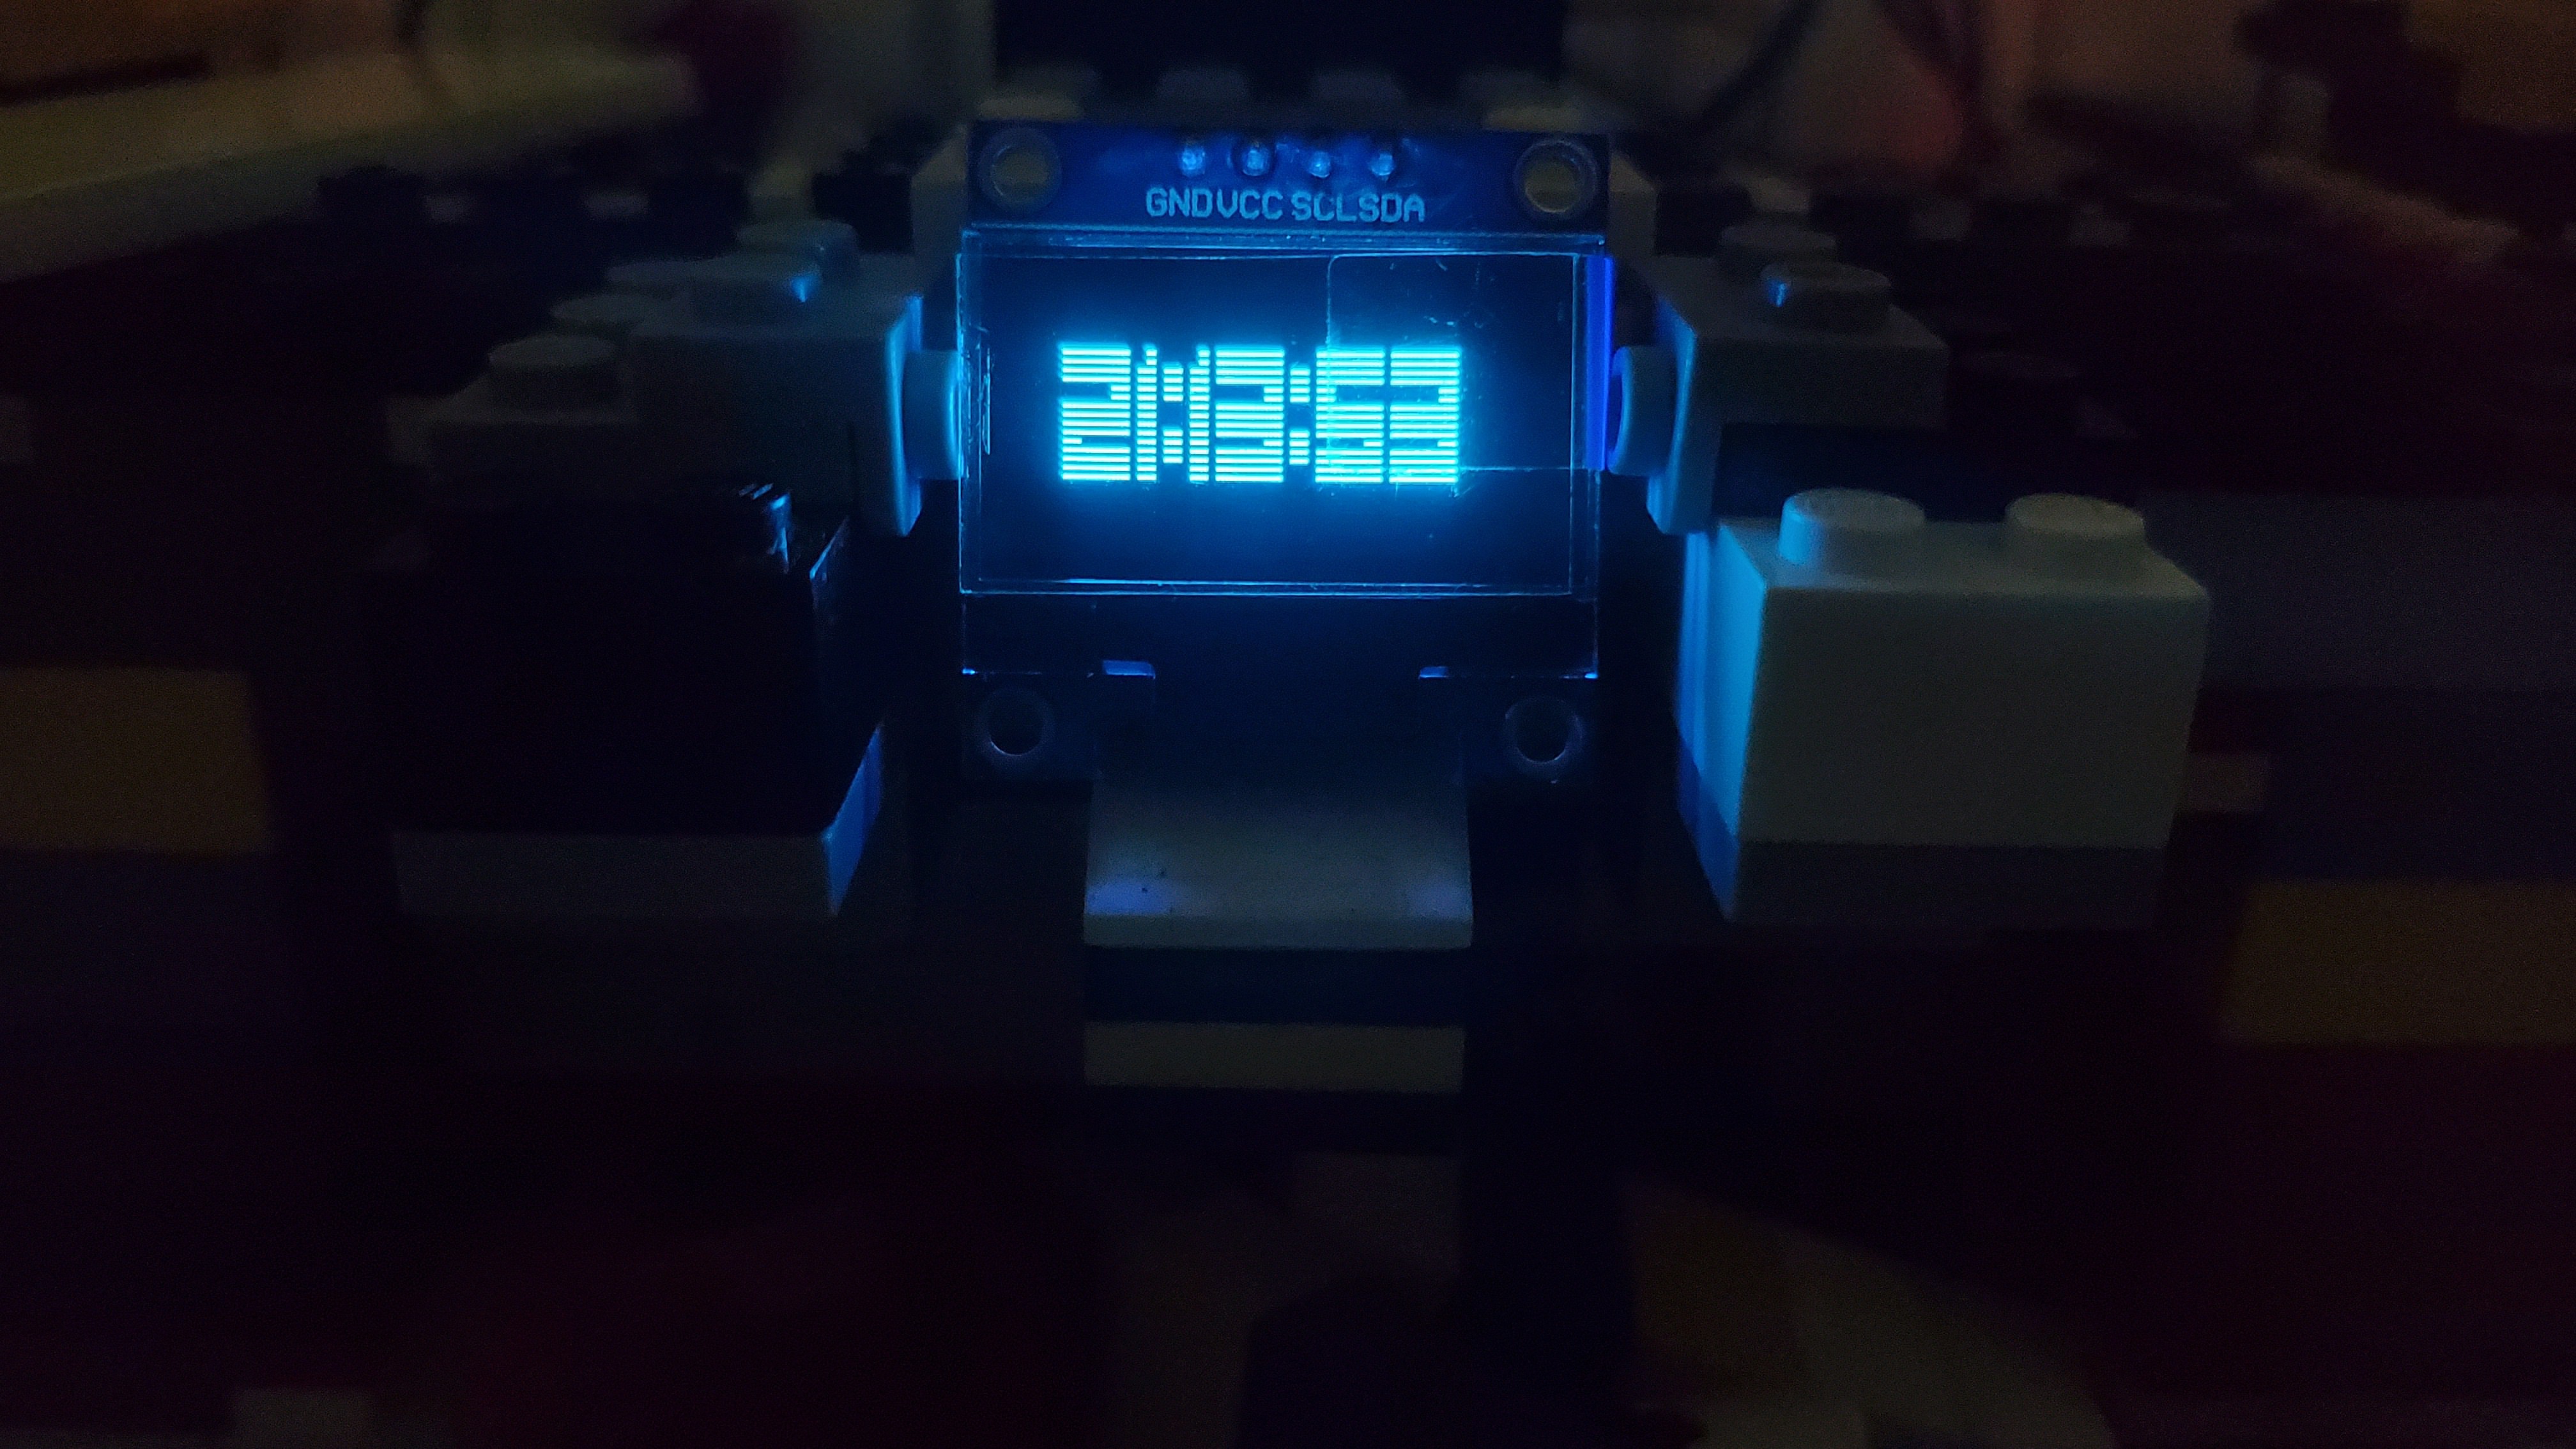
I'm using the 0.96 inch I2C display. For this to work Adafruit display module is to be downloaded on Pi.
This is a good article to get started.
After the setup analyze the example codes for working principles. I went through the stats.py and modified it to suit my purpose for clock setup.
And then I coded time display program with output being shown on our I2C display.
We can choose the font we like by downloading the .ttf files and accessing them by their full path in the font object created.
![]()
font = ImageFont.truetype('/home/pi/Desktop/Test/VerminVibes1989.ttf', 30) # had to put full path to resolve 'OSError: cannot open resource' issue def I2C_TimeDisplay(): def clk_time(): t = time.localtime() current_time = time.strftime("%H:%M:%S", t) print(current_time) time.sleep(1) return current_time try: while True: current_time = clk_time() draw.rectangle((0,0,width,height), outline=0, fill=0) draw.text((x+14, top+12), current_time, font=font, fill=255) # Display image. disp.image(image) disp.display() except KeyboardInterrupt: disp.clear() disp.display() GPIO.cleanup() -
3Setting up control with Telegram bot
I first thought of setting up a server to control RPi operations, but later switched to Telegram because it feels more appealing and easy to control by sending messages and iterations can be easier. Bot can bring life to many more cool ideas quickly. We need to clone telepot library for this. This article provides a good walk through of the process.
-
4Setting up the Camera module and Smile Detection
I'm using the 5MP Pi Camera which has a fairly easy setup. Just enable camera in settings and connect the camera to the port (the one opposite to Ethernet input) with its blue part facing the Ethernet.
For the Smile detection I'm using openCV4 on RPi.
I'm using the classifiers available online for the face and smile detection with parameters tuned as needed.
# https://github.com/Itseez/opencv/blob/master/data/haarcascades/haarcascade_frontalface_default.xml face_cascade = cv2.CascadeClassifier(cv2.data.haarcascades+'haarcascade_frontalface_default.xml') # https://github.com/Itseez/opencv/blob/master/data/haarcascades/haarcascade_eye.xml smile_cascade = cv2.CascadeClassifier(cv2.data.haarcascades +'haarcascade_smile.xml') cap = cv2.VideoCapture(0) while 1: ret, img = cap.read() gray = cv2.cvtColor(img, cv2.COLOR_BGR2GRAY) faces = face_cascade.detectMultiScale(gray, 1.3, 5) ###Face detection for (x, y, w, h) in faces: cv2.rectangle(img, (x, y), (x + w, y + h), (255, 0, 0), 2) roi_gray = gray[y:y + h, x:x + w] roi_color = img[y:y + h, x:x + w] ###smile detection smile = smile_cascade.detectMultiScale( roi_gray, scaleFactor=1.8, minNeighbors=15, minSize=(25, 25), flags=cv2.CASCADE_SCALE_IMAGE) # Set region of interest for smiles for (x, y, w, h) in smile: print ("Found ",len(smile)," smiles!") cv2.rectangle(roi_color, (x, y), (x + w, y + h), (0, 0, 255), 1) cv2.imshow('Face', img) k = cv2.waitKey(30) & 0xff if k == 27: break cap.release() cv2.destroyAllWindows() -
5Making the container
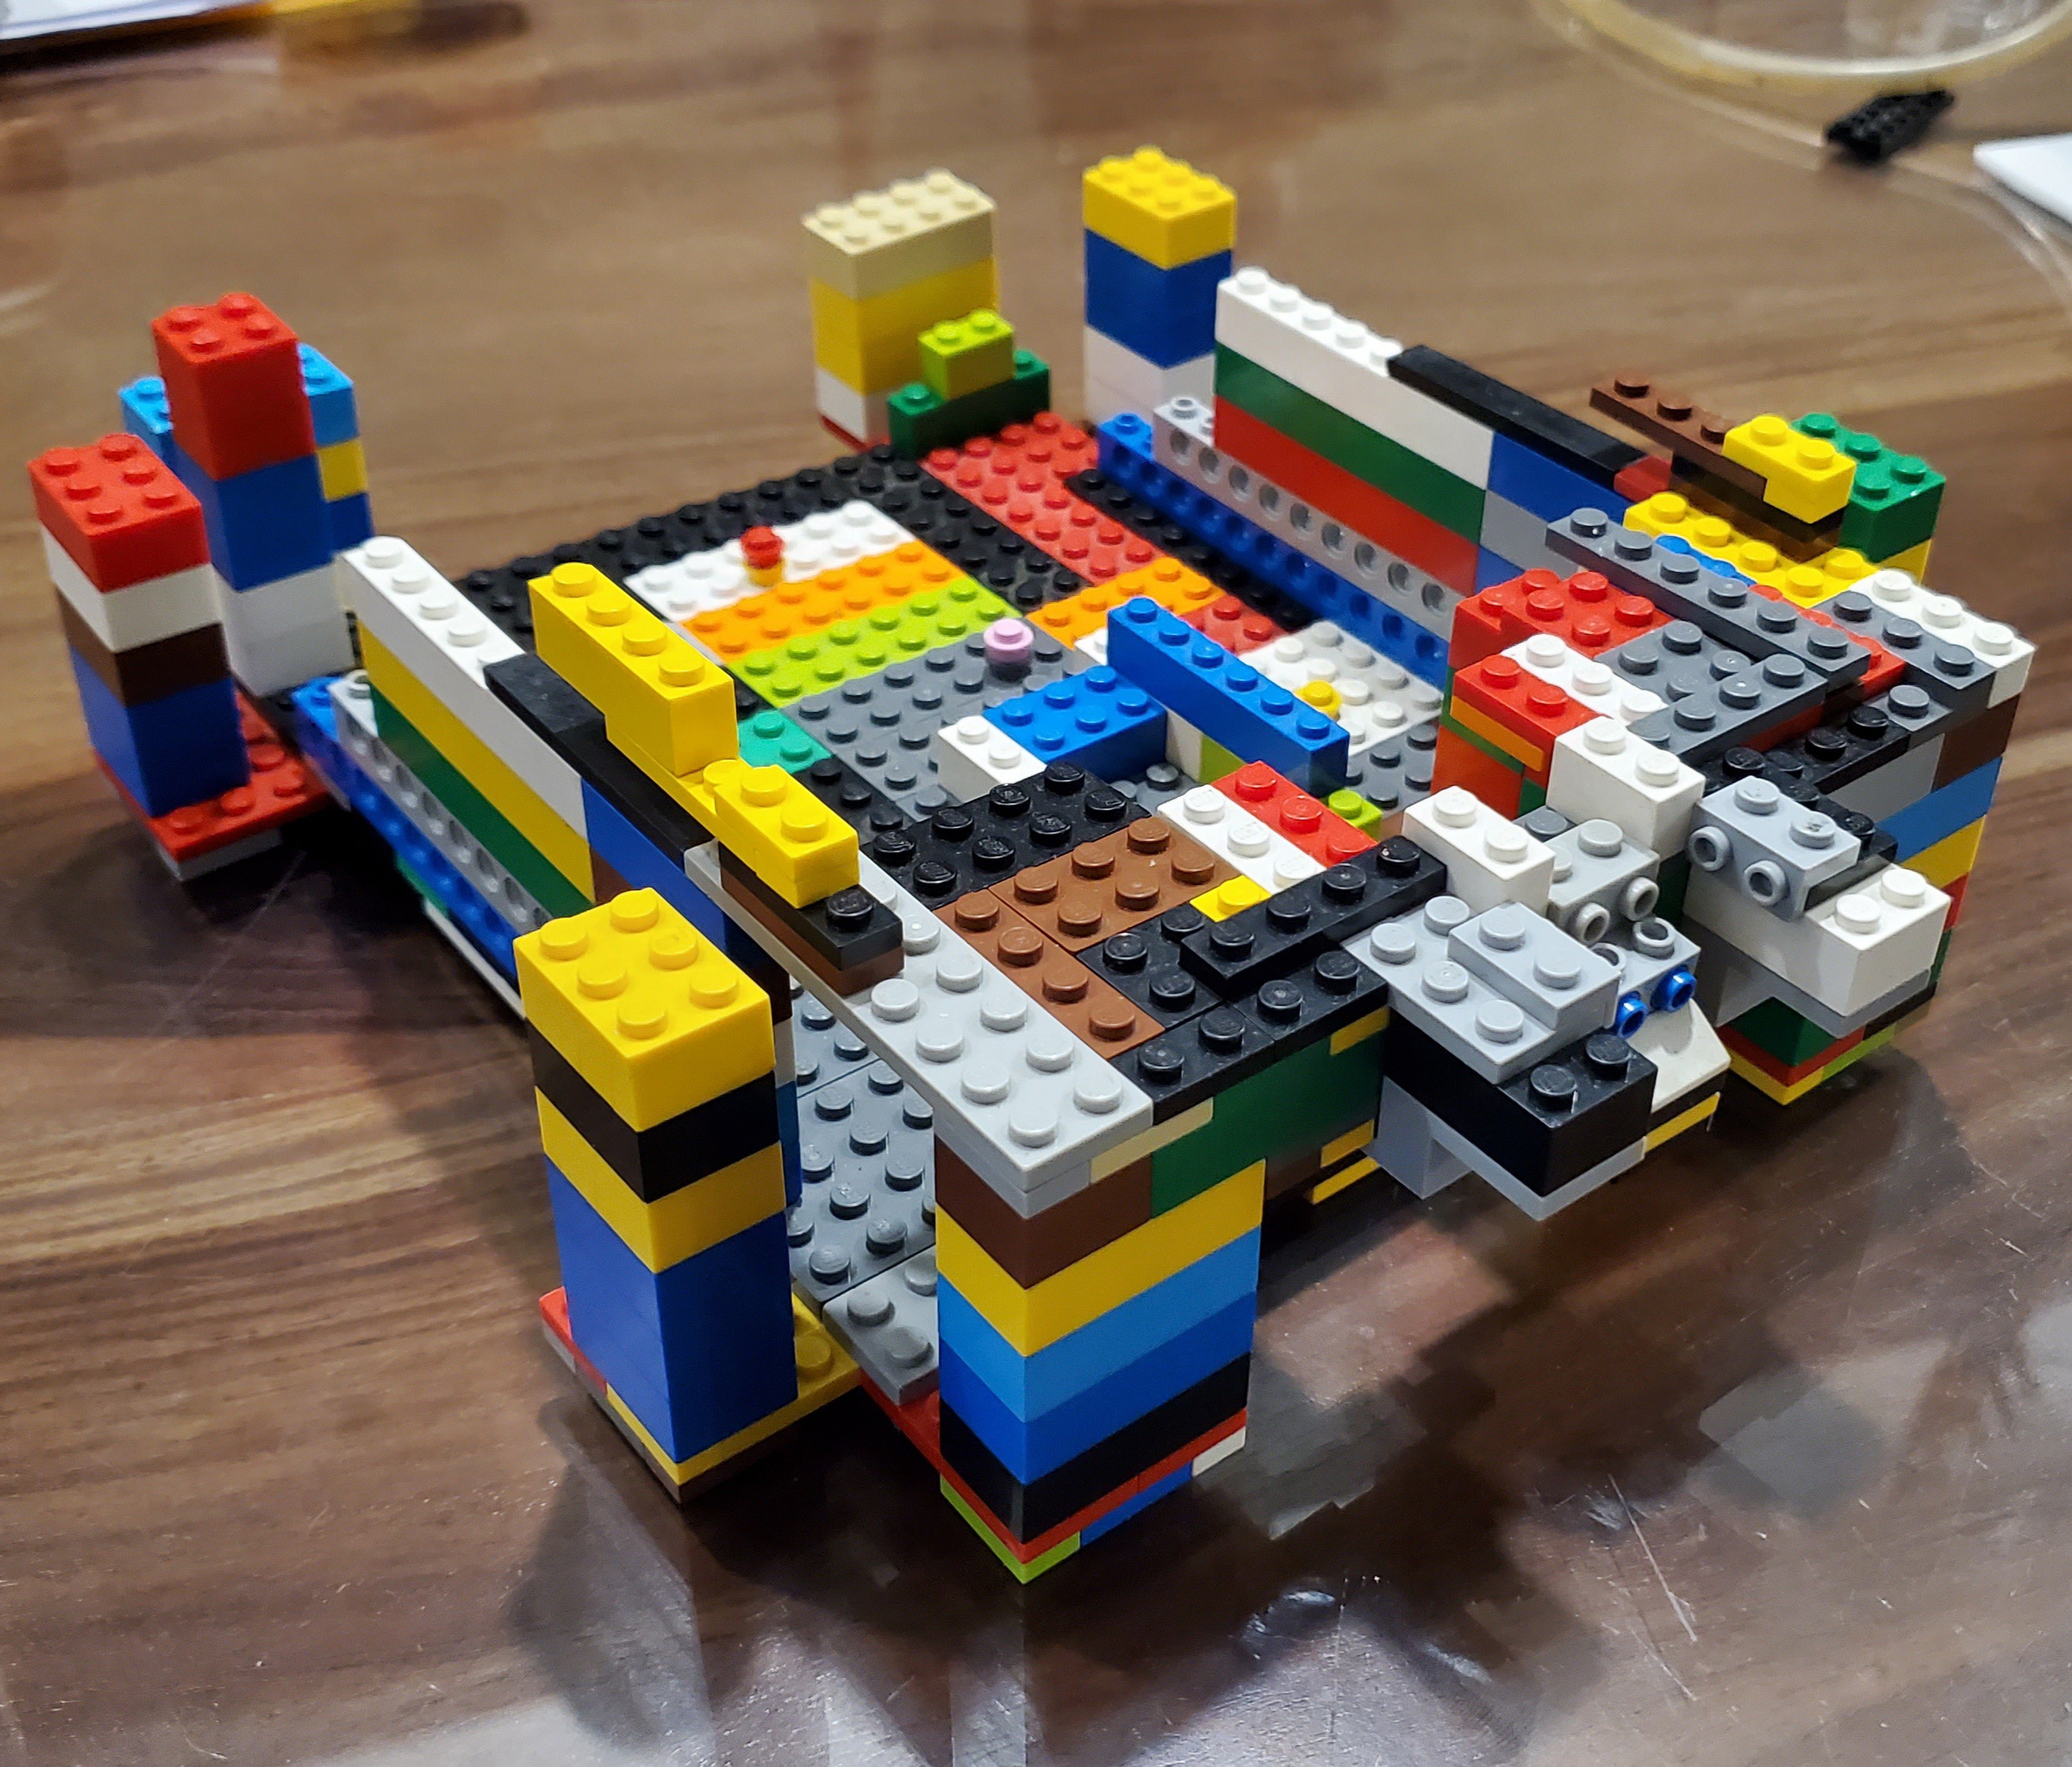
I used the LEGO bricks of my younger brother lying around so than my build can be modular and also that I can make use of his LEGO skills. Made a rectangle of roughly about 25x20 cm spacious enough to accommodate all the parts and supports. Used Revolute joint bricks for the Camera and some foam sheets to cover up the spaces.
![]()
Water Alarm with RPi
An alarm that sprays water at the time set via Telegram bot and stops on detecting a smile!
 Manas Ramidi


Discussions
Become a Hackaday.io Member
Create an account to leave a comment. Already have an account? Log In.