 Maximiliano Palay
In the last post, I left off with the main body glued up and turned from 4 pieces to a monocoque.
Smoothing everything out
The seams were terrible, and the pieces came out of the printer with quite a few imperfections.
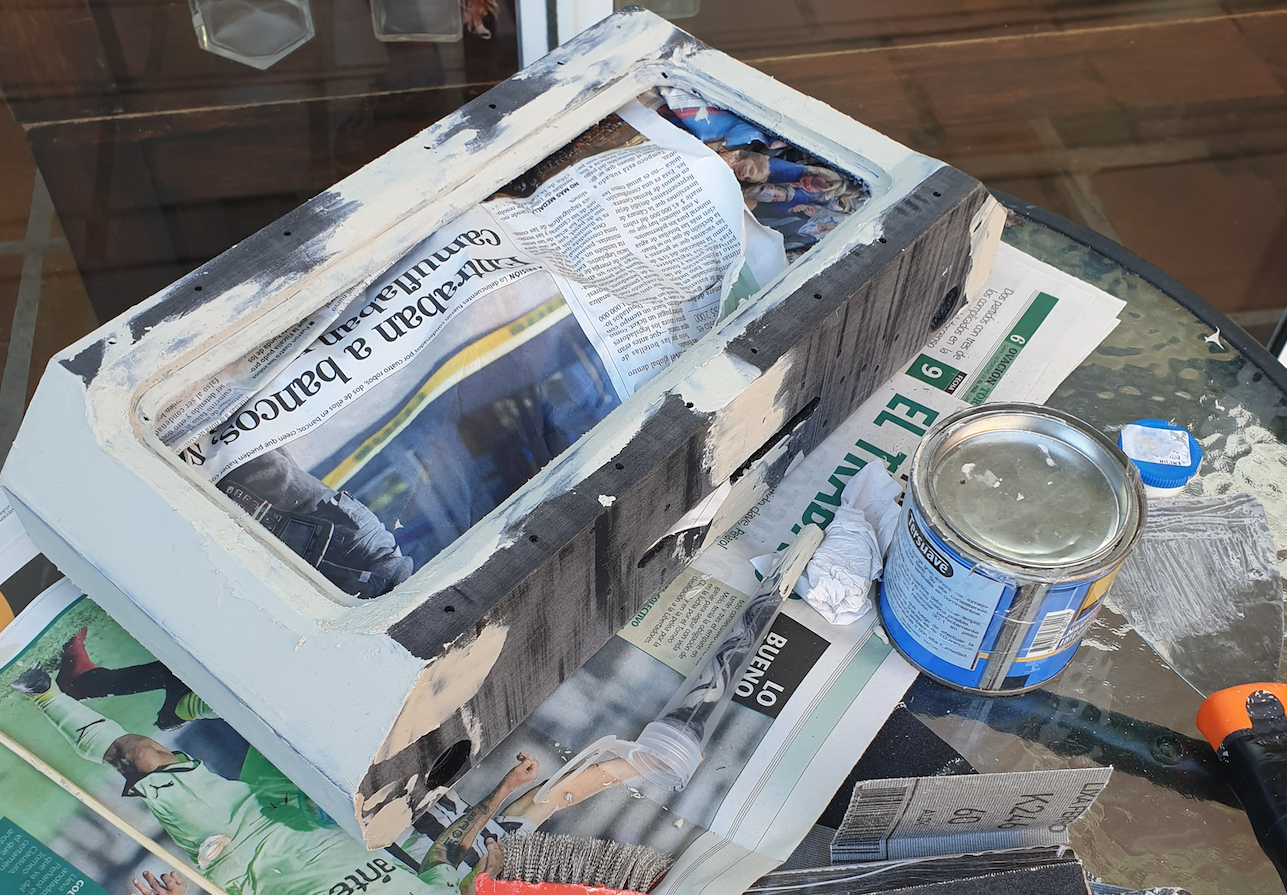
To hide the seams and thicker imperfections from the printing, I added plastic putty over the worse parts of the body. This putty is car grade, and two component mix, with a hardener. Please bear with me, this is the first time I've used it.
You can see there was excess putty in many places, and I started messing with it while it was hardening, it didn't like that.
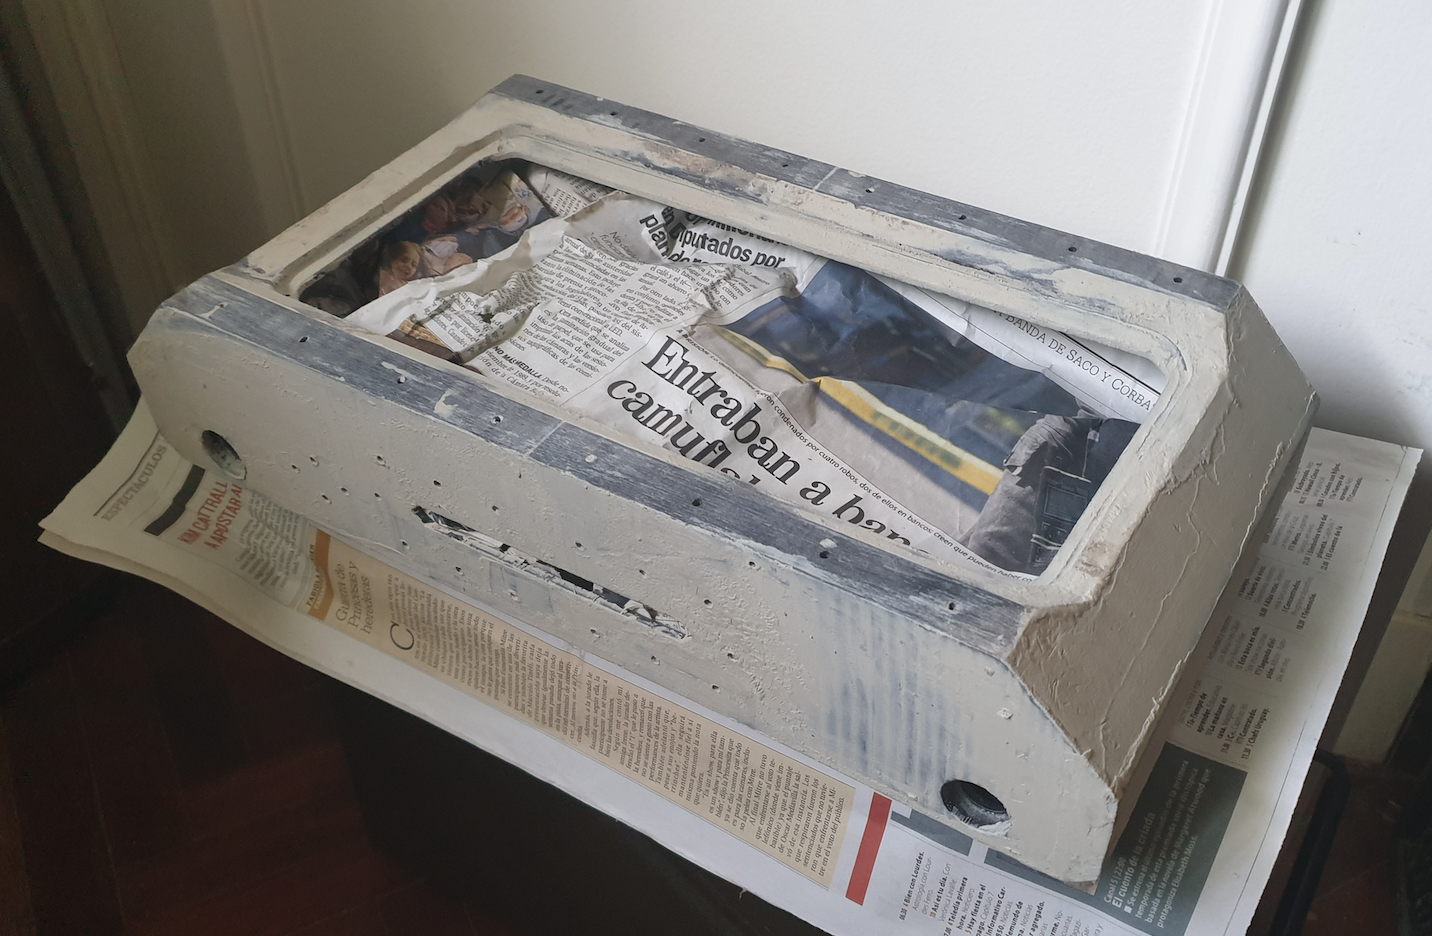
After [a lot of] sanding, the result was looking promising. Don't be fooled by the color differences of the plastic and putty, the surface was quite smooth.

Used from 60 to 220 grit sandpaper.
Paintjob
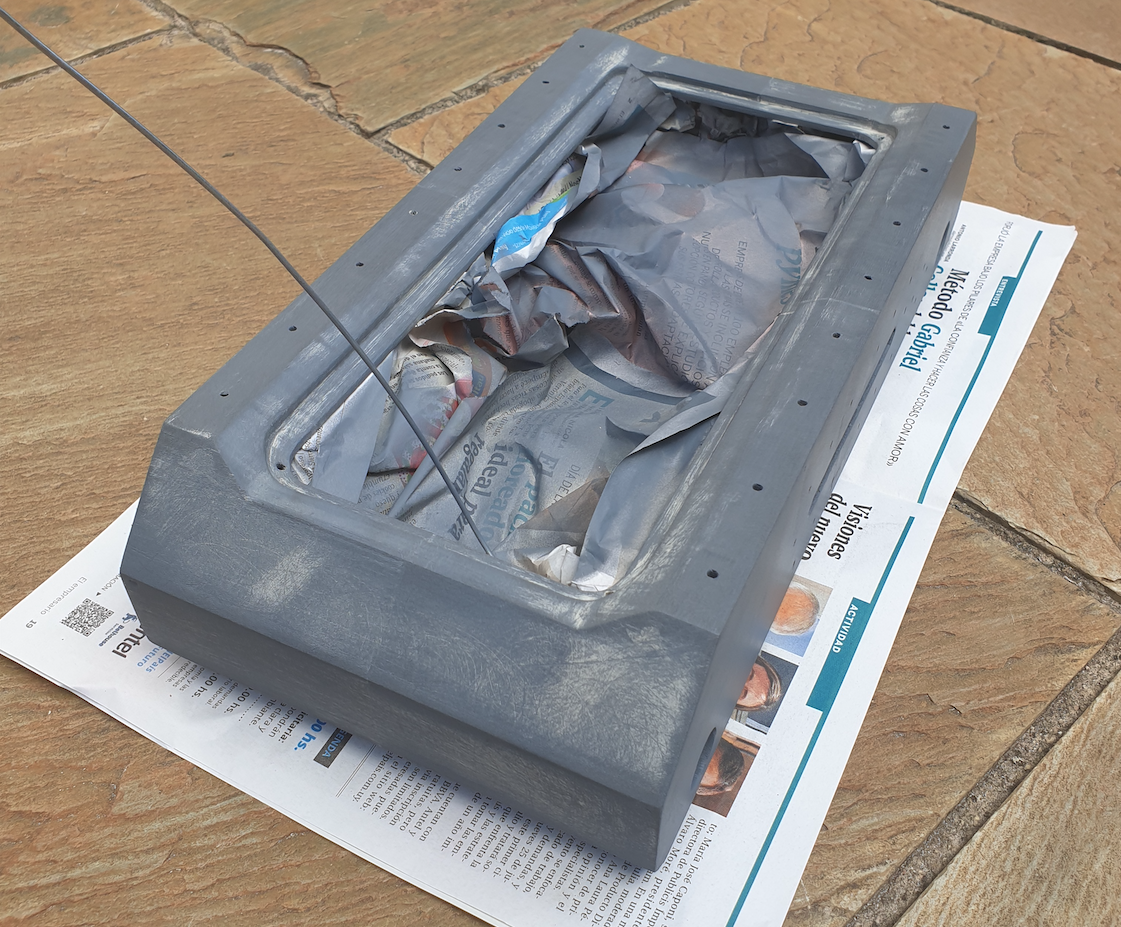
To start, I added a base coat of primer. This is just regular spray paint primer. Everything began to look more homogenous, and the seams started to disappear!
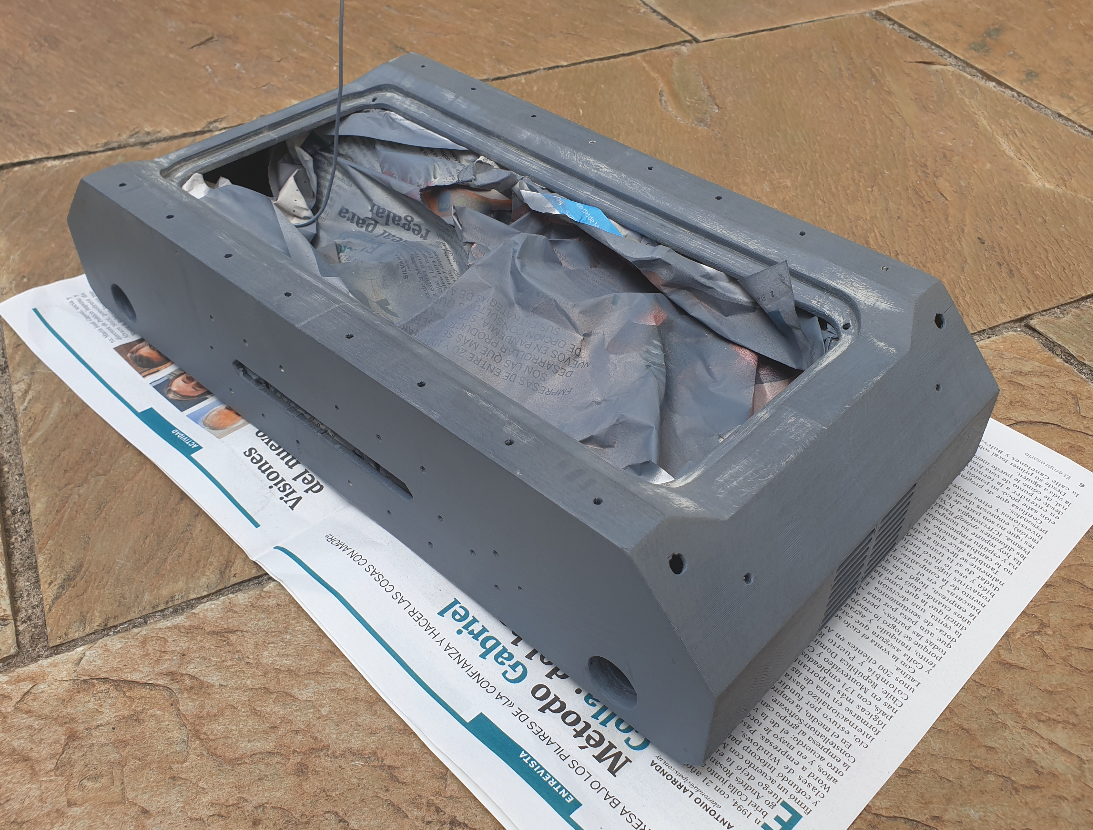

I alternated a couple of layers of spray painting and sanding to achieve an even better finish. Time to apply the final color.
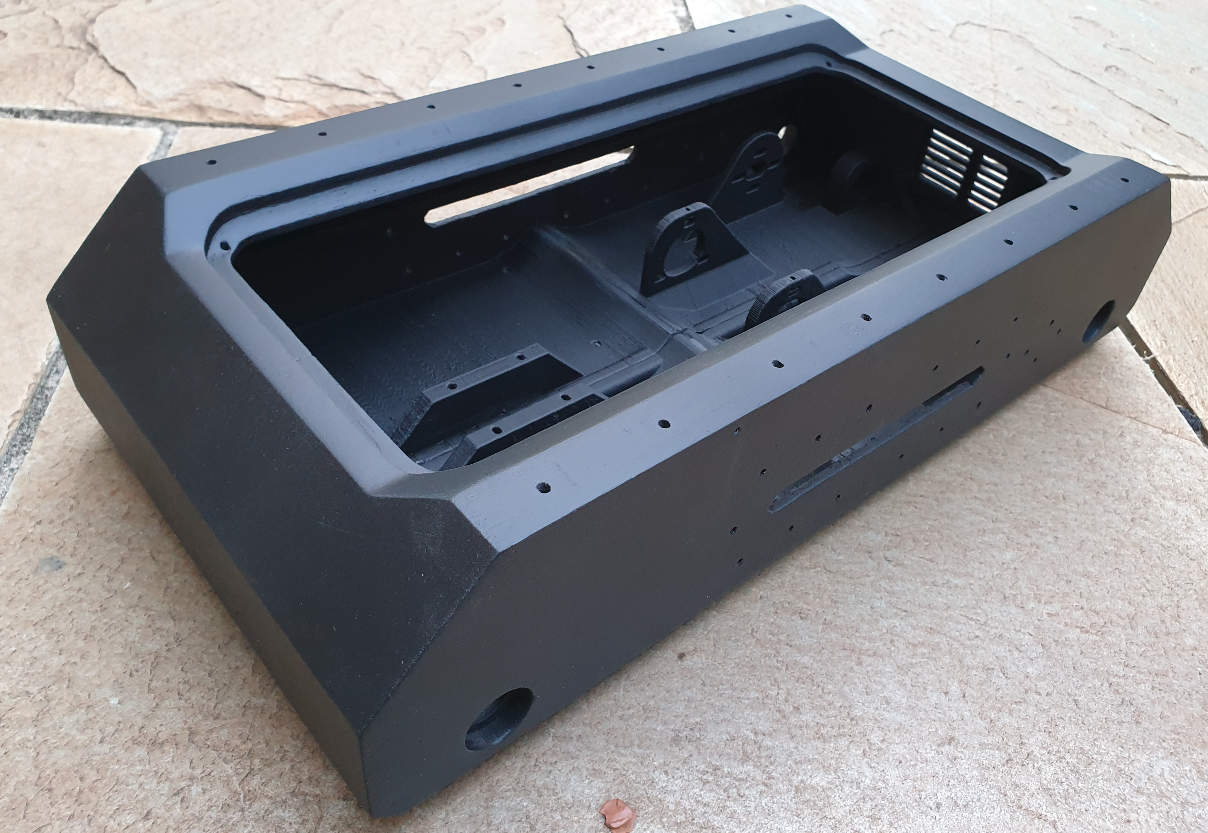
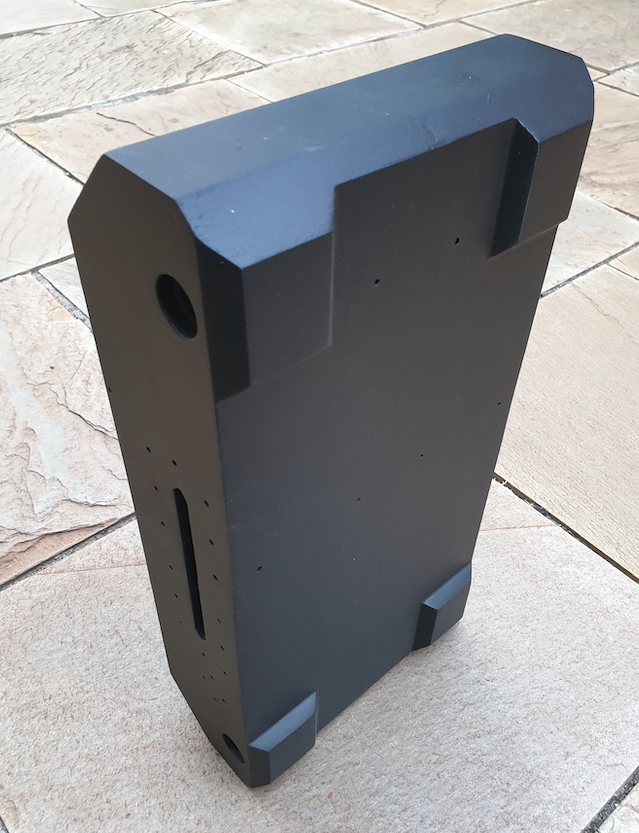
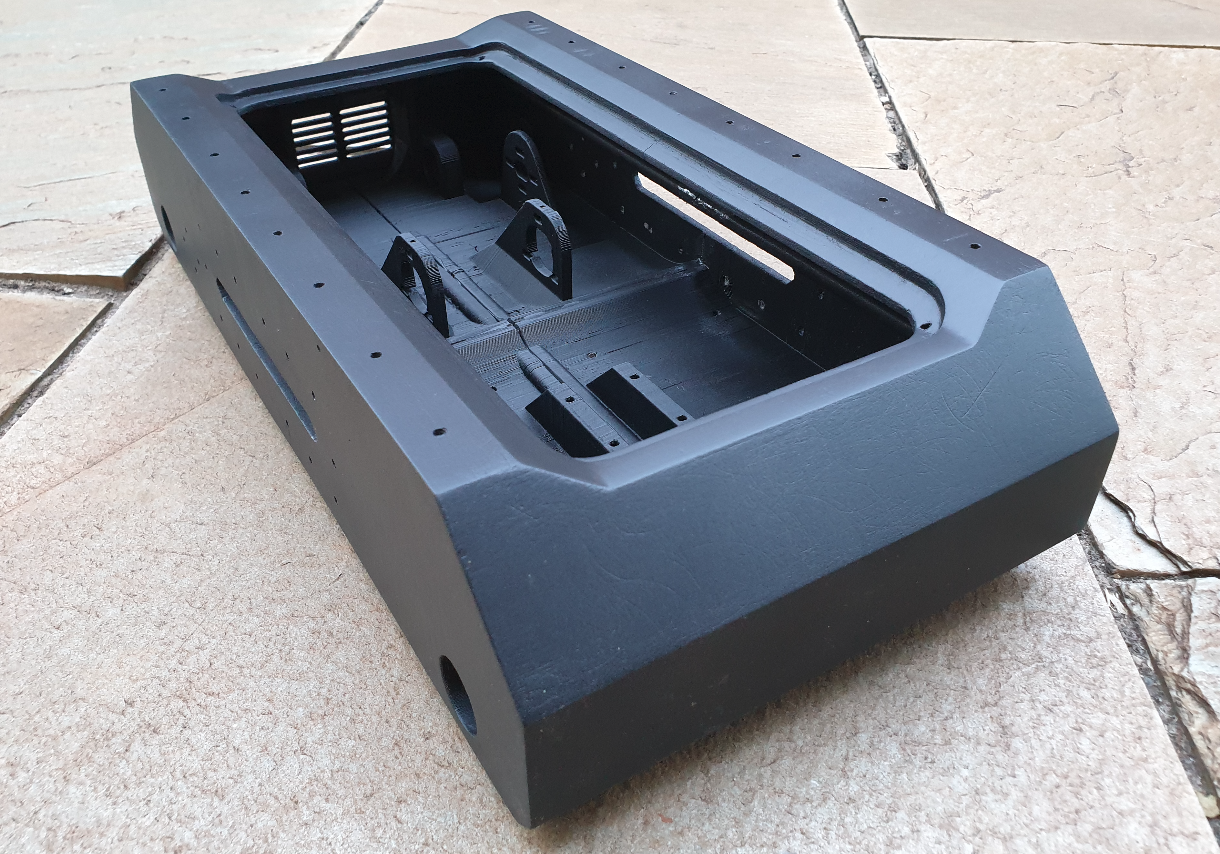
You can see there are still some details and scratches from the coarse grit. I ended up liking this more than a super smooth finish. There might be a couple of reasons and for sure one of them is that I'm not able to achieve an even better finish without this project taking 2x.
Bonus
Started printing the wheels! Don't like this filament brand too much, there is a lot of ringing and unevenness in flow. This print still has the support on.

Discussions
Become a Hackaday.io Member
Create an account to leave a comment. Already have an account? Log In.